Thanks:
  Likes:


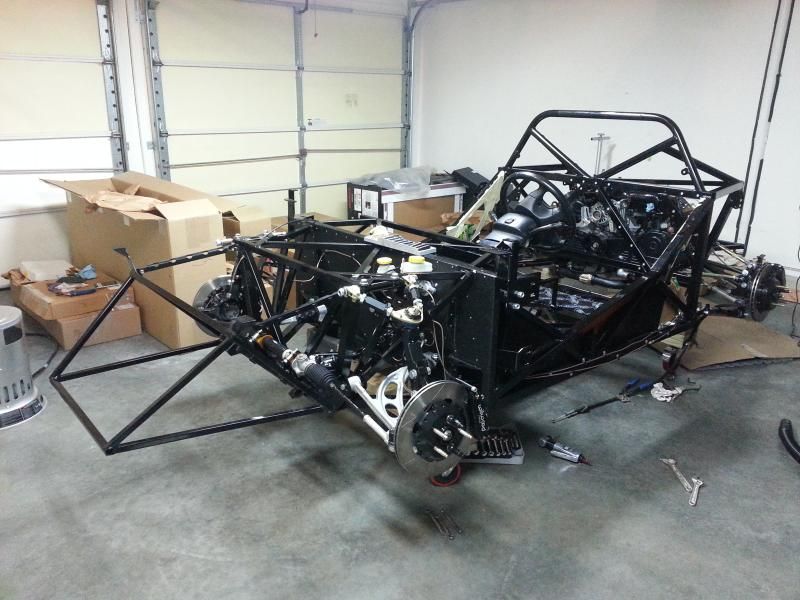
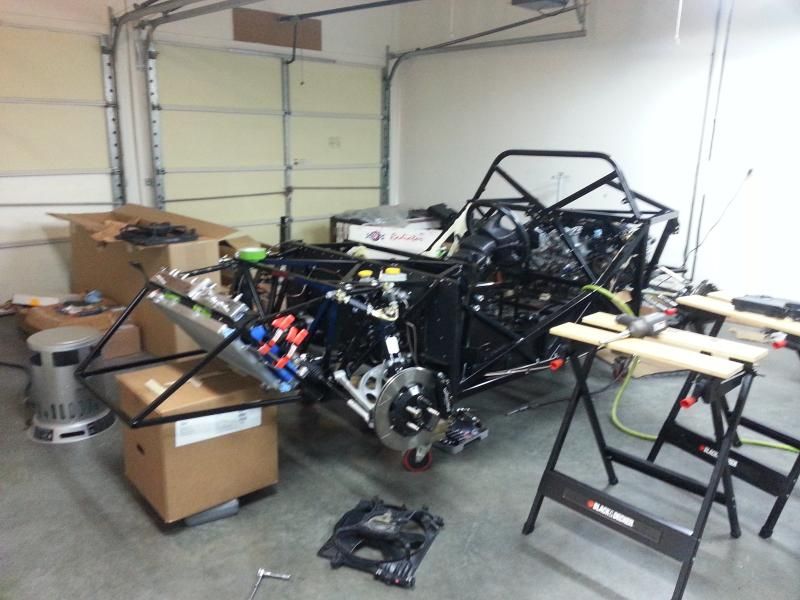
It's been awhile since I've updated my build. I've been working along throughout just slow progress.
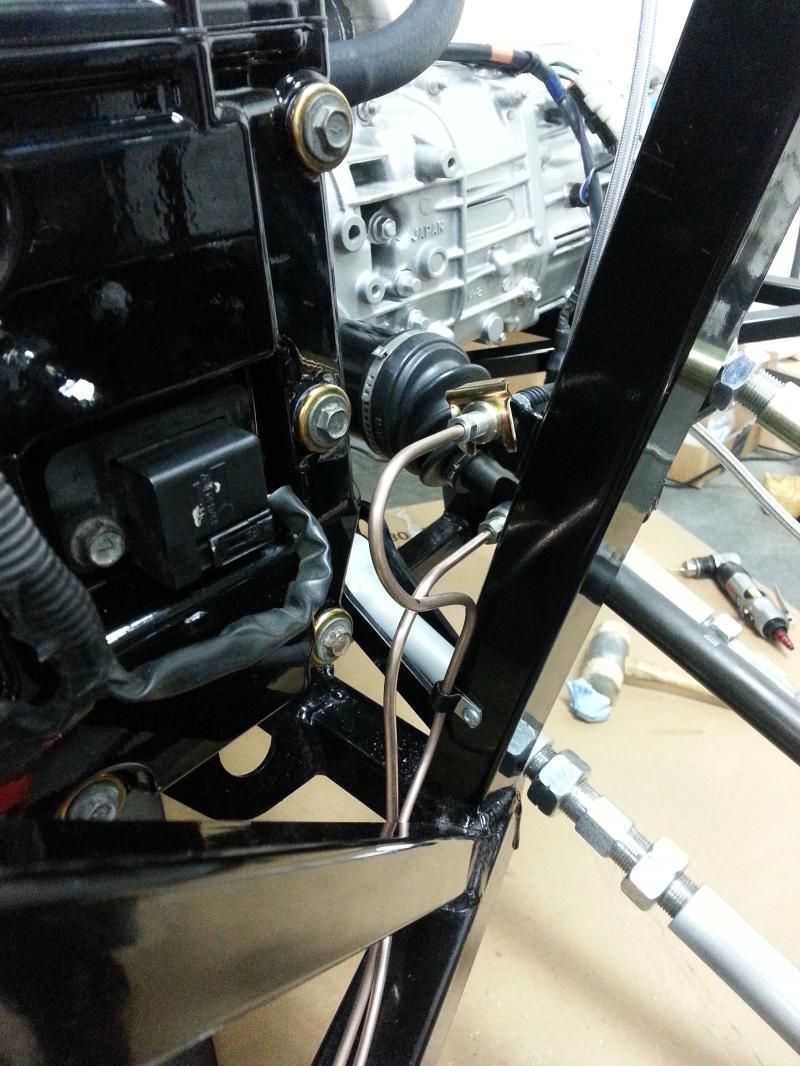
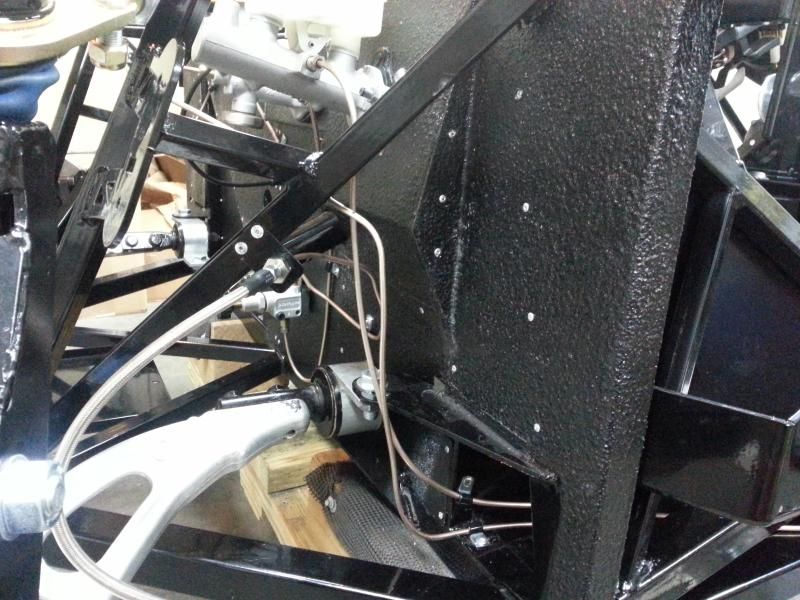
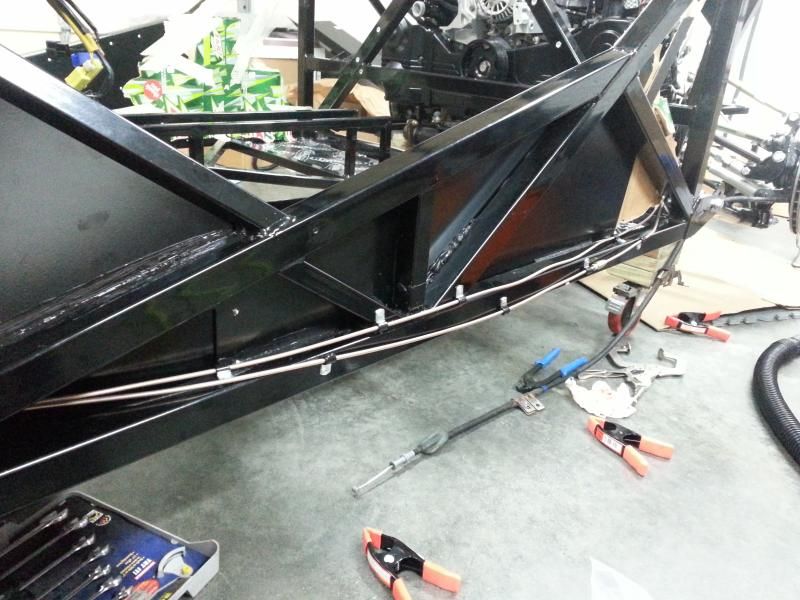
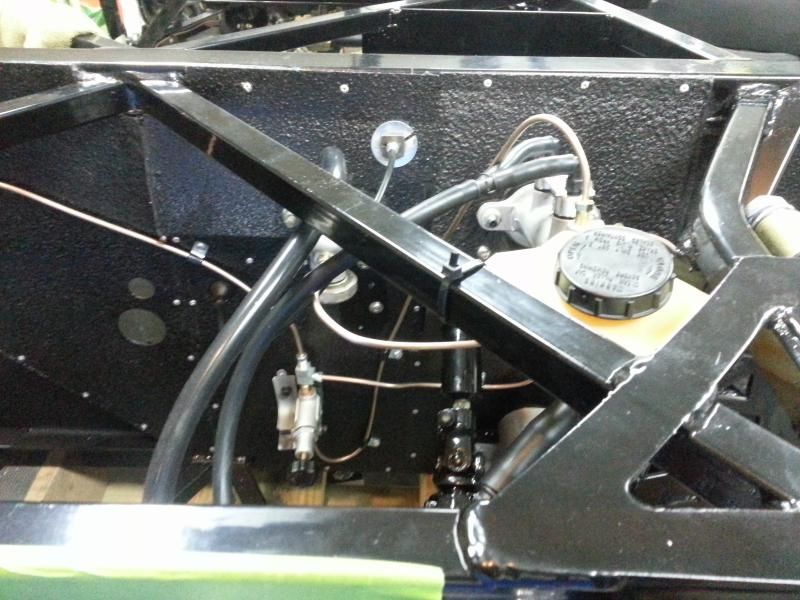
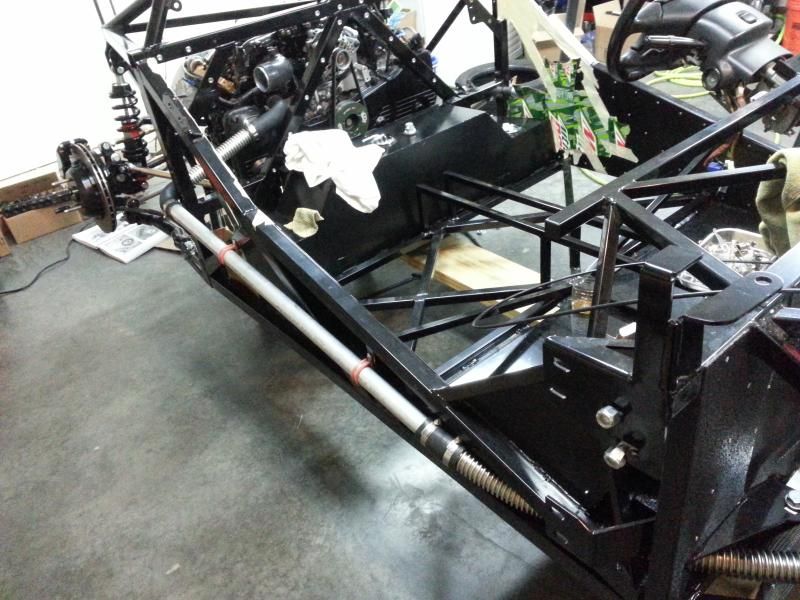
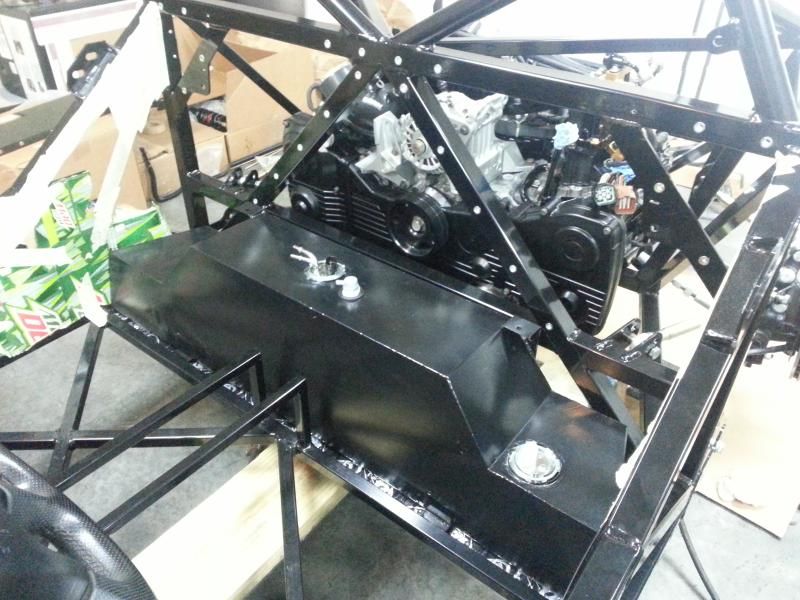
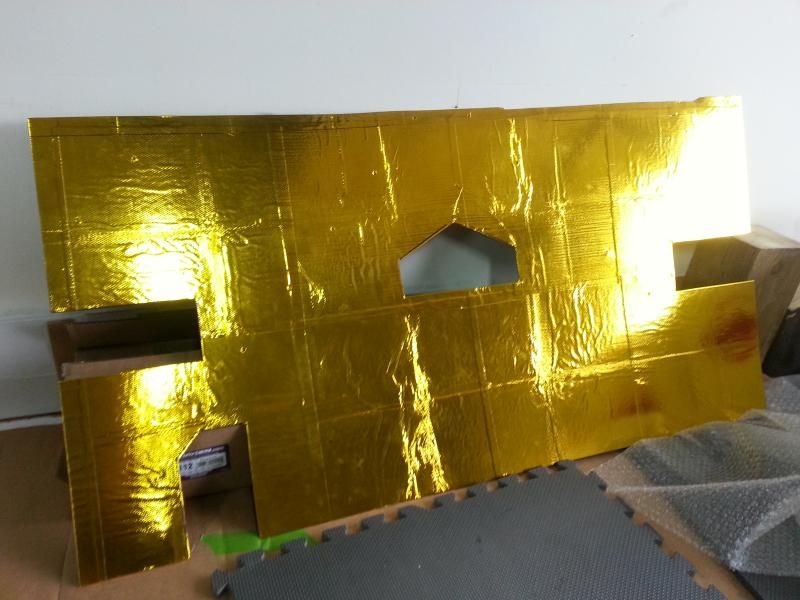
I've further modified the rear firewall so that it can be removed without removing the gas tank. That way if I need to work on the front of the engine it's doable without too much work to reach the area. I've added slots on either side to allow more routes of wiring/lines between the passenger area and engine. I've also used DEI reflecta gold on the engine side to reflect heat and protect the gas tank area.
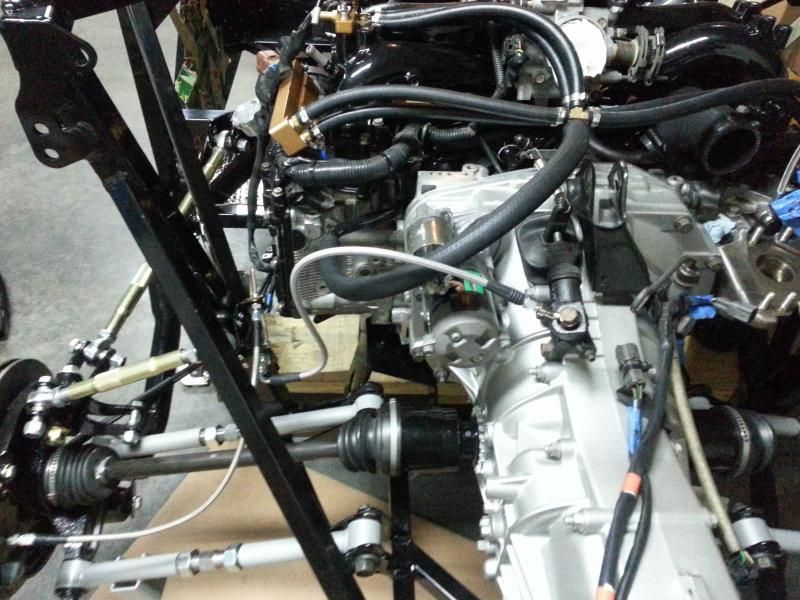
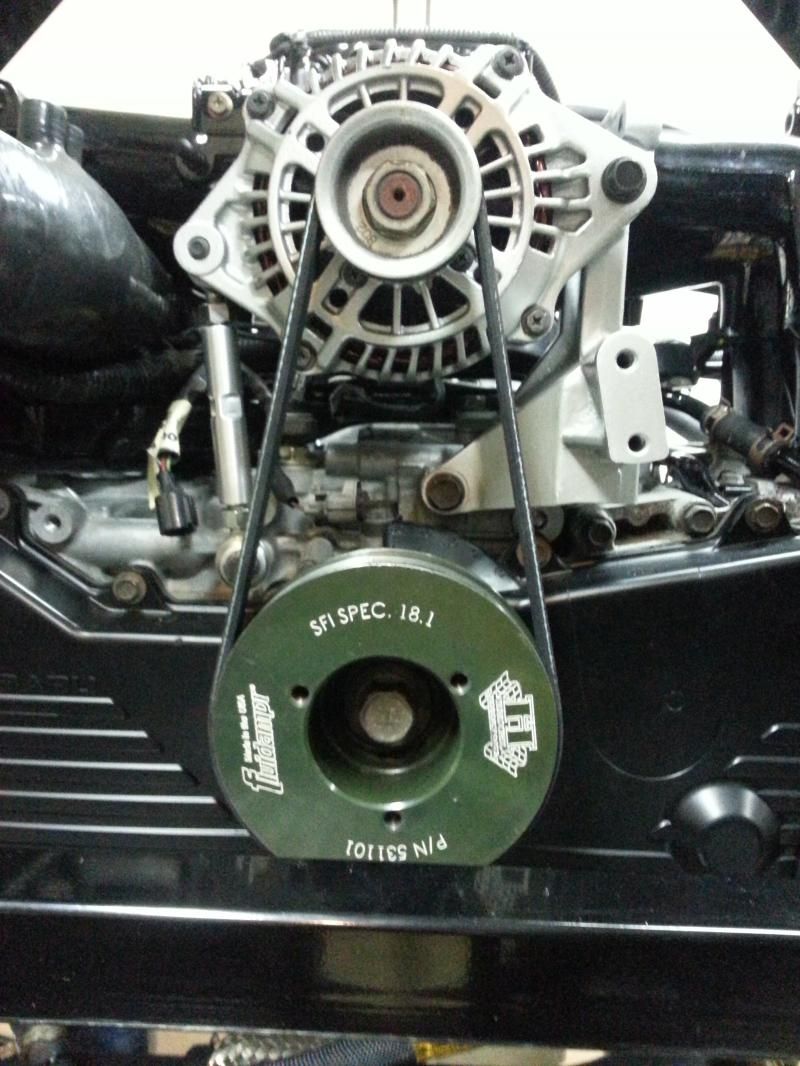
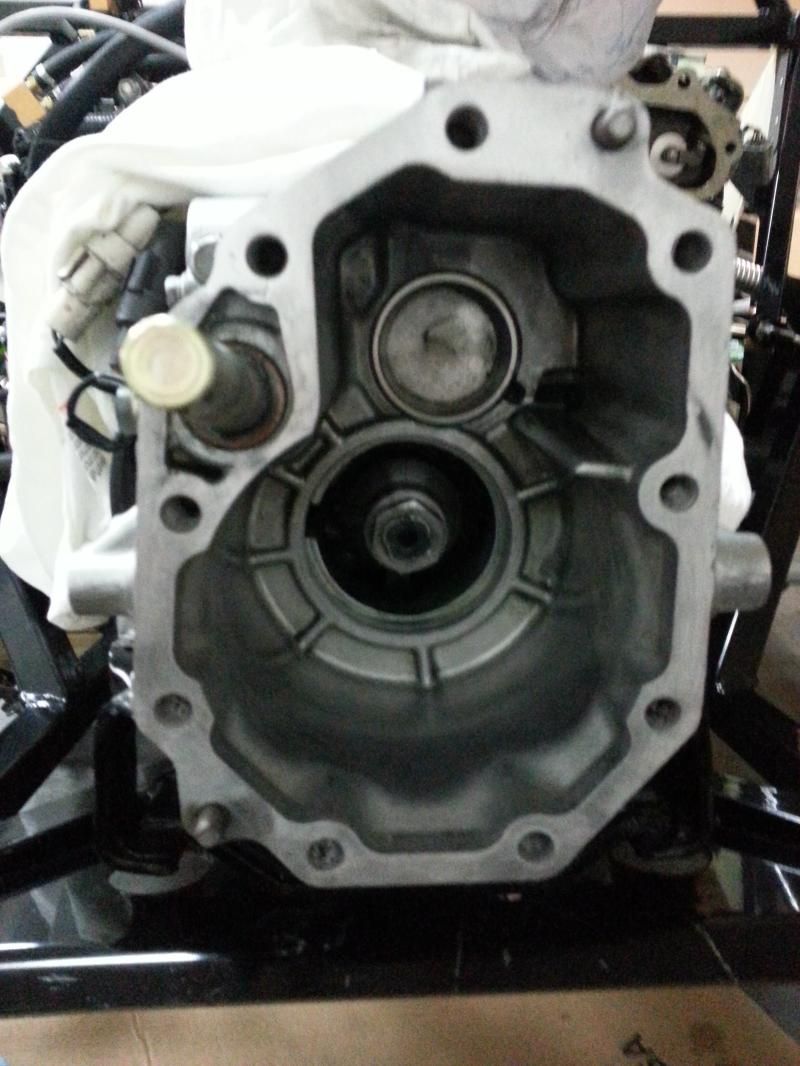
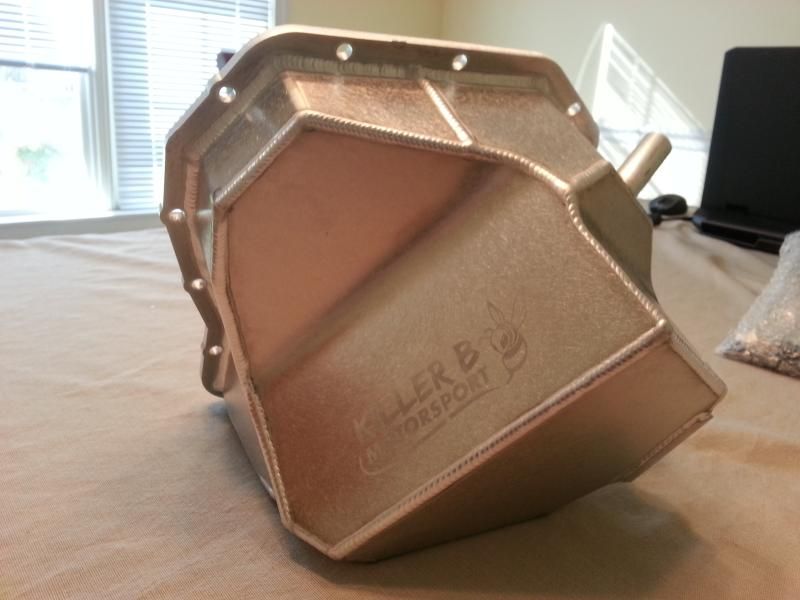
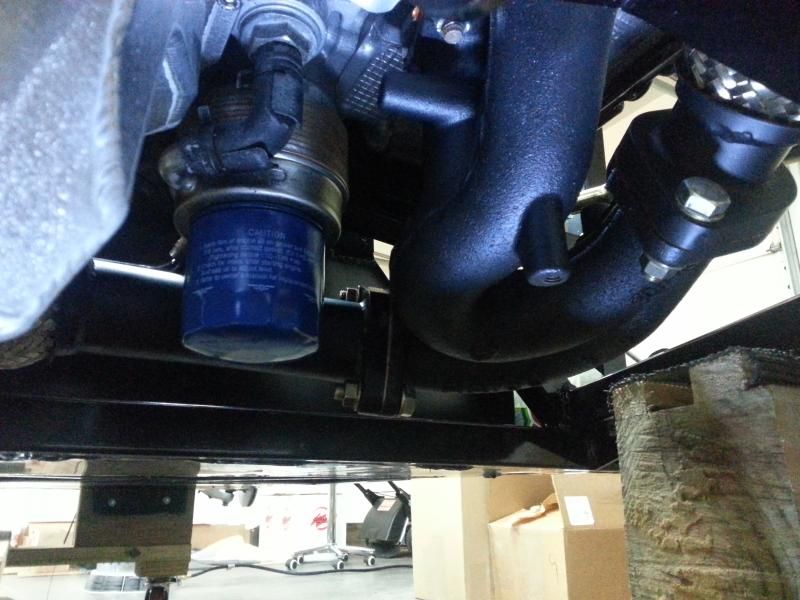
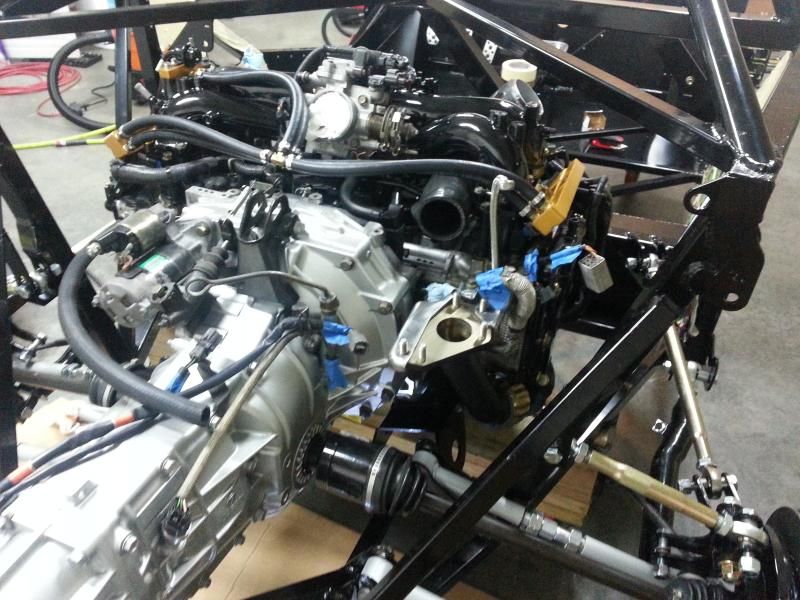
I finally decided to pick up the killer bee oil pan. There have been some issues with engine durability while on track. I'm using this pan for the additional oil volume and better capability of keeping the oil near the pick up. The build quality of the oil pan was top notch as well.
Installed:
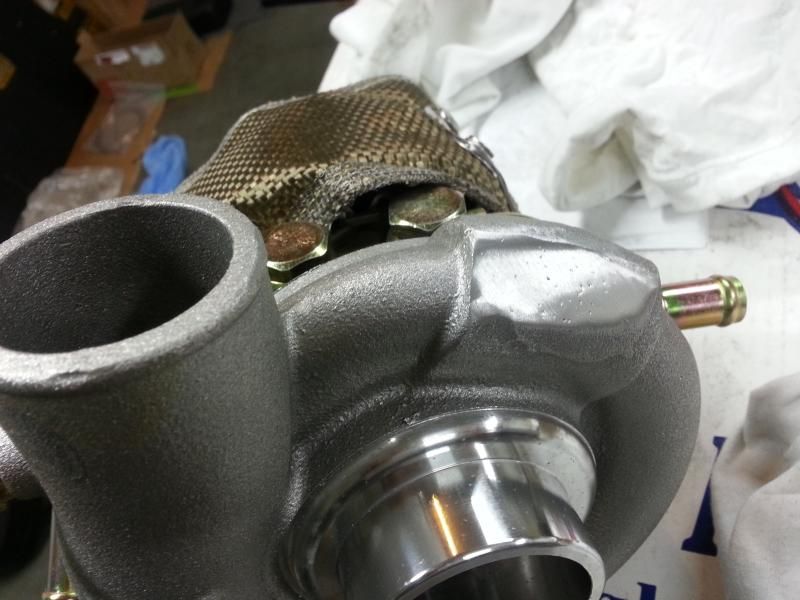
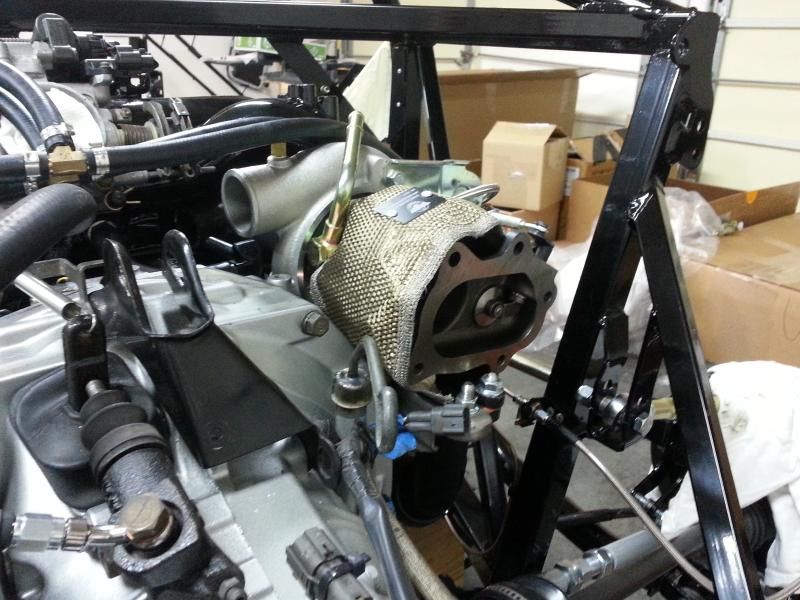
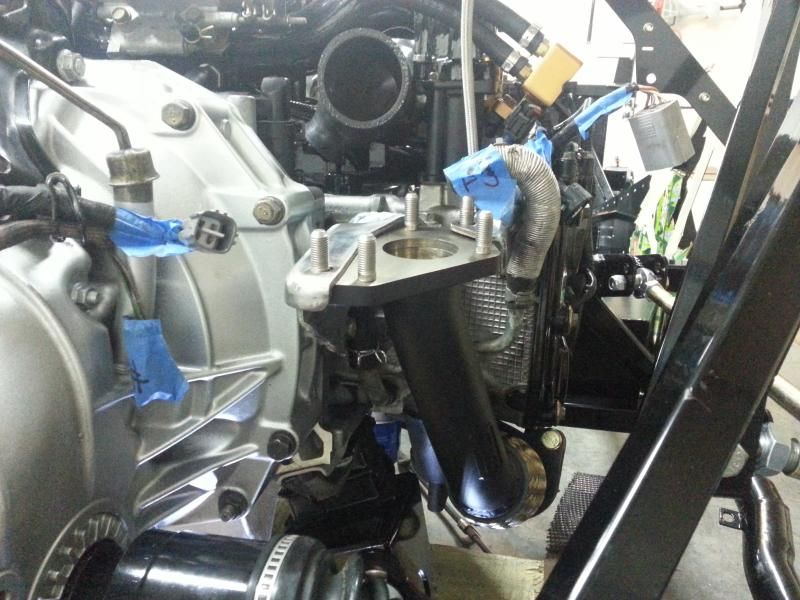
Once that was decided upon and installed I could install the Grimmspeed exhaust manifolds that I ordered forever ago. I'm using the larger cross pipe and grimmspeed up-pipe as well. All of these parts have been coated with ceramic coating to keep heat inside the manifold and improve spool. I decided against heat wrapping as well due to the breakdown of ceramic coatings when wrapped. Hopefully this will be enough to really cut down on the engine bay heat and noticeably improve spool.
Insert turbo here:
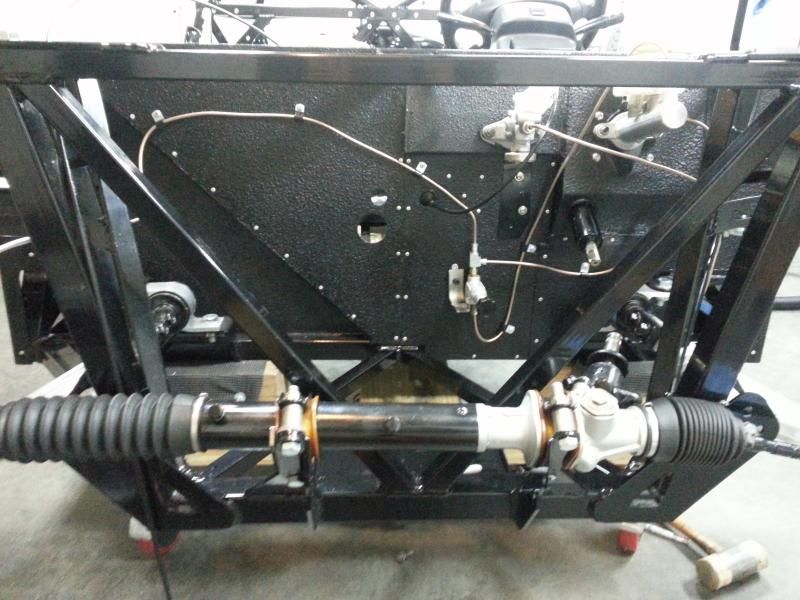
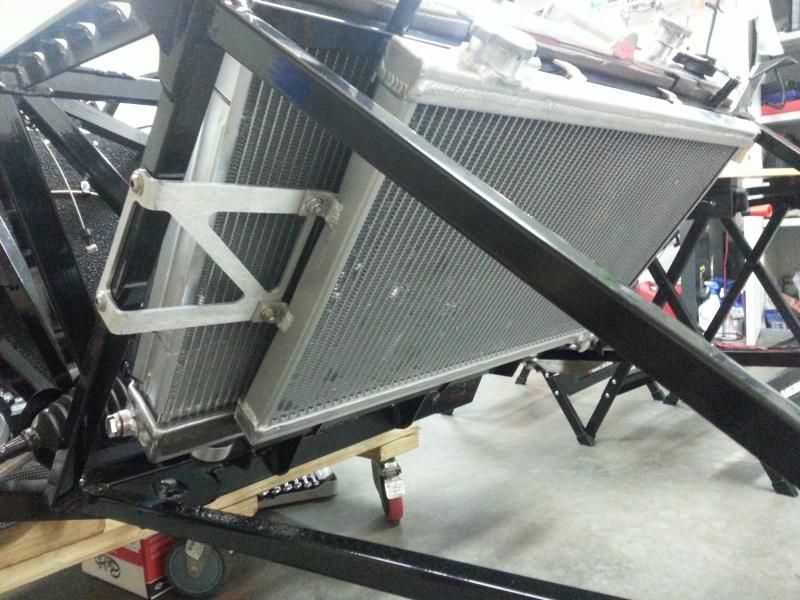
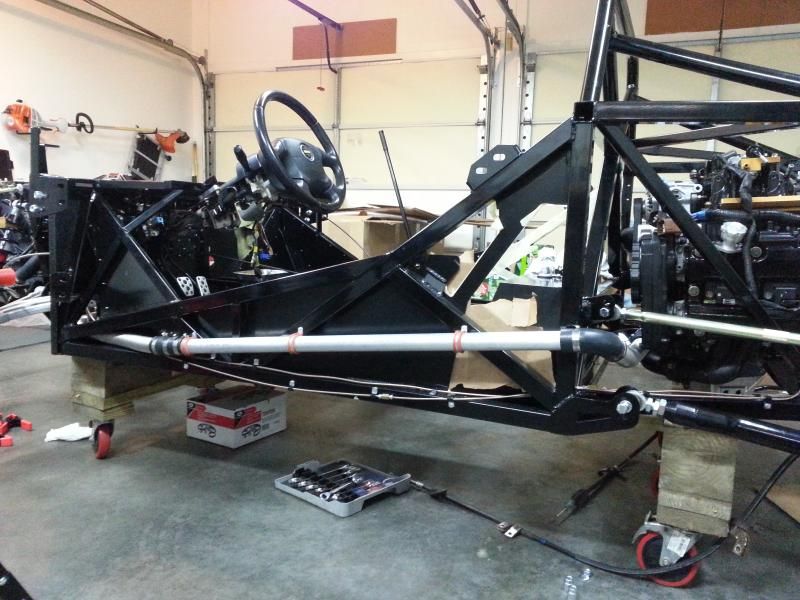
Gas tank is in place and shouldn't have to come out again.
- Home
- Latest Posts!
- Forums
- Blogs
- Vendors
- Forms
-
Links

- Welcomes and Introductions
- Roadster
- Type 65 Coupe
- 33 Hot Rod
- GTM Supercar
- 818
- Challenge Series
- 289 USRCC
- Coyote R&D
- Ask a Factory Five Tech
- Tech Updates
- General Discussions
- Off Topic Discussions
- Eastern Region
- Central Region
- Mountain Region
- Pacific Region
- Canadian Discussions
- Want to buy
- For Sale
- Pay it forward
-
Gallery
- Wiki-Build-Tech


 Reply With Quote