

 Thanks:
  Likes:


Thanks Wayne! It means a lot that you say that. I often doubt myself that the 13b is worth all this effort, telling myself that it will really suit the 818. Having never driven one or anything similar it's all just theory really. But knowing your history with FFR, the 818, racing lotus', and from what I gather the 13b, it's a huge boost of confidence.Originally Posted by Wayne Presley

Making some progress on the coolant system. Everything is rolled, cut, fitted, except for the passenger side rear up to the engine. I'm welding in a tube that intersects the t-stat piping and goes strait up with a rad cap on top. Once that's done I can move on to the next task. I won't be securing it until after I get my constant tension clamps. A total of 14 are required.
I finished my clutch line as well. My flex line is 3ft long, and I secured it so I can switch from a push clutch to a pull clutch when installing my RA transmission without issue at a later date. I've also installed my Zero Decibel shift linkage. Is there any advice on adjusting the cables? I feel lost, hard to get my head around it.
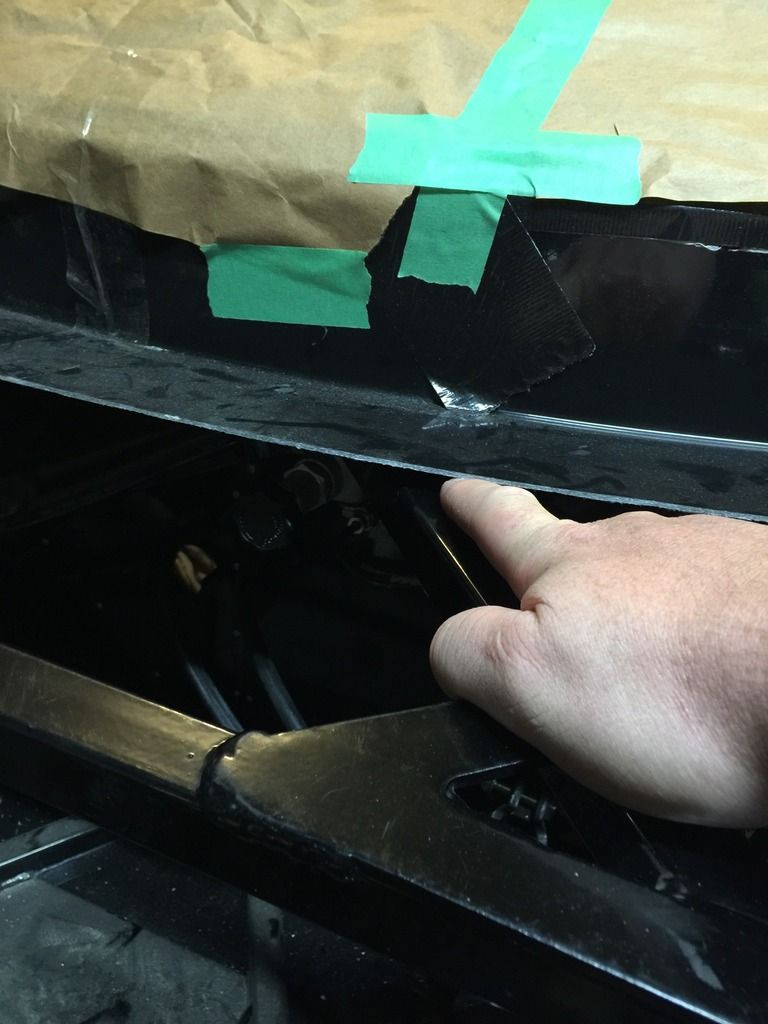
And finally, does everyone have this gap after mounting the windshield frame? I can push it down if I wanted to rivet it in place. Should I keep readjusting until it lays flat? FYI my pic sucks, but I can just get the tip of my finger in under, so maybe 3/8" gap.
- Home
- Latest Posts!
- Forums
- Blogs
- Vendors
- Forms
-
Links

- Welcomes and Introductions
- Roadster
- Type 65 Coupe
- 33 Hot Rod
- GTM Supercar
- 818
- Challenge Series
- 289 USRCC
- Coyote R&D
- Ask a Factory Five Tech
- Tech Updates
- General Discussions
- Off Topic Discussions
- Eastern Region
- Central Region
- Mountain Region
- Pacific Region
- Canadian Discussions
- Want to buy
- For Sale
- Pay it forward
-
Gallery
- Wiki-Build-Tech


 Reply With Quote


