Thanks:
  Likes:


Bumping this thread with a few questions.
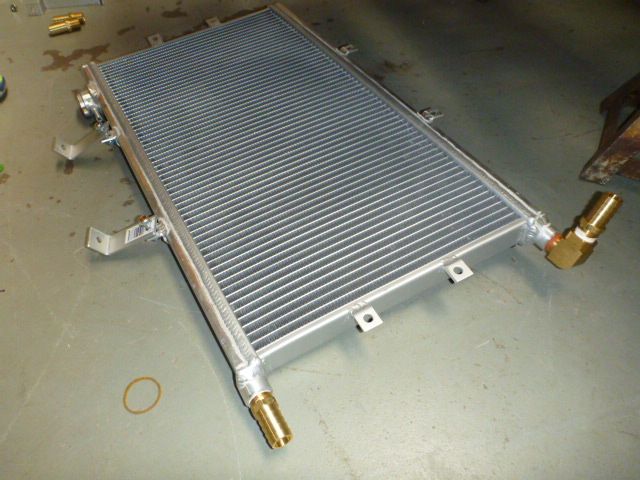
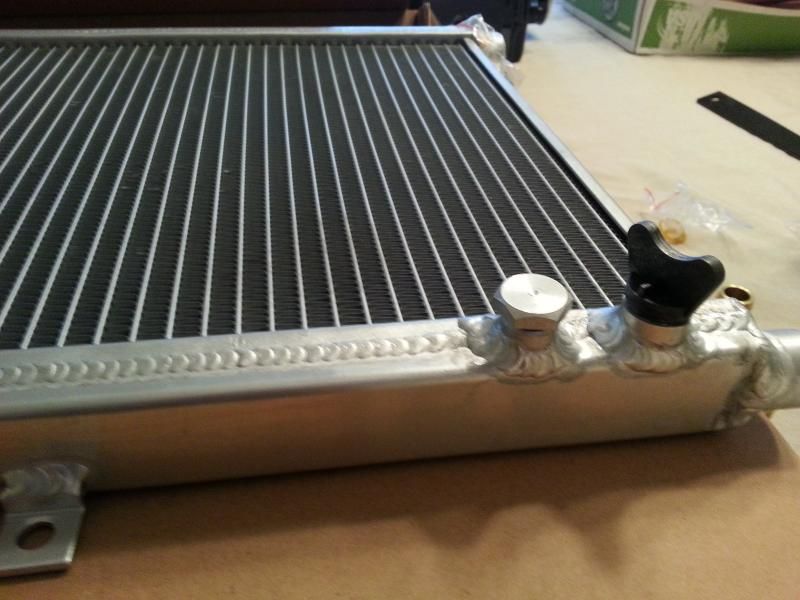
I found this fitting next to the drain valve. Is this intended for a temp sensor? Would that be a good location for one? My thought is this is probably on the cooler side of the entire system as it's on the front side of the heat exchanger. Thread pitch?
If I wanted to purchase 90* brass fittings for the large heat exchanger ports, what size fitting should I be looking at?
These fittings:
- Home
- Latest Posts!
- Forums
- Blogs
- Vendors
- Forms
-
Links

- Welcomes and Introductions
- Roadster
- Type 65 Coupe
- 33 Hot Rod
- GTM Supercar
- 818
- Challenge Series
- 289 USRCC
- Coyote R&D
- Ask a Factory Five Tech
- Tech Updates
- General Discussions
- Off Topic Discussions
- Eastern Region
- Central Region
- Mountain Region
- Pacific Region
- Canadian Discussions
- Want to buy
- For Sale
- Pay it forward
-
Gallery
- Wiki-Build-Tech

 Reply With Quote