Thanks:
  Likes:


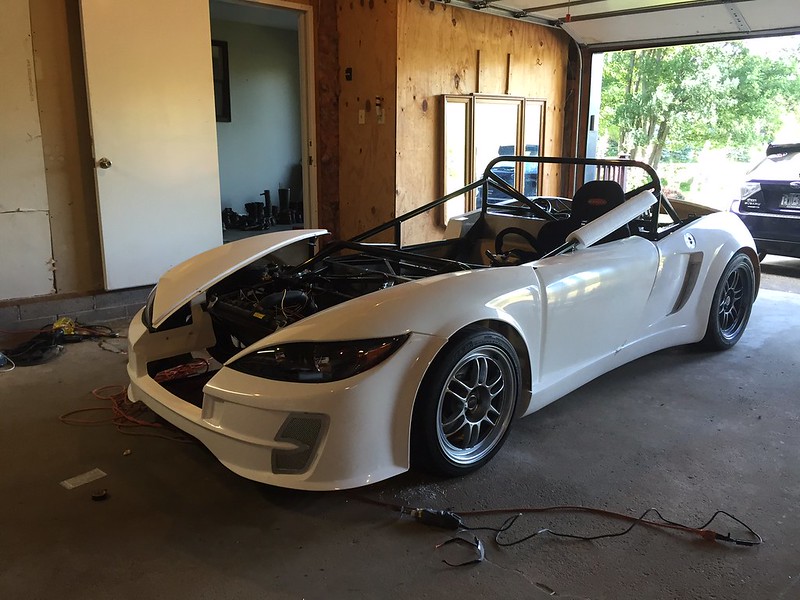
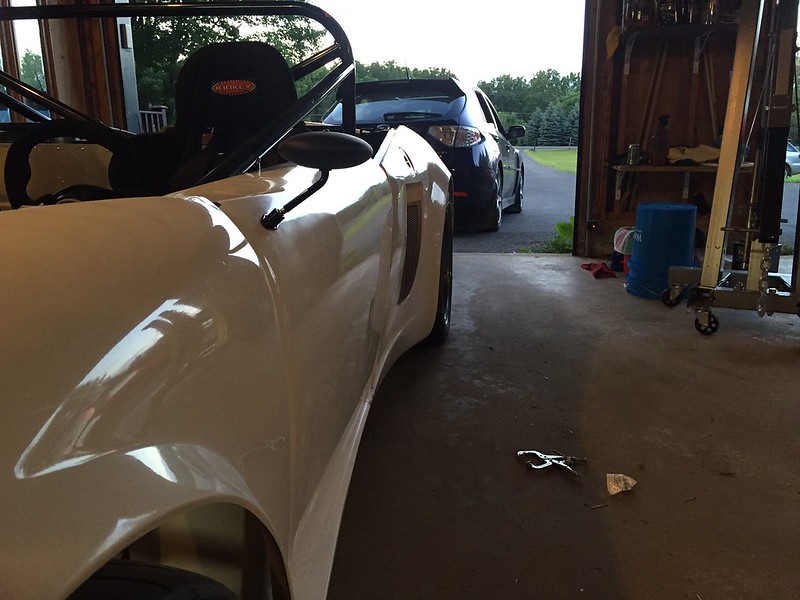
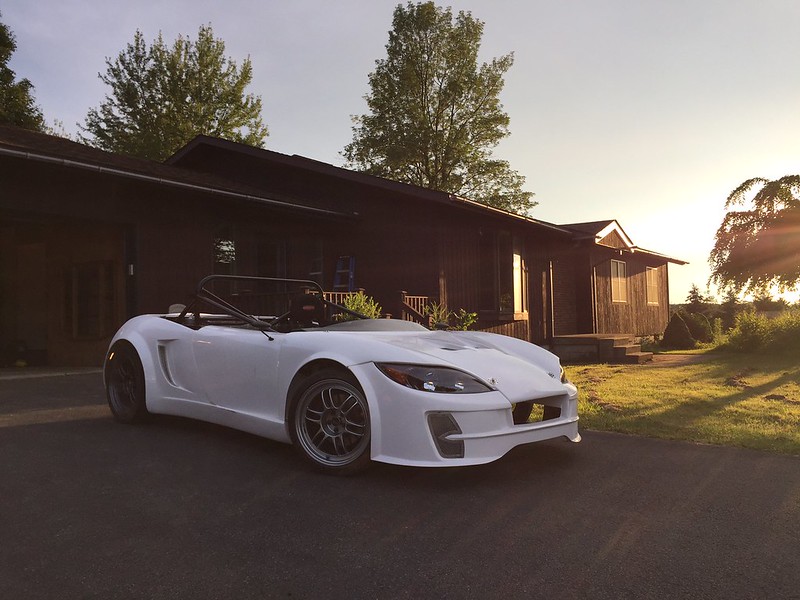
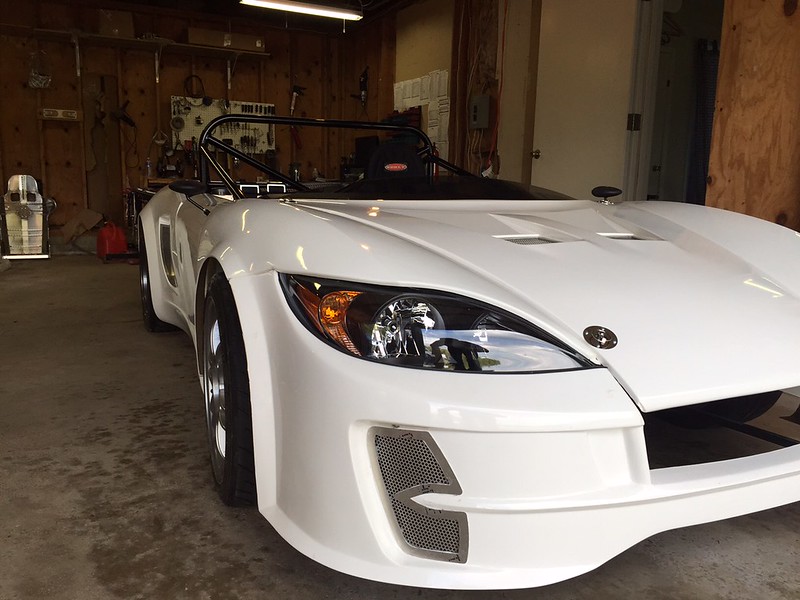
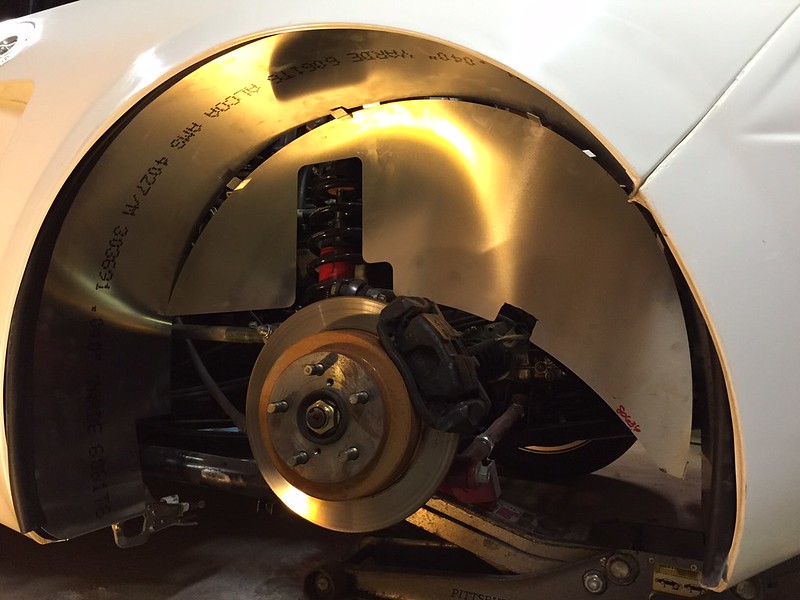
Your driver side fender looks like it is being held up from the headlight. We used heat to push the plastic bucket down to get the headlight to sit lower, and also had to grind the lip of the fender where it hit the headlight. These two things combined got rid of the gap between the fender tip and the bumper that I can see in your last photo, and lowered the fender. We also had to cut the tab where the tip of the fender is close the exit of the headlight on the inside, as it was sitting on top of the headlight corner and pressing the fender up. If you look in the manual, you'll see that they had to cut the last inch or so of the fender tab off as well. I would also take some measurements to make sure you are at the same place on both sides - in and out and forward and back.
- Home
- Latest Posts!
- Forums
- Blogs
- Vendors
- Forms
-
Links

- Welcomes and Introductions
- Roadster
- Type 65 Coupe
- 33 Hot Rod
- GTM Supercar
- 818
- Challenge Series
- 289 USRCC
- Coyote R&D
- Ask a Factory Five Tech
- Tech Updates
- General Discussions
- Off Topic Discussions
- Eastern Region
- Central Region
- Mountain Region
- Pacific Region
- Canadian Discussions
- Want to buy
- For Sale
- Pay it forward
-
Gallery
- Wiki-Build-Tech

 Reply With Quote