Visit our community sponsor

Thanks:
0

Likes:
0
-
Ls3 wiring harness
I am using a Ls3 motor in my friends 33 hot rod. My question is where is the best place to mount the cpu and the relay/fuse box. There isn't much room anywhere. I know it needs to be away from the engine heat.
Any help anyone can provide will be very welcome.
Thank you, Larry.
P.S. can the wires in the GM loom be shorten or will that cause a problem with the computer.
-
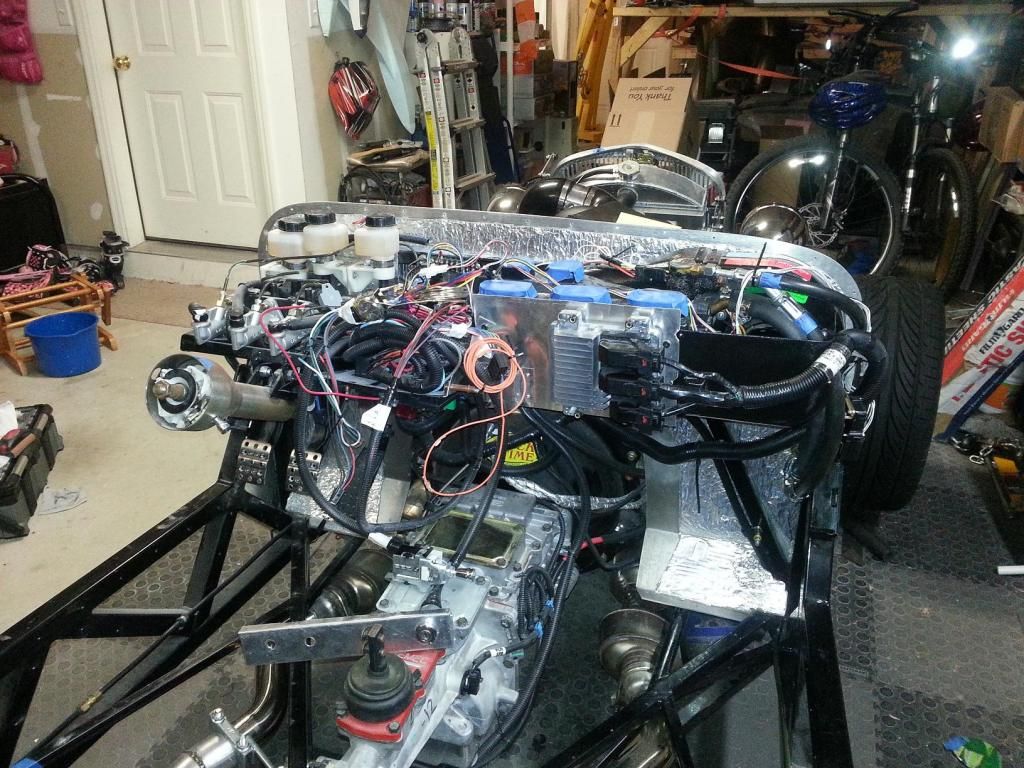
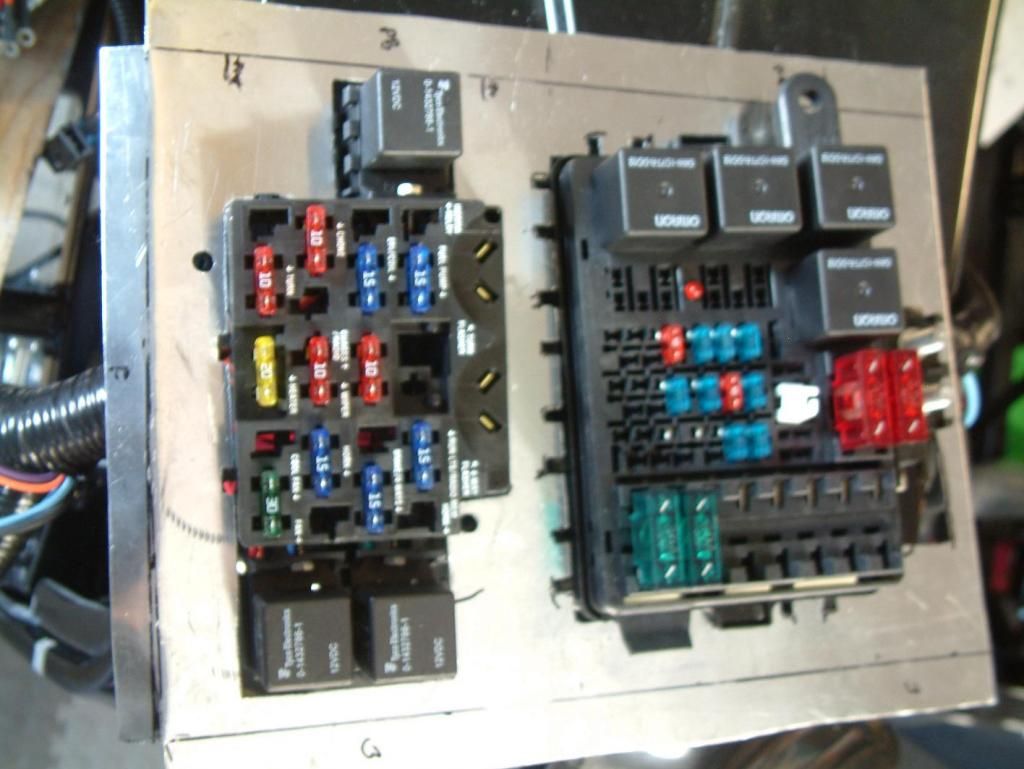
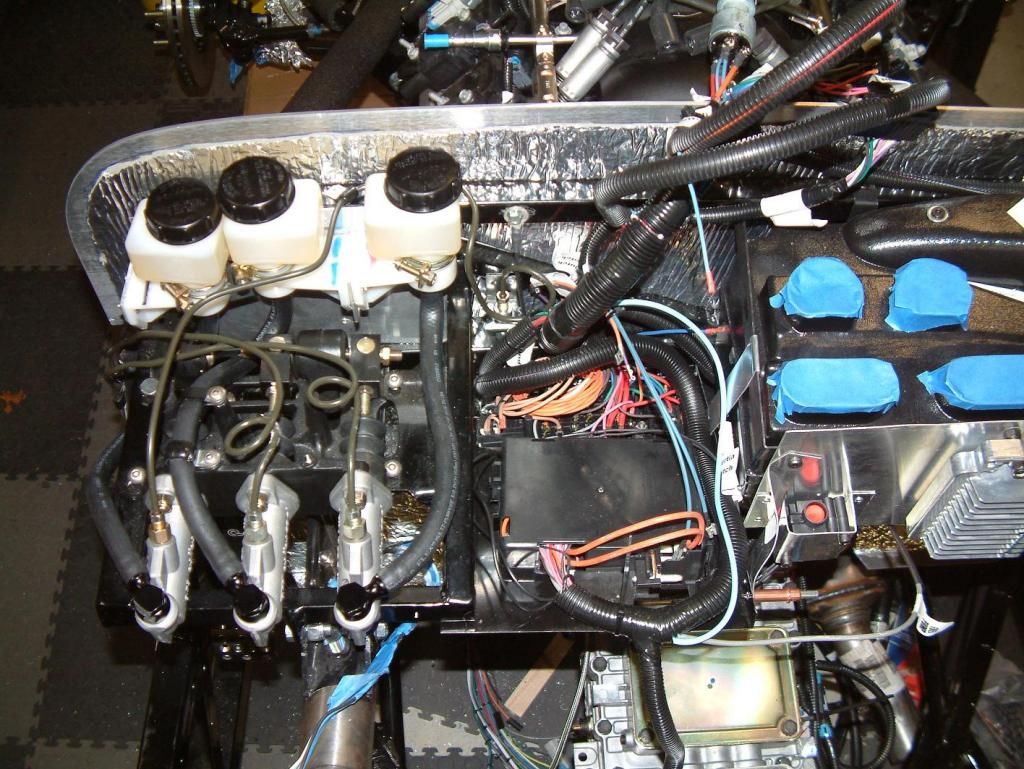
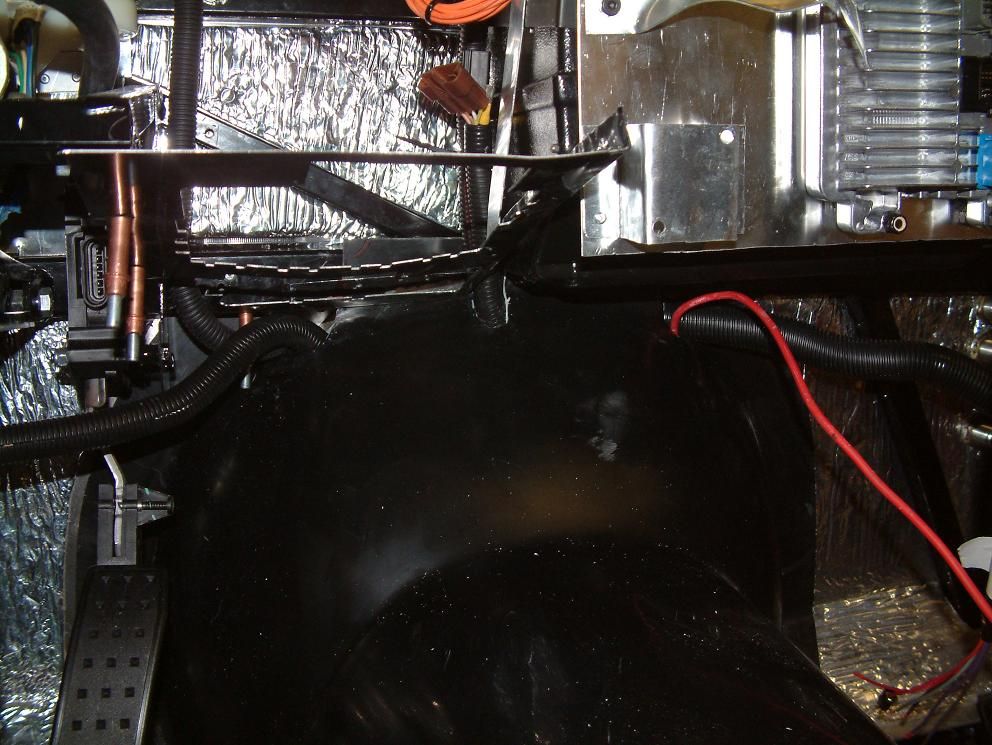
I mounted my fuse box on the front of the AC unit with a big piece of Velcro. There's just enough space between the back of the dash and the AC unit and with a good tug it swings right down.
I mounted the cpu between the AC unit and the FFR fuse box. Its tight but the wires run along the top of the unit and I can just get in there and unbolt it if I need to.
Key was to remove as much of the original harness wires as possible and shorten the ones needed to just the right length and ziptie it all back together tightly.
I did not mess with any of the engine harness wires.
-
You wouldn't have any pictures would you? Or do you know where on the forum I could find some.
Thanks for your reply, Larry
-
-
Nice Setup Data!
I'm very similar except I swapped the CPU and Fuse box locations.
Be sure to plan where your gauges and ac vents will be on your dash.
That will also determine what can go where.
-
Wow that looks both great and complication. Do you have a picture from the engine side of the firewall?
These pictures will help me alot, Thank you Larry
-
I don't have any pictures from the engine side. Is there something in particular I can try to get for you?
-
Yes if you can. How did you get the wiring for the motor past the firewall? What brackets and pulleys did you use for the A/C and the alternator.
Do both the motor wiring harness and the FFR harness fuel pump and speedo wires go the transmission.
That's it for now, Thanks, Larry
-
Larry,
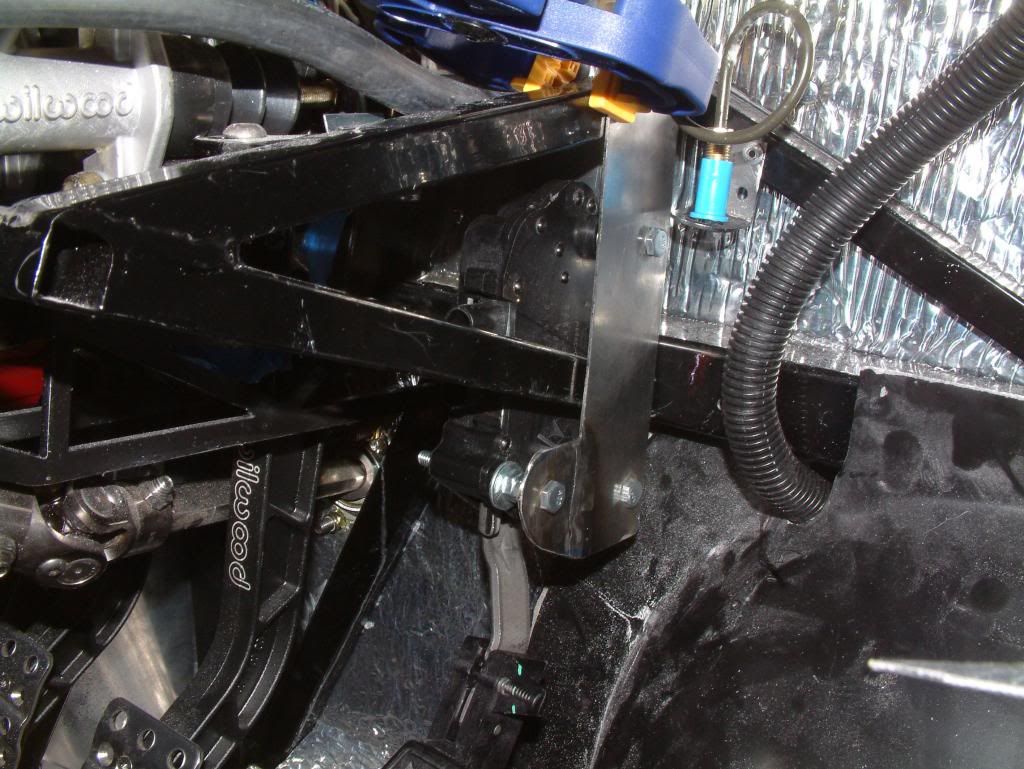
I ran all the wiring in through the trans tunnel right under the firewall. I ran the ECU cable to the passenger side and split the other cables, both LS and chassis harness, into to other bunches and cut slots in the trans tunnel (old style) at the firewall interface. All the wiring either split over the bellhousing (LS3) or ran down the passenger side of my trans (battery, VSS, fuel pump, lights, etc).

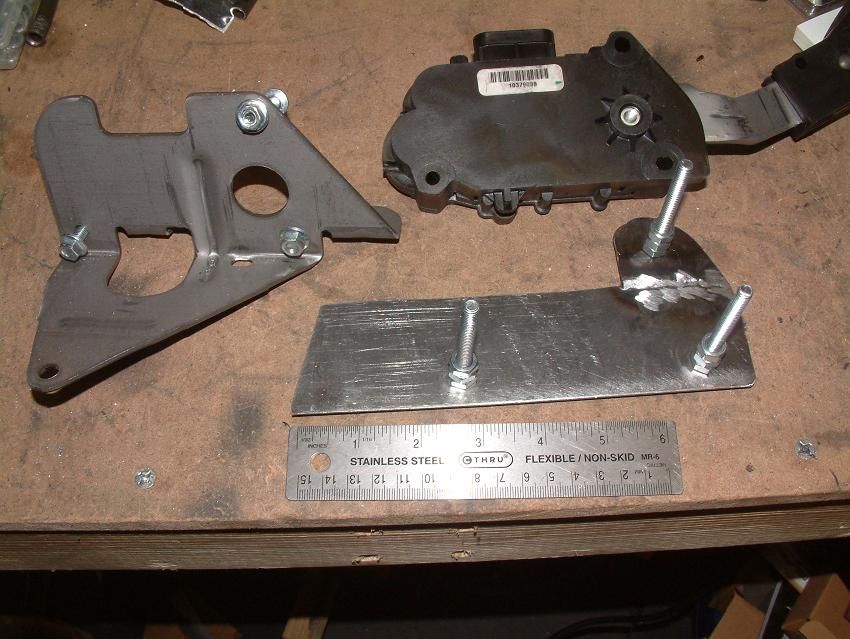
For the alternator, I used a CTS-V alternator (GM part 25925447) that required cutting/shaving of a mount tab at about the 2 o'clock position looking at the front of the alternator, to clear the front suspension pieces. I mounted it on a CTS-V mount (GM part 12578550) with the tensioner on the upper passenger side of the engine. TigerBill and I ended up doing ours the same way in another thread even though we didn't get together before we did it. Other guys have gotten the A/C pump on the passenger side low, but i haven't gotten there yet. That's one of this winter's projects.
Hope that helps.
Data
-
Hey Data,
Did you capture the Dynamat (?) between the frame and firewall, or is it just fit very well?
Thanks,
Keith
-
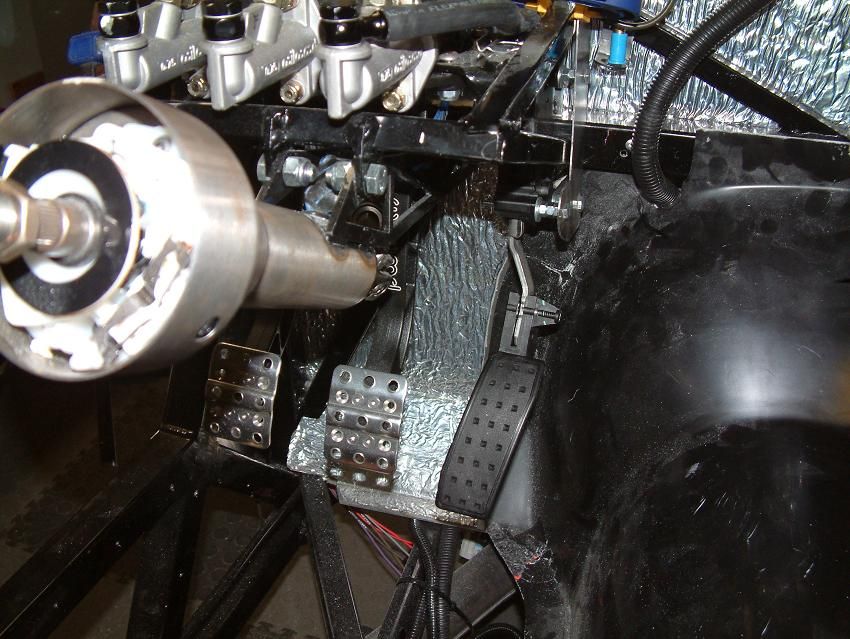
Data, how did you get the throttle petal to fit?
-
-
Wow, That looks great. I will try that on mine. I have already cut the tunnel, but that shouldn't hurt anything.
Thanks for the great pictures,Larry
 Posting Permissions
- You may not post new threads
- You may not post replies
- You may not post attachments
- You may not edit your posts
-
Forum Rules

Visit our community sponsor


 Reply With Quote