Visit our community sponsor

Thanks:
0

Likes:
0
-
Senior Member

Using 2.5 exhaust pipes
Has anyone here done their own exhaust and used 2.5" pipes instead of the 2.25 FF supplies? Thanks.
FFR HR #530
Race car theme, Tim Whitaker roll bar, Autometer Autolite Gauges, Satin Black, SBC 383/700R4, 8.8 rear with Cobra Brakes, 3.29 gear, Boyd Tank, QA1 springs and shocks,
My build blog:
http://jacks33hotrod.blogspot.com/
-
Jack
You will have to oval it a bit more everywhere it passes through the frame. The 2.25 is very close as it is. I ovaled my 2.25 just to get more space to prevent rattles down the road.
FWIW
We did a lot of RW dyno testing on the Dakota R/T forums a decade ago. We found HP was lost on the 360 based motors pushing around 400 HP when we went too big on the exhaust.
Dual 2" pipes into dual mufflers then a single 2,5" tailpipe gave us the best RWHP. The guys that went dual all the way or used bigger pipes lost HP on their combo. This was based on dyno before and after tests on the same vehicles by those of us with the time/money who tried several combos on our vehicles to refine the data.
DB
-
Maczter
I was considering using the Flexible braided stainless connectors to isolate the engine from the pipes. You can find various versions on the aftermarket. This lets you run a more ridged assembly with closer tolerances to the frame. I will probably run 2.25 through the frame and 2.5 over the axle. You have limited isolation options due to proximity of frame tubing to the exhaust. The problem with oval tubing is the oval section is often where the mount needs to be so a J shaped rod welded on the pipe and taken over to a rubber isolation may work vice the FFR method of welding to the muffler clamp. Since I anticipated unique exhaust issues I deleted the FFR exhaust on my order.
I'll make my first run at this after hunting season is over...
-
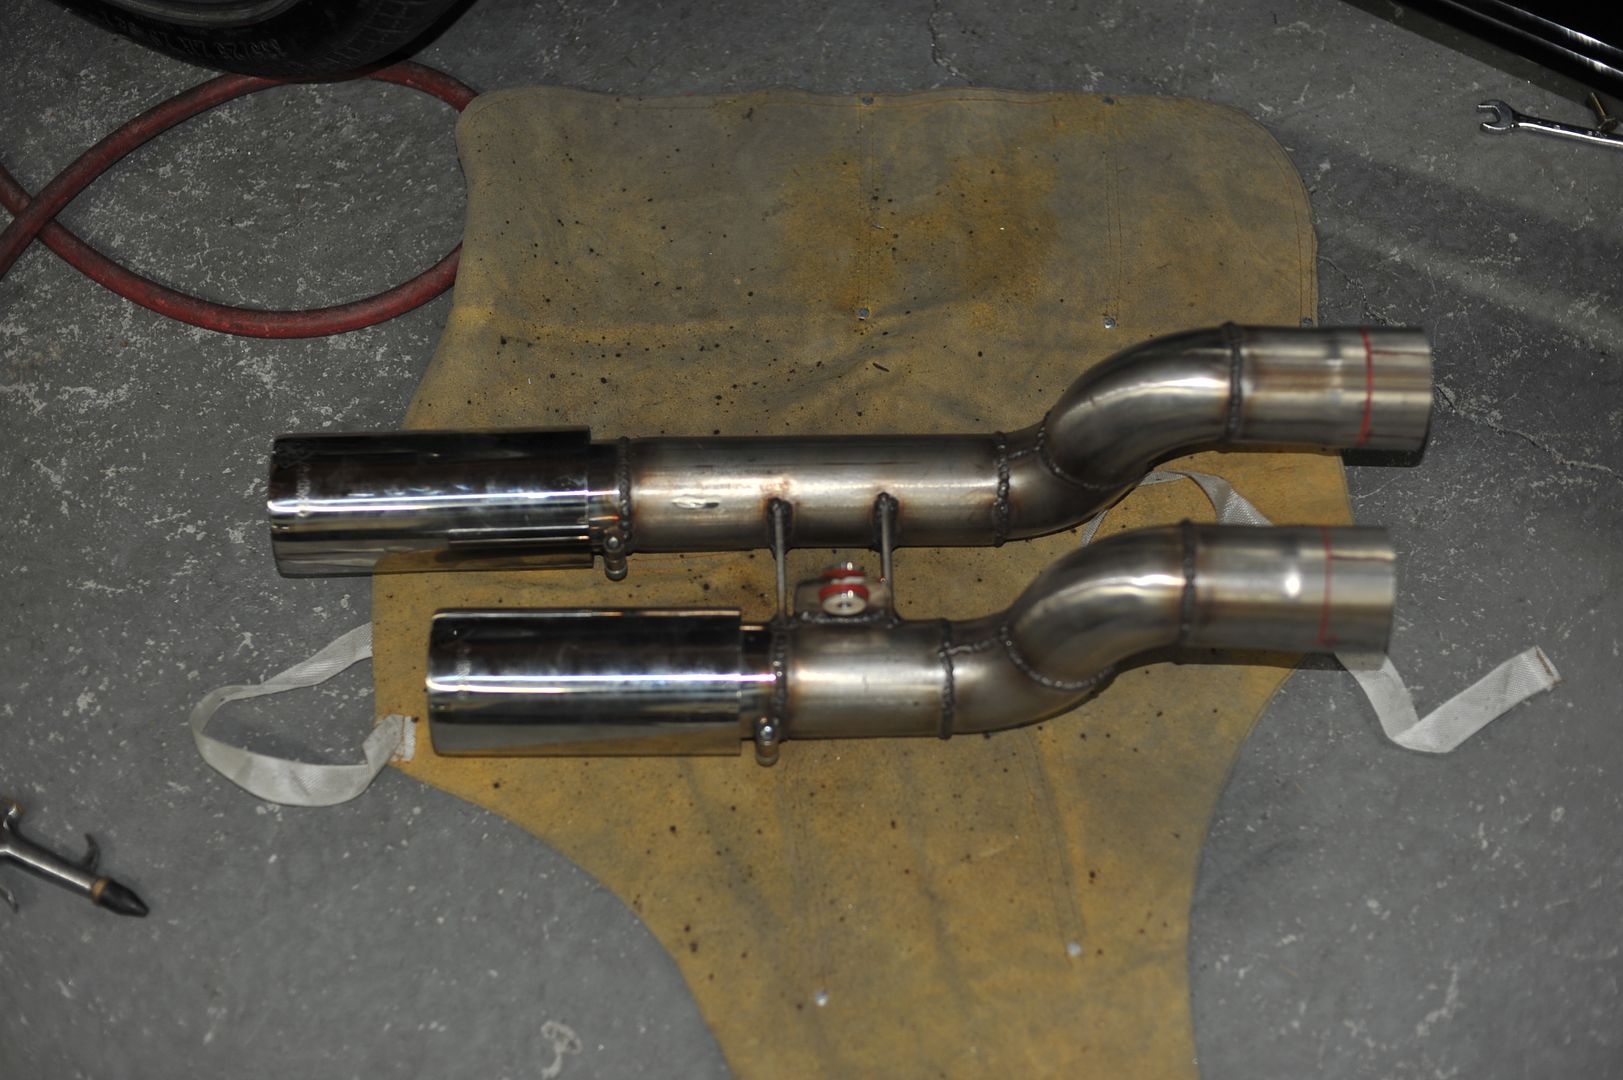
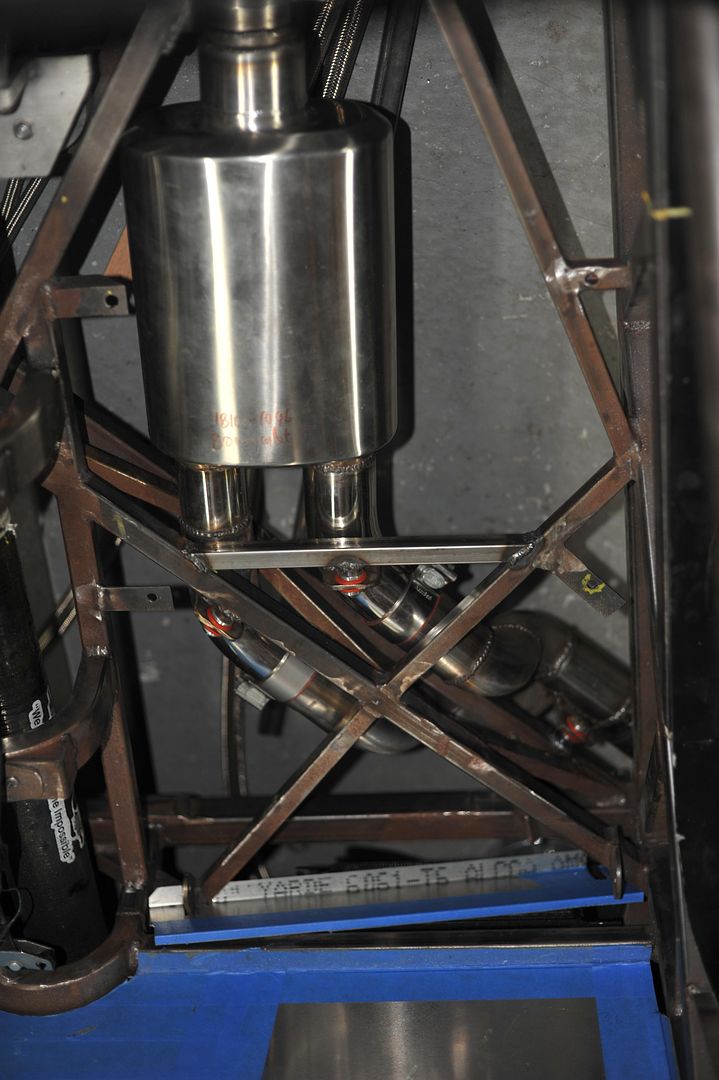
I'm going with the 2.5" for no particularly good reason other than it worked on my other street hemi fine. This creates numerous self induced issues passing through the frame. I purchased a flow master stainless pipe kit from summit. This is a nice kit. lots of good bends. I made a minor error on muffler offset choice that I'll post this weekend. My approach is firmly mounting the pipe and muffler within the frame. I have flex couplings off the header. I think I can wrap header cloth around the pipe at the tight places through the frame triangles. This allows longitudinal expansion from heat but captures the pipe in the frame fairly solid. Some noise will transmit through the frame. I am not ovaling the pipe to do this. Soft mounts will support the remainder. Since I am used to solid motor mounts and deafness this is acceptable for me. I also am not using polished stainless. This car will get serious road rash. I will try an H cross tube if I have enough clearance. One goal is to leave room for the 4 link at the back even though I'm running the 3 link. Some of my choices are also based on a desire to fabricate custom headers next winter. This inevitably could lead to some crazy forced induction resulting in a need for massive exhaust, cutouts, unmuffled side pipes and other madness.
My recommendation, however, is 2.25". Much more forgiving on the frame routing.
-
-
In33,
I admire your workmanship. I didn't get the garage time I needed last weekend, but, obviously 2.5" is do-able with some effort. I wanted to minimize frame work and I left the eBrake in stock location. I did a minor mod to the E-Brake bracket due to the cable routing. My flex connection is about where your CATs are. Obviously our engines are different and I am further constraining myself to allow for other mods or even engine swaps later. I can build mine symmetrical, but won't finish the rear exit until I firm up body mods later. I just can't leave stuff as delivered.
-
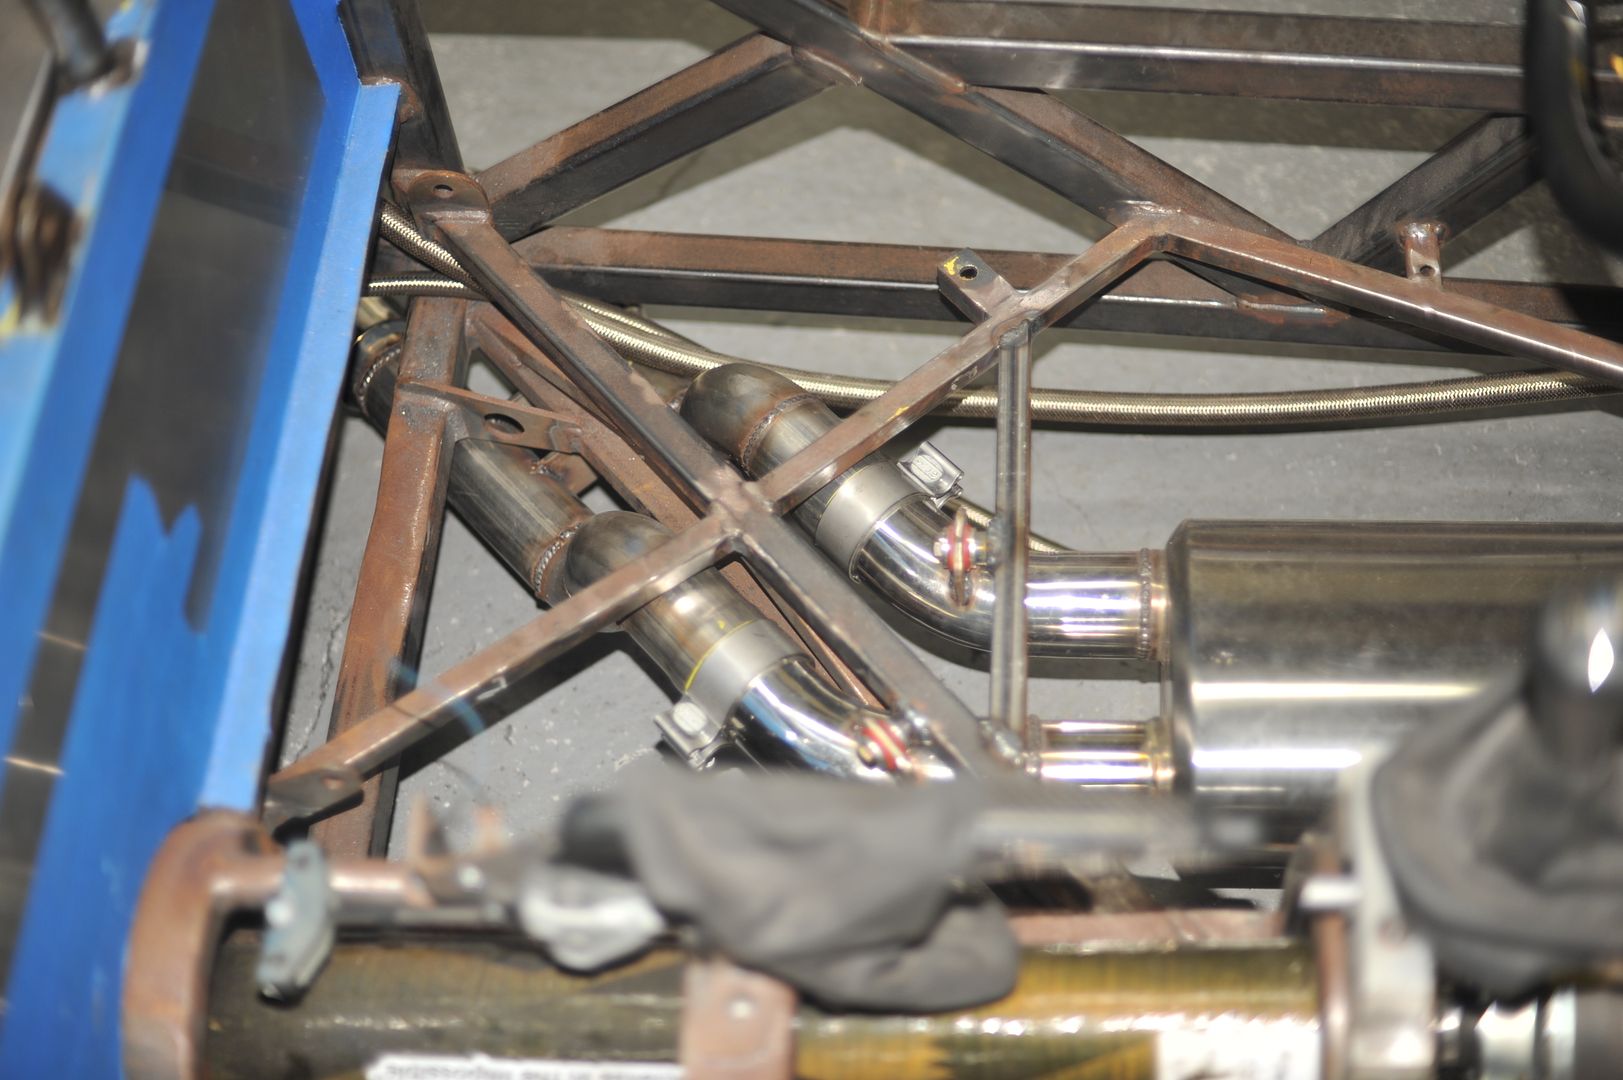
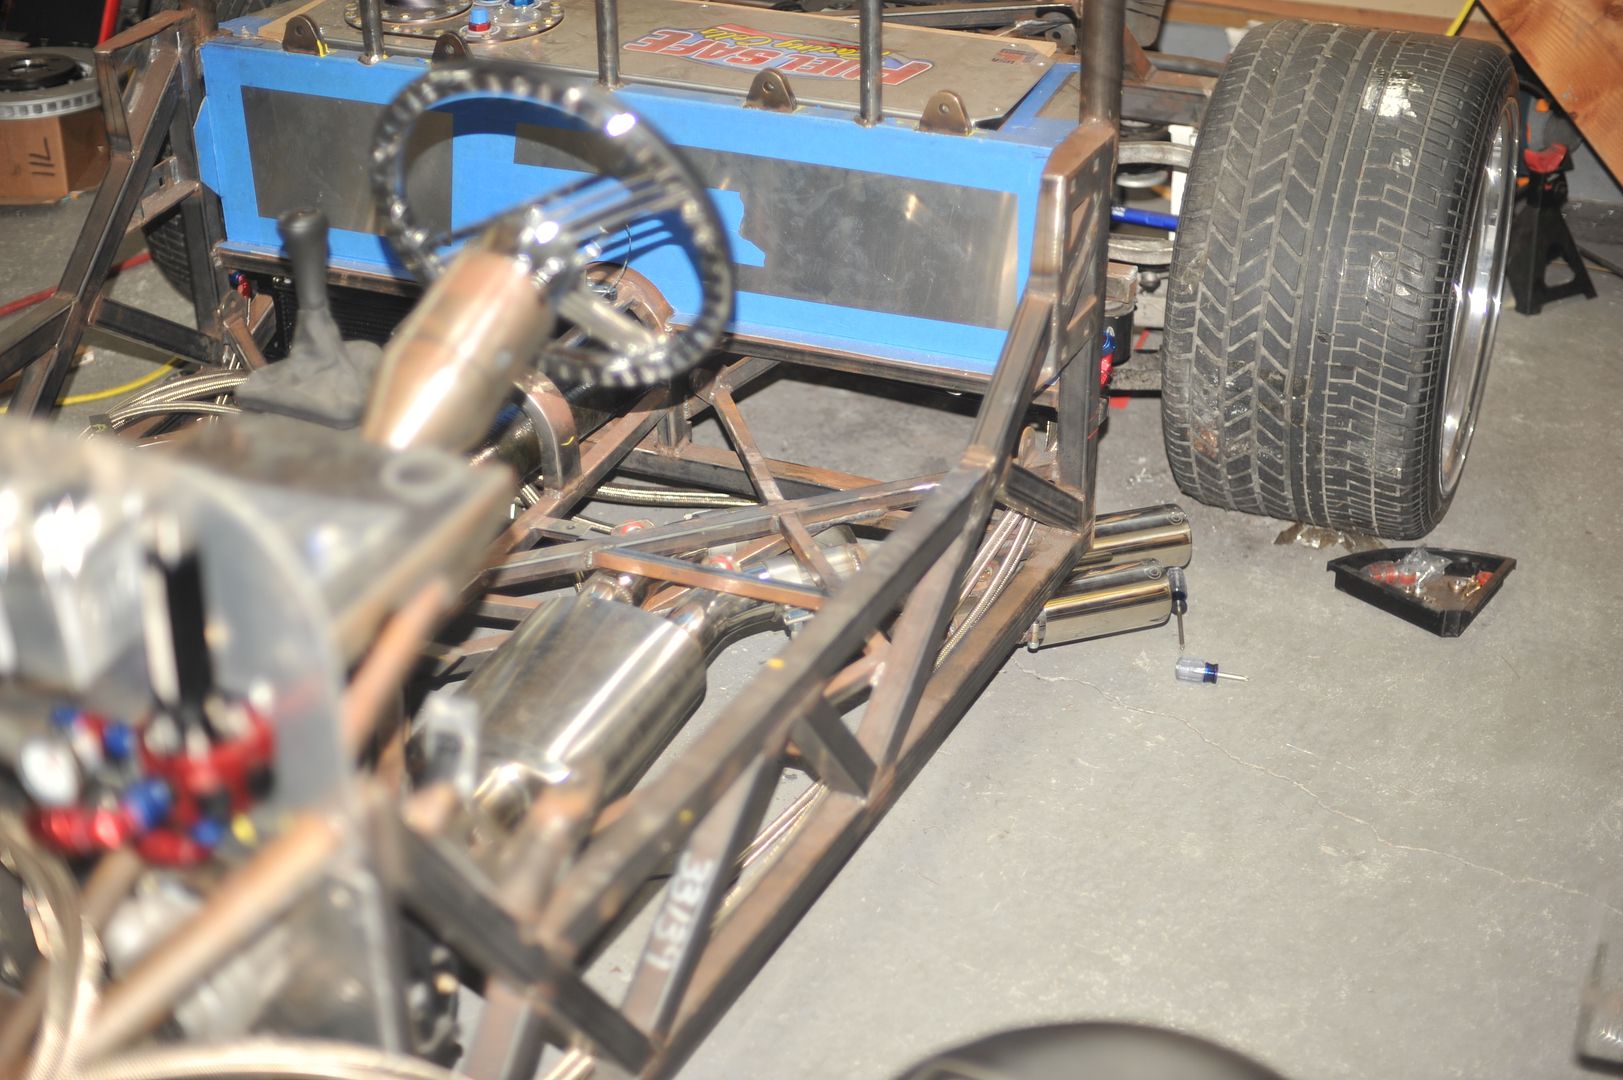
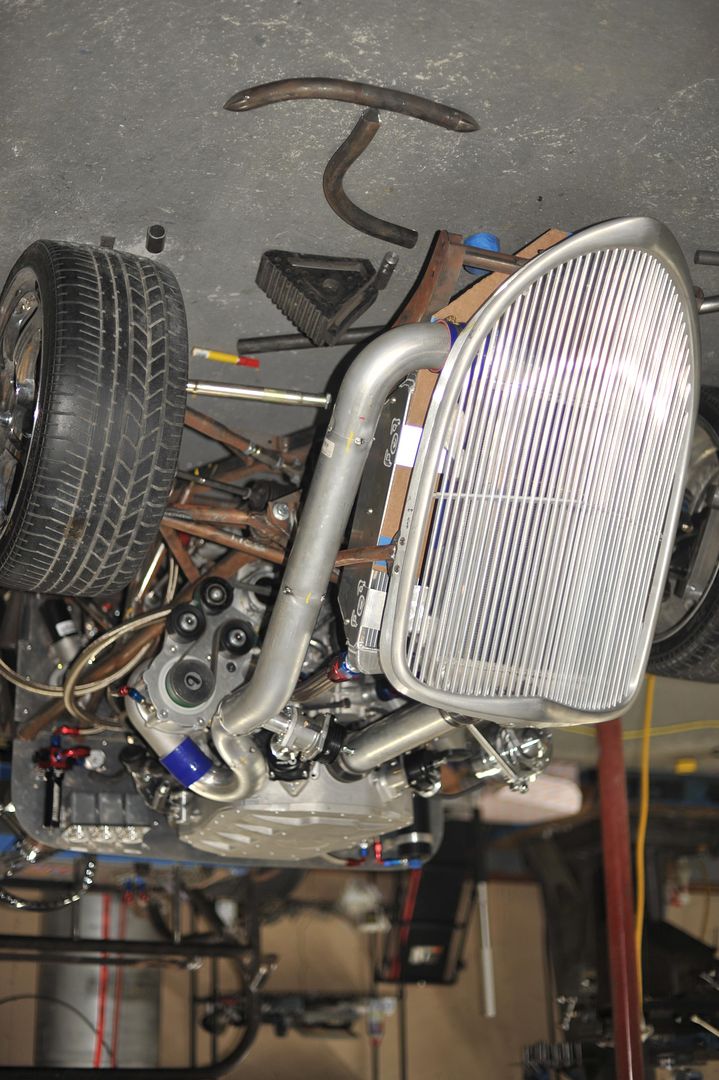
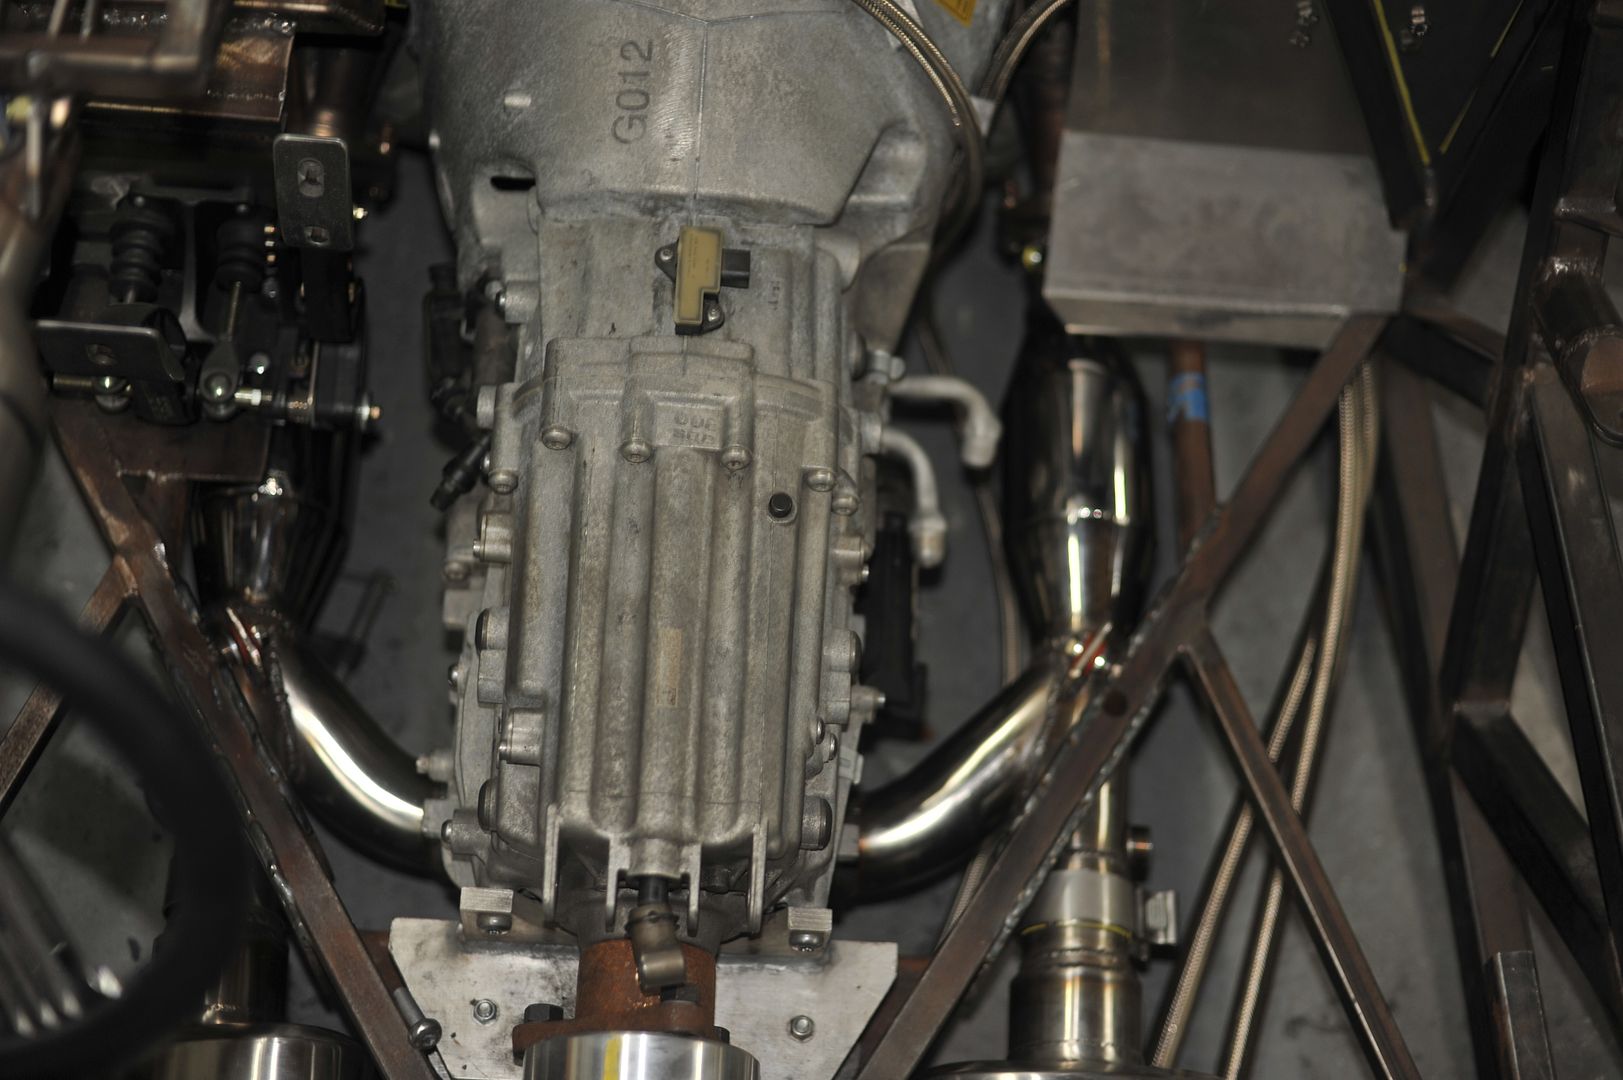
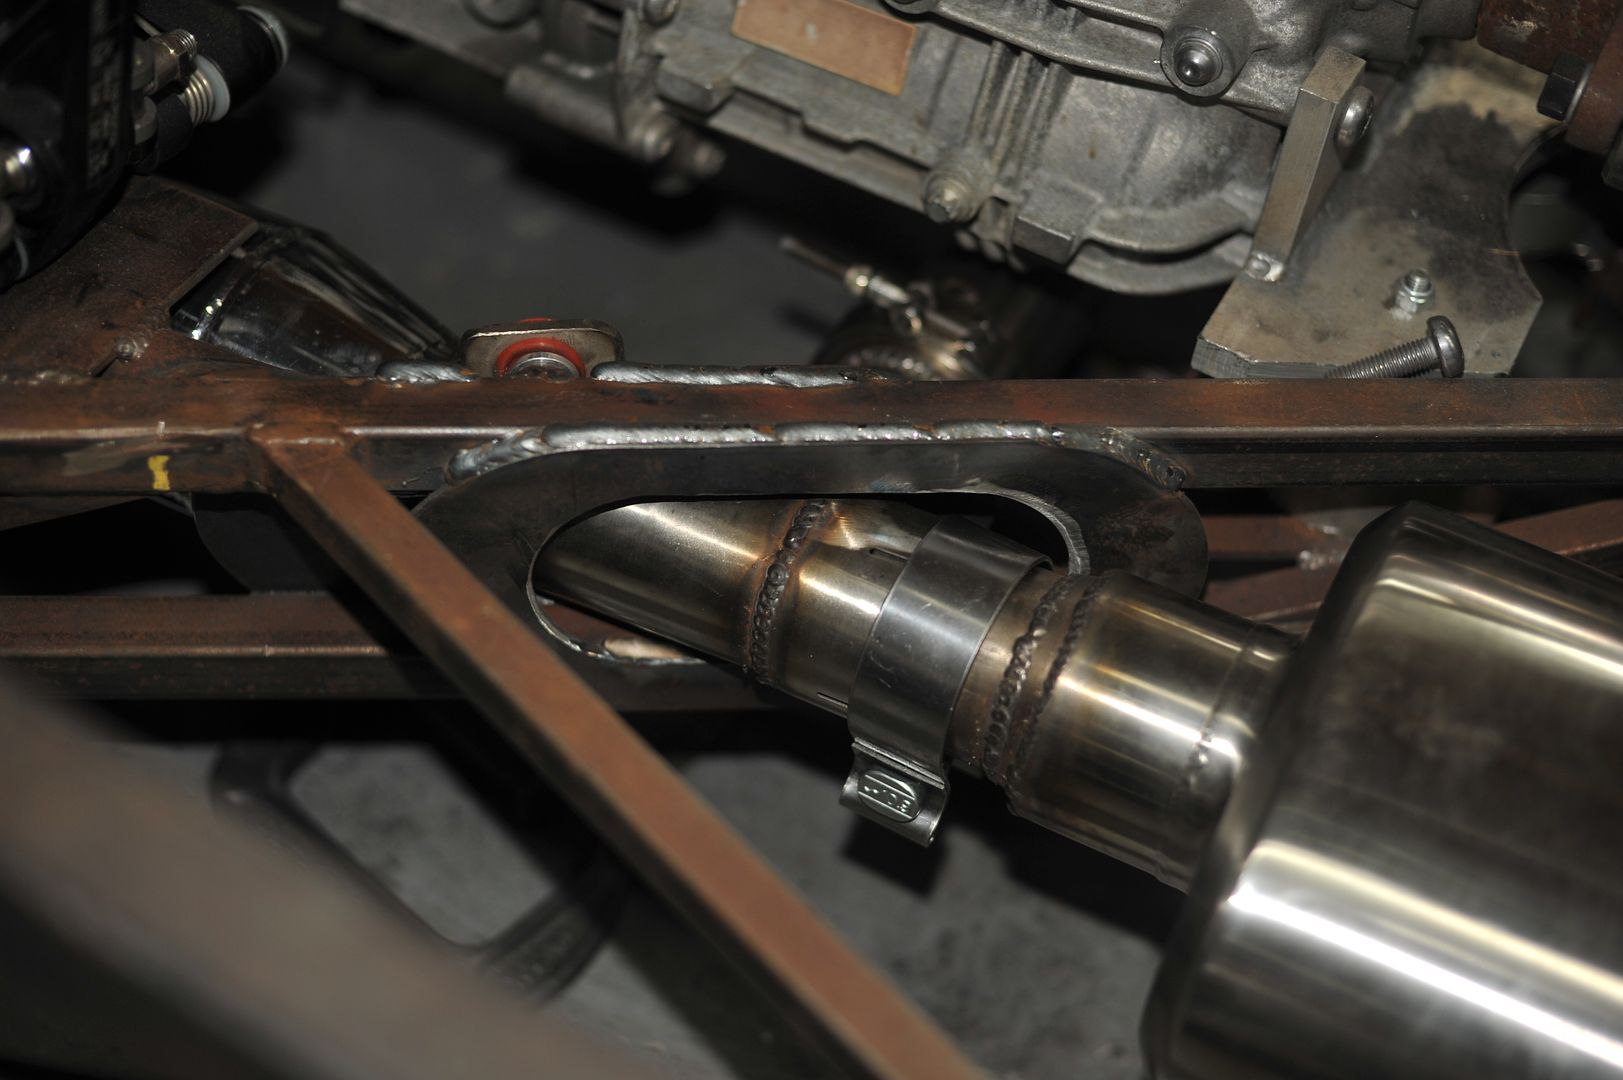
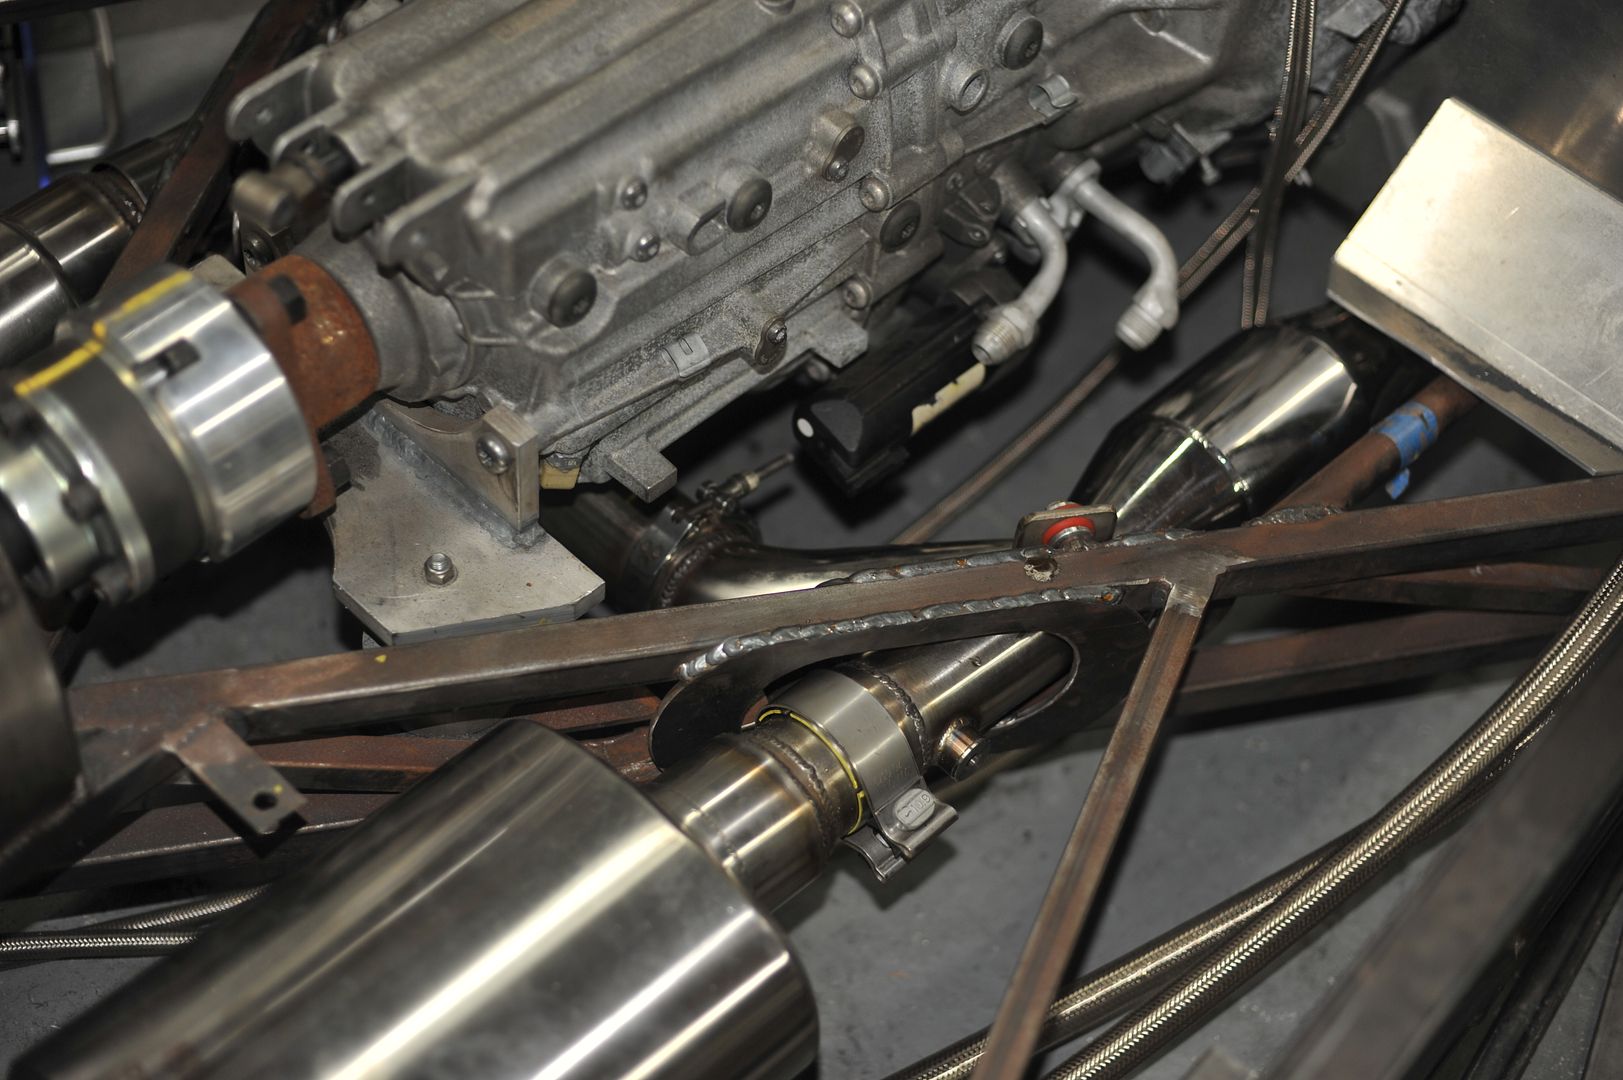
IMG_20141130_142049_015 (640x361).jpgIMG_20141130_152035_650 (361x640).jpgIMG_20141130_151903_954 (361x640).jpg
Pics show 2 possible routings, the drivers side routing is probably my choice. This works the best without frame mods. the pics don't show interferences well, but this is without any frame modifications.
-

Originally Posted by
erlihemi

In33,
I admire your workmanship. I didn't get the garage time I needed last weekend, but, obviously 2.5" is do-able with some effort. I wanted to minimize frame work and I left the eBrake in stock location. I did a minor mod to the E-Brake bracket due to the cable routing. My flex connection is about where your CATs are. Obviously our engines are different and I am further constraining myself to allow for other mods or even engine swaps later. I can build mine symmetrical, but won't finish the rear exit until I firm up body mods later. I just can't leave stuff as delivered.
Erlihemi,
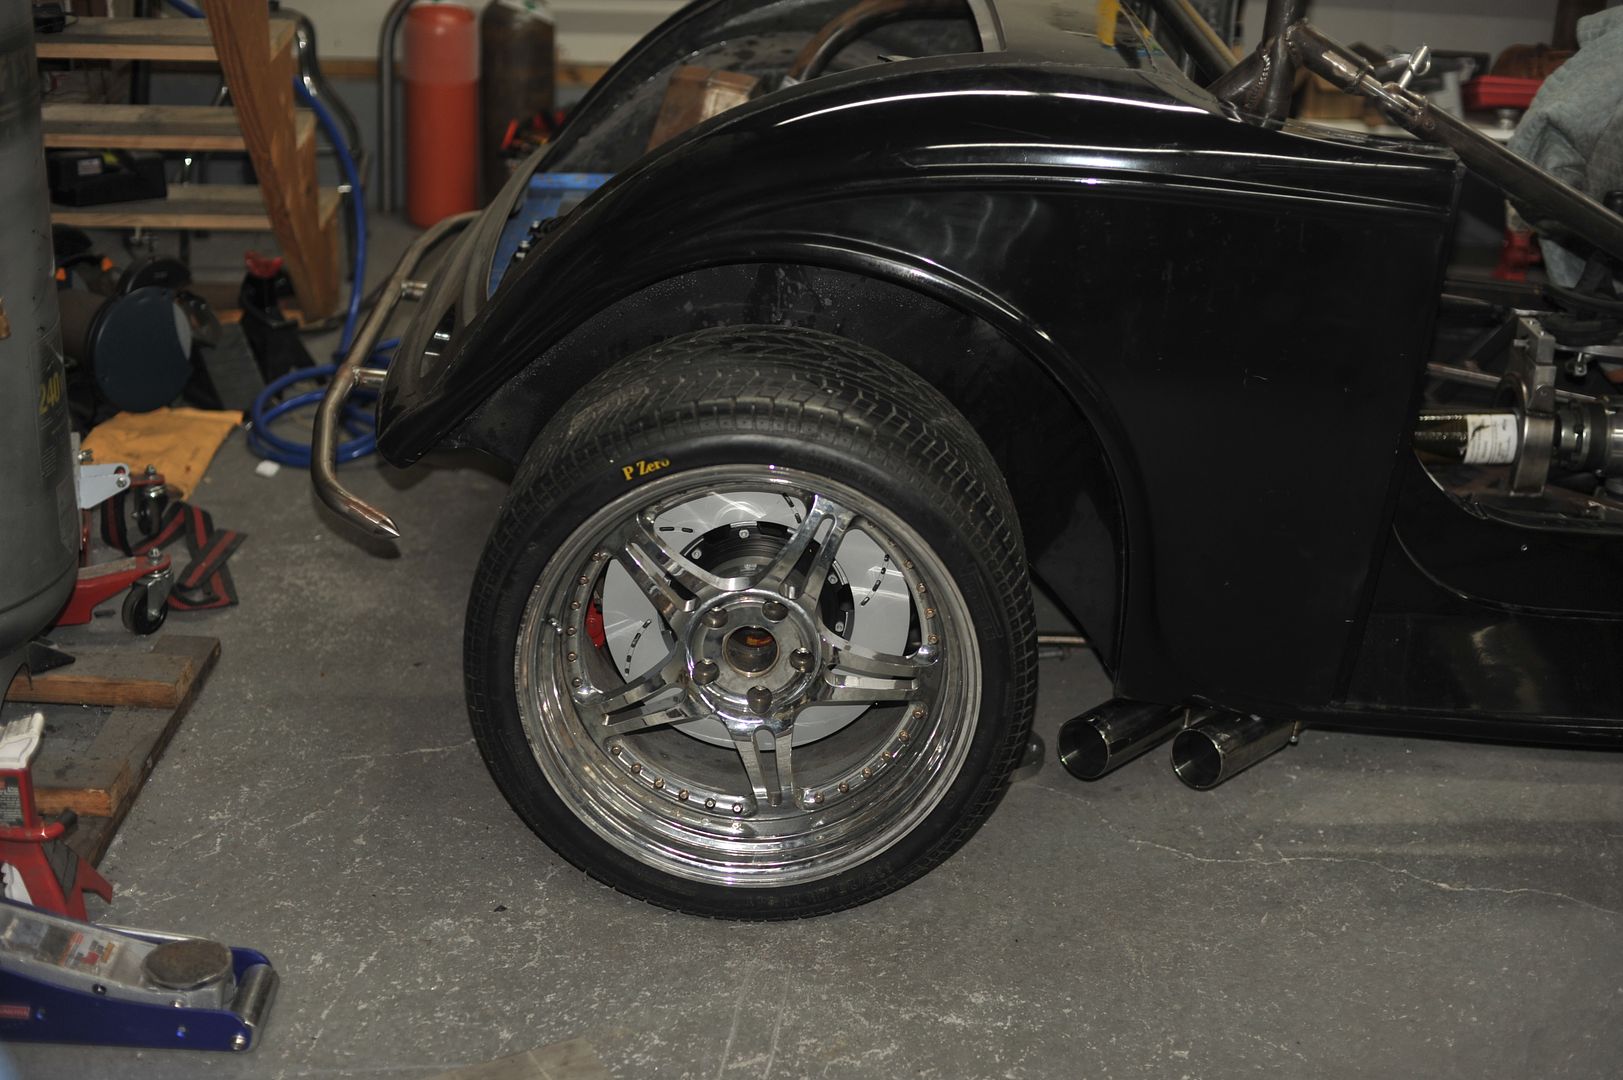
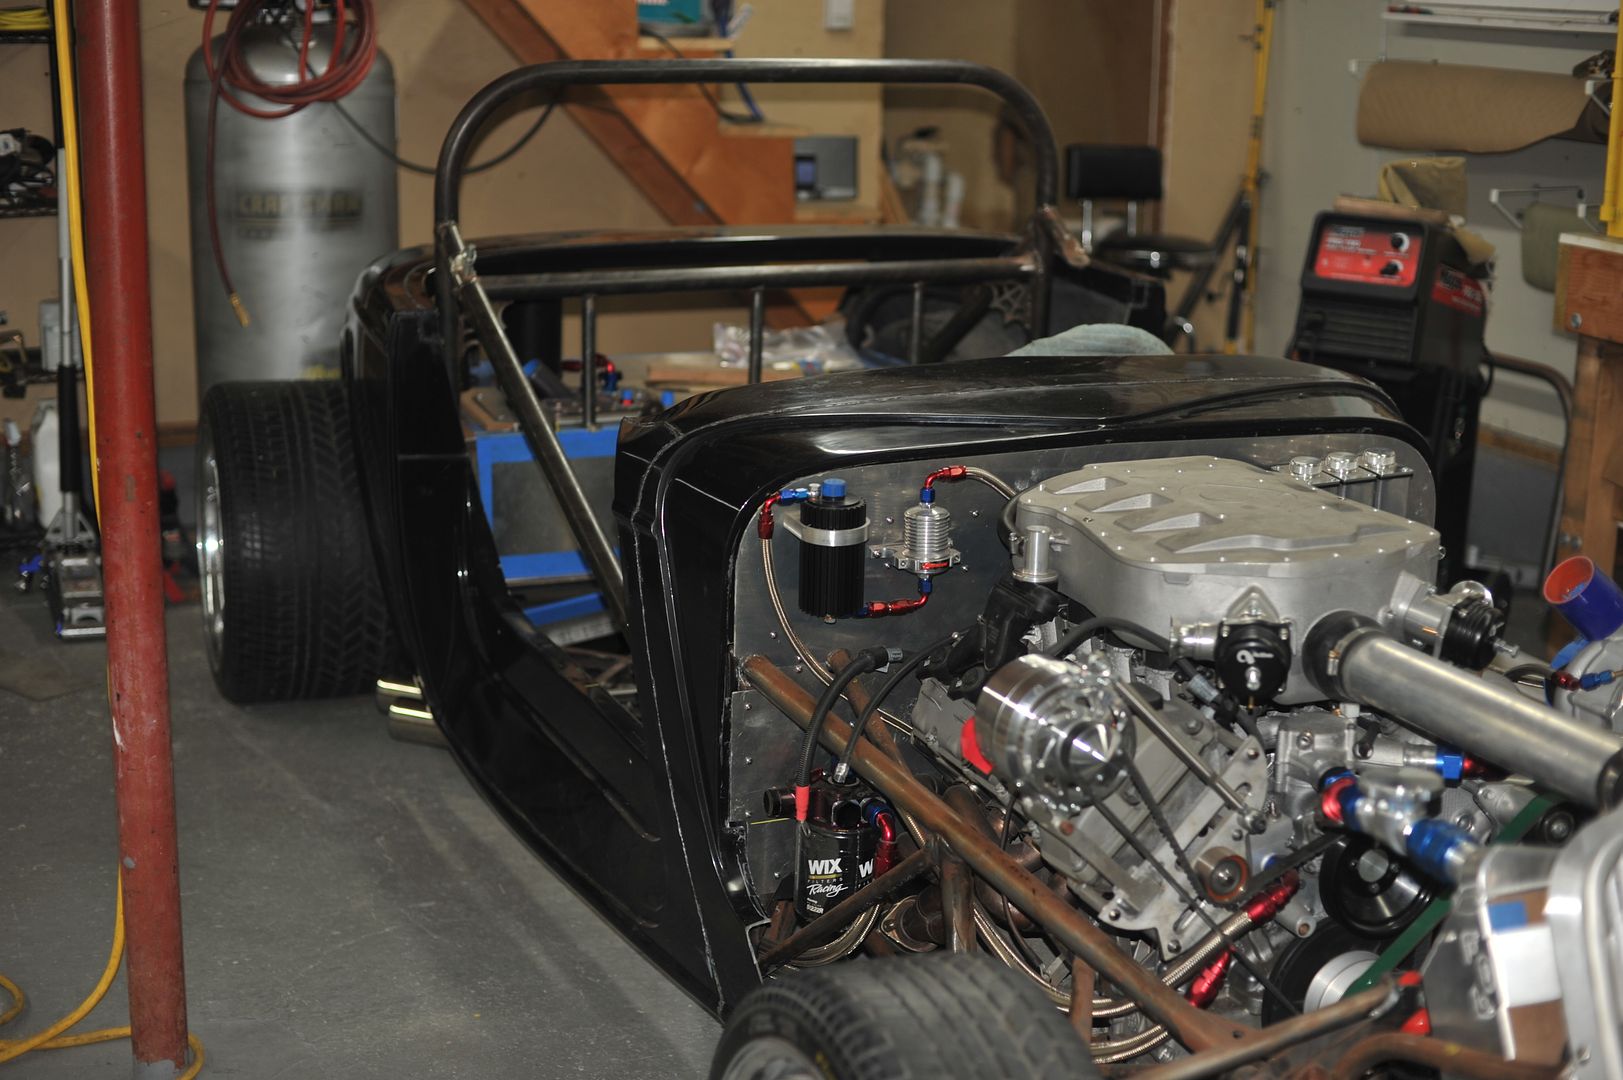
I admire yours too. Really dig the old school hemi you have going. I've crossed the boundary on frame mods long time ago, but have tried to be very subtle and make them look like designed that way. There's been alot of tweaking to what's been done earlier to accomodate what's come later. You are correct in that these projects are extremely iterative. I can't leave stuff as delivered either --- but that's a huge part of the fun!!! -- I
-
-
nice! So you think we got Maczter convinced to go big?
-

Originally Posted by
erlihemi

nice! So you think we got Maczter convinced to go big?
Big seems to be in the eye of the beholder. At least two OP's on the other forum have been talking about 3", but I flat out don't see it without side pipes or ovalized tubing!!! As for Mactzer, he's asked on both forums so we know he's thinking hard!!!!
-
Something I keep reminding myself is that these systems may have to come back apart after the floor pan is installed. Its tough to build within the tube chassis and resist the temptation to weld all the joints. Like a ship in the bottle!
-

Originally Posted by
erlihemi

Something I keep reminding myself is that these systems may have to come back apart after the floor pan is installed. Its tough to build within the tube chassis and resist the temptation to weld all the joints. Like a ship in the bottle!
It's really true. I had really sweet v-bands all set for the package units. Couldn't get the tubing through even at an angle with a flange on. Shipped them back today! Had the local muffler shop bump up the stainless so I could split and go with band clamps. I'm building my whole project raw and will take it all apart for powdercoat and prettying up later, so on and off has been a guiding star.
-
-
The tubing companies must love us!! I remember Mack trucks having an intercooler that would use bleed air off the compressor to drive the cooling air fan. This served two purposes. At Full fuel/boost the compressor was more efficient than required so bleeding a little air off helped avoid heat by compression and then using the same air to drive the cooling air fan made it self regulating based on load. It was a very compact air to air intercooler for the size of the engine. I believe we ran 30-40psi boost in those days on the diesels.
-
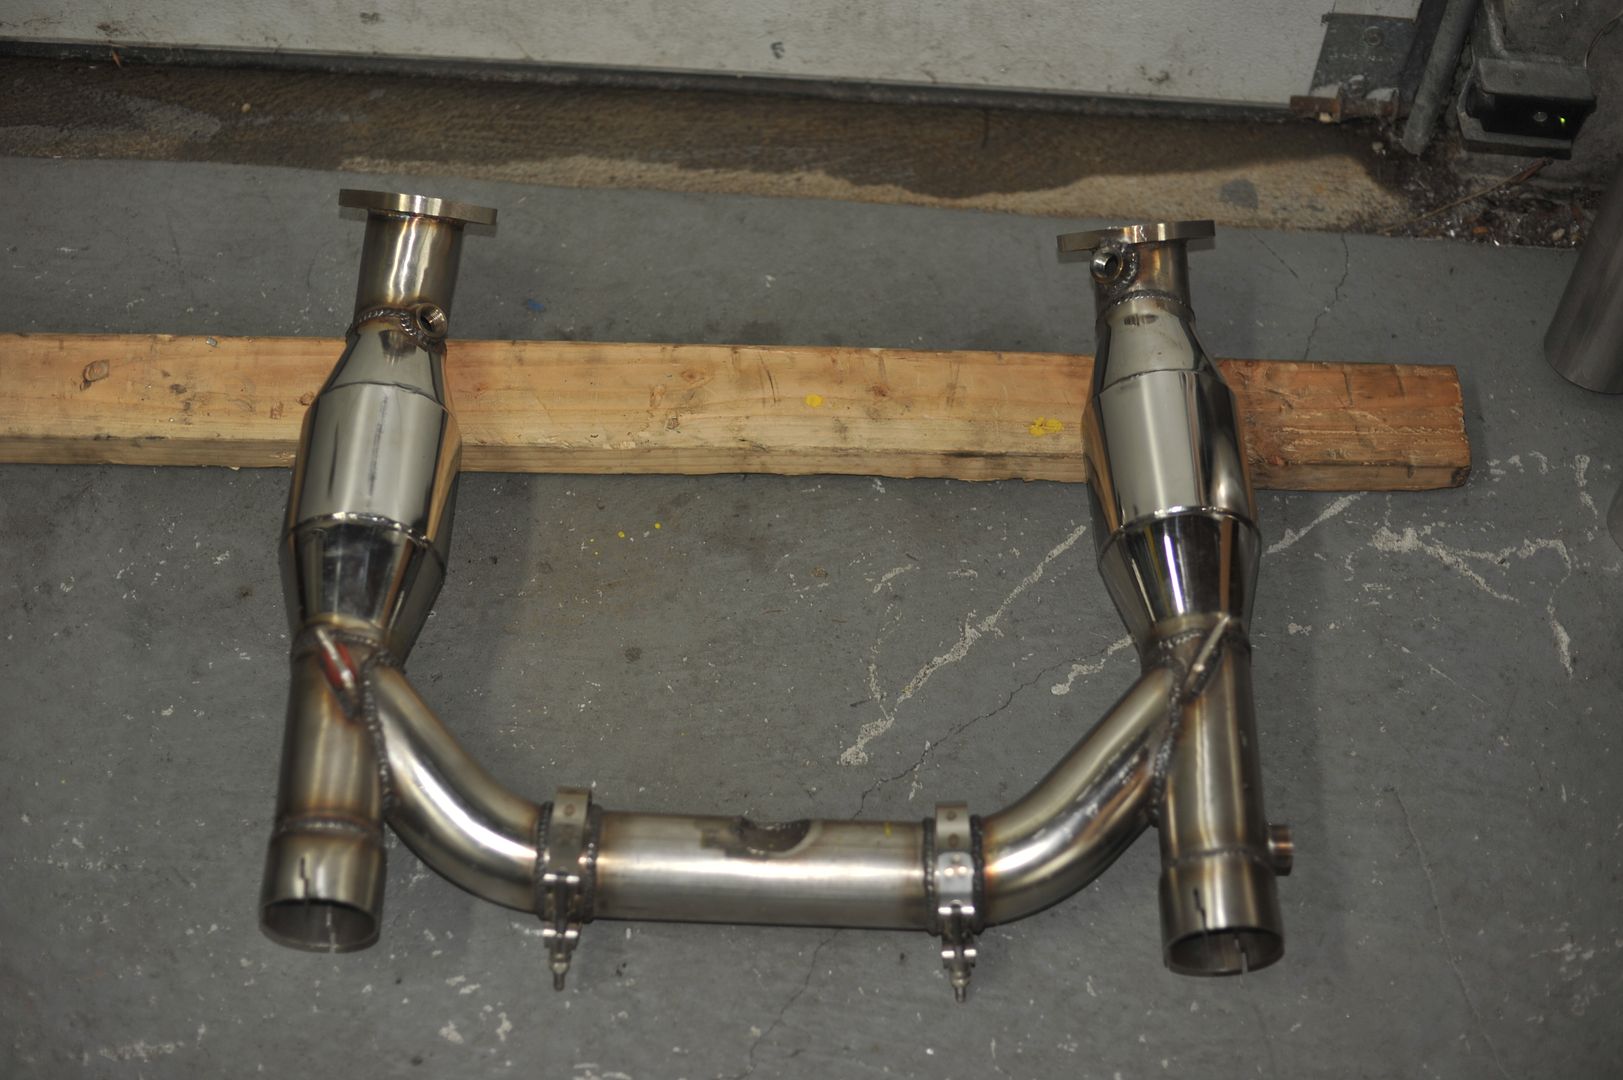
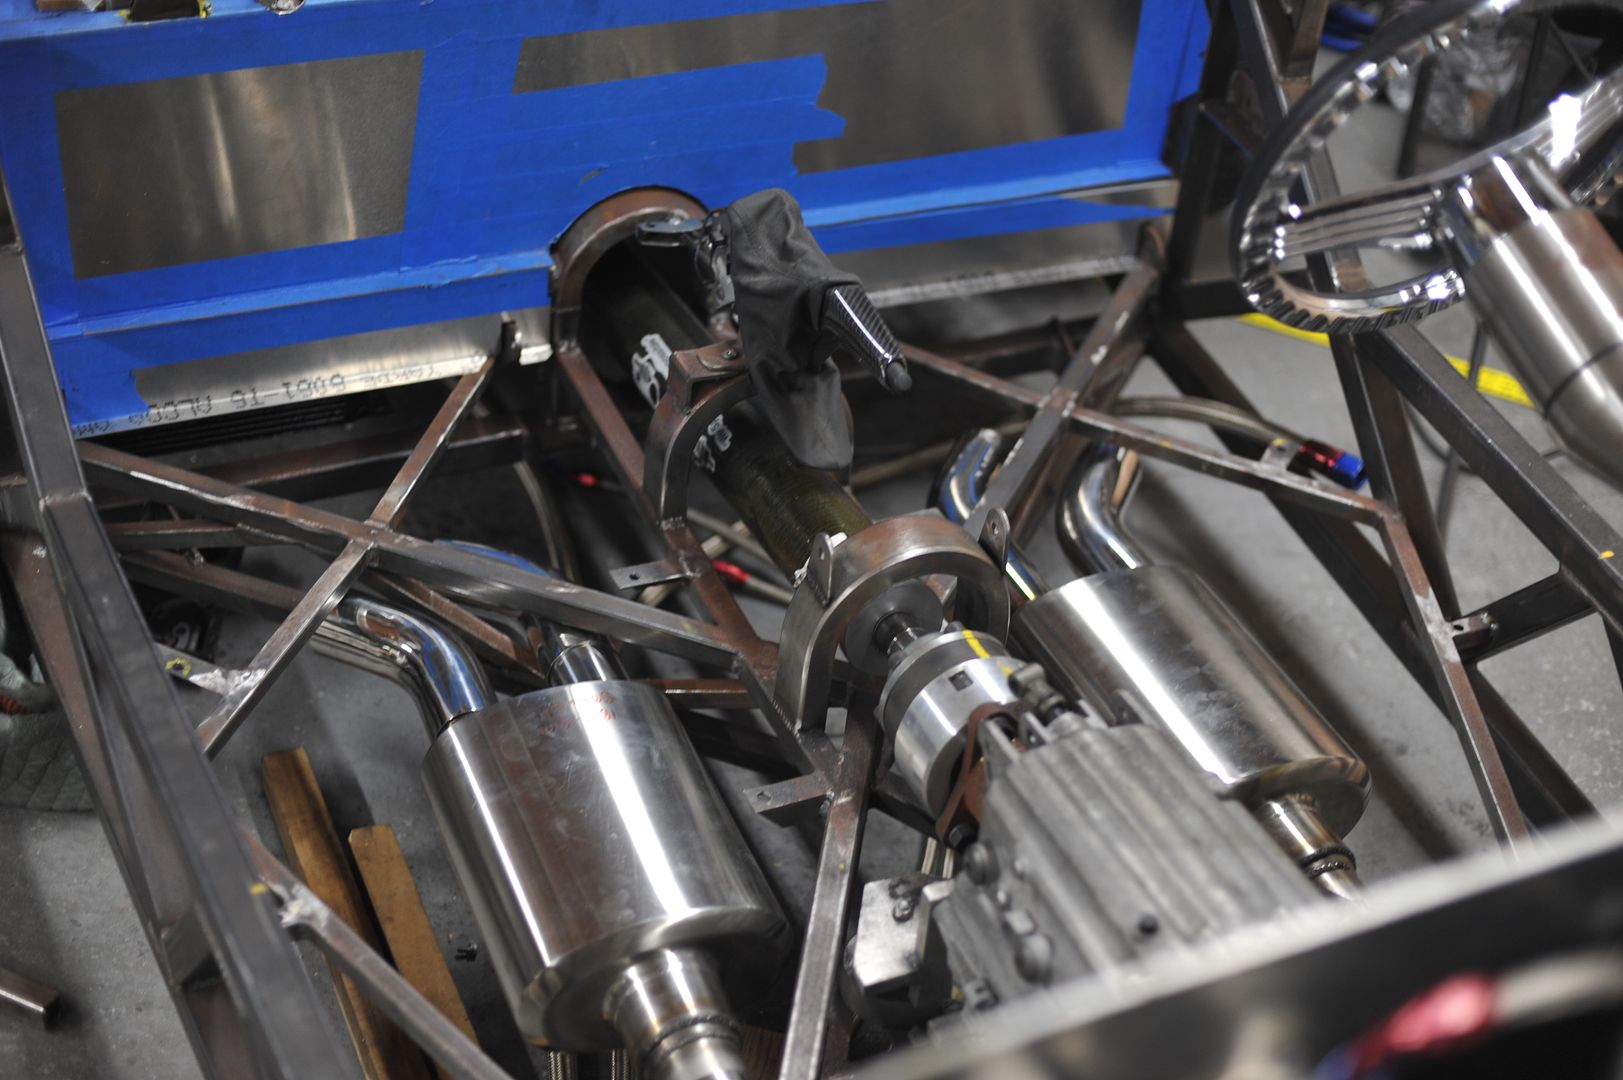
Mock up completed, Some more fabrication time required.
IMG_20141214_181716_512 (361x640).jpgIMG_20141220_182624_306 (640x361).jpgIMG_20141221_113521_882 (640x361).jpg
I stayed with muffler offsets that still allowed side exit in front of wheels in case I change plans later.
Nothing hangs below the frame, not even the cross pipe, all the bolts are tightened with care, In hopes that St. Nick will soon be here...
-
Brian
Very nice, that muffler should give you a good tone.
just a reminder about the access being limited after the floor pan is installed. Don't forget to roll that clamp on the back of the muffler on final assembly.
It needs to be turned with the nuts to the side so you can get to them later.
DB
Heminut
-

Originally Posted by
erlihemi

Erlihemi,
Looks great, like was meant to be!!!! Sure looks like you have alot more space than I did. 30-40 psi of boost, holy smokes! I'm looking at about 9!!!
 Posting Permissions
- You may not post new threads
- You may not post replies
- You may not post attachments
- You may not edit your posts
-
Forum Rules

Visit our community sponsor


 Thanks:
  Likes:


 Reply With Quote
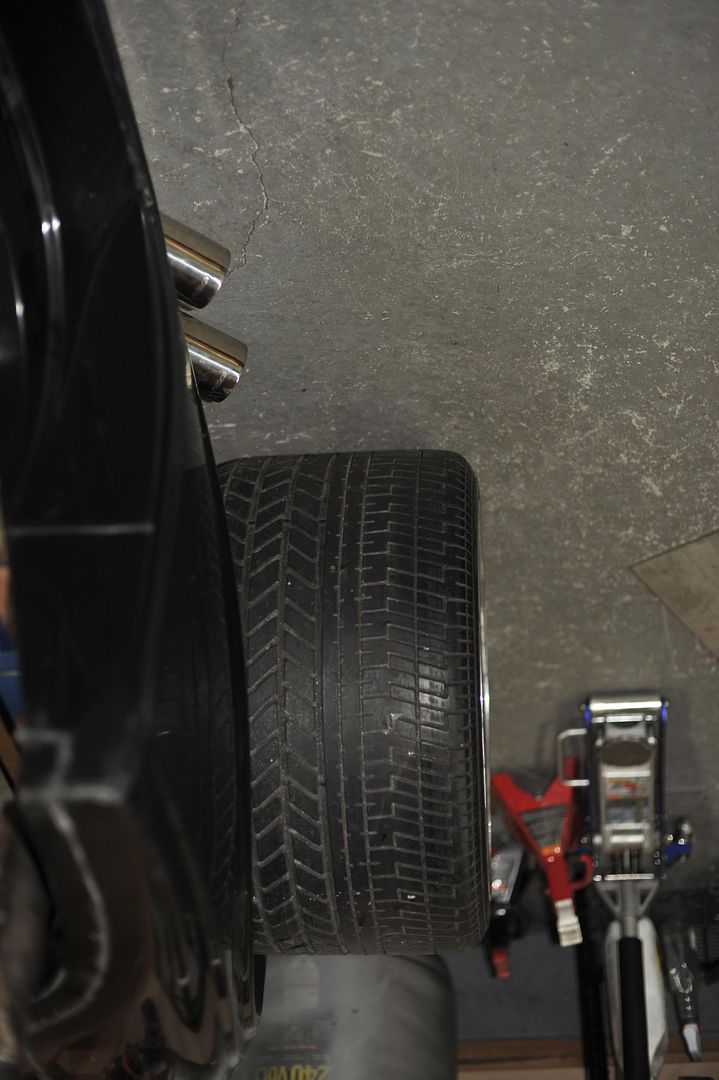
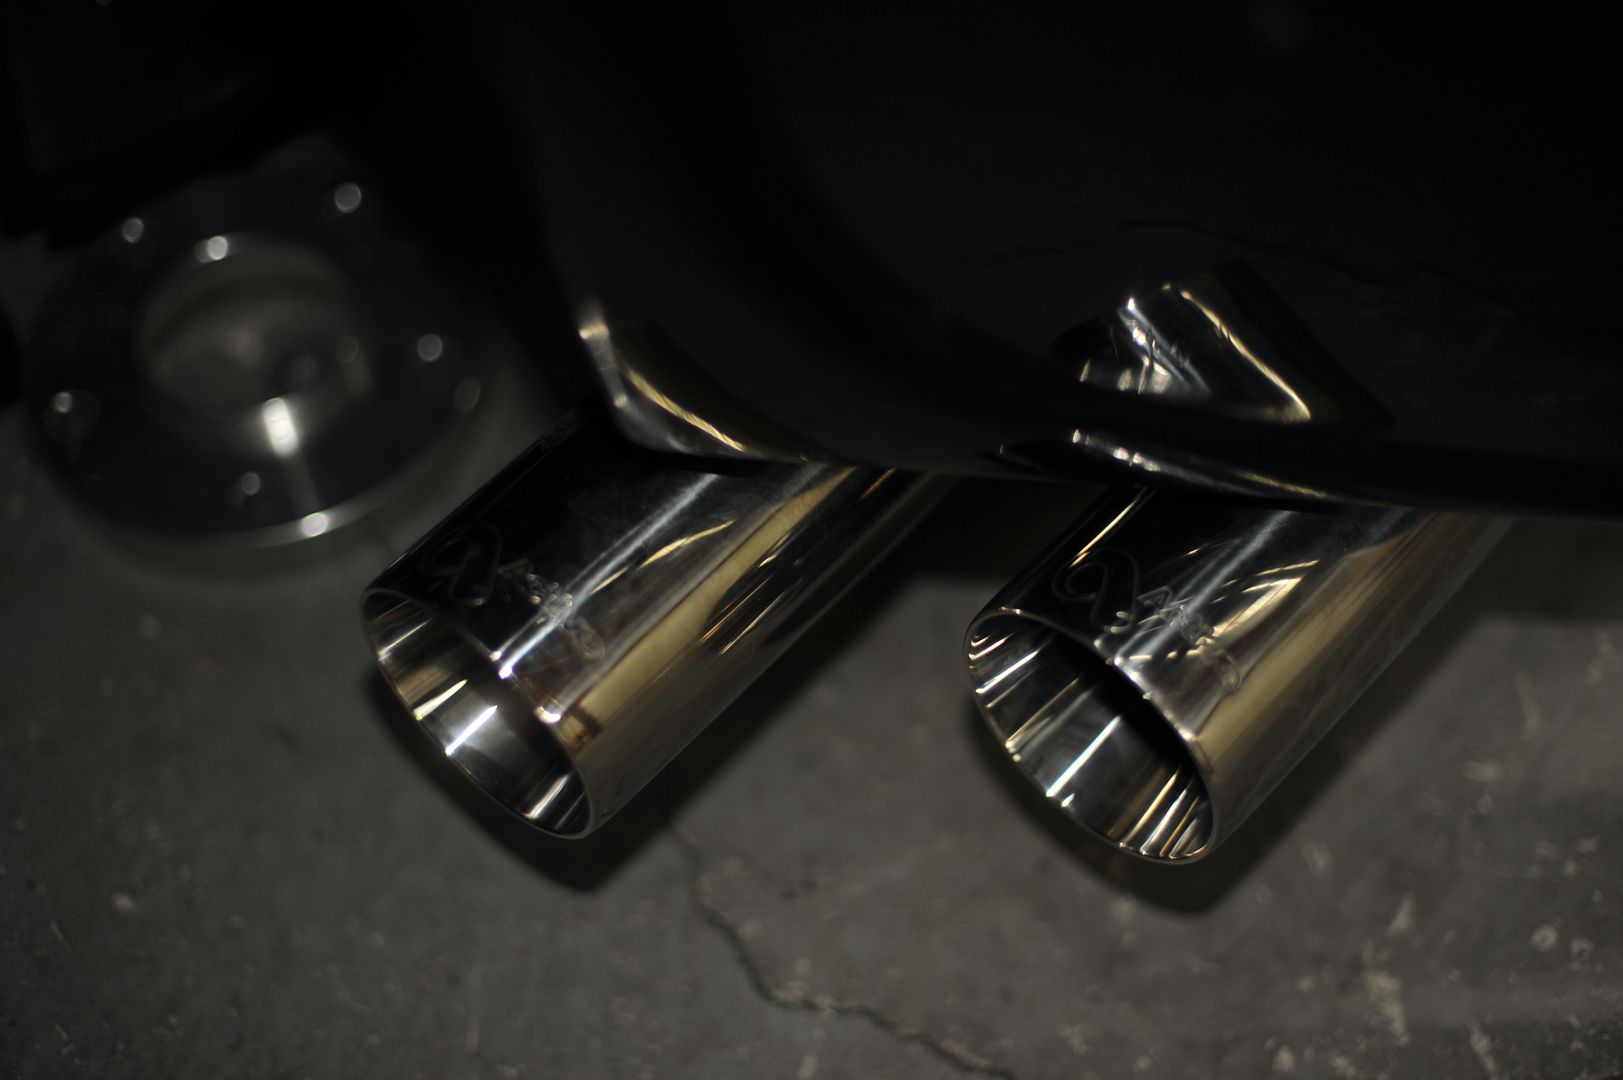
 -- I
-- I