FormaCars

Visit our community sponsor

Thanks Thanks:  0
Likes Likes:  0
Results 1 to 25 of 25

Thread: NB in SD's build thread

  1. #1
    Senior Member NBinSD's Avatar
    Join Date
    Sep 2014
    Posts
    130
    Post Thanks / Like

    NB in SD's build thread

    I ordered my kit and got my 2003 WRX donor about six weeks ago. FFR says it'll be ready to ship 11/22/14! I figure I'll get it sometime in Dec or Jan. I've been in tear down and parts sales mode since then, working a couple of hours a few days a week, more on the weekends. My mechanical experience doesn't go much further than brakes and an occasional radiator hose or alternator so I figured I wouldn't really have much to add here. But after looking for a thread by someone with similar experience (or lack of) I figured it might be helpful to post my experience with the 818 build. I have rebuilt a couple of thumper motors with new pistons, and did a valve adjustment on and old Yamaha FZR600 once... but nothing like building a kit car, or even taking a WRX apart.

    I'm keeping a running list of the parts I need to replace: front wheel bearings, one front ball joint that I mangled, possibly a front hub that I hit with a chisel while getting the bearing off (it looked so easy on youtube!), caliper rebuild kits, axle nuts, rotors... and my engine runs but I don't know much more about it than that... $15k huh?

    I've also been running the parts through the bucket of doom (thanks Rasmus!) that I managed to remove without mangling and then painting them. I've gotten through the calipers and hangers, front knuckles, front hubs, couple others. Following the subaru manual I pulled the front axles then the intercooler, radiator, and this weekend I did the alternator, ps pump, and ac compressor. I'm hoping to get the engine/transmission out in the next couple of weeks and then keep going on the suspension/rear end/wiring harness. I've also gotten the column and about 75% of the interior out. I definitely need to get the donor out of the garage before the kit arrives!

    I learned a little tip about the bucket of doom: hooking up a car battery in line to the bucket to trick a harbor freight battery charger into charging is not a good idea.

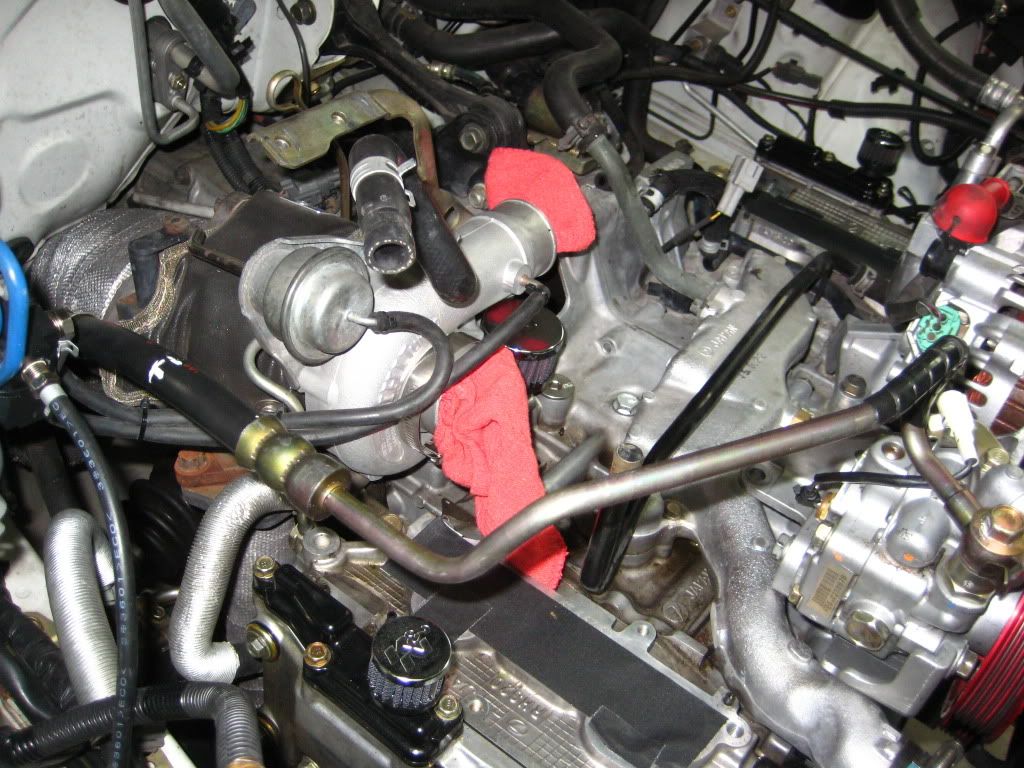
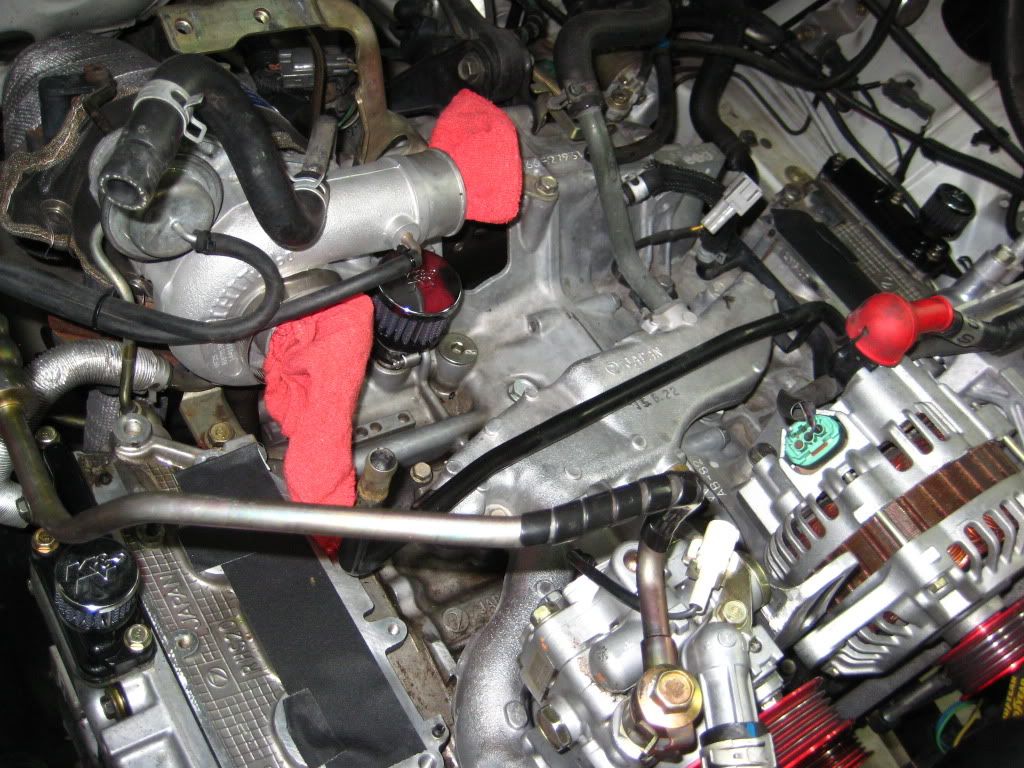
    I'll post up some pics of my donor ($2500 on copart) and some progress pics. Can anyone help me figure out if this bracket that I found in the trunk of my donor is the left side intercooler mount that I can hook a chain to? It doesn't seem all that beefy and my intercooler wasn't mounted to anything on the passenger side. If this is the correct bracket does anyone have a pic that shows where it mounts on the engine? If not can someone show me what the bracket is supposed to look like? Thanks!

    -Noah in San Diego

    20140922_205130.jpg 20140922_205501.jpg 20141027_202220.jpg 20141027_202127.jpg
    Attached Images Attached Images

  2. #2
    Senior Member matteo92065's Avatar
    Join Date
    Feb 2014
    Location
    Ramona, CA
    Posts
    417
    Post Thanks / Like
    Welcome to the 818 club! I'm also in San Diego. I think there are 5 now, counting you.
    I've saw your car on Craigslist recently, and by what you were selling vs. what you were keeping, I had a feeling it was going to be an 818.

    Can't help on the bracket. The lifting points are typically to triangle shaped holes, one under left side, under intercooler (steel); and one on the Alternator bracket (aluminum).

  3. #3
    Senior Member Rasmus's Avatar
    Join Date
    Mar 2012
    Location
    Las Vegas, USA
    Posts
    983
    Post Thanks / Like
    Quote Originally Posted by NBinSD View Post
    I've also been running the parts through the bucket of doom (thanks Rasmus!) that I managed to remove without mangling and then painting them.
    You're welcome. Glad it helped. It's so funny about the de-rusting bucket of doom. You rig it all up and you think, "This will never work, and even it it does it can't be nearly as good as others post it is." Then three hours later. "Science rocks! What else can I put in there?"

    Welcome to the family.
    Fast Cars, Fast Women, Fast Haircuts!

  4. #4
    Senior Member 68GT500MAN's Avatar
    Join Date
    Feb 2011
    Location
    Fresno, CA
    Posts
    1,808
    Post Thanks / Like
    Welcome to the forum and congratulations on purchasing your 818.
    Doug

  5. #5
    Senior Member wleehendrick's Avatar
    Join Date
    Jul 2012
    Location
    Encinitas, CA
    Posts
    1,653
    Post Thanks / Like
    Blog Entries
    2
    Welcome to the madness! Where in SD are you? I have a similar level of prior experience, and have had no real problems in my build so far (with help from the forum, of course). I'd be happy to lend a hand sometime if you need it.

  6. #6
    Senior Member
    Join Date
    Oct 2014
    Location
    Denver, CO
    Posts
    119
    Post Thanks / Like
    congrats! can't wait to see the build

    let's have a fun race, I have only 1 week on you but let's see who can build theirs first.

  7. #7
    Senior Member NBinSD's Avatar
    Join Date
    Sep 2014
    Posts
    130
    Post Thanks / Like
    Thanks for the welcome messages!

    Lee I'm in San Carlos near Grossmont College. Glad to hear I'm not the only guy building one of these with little experience. And I appreciate the offer to help, it would be super helpful to see your car sometime! And did I see you post somewhere you went to RIT? I grew up in Rochester but came out here for school and never went back.

    Anyone have a pic of that passenger side TMIC bracket? I'd like to use the tried and true lifting points for the motor as this will be my first time pulling a motor!

  8. #8
    Senior Member Rasmus's Avatar
    Join Date
    Mar 2012
    Location
    Las Vegas, USA
    Posts
    983
    Post Thanks / Like
    Quote Originally Posted by NBinSD View Post
    Anyone have a pic of that passenger side TMIC bracket? I'd like to use the tried and true lifting points for the motor as this will be my first time pulling a motor!


    Best shots I've got. This is from my 2004 WRX Wagon.
    Fast Cars, Fast Women, Fast Haircuts!

  9. #9
    Senior Member NBinSD's Avatar
    Join Date
    Sep 2014
    Posts
    130
    Post Thanks / Like
    Got it! Super helpful! Thanks Rasmus!

  10. #10

    Super Moderator
    Ray's Avatar
    Join Date
    Feb 2011
    Location
    La Mesa, California
    Posts
    1,249
    Post Thanks / Like
    Quote Originally Posted by NBinSD View Post
    ...I'm in San Carlos near Grossmont College.
    I'm in La Mesa, near 70th & El Cajon. Let me know if you need/want help/tools etc.

    Ray
    I'm not getting gray, I'm adding chrome....

    “Under-steer is when you hit the wall with the front of the car and over-steer is when you hit the wall with the rear of the car. Horsepower is how fast you hit the wall and torque is how far you take the wall with you.”
    -- Jacques Schnauzee "World Famous Racecar Driver"

    "If you can make black marks on a straight from the time you turn out of a corner until the braking point of the next turn, then you have enough horsepower."--Mark Donohue

  11. #11
    Senior Member flynntuna's Avatar
    Join Date
    Apr 2011
    Location
    San Diego Ca 92106
    Posts
    1,972
    Post Thanks / Like
    Hi Noah, San Diego looks to be well represented so far with the 818. You might find these you tube videos from briansmobile1 helpful.

    http://m.youtube.com/watch?v=-VNHEqK...nEE9ioxAjMrdCj


    http://m.youtube.com/watch?v=R-sHEesSzdg
    Last edited by flynntuna; 10-29-2014 at 07:59 PM.

  12. #12
    Senior Member wleehendrick's Avatar
    Join Date
    Jul 2012
    Location
    Encinitas, CA
    Posts
    1,653
    Post Thanks / Like
    Blog Entries
    2
    Quote Originally Posted by NBinSD View Post
    Lee I'm in San Carlos near Grossmont College. Glad to hear I'm not the only guy building one of these with little experience. And I appreciate the offer to help, it would be super helpful to see your car sometime! And did I see you post somewhere you went to RIT? I grew up in Rochester but came out here for school and never went back.
    Hey Noah, sure just shoot me a PM if you have a specific need for help or want to check out my 818. It's still in a friend's garage in San Marcos, but once it's a glider (soon, I hope) I'll bring it home to Encinitas.

    I grew up in New England (coastal CT) and went to The University of Rochester for my undergrad; moved out here for Engineering grad school at UCSD, and like you, and never went back!

  13. #13
    Senior Member NBinSD's Avatar
    Join Date
    Sep 2014
    Posts
    130
    Post Thanks / Like
    Quote Originally Posted by Ray View Post
    I'm in La Mesa, near 70th & El Cajon. Let me know if you need/want help/tools etc.

    Ray
    Wow right up the street Ray! It would be great to check out your car sometime and meet a fellow FFR'er. Thanks for the offer to help. Great community here!

    And likewise Lee and Ray, if you all ever need an extra set of hands don't hesitate to call. Or Lee if you you need help getting things moved I have a subie wagon and a little HF trailer. I'm usually up your way couple times of month surfing cardiff.

    And FlynnTuna thanks for the vid links.. i'm going to make a cocktail and check them out right now!

  14. #14

    Super Moderator
    Ray's Avatar
    Join Date
    Feb 2011
    Location
    La Mesa, California
    Posts
    1,249
    Post Thanks / Like
    I don't have much going on this weekend if you'd like to stop by.

    Send me a PM for address/phone info.

    Ray
    I'm not getting gray, I'm adding chrome....

    “Under-steer is when you hit the wall with the front of the car and over-steer is when you hit the wall with the rear of the car. Horsepower is how fast you hit the wall and torque is how far you take the wall with you.”
    -- Jacques Schnauzee "World Famous Racecar Driver"

    "If you can make black marks on a straight from the time you turn out of a corner until the braking point of the next turn, then you have enough horsepower."--Mark Donohue

  15. #15
    Senior Member NBinSD's Avatar
    Join Date
    Sep 2014
    Posts
    130
    Post Thanks / Like

    There's a party goin' on right here A dedication to last throughout the years

    The motor and transmission are out!


    So bring your good times and your laughter too
    We gonna celebrate and party with you

  16. #16
    Senior Member NBinSD's Avatar
    Join Date
    Sep 2014
    Posts
    130
    Post Thanks / Like
    Removing the motor was pretty straightforward. I stepped through the Subaru manual and took my time. The manual isn't great with some steps having captions like "remove the hose with bracket", but I got through it. The only required tool I had to buy was a big breaker bar. I got a 10 foot piece of electrical conduit and cut it into a 4 foot piece and a 6 foot piece. The 4' section worked on most bolts.

    My Celebration (no 80's music fans here?) is officially over and today I was back to the harness and pulling the components from behind the dash apart. I removed the vent blower motor, fed a bunch of wire harness through little holes in the body while trying not to rip off my labels, and started removing the pedals.

    I talked to John at Outfront Motorsports yesterday. I'm going to bring the motor up to him to get some ideas for what do to with it. It ran OK, but if it's in the same shape as the rest of the donor it's going to need some work.

    There's a pretty intense amount of wiring in the car... here's where I left off tonight:


  17. #17
    Senior Member NBinSD's Avatar
    Join Date
    Sep 2014
    Posts
    130
    Post Thanks / Like

    Received the kit!

    I got way behind updating my thread but am going to make a run at keeping it more up to date now that I have the kit!

    I made it through the rest of the tear down. The last bits of the harness were more trouble than they should have been (gas tank). My donor looked like it spent some time off road, lots of mud and rust and I was super happy to be done with it. I used a sawzall to cut it into manageable pieces. A craigslist post and an hour later and it was gone.

    WRXParts.jpg

    I got the kit dec 19th and spent the first day inventorying the boxes. There are some back-ordered parts, and a few that I can't find. It would not be hard for FFR to make the inventory process a lot easier (number the parts or the bags?). The body is a bit of a shame too. They're so close to no-paint, but they really botched some parts (mostly around the edges) and that kills the no-paint idea. But overall I'm really excited.

    Delivery.jpg

    NewHome.jpg

  18. #18
    Senior Member NBinSD's Avatar
    Join Date
    Sep 2014
    Posts
    130
    Post Thanks / Like
    I got a good start with some time off over the holidays. I did most of the front firewall and I believe all of the front suspension and sway bar. I also cleaned up and painted the steering rack. It had a major PS fluid leak because the lines (and most of the front of the car) were covered in PS fluid! I read up on de-powering and settled on epoxying the pinion valve and looping the lines. Got the rack mounted too.

    FrontDSusp.jpg

    FrontView2.jpg

    FrontPSuspension.jpg

  19. #19
    Senior Member NBinSD's Avatar
    Join Date
    Sep 2014
    Posts
    130
    Post Thanks / Like
    Also mounted the pedal box and test fitted the steering column. I'm trying to figure out what to do about the throttle pedal. I had thought about modifying the FFR throttle pedal bracket but I saw someone (forgot who) posted a pic of their setup, a piece of aluminum angle iron riveted to the firewall and rivnutted to the frame... looked simple and effective so I'm planning to do something similar.

    ColumnPedals.jpg

  20. #20
    Senior Member NBinSD's Avatar
    Join Date
    Sep 2014
    Posts
    130
    Post Thanks / Like
    My donor's lateral links were bent so I ordered some new ones from ebay. Until they come in I started mocking up the rear suspension. The top FFR top lateral link seems to be really close to the shock and seems to be at a bit of a wonky angle, but everything's just mocked up with no alignment so I'm figuring it'll all straighten out eventually.

    RearDriverSuspension2.jpg

    RearDriverSuspension.jpg

    I also mounted the clutch and brake master cylinders. The manual doesn't say anything about it but are you supposed to use both of the clutch mc plates between the firewall and the clutch MC? The manual completely skips the clutch mc install.

  21. #21
    Senior Member Bob_n_Cincy's Avatar
    Join Date
    Sep 2012
    Location
    Cincinnati OH
    Posts
    3,904
    Post Thanks / Like
    Quote Originally Posted by NBinSD View Post
    I saw someone (forgot who) posted a pic of their setup, a piece of aluminum angle iron riveted to the firewall and rivnutted to the frame... looked simple and effective so I'm planning to do something similar.
    This was my gas pedal
    P1050069s.jpg
    818S #22 Candy Blue Frame, Front Gas Tank, 2.5L Turbo, Rear radiator, Shortened Transmission, Wookiee Compatible, Console mounted MR2 Shifter, Custom ECU panel, AWIC soon
    My Son Michael's Turbo ICE Build X22 http://thefactoryfiveforum.com/showt...rts-818S-Build
    My Electric Supercar Build X21 (on hold until winter) http://thefactoryfiveforum.com/showt...e-Build-Thread

  22. #22
    Senior Member wleehendrick's Avatar
    Join Date
    Jul 2012
    Location
    Encinitas, CA
    Posts
    1,653
    Post Thanks / Like
    Blog Entries
    2
    Hi Noah, congrats on delivery. My 818 is home in the garage now, so you're welcome to come up to Encinitas to check it out. Let me know if you need a hand. I'm no expert, but have managed OK so far!

  23. #23
    Senior Member RM1SepEx's Avatar
    Join Date
    Jul 2011
    Location
    Freeport, ME
    Posts
    3,801
    Post Thanks / Like
    Quote Originally Posted by NBinSD View Post
    Also mounted the pedal box and test fitted the steering column. I'm trying to figure out what to do about the throttle pedal. I had thought about modifying the FFR throttle pedal bracket but I saw someone (forgot who) posted a pic of their setup, a piece of aluminum angle iron riveted to the firewall and rivnutted to the frame... looked simple and effective so I'm planning to do something similar.

    ColumnPedals.jpg
    Here's mine for cable throttle

    http://thefactoryfiveforum.com/showt...-Thread/page23 post 894
    Dan

    818S #17 Picked up 8/1/13 First start 11/1/13 Go Kart 3/28/14

  24. #24
    Senior Member NBinSD's Avatar
    Join Date
    Sep 2014
    Posts
    130
    Post Thanks / Like
    I've gotten a few things done over the past couple of weeks. Last weekend I made a throttle pedal bracket like Dan's, got my dead pedal Al mocked up, and swapped my bent lateral links for new ones.

    20150111_174710.jpg

    20150111_174722.jpg

    20150111_174733.jpg

    20150111_174806.jpg

    20150111_174811.jpg
    Attached Images Attached Images
    Last edited by NBinSD; 01-18-2015 at 09:05 PM.

  25. #25
    Senior Member NBinSD's Avatar
    Join Date
    Sep 2014
    Posts
    130
    Post Thanks / Like
    This week I had hoped to get the calipers and braided lines all set and be ready to run the hard lines. I ordered the wrong brake pads though so I rebuilt the calipers and stopped there. Subaru switched brakes around august 2002 and I got the earlier ones by mistake. I also pulled the trigger on tires and test fitted them. They look great but the right front comes pretty close to the firewall even though upper control arm adjustment is pretty close on both. It also hangs down about 1.5" further than the left front. The first LCA I drilled for the shock bracket I think I drilled a bit off, which is probably what's causing the firewall touch. I'll pull it all apart this week and see what I can figure out.

    Also picked up some NRG seats from Erik Hansen of 33machine this weekend and got to check out his electric 818. He did a really nice job on it and it was really cool for my wife and I to see a completed 818. It got me pretty excited about the finished product. I did some test fitting with the NRG seats and they look like they'll work really well. They don't line up with the X bar on the bottom so i'll add bolt in a steel bar and bolt the front of the seat brackets to that. Haven't decided about sliders for the drivers side yet.

    Finally, I got the motor off the stand and into the trunk of my car. I'm going to take it to Mike at Infamous Performance this week for a leak down test.

    20150118_171638.jpg

    20150113_211911(2).jpg

    20150116_201646.jpg

    20150117_163756.jpg

    20150117_171414.jpg

    20150118_170059.jpg

Posting Permissions

  • You may not post new threads
  • You may not post replies
  • You may not post attachments
  • You may not edit your posts
  •  

Breeze

Visit our community sponsor