Thanks:
  Likes:

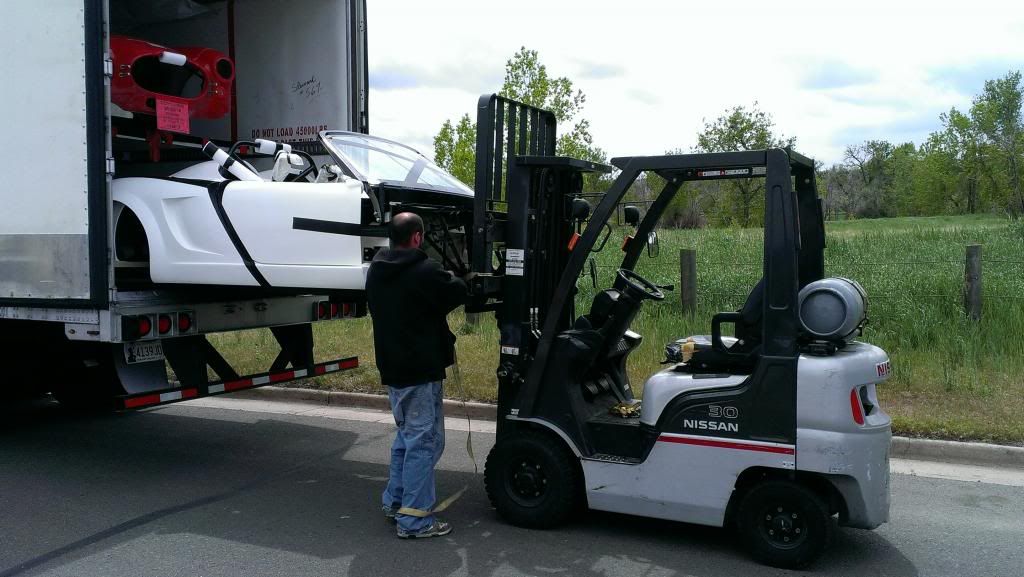
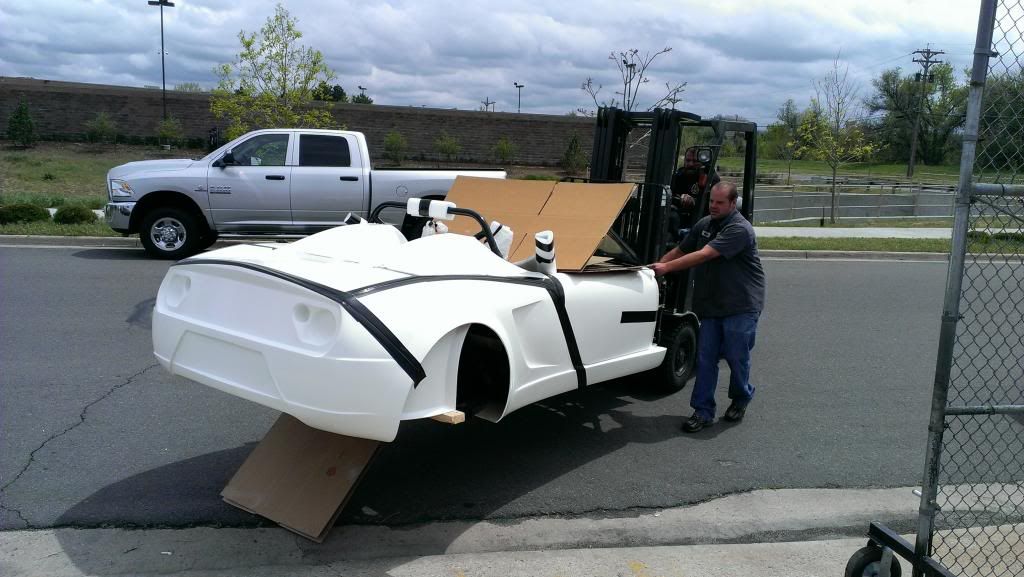
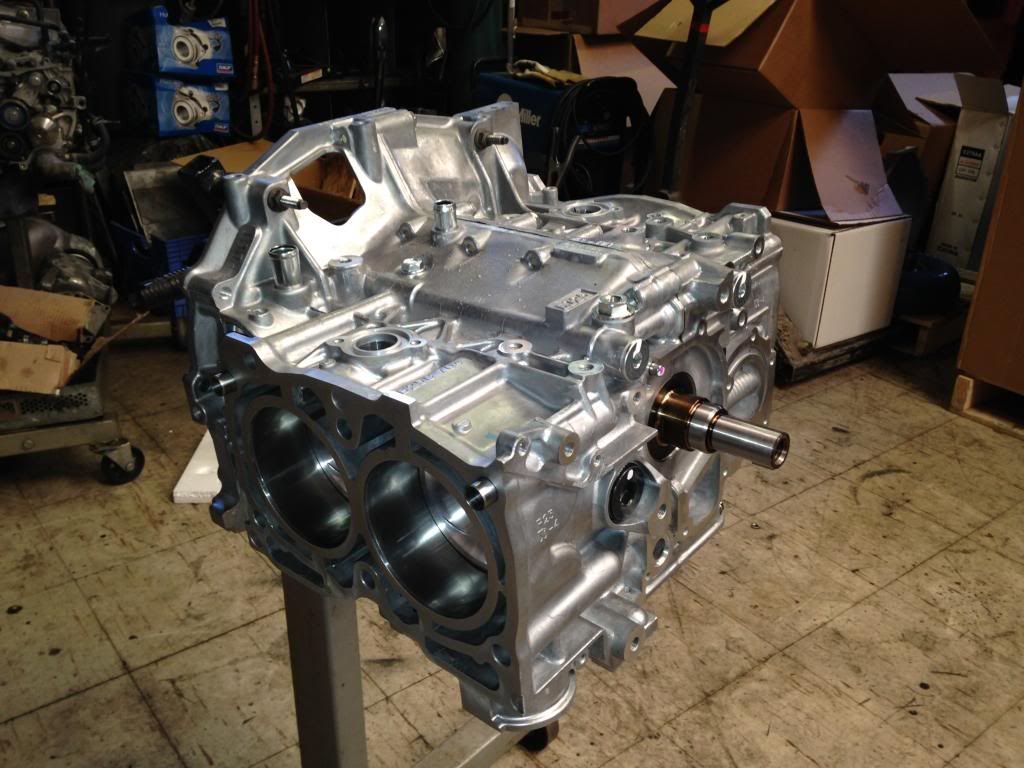
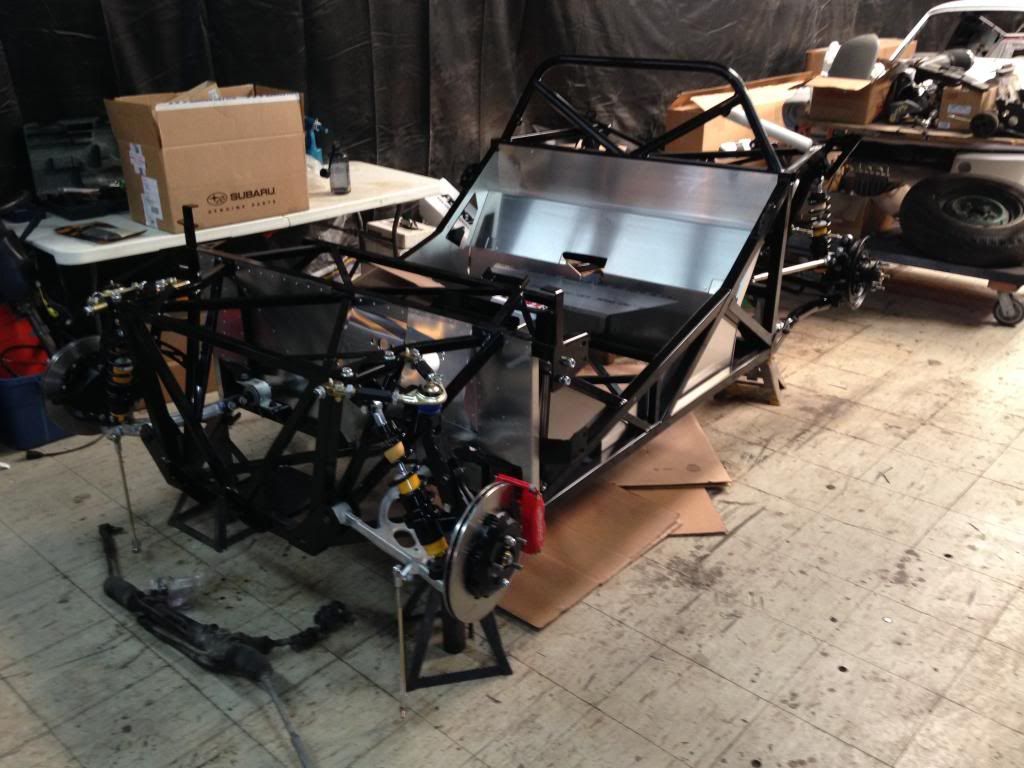
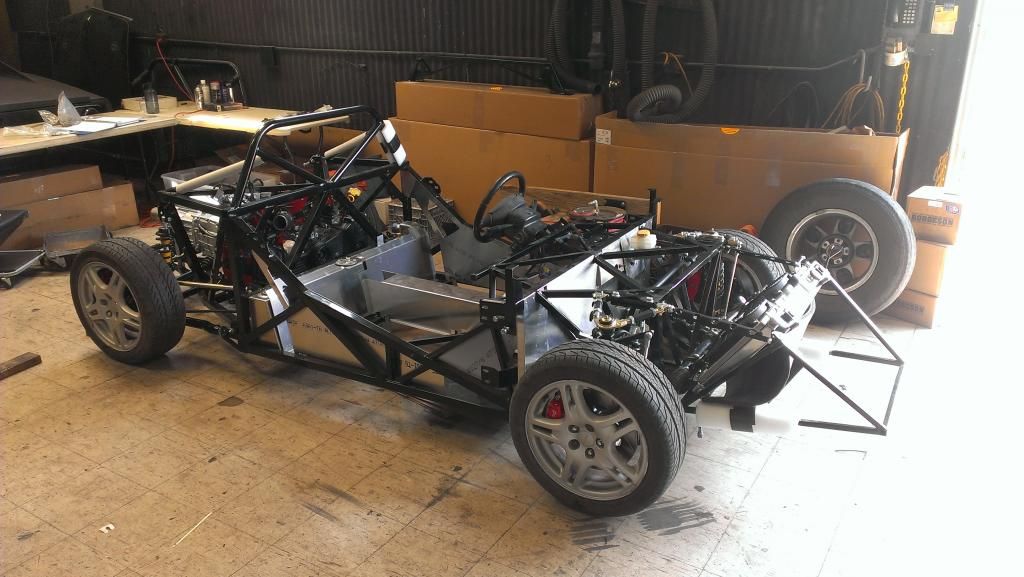
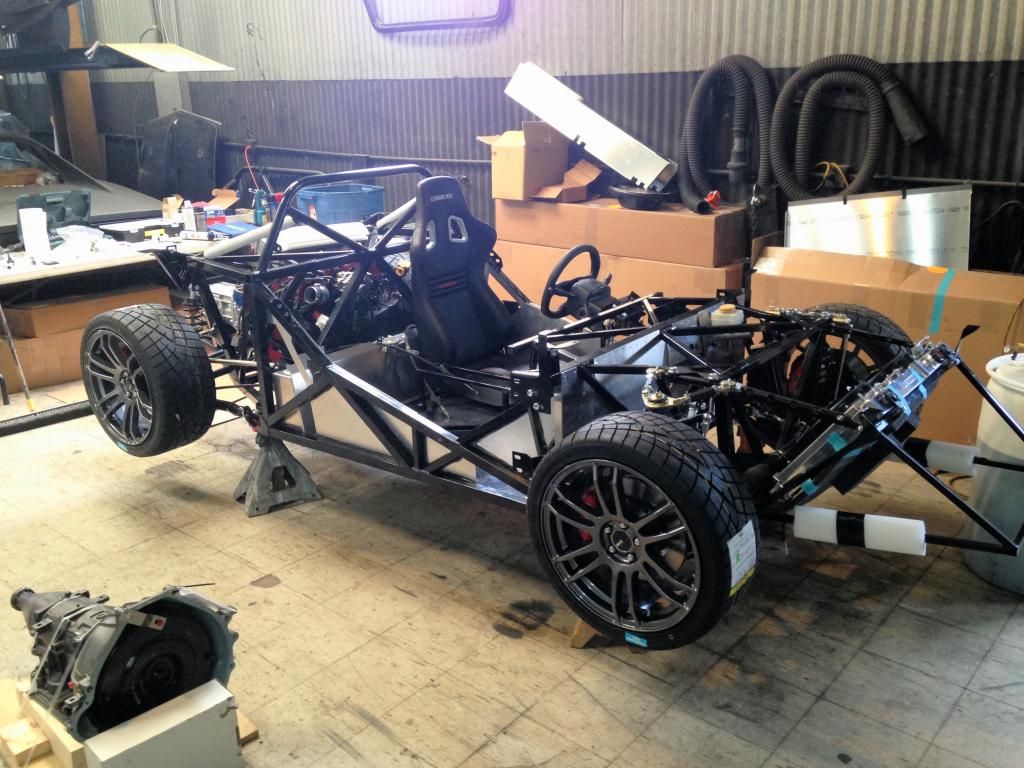
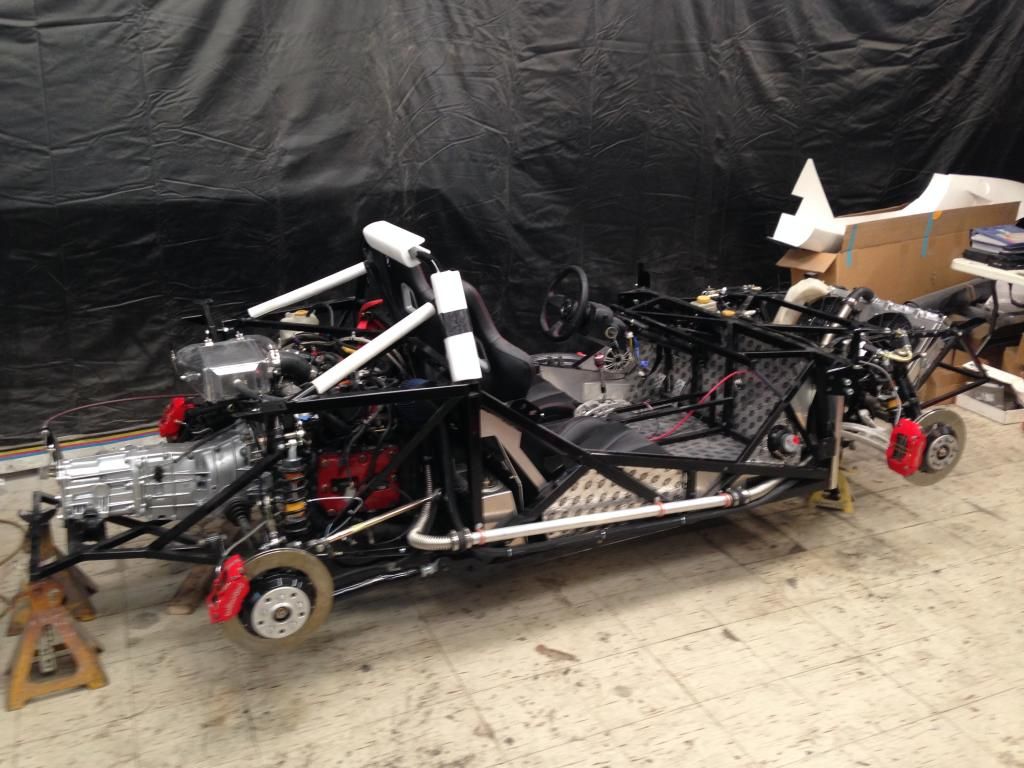
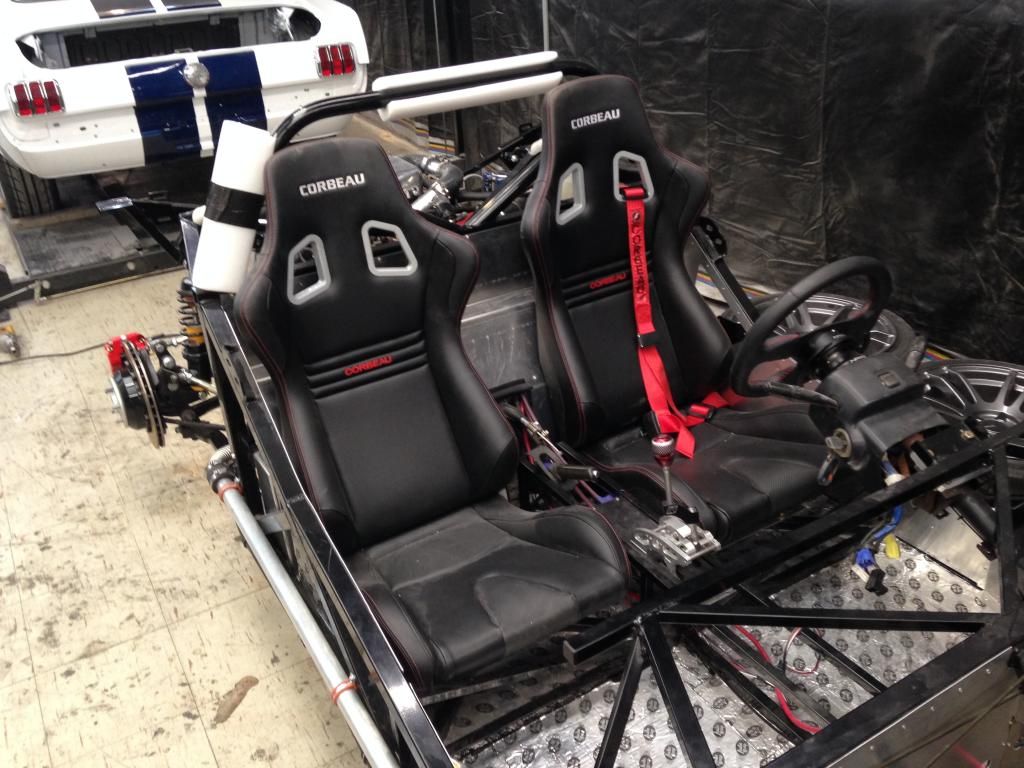
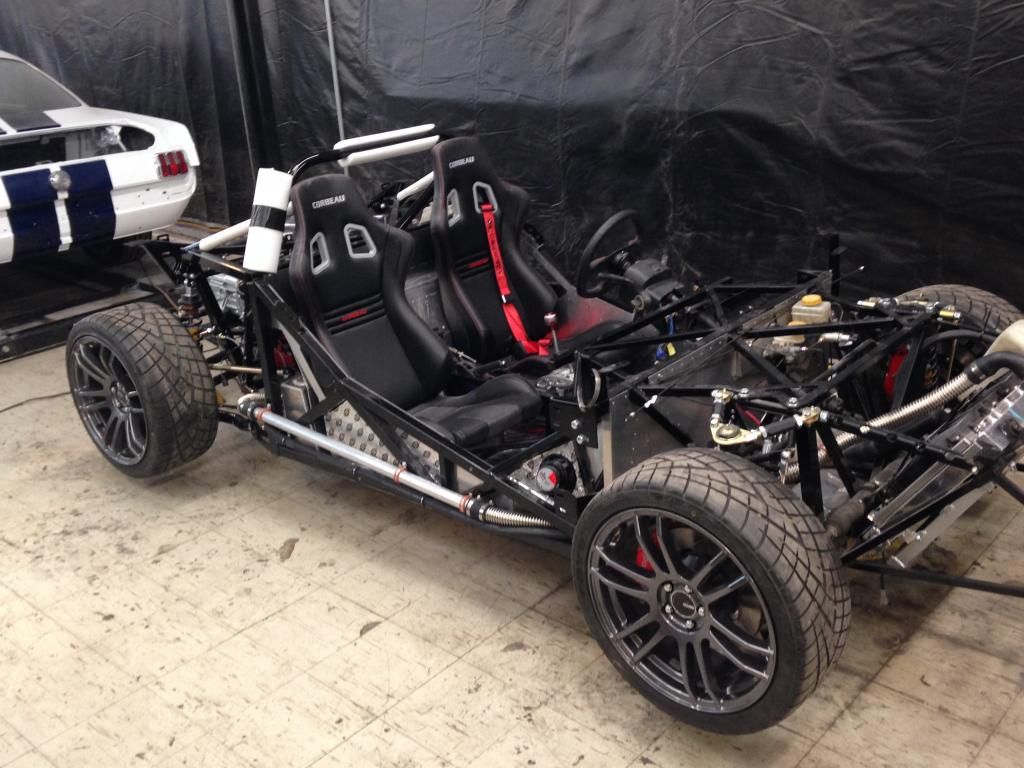
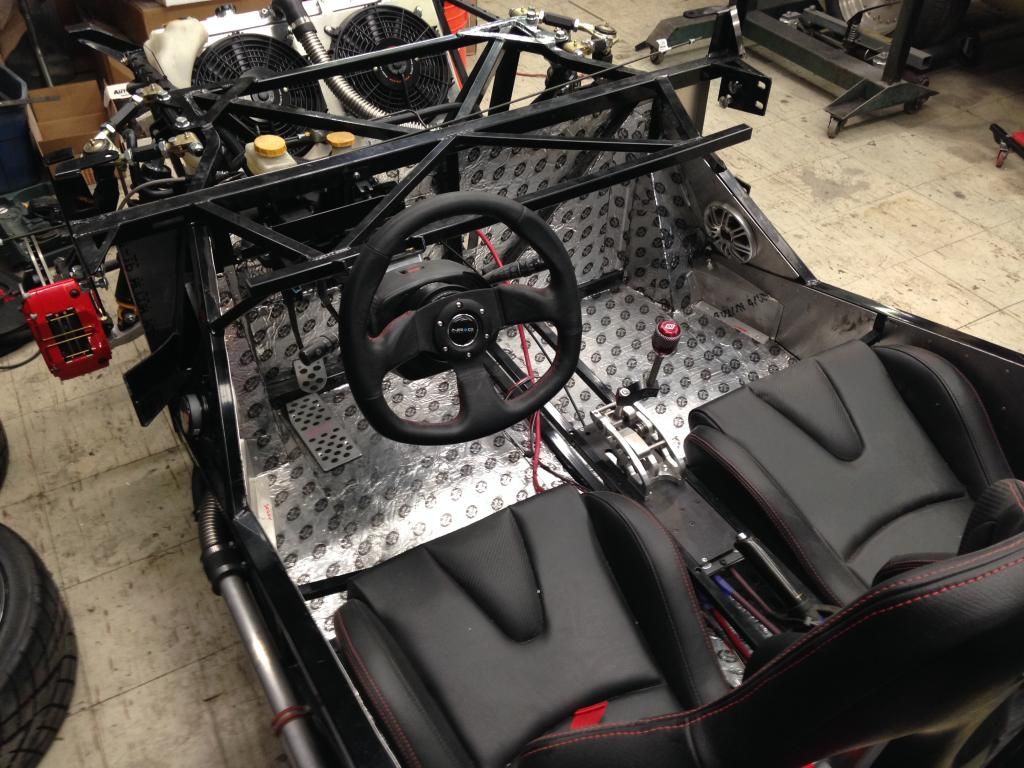
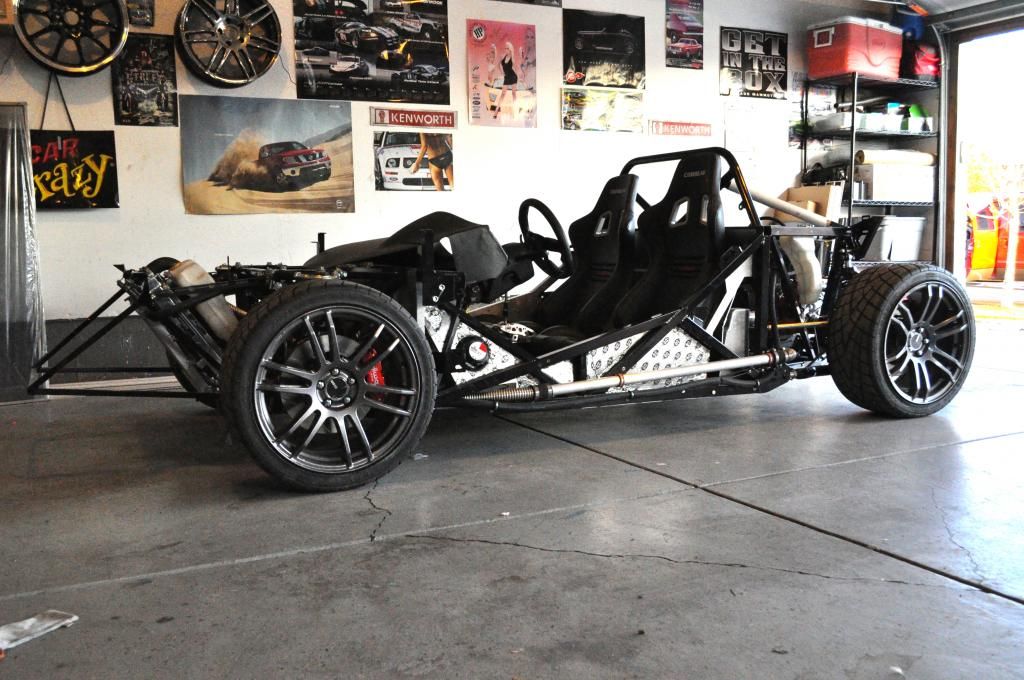
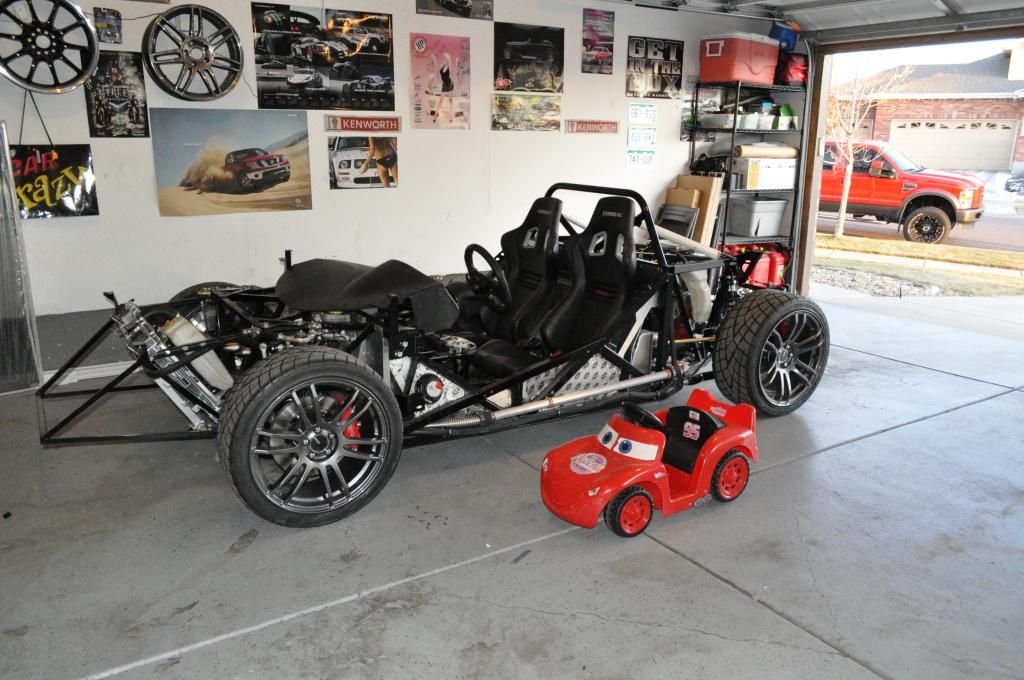
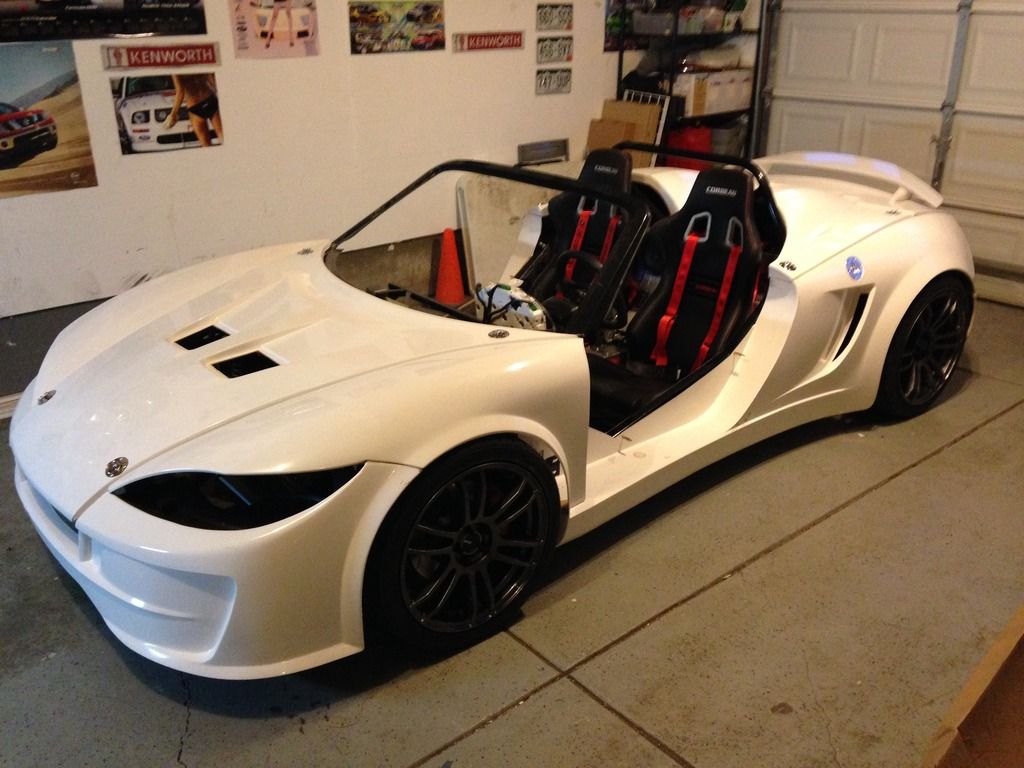
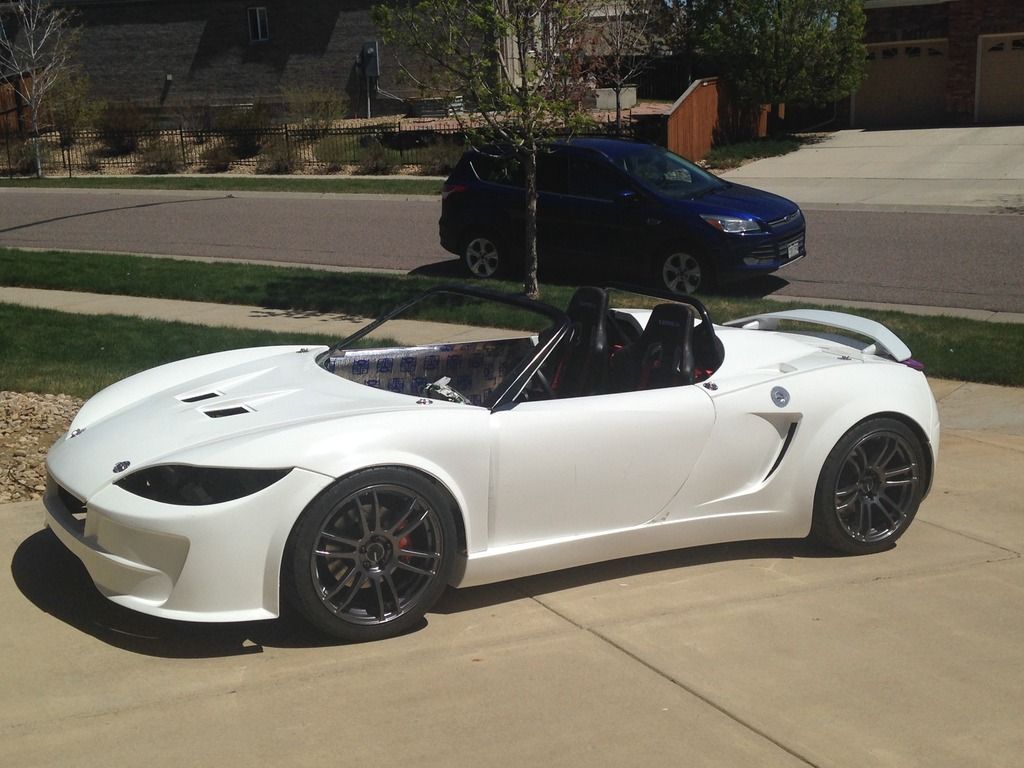
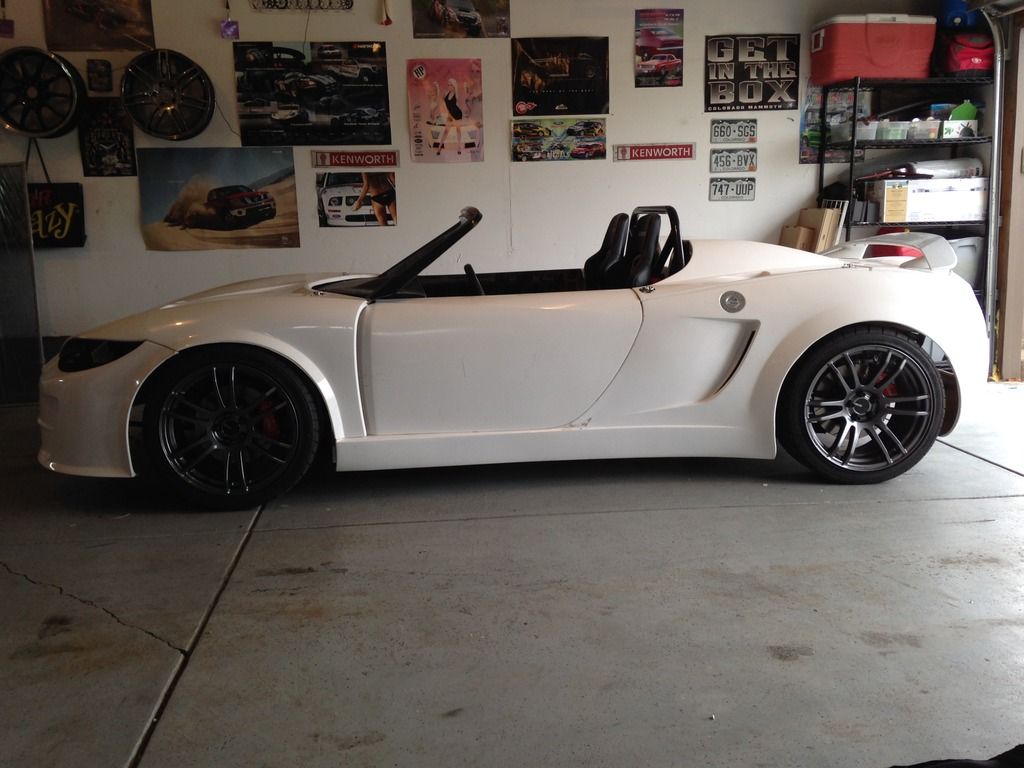
I have been more of a lurker that a participant, so figured I would post up some pics of my build so far. I received my kit June of this year but had my donor bought in Sept 2014. Here is a list of the parts on my build.
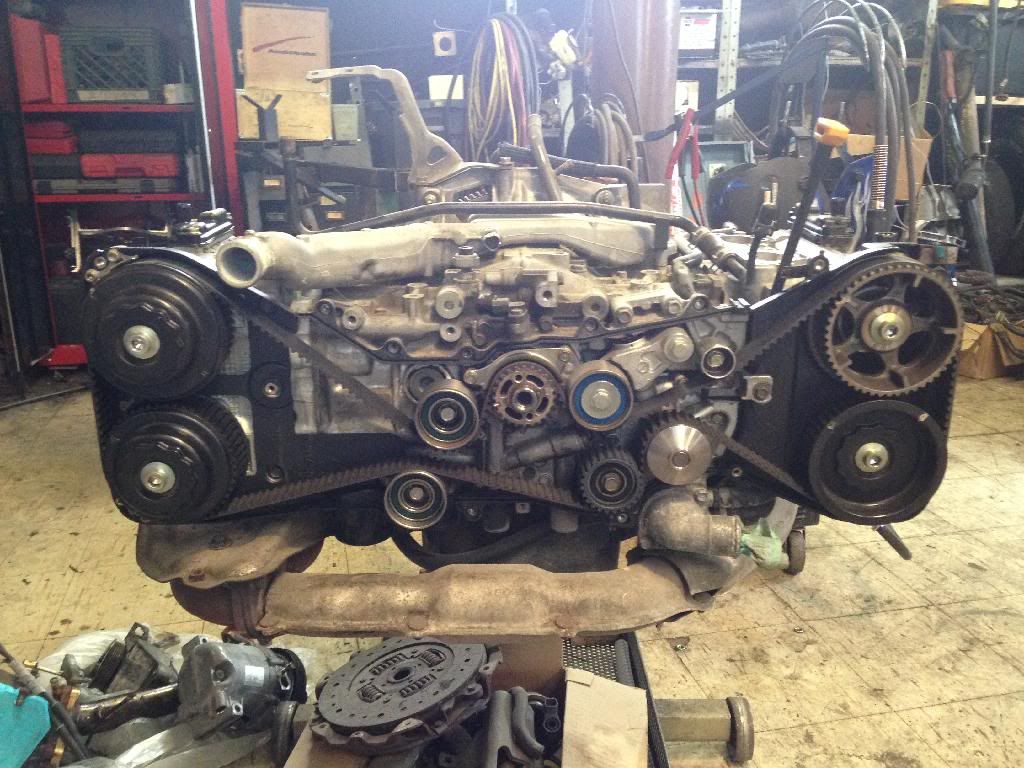
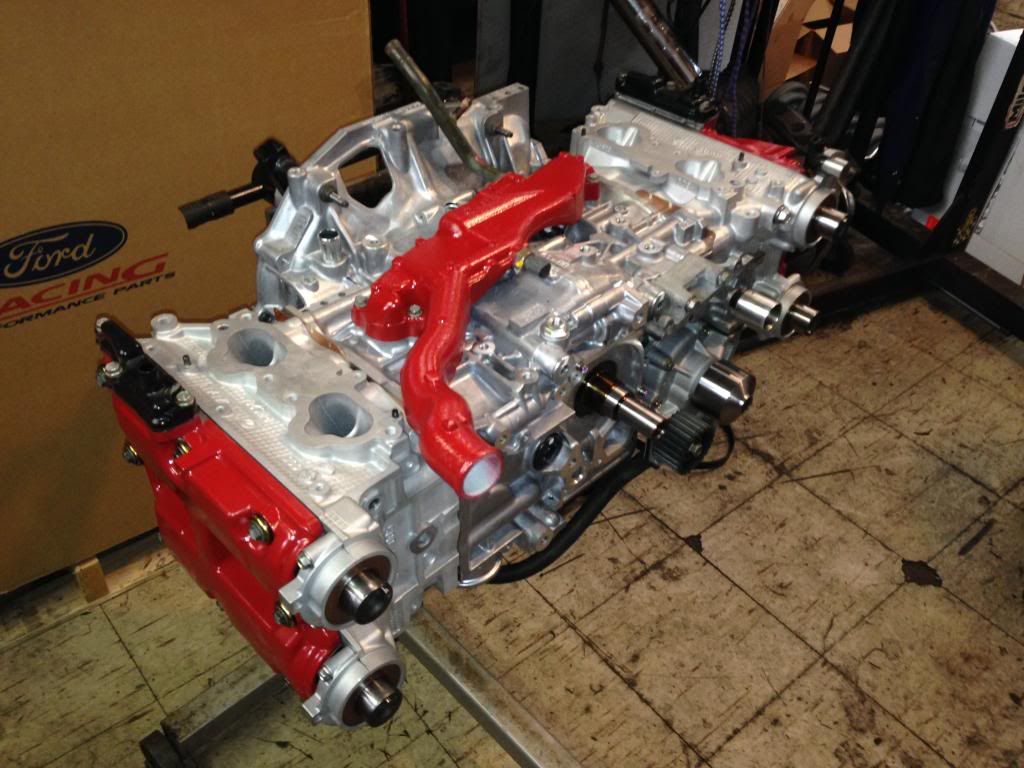
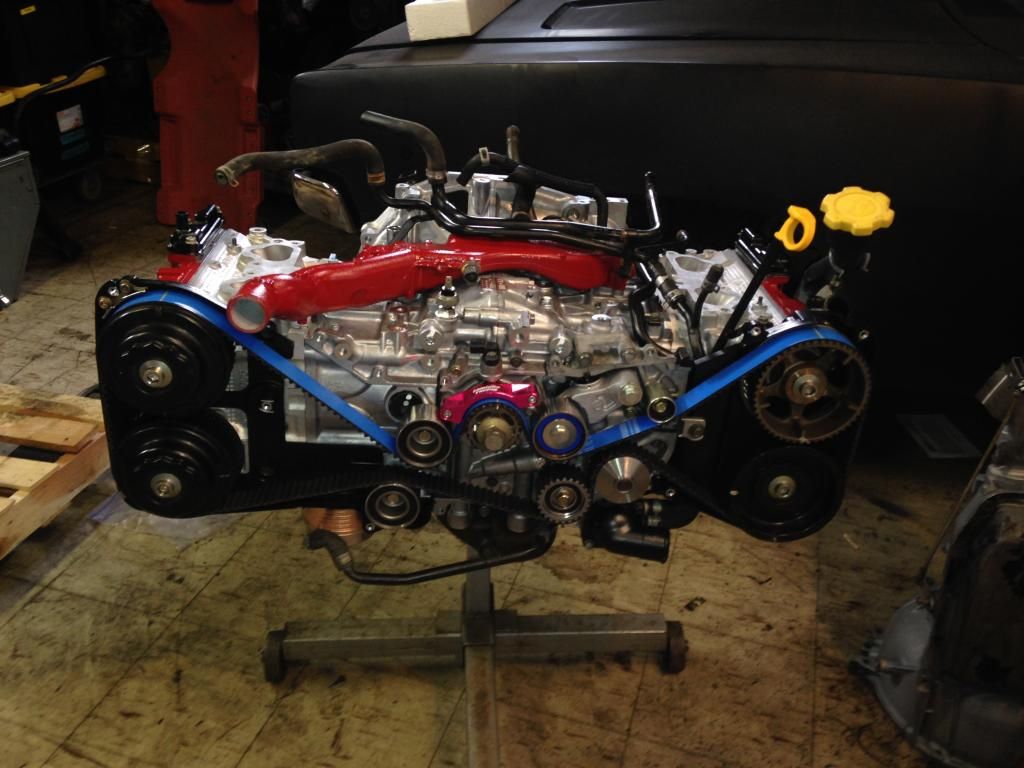
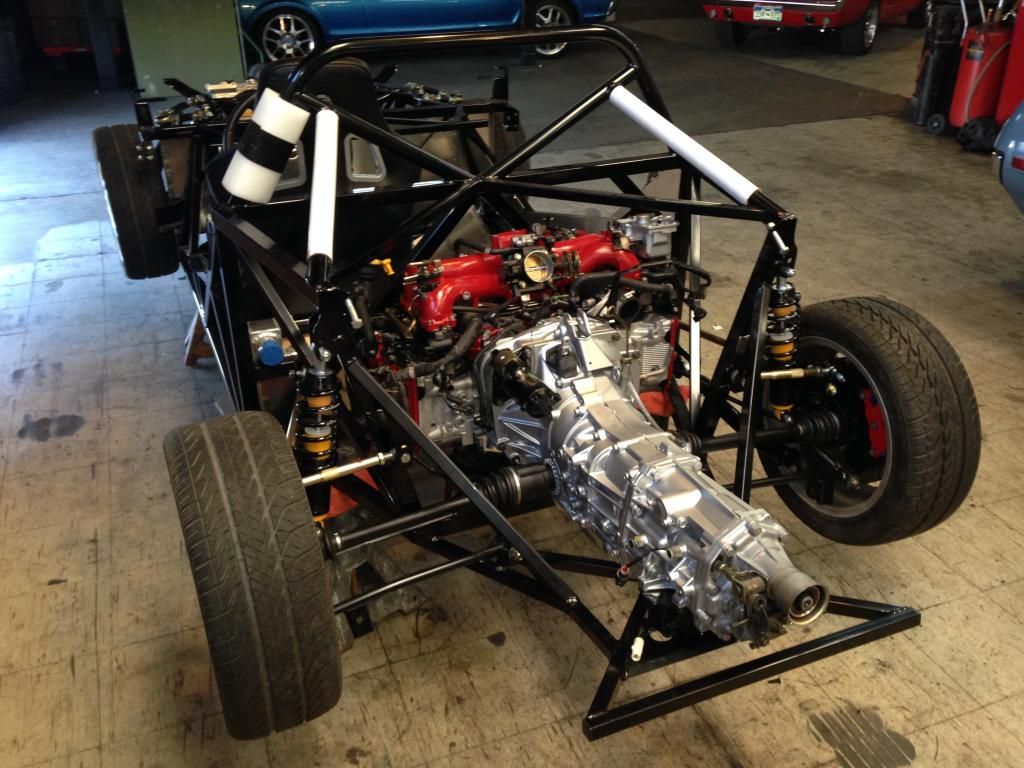
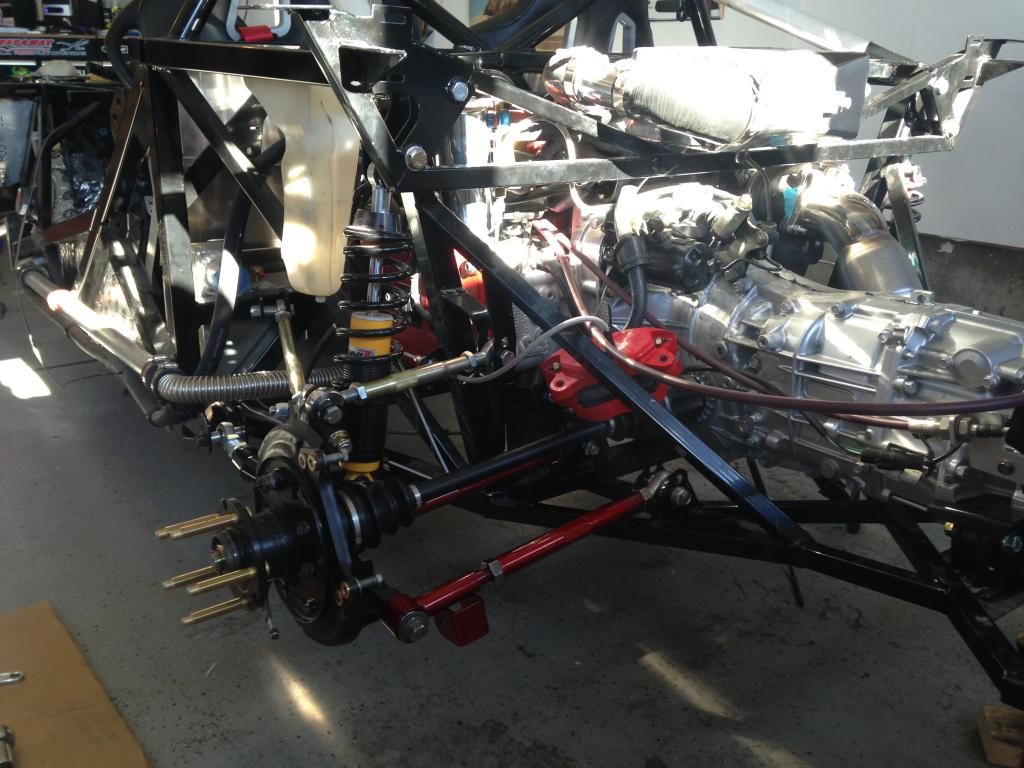
2.5L Hybrid build
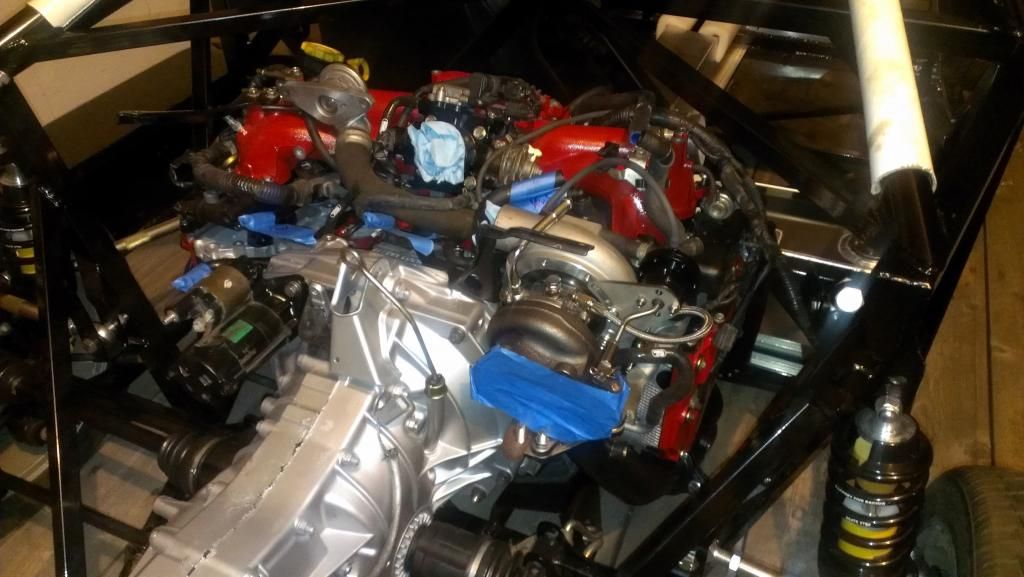
new 2014 STI 2.5 block
2.0L heads machined for 2.5 combustion chamber, decked and rebuilt by Equilibrium Tuning
Hybrid master gasket set
New timing set, Gates racing belt
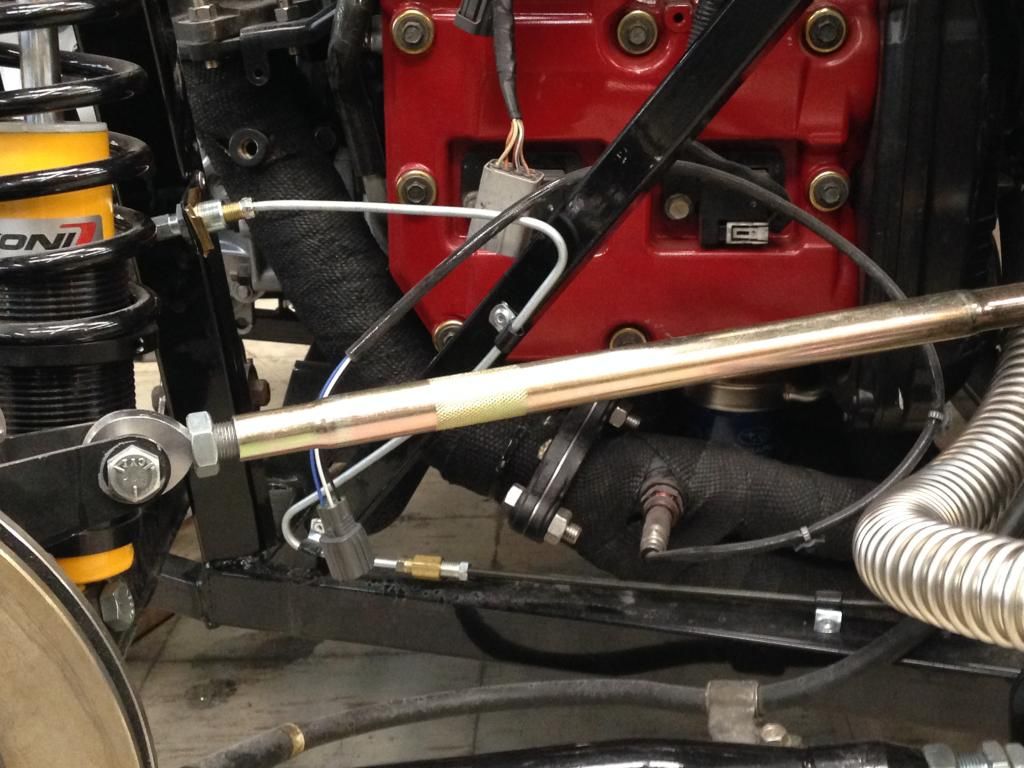
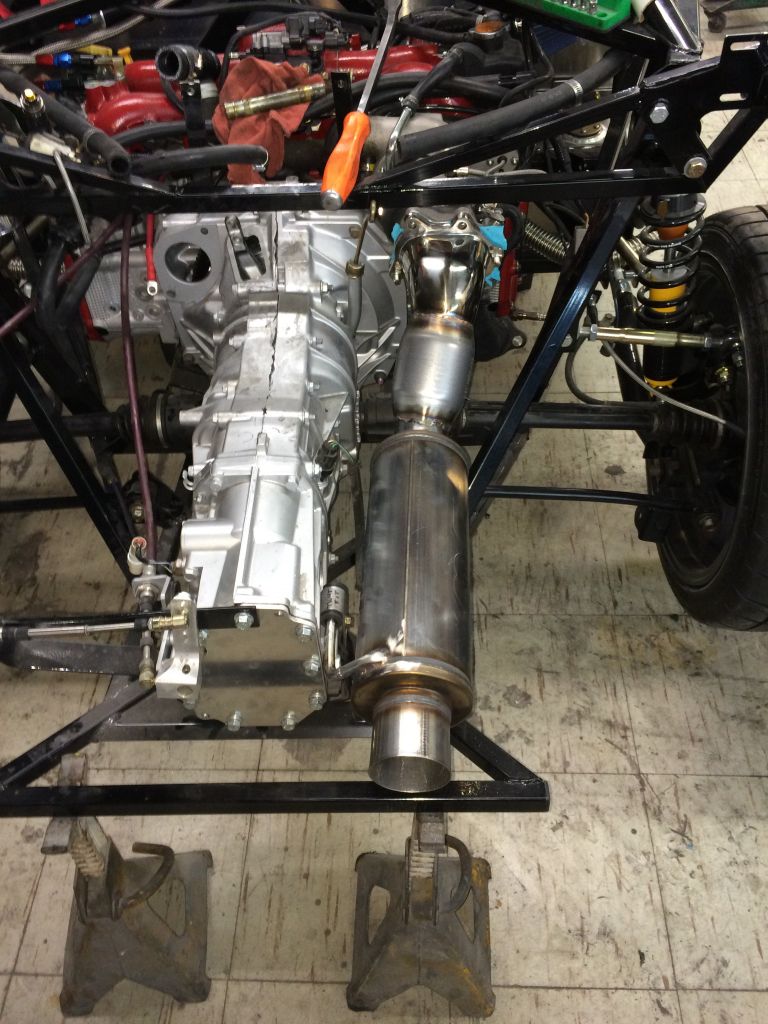
Perrin Inlet tub
Cobb short ram intake
Cobb 1000CC injectors
Cobb electronic boost controller
Kinugawa 20G turbo with billet 9 blade compressor
Kinugawa ceramic coated equal length header
ACT 14lb flywheel
Exedy Stage 1 clutch
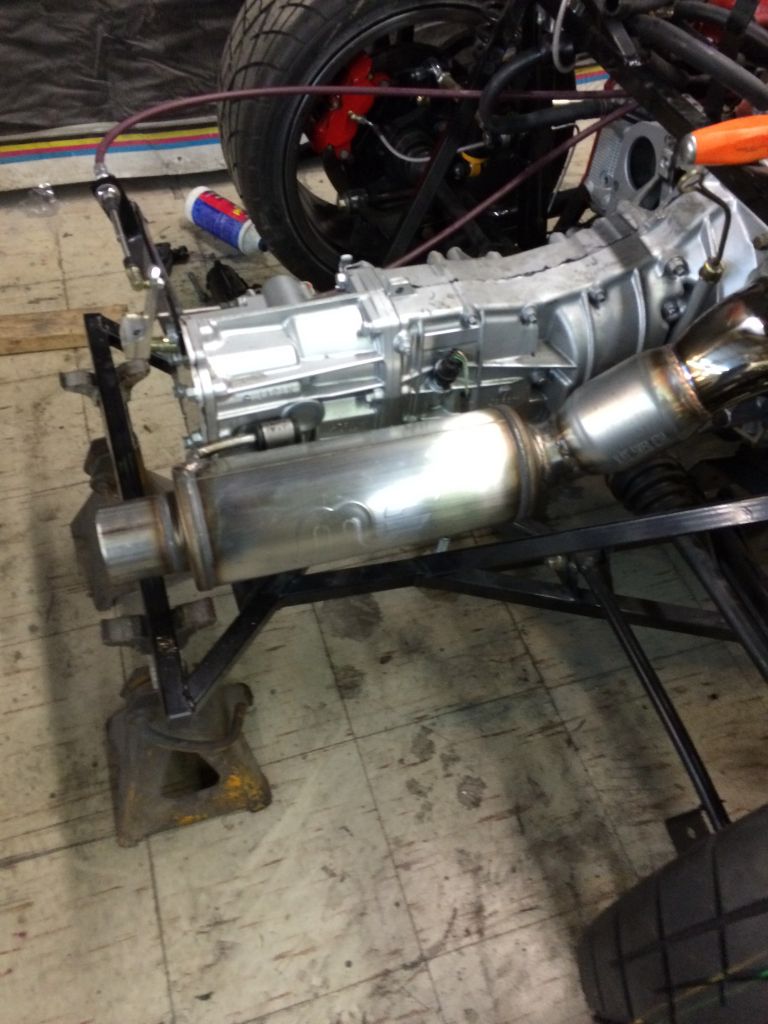
Rebuilt trans with Legacy GT gearset
Cusco LSD
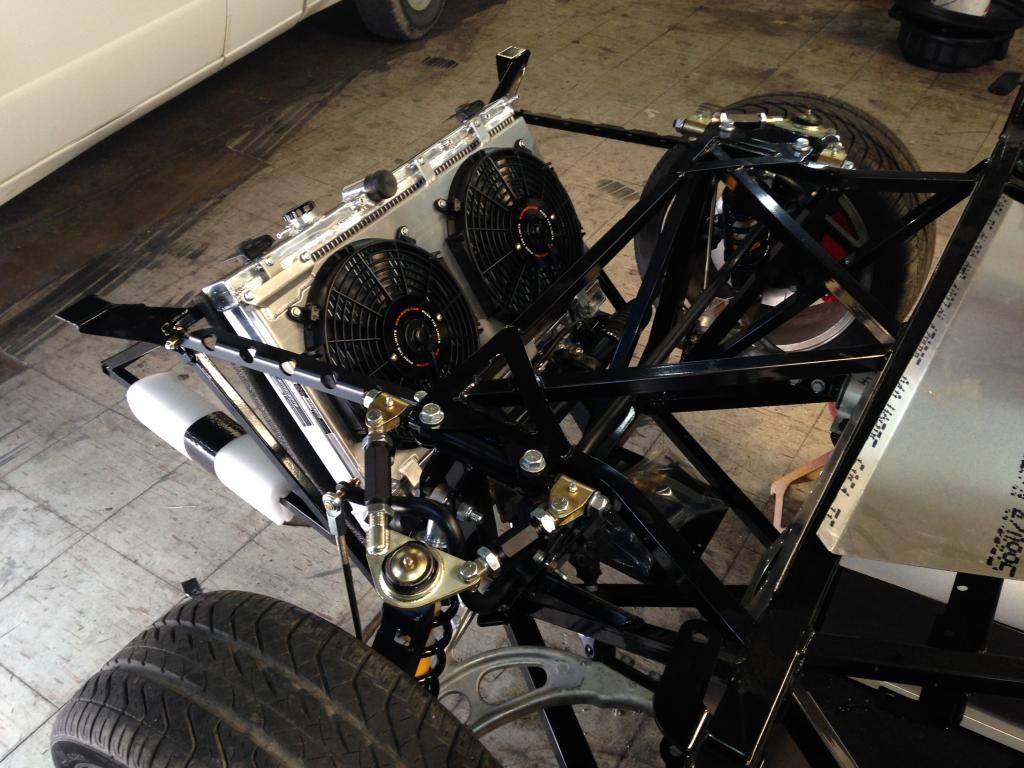
VCP water to air intercooler
Mishimoto radiator and fan shroud kit
Cusco oil catch can
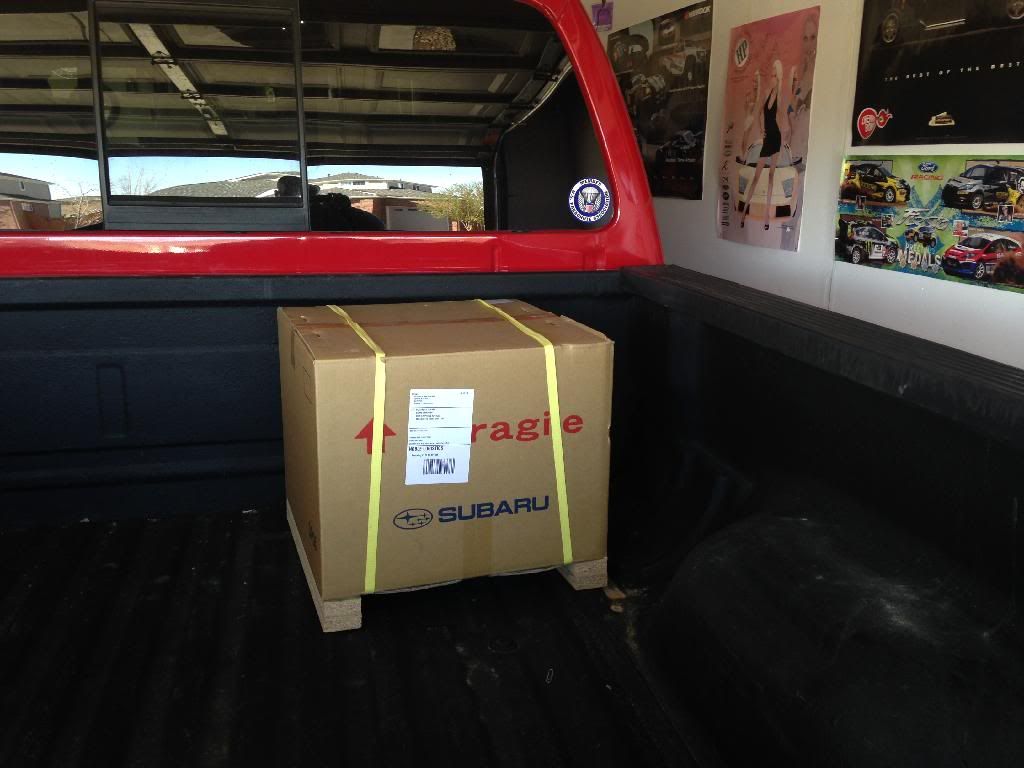
iWire Harness (still waiting for it)
VCP K-Tuned shifter kit
VCP trailing arms
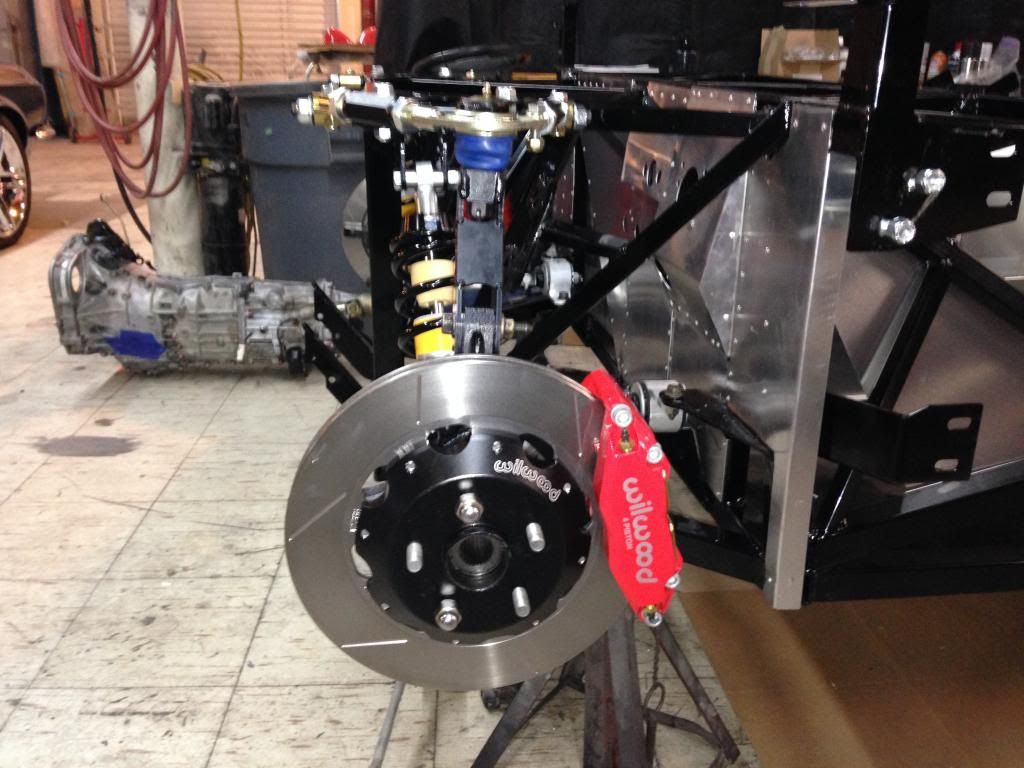
Wilwood brake kit
Enkei TSP6 18"wheels 18X8 in the front with 5mm spacer & 18X9.5 in the rear with 10mm spacer
Toyo R1R 225/40 in the front and 255/35 in the rear.
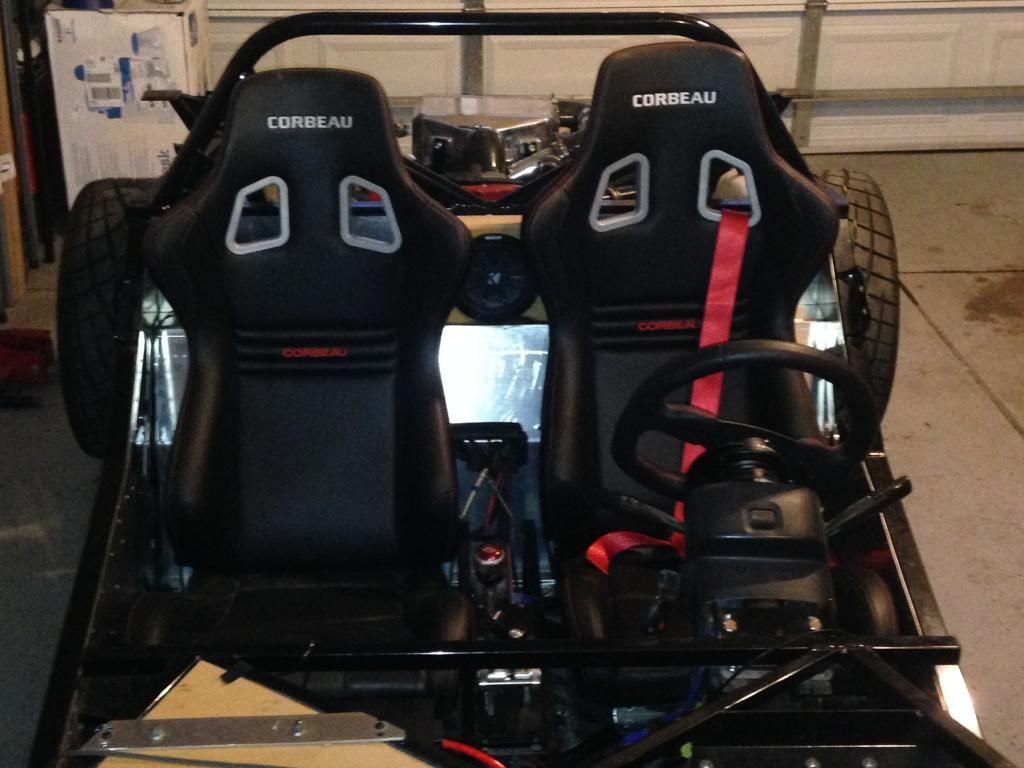
NRG steering wheel with 3.0 quick release
Boyds Tank
Corbeau Seats
That is what i can think of off the top of my head.
- Home
- Latest Posts!
- Forums
- Blogs
- Vendors
- Forms
-
Links

- Welcomes and Introductions
- Roadster
- Type 65 Coupe
- 33 Hot Rod
- GTM Supercar
- 818
- Challenge Series
- 289 USRCC
- Coyote R&D
- Ask a Factory Five Tech
- Tech Updates
- General Discussions
- Off Topic Discussions
- Eastern Region
- Central Region
- Mountain Region
- Pacific Region
- Canadian Discussions
- Want to buy
- For Sale
- Pay it forward
-
Gallery
- Wiki-Build-Tech

 Reply With Quote