Thanks:
  Likes:

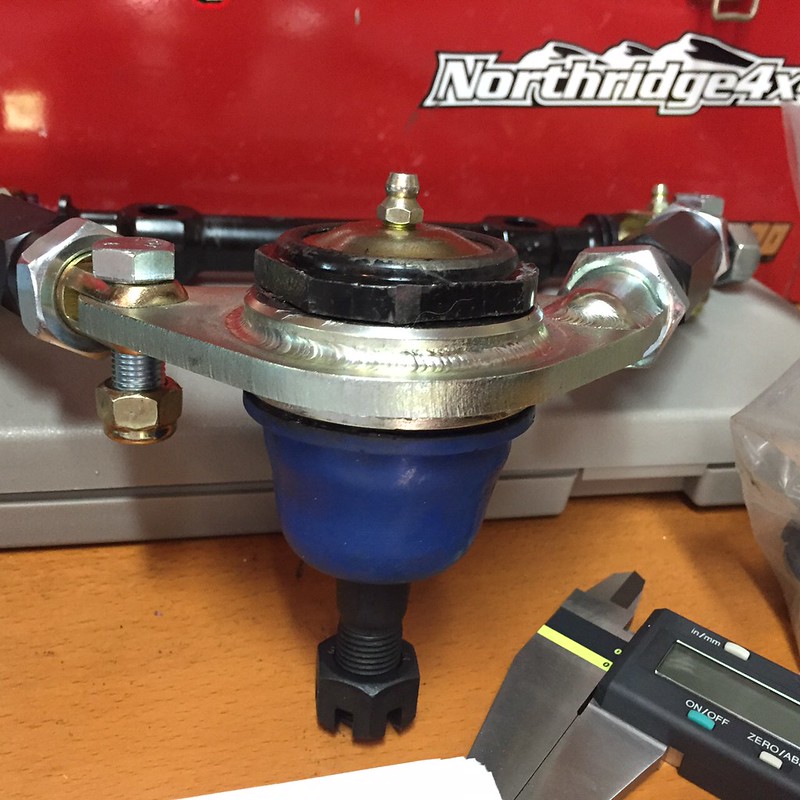
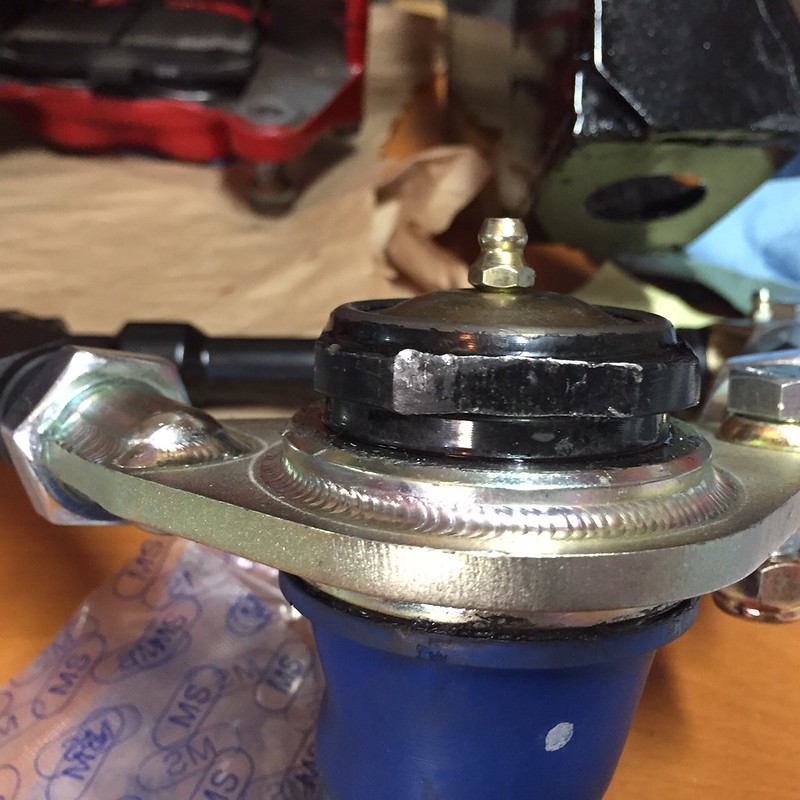
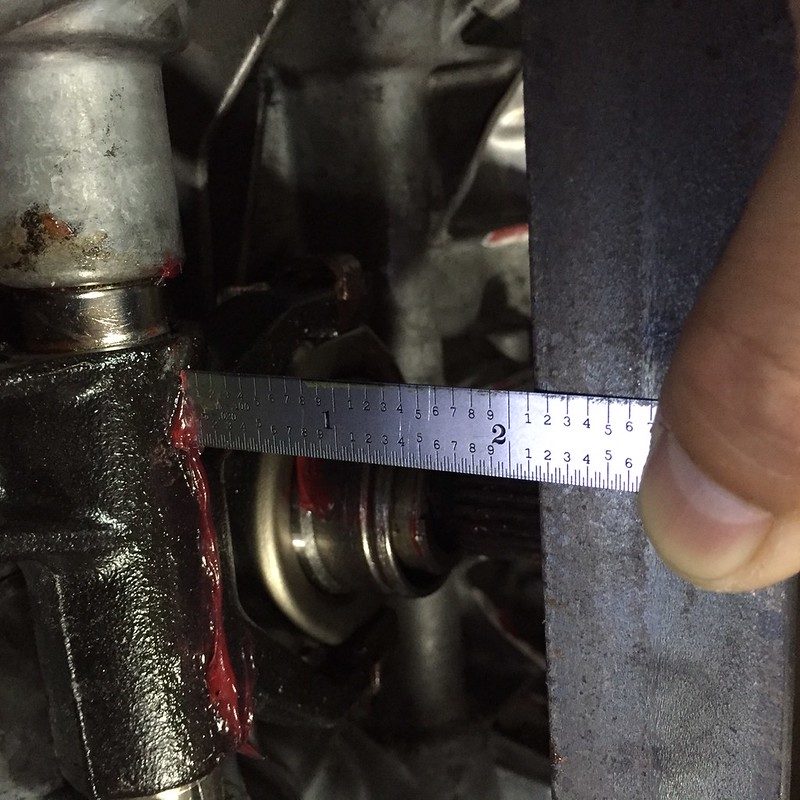
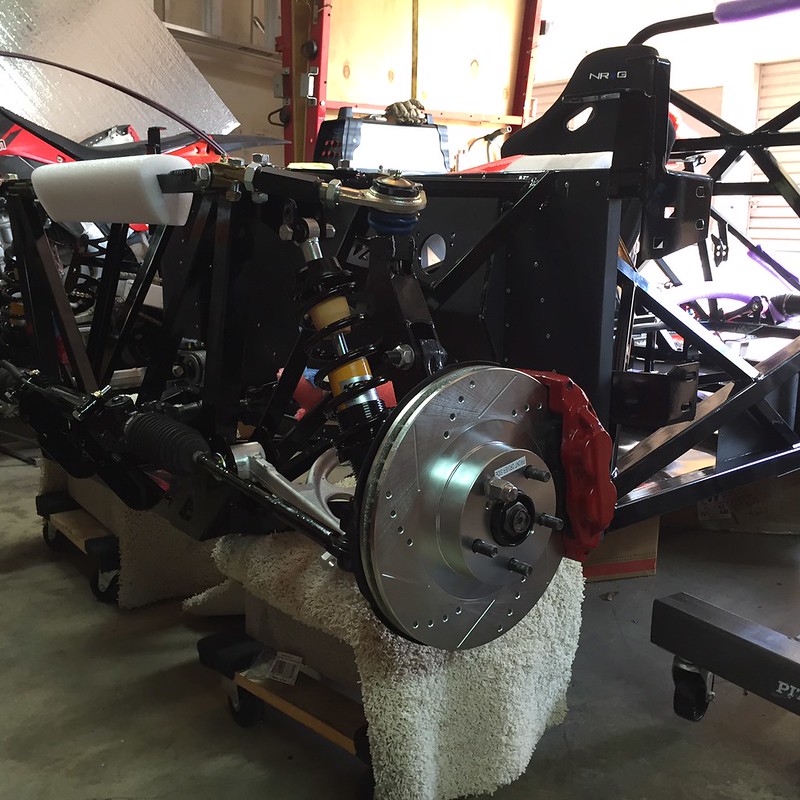
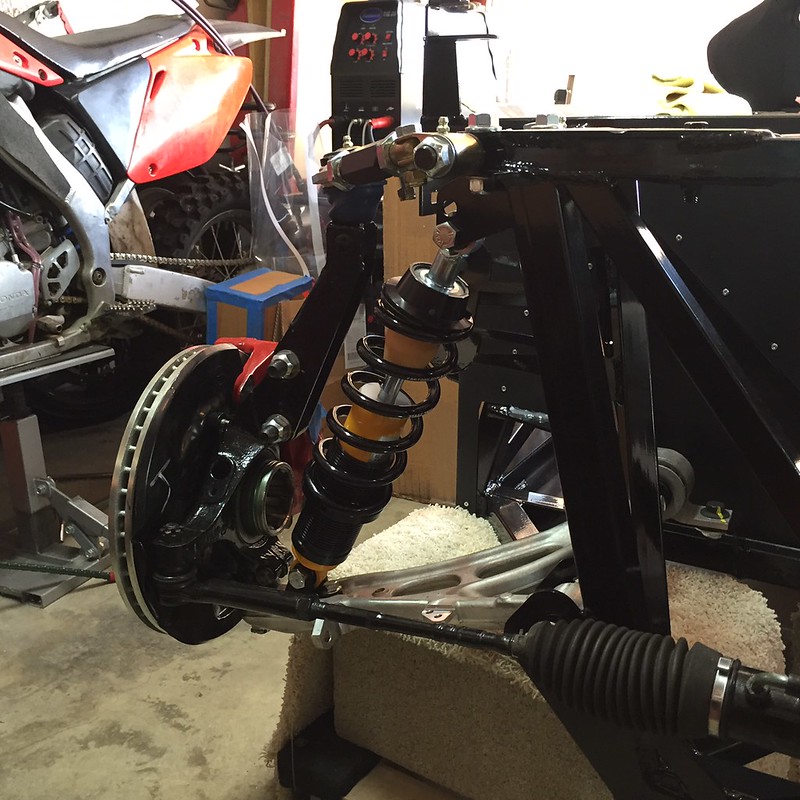
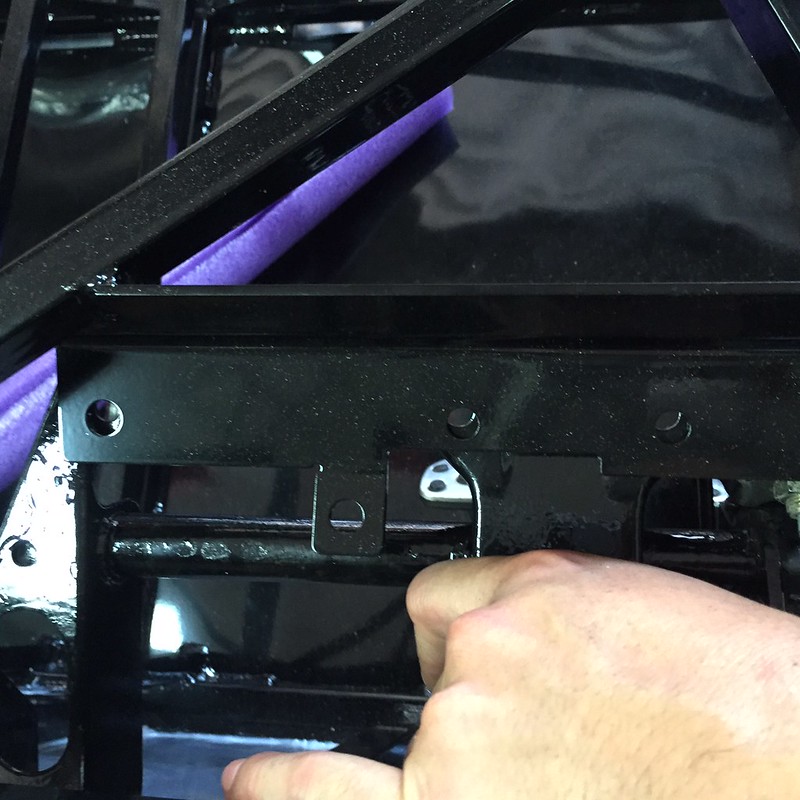
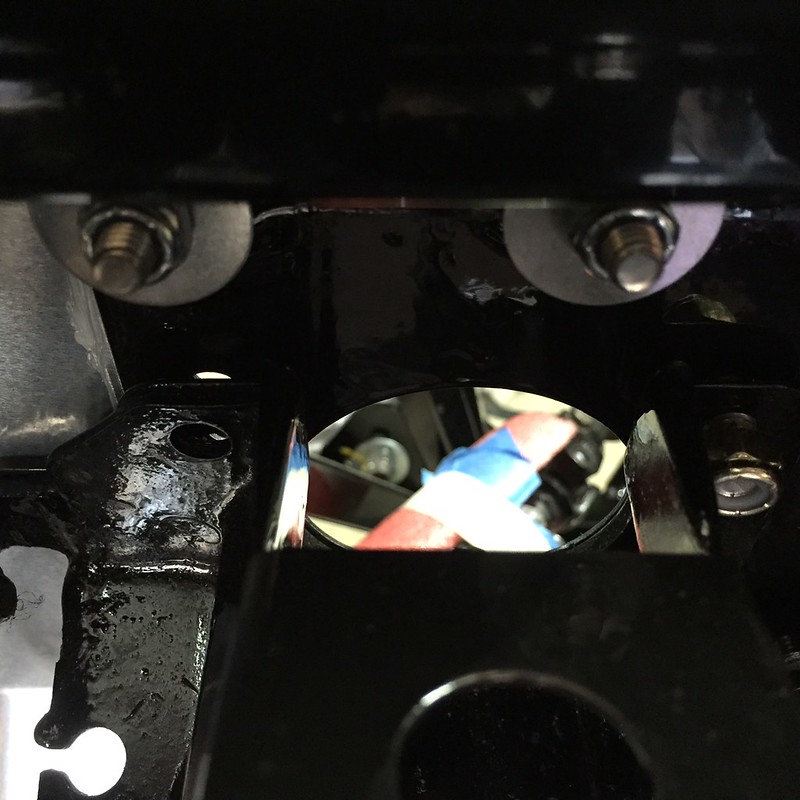
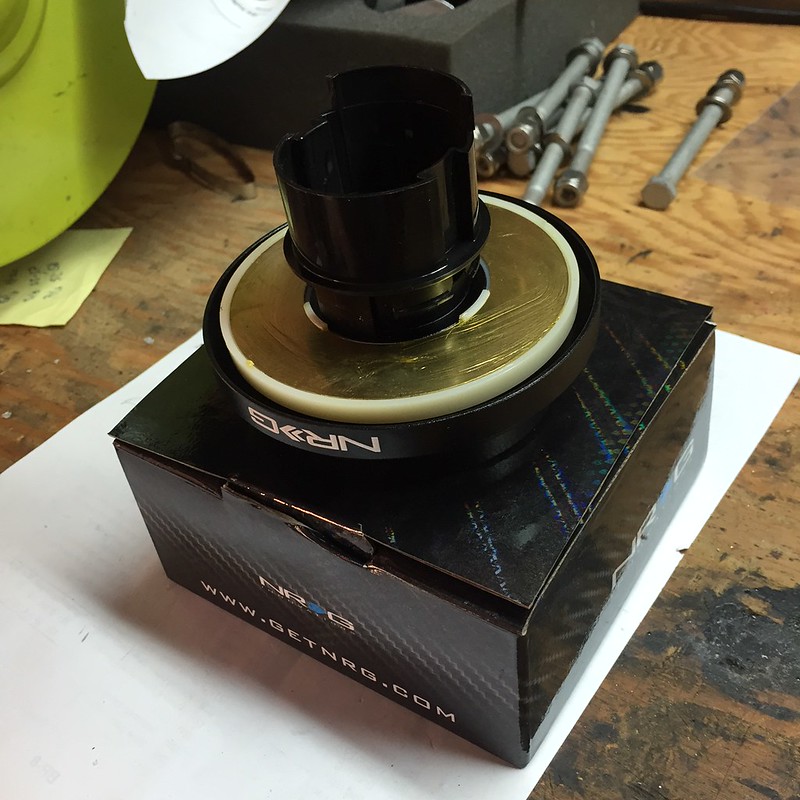
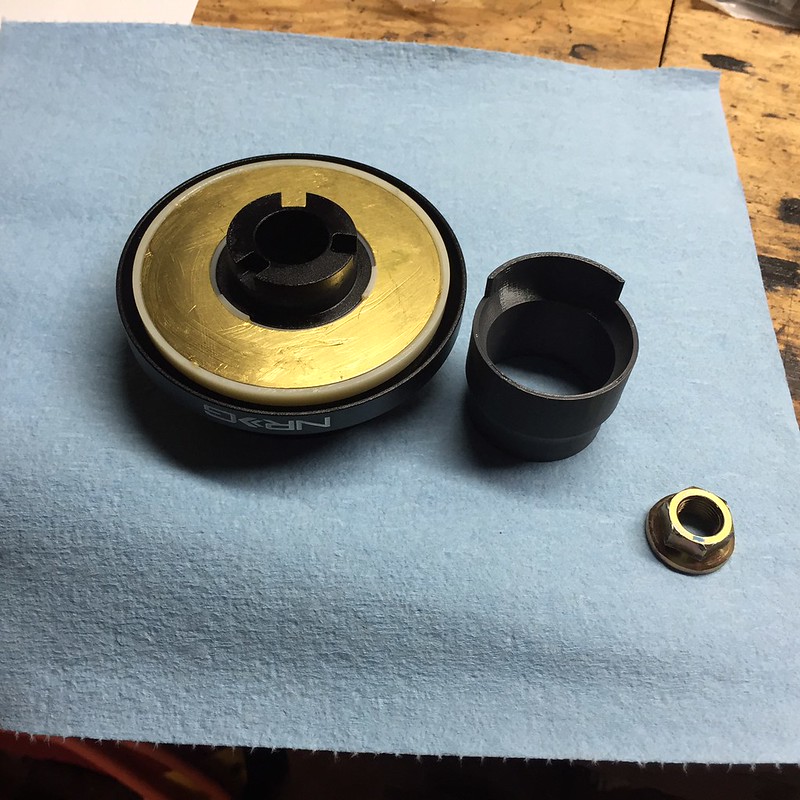
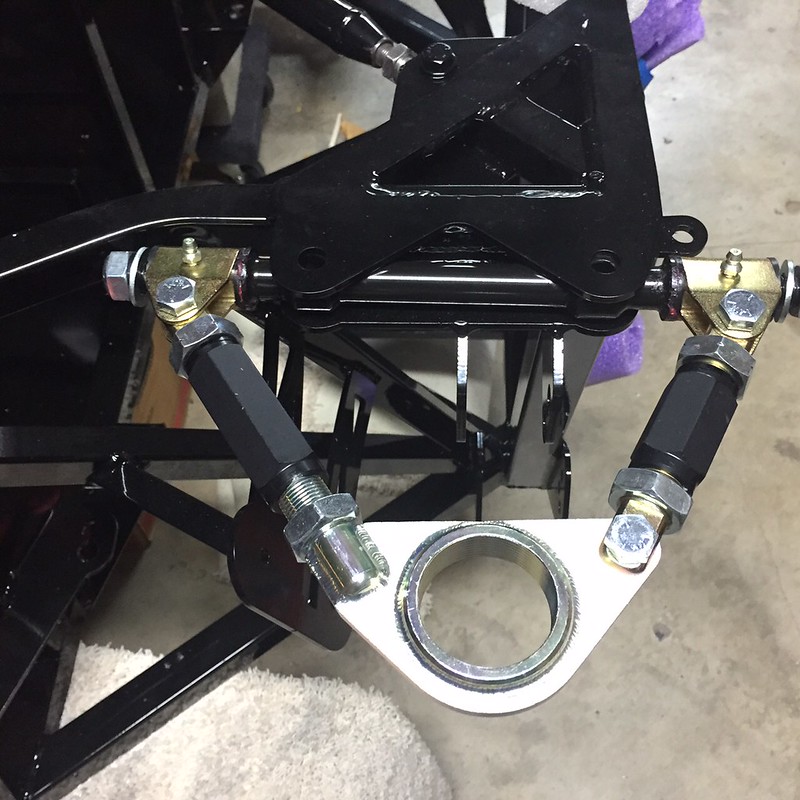
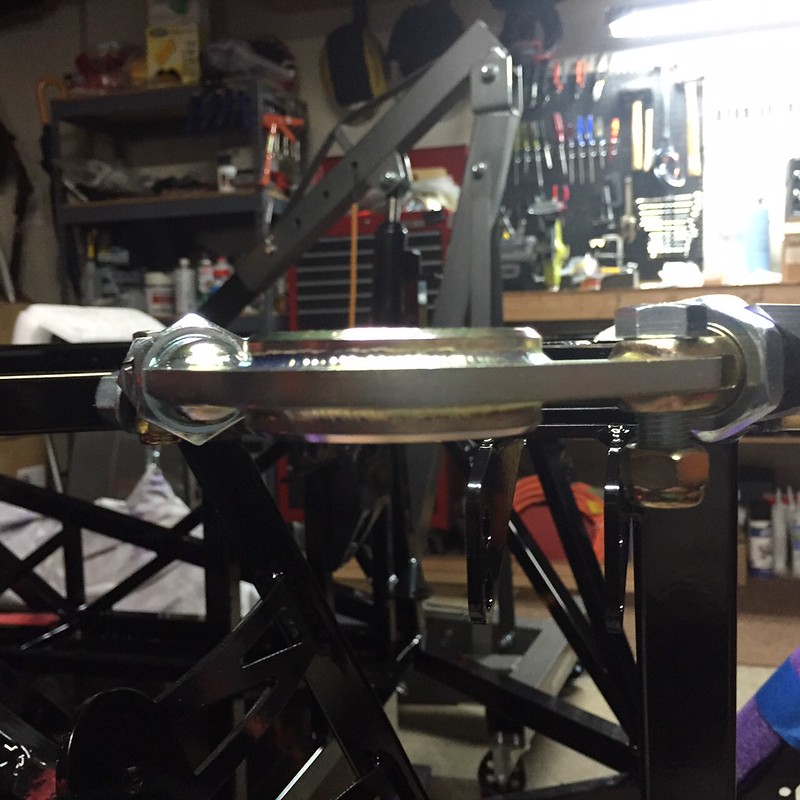
I've been reading about the Upper Control arm and how one of the studs needs to be cut down, but the criteria to determine if this is needed conflicts with what I have in my kit. From what I read, if the hex struts are not equal that means you have to cut one of the studs. I also read that if the ball joint is flat (not angled) than you don't have to cut. I have different length hex struts and I have a ball joint which is flat. Do I need to cut?
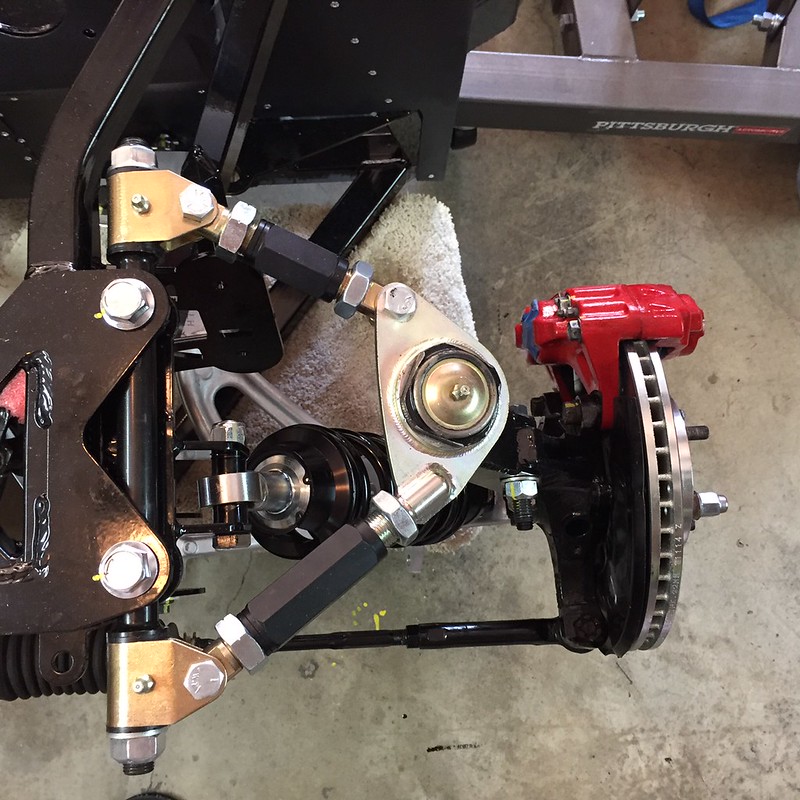
I also realize that I fit it up on the wrong side. Supposed to be long hex strut towards the front with the shorter one in the rear correct?
Also install with grease fittings up or down?
- Home
- Latest Posts!
- Forums
- Blogs
- Vendors
- Forms
-
Links

- Welcomes and Introductions
- Roadster
- Type 65 Coupe
- 33 Hot Rod
- GTM Supercar
- 818
- Challenge Series
- 289 USRCC
- Coyote R&D
- Ask a Factory Five Tech
- Tech Updates
- General Discussions
- Off Topic Discussions
- Eastern Region
- Central Region
- Mountain Region
- Pacific Region
- Canadian Discussions
- Want to buy
- For Sale
- Pay it forward
-
Gallery
- Wiki-Build-Tech

 Reply With Quote