Visit our community sponsor

Thanks:
0

Likes:
0
-
Vintage Air
I am installing the Vintage Air unit into my coupe but cannot figure out how to make it fit. Does anyone have any build pics?
-
-
Senior Member

Did you get the separate instructions from FFR? If not call and they will e-mail them to you or e-mail me and I will send them to you that is if you are building a type 65 coupe and not an 818 coupe.
[email protected]
Bill Lomenick
-
Senior Member

Matts pics are spot on!
I have some in my photo bucket too.
John
-
Huge thanks - could not build this car without this forum and all of the help.
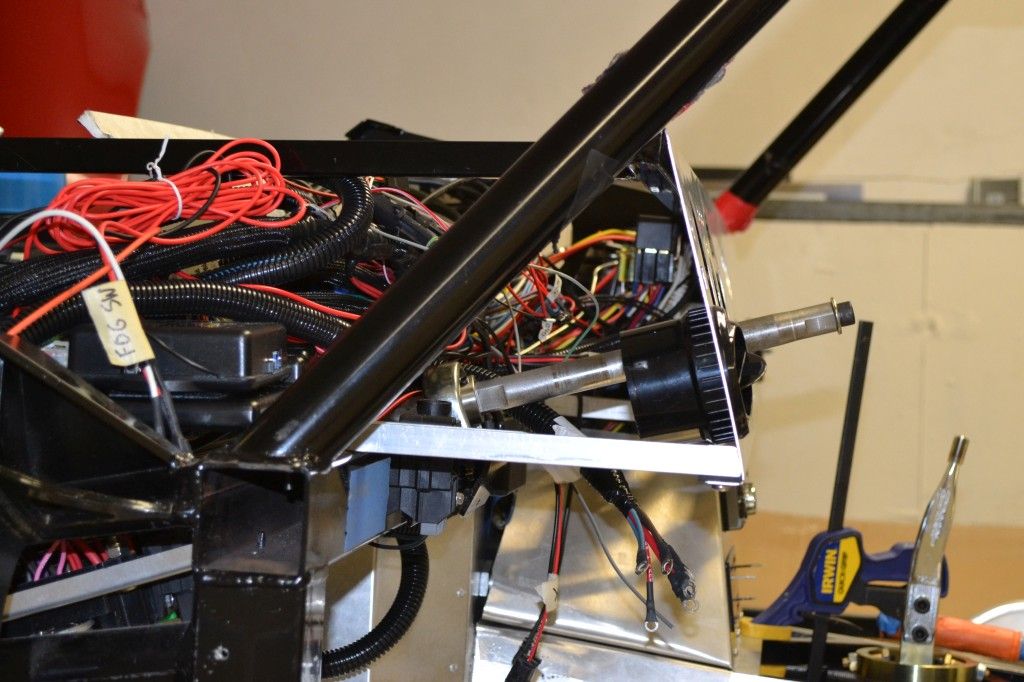
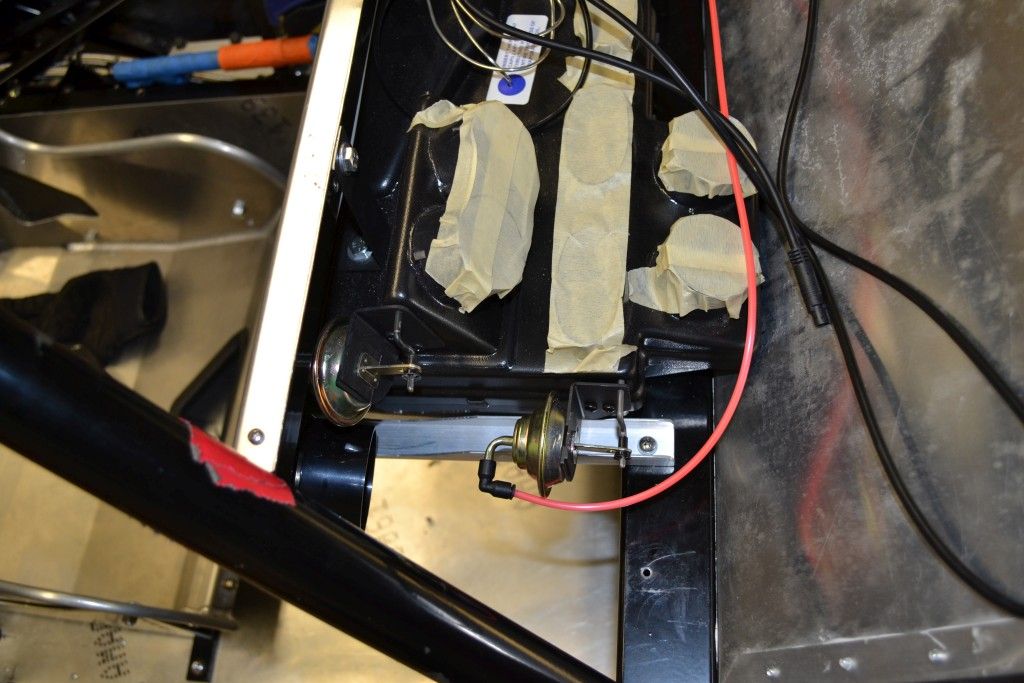
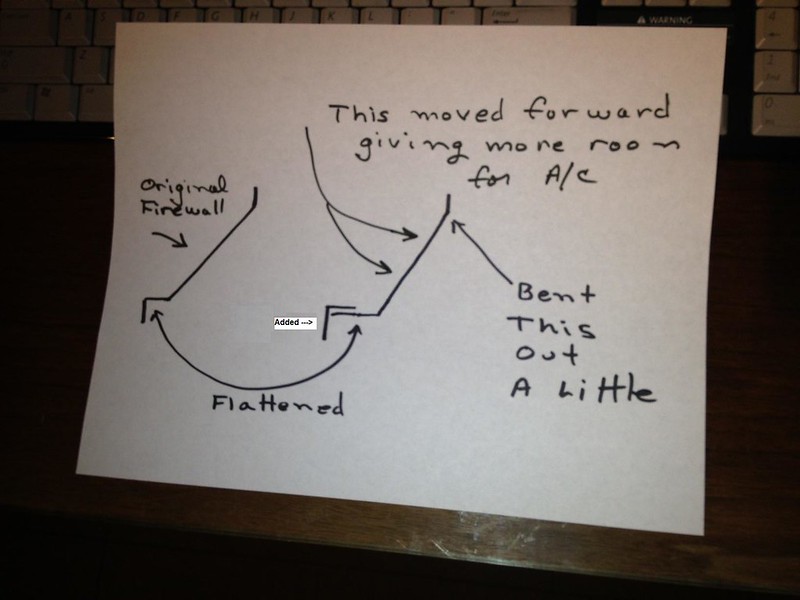
Matt - did you fab the brackets on the bottom of your dash to the frame? It looks like this angles the dash board toward the passenger compartment more than just having it straight down. In fact, I think mine actually angles the opposite direction which is why I could not get the compressor to fit in that space.
-
-
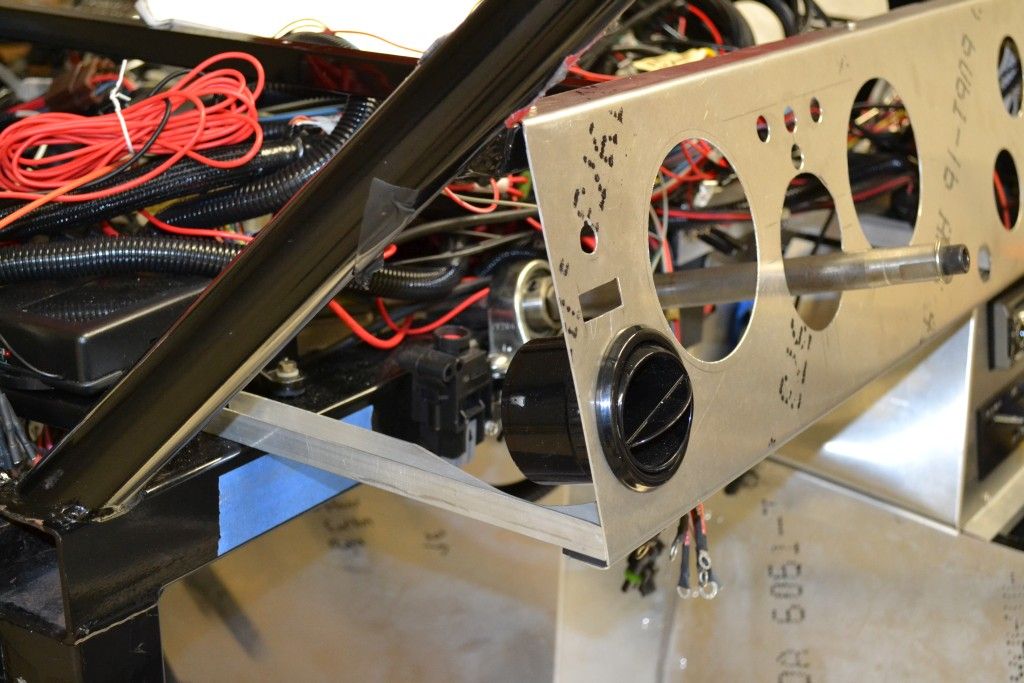
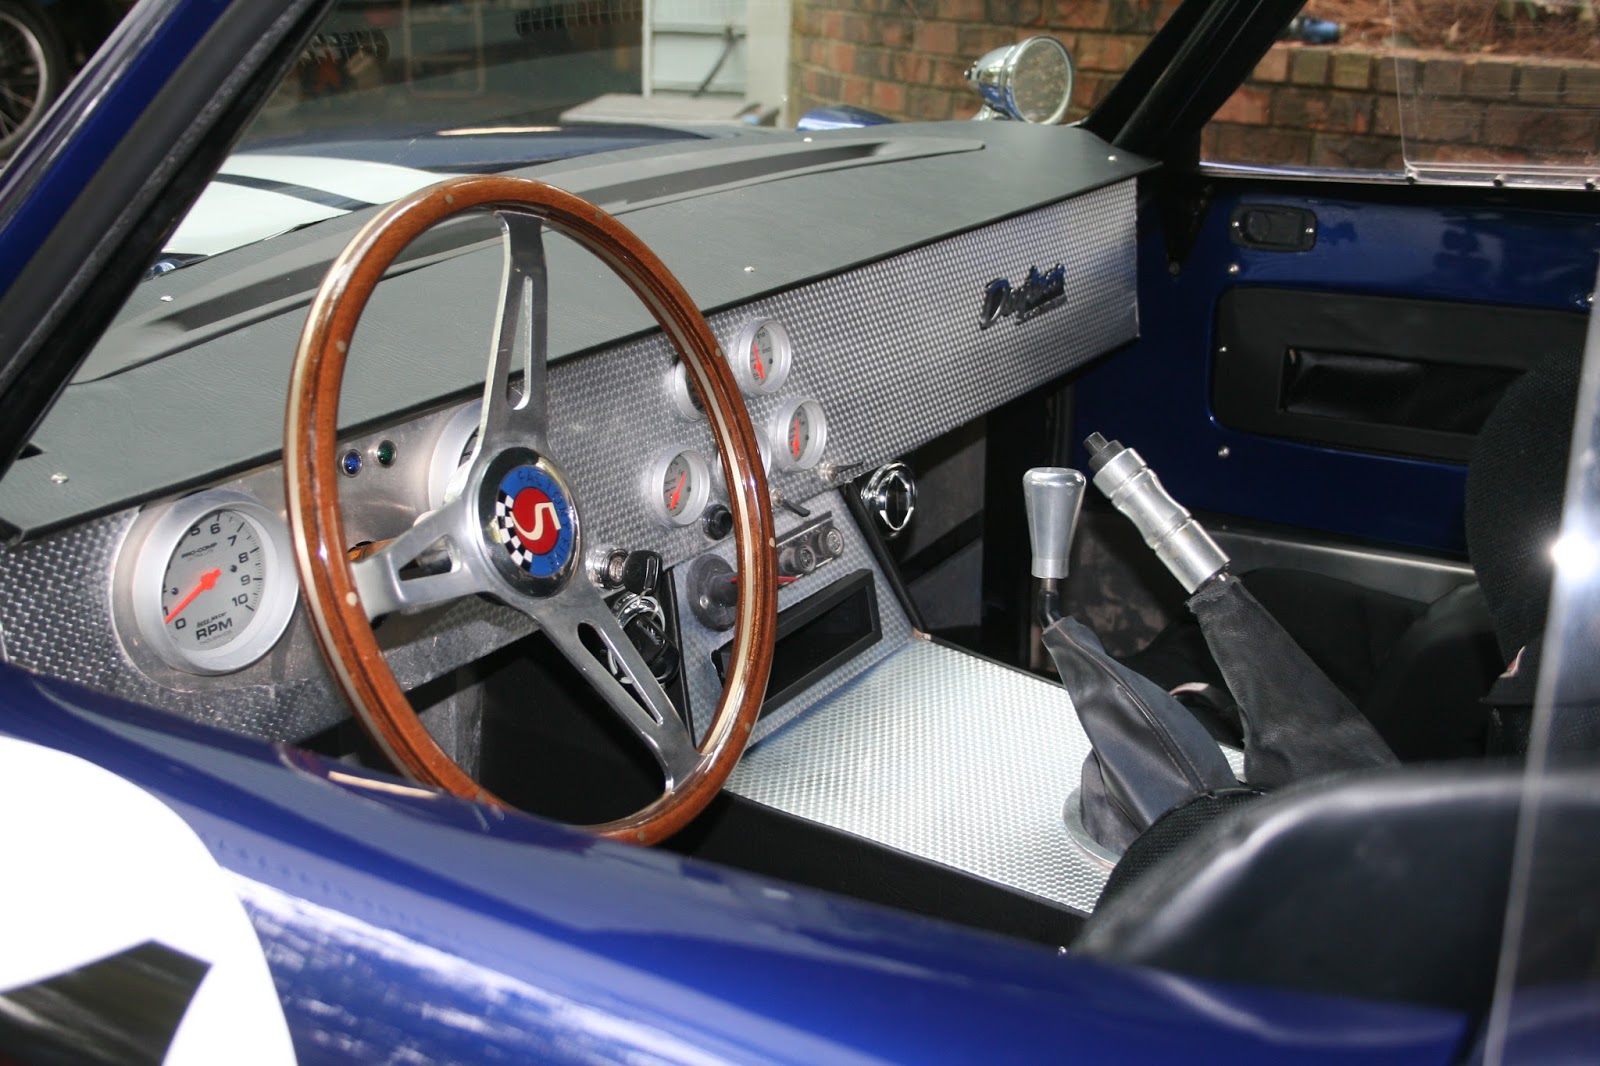
The A/C unit is in! These pics were very helpful. One follow-up though. I am convinced that I need to split the dash. Any pics of how your top piece works? Did you fab an entire new piece for the top?
-
Senior Member
If you want an overlap you have to make a new piece for either the top or the front. Most keep the front and fab a new top.
John
-
X2 I since it was going to be covered in vinyl and I wanted it to overhang the front I made my top from 1/8" ply
Last edited by Timb; 02-07-2016 at 12:35 PM.
-
-
One more question. What did you use to make the cut? Sheers would obviously make even cuts. Did you us a table saw?
-
Senior Member

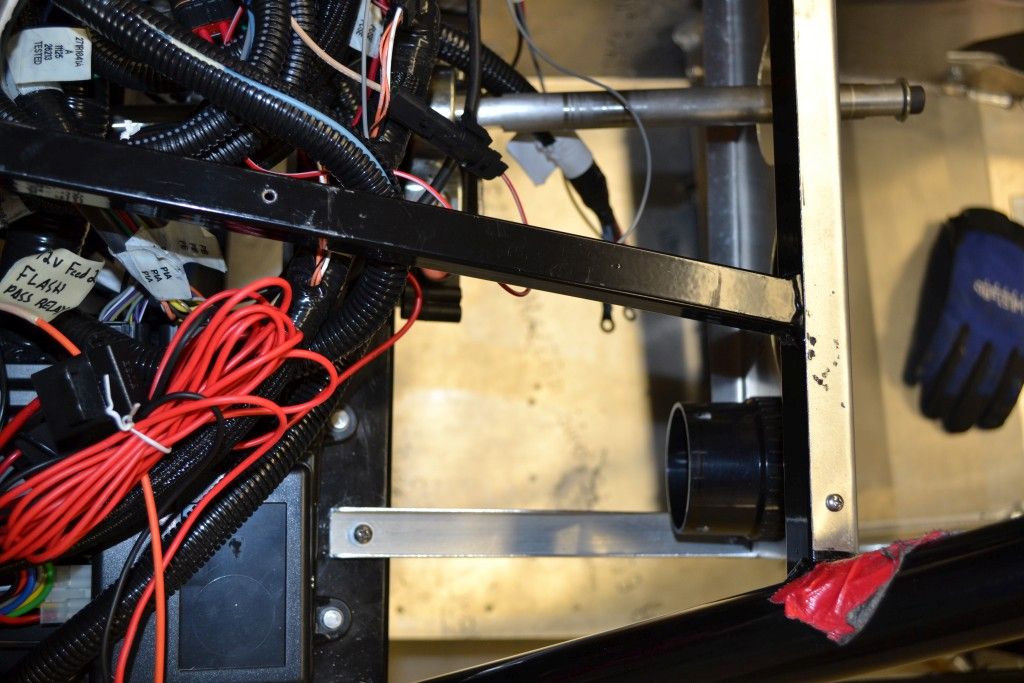
Tim where did you get the long defrost vent?
-

Originally Posted by
jrichards

One more question. What did you use to make the cut? Sheers would obviously make even cuts. Did you us a table saw?
I used air sheers
-
Originally Posted by
HCP 65 COUPE
Tim where did you get the long defrost vent?
Believe it or not my 02 mustang donor
-
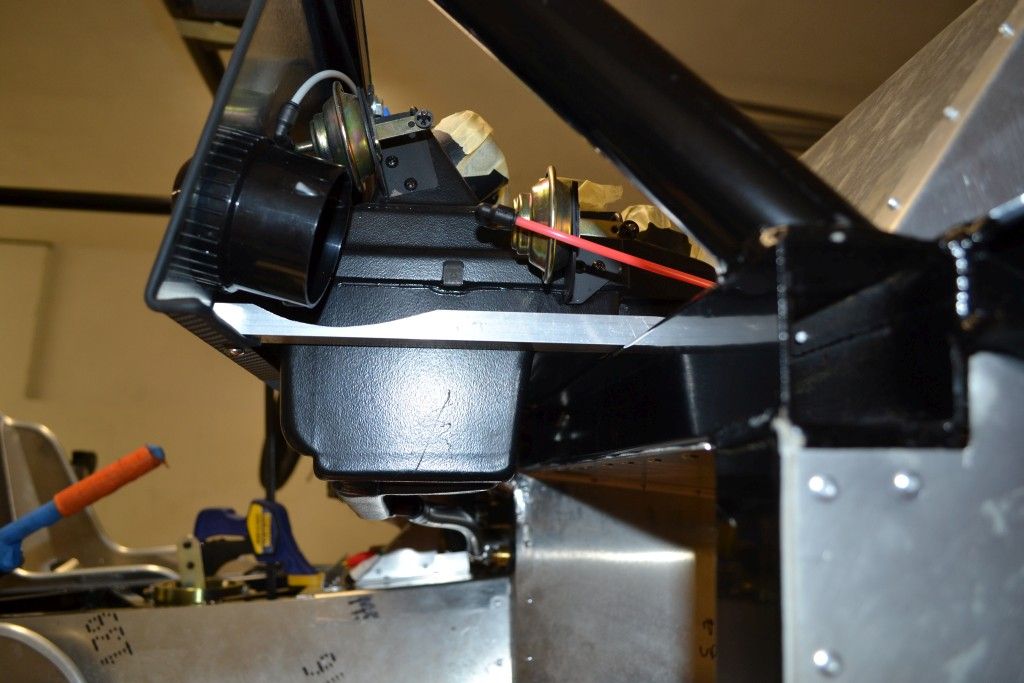
What model Vintage Air evaporator comes with the FF A/C kit? What are the LxBxD dimensions? I'm looking to maybe go another route when I begin my build but am curious if I can save space anywhere. Thanks. Ryan
-
Originally Posted by
RyanS.
What model Vintage Air evaporator comes with the FF A/C kit? What are the LxBxD dimensions? I'm looking to maybe go another route when I begin my build but am curious if I can save space anywhere. Thanks. Ryan
Hi Ryan,
It's about 17" wide, 9 1/2" deep and 9" high. It's not a perfect rectangle so those dimensions are the max.
I don't know the model, the directions are for the "mini space saver", but I think the one that FF ships is not exactly the same.
-Matt
-
Thanks Matt,
I had been searching the vintage air catalogs and cant find the evaporator that seems to come with the FFR A/C kits. In a game of inches, I was thinking if the mini evap was significantly smaller, I can put together a kit for a little less, and have more room to work with. It seems the width isnt a huge issue behind the dash, but depth is. At more than 2 inches less depth and the same height, I may try to go this route instead of buying the kit from FFR or North.
VA's mini evap is 19" wide, 7.3" deep, and 9" tall.
http://www.vintageair.com/2015%20Cat...talog%2047.pdf
Would those extra 2" of depth make a signifigant difference in ease of install; dash/firewall mods? Thanks.
Ryan
Last edited by RyanS.; 02-15-2016 at 11:31 AM.
-
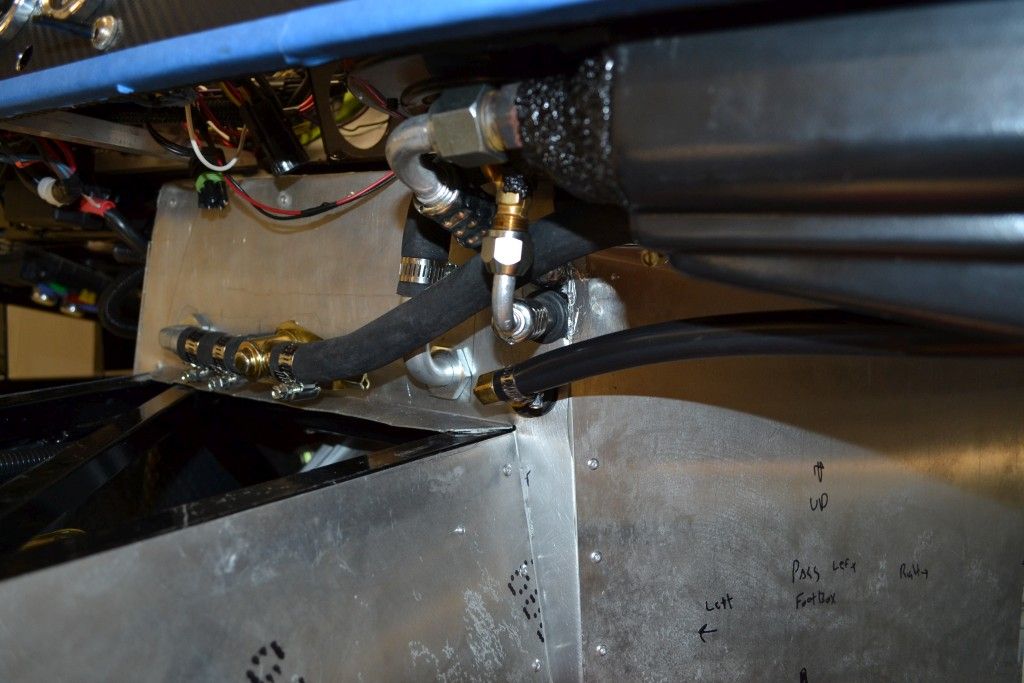
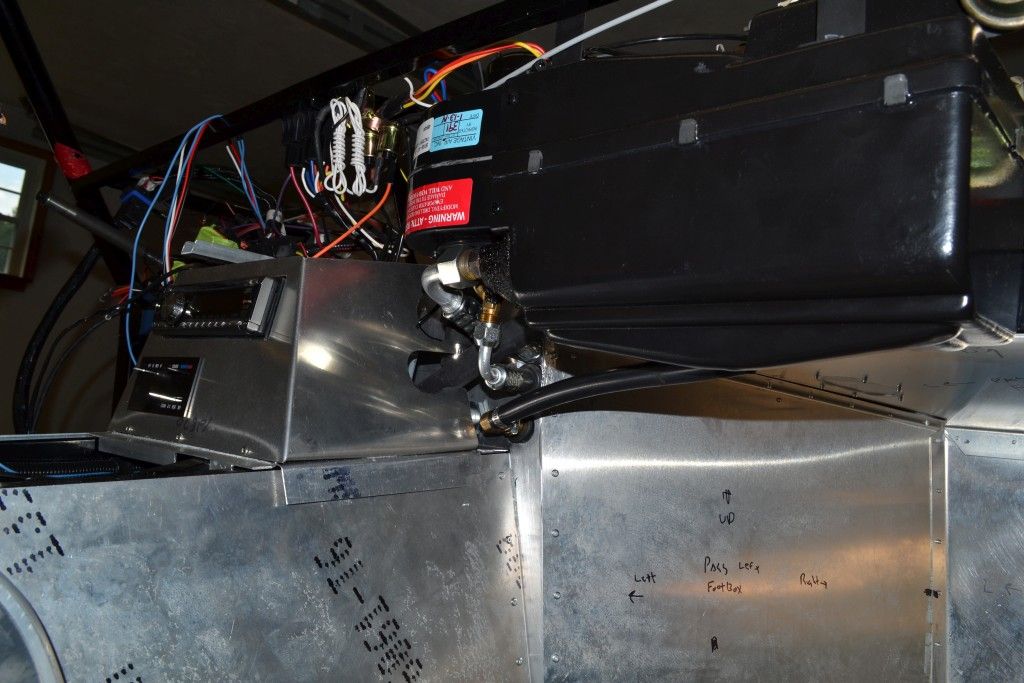
I bought the AC unit from north race cars but I don't know what vintage air unit it is. I was able to modify the face plate enough to get it behind the stock firewall with no modifications
-
Thanks Guys,
I appreciate the replies. I'm going to keep looking into this as it seems an inch or two could be huge real estate behind the dash. Every little bit helps, I guess!
Ryan
-
Senior Member
Originally Posted by
RyanS.
Thanks Matt,
I had been searching the vintage air catalogs and cant find the evaporator that seems to come with the FFR A/C kits. In a game of inches, I was thinking if the mini evap was significantly smaller, I can put together a kit for a little less, and have more room to work with. It seems the width isnt a huge issue behind the dash, but depth is. At more than 2 inches less depth and the same height, I may try to go this route instead of buying the kit from FFR or North.
VA's mini evap is 19" wide,
7.3" deep, and 9" tall.
http://www.vintageair.com/2015%20Cat...talog%2047.pdf
Would those extra 2" of depth make a signifigant difference in ease of install; dash/firewall mods? Thanks.
Ryan
I think one mini space saver has defrost and one does not that's why they are different dim's. I think the defrost output on the ffr version may be different as well.
I would call vintage air and ask them FFR may have them building a modified version of the mini space saver. I wish they would just make one specific to the coupe chassis cause there really is plenty of room to get it fully behind the dash they just need a longer less wide unit, and the outputs come out all wrong.
The Ac and heater lines should come out the other end as well (or better yet thru the front) trying to get them thru the fire wall in the middle of the car is a royal pita and looks crappy too.
I was pretty disappointed with the overall fit and quality of the A/C system at FFR's price point It could have been so much better for not really much more money. Same goes for the wiper kit that's a total joke, if I knew then what I know now I would not have ordered these options with the kit and did something else.
Last edited by HCP 65 COUPE; 02-29-2016 at 03:27 PM.
-
Senior Member

I used North Racecars Heater/AC unit. I made a very minor modification to the bottom of the fire which pushed it out about 1.5" at the bottom. Fit nicely.

-
That dash really came out nice, good job
-
Agree 10% about A/C and wipers. I gave up on my wipers working much at all and the A/C unit fill the entire passenger side of dash
 Posting Permissions
- You may not post new threads
- You may not post replies
- You may not post attachments
- You may not edit your posts
-
Forum Rules

Visit our community sponsor


 Reply With Quote
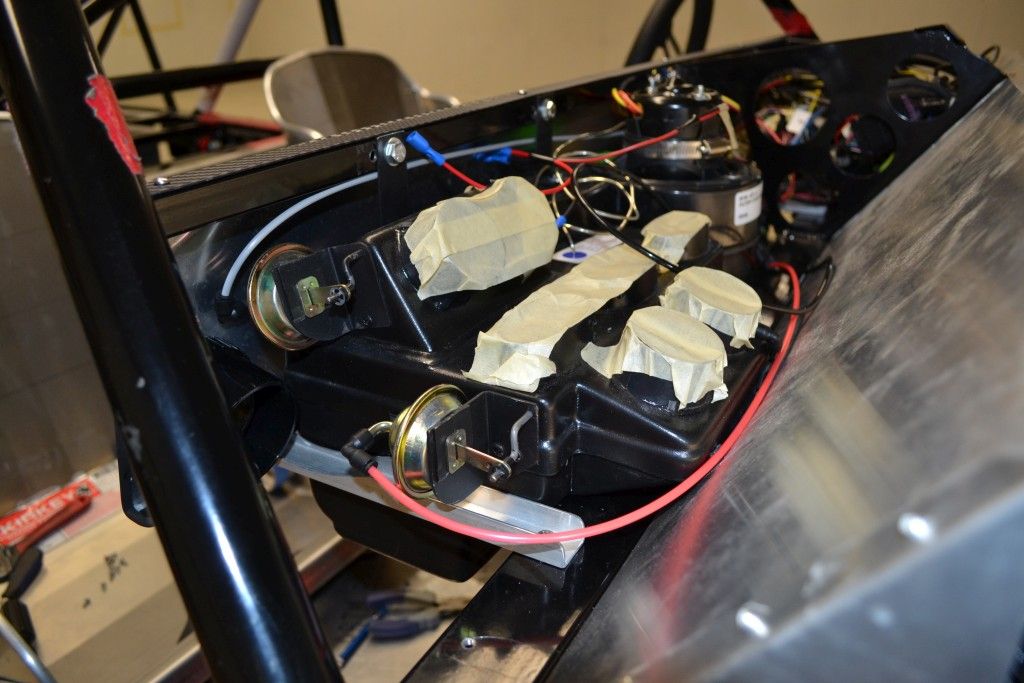
 , but I have build thread on the other site.