Thanks:
  Likes:


I had a question in another thread asking about how I set up doors, hood and trunk lid for painting. A couple of years ago another member spotted some contraptions that I have made up to allow for flipping the panels in a photo that I had posted and asked for details and photos which I sent in a PM. After getting this most recent request for info I figured I should dig the pictures out and post them.
I'm a firm believer that the moving panels should be sprayed in their end orientation unless you're doing solid non metallic colors (I sprayed a door laying flat one time and it ended up having a different metallic texture than the vertical body side). I'm also kinda' lazy... if I can spray everything start to finish without having to wait for the panels to dry so that they can be handled that means one less time I have to clean up the gun with the end result being more beer drinking time! Besides that I really like to keep a wet edge all the way around (i.e., no cold joint where fresh base or clear meets previously sprayed and dried base or clear). Win-win!
So here's what I've come up with. Pictures are worth a thousand words---
Door stand is just a wooden "T" with square tubing and stand off that bolt to the hinge studs:
Plenty of room to get the gun in all around.
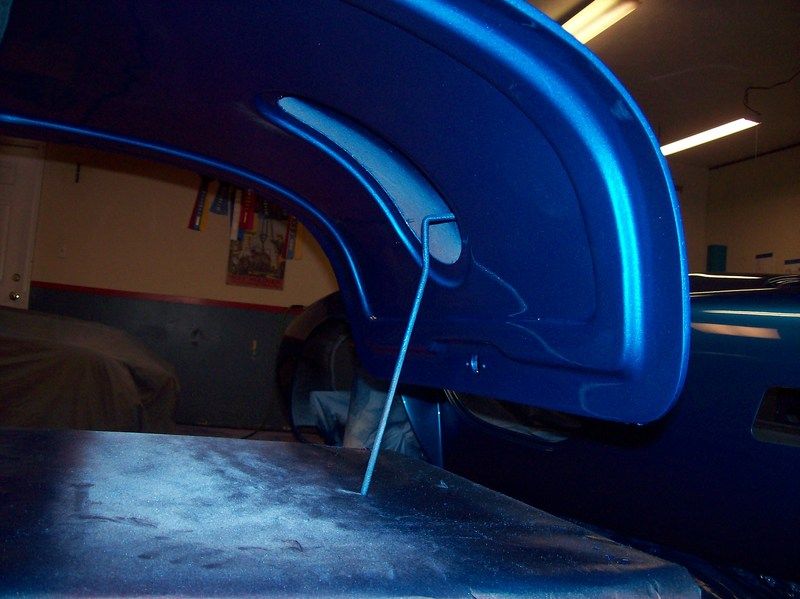
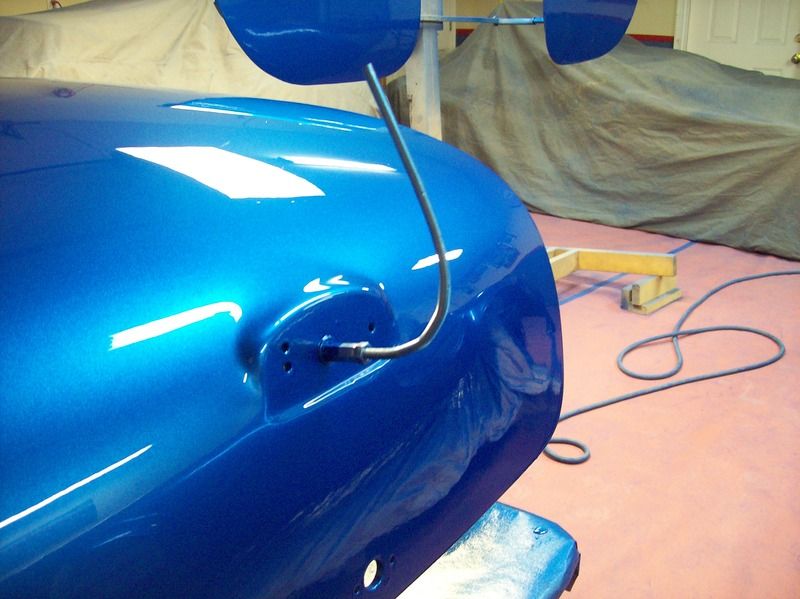
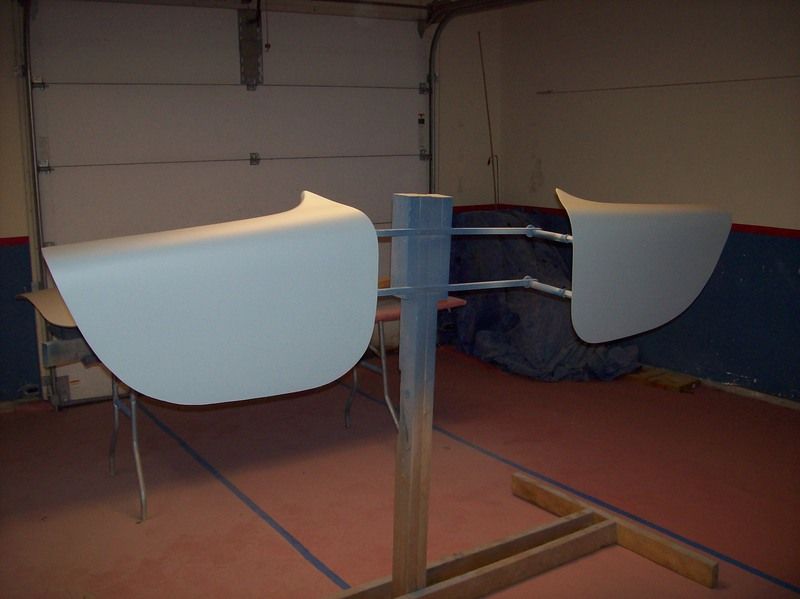
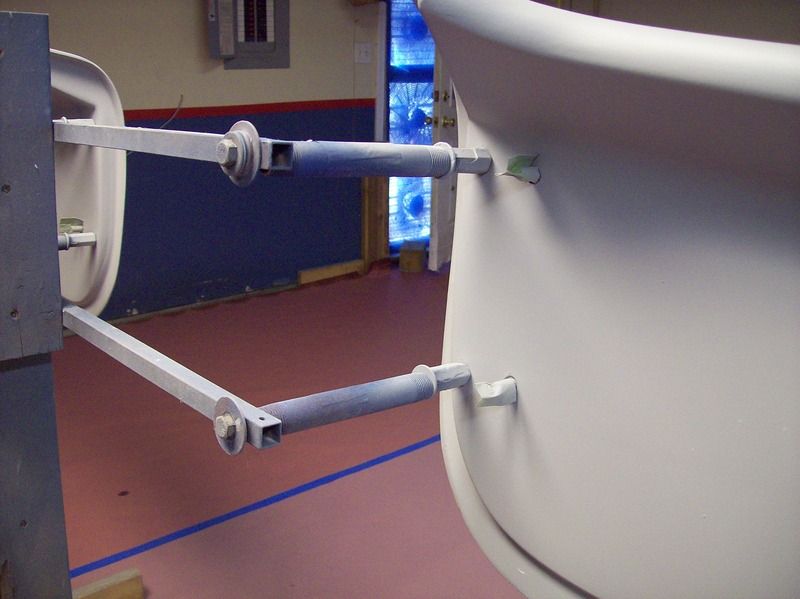
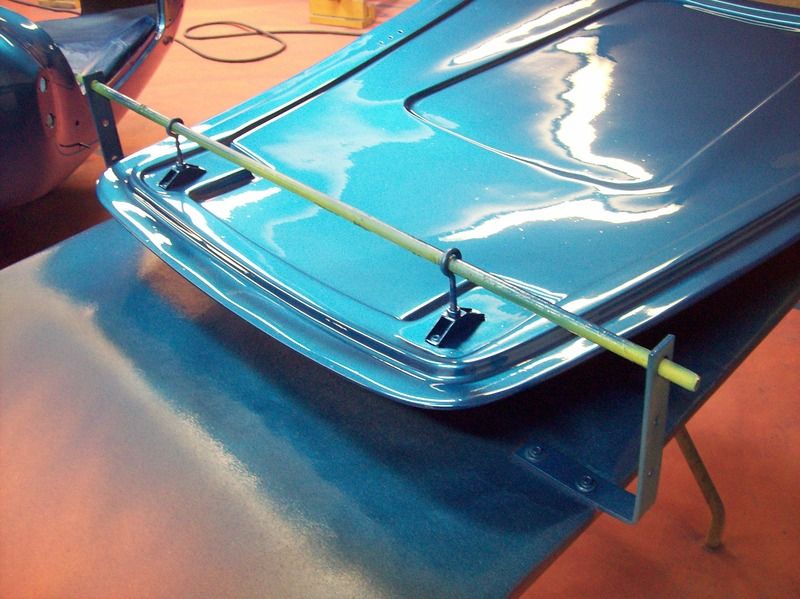
For the hoods I have made some gadgets out of square tubing that rivet on in the hinge plate locations and have long eye bolts attached:
Note that these are smaller than the hinge brackets so that after they are removed the brackets fully cover the unpainted portion. Also the rivets are not using the same holes as the hinge brackets---I don't like to install & remove rivets from those holes any more than necessary because every time you do they wear and get looser.
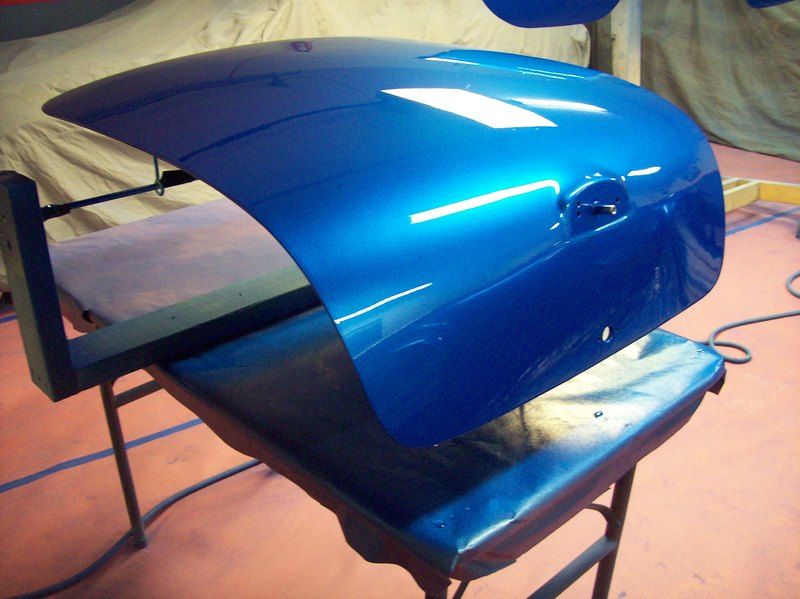
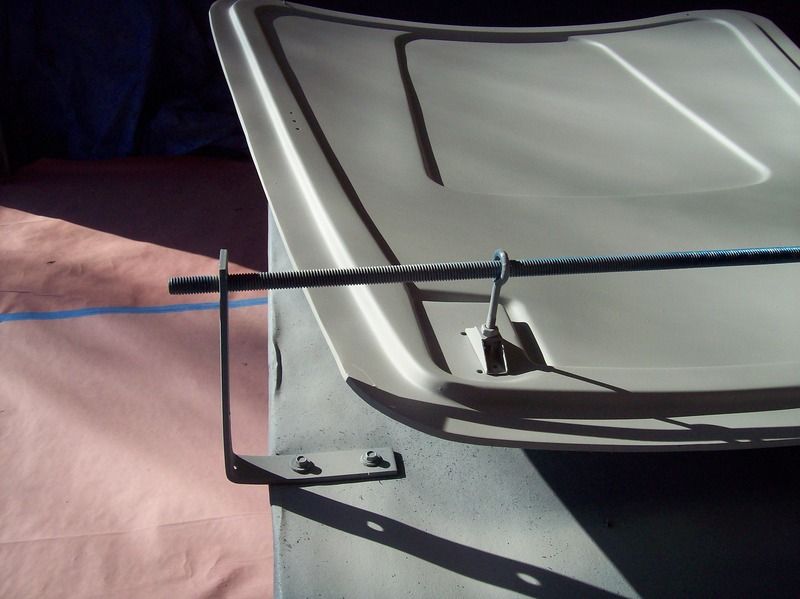
A piece of all thread or steel rod runs through the loop of the eyes to allow the hood to be flipped. I had some angle brackets in my junk box and screwed them to an old folding table:
Here it is flipped one way:
And the other:
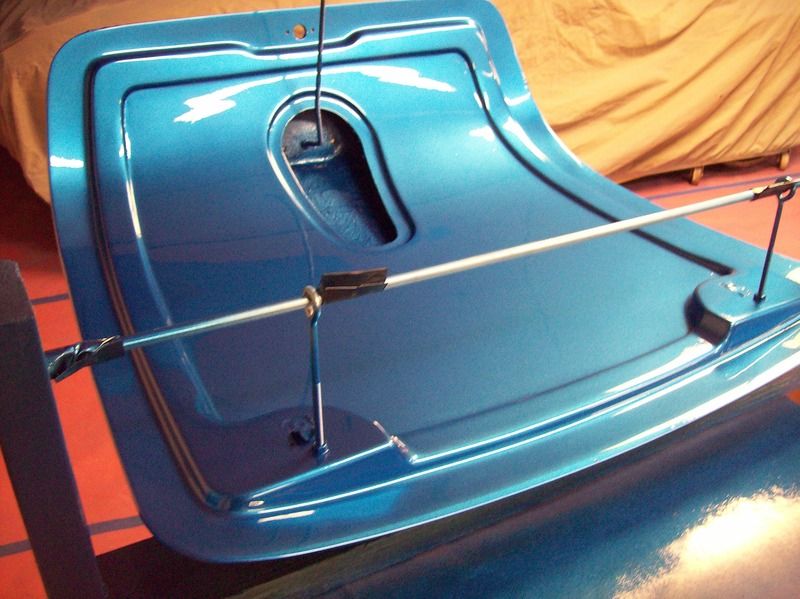
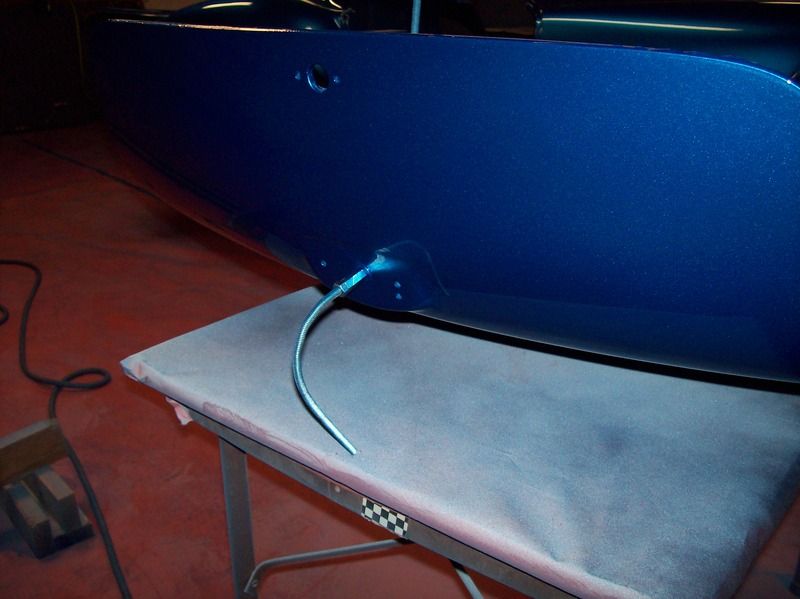
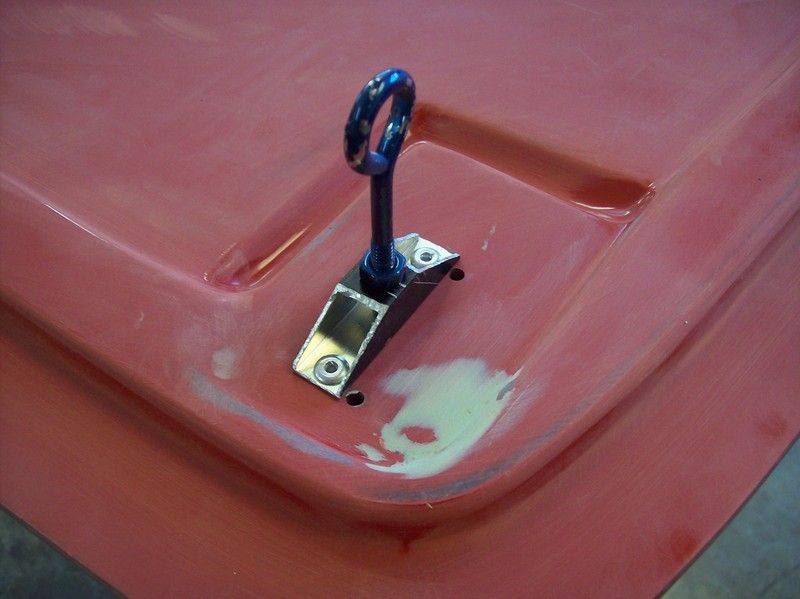
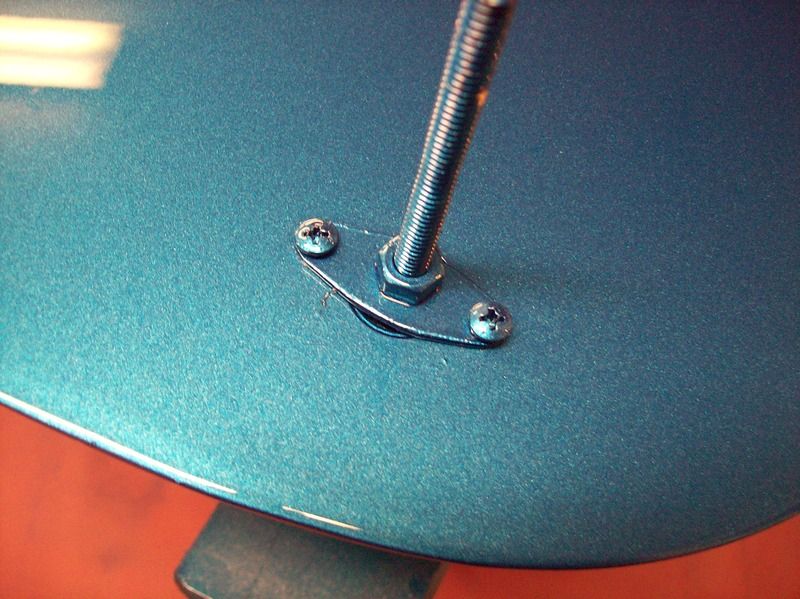
See that thing sticking up in the corner? That's what I use for a handle and to keep it elevated. I made a little plate that screws on to the hood latch handle location then added all thread and bolts to create a stand. Like the gadgets at the hinge bracket location this too is smaller than the base of the latches so the unpainted area will ultimately be covered:
Continued in next reply------------------------------------------------
- Home
- Latest Posts!
- Forums
- Blogs
- Vendors
- Forms
-
Links

- Welcomes and Introductions
- Roadster
- Type 65 Coupe
- 33 Hot Rod
- GTM Supercar
- 818
- Challenge Series
- 289 USRCC
- Coyote R&D
- Ask a Factory Five Tech
- Tech Updates
- General Discussions
- Off Topic Discussions
- Eastern Region
- Central Region
- Mountain Region
- Pacific Region
- Canadian Discussions
- Want to buy
- For Sale
- Pay it forward
-
Gallery
- Wiki-Build-Tech


 Reply With Quote