Thanks:
  Likes:


Vidal & Mike,
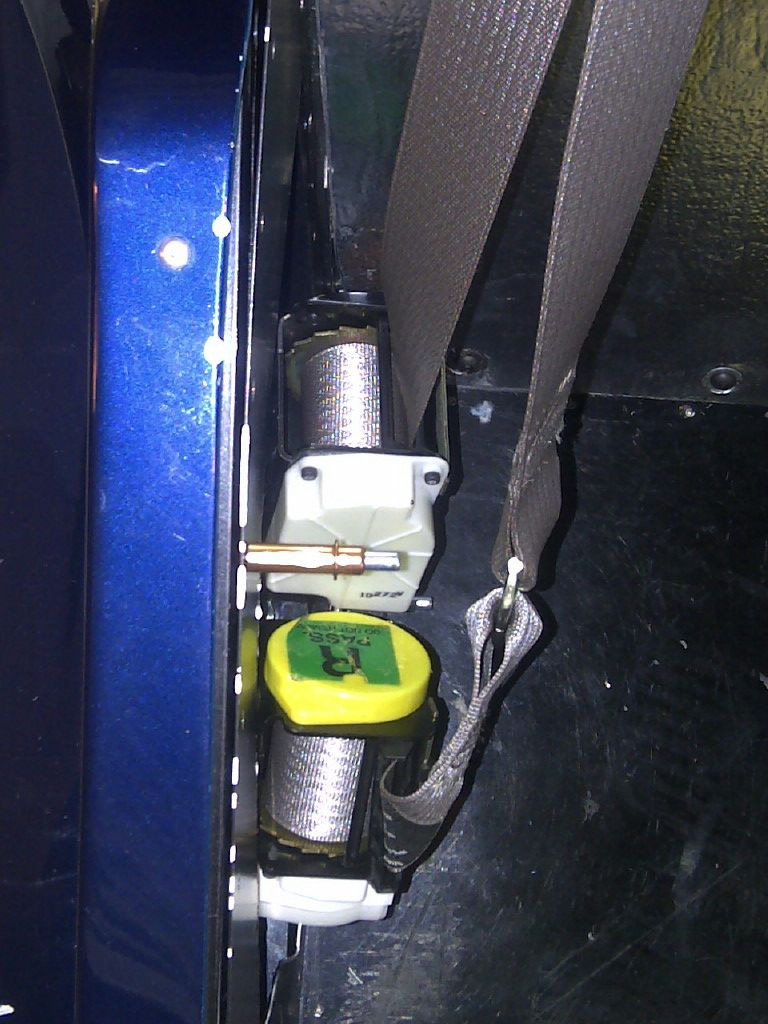
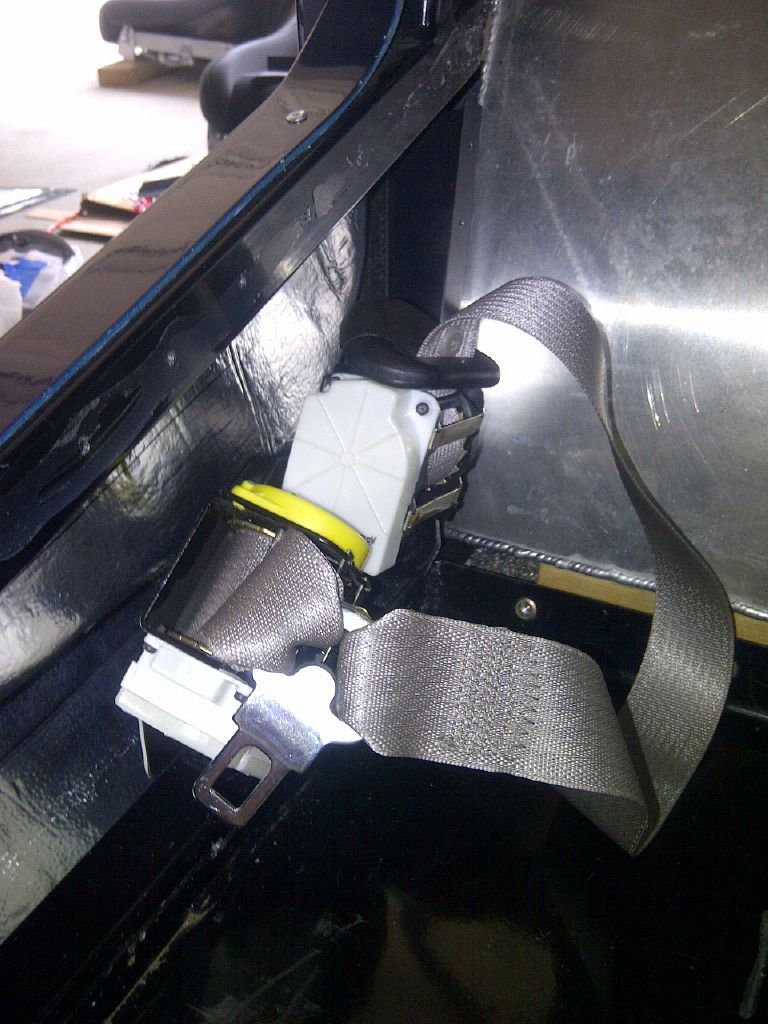
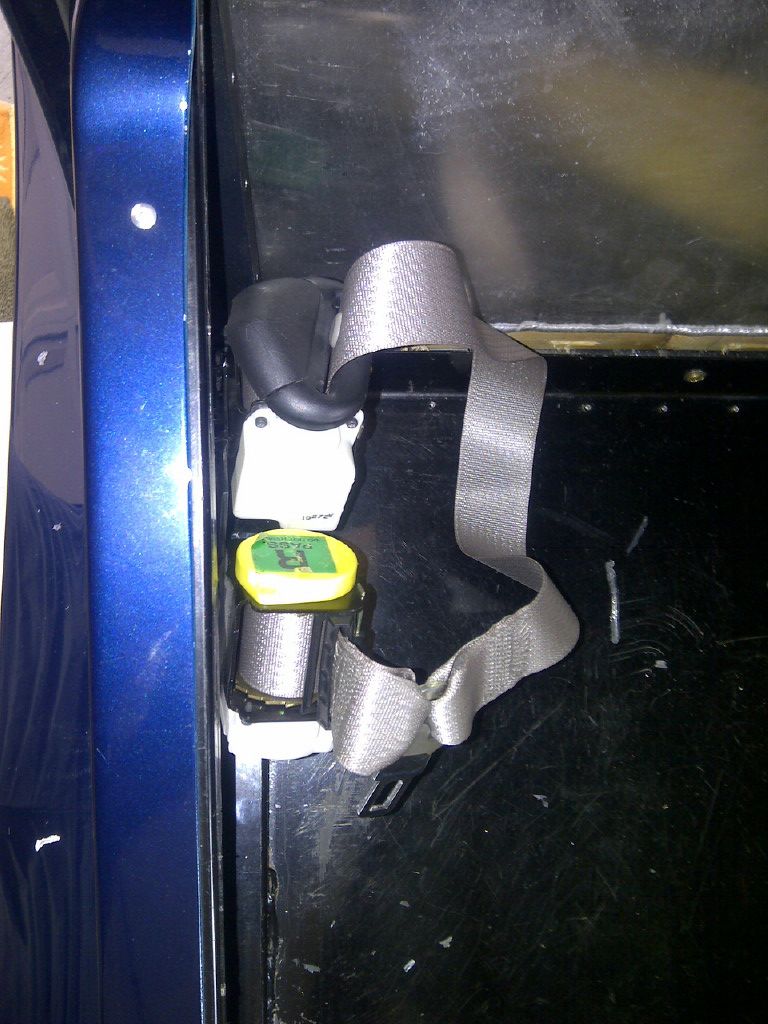
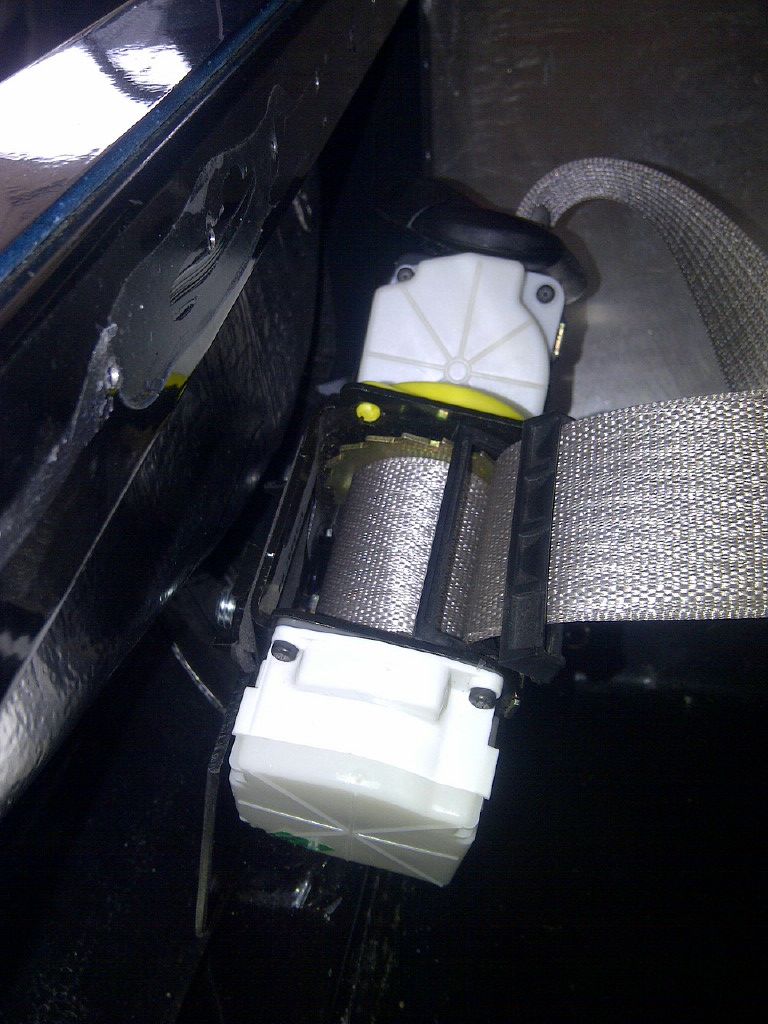
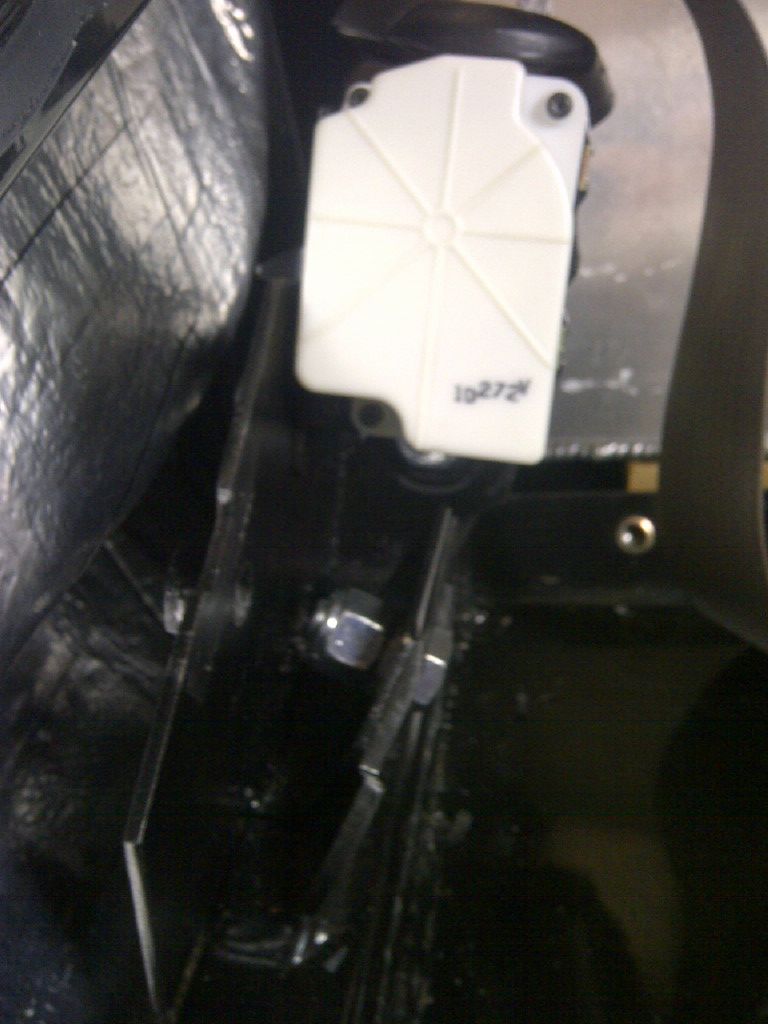
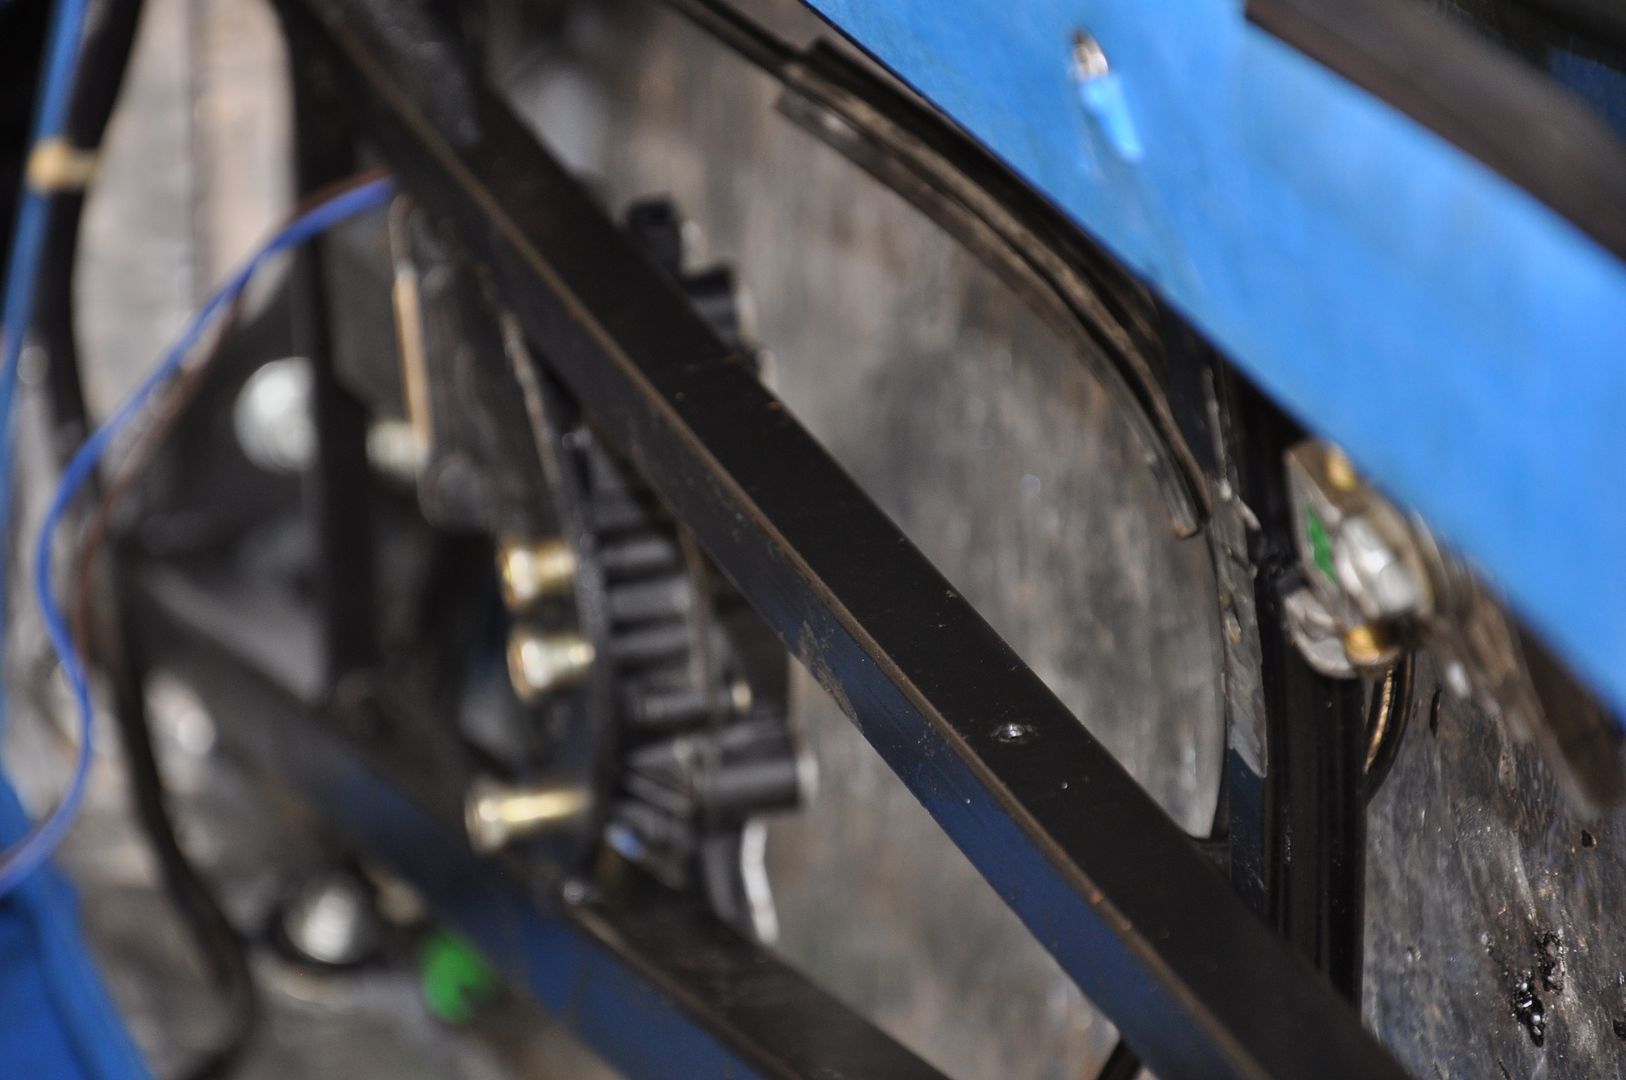
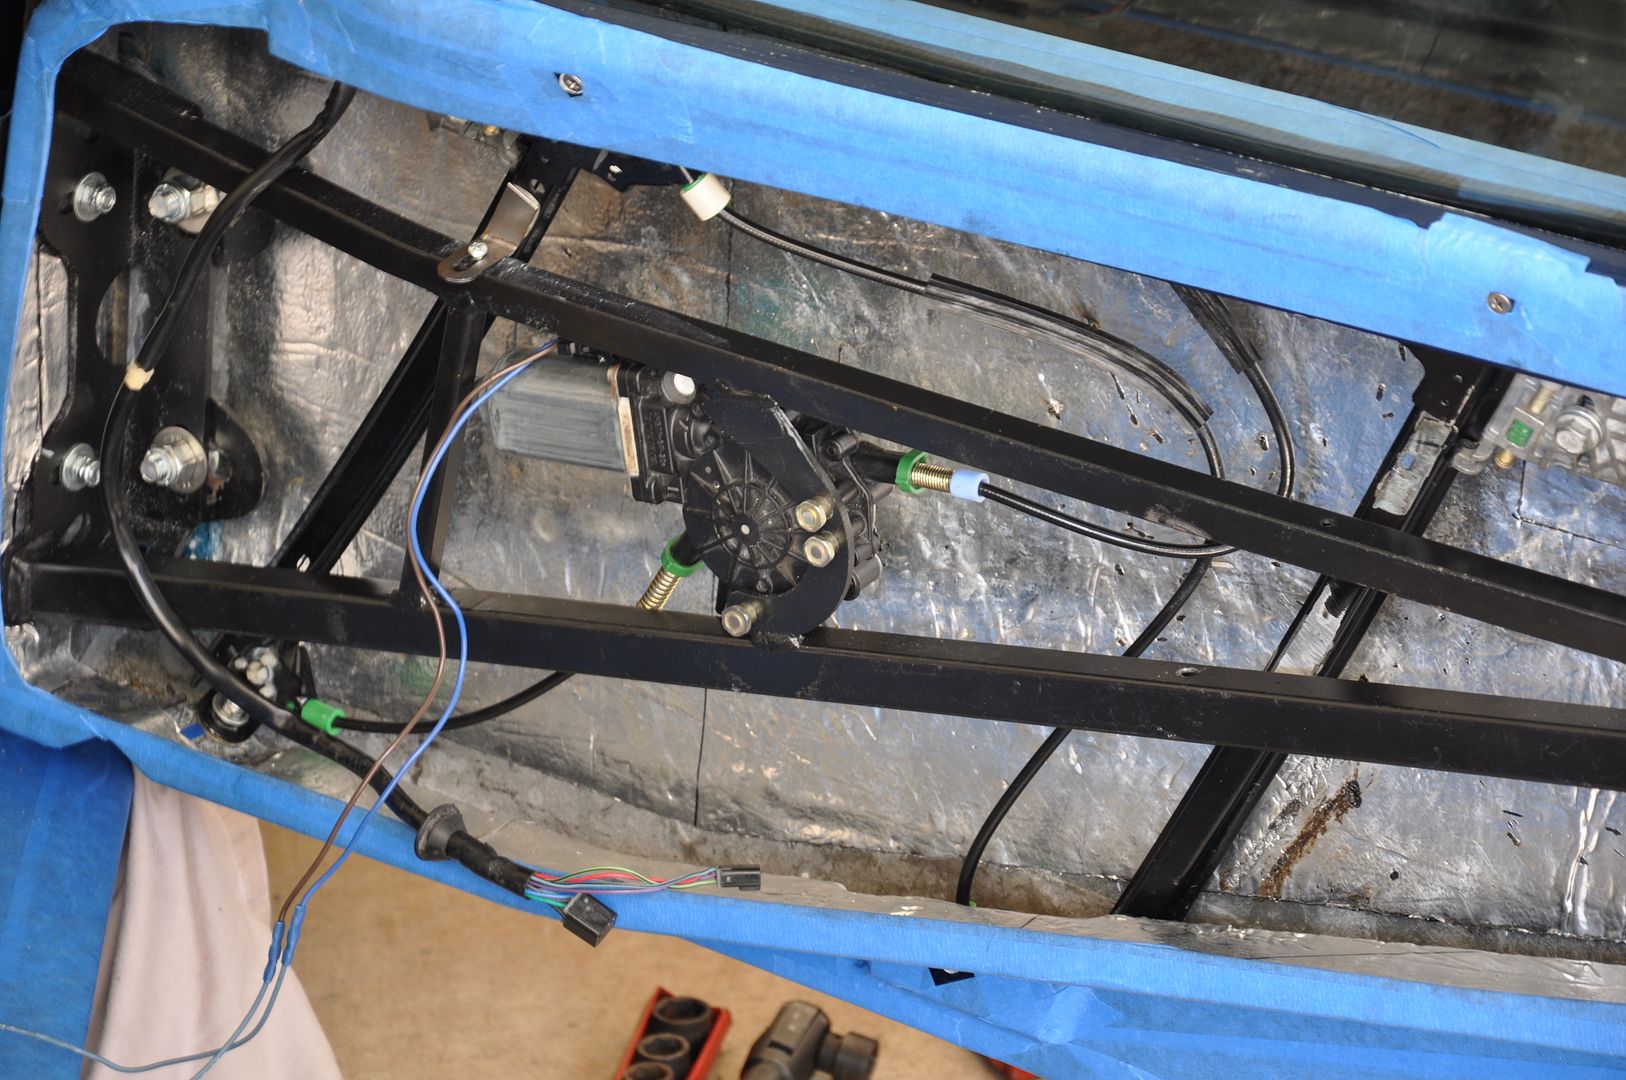
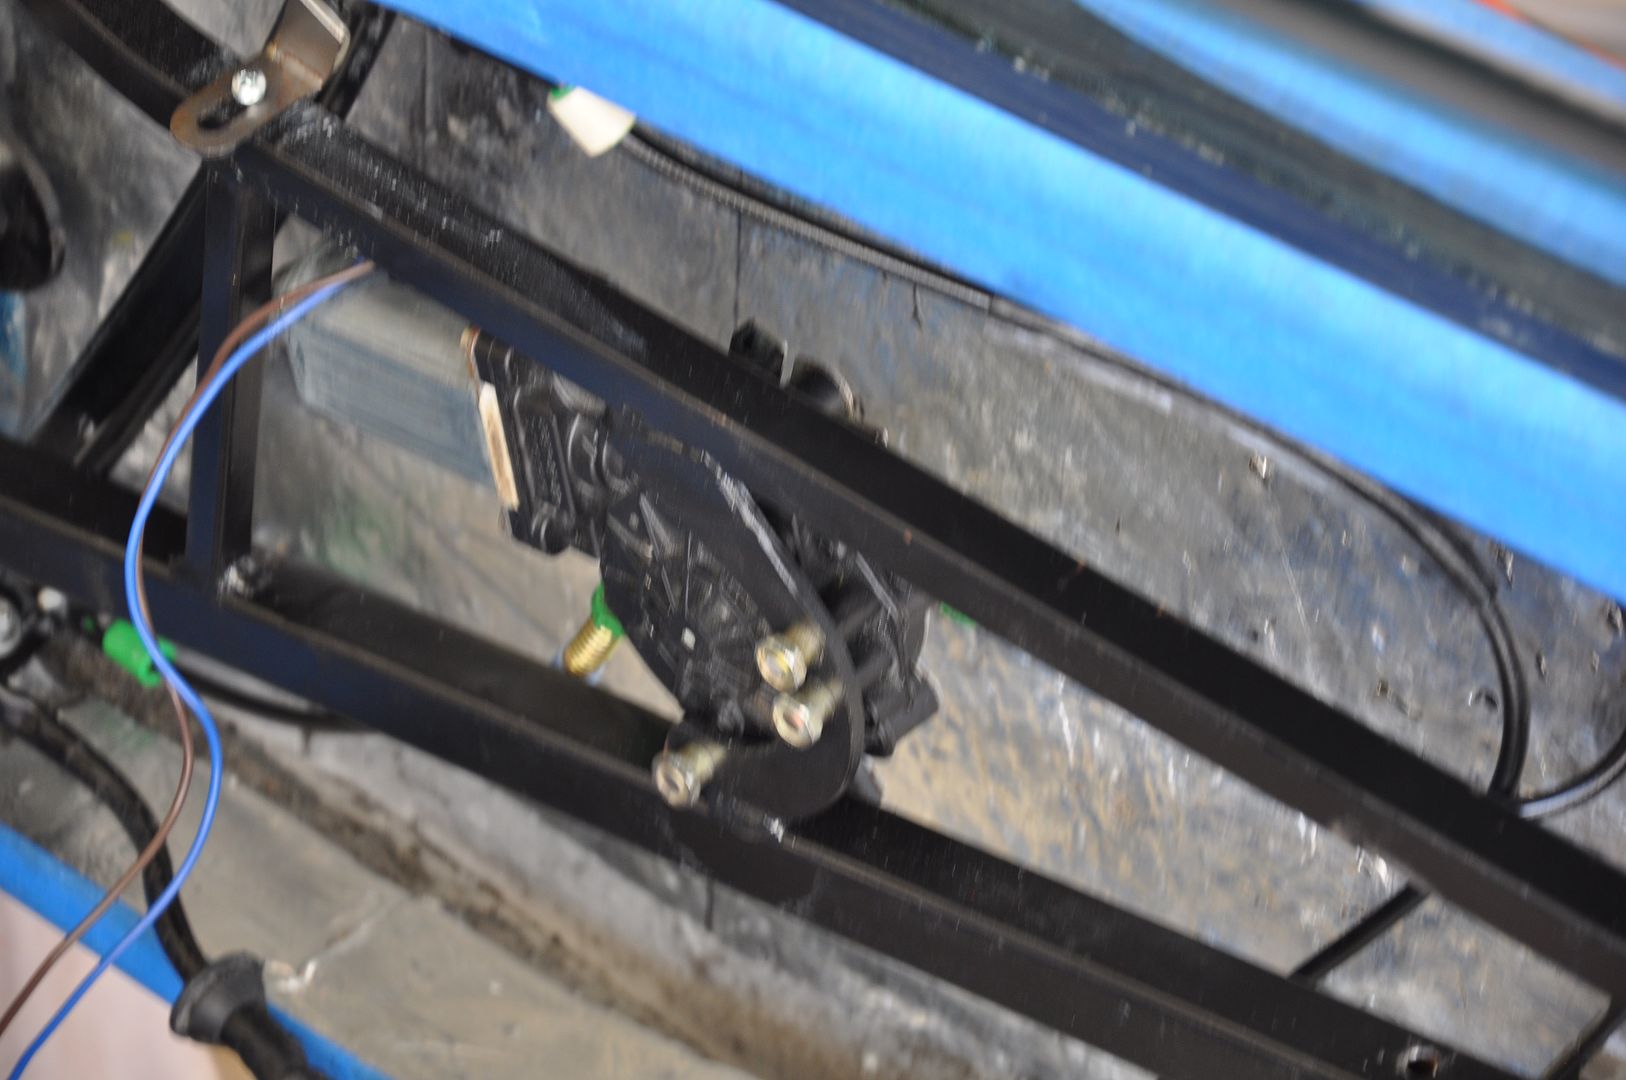
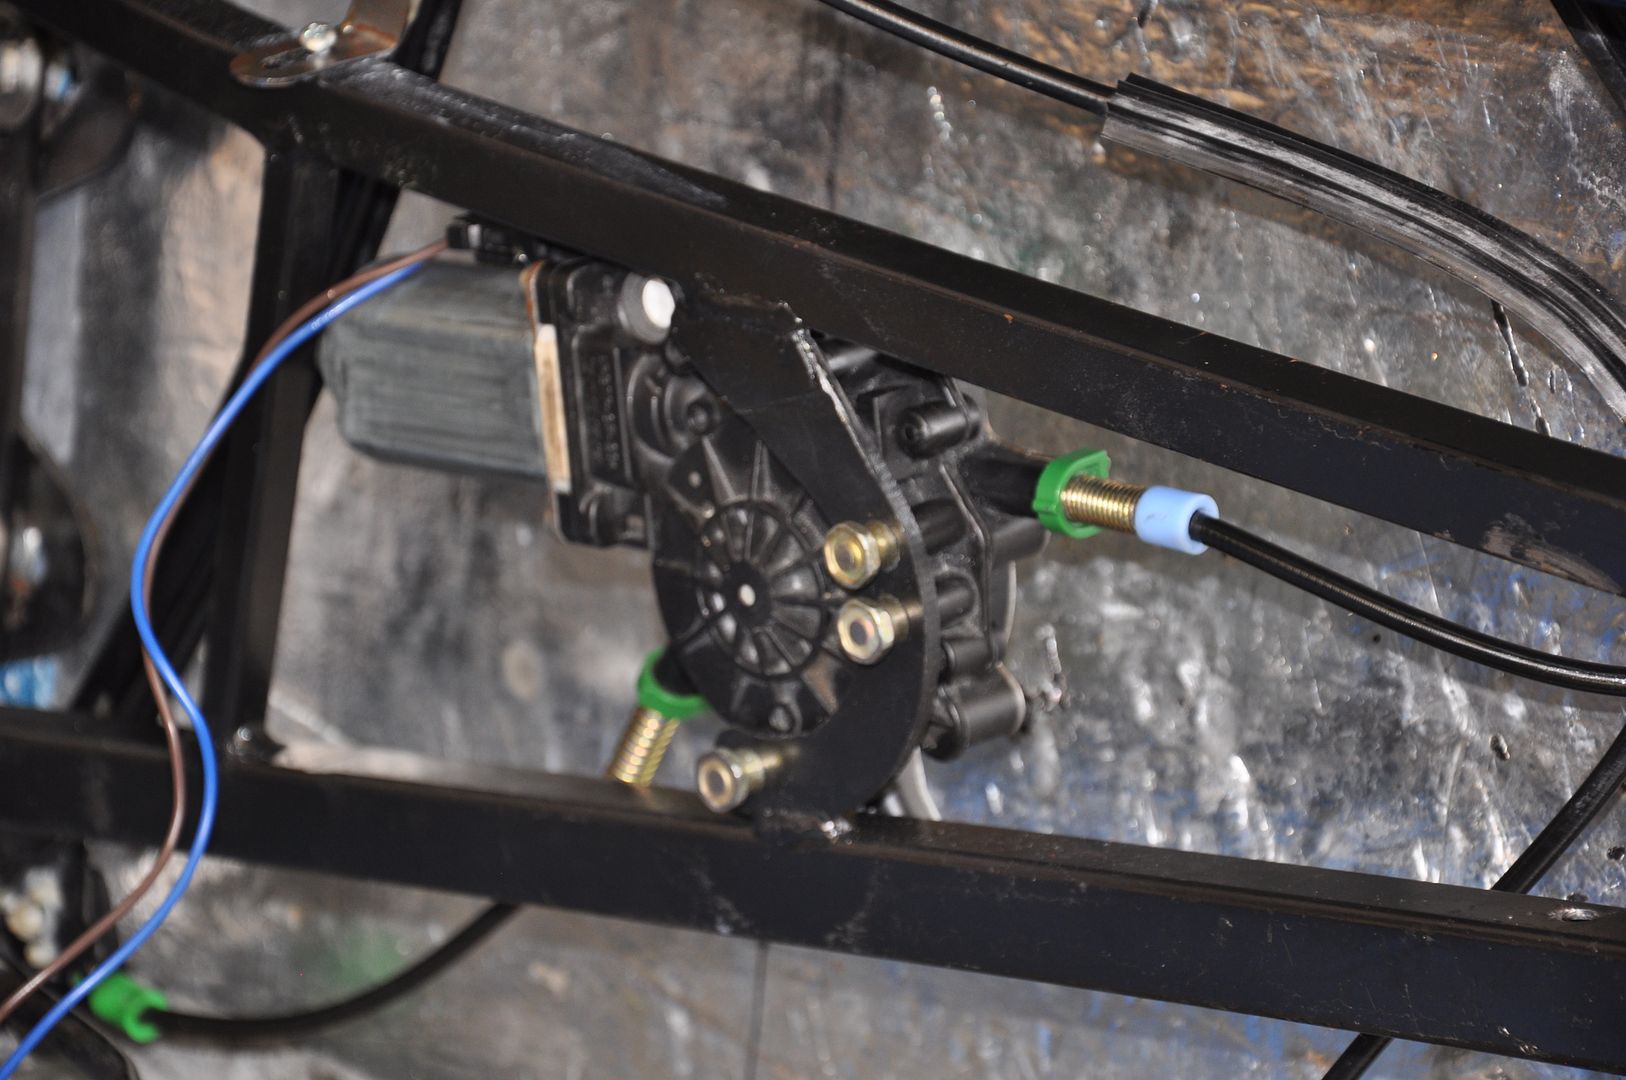
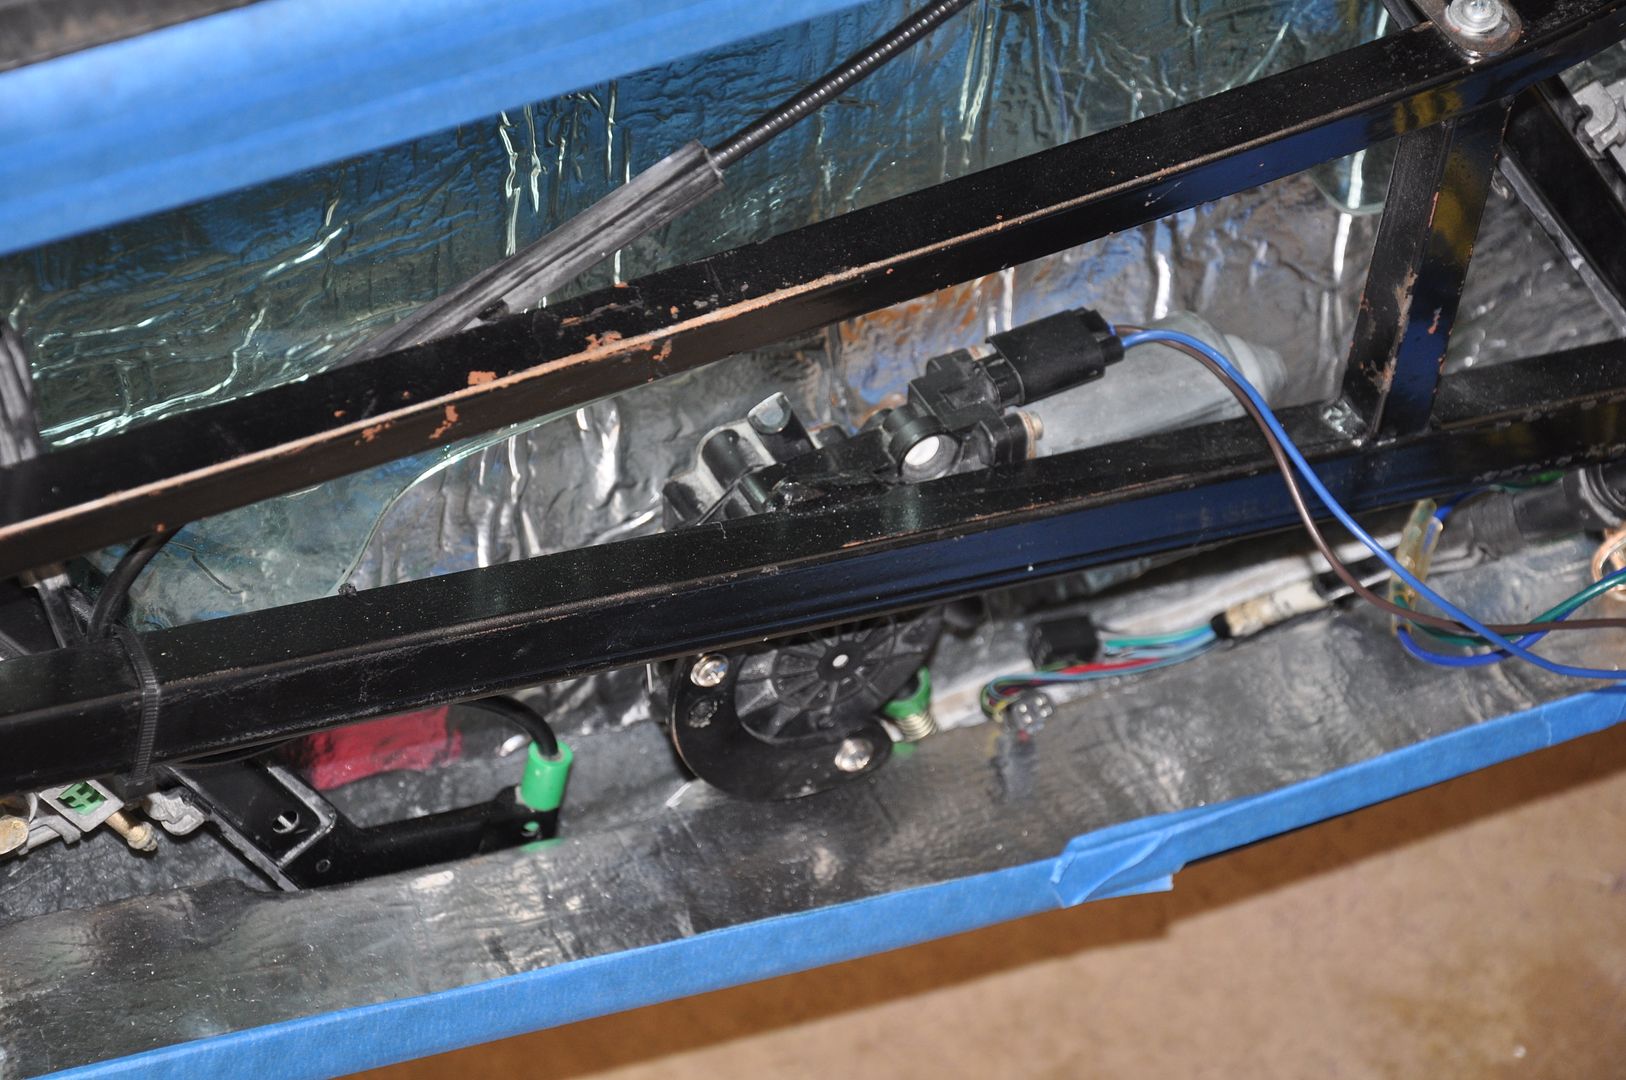
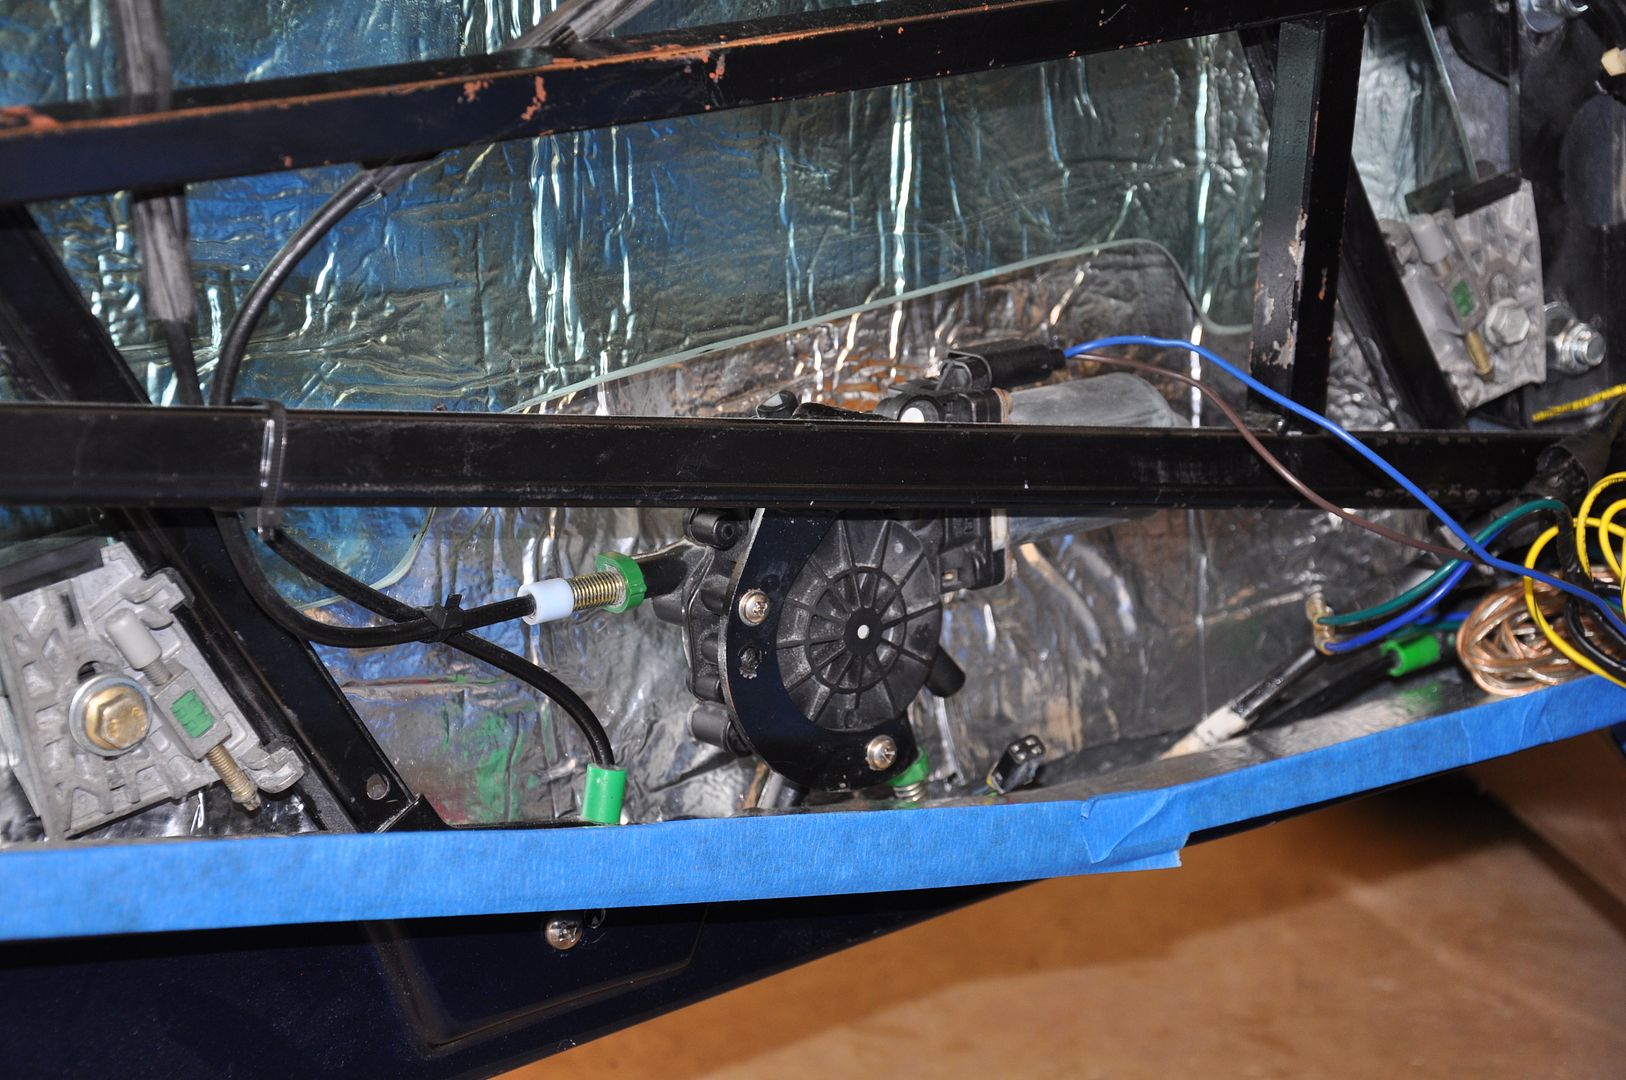
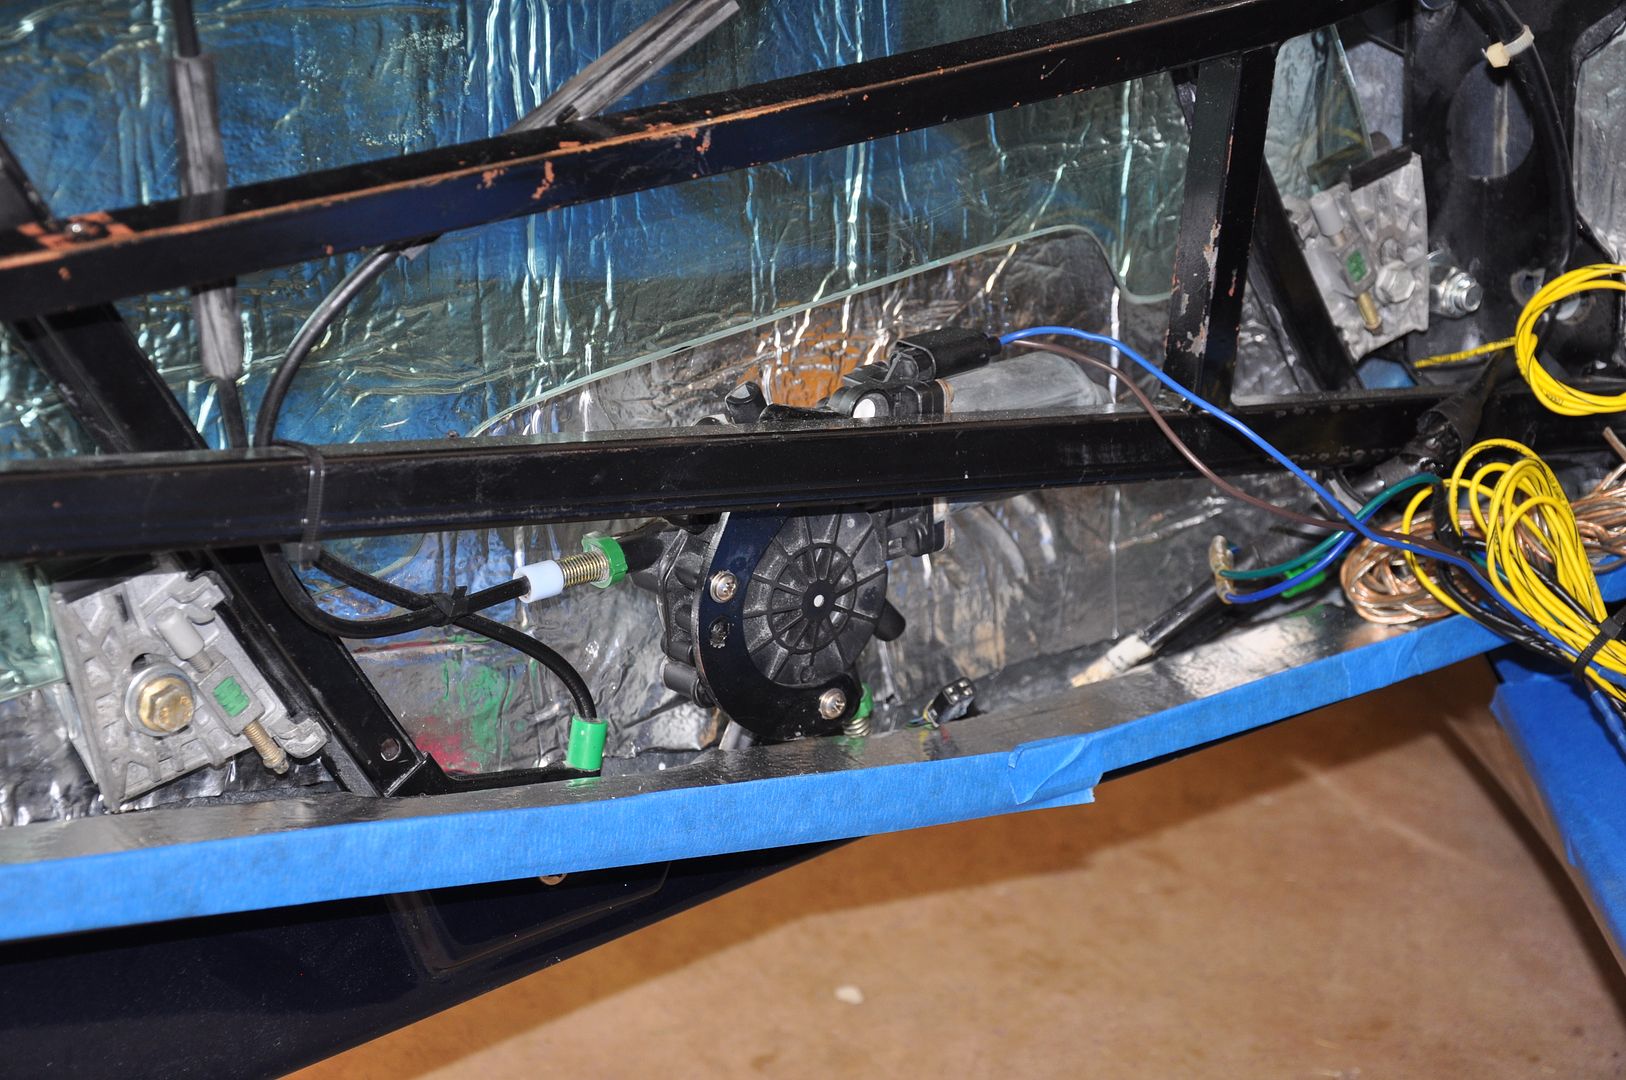
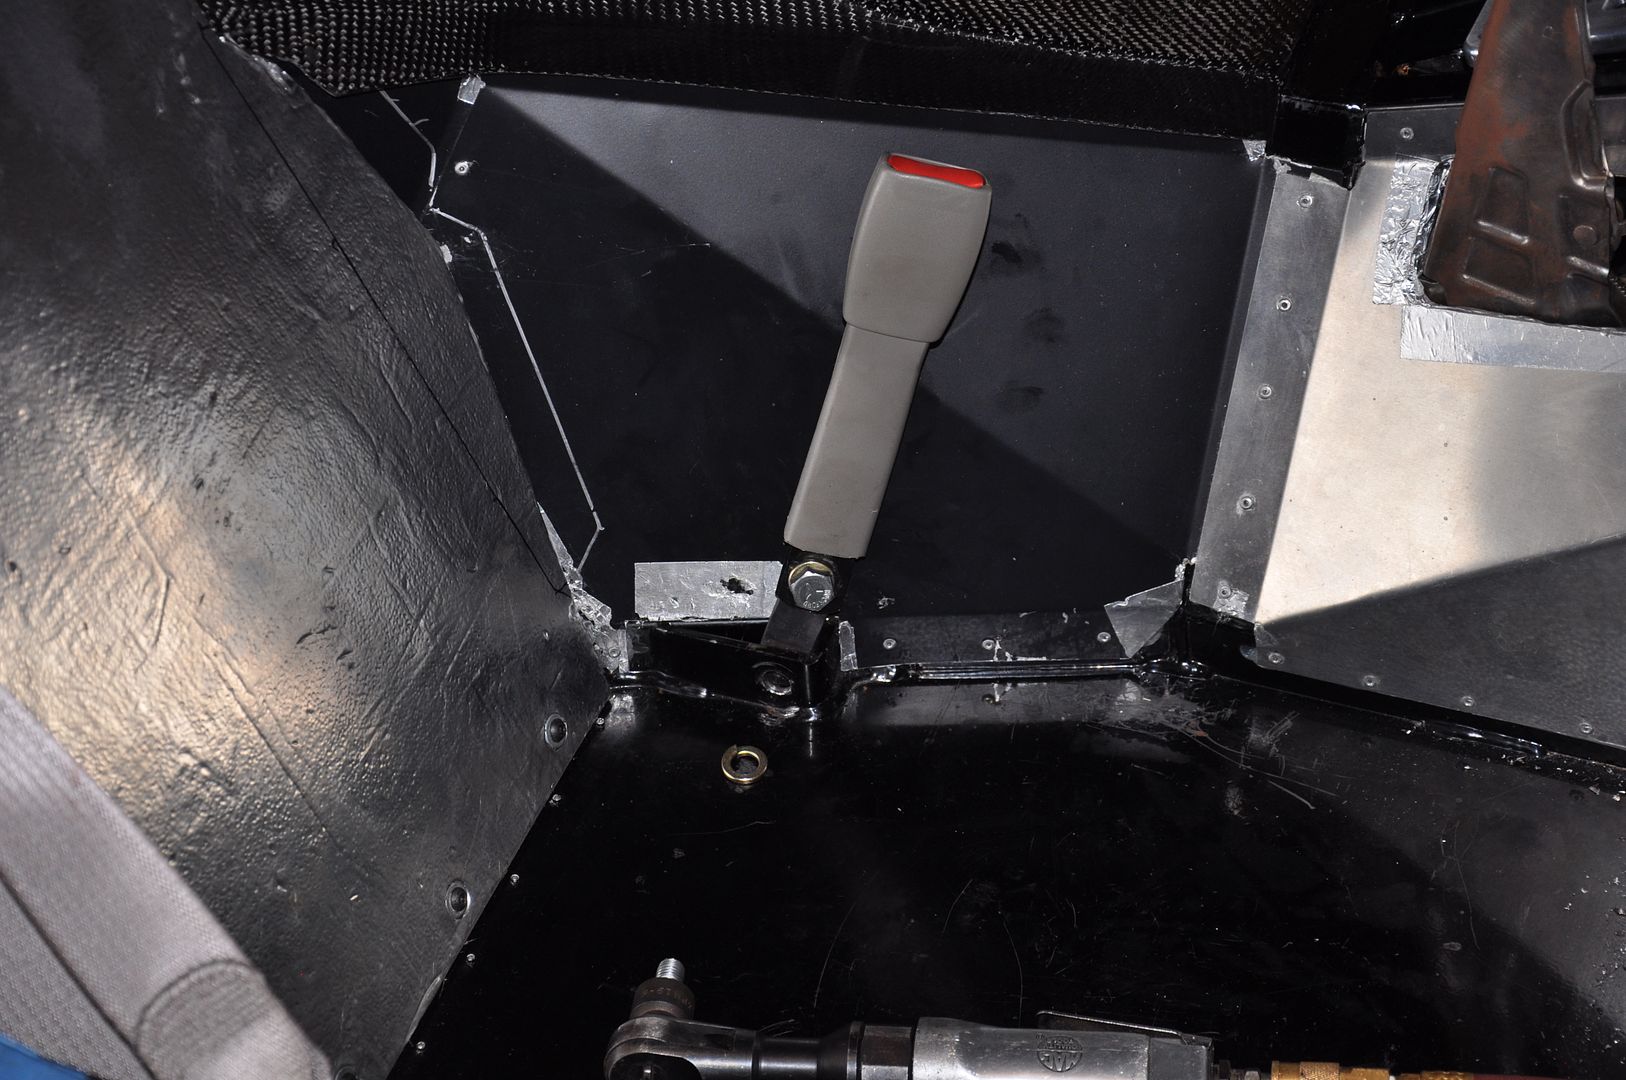
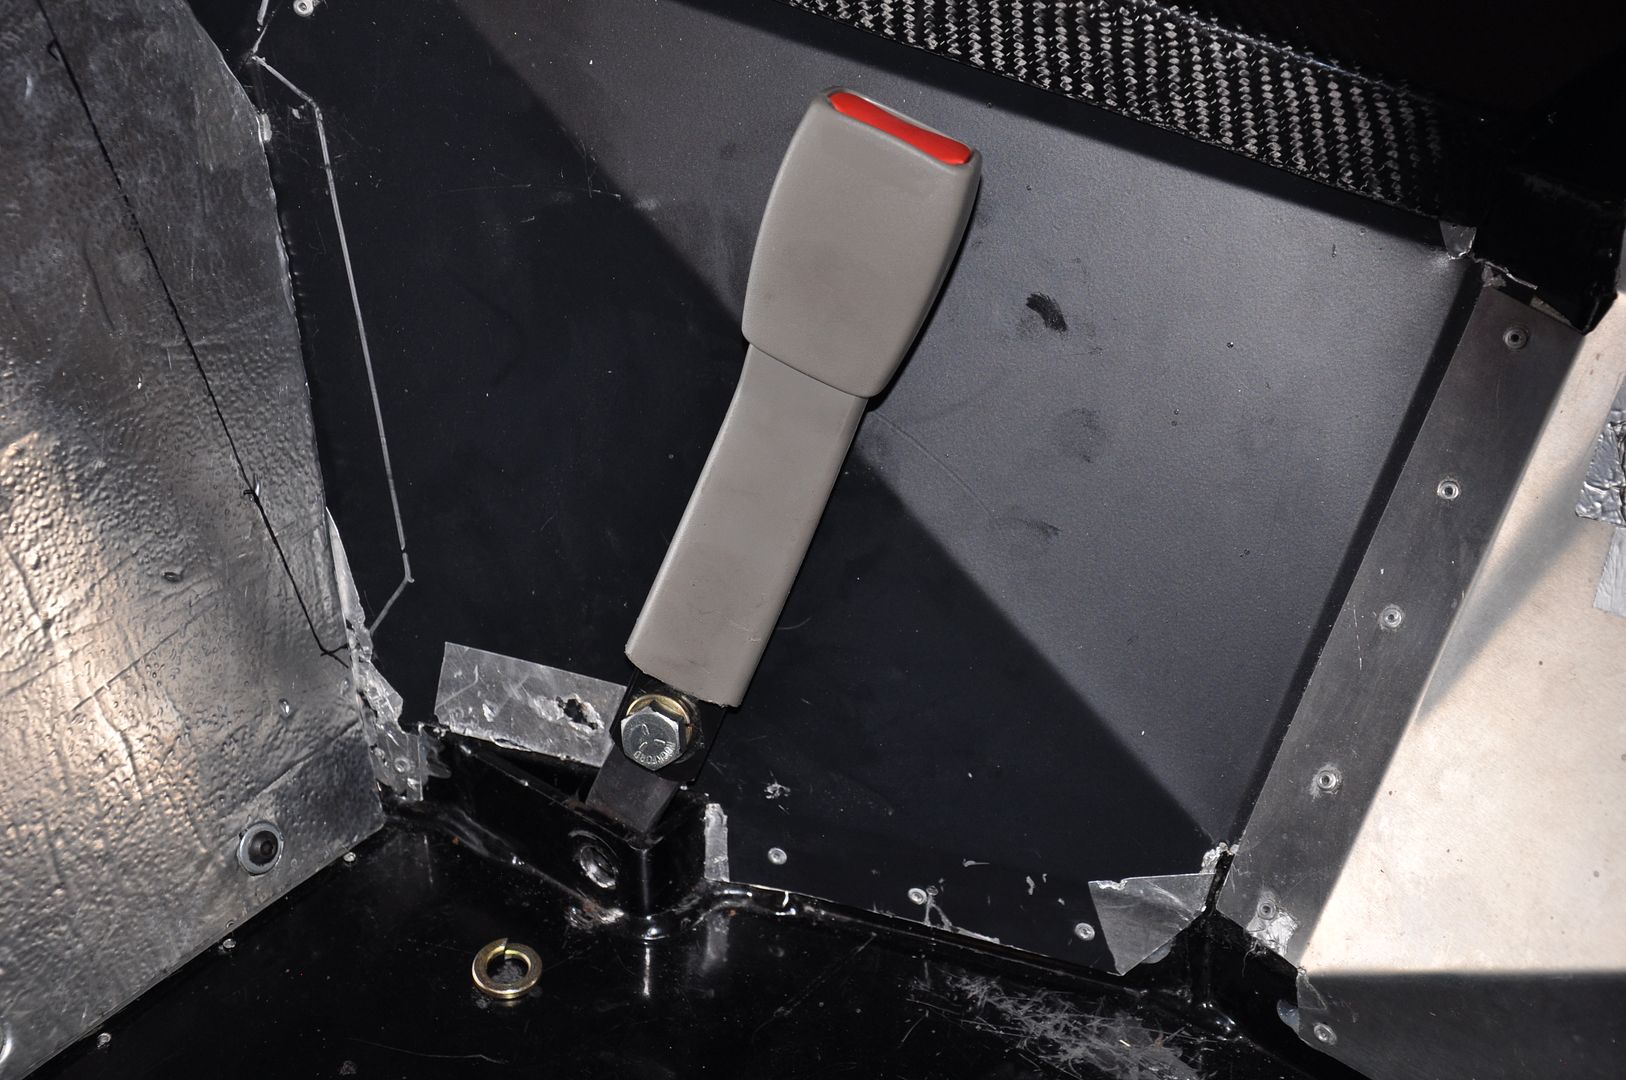
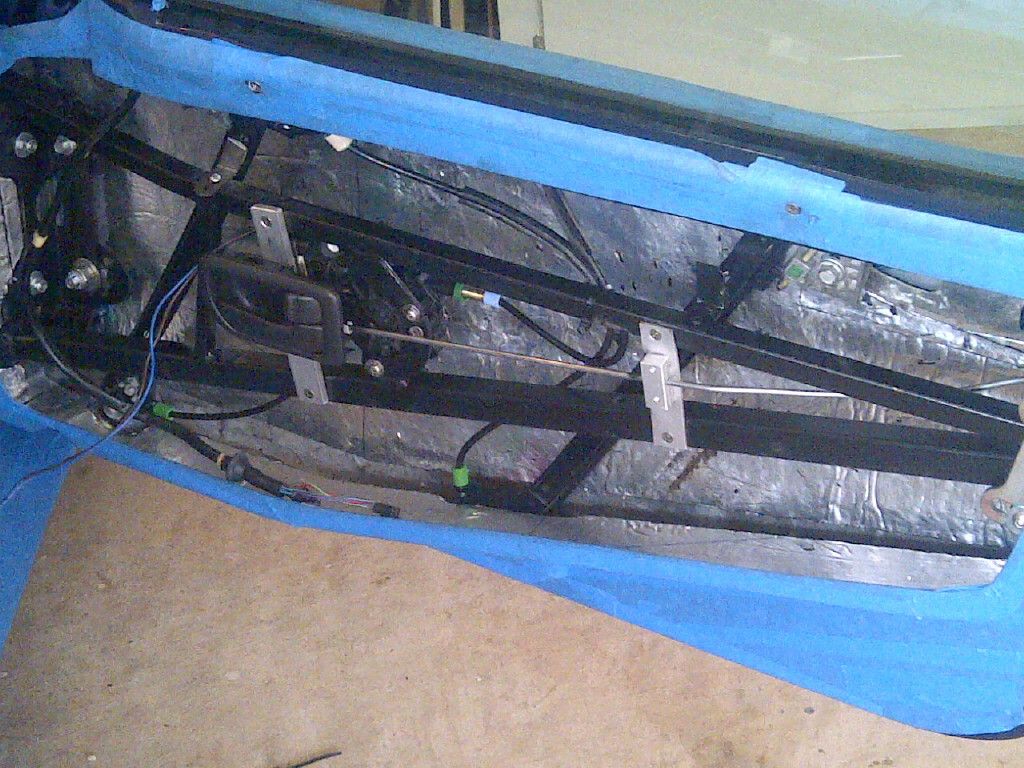
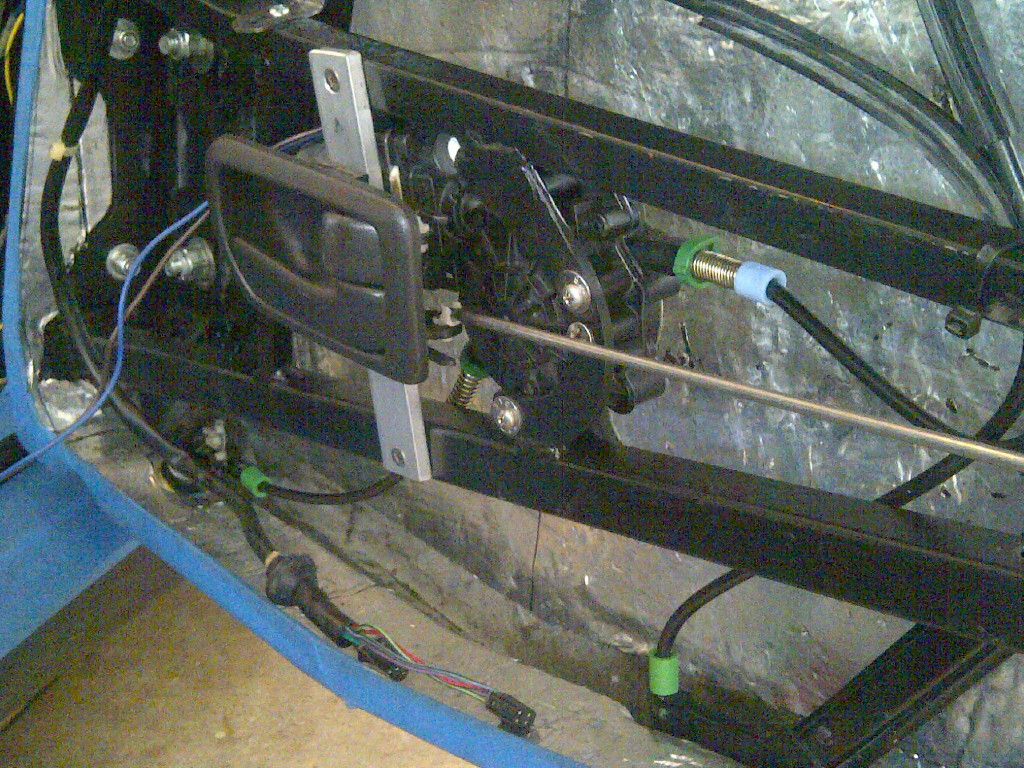
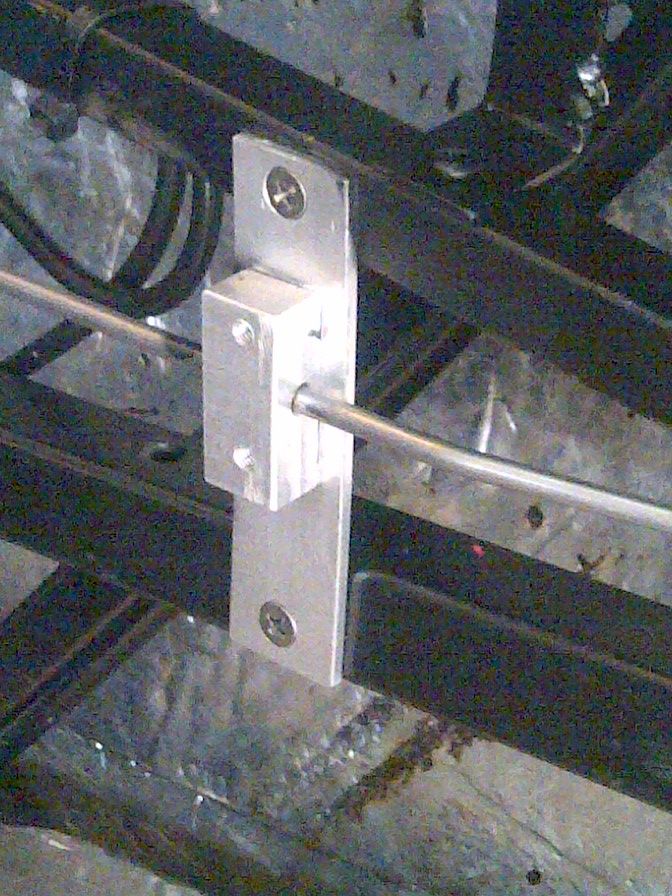
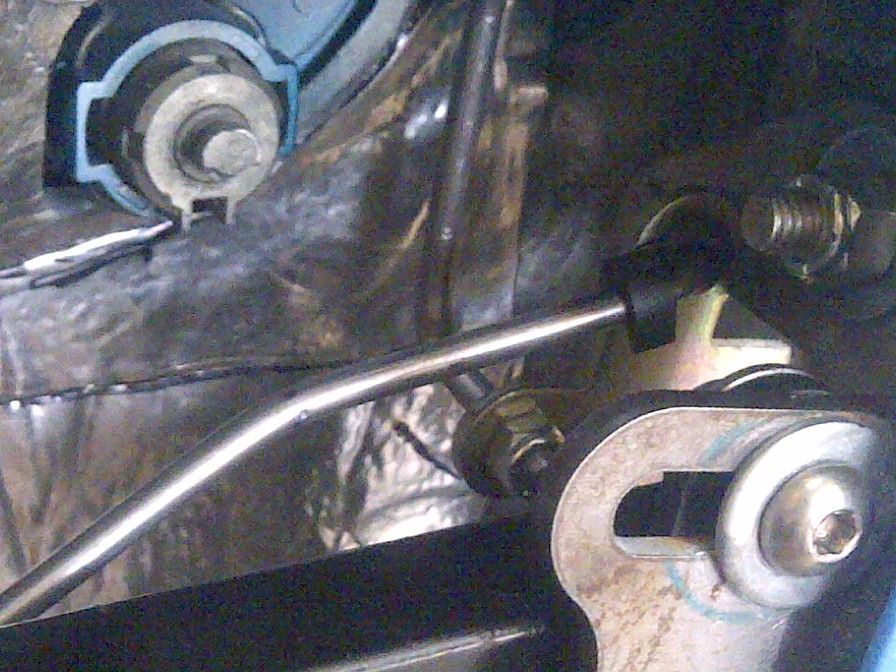
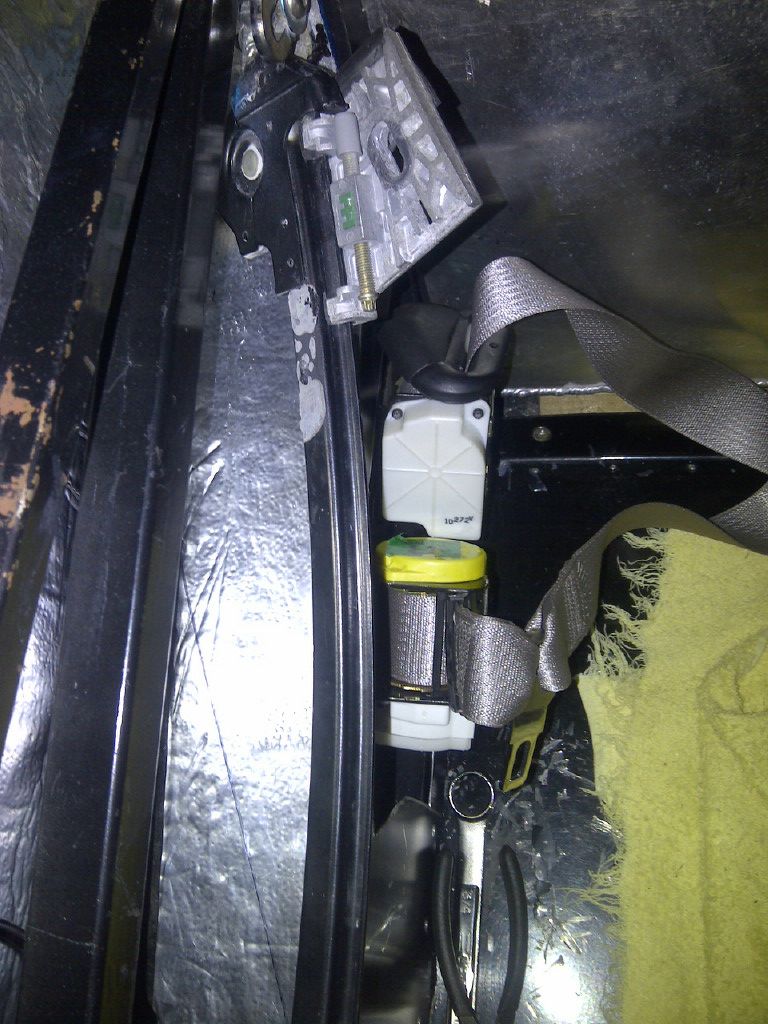
I got the seatbelt inertia and retractor reels installed today. I really appreciate your pointing me towards Mike, for these brackets. The belts extend and retract exactly as they were designed for the Corvette. My question for either you or Mike, is whether or not the reels are supposed to stick out so far towards the seats.
Also, I noticed that Mike had a cover that fit over the reels very well. Can you give some info on these?
Thanks,
Mike
Originally Posted by VD2021

- Home
- Latest Posts!
- Forums
- Blogs
- Vendors
- Forms
-
Links

- Welcomes and Introductions
- Roadster
- Type 65 Coupe
- 33 Hot Rod
- GTM Supercar
- 818
- Challenge Series
- 289 USRCC
- Coyote R&D
- Ask a Factory Five Tech
- Tech Updates
- General Discussions
- Off Topic Discussions
- Eastern Region
- Central Region
- Mountain Region
- Pacific Region
- Canadian Discussions
- Want to buy
- For Sale
- Pay it forward
-
Gallery
- Wiki-Build-Tech


 Reply With Quote