Very Cool Parts

Visit our community sponsor

Thanks Thanks:  0
Likes Likes:  0
Page 3 of 3 FirstFirst 123
Results 81 to 114 of 114

Thread: If it were easy everyone would do it?

  1. #81
    Senior Member sk7500's Avatar
    Join Date
    Feb 2011
    Posts
    377
    Post Thanks / Like

    Rear window #2

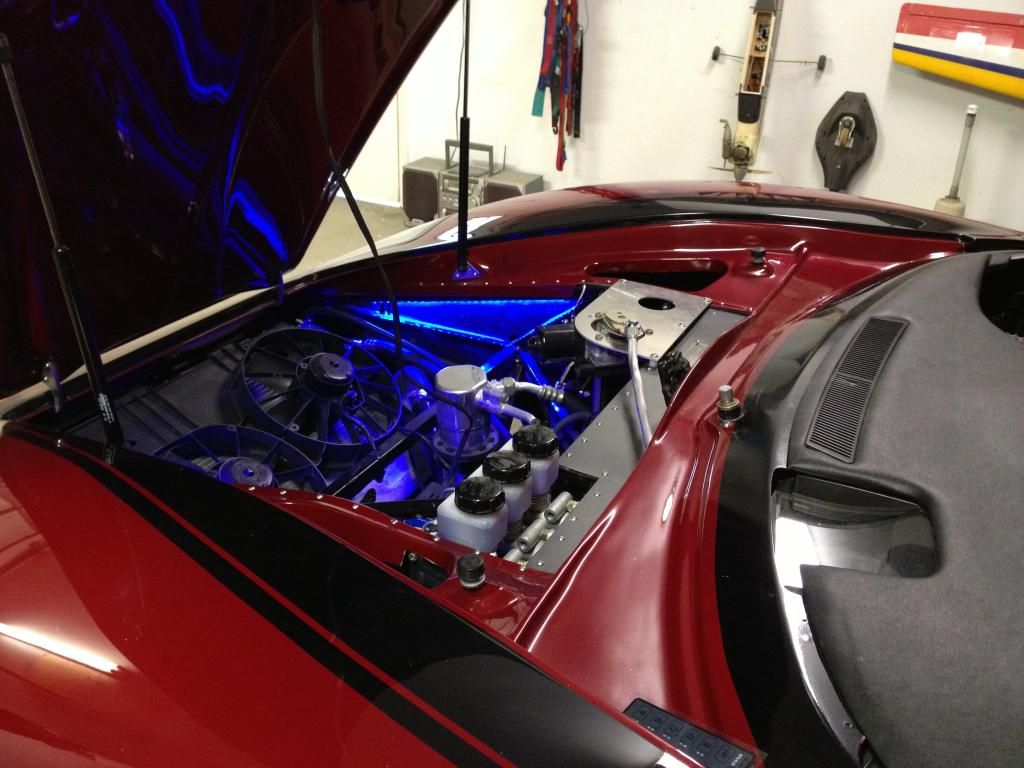
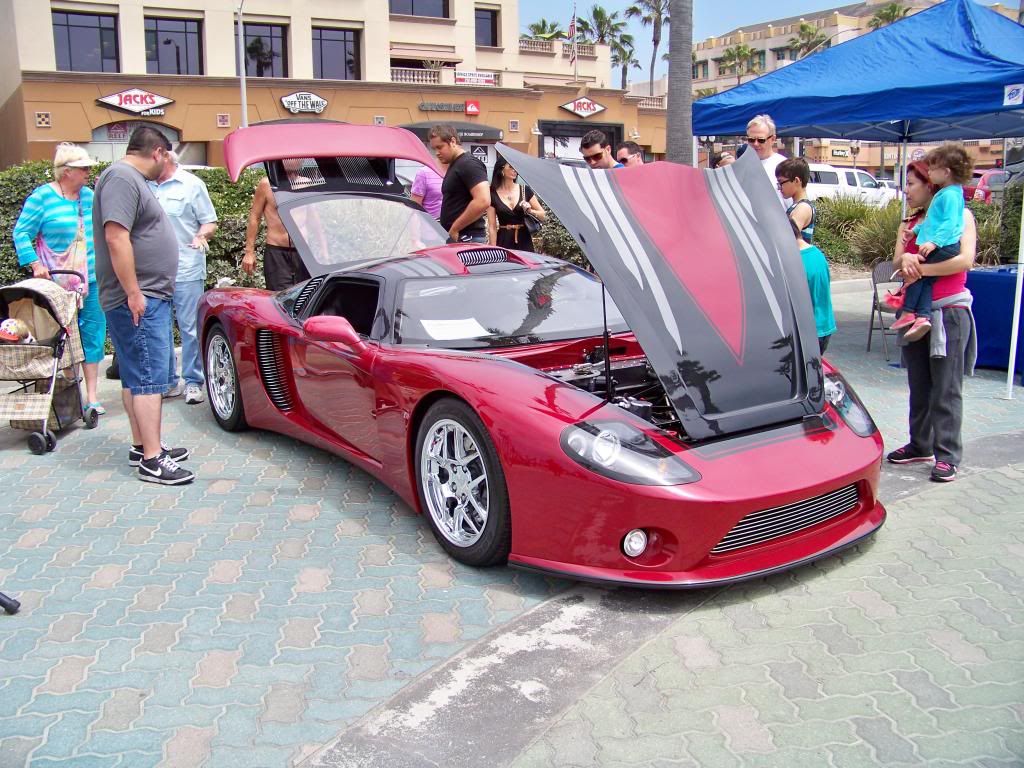
    As most of you know I did a Polycarbonate rear window. We'll I have had it in for about a year now and have had no problems at all with heat or scratches. The one problem I did have was my insufficient preperation of the surface I back painted black. I used a PC that is hard faced on both side for scratch resistance and UV protection. So sanding it was most difficult and I apparently did not do a good enough job because when I glued it in I developed air bubbles where the paint pulled from the PC. This happened immediately when I installed it and then got worse over time.
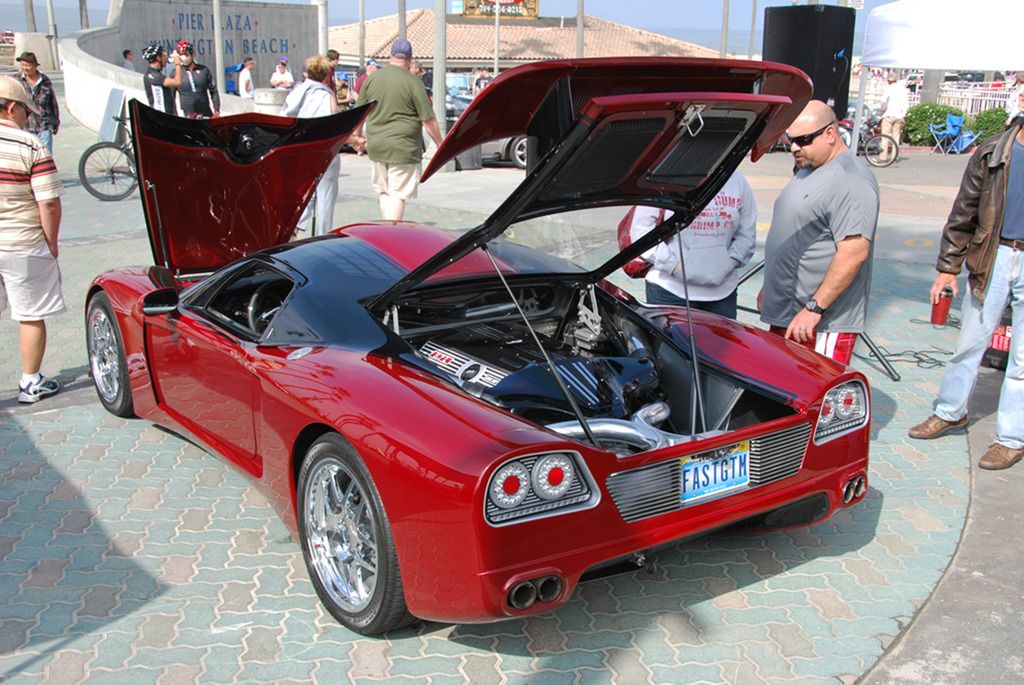
    The bubbles bugged me too much so I pulled the window to try again. HOLY COW!!!! What a job to get that window back out. I wound up de laminating some of the build up I put on the hatch to get the shape right. And I'll be cutting and fitting a new back window because I damage the original with the heat gun. Heat does nothing to soften the urethane adhesive.

    So I include a couple pictures for you to look at to remind you "Prep, Prep, Prep" before you paint!
    Attached Images Attached Images

  2. #82
    Senior Member
    Join Date
    Apr 2011
    Posts
    641
    Post Thanks / Like
    Holly crap, you fought that. Looks like the it broke the top layer of the hatch right off, wow. That urothane is rock solid. It's a little late for you, but I use a 1/2 inch pipe to cut out windsheilds.

    What you do is smash the end of the pipe with a hammer, flat, about 3 inches up. One of those industial razor blades fits in the slit you just created by smashing the pipe. Now you have a tool with lots of leverage to get in there and cut the glass out. It's never easy but less damage.

    Hope you get it done before the next show, good luck.

  3. #83
    Senior Member
    Join Date
    Feb 2011
    Location
    San Diego
    Posts
    1,961
    Post Thanks / Like
    Yep, some might have found my preaching this about the front covers annoying, but after having experiences much like yours, I simply didn't feel I could stress enough that the glue will only stick as well as the PAINT you use if you paint a perimeter on the polycarbonate, and that means you must prep the surface REALLY well, as the paint will only stick as well as the surface is prepped.
    www.myraceshop.com

    GTM solution kits
    Corvette and Race parts

  4. #84
    Senior Member sk7500's Avatar
    Join Date
    Feb 2011
    Posts
    377
    Post Thanks / Like
    I think I'll make one of the tools you describe. My thinking is if I have it I'll never need it. ;-) Which means I'll never have to this again.

    Thanks for the idea.
    Quote Originally Posted by fastthings View Post
    Holly crap, you fought that. Looks like the it broke the top layer of the hatch right off, wow. That urothane is rock solid. It's a little late for you, but I use a 1/2 inch pipe to cut out windsheilds.

    What you do is smash the end of the pipe with a hammer, flat, about 3 inches up. One of those industial razor blades fits in the slit you just created by smashing the pipe. Now you have a tool with lots of leverage to get in there and cut the glass out. It's never easy but less damage.

    Hope you get it done before the next show, good luck.

  5. #85
    Senior Member Kempo's Avatar
    Join Date
    Feb 2011
    Location
    Cabo Rojo,PR. USA
    Posts
    723
    Post Thanks / Like
    GenII GTM #354
    Delivered (02/09/11)

  6. #86
    Senior Member
    Join Date
    Apr 2011
    Posts
    641
    Post Thanks / Like
    My answer to that is piano wire and a couple of vise grips to hold it. We used piano wire for years, mainly when glass used to be held in by butyl. Ever since they started using eurothane, with plastic mouldings around the glass, piano wire was out. A glass guy can cut out a window with a pipe and a razor in less than 5 min.

    I will admit though, for the hatch, that would have been the tool of choice. The eurothane patch on that hatch was a couple inches wide, the blade would have never went alll the way though, and no moulding to worry about.

  7. #87
    Member kabacj's Avatar
    Join Date
    Mar 2011
    Location
    Long Island
    Posts
    1,103
    Post Thanks / Like
    Good to know guys. Last windshield I took out was 15 years ago. I was planning on using a few blobs of urethane adhesive and over the winshield edge clips to keep my windshield in place while I test the car on the track. I figure since the windshield is in that little depression, a few spots of glue with clips on 4 corners its unlikely that its going anywhere.

    If it seems to loosen up some gorilla tape and ill be fine. When its time to do the finish bodywork I can pull it out so the work and install so its water tight.

    I was not going to bother with the rear hatch glass for testing.

    I am inspired by your Polycarbonate hatch Steve. I am also going to try to make one as well.


    John
    XTF #2
    build start date June 19 2023

    GTM # 344
    Build Start December 2010
    First track day April 2013

  8. #88
    Senior Member sk7500's Avatar
    Join Date
    Feb 2011
    Posts
    377
    Post Thanks / Like
    Would a DXF pattern be of any help? I had mine cut on a water jet and then finished fitting by hand.

    Quote Originally Posted by kabacj View Post
    Good to know guys. Last windshield I took out was 15 years ago. I was planning on using a few blobs of urethane adhesive and over the winshield edge clips to keep my windshield in place while I test the car on the track. I figure since the windshield is in that little depression, a few spots of glue with clips on 4 corners its unlikely that its going anywhere.

    If it seems to loosen up some gorilla tape and ill be fine. When its time to do the finish bodywork I can pull it out so the work and install so its water tight.

    I was not going to bother with the rear hatch glass for testing.

    I am inspired by your Polycarbonate hatch Steve. I am also going to try to make one as well.


    John

  9. #89
    Member kabacj's Avatar
    Join Date
    Mar 2011
    Location
    Long Island
    Posts
    1,103
    Post Thanks / Like
    Well i normally don't go so high tech as using a water jet . I was thinking of just using a paper template made from the glass window/ the opening in the car.

    I hope to be able to vaccuform some lovers into the window. Very ambitious I know. Another idea was to make a shaker style intake that bumps out through a hole in the window. Ill have a clear bubble over my intakes.

    I have a few pictures in my mind of how I can do it. We will see how far I get with those ideas as I try to implement them. If I fail on those ideas the water jet and cad file is the way to go for sure.

    John
    XTF #2
    build start date June 19 2023

    GTM # 344
    Build Start December 2010
    First track day April 2013

  10. #90
    Senior Member sk7500's Avatar
    Join Date
    Feb 2011
    Posts
    377
    Post Thanks / Like
    Quote Originally Posted by kabacj View Post
    Well i normally don't go so high tech as using a water jet . I was thinking of just using a paper template made from the glass window/ the opening in the car.

    I hope to be able to vaccuform some lovers into the window. Very ambitious I know. Another idea was to make a shaker style intake that bumps out through a hole in the window. Ill have a clear bubble over my intakes.

    I have a few pictures in my mind of how I can do it. We will see how far I get with those ideas as I try to implement them. If I fail on those ideas the water jet and cad file is the way to go for sure.

    John
    I have cut plenty of PC with a jig saw or band saw and that works just fine. I'm not sure about vacuum forming hard faced PC. I tried using the heat gun to soften the urethane and it deformed the coating. It would be great if you could do your forming and then have it coated. What ever you do, I know it'll be spectacular!

  11. #91
    Senior Member mikespms's Avatar
    Join Date
    Apr 2011
    Location
    North Miami,FL
    Posts
    145
    Post Thanks / Like
    If your old PC window is in one piece and was agood fit , you can use it for a template and cut it with a router using a carbide bit with a guide bearing. Use bouble side tape to hold pieces in place and it will be an exact copy with a smooth cut.

  12. #92
    Member kabacj's Avatar
    Join Date
    Mar 2011
    Location
    Long Island
    Posts
    1,103
    Post Thanks / Like
    Quote Originally Posted by sk7500 View Post
    I have cut plenty of PC with a jig saw or band saw and that works just fine. I'm not sure about vacuum forming hard faced PC. I tried using the heat gun to soften the urethane and it deformed the coating
    Yeah thats a good point on the hard face. I was planning on putting the sheet in a oven (or an oven like structure that I setup for heating the PC) maybe it would not screw up the hard face if the sheet is warmed slowly. Ill be sure to do a few practice runs to see how the hard face deals with getting pulled into a form. I might need to vary the design and or materials to get it done. It will be an adventure.


    John
    XTF #2
    build start date June 19 2023

    GTM # 344
    Build Start December 2010
    First track day April 2013

  13. #93
    Senior Member
    Join Date
    Feb 2011
    Location
    San Diego
    Posts
    1,961
    Post Thanks / Like
    My suggestion would be to heat it in stages so that air bubbles do not form within the PC. If you heat too high too fast this will be a problem.
    www.myraceshop.com

    GTM solution kits
    Corvette and Race parts

  14. #94
    LS MAN's Avatar
    Join Date
    Feb 2011
    Location
    Stockton, CA
    Posts
    111
    Post Thanks / Like
    April 15th was a tough day for everyone... Prayers go out to all in Boston.
    We were fortunate to have fun cars to work on at least.
    Thanks to Steve for bringing his & Franks awesome GTM over, so we could iron out the last few bugs.

    f773fa5e-fac9-4efa-9454-5dba6b223bde_zps5acb11b4.jpgb79137d9-a927-4b41-8152-206b779e9898_zpsc52a567e.jpg

  15. #95
    Senior Member sk7500's Avatar
    Join Date
    Feb 2011
    Posts
    377
    Post Thanks / Like

    I think I finally got it

    Well I wish I could say inspiration came from the bottom of the Margarita glass, but I found the internet more helpful. The proper material to use to back paint the PC is the urethane primer they use to fix scratches at the auto glass shop.
    So I went to the local auto glass guy with my masked window he put on two coats of urethane primer, sold me a couple tubes of urethane glue and window trim and I was off. Front and back windows are in with no troubles with bubbles. Gluing in the windows is something I have been dreaming about for a long time, because I knew like carpet in a new house, it signals things are almost done.

    It's amazing how much the windshield stabilizes the body.
    Attached Images Attached Images

  16. #96
    Senior Member sk7500's Avatar
    Join Date
    Feb 2011
    Posts
    377
    Post Thanks / Like

    I was a little skeptical

    I took Monday off last week and spent the day with Ted Harrison of Quick Racing Products (LSMAN). We were ironing out some final electrical customizations so I could put the interior and windshield in for the last time. While I was there we put on a set of Teds GTM street shocks. He put the car up on the scales and balanced the springs until the front wheels had 560 lbs ea and the rears had 750lbs. total car weight of 2620. I would have guessed we added more weight with AC and my attempt at sound and heat deadening and the stereo equipment. I wasn't shooting for a target weight, just curious.

    Anyway after putting the glass in I took the car out for a drive. Windows up, AC blowing, tunes playing. It was a good drive. But two things really stuck out. First: I don't even pretend to understand the science or magic of suspension tuning. But I can tell you that with the stock black Koni shocks inverted (I know but they didn't fit the other way) I always had a tense driving posture. Every time you hit an irregularity in the road, the steering wheel would twitch. Not like it made the car swerve or anything it just didn't feel stable. I was beginning to think the only solution for this was going to be power steering. And going over bumps with all four tires felt bouncy long after the initial impact. I'd like to say a little like riding a skateboard but skateboards don't continue to bounce.
    Well those are now things in my past. I intentionally went looking for bad roads (didn't have to look far) to see the difference. Rock steady steering wheel no matter what I ran over. I don't know if I would say the ride is smoother but the irregularities are so well controlled that you don't mind them as much. I didn't get a chance to do any high speed testing but I know it will feel much more stable at speed. So bottom line is BUY THE KIT! If you want to enjoy driving your GTM.

    The second thing I noticed today was a strange scraping noise coming from the right rear of the car when ever I brake or make a hard left turn. It's associated with engine speed. I have over a 1000 miles on the car and I've never heard this noise before. I have my suspicion that it's the AC clutch rubbing on that little plate that covers the hole in the sheet metal on AC equipped cars. This is the first time I have driven the car with the AC clutch spinning. So it looks like the interior comes out again. Good thing I have lots of practice.

  17. #97
    Senior Member sk7500's Avatar
    Join Date
    Feb 2011
    Posts
    377
    Post Thanks / Like

    Final Glove box

    Fit, upholstered and installed the glove box panels Put a trim around our rear diffuser. And I'll bet no one know why I had to make a cover plate for the lower window screws.
    Attached Images Attached Images

  18. #98
    Senior Member sk7500's Avatar
    Join Date
    Feb 2011
    Posts
    377
    Post Thanks / Like

    Polished our Canton tank

    Welded a bung in the side if the tank to help clean ip the lines.
    Attached Images Attached Images

  19. #99
    Senior Member sk7500's Avatar
    Join Date
    Feb 2011
    Posts
    377
    Post Thanks / Like

    last vette logo to go

    A good GTM buddy let me try his brand new FFR wheels and tires on our car. They are beautiful but I'm afraid I'm a chrome wheel guy and am too used to the rear wheel being bigger. So I put back on the Vette wheels until I can find something I like better. But I had to do something about the Vette logo on the center cap so I made some GTM centers.
    Attached Images Attached Images

  20. #100
    Senior Member sk7500's Avatar
    Join Date
    Feb 2011
    Posts
    377
    Post Thanks / Like
    Just ran across these pictures of our car on the Factory 5 gallery section of the 2013 Huntington Beach show.
    Attached Images Attached Images

  21. #101
    LCD Gauges's Avatar
    Join Date
    Apr 2011
    Location
    Toronto, Ontario
    Posts
    1,545
    Post Thanks / Like
    Blog Entries
    3
    That beauty shines! It's nice to see a picture of you close up as well.
    Custom LCD Gauges , Data Loggers, Control Touch Screens
    www.LCDdash.com \\ 647-522-9953 \\ Voice & Text
    Proud new owner of GTM Gen 1., #105 - 08/27/11
    LQ9 Powered, G96.00 6 speed transaxle

  22. #102
    Senior Member Kalstar's Avatar
    Join Date
    Feb 2011
    Location
    Cape Cod
    Posts
    1,300
    Post Thanks / Like
    What a beautiful car.

  23. #103
    Senior Member sk7500's Avatar
    Join Date
    Feb 2011
    Posts
    377
    Post Thanks / Like
    Boy I had a really great GTM weekend. I got to work most of Saturday finishing up the paint jobs on my mini GTMs. Spent the rest of the day cleaning the real thing. On Sunday we took the car to a fund raiser/ car show/Halloween party. Of course the car was a big hit. Then at 4:00 we met with Steve Temple from Kit Car Builder magazine. We have a brand new freeway in Bakersfield and I picked a yet to be opened part as our photo opportunity. I'm not sure what was illegal about what we were doing but I suspected we had a small window of opportunity before some one or the cops would stop and run us off. Sure enough a big 4x4 truck pulls up. But instead of it being someone trying to run us off, it was the owner of the other GTM owner in Bakersfield. What are the chances of him being at that exact spot at that time? Totally cool. And here I didn't want anyone to stop. I'll attach a couple shots Steve sent me.
    Attached Images Attached Images
    Last edited by sk7500; 10-24-2013 at 07:58 AM.

  24. #104
    Senior Member
    Join Date
    Apr 2011
    Posts
    641
    Post Thanks / Like
    Ya, awsome weekend. Sweet.

  25. #105
    Senior Member sk7500's Avatar
    Join Date
    Feb 2011
    Posts
    377
    Post Thanks / Like
    I was finally able to spend some time with the red head and my dad. I installed an overflow tank for the radiator, replaced a loose rear tie rod end, tightened the door hinge nuts so the doors don't swing open so fast when the poppers unlatch, adjusted the front hood latch, General clean up and installed a lifter for the rear hatch. My partner told me lifters go in the motor not on the body.
    I also noticed I have antifreeze dripping off the center panel underneath. So it looks like it's up on jack stands and laying on a creeper for me today.
    Last edited by sk7500; 10-18-2014 at 06:23 AM.

  26. #106
    Member
    Join Date
    Apr 2013
    Location
    near the lil podunk town of Milano (about a hour northeast of Austin) {middle of NOWHERE}
    Posts
    84
    Post Thanks / Like
    ok... I've decided that i am going to keep pouring over ALL the build logs until I get to the point that i can finish a GTM of my own... but after looking at y'all's logs & seeing the attention to detail & the quality of craftsmanship, I'm going to be waaaaaaaaaaaaaaaaaaaaaaayyyyyy tooooooooo ashamed to post my shoddy attempts at integrating some of your innovation inspired ideas into what I already have in mind... I have always been one that was able to make pretty much anything I put my mind to.. but DAMN!!!!! y'all set the mark soooooooooooooooo far into the stratosphere that us mere mortals are screwed....

    keep up the awesome work....

  27. #107
    Senior Member sk7500's Avatar
    Join Date
    Feb 2011
    Posts
    377
    Post Thanks / Like
    Don't get discouraged. There are builds of all levels. I set my sights pretty high on this one, but I'm building another one that will have 1/4 the work involved. It will probably be more fun to drive and get just as many looks. If there is one thing I admire about the people on these forums is that there is support regardless of the design intent of the car. It's a personal journey. If it makes you happy that's all that matters. People here will be happy with you. And a GTM is so far beyond the realm of reality for the rest of the world, that just about any quality level is beyond the scope of most peoples comprehension. So keep those pictures coming.

    Quote Originally Posted by Fugly_Old_Cowboy View Post
    ok... I've decided that i am going to keep pouring over ALL the build logs until I get to the point that i can finish a GTM of my own... but after looking at y'all's logs & seeing the attention to detail & the quality of craftsmanship, I'm going to be waaaaaaaaaaaaaaaaaaaaaaayyyyyy tooooooooo ashamed to post my shoddy attempts at integrating some of your innovation inspired ideas into what I already have in mind... I have always been one that was able to make pretty much anything I put my mind to.. but DAMN!!!!! y'all set the mark soooooooooooooooo far into the stratosphere that us mere mortals are screwed....

    keep up the awesome work....

  28. #108
    Senior Member sk7500's Avatar
    Join Date
    Feb 2011
    Posts
    377
    Post Thanks / Like
    Removed all the lower panels today trying to see where anti freeze was coming from. All the hoses in there are dry. So it must be leaking from the frame because that's the only place I seen it. :lol:
    I cleaned everything up and left the lower panels off so I can do a better inspection. There was nothing under the car tonight after my video run. There is anti freeze in the line to my new overflow tank. So I'm thinking maybe when the catch tank expanded my old overflow line might have just puked some AF on the frame and it just drained to the lowest point. Keeping my fingers crossed. Either way I'm glad for the catch tank because my old overflow exited right in front of the drivers tire. Which is the worst place for it to be.
    Well after all that work it was time for a little Sunday afternoon drive. I still have trouble with it getting squirmy if I break the rear tires loose. I replaced the right rear tie rod end in an attempt to minimize this sensation. The left end was replaced when we built the car. But in looking at the video at about 3:35 it looks like the left rear wheel toes in when accelerating hard enough to spin the tires. I'll have to do another video on the right side to see if it does the same thing with the new tie rod end. Then towards the end of the video a turbo Porsche and I had to figure out who was going to get to go first when the lanes merged. He tried but just didn't have it. He gave me the thumbs up at the next light and was smiling so I'm pretty sure it was his thumb?
    Any ways, I was trying to get some SPL readings before, during and after the dispute and I came up with the following.

    Windows rolled up A/C on Idle = 95DB.
    Cruising @ 60 6 gear = 104DB.
    Making sure the GTM gets in front of the Porsche = 110db

    Here's the video link

    http://youtu.be/0iaCY8WDe9o
    Last edited by sk7500; 12-22-2013 at 09:47 PM.

  29. #109
    Senior Member flotowngtm's Avatar
    Join Date
    Apr 2011
    Posts
    145
    Post Thanks / Like
    I know there was an issue some guys were having with the frame mount for the rear tie rods not being strong enough under acceleration. I know I had Shane beef mine up a little. Might want to check that out.

  30. #110
    Senior Member sk7500's Avatar
    Join Date
    Feb 2011
    Posts
    377
    Post Thanks / Like
    Never heard of that one, but I'll check it out. Thanks

    Quote Originally Posted by flotowngtm View Post
    I know there was an issue some guys were having with the frame mount for the rear tie rods not being strong enough under acceleration. I know I had Shane beef mine up a little. Might want to check that out.

  31. #111
    Senior Member sk7500's Avatar
    Join Date
    Feb 2011
    Posts
    377
    Post Thanks / Like

    Had our once a year car party at my partner Franks house.

    As usual the GTM drew a constant crowd. But I did manage to get a few shots after the crowd started to thin.
    Attached Images Attached Images

  32. #112
    Senior Member The Stig's Avatar
    Join Date
    Feb 2011
    Location
    Charlotte, NC
    Posts
    2,004
    Post Thanks / Like
    Beautiful!
    The Stig

    Some say, that I only know two facts about ducks, (both being wrong); and that if I could be bothered, I could solve the "da Vinci Code" in 47 seconds...
    All I know is that I'm called "The Stig".
    GTM #0081

  33. #113
    Senior Member sk7500's Avatar
    Join Date
    Feb 2011
    Posts
    377
    Post Thanks / Like
    I put these pictures together for the "Finished GTMs" page. Figured I'd put them here with the cars build history.

    [img][/img]


  34. #114
    Senior Member The Stig's Avatar
    Join Date
    Feb 2011
    Location
    Charlotte, NC
    Posts
    2,004
    Post Thanks / Like
    Very nice Steve! I love the calendar layout that Ash came up with. And I really like the "action photo" just below it. Garage poster material!

    Take care buddy!
    Mike
    The Stig

    Some say, that I only know two facts about ducks, (both being wrong); and that if I could be bothered, I could solve the "da Vinci Code" in 47 seconds...
    All I know is that I'm called "The Stig".
    GTM #0081

Page 3 of 3 FirstFirst 123

Posting Permissions

  • You may not post new threads
  • You may not post replies
  • You may not post attachments
  • You may not edit your posts
  •  

Replica Parts

Visit our community sponsor