FormaCars

Visit our community sponsor

Thanks Thanks:  0
Likes Likes:  1
Page 1 of 11 123 ... LastLast
Results 1 to 40 of 417

Thread: Evan's '33 Build #497

  1. #1
    Senior Member esff32's Avatar
    Join Date
    Oct 2012
    Location
    La Verne, Ca
    Posts
    560
    Post Thanks / Like

    '33 #497 sold***

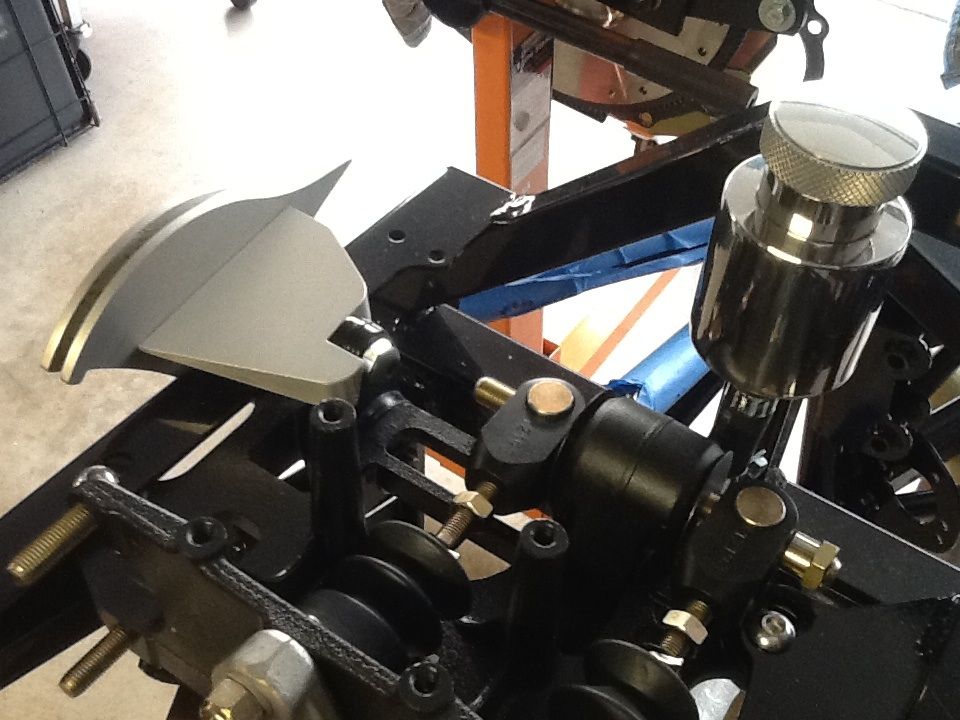
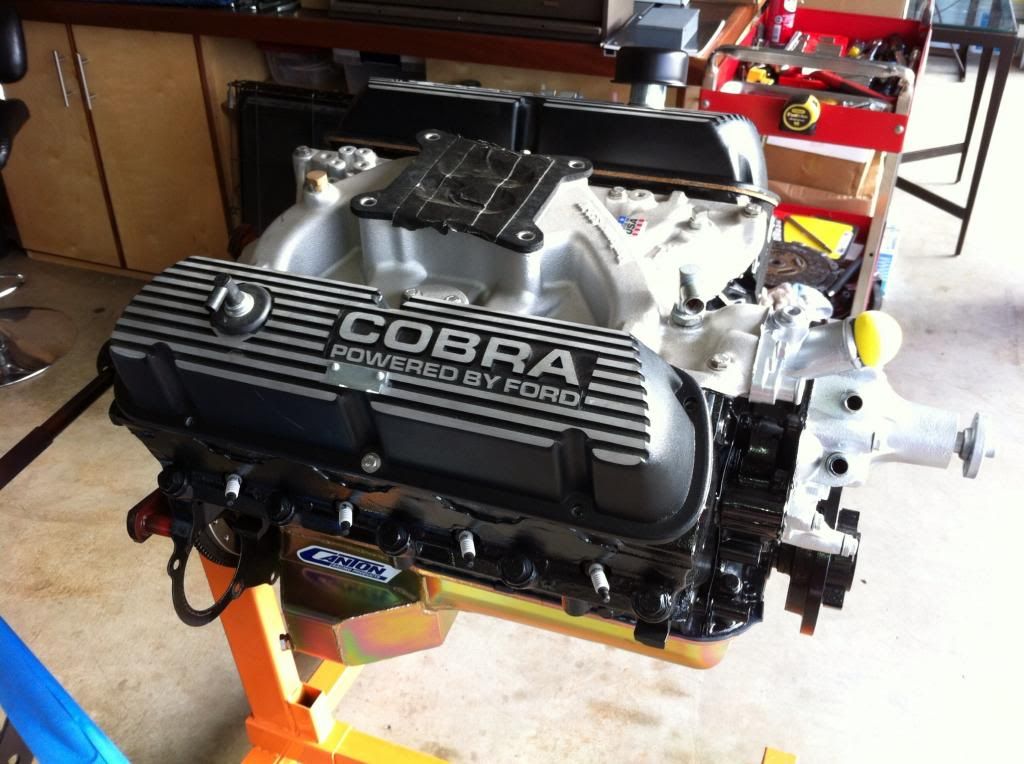
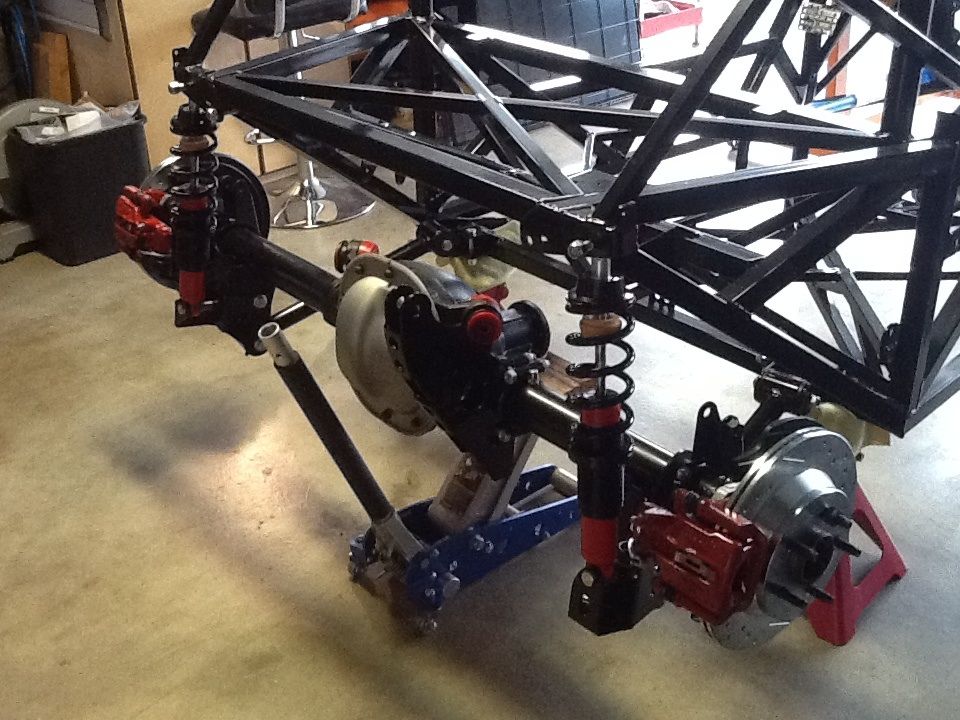
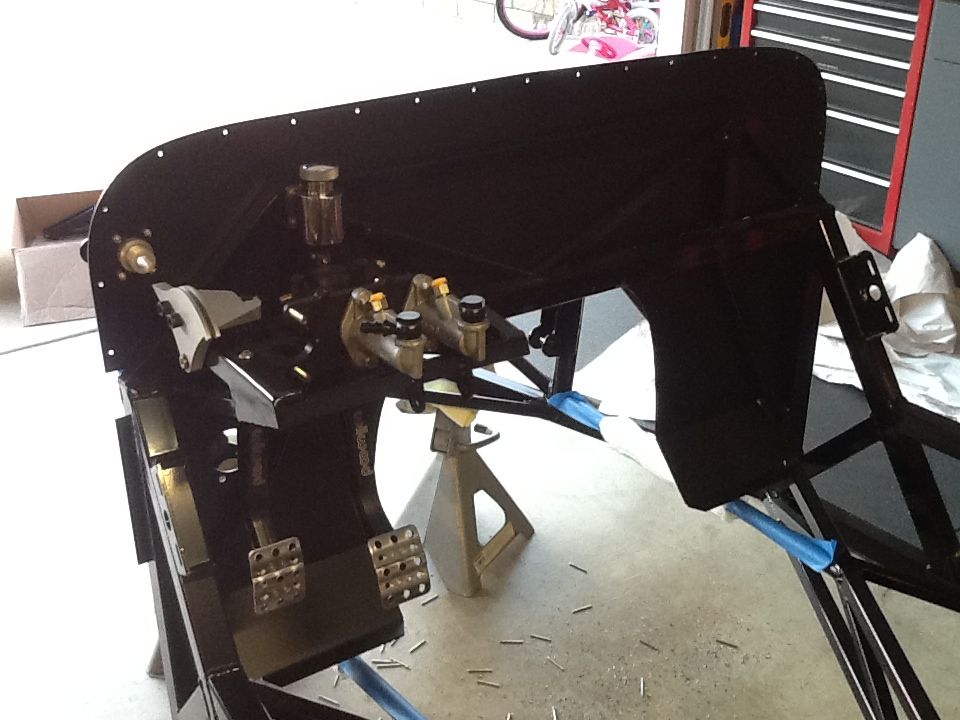
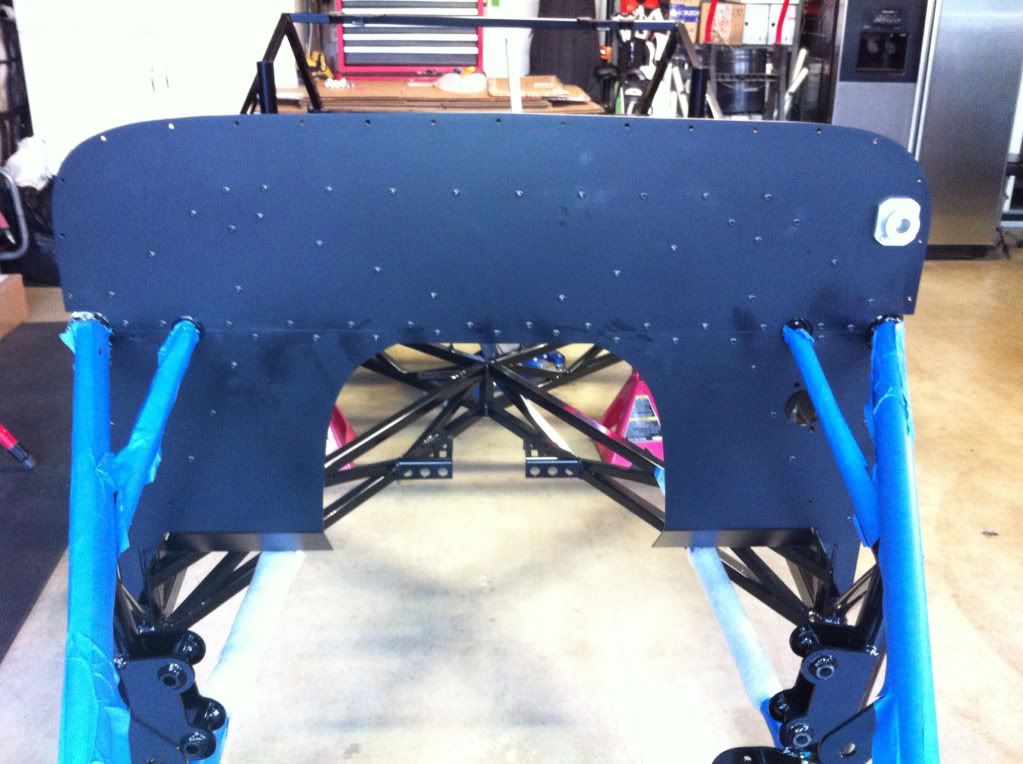
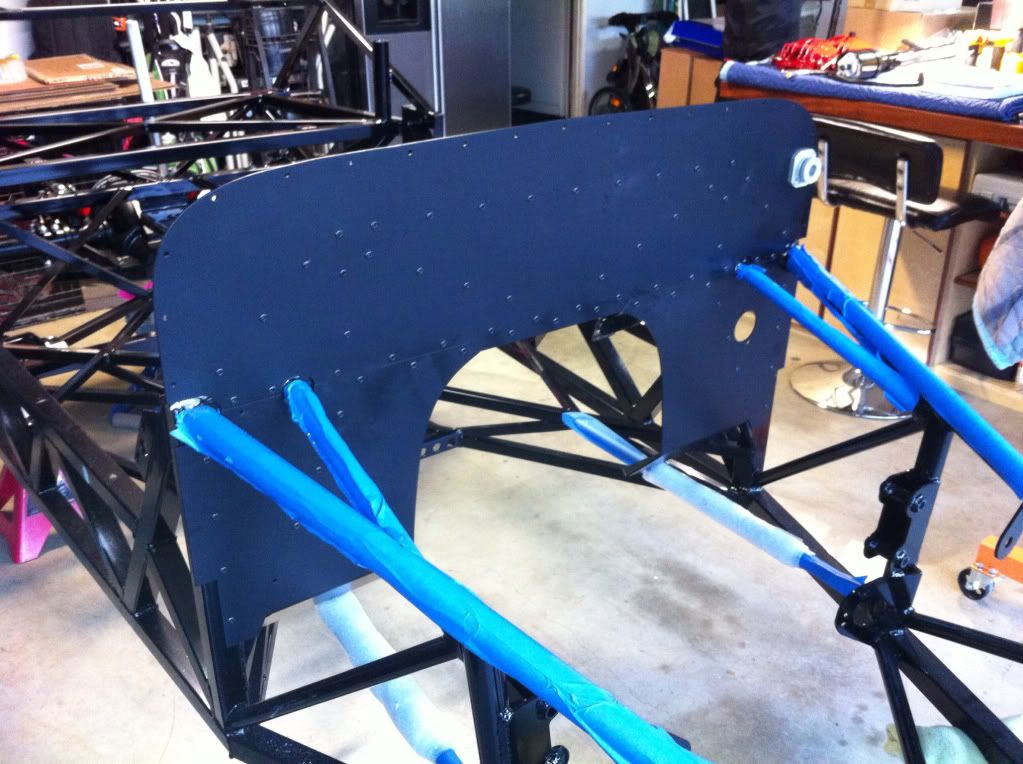
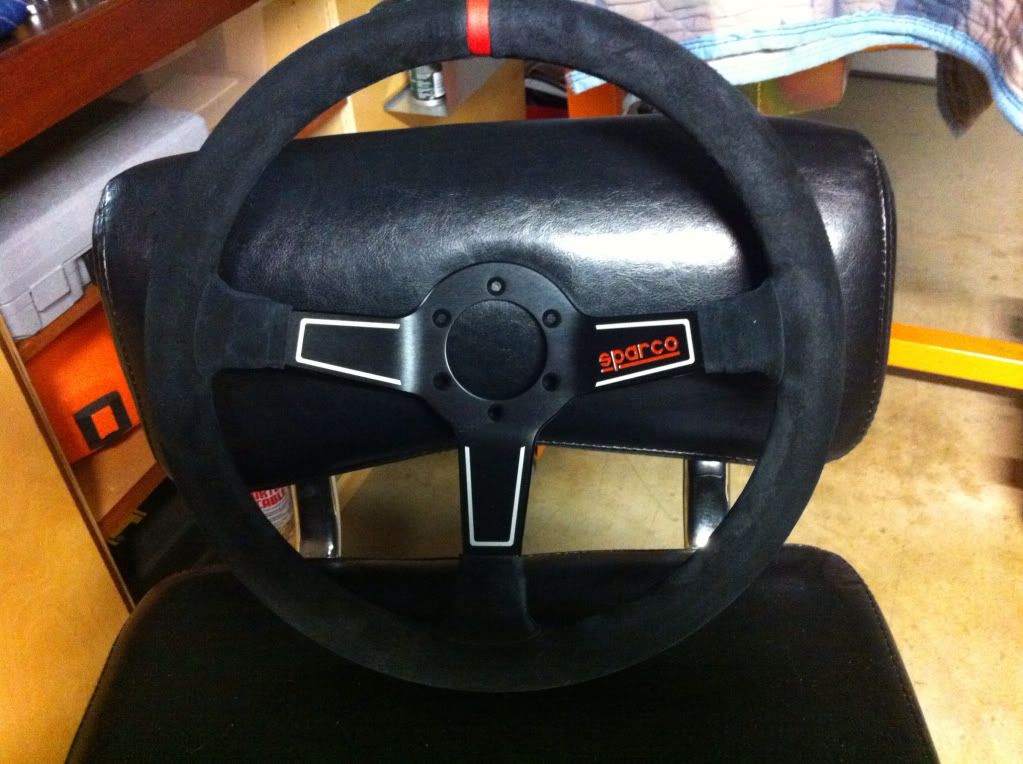
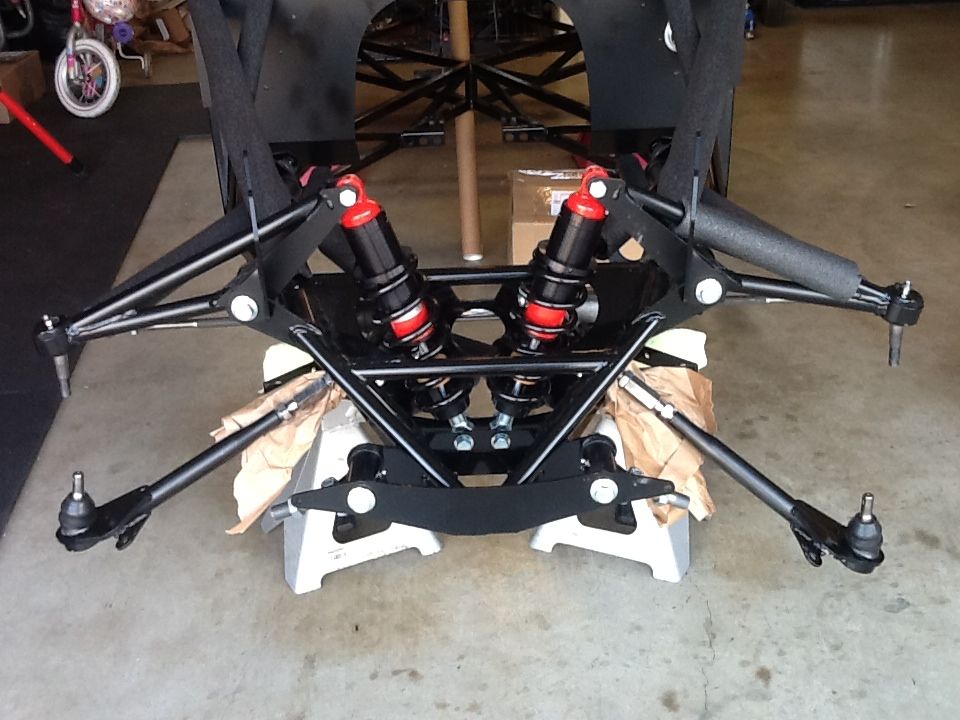
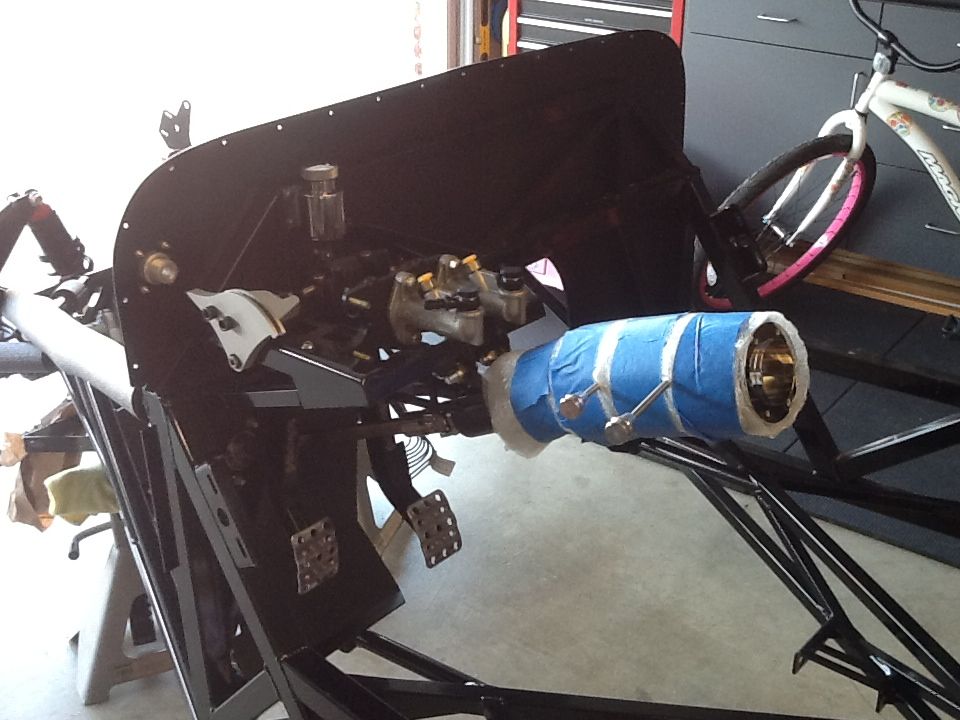
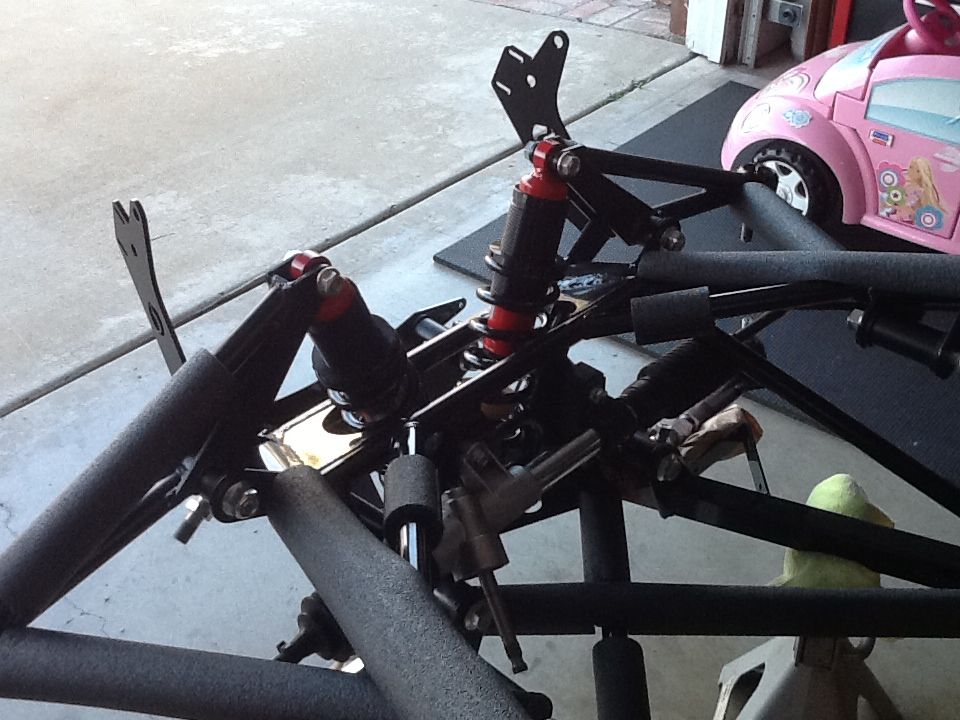
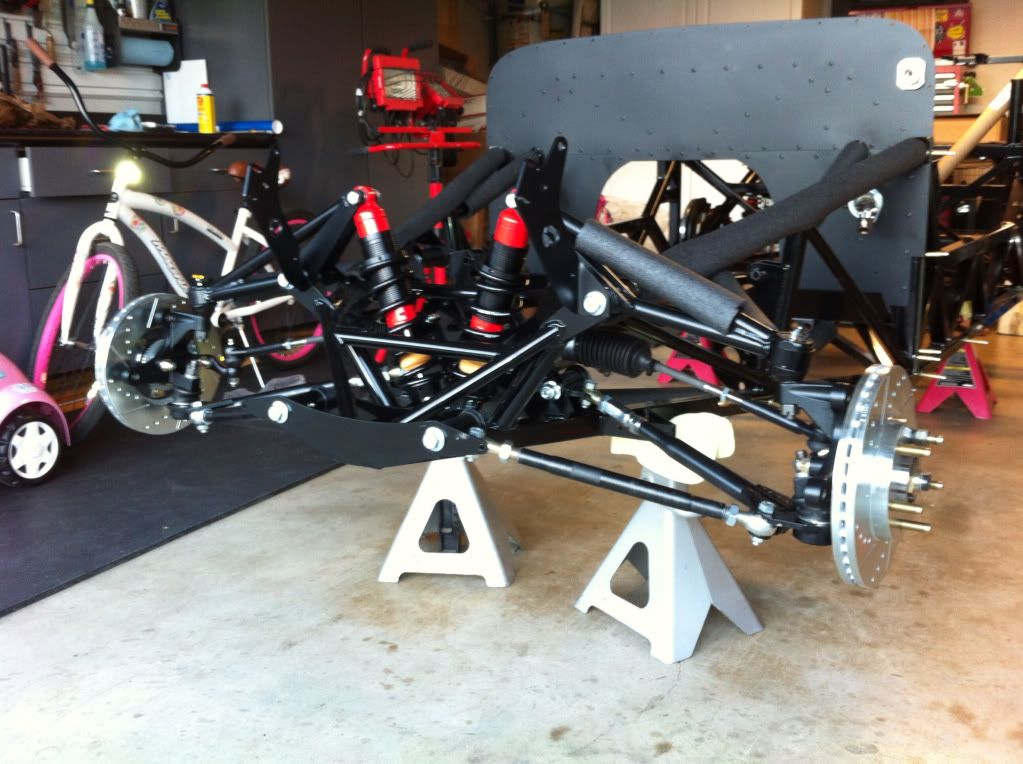
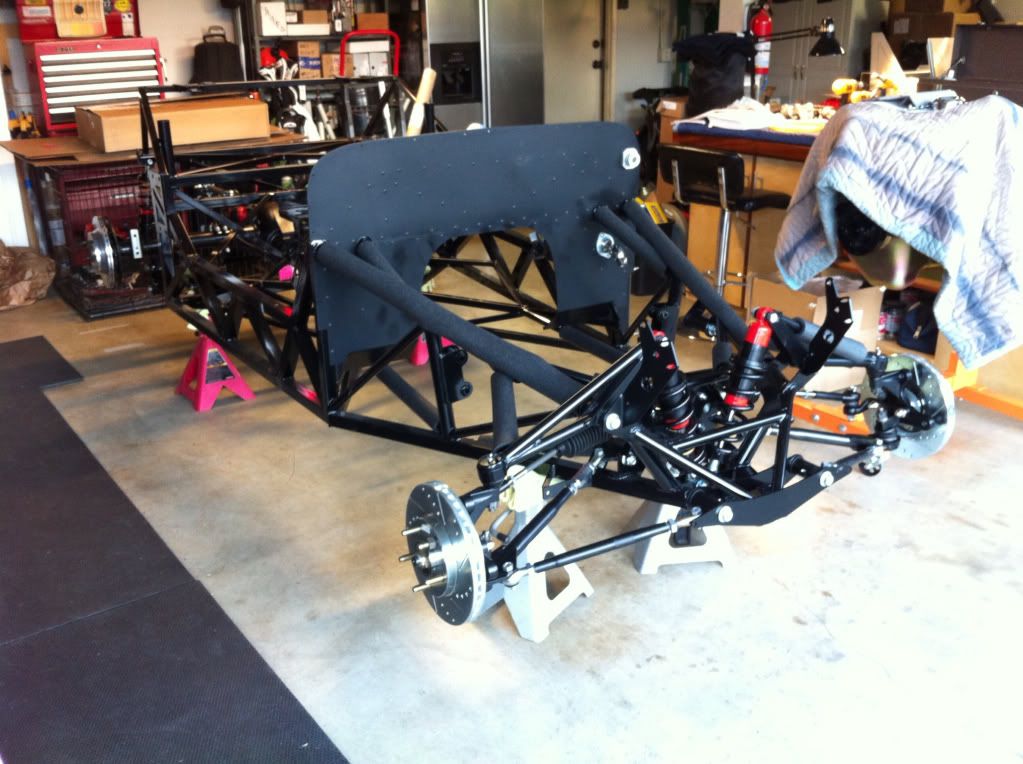
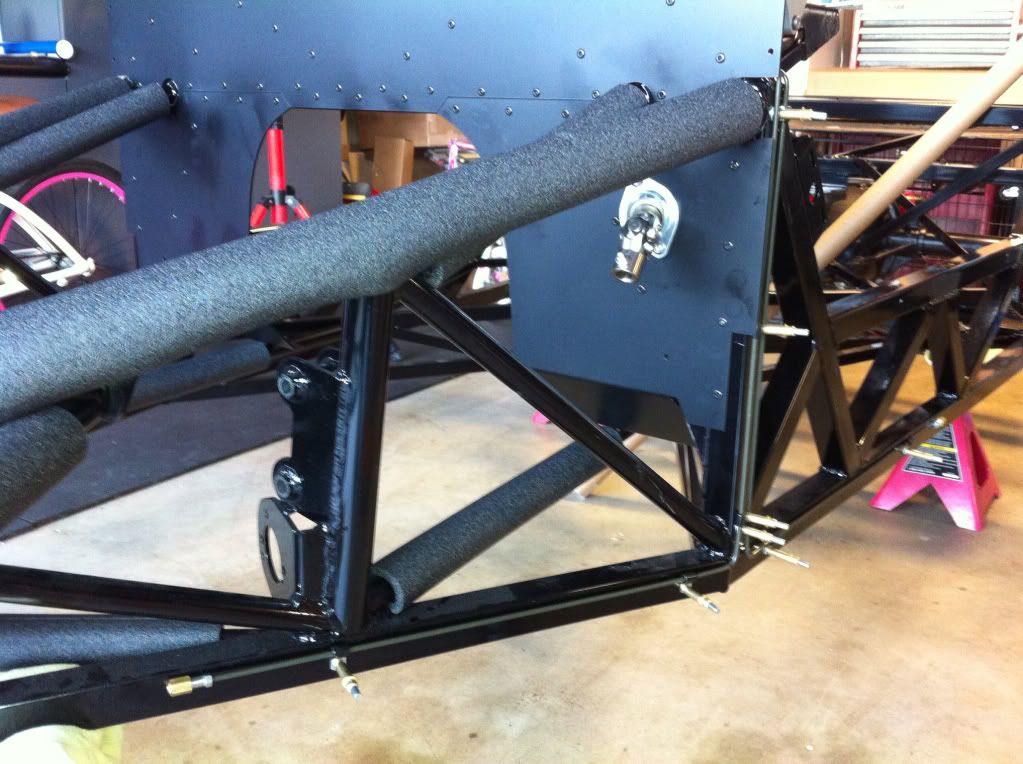
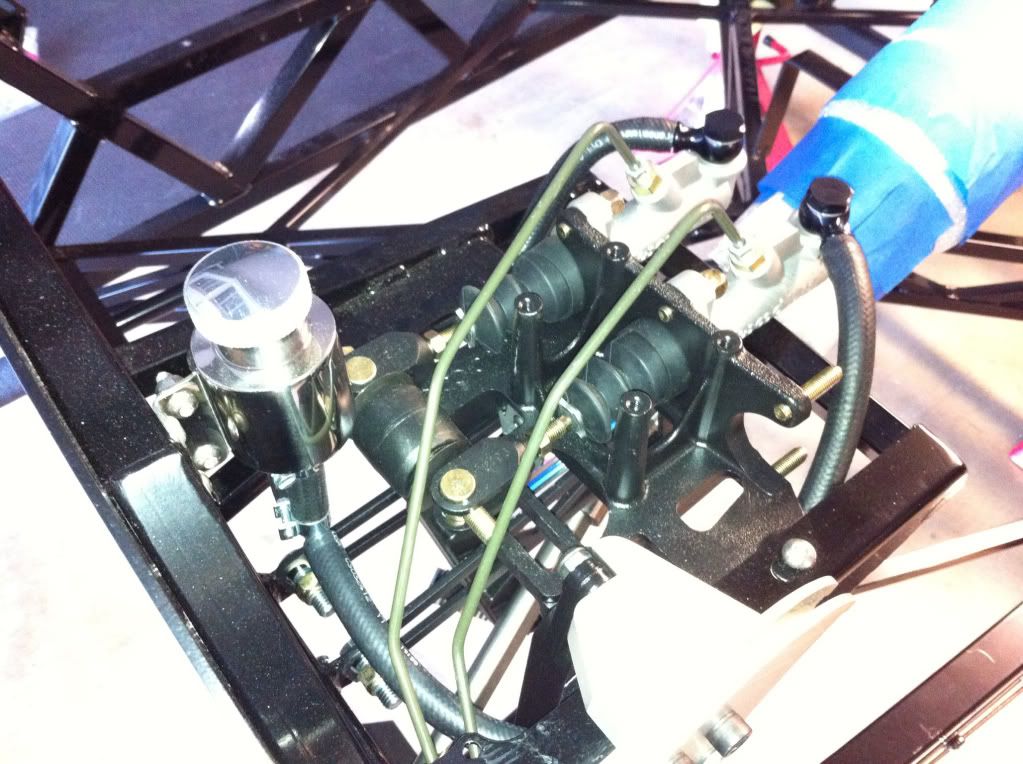
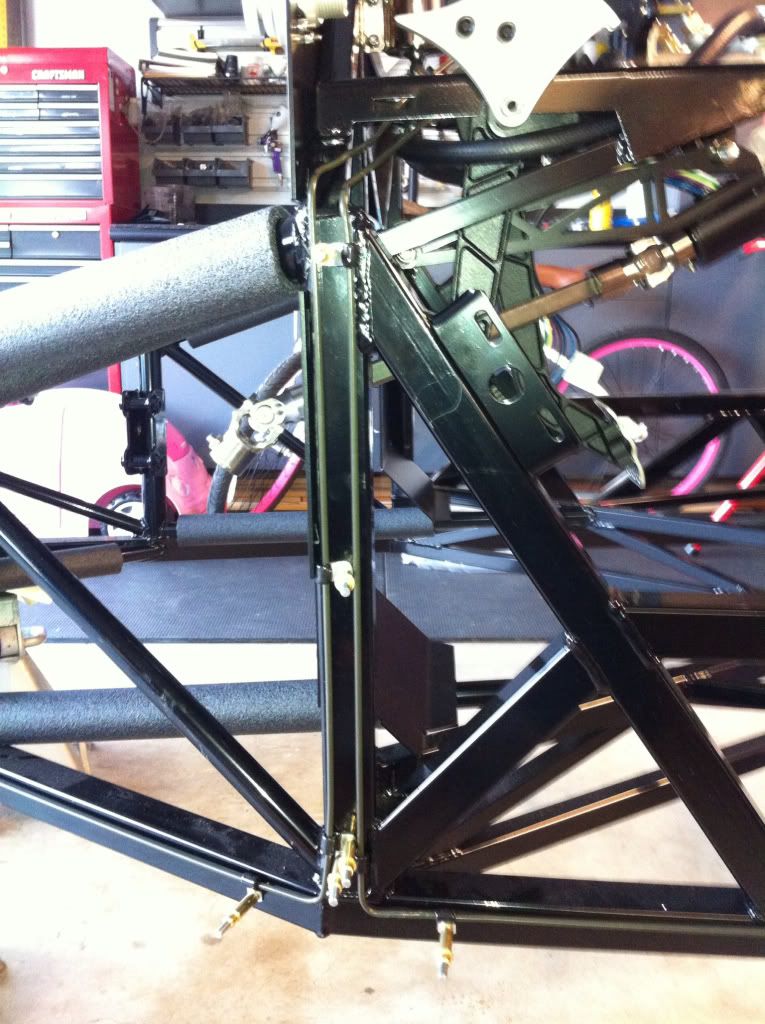
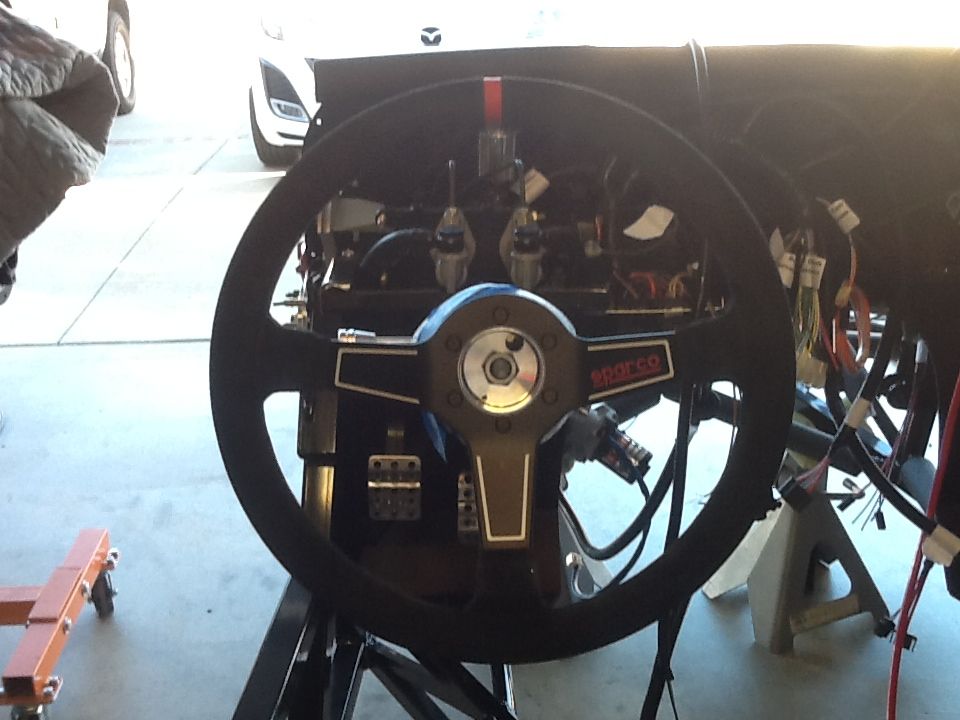
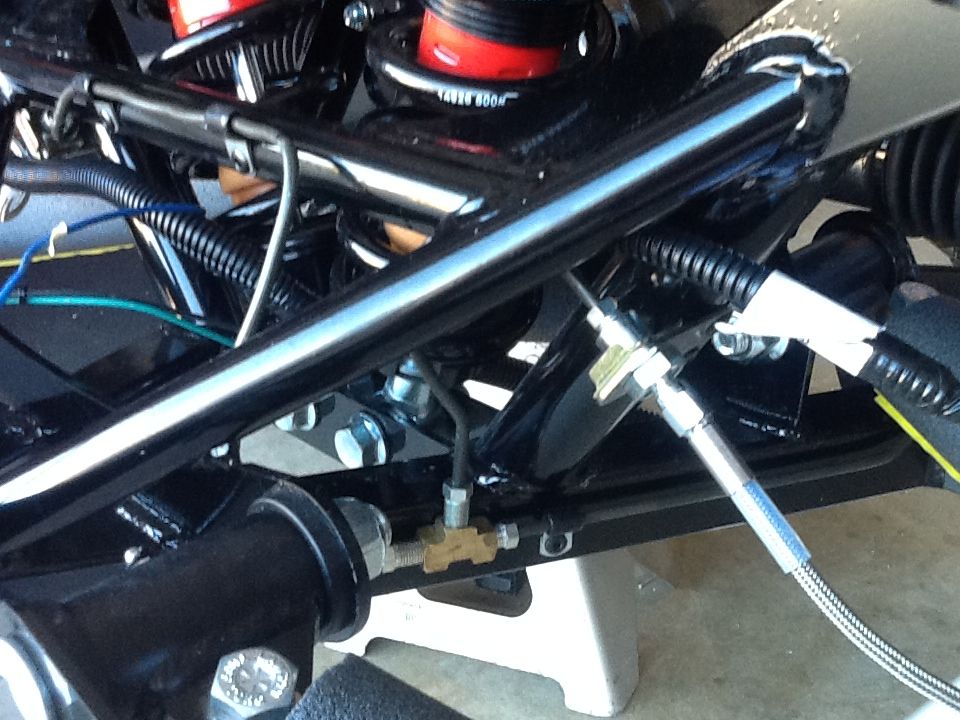
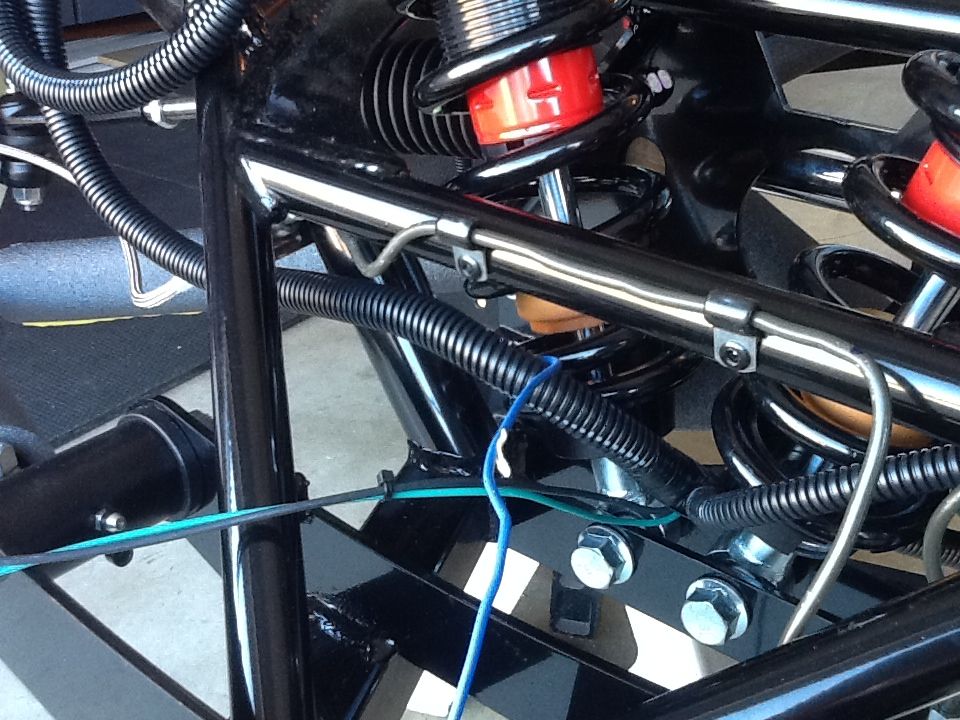
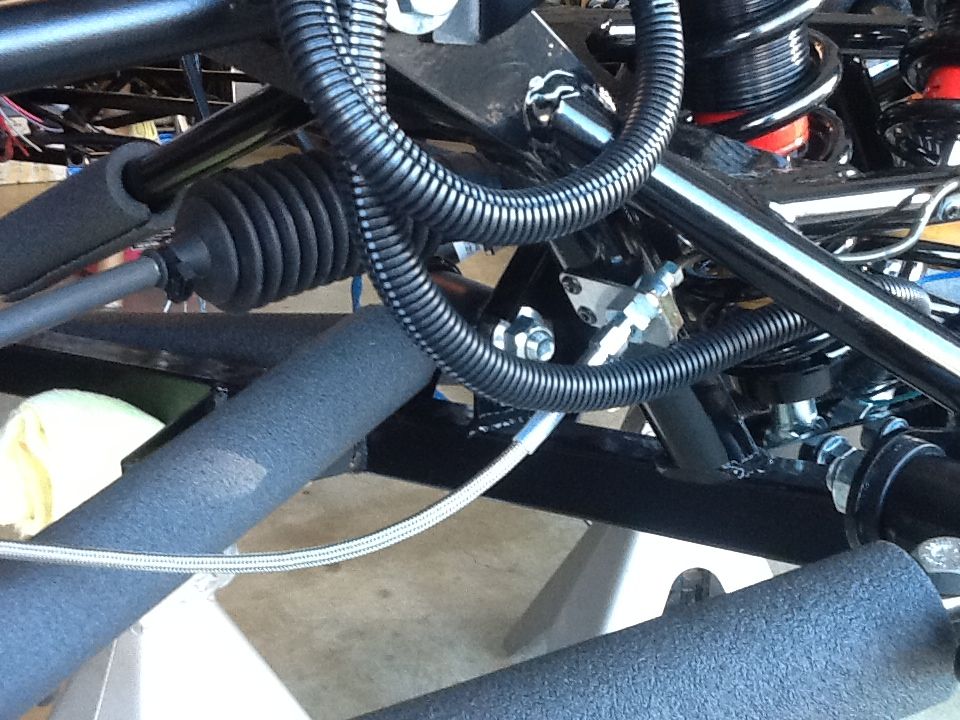
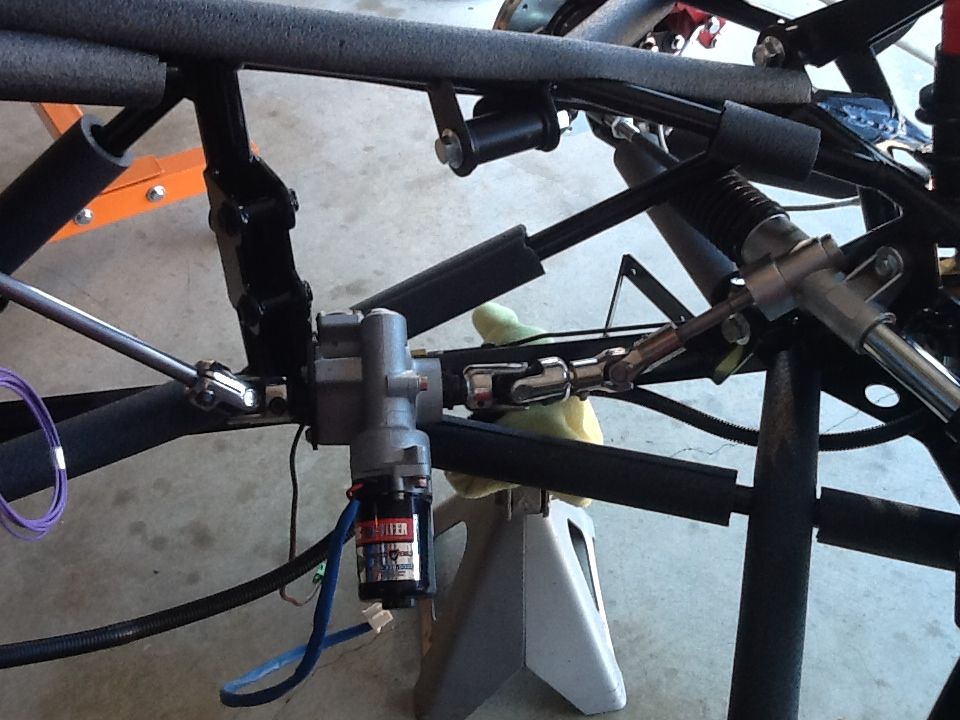
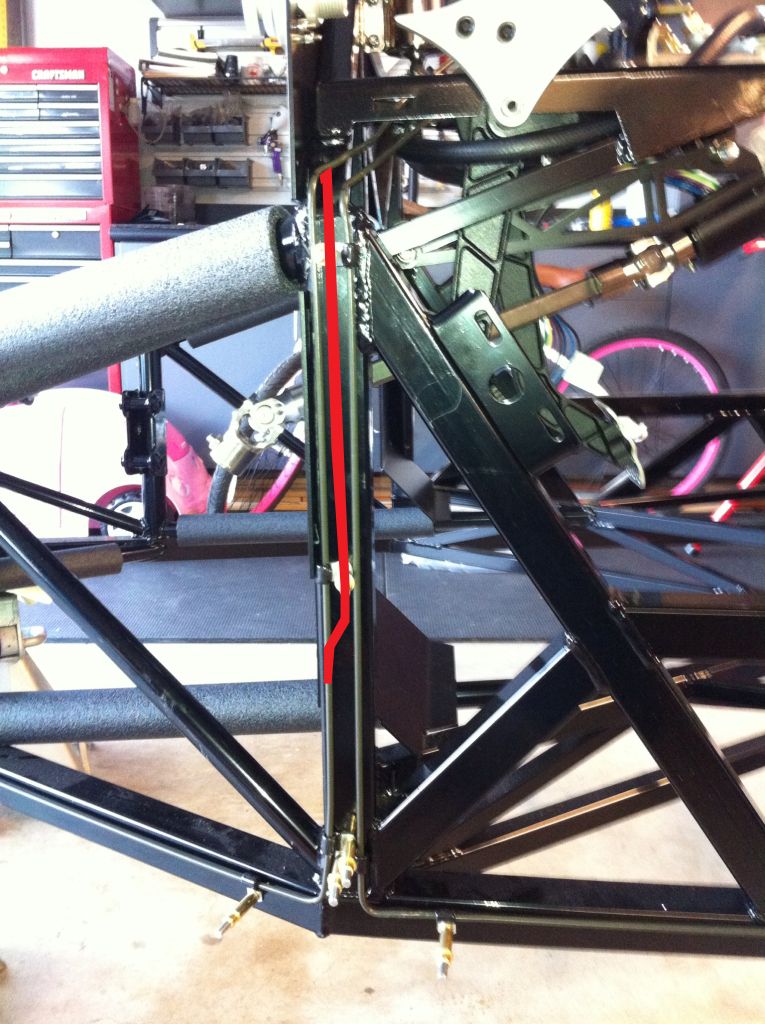
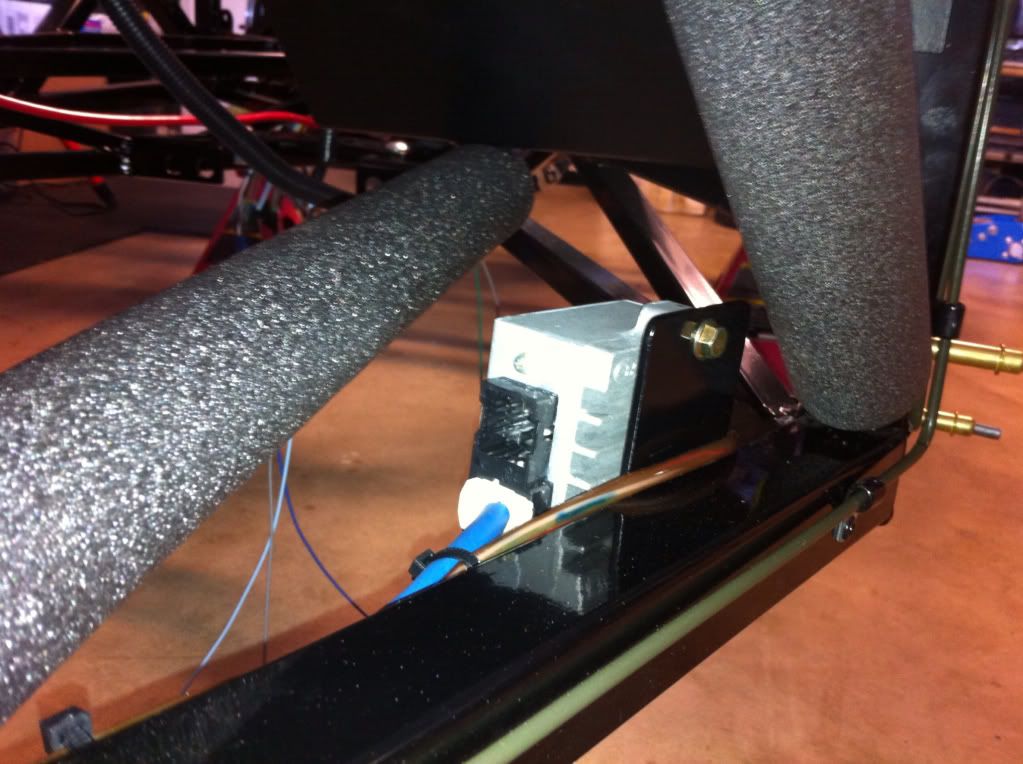
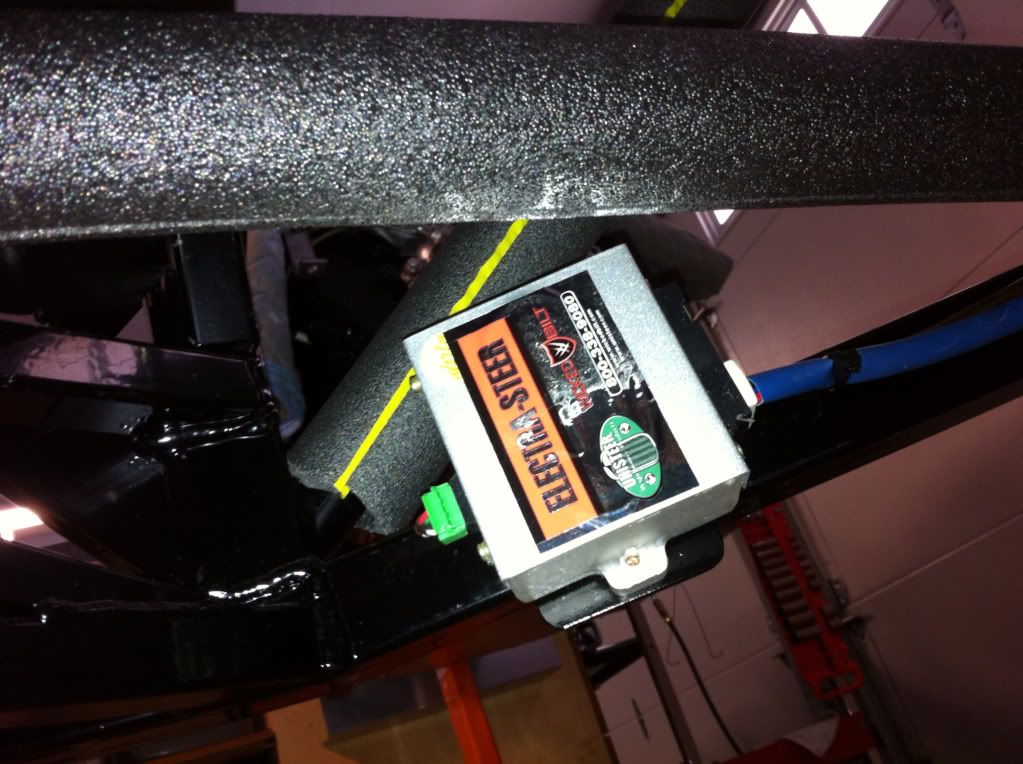
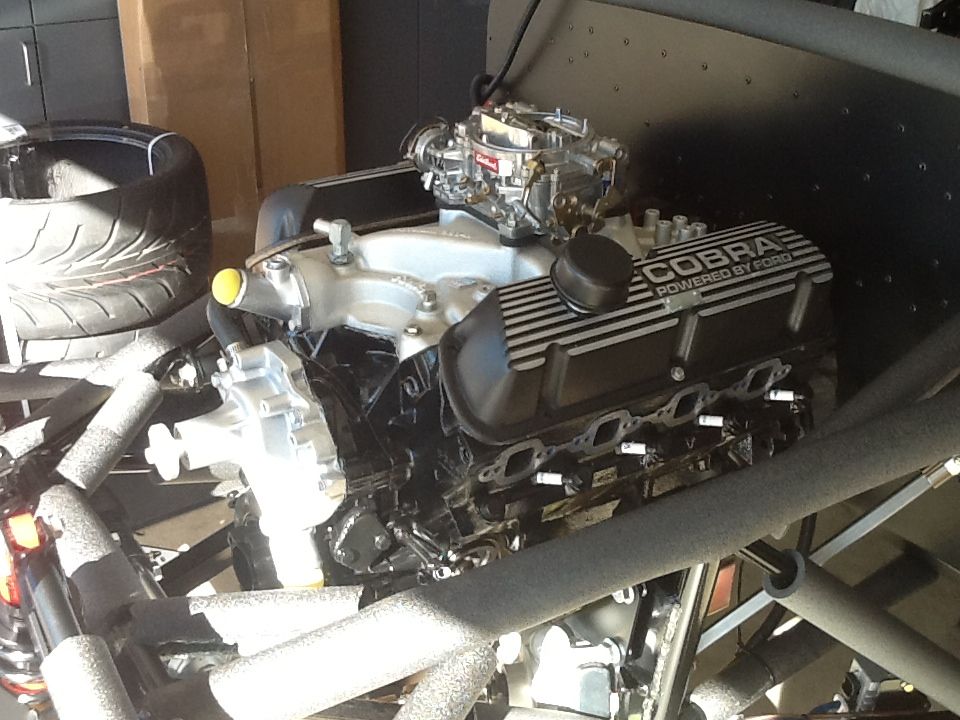
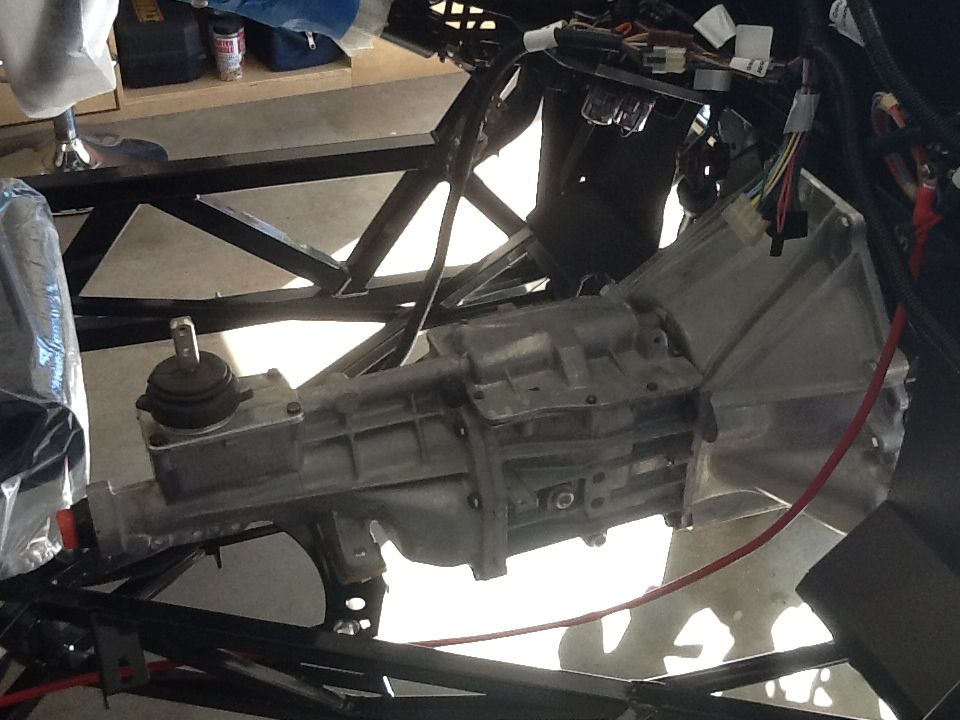
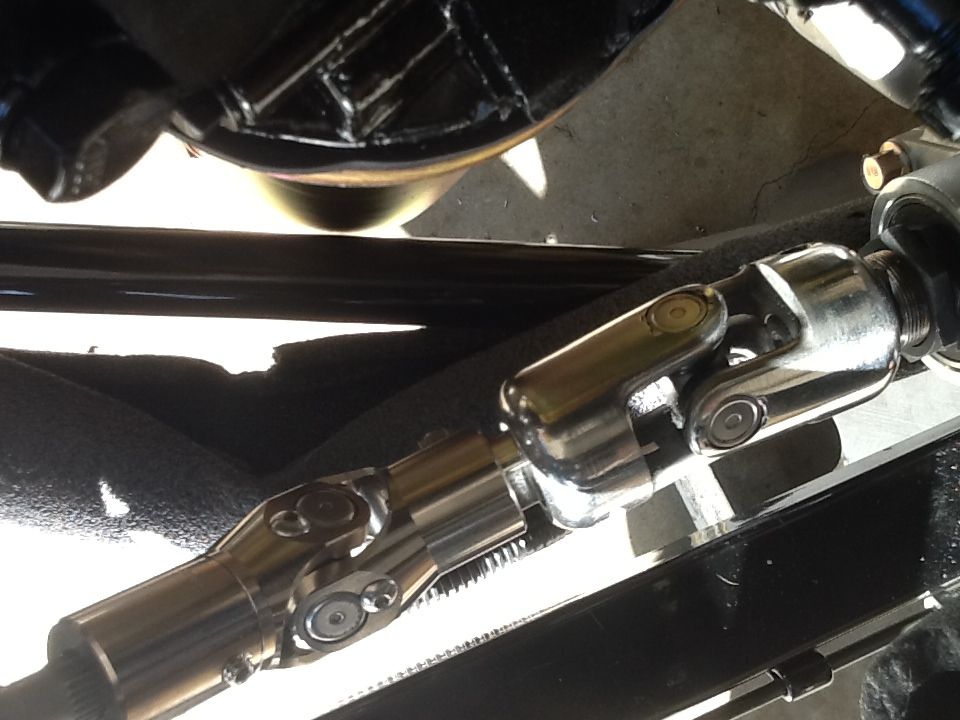
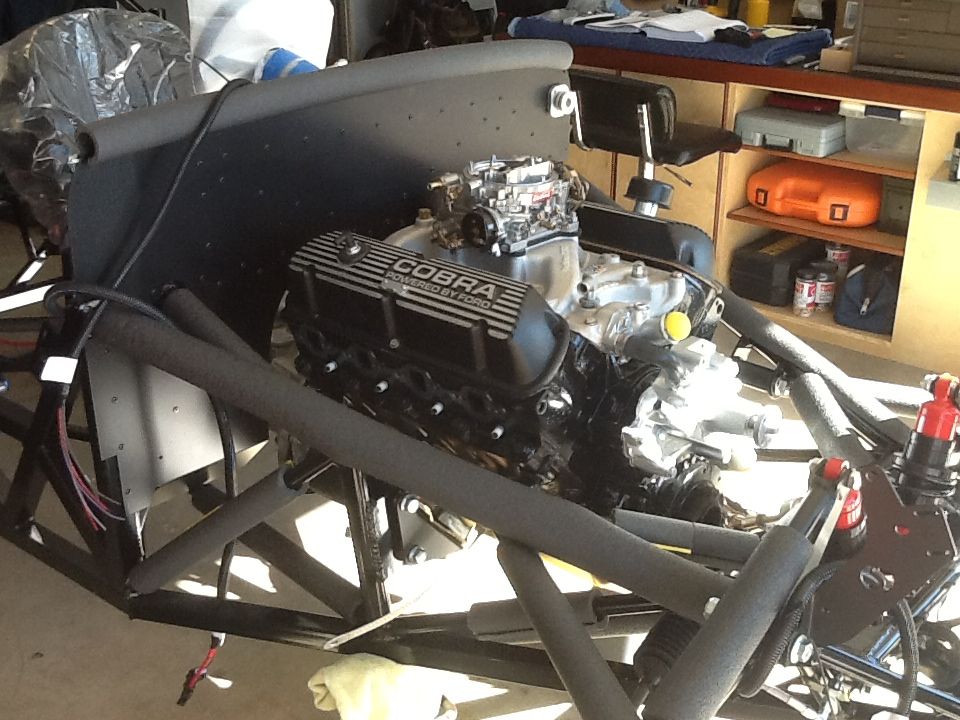
    Well, Bob delivered my kit yesterday afternoon and I am anxious to get started on this adventure. I went through most of the boxes and started pulling parts to get powder coated. I also removed the body to get access to the sheet metal and suspension. I have most of the drivetrain already and some other cool upgrades. I am going with a 351 Windsor that has about 400 Hp and 400 ft. lbs. of torque. I don't think it will have a problem getting down the road. I also have a "Z" code Ford Motorsports T-5 Tremec to go behind it. I was lucky enough to find this combo from Scott Fraser down in Manhattan Beach. I am upgrading quite of few items on the motor including a Canton road race pan and Millerspeed pulleys. The rear end is out of a '96-'98 Cobra and I painted the calipers and upgraded the discs to Powerstop as did many of you. Here are a few photos and I look forward to interacting with all of you, I'm sure I will have a ton of questions along the way.
    Attached Images Attached Images
    Last edited by esff32; 12-23-2015 at 08:00 PM.

  2. #2
    Senior Member riptide motorsport's Avatar
    Join Date
    Feb 2011
    Location
    Fort Lauderdale Fl.
    Posts
    3,296
    Post Thanks / Like
    Welcome and congrats!! Great feeling isn;t it?! Enjoy the ride......Steven
    FFR Daytona Type 65 Coupe
    67 427 Cobra
    57' Belair
    72 Pinto Wagon ,306" 1/4 miler
    34 5 window coupe Ford
    2003 Mustang GT
    99' ZX9
    85 Goldwing

    All toys still in the Scuderia!


    Every Saint has a past..................every sinner a future

    Don't take yourself so seriously........no one else does.

    You never see a motorcycle parked outside a Psychiatrists office.

  3. #3
    Senior Member Barrel's Avatar
    Join Date
    Aug 2011
    Location
    Mornington, Victoria, Australia
    Posts
    162
    Post Thanks / Like
    I took delivery of my kit (#353) a year ago to the day, and it's such a buzz so close to Xmas. I like the little pink ride in the second pic but your new build is quite a step up!.
    Cheers and Good Luck with it all.

  4. #4
    Senior Member esff32's Avatar
    Join Date
    Oct 2012
    Location
    La Verne, Ca
    Posts
    560
    Post Thanks / Like
    Thanks guys. I'm looking forward to it. I already found some 3 link suspension hardware that wasn't included. No big deal, just some bolts. Can someone confirm for me... I only got one small polished reservoir for my brakes. Most of the other builds I see have the dual Wilwood reservoir, is it aftermarket that people purchase?

  5. #5
    Moderator
    Join Date
    Feb 2011
    Location
    Milton,DE
    Posts
    656
    Post Thanks / Like
    "one small polished reservoir" I have no idea what you are talking about. Please post a picture. FFR supplied two plastic Wilwood brand reservoirs. Maybe FFR has changed what they are supplying.

    Olli

  6. #6
    Senior Member esff32's Avatar
    Join Date
    Oct 2012
    Location
    La Verne, Ca
    Posts
    560
    Post Thanks / Like
    Quote Originally Posted by Olli View Post
    "one small polished reservoir" I have no idea what you are talking about. Please post a picture. FFR supplied two plastic Wilwood brand reservoirs. Maybe FFR has changed what they are supplying.

    Olli
    IMG_1645.JPG

    I just double checked my parts inventory checklist and it shows only one reservoir. I do have a few parts due to arrive on the 26th but it looks as though they aren't part of the shipment. I will have to give them a call.
    Last edited by esff32; 12-24-2012 at 04:33 PM.

  7. #7
    Moderator
    Join Date
    Feb 2011
    Location
    Milton,DE
    Posts
    656
    Post Thanks / Like
    Well, I guess that could be the brake fluid reservoir..... looks a bit small. Did you look in the build manual? Perhaps FFR has some updated pictures that show that reservoir.

    Personally, I like the idea of a seperate reservoir for each circuit.

    Olli

  8. #8
    Senior Member esff32's Avatar
    Join Date
    Oct 2012
    Location
    La Verne, Ca
    Posts
    560
    Post Thanks / Like
    Quote Originally Posted by Olli View Post
    Well, I guess that could be the brake fluid reservoir..... looks a bit small. Did you look in the build manual? Perhaps FFR has some updated pictures that show that reservoir.

    Personally, I like the idea of a seperate reservoir for each circuit.

    Olli
    I agree Olli. I will give Tony @FFR a call after the holiday. Merry Christmas.

  9. #9
    Tech Support Manager, FFR Tony Zullo's Avatar
    Join Date
    Oct 2012
    Posts
    165
    Post Thanks / Like
    Hey guys tony@ffr yes that is the new reservoir just uses one then gets t off it is small but it is only a holding res you don't need much hope everone had a great holloday!!great job Evan you'r flying!!!

  10. #10
    Senior Member ehansen007's Avatar
    Join Date
    Mar 2011
    Location
    Aliso Viejo, CA
    Posts
    1,625
    Post Thanks / Like
    My man Evan with his new ride! Congrats buddy. With that drive train, it should really rip! I'll be there for the engine fire party for sure. And if it actually catches fire, we'll be fine!

    Interesting on the brake resevoir! Hadn't heard about the single. I think it might make it a little hard to bleed since you have to be sure the reservoir is full but other than that it's more compact and can be mounted in the engine compartment with that cool polished look.

  11. #11
    Junior Member
    Join Date
    Sep 2012
    Location
    Oklahoma City area
    Posts
    25
    Post Thanks / Like
    Great start Few more years for me.

  12. #12
    Senior Member esff32's Avatar
    Join Date
    Oct 2012
    Location
    La Verne, Ca
    Posts
    560
    Post Thanks / Like
    Quote Originally Posted by ehansen007 View Post
    My man Evan with his new ride! Congrats buddy. With that drive train, it should really rip! I'll be there for the engine fire party for sure. And if it actually catches fire, we'll be fine!

    Interesting on the brake resevoir! Hadn't heard about the single. I think it might make it a little hard to bleed since you have to be sure the reservoir is full but other than that it's more compact and can be mounted in the engine compartment with that cool polished look.
    Thanks for all your help Erik. I hope I didn't create more problems for myself today. I misunderstood the manual and marked and drilled the holes in the firewall where it will mount the body. Based on the layout I don't think it will be an issue but we will see. I will call you tomorrow to talk to you about the powder coating. I have made quite a bit of progress with a lot of the small items. I will post more photos soon.

  13. #13
    Senior Member esff32's Avatar
    Join Date
    Oct 2012
    Location
    La Verne, Ca
    Posts
    560
    Post Thanks / Like
    I made a little more progress the past few days. I finished painting the motor and installed the oil pan. I still need a few accessories for the motor but they can wait a little bit. I sent all of the parts out to the powder coater today and should have them by Thursday next week. I bolted up the rear end and left all of the hardware loose until I get the parts back. I installed the pedal assembly and had a minor stumbling block. I was looking at the clutch quadrant spacer and could not seem to find it among all the hardware. I call Tony and he quickly steered me back on course. The clutch quadrant came with the new and improved clutch mechanism that is supposed to limit the stress put on the pedal. Its a pretty slick upgrade and went in with no problems. Here are a few photos of the progress.
    IMG_1657.JPGIMG_0369.jpgIMG_0378.jpgIMG_0381.JPGIMG_0374.JPG

  14. #14
    Senior Member esff32's Avatar
    Join Date
    Oct 2012
    Location
    La Verne, Ca
    Posts
    560
    Post Thanks / Like
    Updated clutch quadrant mechanism


  15. #15
    Senior Member esff32's Avatar
    Join Date
    Oct 2012
    Location
    La Verne, Ca
    Posts
    560
    Post Thanks / Like
    Newly painted


  16. #16
    Senior Member esff32's Avatar
    Join Date
    Oct 2012
    Location
    La Verne, Ca
    Posts
    560
    Post Thanks / Like

  17. #17
    Senior Member esff32's Avatar
    Join Date
    Oct 2012
    Location
    La Verne, Ca
    Posts
    560
    Post Thanks / Like
    I made a little progress over the last few days. I got all the parts back from the powder coated today and they turned out great. I also have been getting a lot of parts delivered. Here are a couple of new pics of the progress. I went with black rivets to go on the firewall to make them blend in.


    I also got my new steering wheel delivered yesterday. I wasn't sure I was going to like until I got to see it in person. I really like the look and the feel. It is suede and has really good grip.


  18. #18
    Senior Member 68GT500MAN's Avatar
    Join Date
    Feb 2011
    Location
    Fresno, CA
    Posts
    1,808
    Post Thanks / Like
    Looking great. You will really like to pullies from Miller Speed - I am using them on my build.
    Doug

  19. #19
    Senior Member esff32's Avatar
    Join Date
    Oct 2012
    Location
    La Verne, Ca
    Posts
    560
    Post Thanks / Like
    Quote Originally Posted by 68GT500MAN View Post
    Looking great. You will really like to pullies from Miller Speed - I am using them on my build.
    Doug
    Thanks Doug. The quality of the Millerspeed pulleys seem to be second to none. I am looking forward to getting a set. Do you remember what the price was?

  20. #20
    Member jethro13's Avatar
    Join Date
    Jun 2011
    Posts
    61
    Post Thanks / Like
    Engine looks great, much better than in my garage! Can't wait to see it ruin your new tires. The Millerspeed kit is really nice, I ran one on my Challenge Car and its fit was better than any bolt on Kit I have used.
    Cheers, Scott

  21. #21
    Senior Member esff32's Avatar
    Join Date
    Oct 2012
    Location
    La Verne, Ca
    Posts
    560
    Post Thanks / Like
    Unfortunately I forgot to powder coat the adjustable lower control arm sleeve and had to run down to drop them off to the powder coater. I also thought the spindles were already coated but when I put them on I noticed that it was a anti-rust coating on them. So I am having them done as well. Guess I need some better light in my garage.


    I also painted the steering column and installed it a couple of days ago. I put a few coats of satin clear, so I hope that will help protect it from scratches.


    I installed the steering rack as well. Now it's time to start bending some brake lines. I will probably install them on the outside like some of you guys have. It seems to be much cleaner and it hides them when the body is on.


  22. #22
    Senior Member esff32's Avatar
    Join Date
    Oct 2012
    Location
    La Verne, Ca
    Posts
    560
    Post Thanks / Like
    Start that build thread Scott, I want to see pictures. I will give you a call when I get close to throwing the drivetrain in.

  23. #23
    Senior Member esff32's Avatar
    Join Date
    Oct 2012
    Location
    La Verne, Ca
    Posts
    560
    Post Thanks / Like
    I started bending brake lines yesterday and got the first two 60" brake lines bent and temporarily held down with clecos. I also finished installing the rest of the front suspension.


  24. #24
    Senior Member esff32's Avatar
    Join Date
    Oct 2012
    Location
    La Verne, Ca
    Posts
    560
    Post Thanks / Like
    I finished plumbing the front brakes. Because I ran them on the outside of the frame rails I had to get a little creative on how to accomplish the task. I hope the lines will not interfere with anything later down the build process. All in all, it came out decent. I mounted the steering wheel however I might remove it because it seems to get in my way at this point.


    I finished installing the electric steering and still need to fabricate a bracket to mount the control box to.


  25. #25
    PLATNUM Supporting Member
    wallace18's Avatar
    Join Date
    Apr 2012
    Location
    Trenton, Florida
    Posts
    5,382
    Post Thanks / Like
    Looking good so far. Thanks for the great pictures.

  26. #26
    Senior Member
    Join Date
    Aug 2011
    Location
    Midland, Texas
    Posts
    129
    Post Thanks / Like
    Have you test fitted the body yet? Will it fit between the firewall and your vertical front brake line? You have done a great job on your build so please check the fitment of the body. I don't think there is enough room for the body to be flush against the fire wall. John

  27. #27
    Senior Member ehansen007's Avatar
    Join Date
    Mar 2011
    Location
    Aliso Viejo, CA
    Posts
    1,625
    Post Thanks / Like
    Evan, you may want to do something like this because the body slides in behind the firewall. Just make sure you have the clearance.


  28. #28
    Senior Member esff32's Avatar
    Join Date
    Oct 2012
    Location
    La Verne, Ca
    Posts
    560
    Post Thanks / Like
    I will check it guys. I should be able to fudge the lines over a bit. Thanks.

  29. #29
    Senior Member esff32's Avatar
    Join Date
    Oct 2012
    Location
    La Verne, Ca
    Posts
    560
    Post Thanks / Like
    I ordered my wheels and tires the other day. I went with the XXR 530s in a flat black finish. My tires also were delivered to the house. I decided on the Toyo Proxes R888. The front wheels are 18x9.75 with a 275/35R18 and the rear are 19x10.75 with a 305/30R19. Hopefully they will look as good as I think they will. The front wheels are on back order and I should have them some time next month. As for the rear wheels, they are pre-order only at this time and should be delivered some time in March or April. This was a difficult decision so I hope I made the right choice.


  30. #30
    Senior Member ehansen007's Avatar
    Join Date
    Mar 2011
    Location
    Aliso Viejo, CA
    Posts
    1,625
    Post Thanks / Like
    "Evan, join me and together we will rule the galaxy. Obi-Wan Smith never told you what happened to your father...."

  31. #31
    Senior Member esff32's Avatar
    Join Date
    Oct 2012
    Location
    La Verne, Ca
    Posts
    560
    Post Thanks / Like
    Haha. You are too funny.

  32. #32
    PLATNUM Supporting Member
    wallace18's Avatar
    Join Date
    Apr 2012
    Location
    Trenton, Florida
    Posts
    5,382
    Post Thanks / Like
    Looks to me to be a great tire and wheel combo. Should look awesome on the 33.

  33. #33
    Senior Member bil1024's Avatar
    Join Date
    Feb 2011
    Location
    NY
    Posts
    1,431
    Post Thanks / Like
    Looks great! I like the foam tubing on the 3/4 tube, what a great idea to protect the powder coat

  34. #34
    Senior Member esff32's Avatar
    Join Date
    Oct 2012
    Location
    La Verne, Ca
    Posts
    560
    Post Thanks / Like

    Cool

    Yeah. I noticed other people using it on their builds and I thought it was a great idea considering sometimes I get clumsy with a wrench. I'm protecting it from myself.

  35. #35
    Senior Member esff32's Avatar
    Join Date
    Oct 2012
    Location
    La Verne, Ca
    Posts
    560
    Post Thanks / Like
    I fabricated a bracket to mount the electric steering module. I mounted it in a similar location as the manual. Erik told me he spoke with Unisteer and they said there isn't an issue with water exposure unless the unit got submerged. This steering unit is used on Razor side-by-sides and buggies so I'm not worried about it. It should stay nice and cool and heck with the nice weather in So. Cal., I won't drive the car in the rain.


  36. #36
    Tech Support Manager, FFR Tony Zullo's Avatar
    Join Date
    Oct 2012
    Posts
    165
    Post Thanks / Like
    Great job man you'r moving right along good to see!!!! Tony@ffr

  37. #37
    Senior Member esff32's Avatar
    Join Date
    Oct 2012
    Location
    La Verne, Ca
    Posts
    560
    Post Thanks / Like
    My dad came over this morning and gave me a hand installing the motor and trans. I ran into a snag with the electric power assist motor hitting the pan. I had to pull the motor up and out a bit in order to rework the steering. I had to rotate the steering motor down and redrill a hole in the mounting plate. Now there is plenty of room there however the oil pan is extremely close to the X brace. It's not hitting but I am curious to see if it does with a little movement in the motor. Other than that, the motor went in with no real issues. Maybe someone can tell me how they tightened the driver side motor mount stud nut. It is tight in there especially with the steering motor right below it. Here's a few pics of the end result.


  38. #38
    Senior Member hdnik's Avatar
    Join Date
    Oct 2012
    Location
    Welland, Ontario Canada
    Posts
    342
    Post Thanks / Like
    I had hoped he clocking issue with the EPS unit was resolved, but if yours is #497, my #495 will have the same issue I suppose.
    Nick Sebastian - 33 Hot Rod #495
    Factory Five Forums - hdnik
    FFCars - lowntubd

    Build Site/Blog - www.nicks33hotrod.com

  39. #39
    Senior Member esff32's Avatar
    Join Date
    Oct 2012
    Location
    La Verne, Ca
    Posts
    560
    Post Thanks / Like
    I would think so. There is another set of holes in the plate however they didn't help me. It wasn't terribly difficult to adjust but just another step in the process I suppose.

  40. #40
    Senior Member esff32's Avatar
    Join Date
    Oct 2012
    Location
    La Verne, Ca
    Posts
    560
    Post Thanks / Like
    Thanks Tony. I appreciate it. Talk to you soon I'm sure.

Page 1 of 11 123 ... LastLast

Posting Permissions

  • You may not post new threads
  • You may not post replies
  • You may not post attachments
  • You may not edit your posts
  •  

Stewart Transport

Visit our community sponsor