
Visit our community sponsor

Thanks:
0

Likes:
0
-
-
-
PLATNUM Supporting Member


I am glad someone who has much experiece is doing this thread. Thanks for sharing.
-
-
Senior Member

Fitting Firewall
Mike,
(you said) "Started fitting the firewall today. Placed the upper in its spot that the lower panels and got everything lined up."
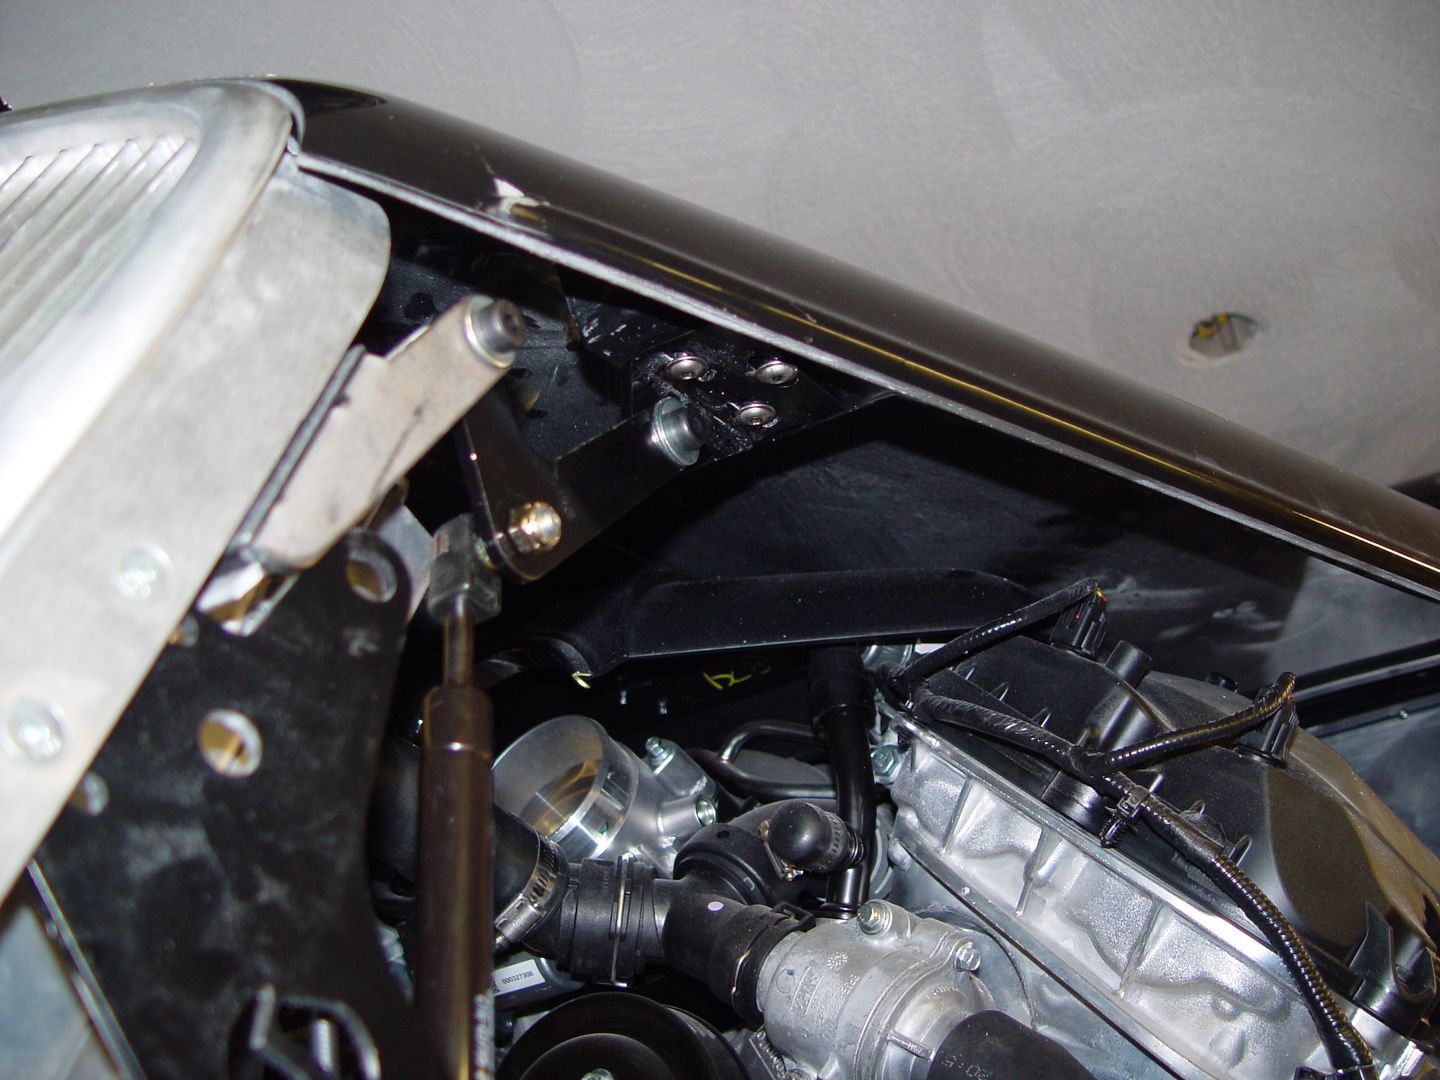
I am a novice in building a FFR 33HR but from everything I've read on the forums I was under the impression that you had to fit the body onto the frame in order to be sure the firewall is aligned correctly. If that's not true then it will save me a lot of trial fitting my firewall. just want to get it right for my own clarification.
thanks,
Nevin
-
Mike, Looking good as usual but boy is your wife going to be pissed about the oven !!!
Kenny
-
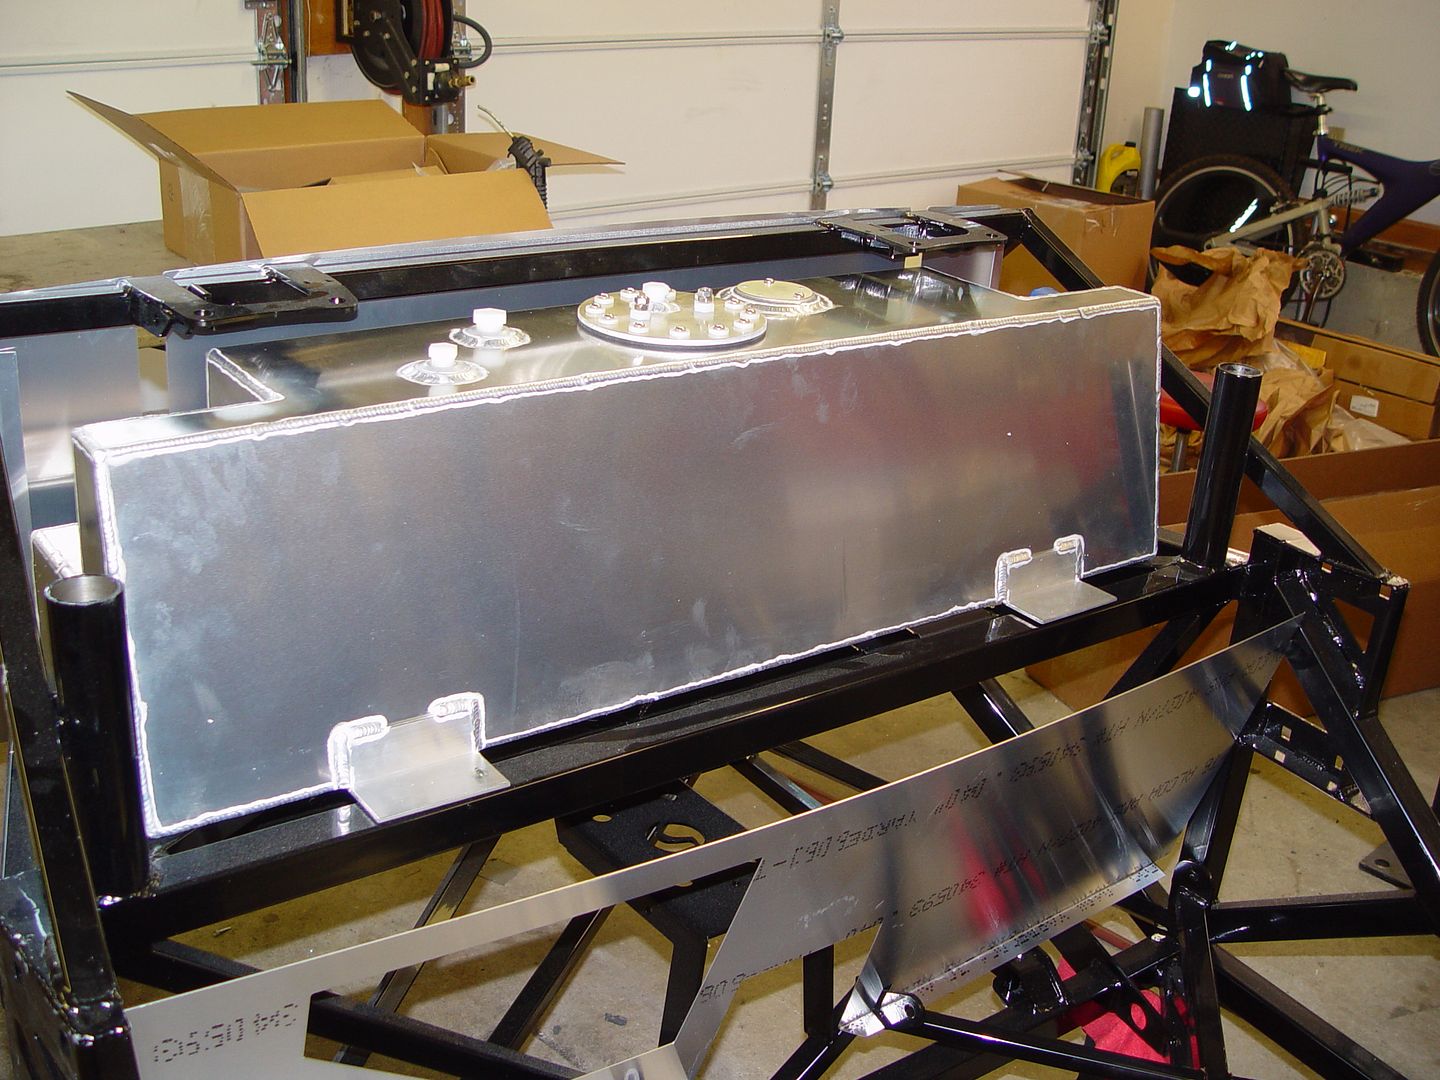
Nevin. There isnt much room to adjust the firewall due to the frame members passing through it. See pictures. Your better off fitting the firewall to the chassis then trimming it (if needed) to fit the contour of the body.
Mike
-
-
-
-
-
-
-
Senior Member

Thanks for starting this thread. My 33 will be here in a few weeks and you're already answering several questions I had. I'm building an old school 408 stroker motor as we speak. My differential is ready to pick up, and every day it seems I'm ordering more parts from somewhere. Been a while since I've done anything like this so I'm excited and nervous at the same time. Biggest thing I've had to grasp is that I am going to make some mistakes, fix them and go on.
-
It's really just nuts and bolts. Easy to fix those kind of mistakes.
Just take your time and you will be fine. Factory Five has done a wonderful job with the new manuals, packaging of components and overall quality compared to the last one I built.
-
Member

Great pictures of the build....please keep 'em coming. I'm really interested in how the power steering unit will be squeezed in after the engine install.
Da Bear
Telescopes are instruments of hope and faith. Hope that a better, clearer and brighter universe can be observed. Faith that we can bring these discoveries back to our small planet and create positive changes for all of it's inhabitants.
-
Senior Member

Originally Posted by
michael everson

It's really just nuts and bolts. Easy to fix those kind of mistakes.
Just take your time and you will be fine. Factory Five has done a wonderful job with the new manuals, packaging of components and overall quality compared to the last one I built.
That's encouraging. Been building the 408 while I've been waiting. Finally finished the bottom end after solving a bunch of issues regarding the main cap girdle. Here's a mock-up pic, still have to degree the cam and check valve to piston clearance.P6190035.JPG. I know powder coat is more durable but do you think painting the front suspension components will hold up? Don't think my wife will let me use the oven...
-
-
-
Senior Member
Are you having to relocate the oil filter? And yes I think I need one of them shrouds.
-
-
-
-
PLATNUM Supporting Member
Originally Posted by
michael everson
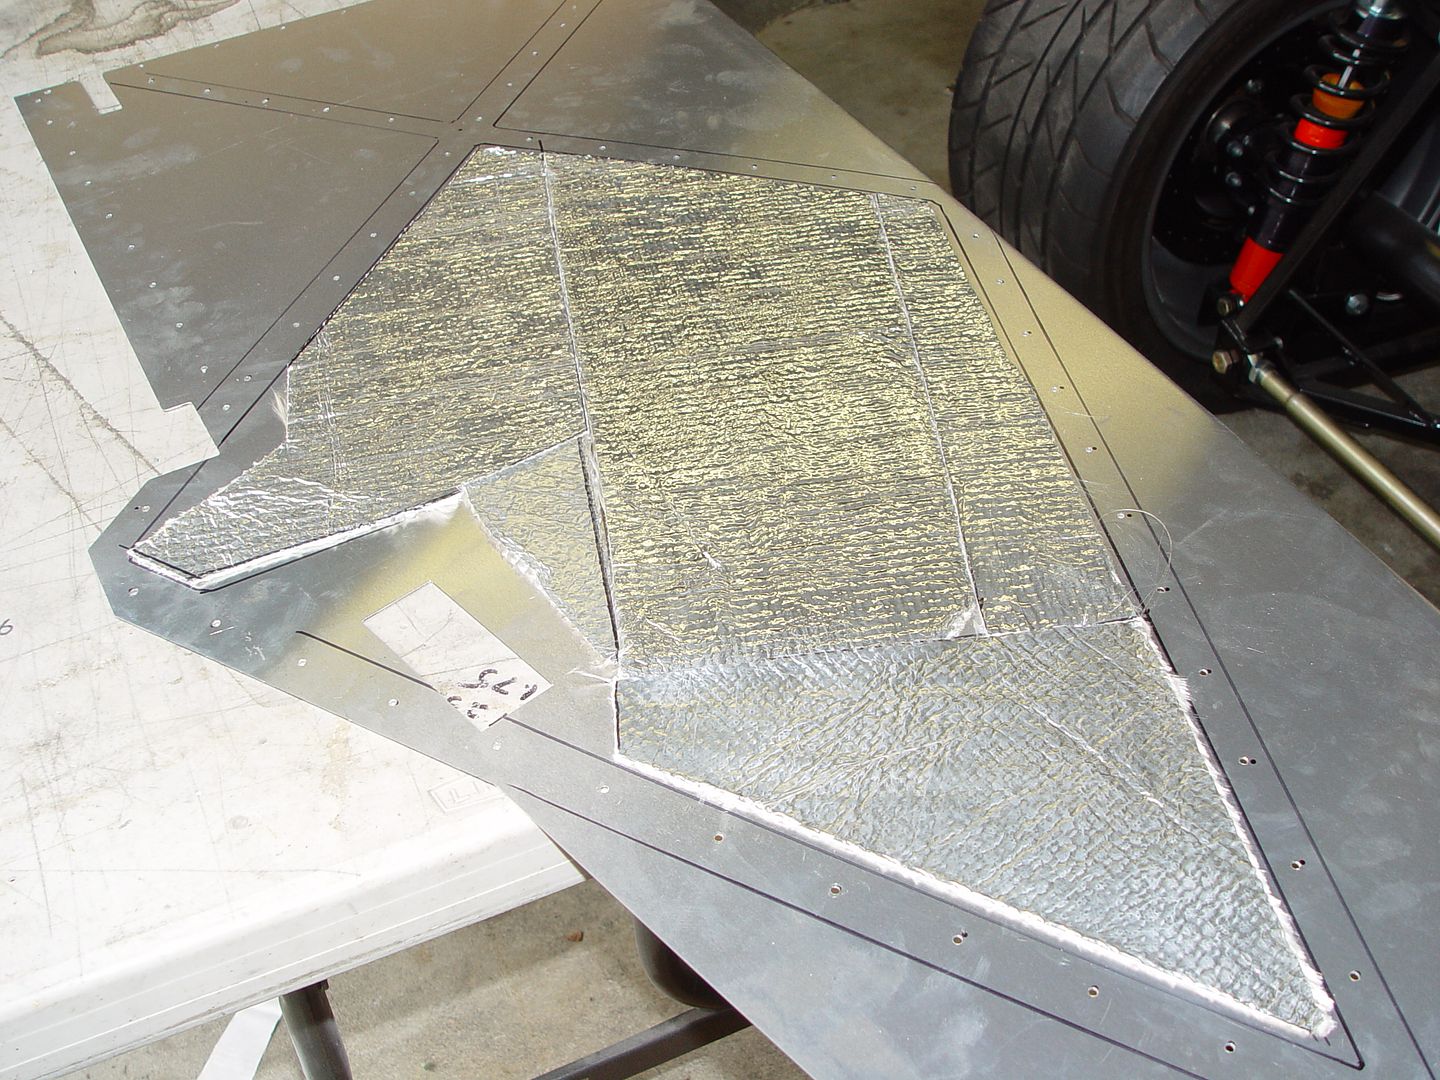
Here is a shot of the underside of the floor aluminum. I put some fire retardant material on there to help with the heat. It will also be insulated on the inside as well. I have seen the carpet under the seat melted on a couple of HotRods I have worked on.
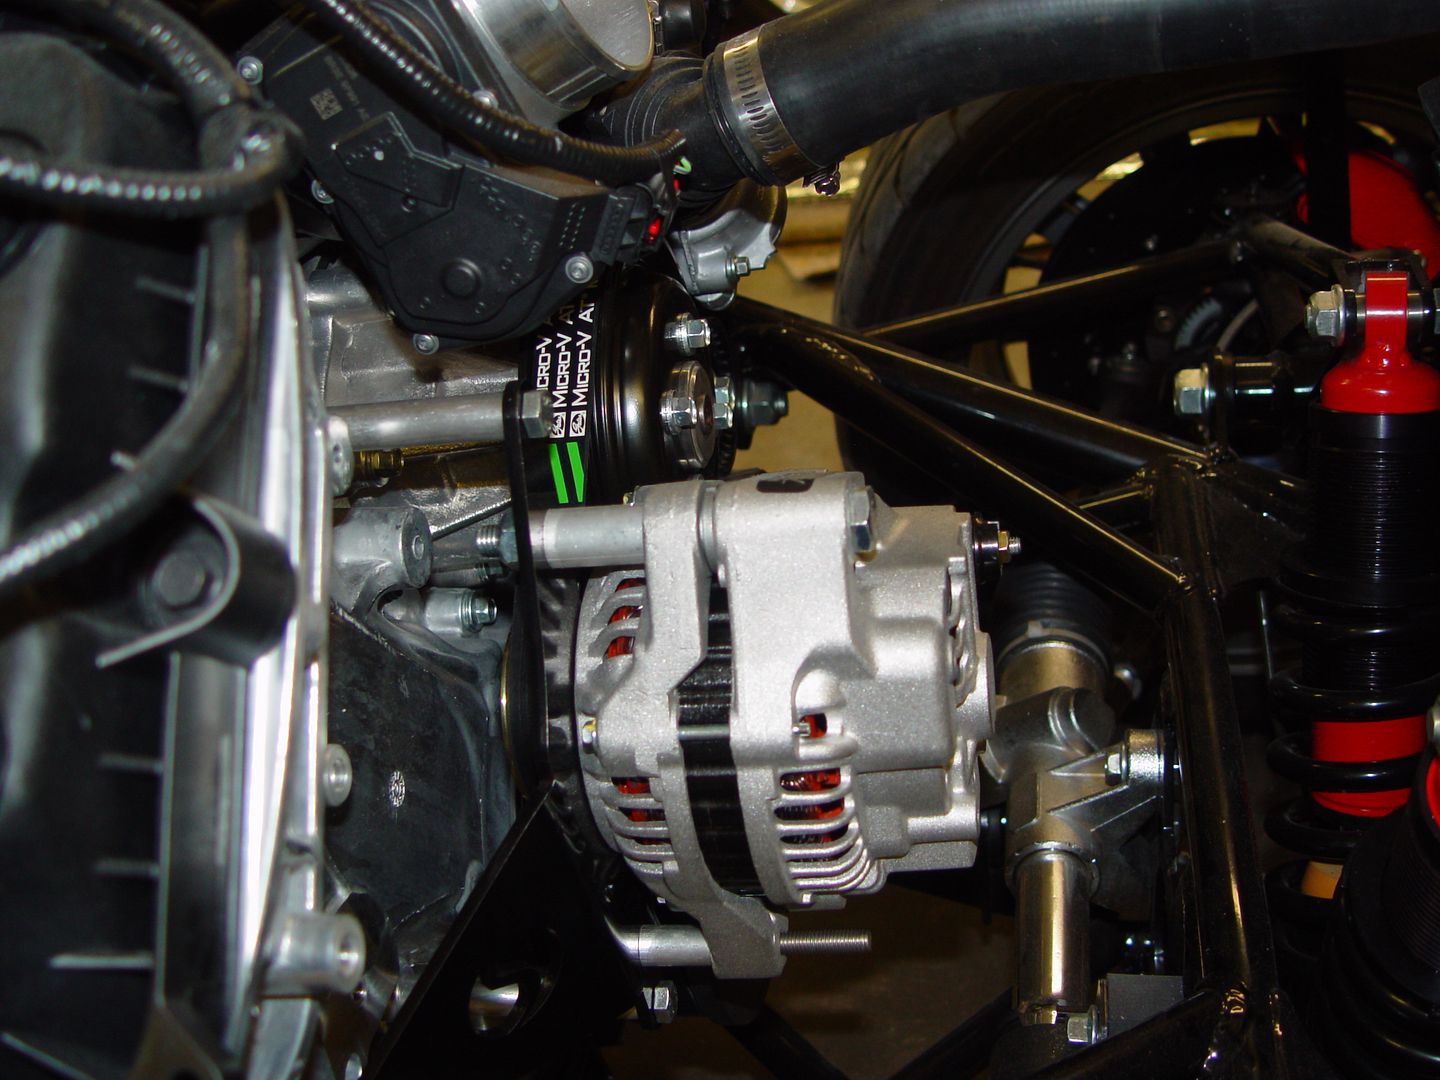
I finally picked up the right alternator and got that mounted. It was pretty straight forward. I had a terrible time trying the remove the non ribbed pulley from the tensioner. I ended up braking the bolt. Had to buy a new one. They are loctited in so use heat.

One of the bolts FFR supplied was the wrong length.
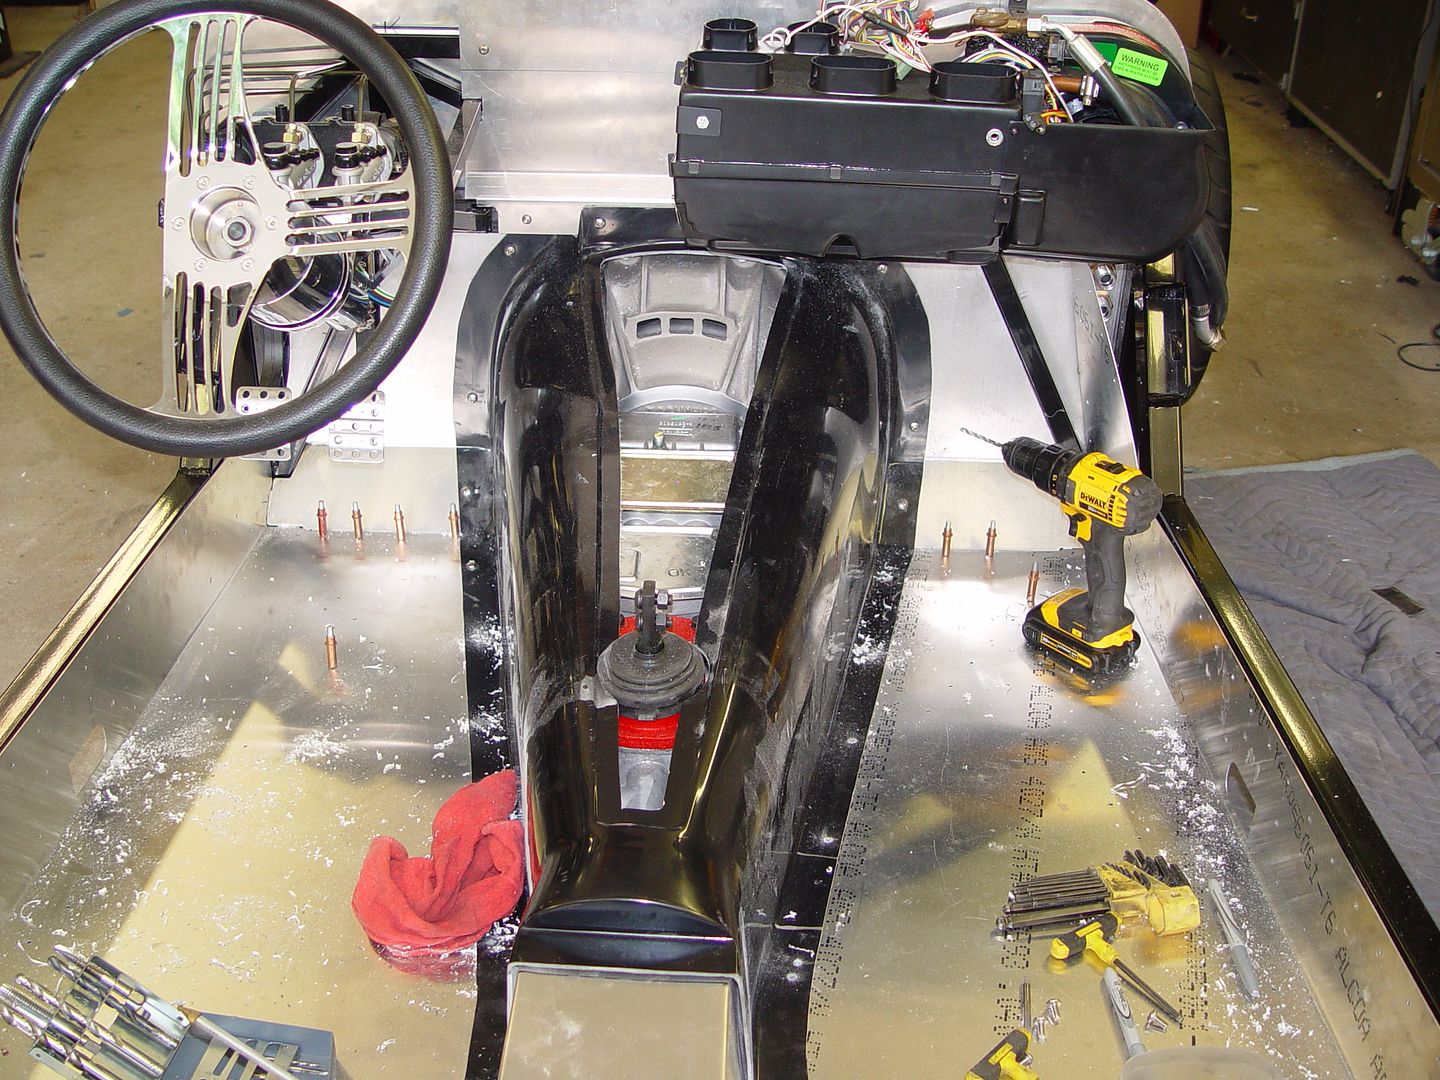
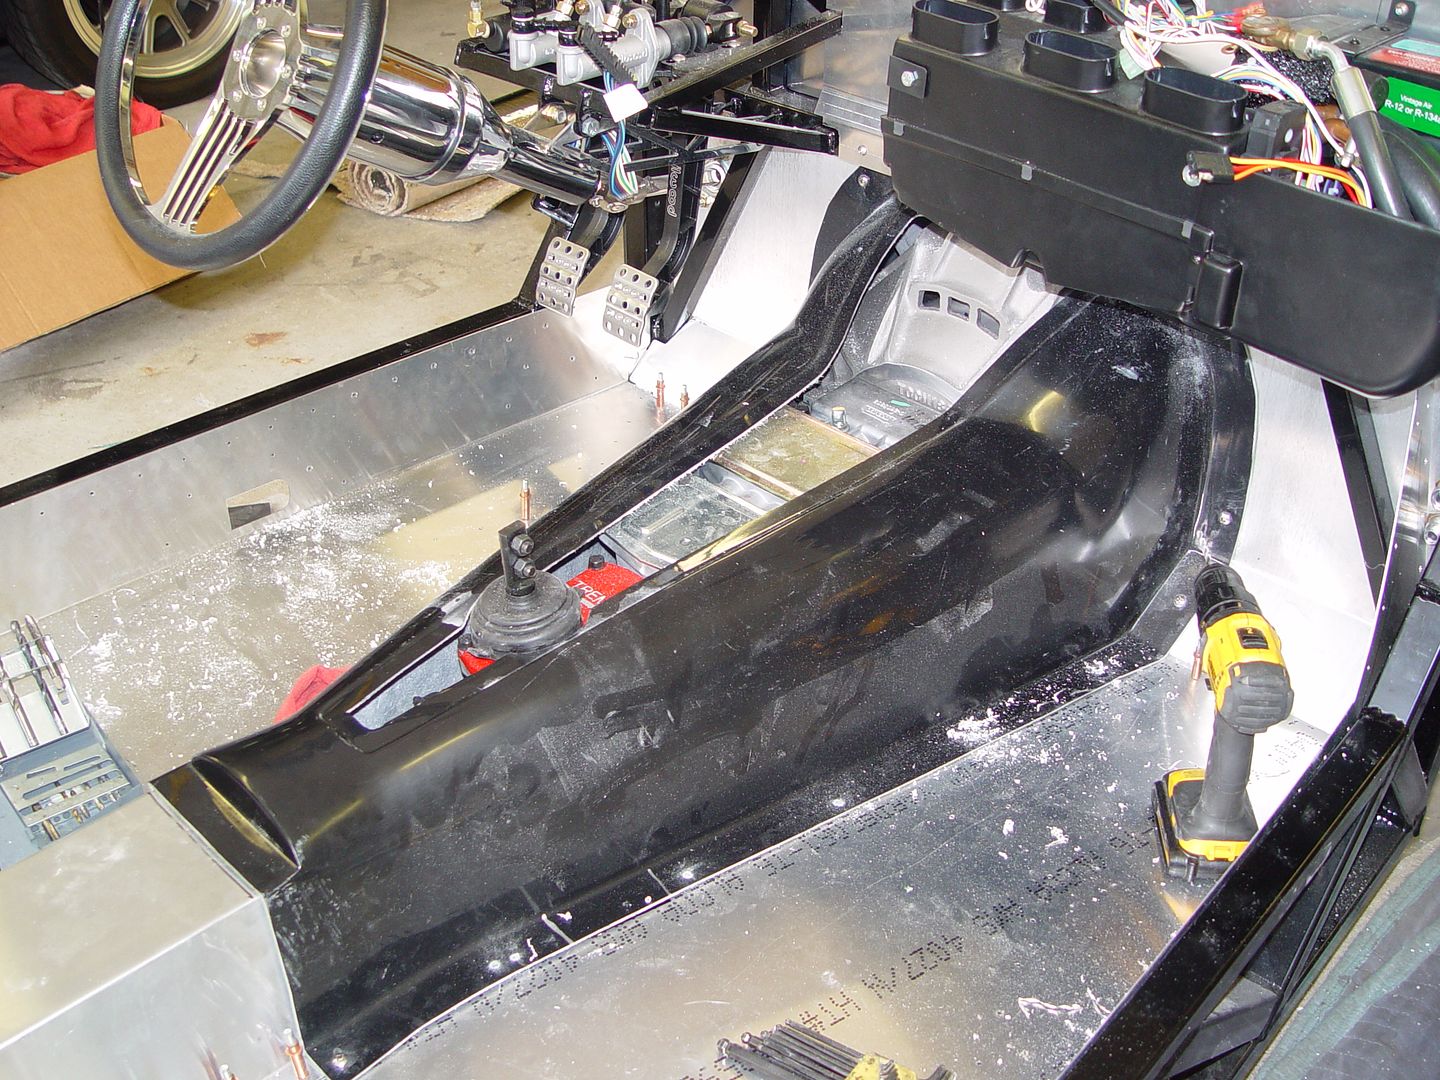
Spent some time today mocking up the trans tunnel. It is a very tight fit over the Tremec. Not much room for error. It fit pretty well. Not sure why FFR made the center removable, but I like it.
Any one that has installed the air, where did you mount the drier?
Mike
Mike I made a bracket and installed it on the right frame rail. You can see it on my build thread.
-
Senior Member

Hi Mike, Re: Battery Box...............
I had to replace the battery in #007 today. (hard to believe it is old enough to need replacement!) It started showing just 11 volts on the key, so replaced it. With the small size (9"Lx9"Hx5"D) I had to look around a bit for a replacement. I bought a D-51 Optima battery (not the least expensive, but I've had good luck with them) which fits the small box you fabricated just fine. It certainly was easier to replace than if it had been mounted in the FFR suggested place. Without even charging the new battery it spins the engine far faster than the old battery and fires immediately.
I don't know if you are still doing it the same way, but thought I'd comment on how nicely the battery box worked on my car.
Thanks, Tom
-
-
-
PLATNUM Supporting Member
Originally Posted by
michael everson
Its been a while since I have updated this build. I have been so busy with work and family that not too much got done.
I finally have the fuel system figured out. Just need to install one more fitting that arrived today.
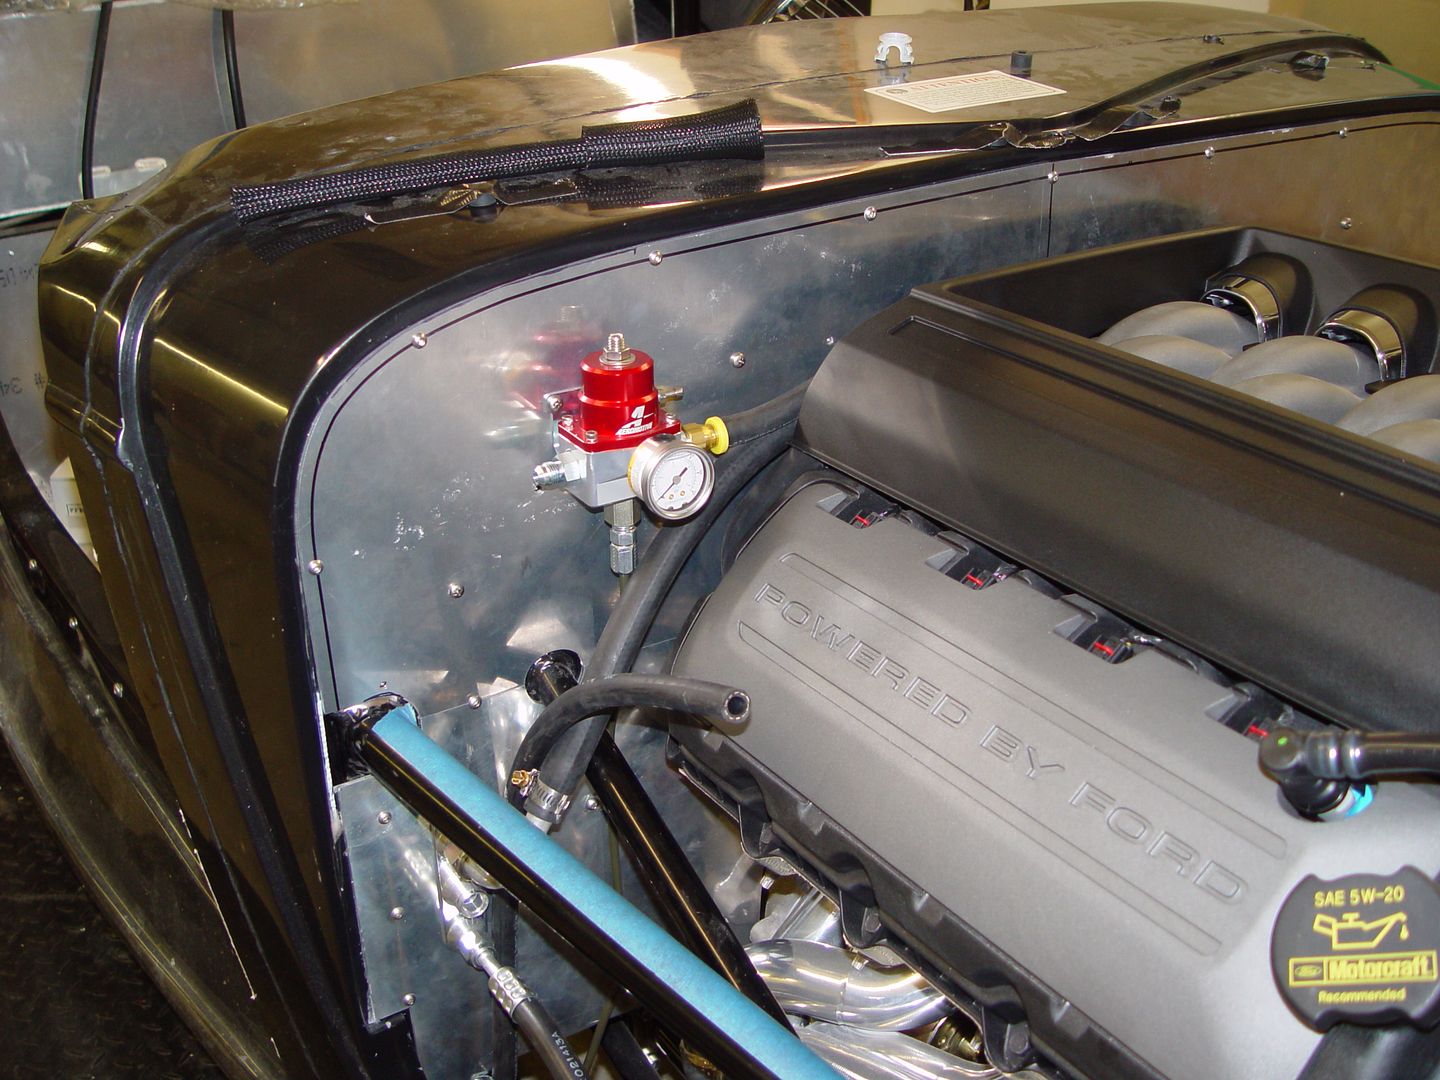
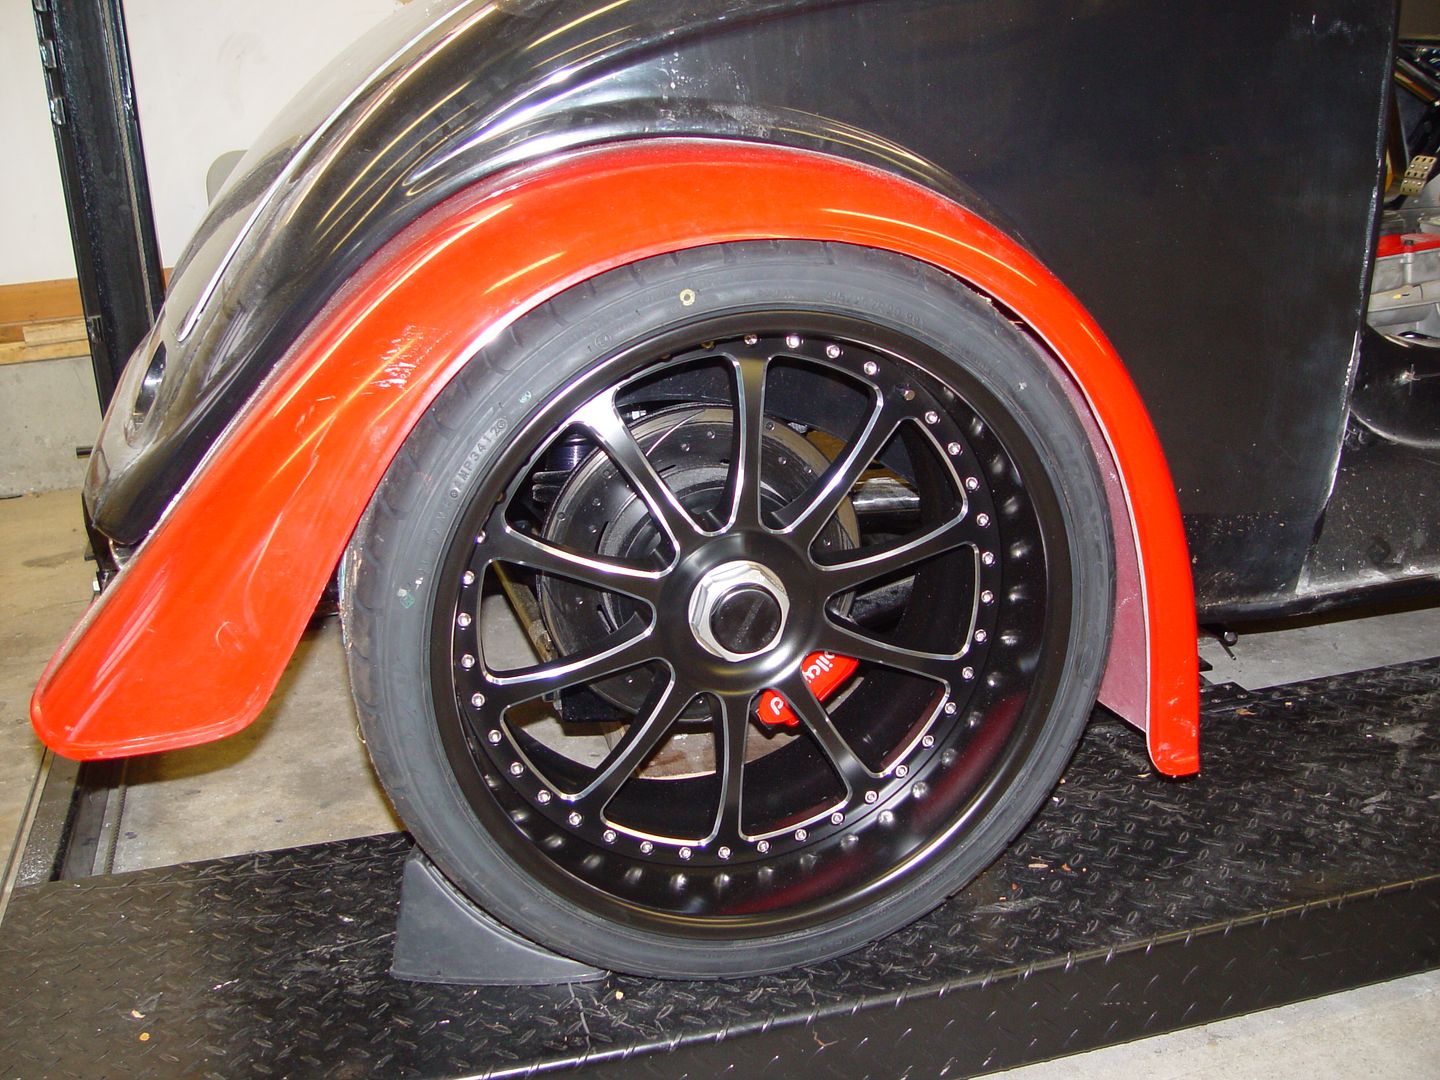
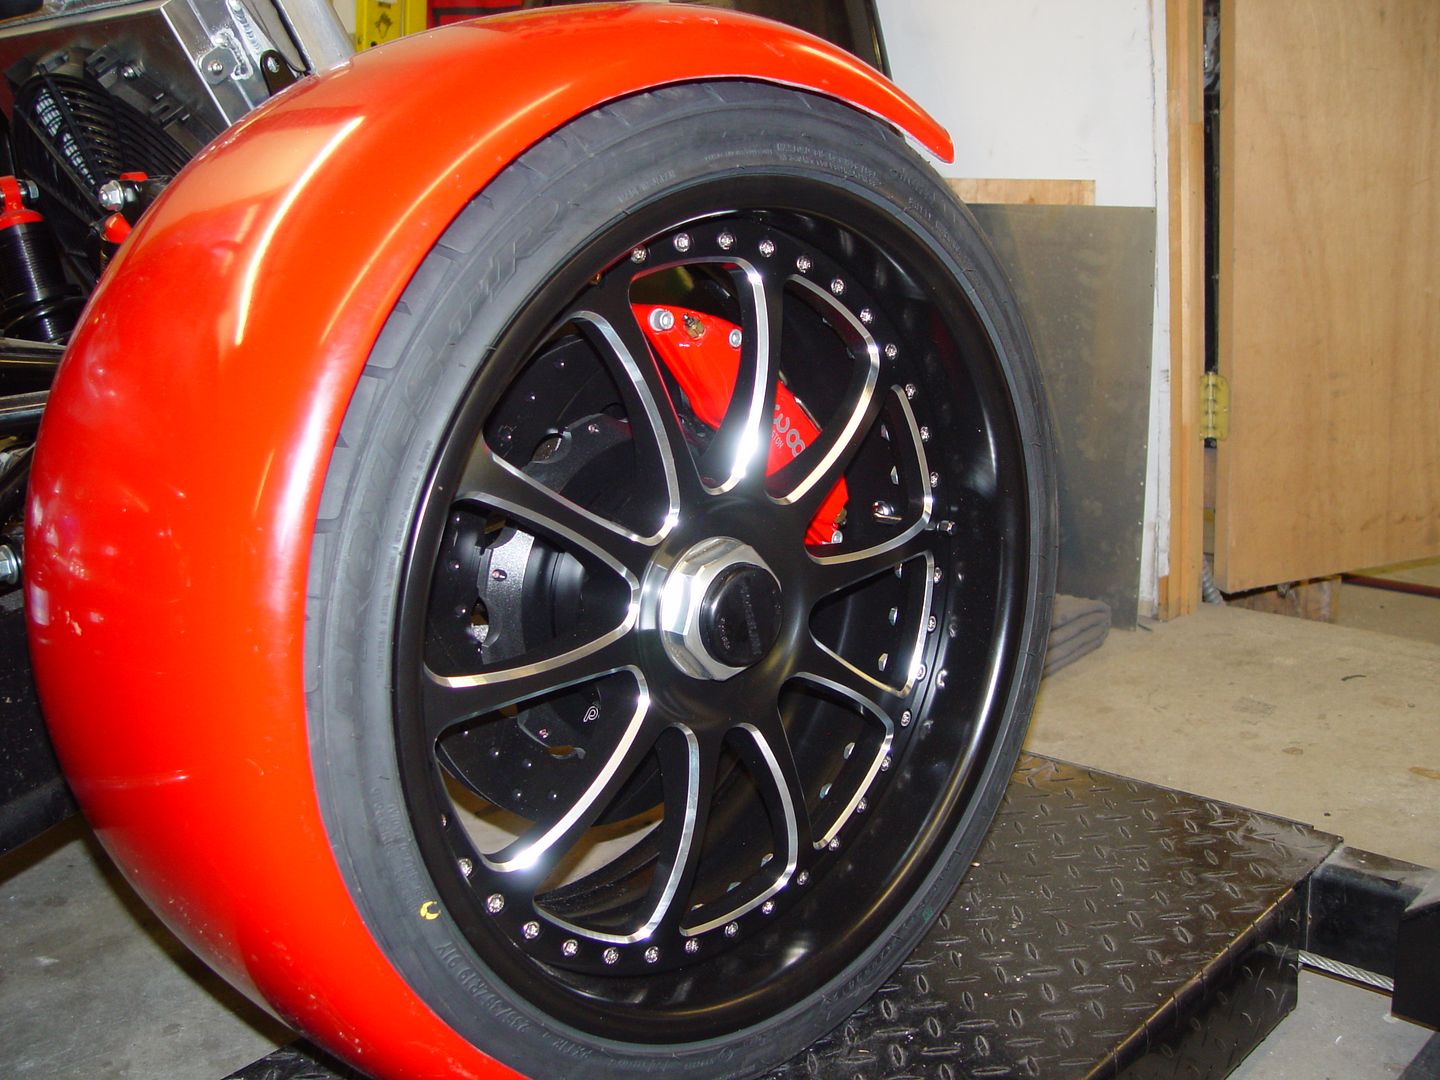
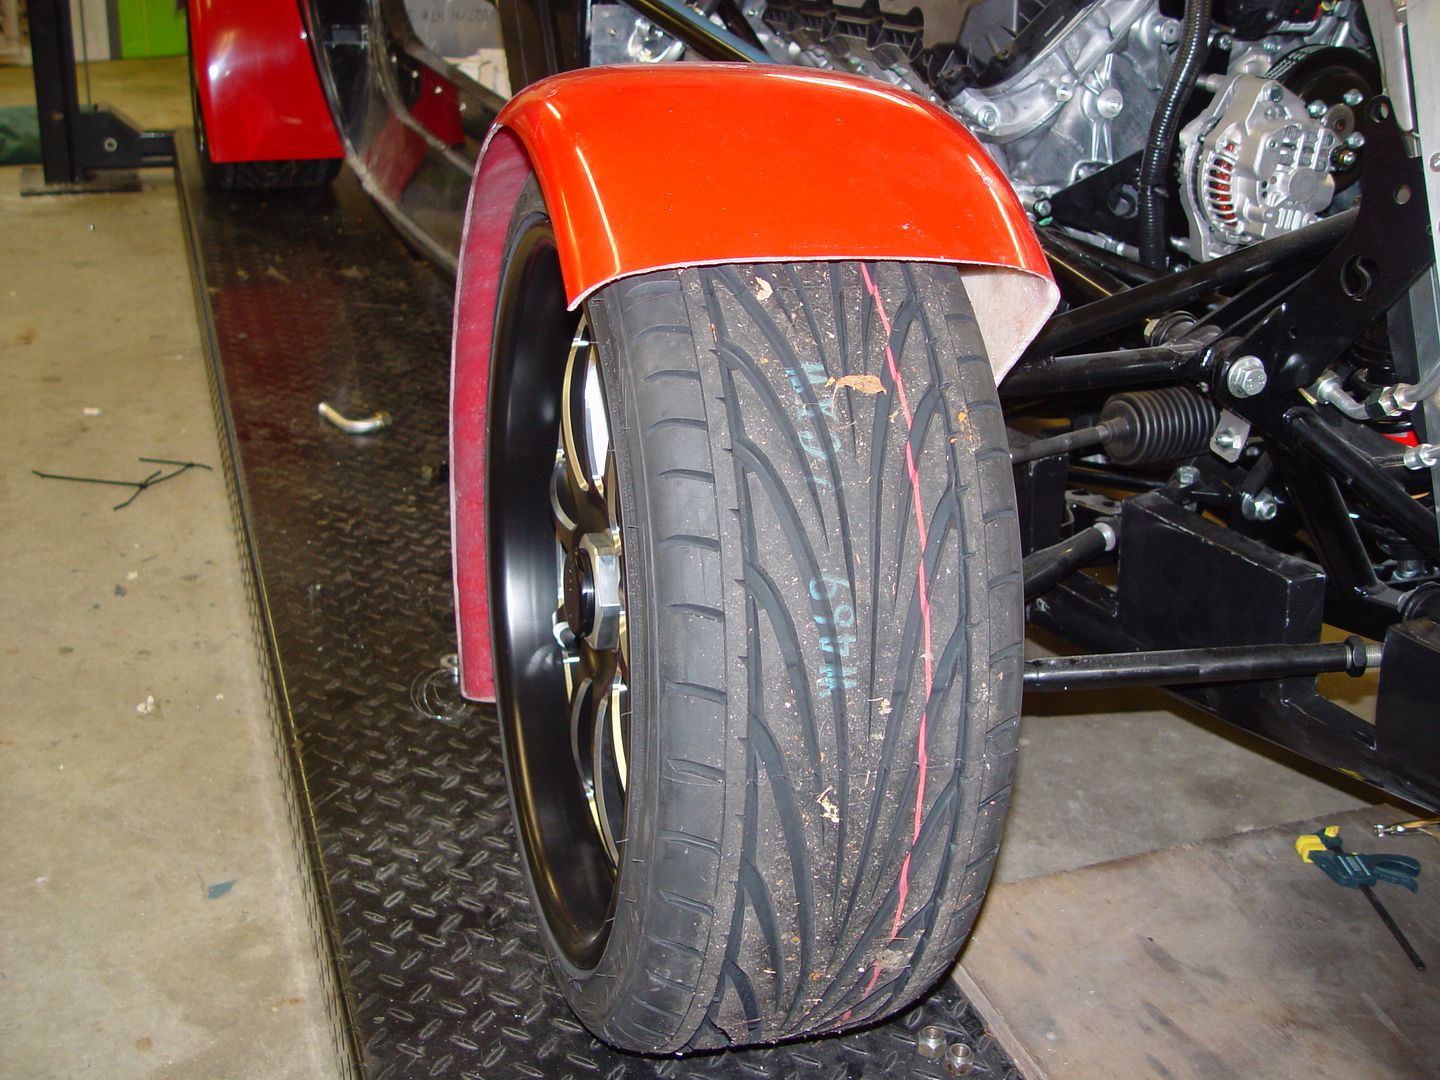
The customer supplied wheels look really nice. I believe the are 19 inch in the front and 20 out back. The fronts look a little funny with the fenders. They don't share the same radius. I am hoping the body shop can make them look a little nicer.
These wheels are true Knockoffs.
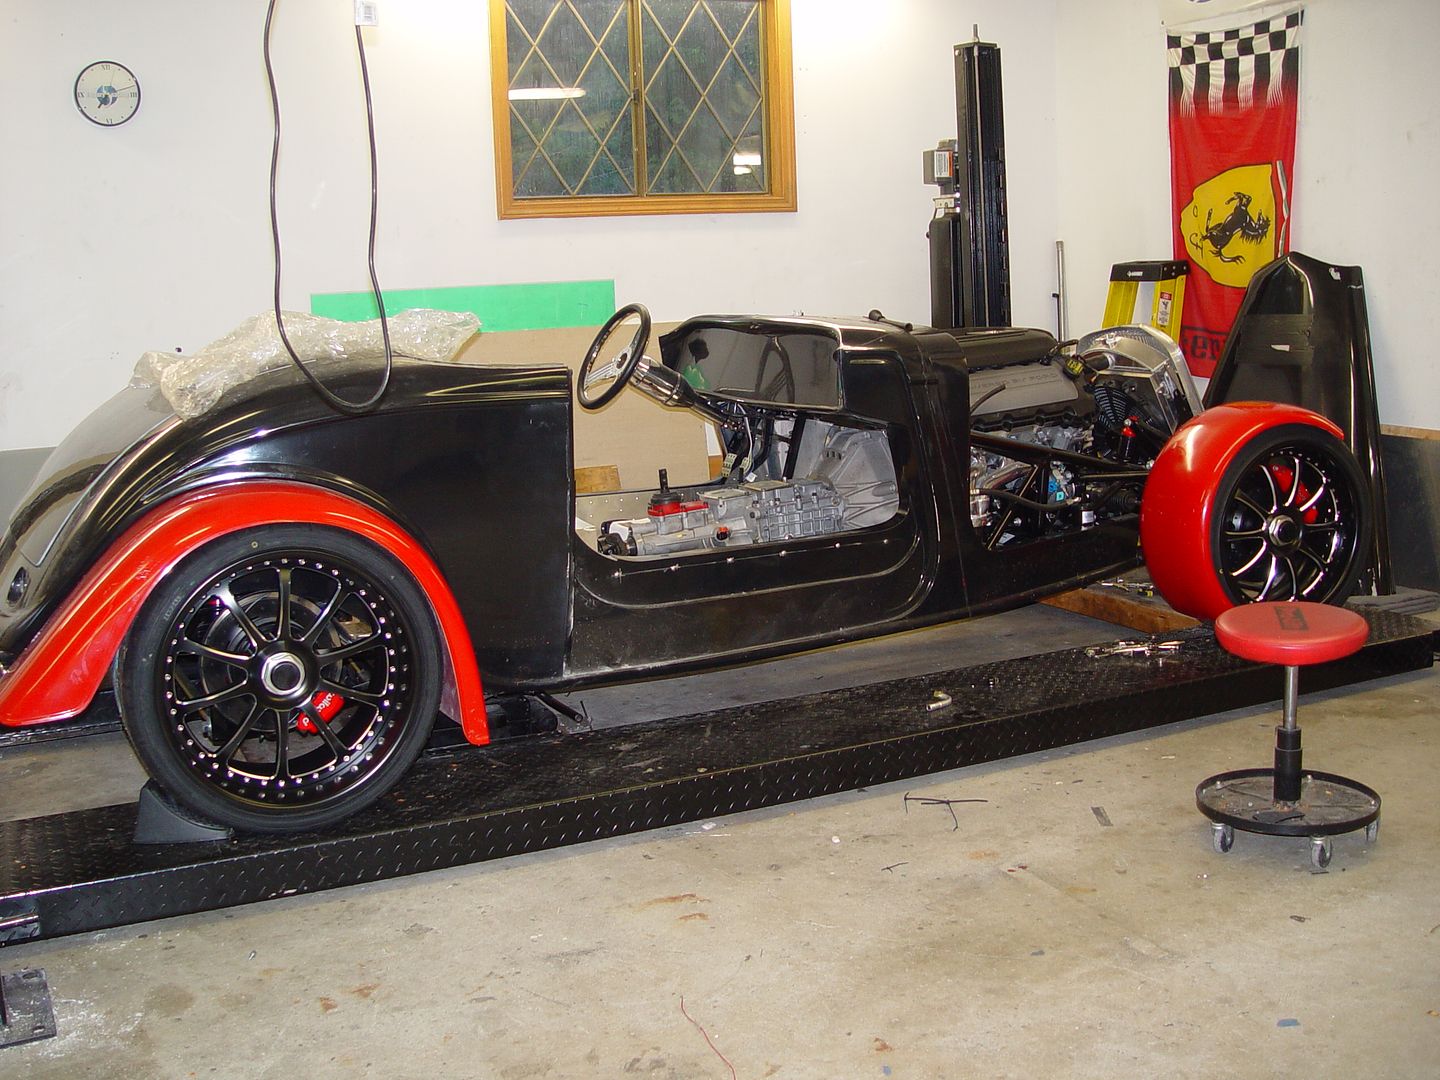
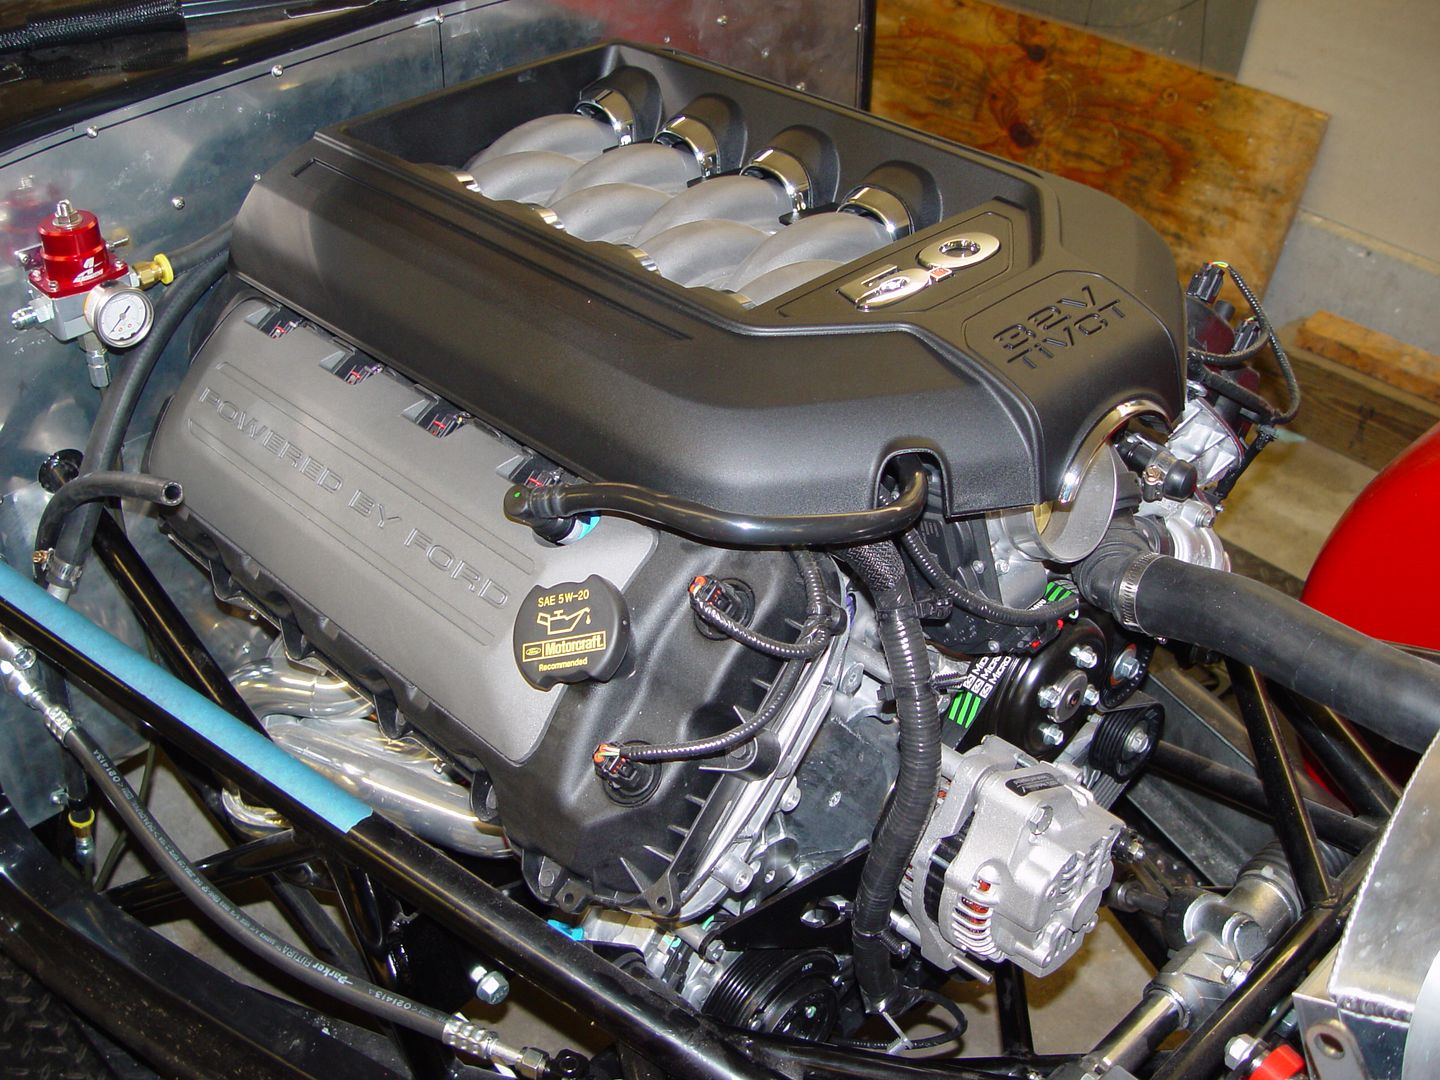
I have the engine cover fitted. It may need a minor amount of clearance to get around one of the heater hoses. The cover really makes it look nice.
I finally got the stock Ford Air conditioning compressor installed. It needs a minor mod in order to clear the frame. Otherwise its a great fit. Now I just need to figure out the hose connections to this thing.
Much more to come this weekend.
Mike where do you get the brackets to install the A/C and alt?
-
There are no brackets for the A\C It bolts directly to the block. The alternator bracket comes with the kit from FFR when you specify Coyote in the options.
Mike
-
Member

a.c. info.
Originally Posted by
michael everson
There are no brackets for the A\C It bolts directly to the block. The alternator bracket comes with the kit from FFR when you specify Coyote in the options.
Mike
I am at the compressor stage. I can find no info from f.f. or vintage air except the 2000$ bracket they sell . if you could , the part # for the compressor , belt and the tensioner would be a BIG help! and lots of pic to. I have ben watching this thread in hopes you would get to the ac part . I have the same engine in #490. thanks much !!
-
The compressor is the stock ford part. I bought it from Fortes. The belt is also a ford part. There is no tensioner. The belt is called a "stretchy belt". It is forced in place. If this system works, it will be much cheaper than VAs front runner kit. I just need to figure out the compressor connections.
Mike
-
Member
THANKS ! for the info. this will get me way down the rood. thanks again !!!!! mike s.
-
Mike-
I like the button head screws on the firewall. Just a very nice look. I am curious if you have ever done this to a MK IV, and if so, if you had any pictures.
I am thinking about doing button heads on my MK IV build, but would really like to see what it might look like first. I am also considering powder coating the heads, or polishing them depending on how I treat the firewall. I'd value your opinion on the powder coating/polishing idea.
I like following your '33 build. You are making some great progress! It is awesome seeing so many pictures and how it demonstrates the build progress so nicely. Well done!
I hope you keep the pictures going with the rest of your build. Thanks!
Regards,
Steve
-
-
-
PLATNUM Supporting Member
Wish I had an answer for the top being off that much. Mine was only about 1/8" off. Something is definetly not right there.
-
Senior Member

Michael,
The build is looking good, I love watching other people's build...i always seem to learn something new. I was wondering if you used the provided dust boot for the lower ball joints or bought aftermarket ones? I, like others, cannot get mine to fit over the shoulder of the ball joint. Any help would be great. Thanks, Evan
-
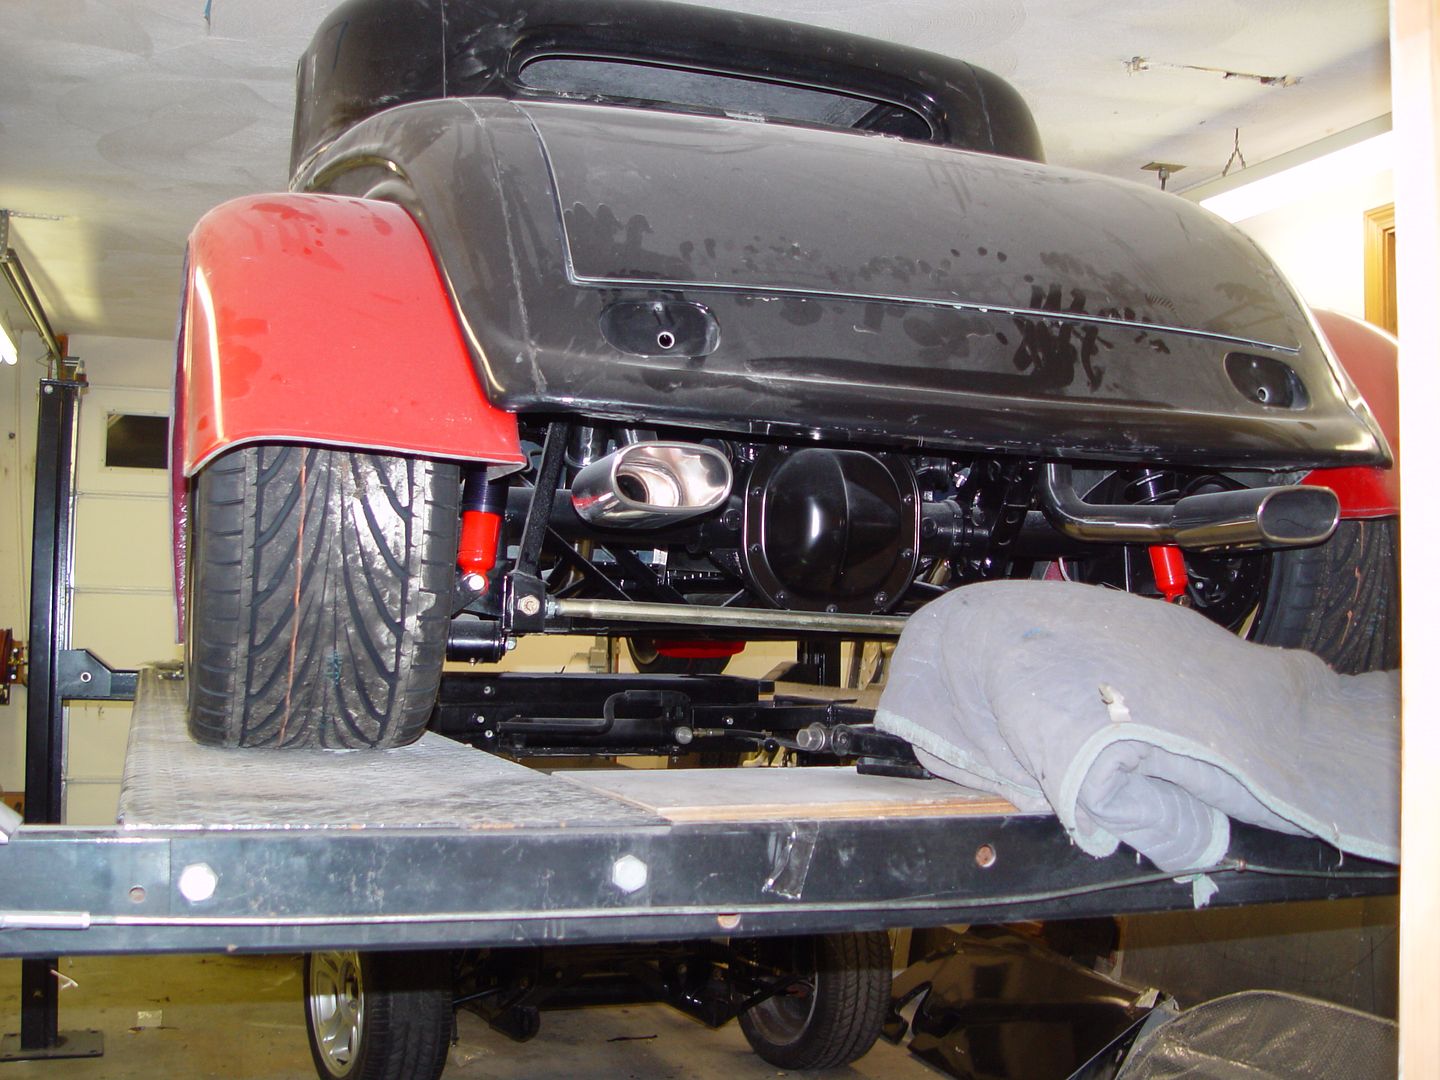
Been a while since I posted on this. Getting a lot of little things done. Doors are finally fitted and done wit the exception of cutting the window slot. I will do that once the hard top is bolted down. The auto door poppers are installed and working fine. Power window mechanisms are in as well.
The hood hinge is finally installed and working. Just need to drill and install the firewall catches. Next goes in the waterfall and side panels. Once that is done its off to paint for all the cleanup and color. If they paint it off the chassis, it will come back for wiring while the body is at paint.
Shot of the wide rear tires
-
-
 Posting Permissions
- You may not post new threads
- You may not post replies
- You may not post attachments
- You may not edit your posts
-
Forum Rules

Visit our community sponsor


 Reply With Quote


