FormaCars

Visit our community sponsor

Thanks Thanks:  0
Likes Likes:  0
Page 2 of 2 FirstFirst 12
Results 41 to 59 of 59

Thread: Started a new Hotrod build today.

  1. #41
    Senior Member
    Join Date
    Feb 2011
    Posts
    334
    Post Thanks / Like
    Blog Entries
    1
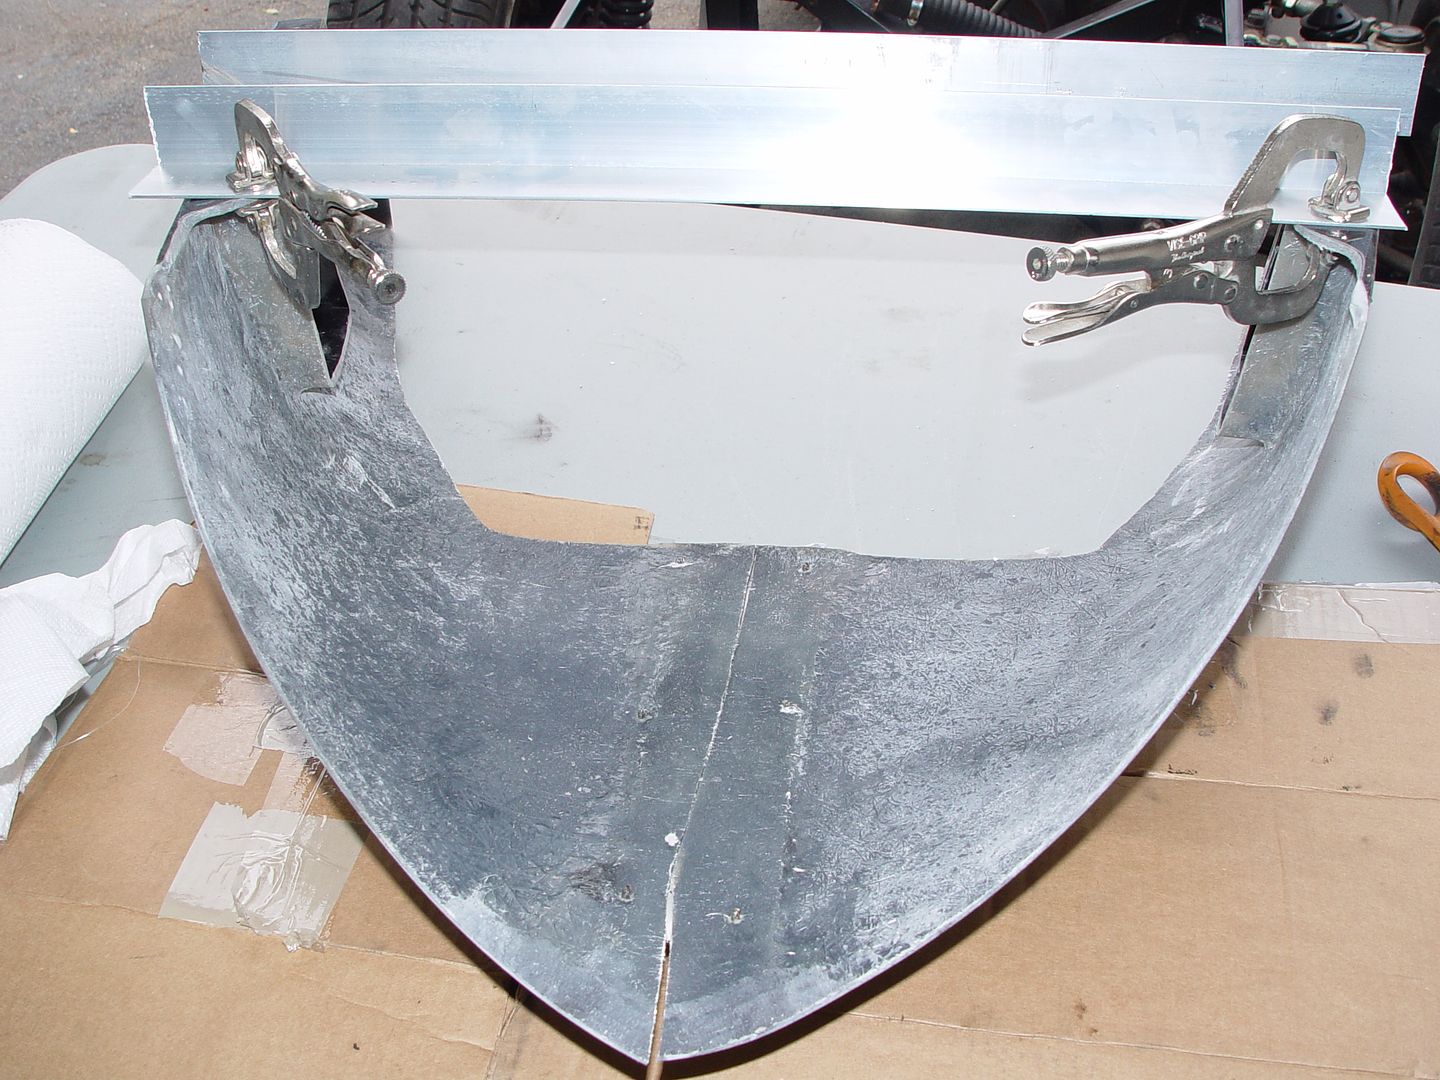
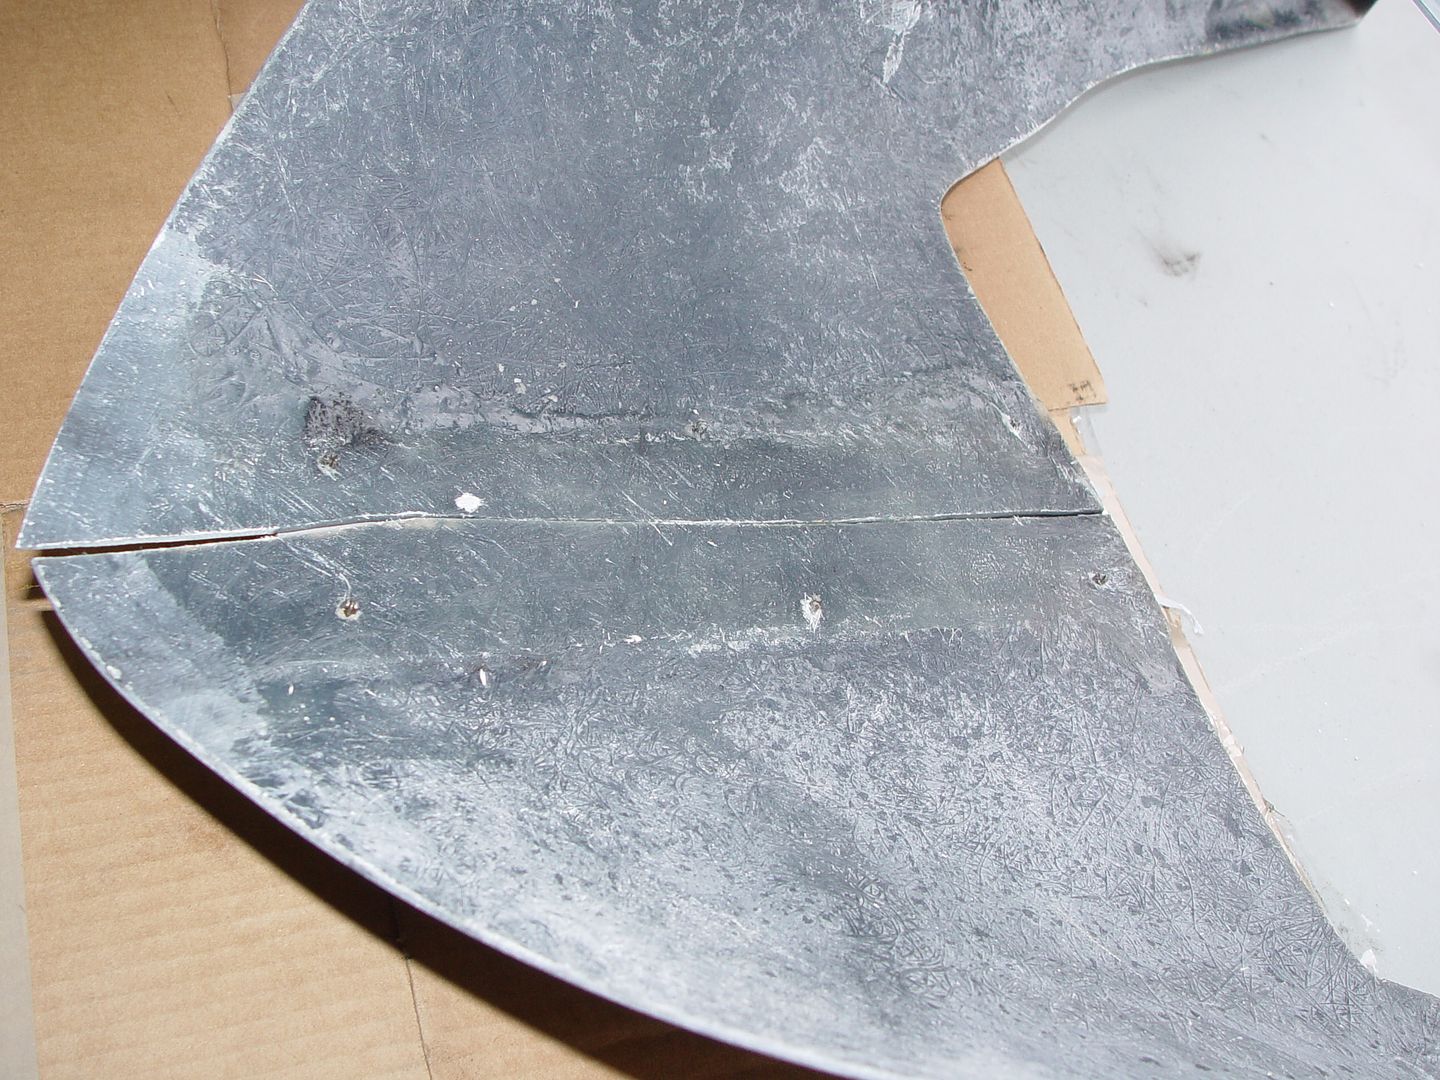
    I had to cut and glass the nose piece as well. I elected to make the arms that extend from the firewall part of the nose cone. I cut it down the middle and glassed in a piano hinge so I could pill out the hinge pin to remove the two sides as a unit.

  2. #42

    Join Date
    Feb 2011
    Location
    Norton, MA USA earth
    Posts
    3,346
    Post Thanks / Like
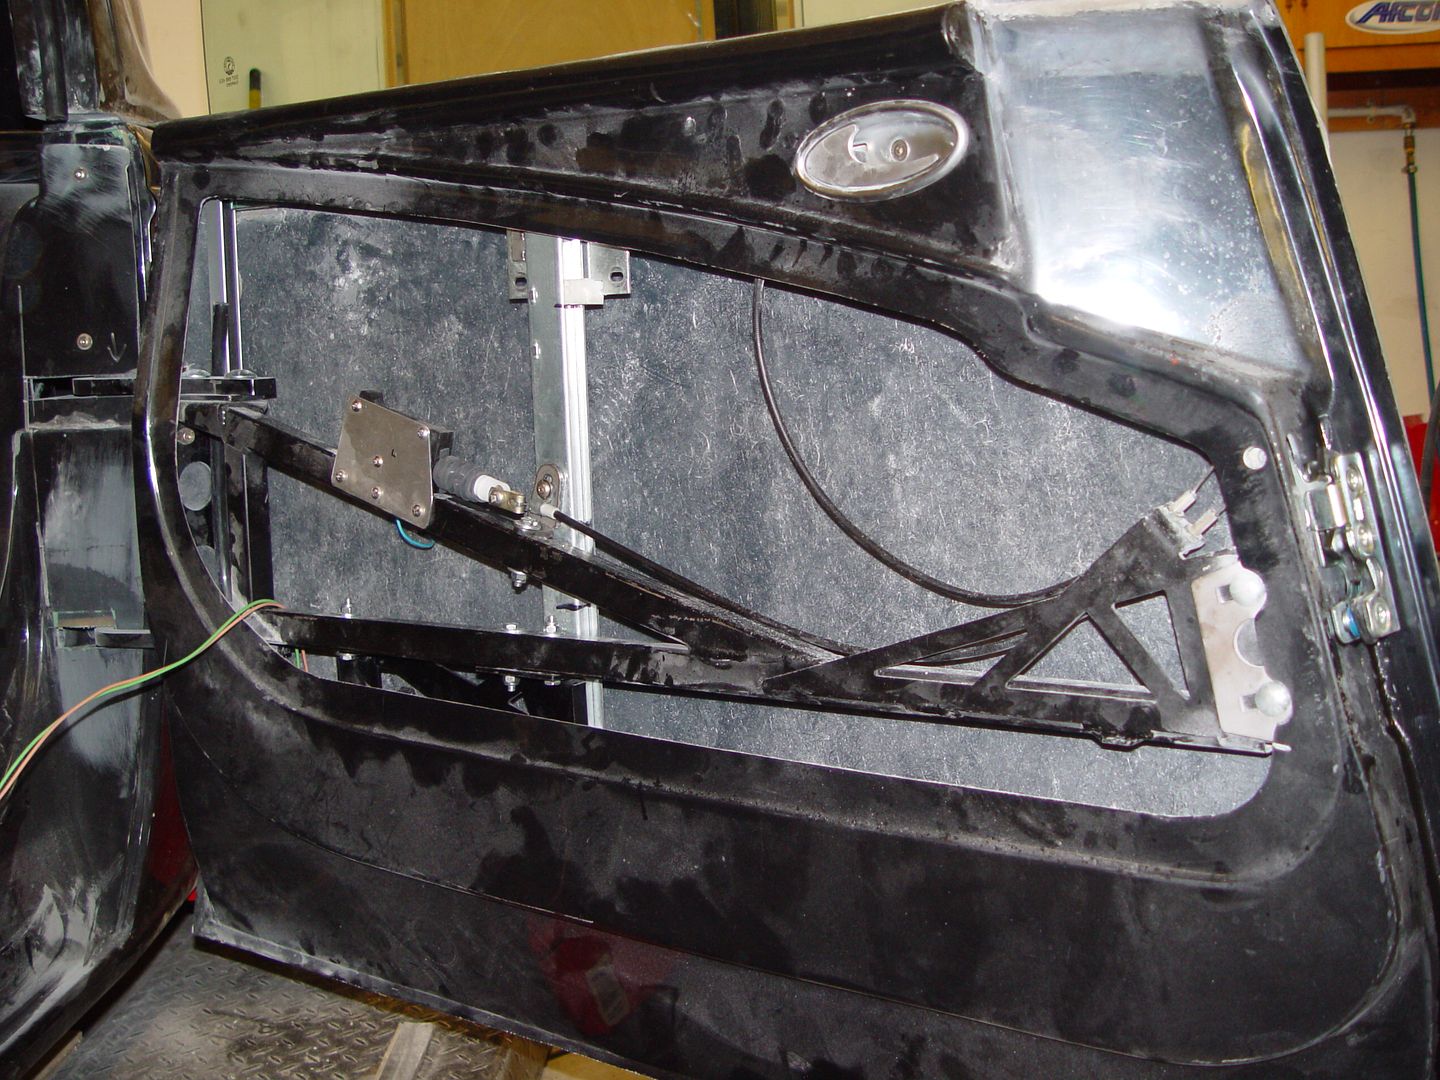
    Here are a couple of quick pics of the door glass. The power windows has to be one of the biggest pains to do in these cars. Nothing really fits well, the front window guide is trying to share the same spot as the door latch cables, and its such a tight area to work in. It took me about 20 hours to complete both windows.


  3. #43
    Master Builder
    Join Date
    Feb 2011
    Location
    Long Island, NY
    Posts
    724
    Post Thanks / Like
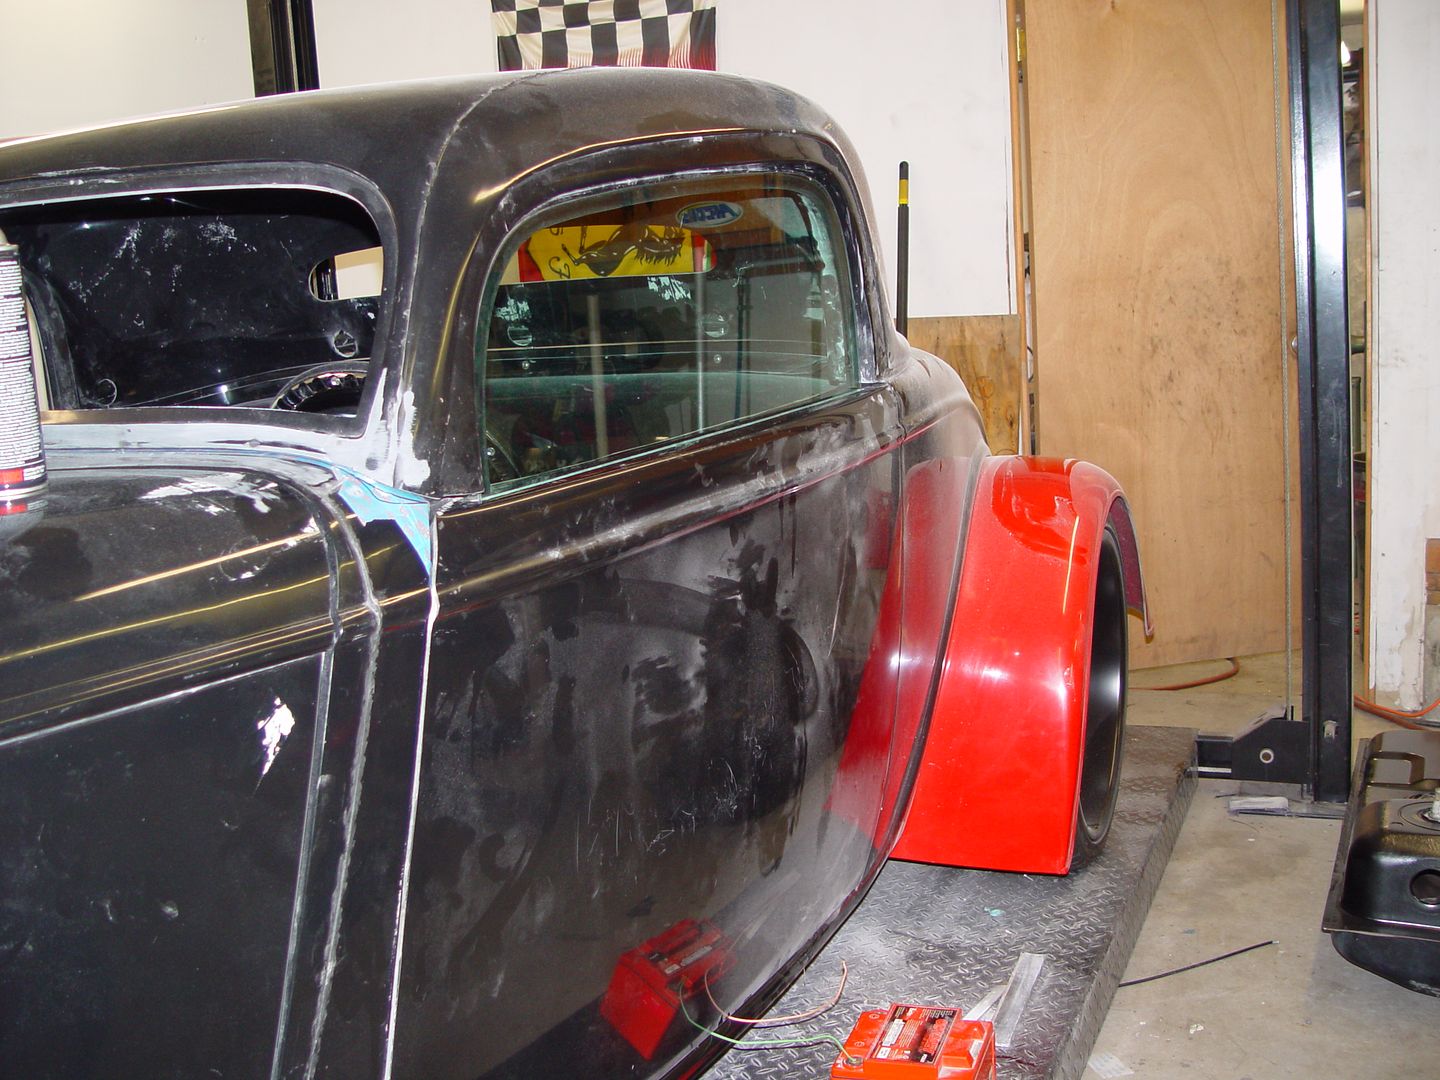
    Mike I mssed what you found out to correct the hardtop problem at the rear.

    Kenny

  4. #44

    Join Date
    Feb 2011
    Location
    Norton, MA USA earth
    Posts
    3,346
    Post Thanks / Like
    I haven't fixed it yet. It appears to be a mismatch between the inner and outer halves. I am hoping the body shop can rework it.
    Mike

  5. #45
    Master Builder
    Join Date
    Feb 2011
    Location
    Long Island, NY
    Posts
    724
    Post Thanks / Like
    Quote Originally Posted by michael everson View Post
    I haven't fixed it yet. It appears to be a mismatch between the inner and outer halves. I am hoping the body shop can rework it.
    Mike
    Have you tried to see where the top hits the body ? I havent built one of these but from photos looks like what you say inside is hitting before outside. Maybe inside can be trimmed.

    Kenny

  6. #46

    Join Date
    Feb 2011
    Location
    Norton, MA USA earth
    Posts
    3,346
    Post Thanks / Like
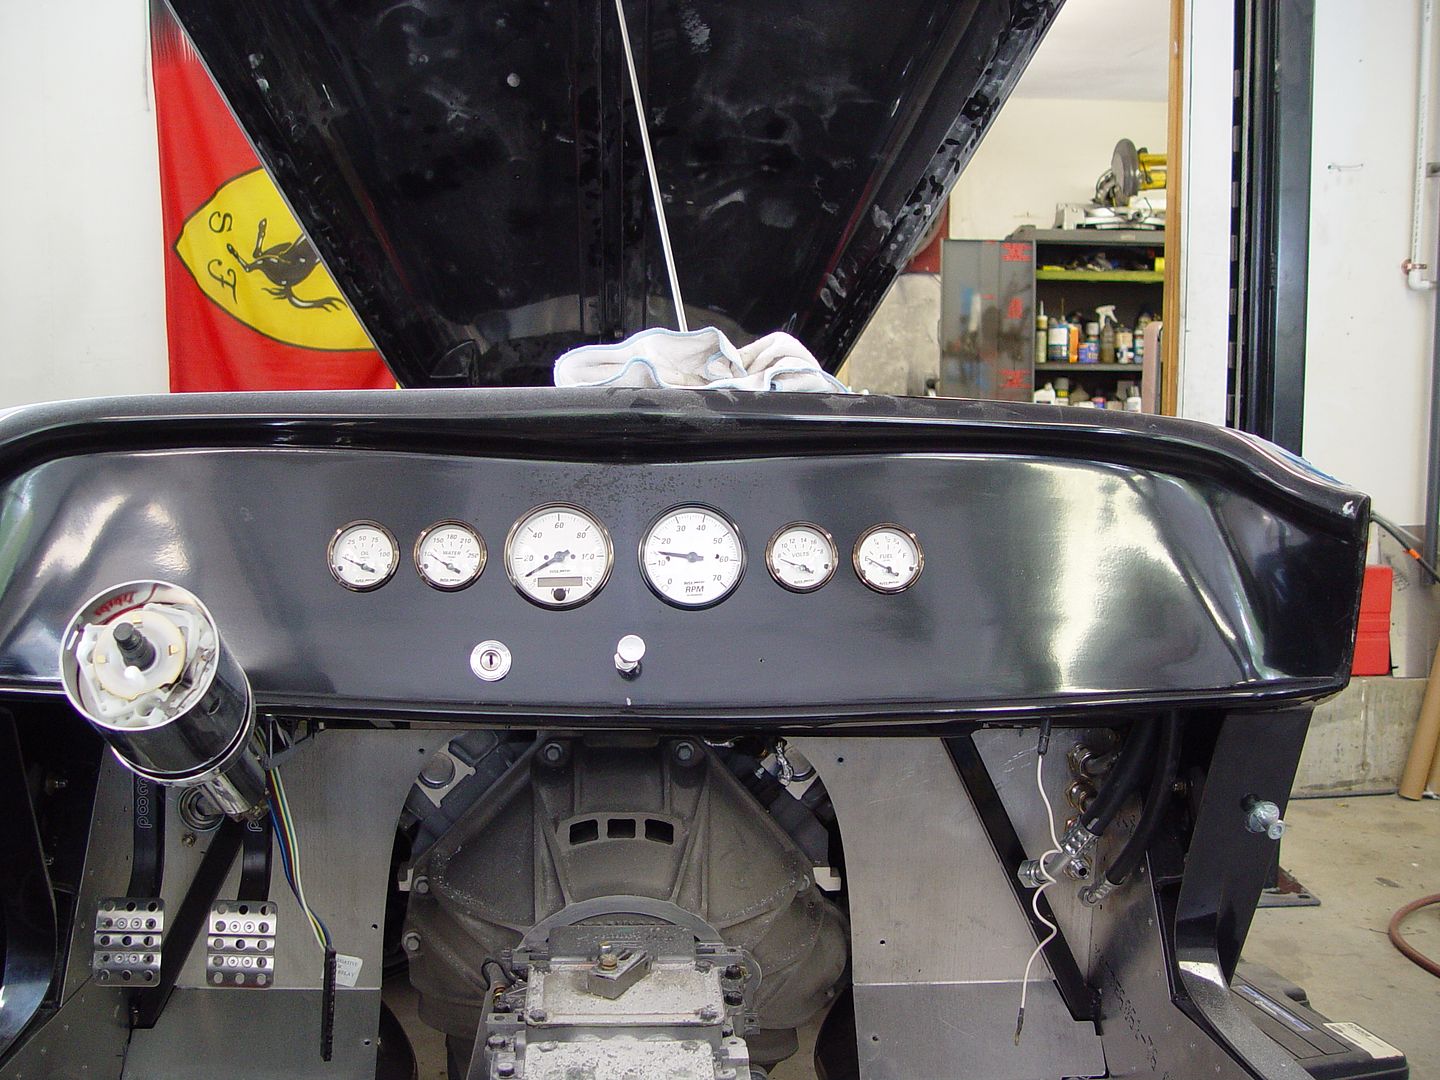
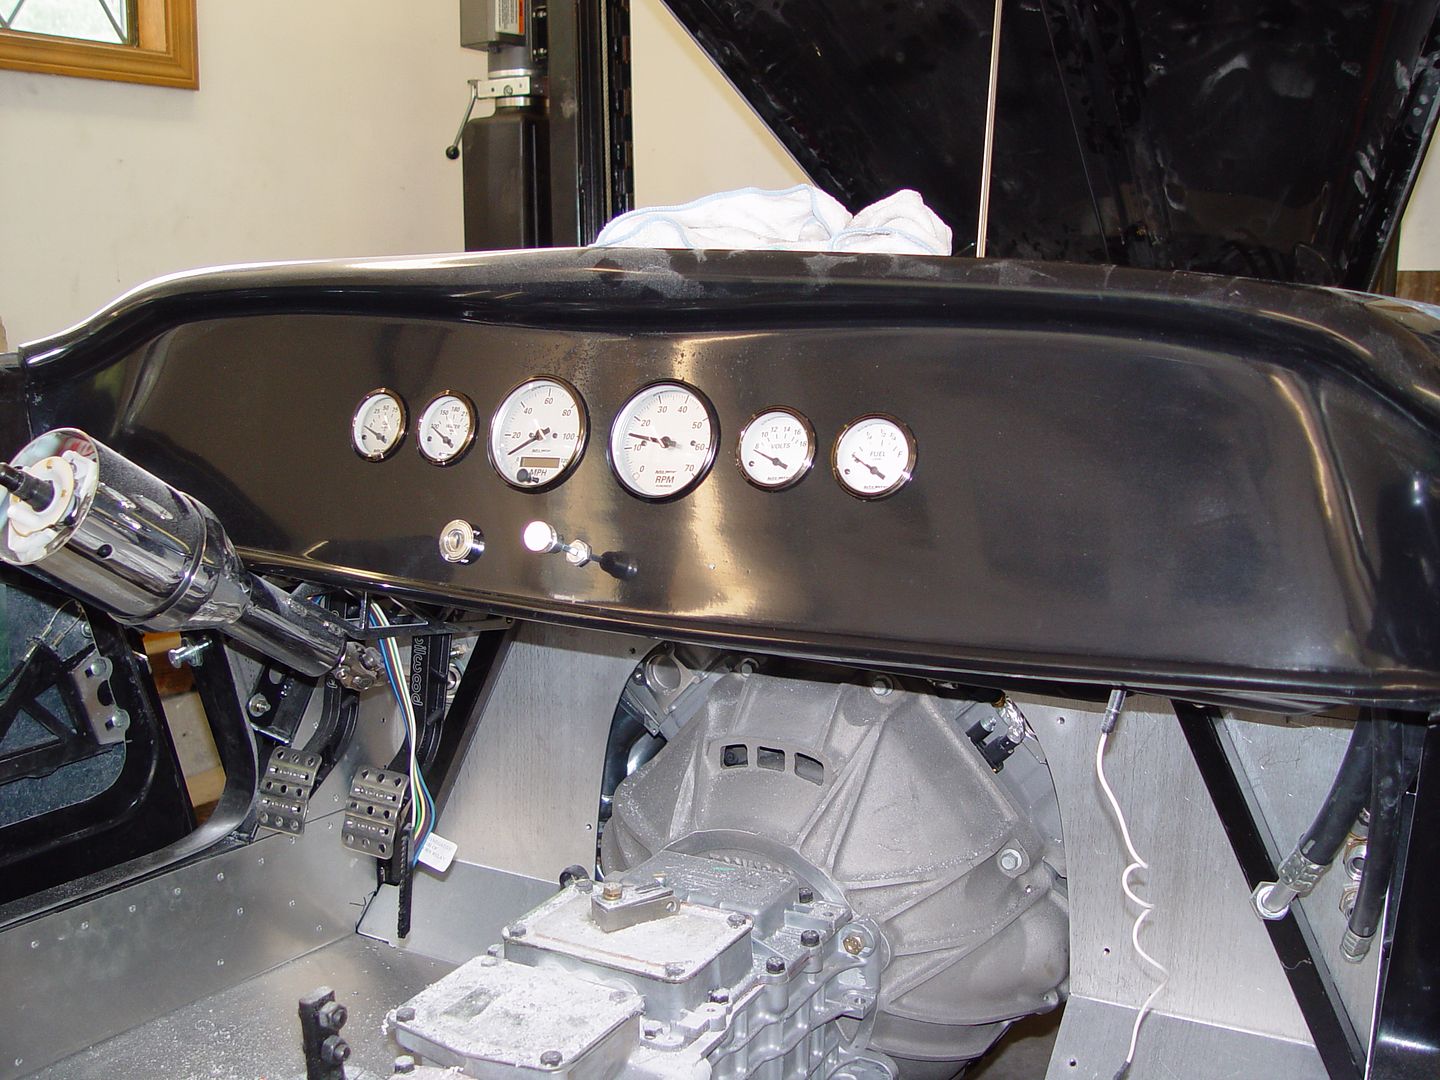
    Got the gauges fitted this weekend. Also installed the headlights, hood release, and defroster openings.


  7. #47
    Senior Member bil1024's Avatar
    Join Date
    Feb 2011
    Location
    NY
    Posts
    1,433
    Post Thanks / Like
    Looking good!

  8. #48

    Join Date
    Feb 2011
    Location
    Norton, MA USA earth
    Posts
    3,346
    Post Thanks / Like
    Started working on the project of getting the nose cone to fit better. What a pain. I bolted it on the car, then cut it down the middle front to back. I then overlapped it until it fit right. I then riveted a plate across the seam so I could remove it without it moving. I then made up brackets the right with to simulate it bolted in the car. I then glassed it back together. its almost finished. Just some minor touchup on the inside and it should be ready to go.


    Will mount it up in the morning and check the fit.

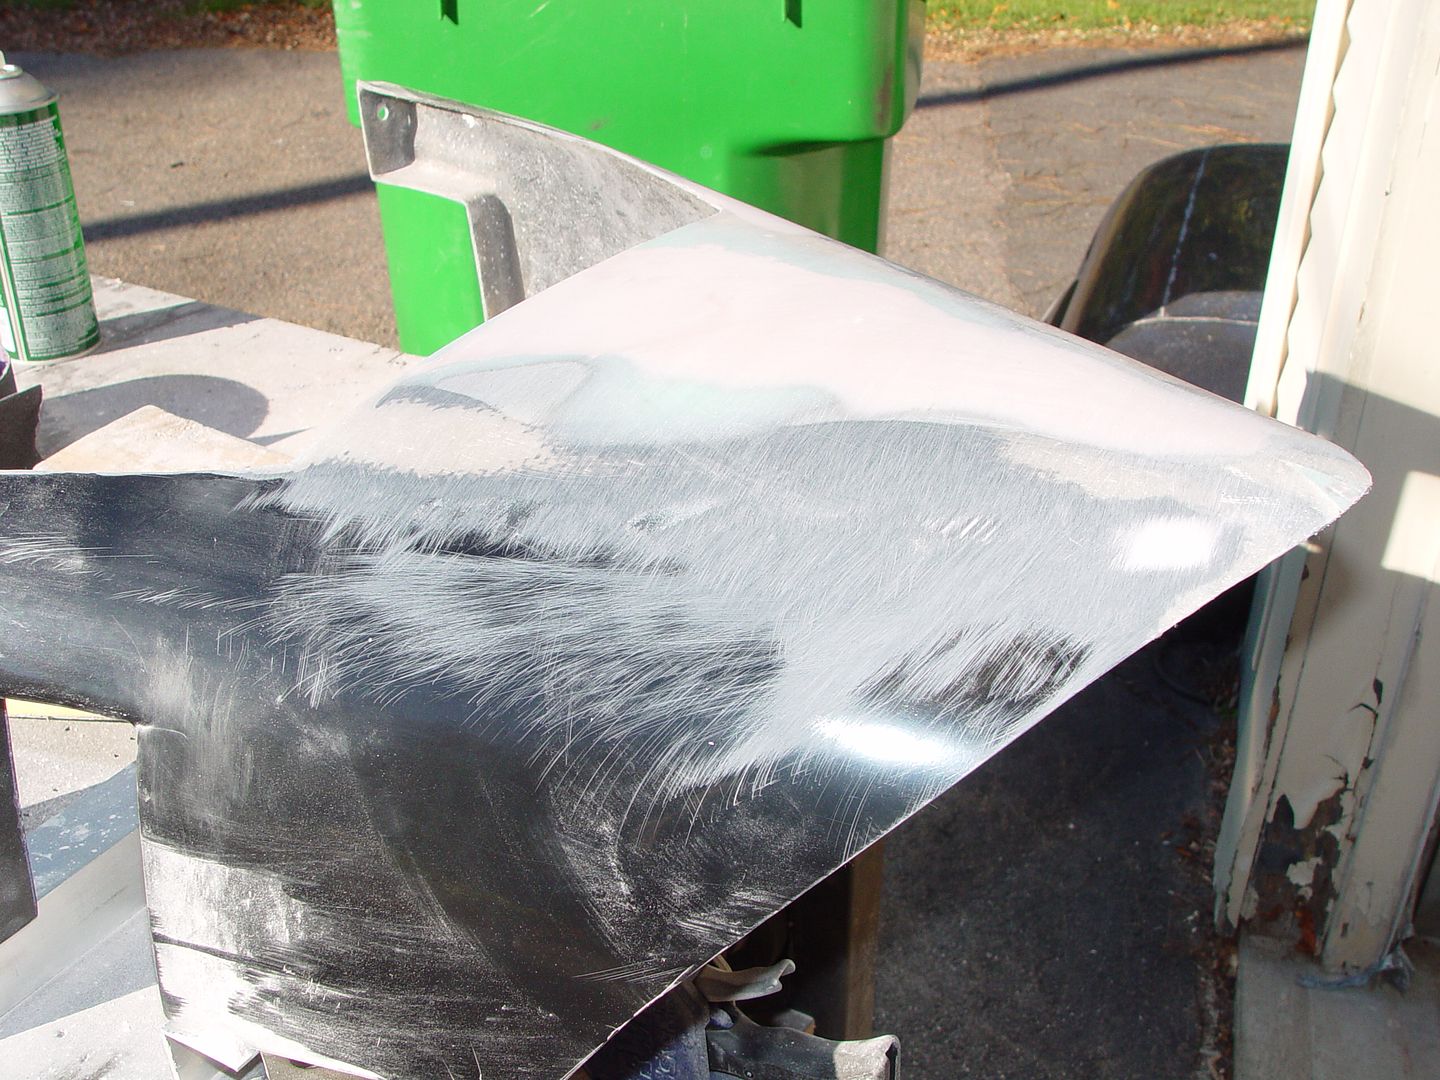
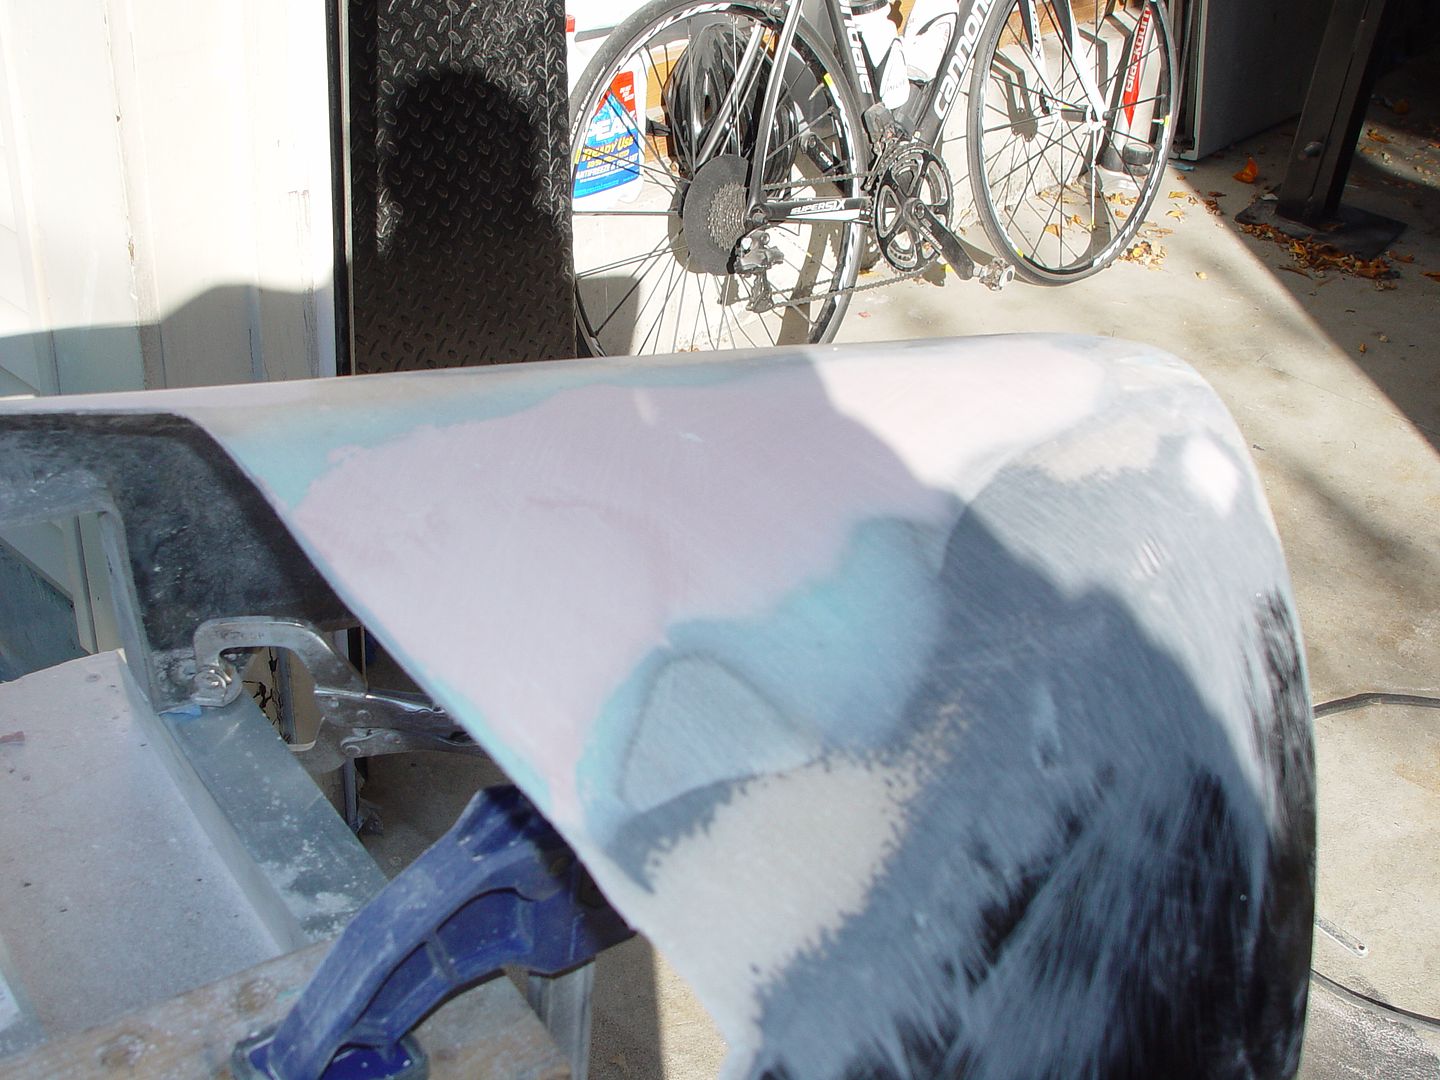
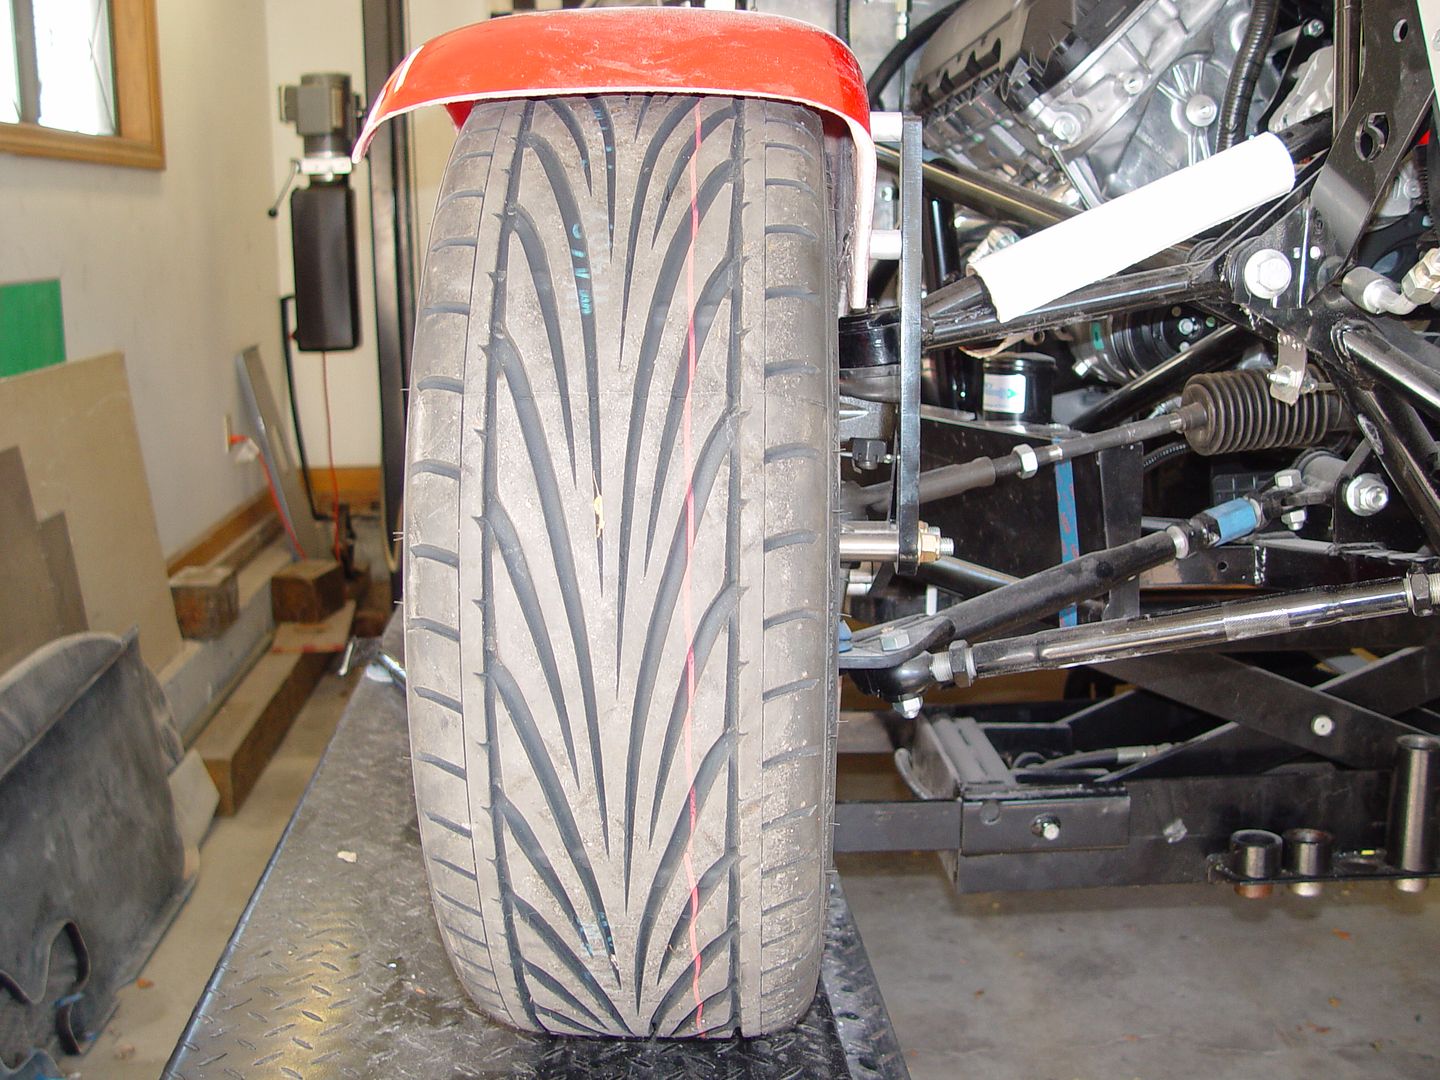
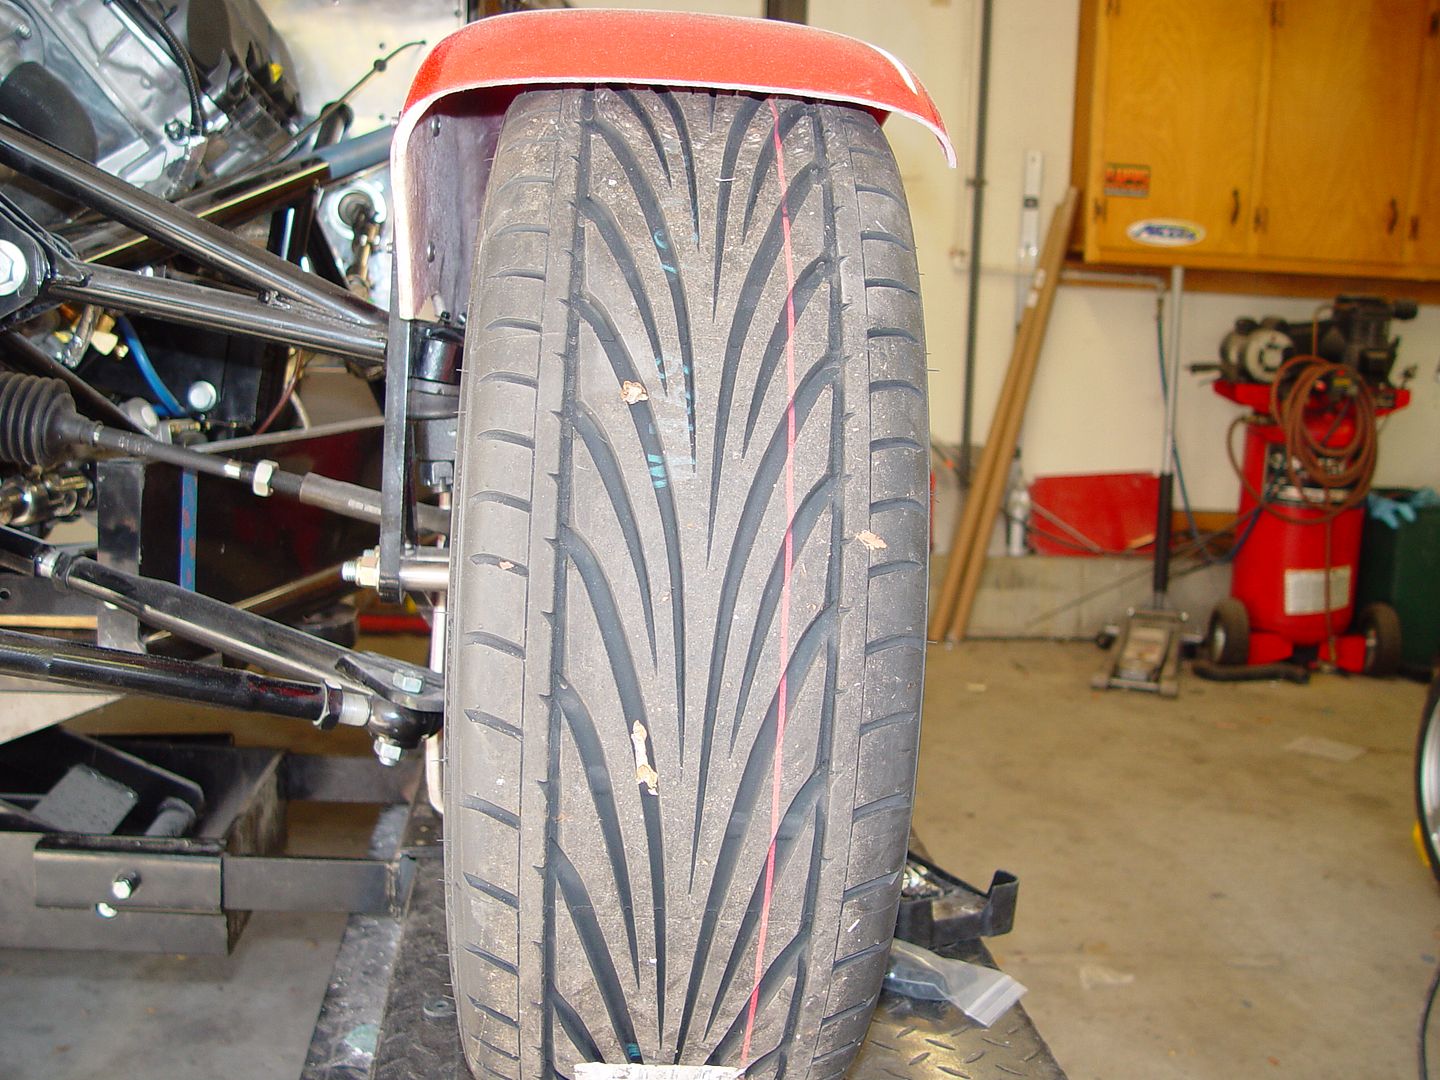
    I also started messing with the fenders. The customer wants them real close to the tires. I made spacers to move it out closer by 1 inch. It really does look better. I will have the body shop cut them in half and take the difference out of the center.

    Here is the fender spaced towards the tire.


    here's the stock mounting spot.


    Once I get it right I will replace the spacers with bar stock that matches the FFR supplied bracket.

  9. #49
    Member
    Join Date
    Mar 2011
    Location
    Montreal QC
    Posts
    36
    Post Thanks / Like
    Thanks for the ''How to'' repair the nose cone .
    Great advise

  10. #50

    Join Date
    Feb 2011
    Location
    Norton, MA USA earth
    Posts
    3,346
    Post Thanks / Like
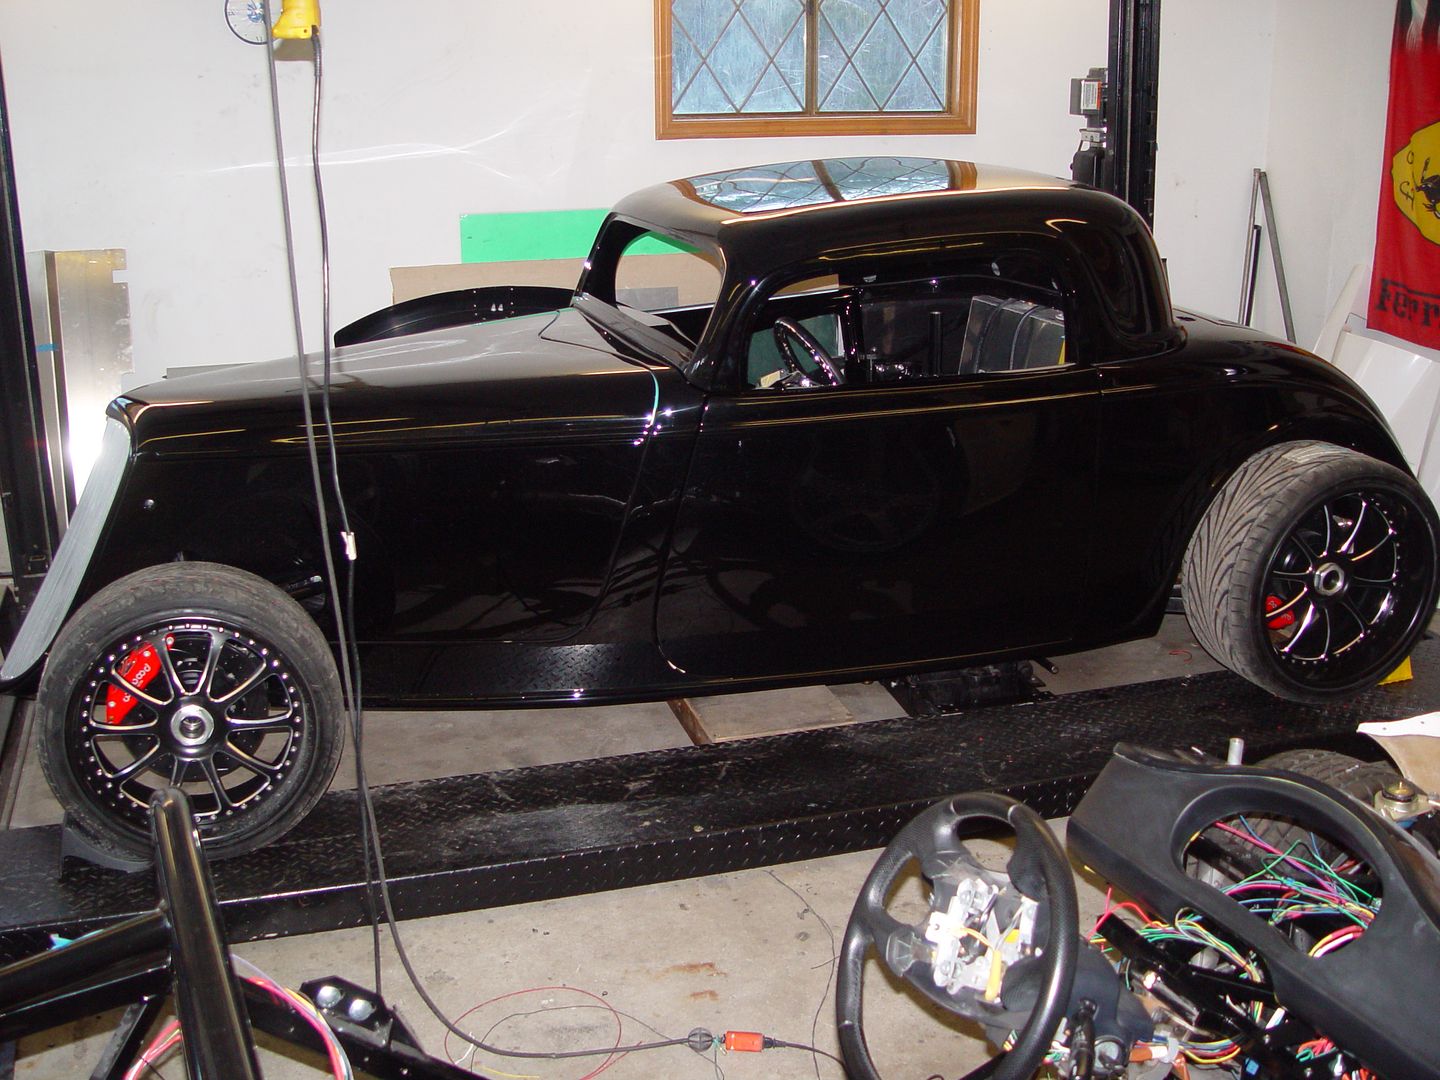
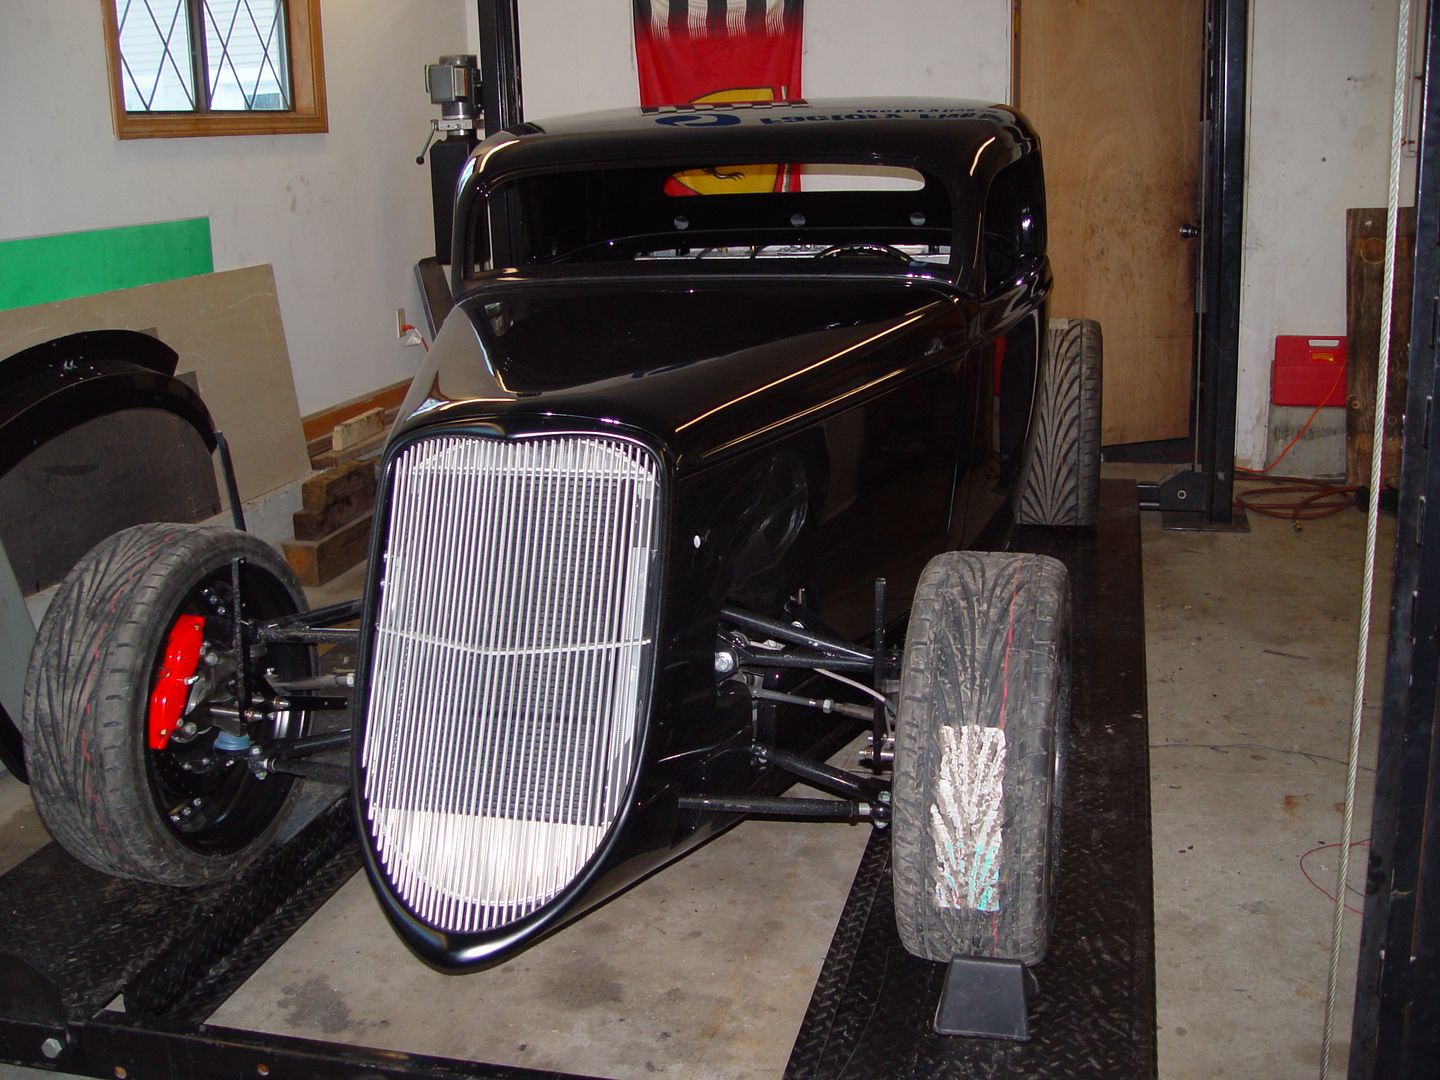
    The HotRod is finally back from paint. It was painted at Carl's collision center in Fall River MA.
    It came out real nice. I will post more pics as the assembly continues.


    Last edited by michael everson; 02-15-2014 at 05:27 AM.

  11. #51
    Senior Member Quiny's Avatar
    Join Date
    Sep 2013
    Location
    Massachusetts
    Posts
    400
    Post Thanks / Like
    Quote Originally Posted by michael everson View Post
    The HotRod is finally back from paint. It was painted at Carl's collision center in Fall River MA.
    It came out real nice. I will post more pics as the assembly continues.

    very cool, I will definitely need to stop by and see it.

  12. #52
    Senior Member H R Lucky's Avatar
    Join Date
    Jun 2012
    Location
    CrossRoads, Pa.
    Posts
    272
    Post Thanks / Like
    Mike,
    I love the stained glass sun roof!
    Nevin, AKA H. R. Lucky
    33 Hot Rod sn 524 build started 3/18/2013, First Start-5/09/2015, Go Cart-6/01/2015
    5.0 Coyote engine, 9in. Ford rear, 4 Link, Wilwood 12in. front brakes
    AC, power steering, FFR 17/18in. Hot Rod wheels

  13. #53
    Senior Member Boz1911's Avatar
    Join Date
    May 2013
    Location
    Peachtree City
    Posts
    344
    Post Thanks / Like
    Looks like glass, Nice!!!

  14. #54
    Junior Member
    Join Date
    Oct 2012
    Posts
    3
    Post Thanks / Like
    Hi Mike,
    Just finished going through your posts and great pictures! I am building almost the exact same '33 but with an automatice 6x TCI transmission. Don't try it! It does not fit and I had to cut and re-weld the frame to make it fit. I saw that you say that the A/C compressor does not need a tensioner and that you use a "Strechy" belt! Can you please give me the part number for that belt? I made two new brackets, one for the alternator and one to install a tensioner for the A/C Compressor

    On another note, I see that you are installing a windshield besides the one that comes with the hard top! Can you elaborate a little on that? Please!!!

    Ricardo Salinas
    305-799-5173

  15. #55

    Join Date
    Feb 2011
    Location
    Norton, MA USA earth
    Posts
    3,346
    Post Thanks / Like
    Ricardo. The belt is the stock belt as used on the mustang. Not sure of the number. The windshield is the supplied roadster windshield that all FFR kits come with. Nothing special.
    Mike

  16. #56
    Junior Member
    Join Date
    Oct 2012
    Posts
    3
    Post Thanks / Like
    Mike, Thanks for your prompt reply! I tried to attach a picture of my Alt. and tensioner brackets but I don't think I know how :-(

    Ricardo

  17. #57

    Join Date
    Feb 2011
    Location
    Norton, MA USA earth
    Posts
    3,346
    Post Thanks / Like
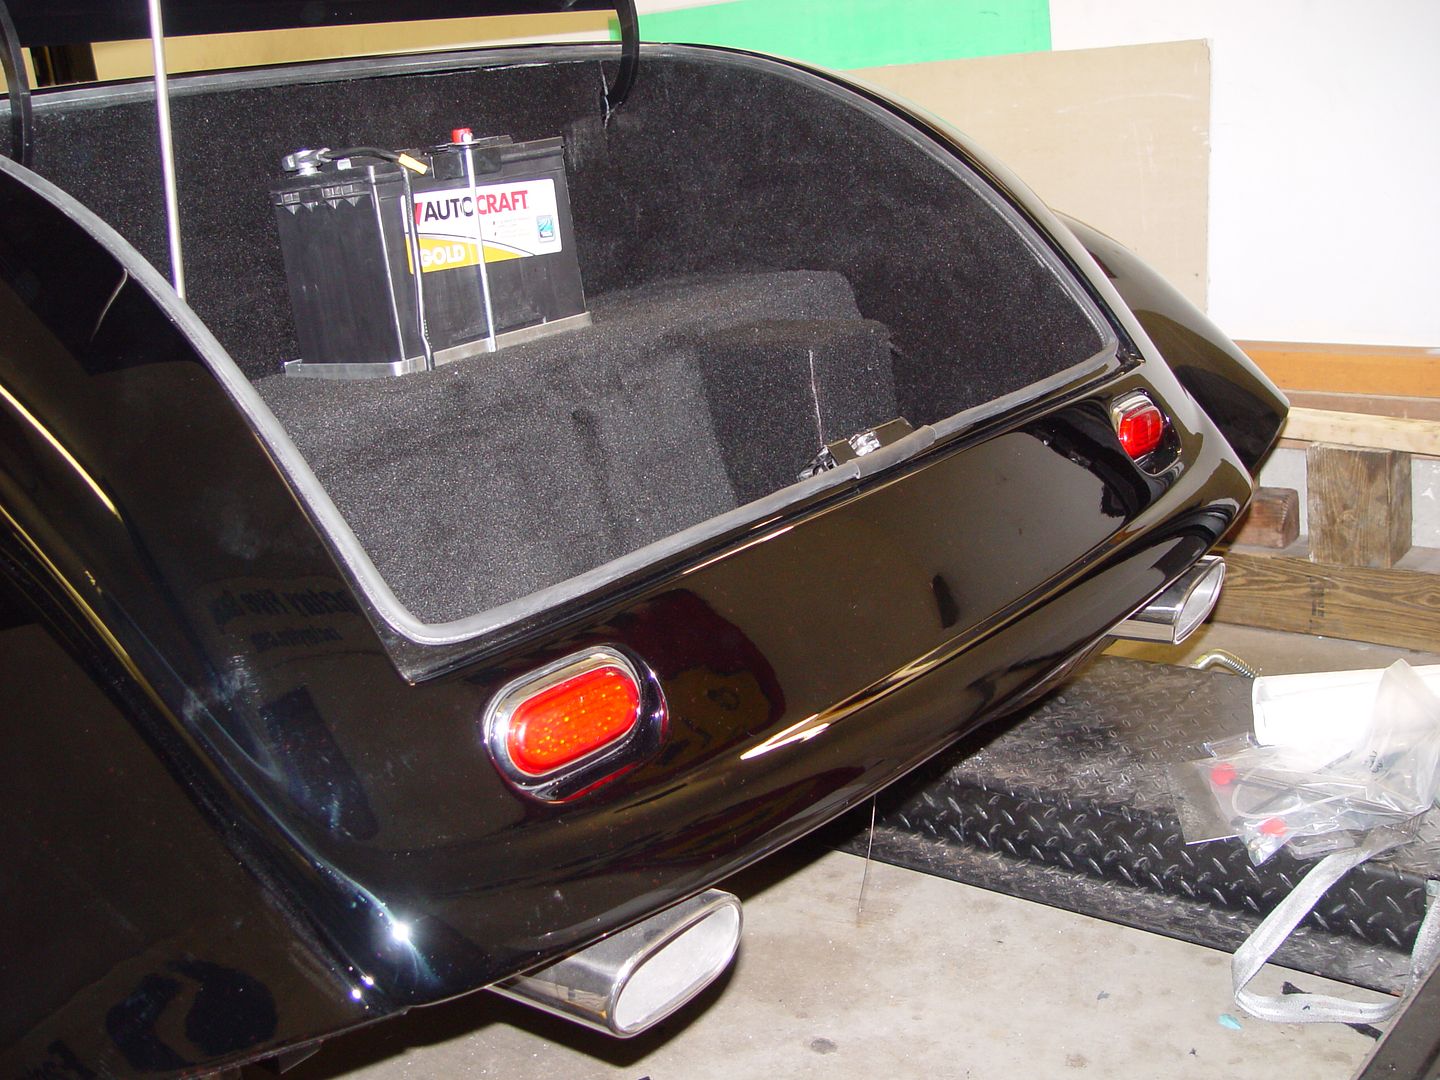
    Finally getting started on finishing this thing up. Still have a long way to go, but want to make sure its done right. I decided to start at the back.
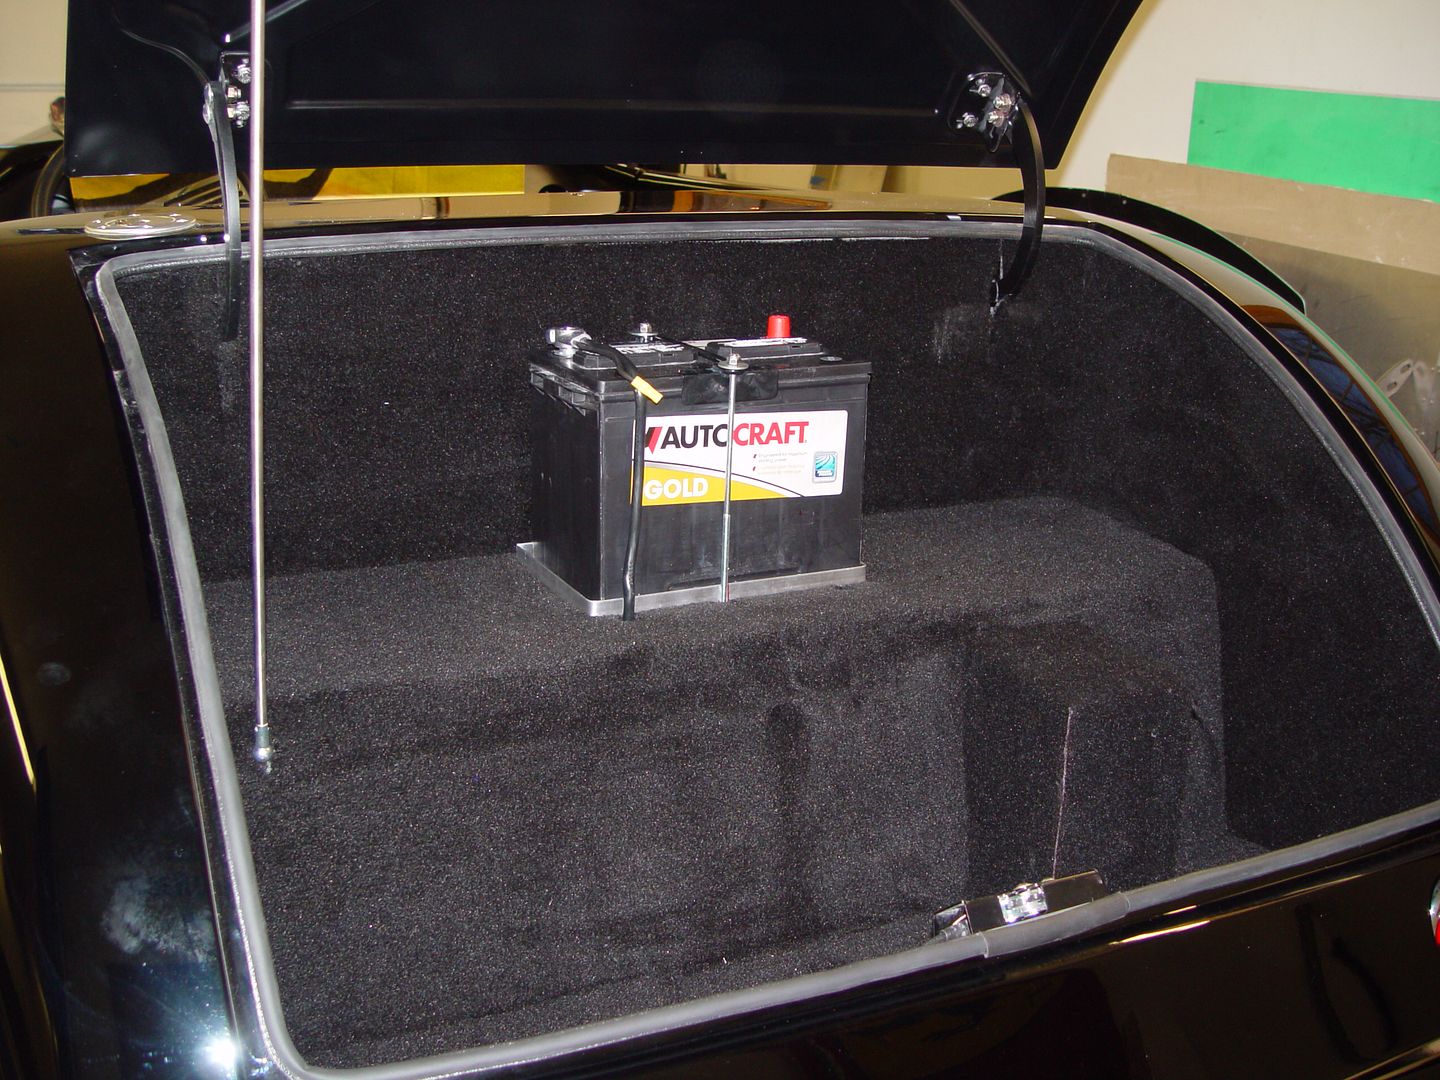
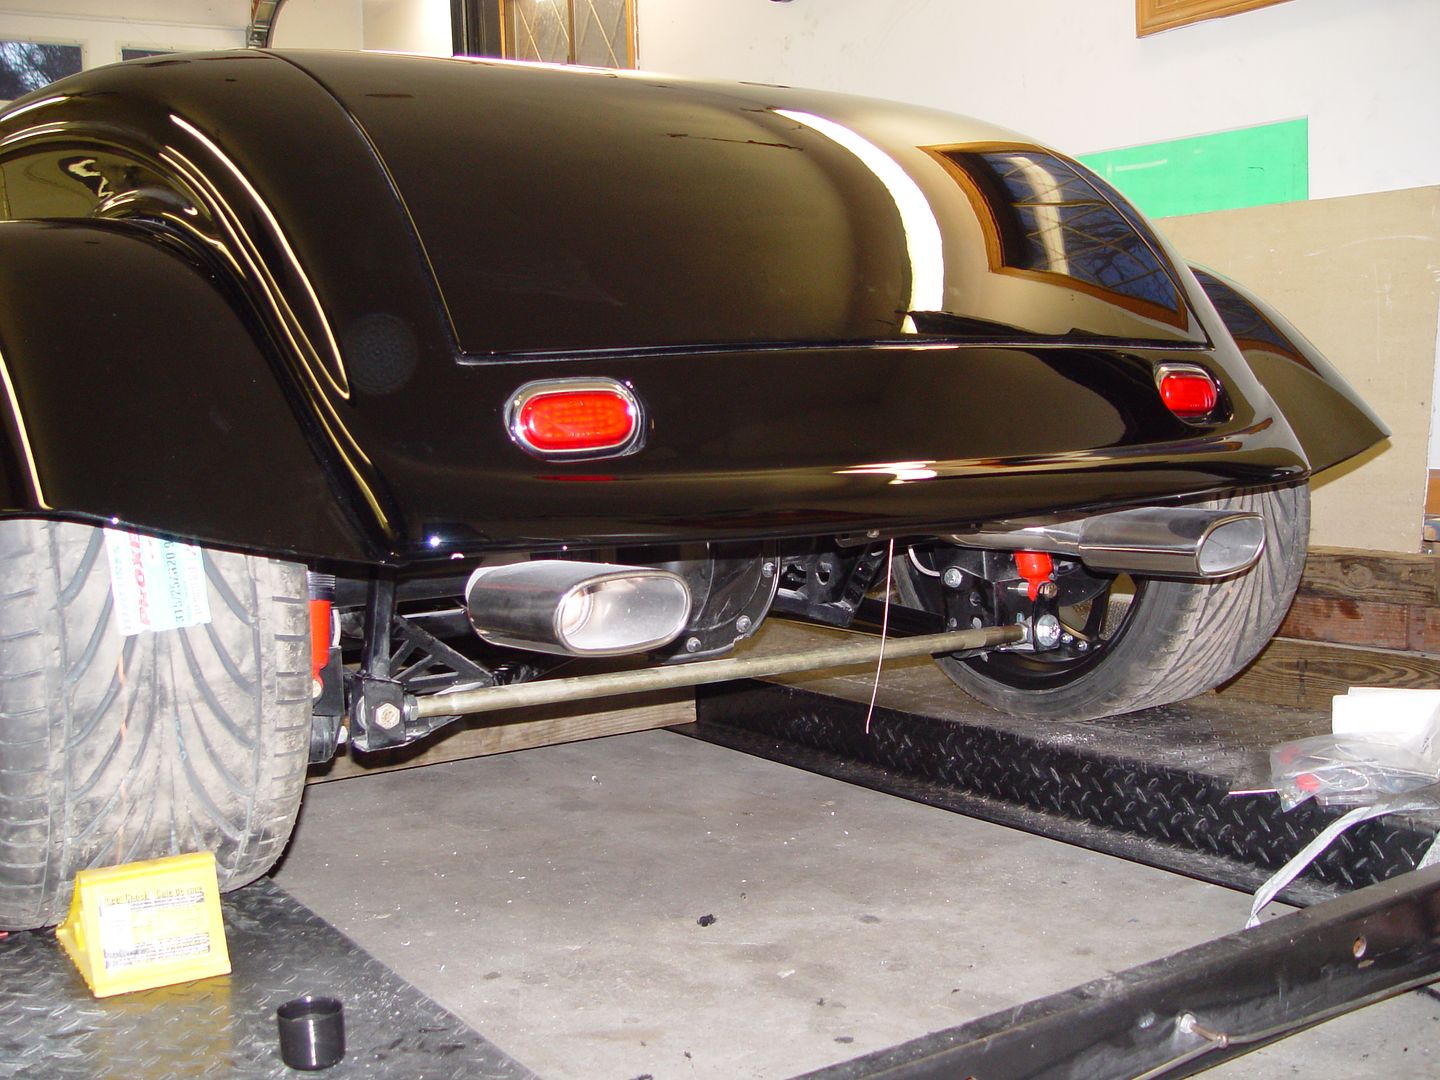
    Here are some shots of the trunk area all done. Took quite a while to get the carpet just right. Also the battery required so structural changes under the aluminum to help the threaded mounts stay in place.


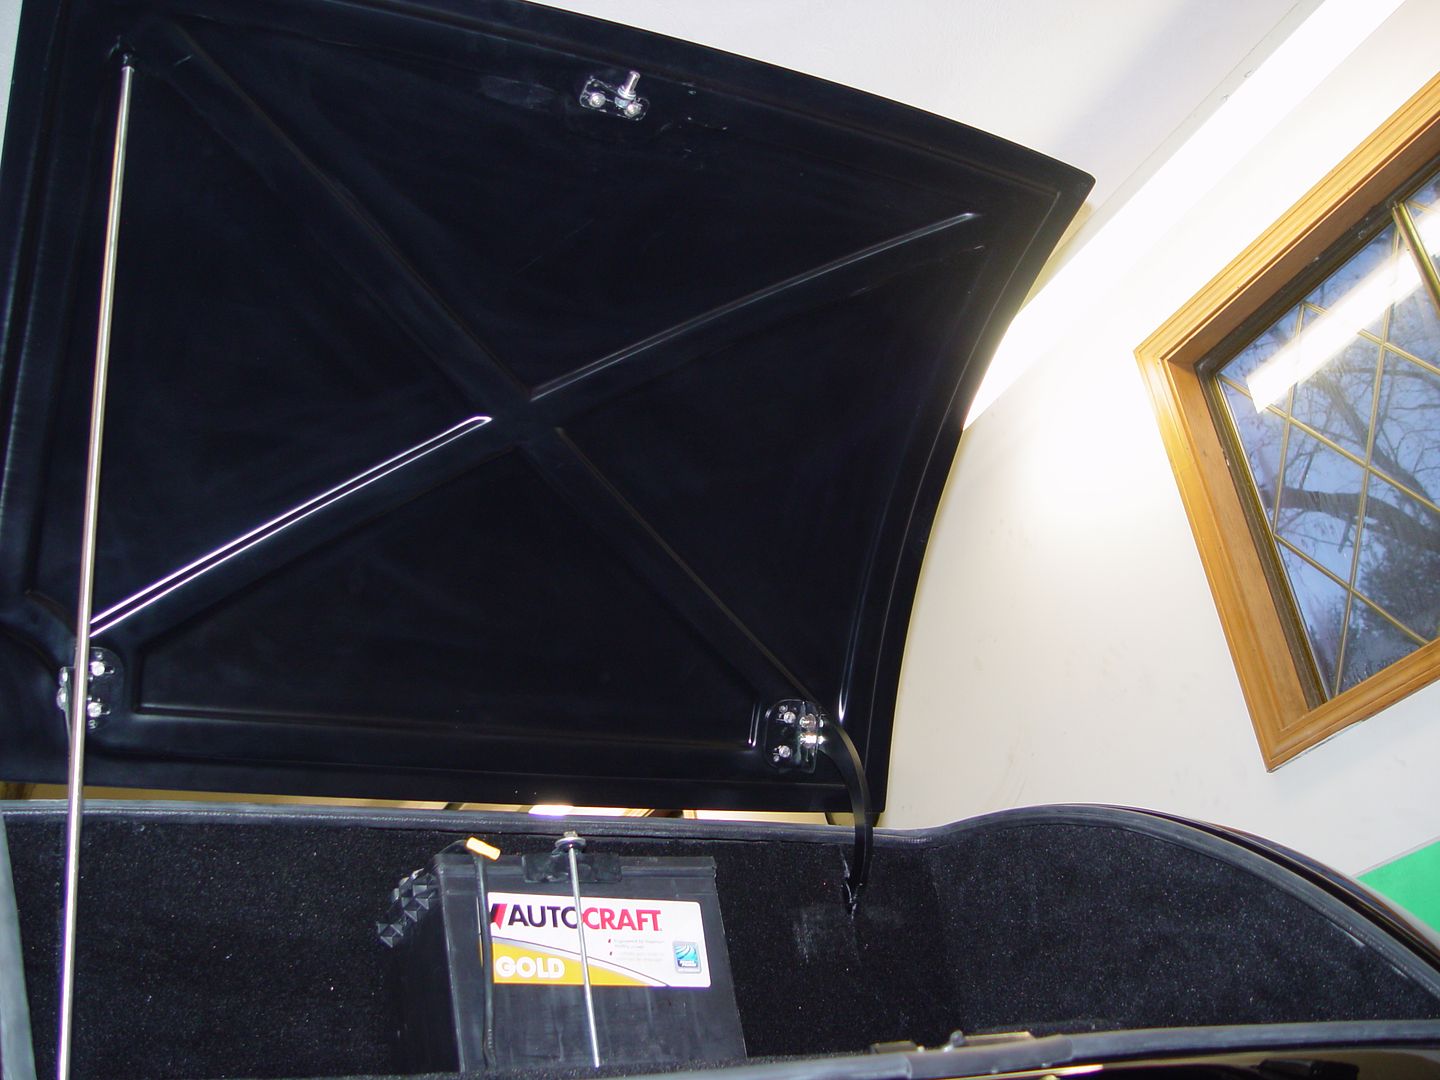
    Heres a shot of the underside of the trunk. The body shop sprayed in in a Matte finish.


    In this photo you can see the aluminum battery tray I fabricated.


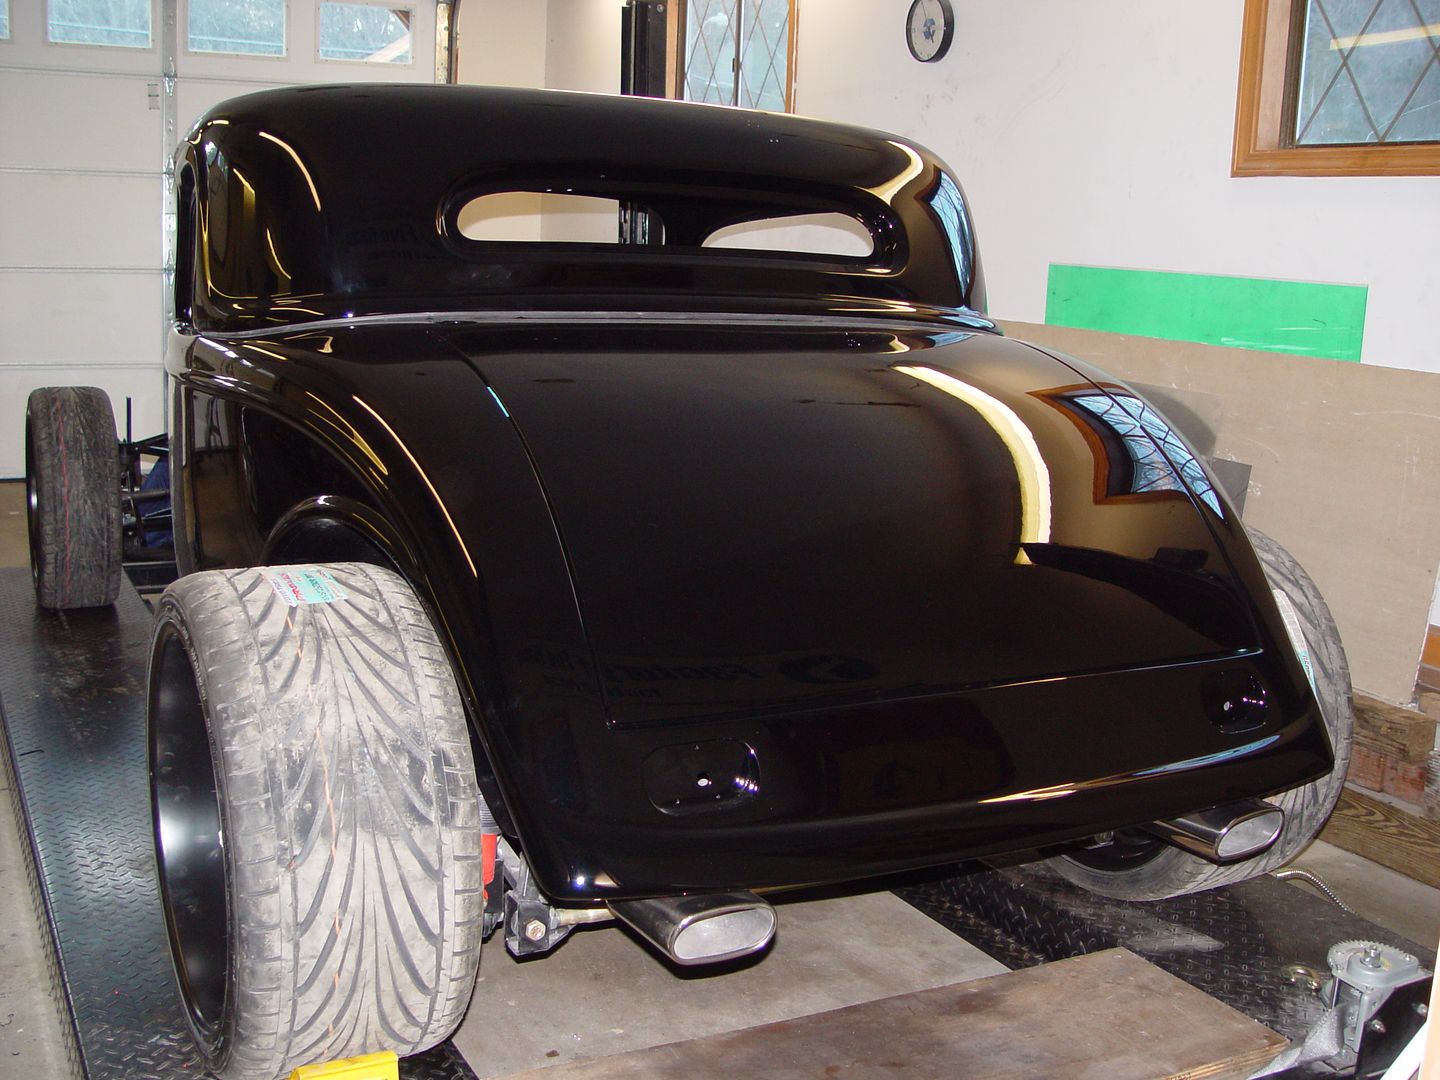
    Photo with the trunk lid closed. fits real well.


    Just how shiny is the paint? Check out this reflection.


  18. #58
    Senior Member Boz1911's Avatar
    Join Date
    May 2013
    Location
    Peachtree City
    Posts
    344
    Post Thanks / Like
    Very nice, when you install the hardtop glass would you mind some pics and install tips, thanks.

  19. #59
    Senior Member H R Lucky's Avatar
    Join Date
    Jun 2012
    Location
    CrossRoads, Pa.
    Posts
    272
    Post Thanks / Like
    Mike,
    Did you have to re-clock the Electra-steer unit from your original position in order to clear the Coyote oil pan?

    thanks,
    Nevin, AKA H. R. Lucky
    33 Hot Rod sn 524 build started 3/18/2013, First Start-5/09/2015, Go Cart-6/01/2015
    5.0 Coyote engine, 9in. Ford rear, 4 Link, Wilwood 12in. front brakes
    AC, power steering, FFR 17/18in. Hot Rod wheels

Page 2 of 2 FirstFirst 12

Posting Permissions

  • You may not post new threads
  • You may not post replies
  • You may not post attachments
  • You may not edit your posts
  •  

Brown County Customs

Visit our community sponsor