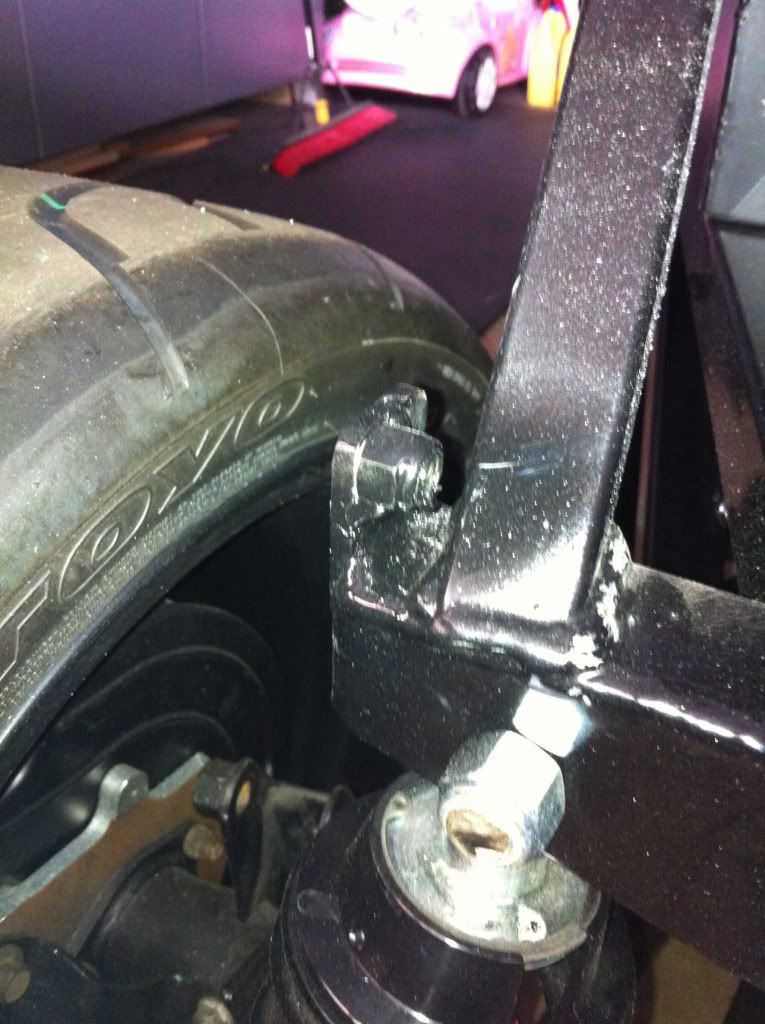
Thats exactly where I sanded down on the firewall, even further around the radius downward on the passenger side. As for locating reference points...I can't help you with any tricks there as I am very close to this stage myself. From what I have read, its a measurement from the rear of the cabin to the dash. The rear body tabs on the backside of the upper wheel well, I tapped the hole for a 3/8" bolt. I also took it a step further and tack welded a nyloc on the backside to give it more threads and help lock the body in place.
I was planning on threading the hole but thanks Evan for the tip about welding the nylock. That should give it more strength as the metal is not very thick at the mount. I will have to get a buddy of mine over to tack weld that on for me. On that note, I just might get a metal spacer for the body and have him weld that also. This way it should be easier to put the body back on if I ever needed to after the car is finished and then not have to take the carpet & trunk aluminum out to access that spot.
The car is just about complete but figured I would update this thread. Here is a few photos from the body work getting done! We were having a big issue getting the radius of the trunk lid to match the radius of the body. I am not sure the best way to describe it but we drilled a few holes and inserted an epoxy resin in the hollow areas of the underside of the trunk lid. We then used a couple cables to hold it in its shape while the epoxy dried. This also helped the trunk lid to be more rigid and have a lot less flex. It now feels solid!


 Thanks:
  Likes:


 Reply With Quote