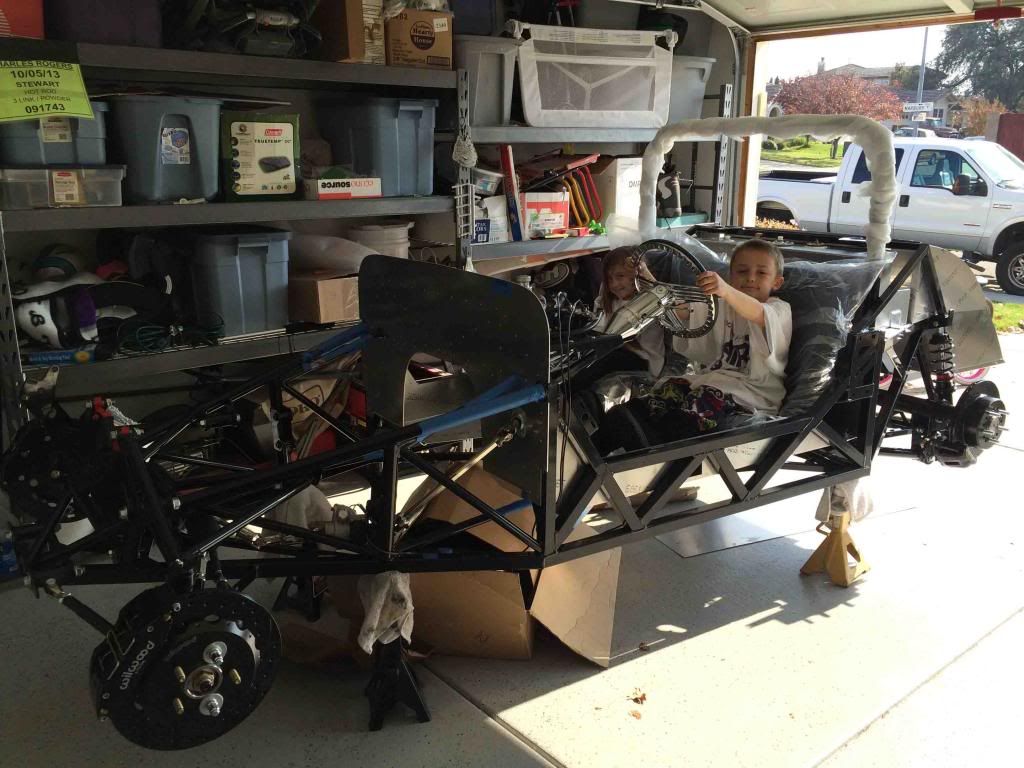
I finally got the front and rear suspension in place and just need some wheels and tires. I set the seats in place and of course the kids just could wait to test them out.
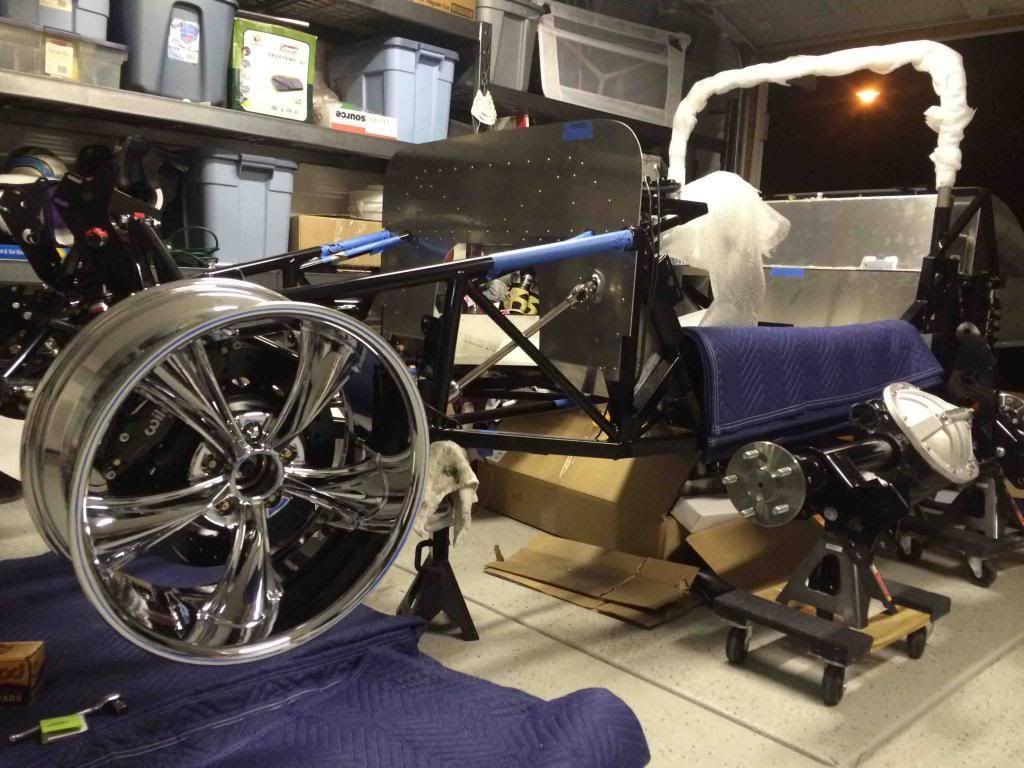
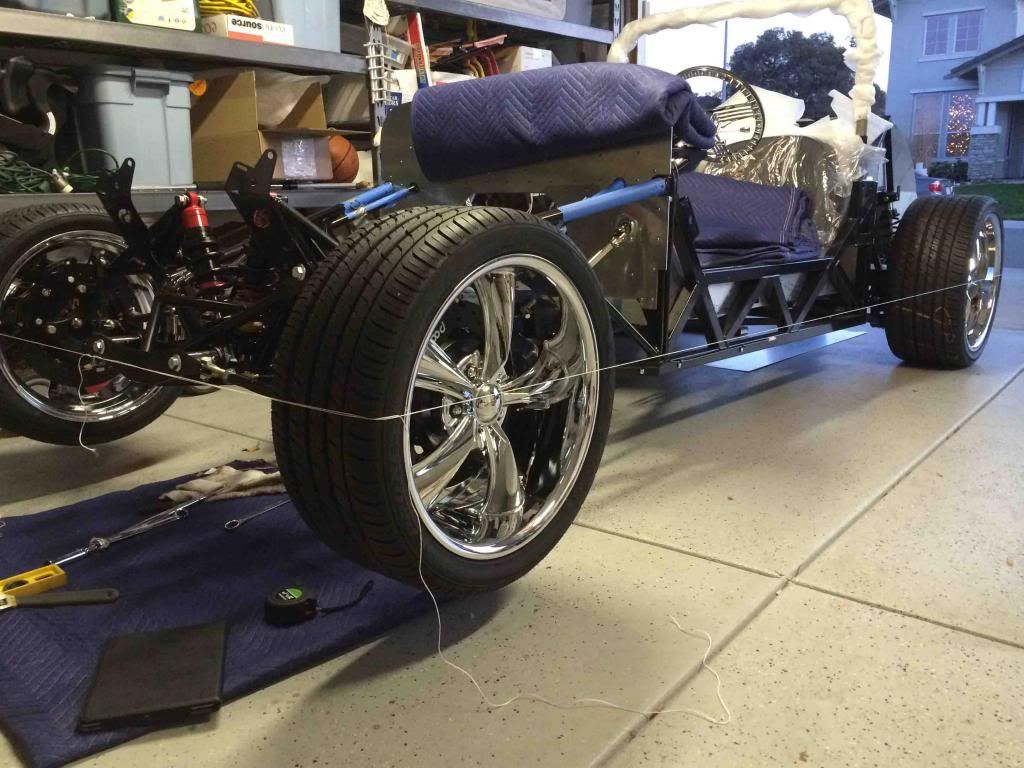
Now to some eye candy! lol. I was previously was going to go with some FOOSE wheels but after looking into it more, I decided to go with some Eagle's Boss 338's paired with Toyo Proxes 4+ tires. I went with 255/35ZR-18 on 18"x8" up front and 295/30ZR-20 on 20"x10" in the rear. Before I had the tires mounted I test fitted the fronts to make sure they cleared the brakes as I went with a 4.5" offset to try and get the deepest look I can get.
Here's the result, they fit perfectly!
I took the wheel back the next day and had the tire mounted and couldn't wait to get it on the ground!
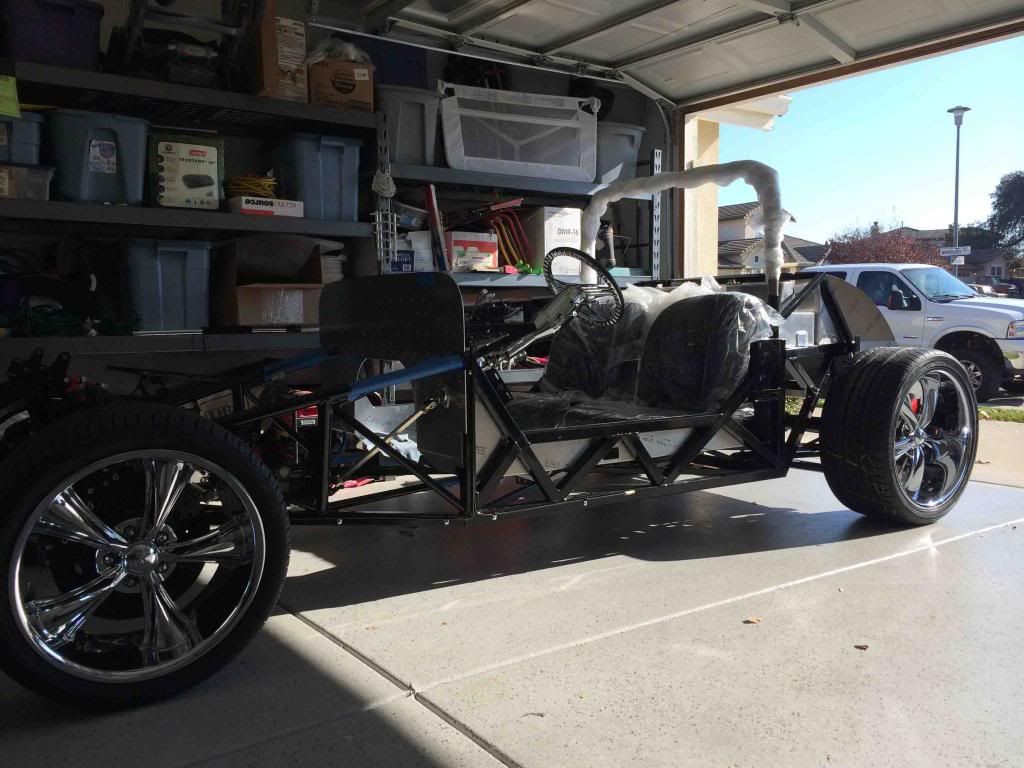
Then I had to ask the wife since she always says this to me... Does my tires make my "rear" look to big? lol
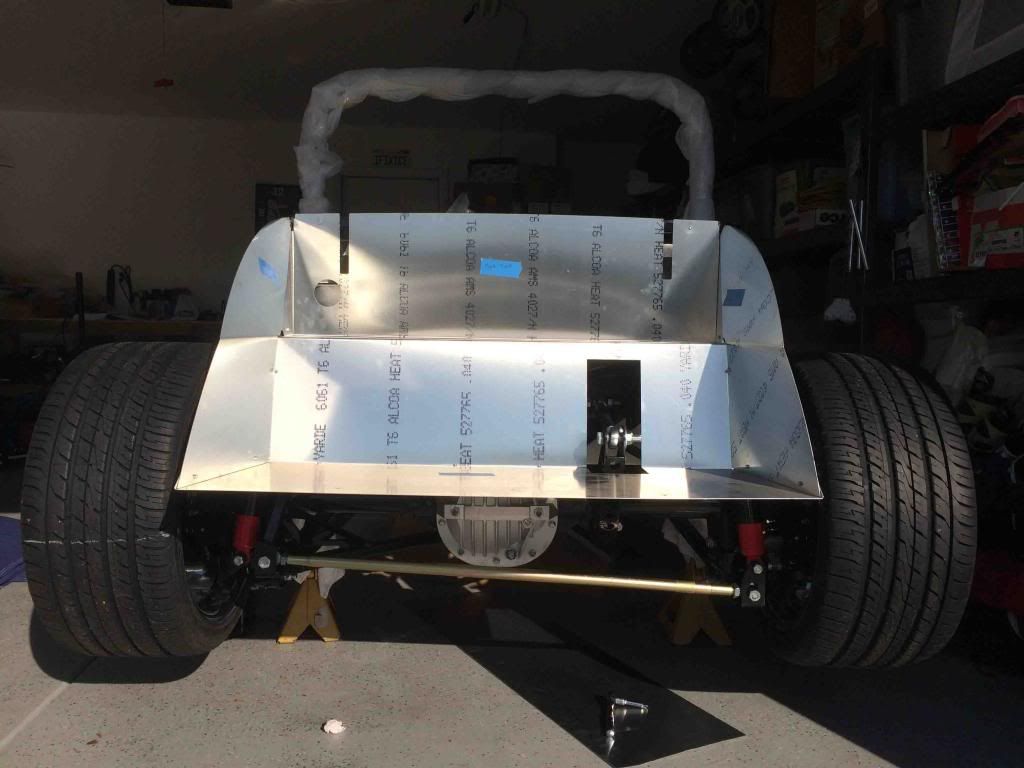
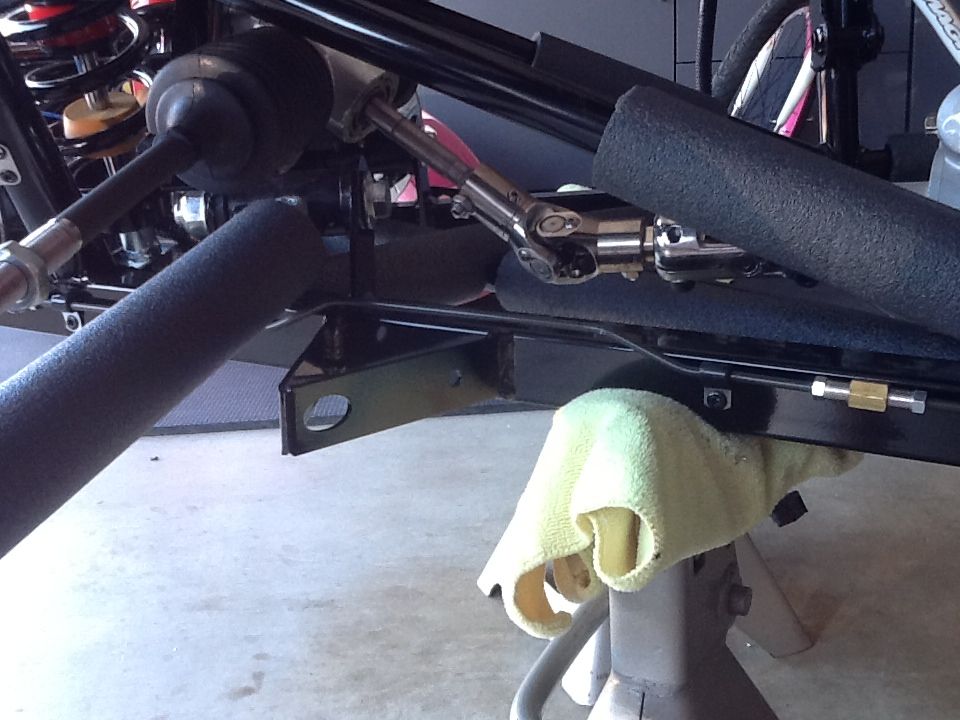
When I had it on the ground of course the alignment was really off. After reading the thread that Dr. Ruth had posted on doing an alignment I made the suggested adjustments and I think I got it pretty close. A little trick I had learn from my dad when I was younger to adjust the toe was to run a string around all 4 tires and then you can see how off you are and which way you it needs to be adjusted. Hopefully soon I will get a motor/tranny and can test how well I did on this alignment then will probably take it by the shop to really get it tuned in. These tires are expensive and want to get the most life I can out of them.
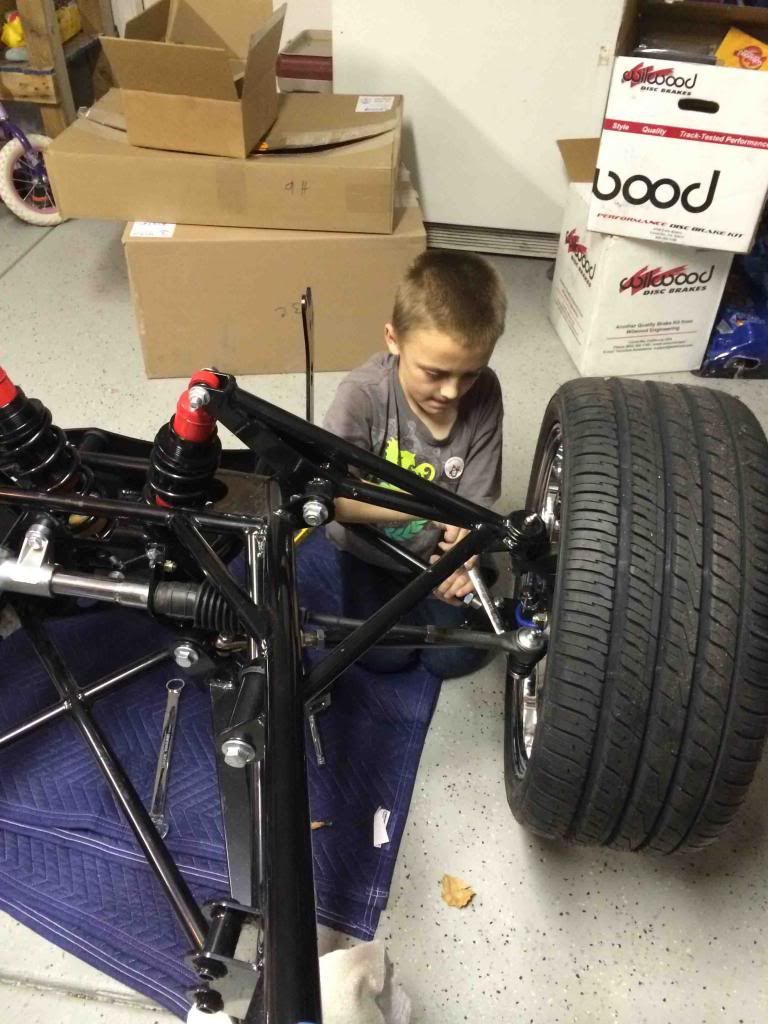
Once we got everything adjusted, my son help get everything tighten down.
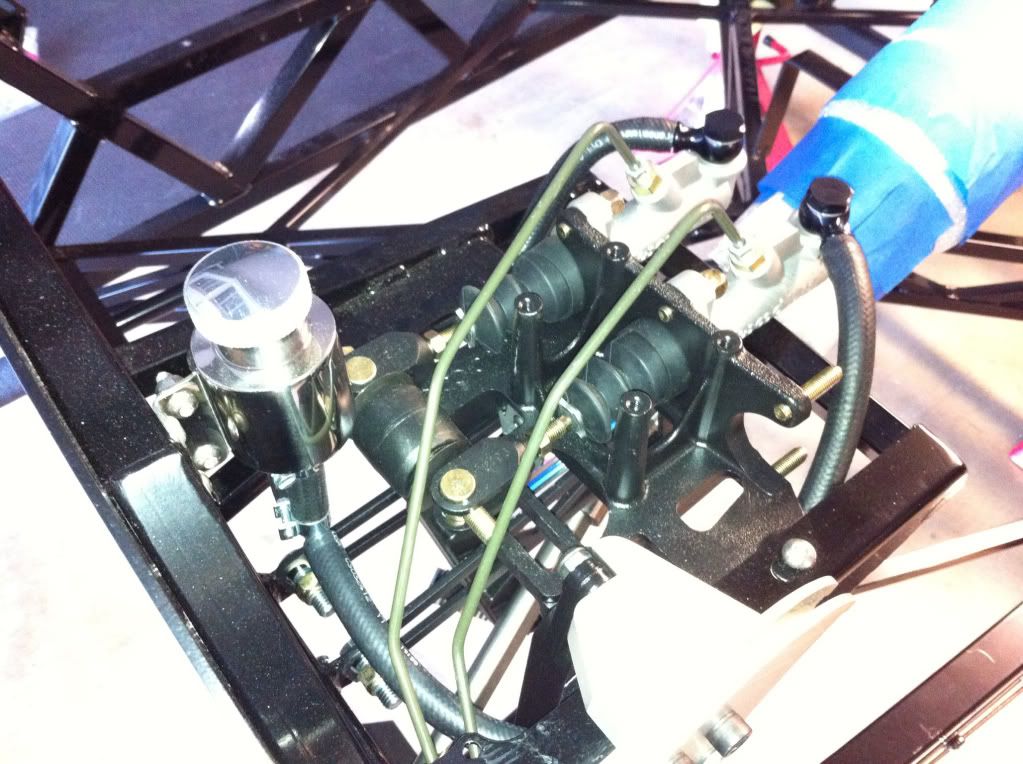
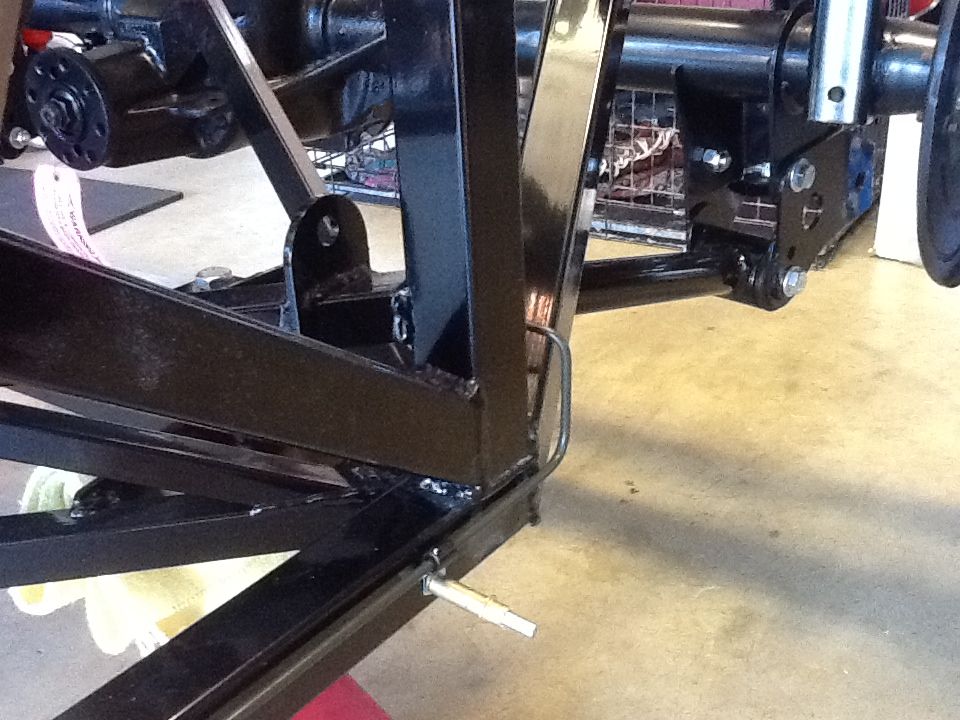
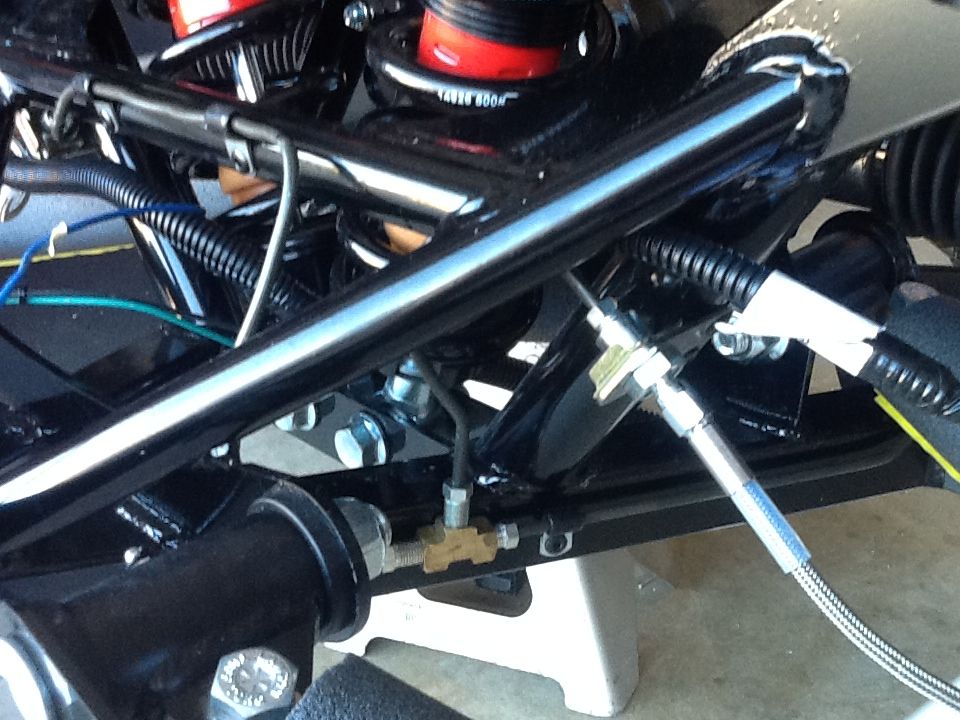
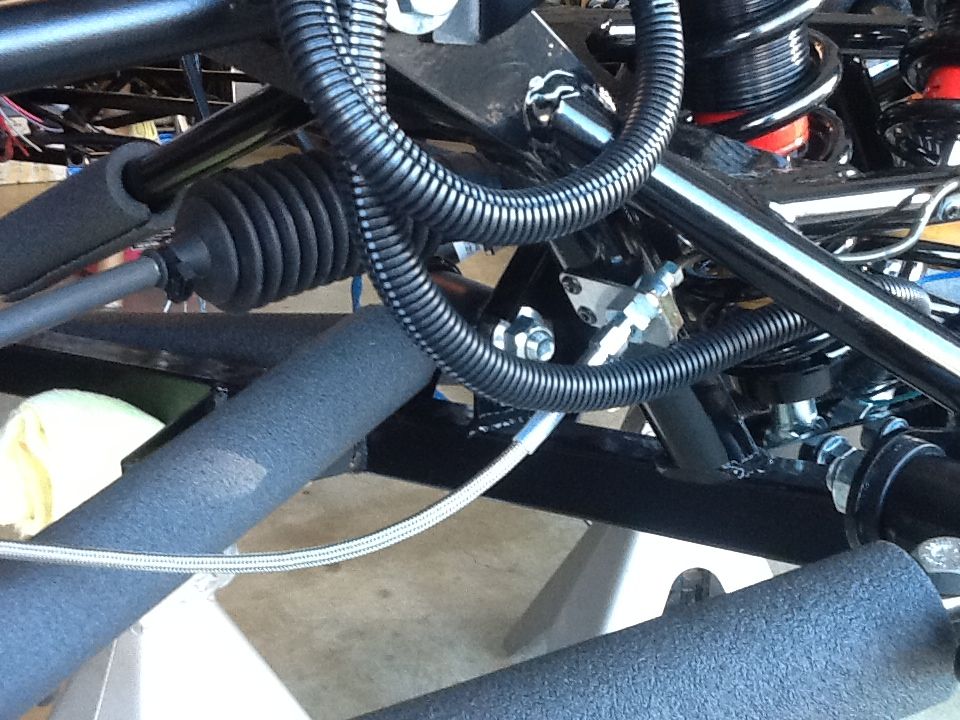
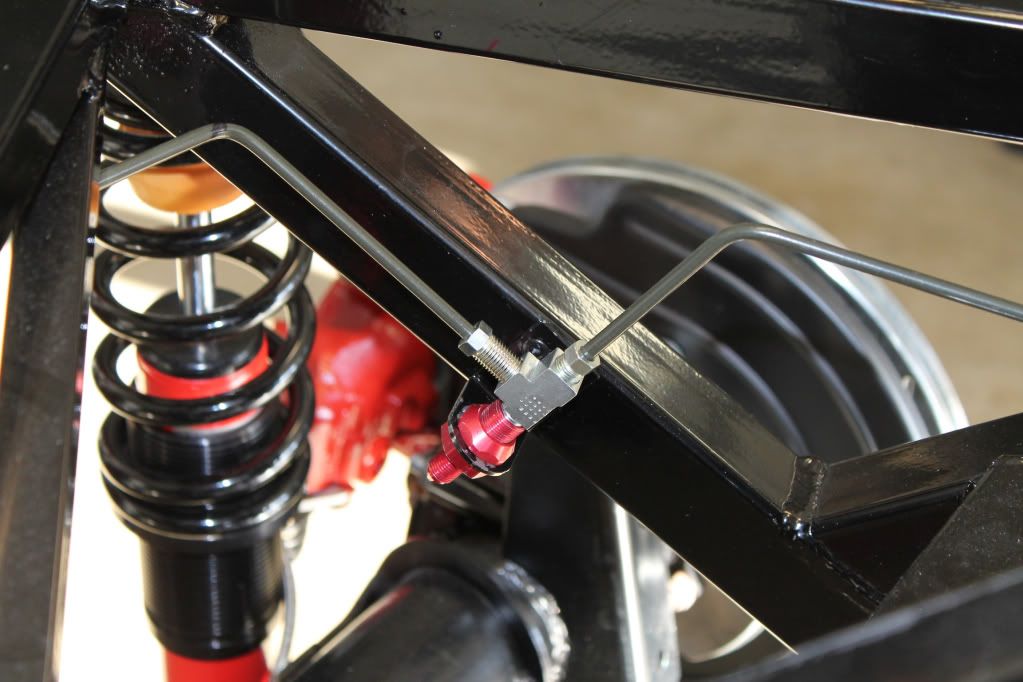
That is where I stand for now. The next couple days I hope to finish up running the brakes lines, bleed them and get them dialed in as much as I can so they are ready to be tested when I eventually get to go-kart it! Also while I am waiting to get a motor, I want to get the fuel tank drilled and bolted, and I will try and tackle the wiring harness. I am not very knowledgeable in this area by any means and hopefully with some help, I can get this going and speed things up down the road when the motor is in.
So far, I think the build is going pretty smoothly with the exception of being sore from using a rubber mallet to install the suspension and getting everything torqued down. I am really enjoying it so far and turns out being a build that the entire family can help along the way.
Charles


 Thanks:
  Likes:


 Reply With Quote