-
06-01-2016, 06:26 AM
#401
fasterer and furiouser

you've inspired me to put my doors together, all the parts are just taking up so much room.
A well stocked beverage fridge is the key to any successful project.
-
06-01-2016, 05:26 PM
#402
Senior Member

It's labor intensive to get everything to fit together nicely, but satisfying once complete.
-
06-26-2016, 02:59 PM
#403
Senior Member
-
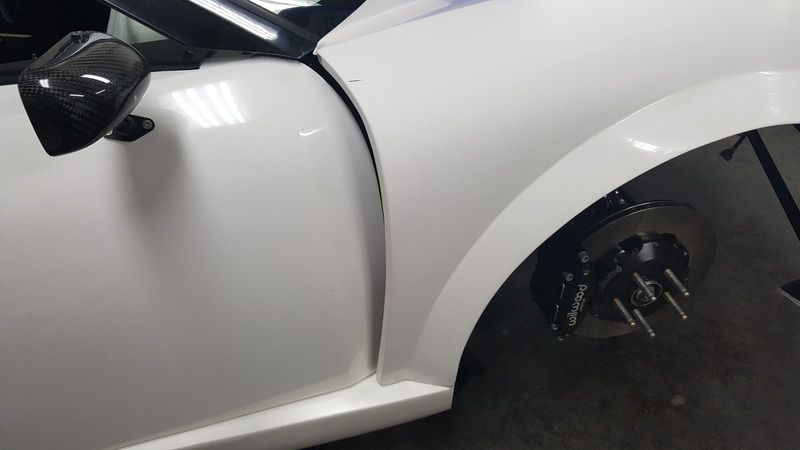
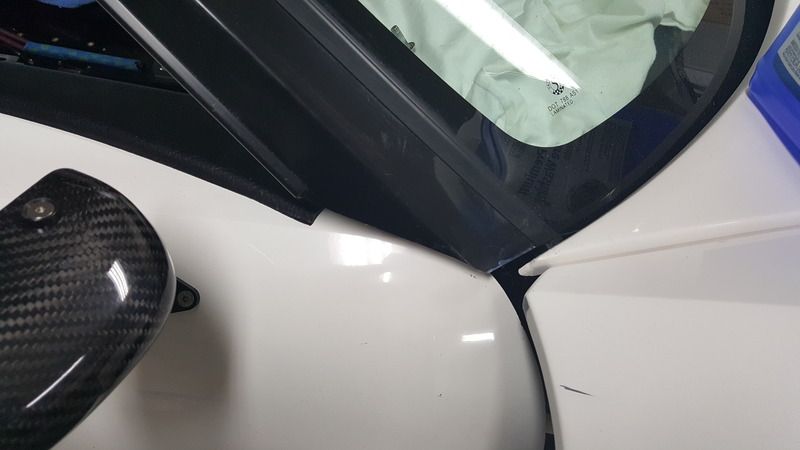
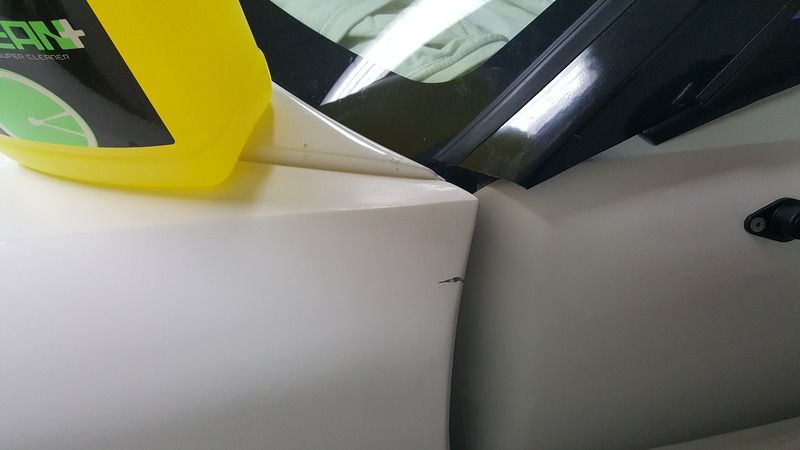
06-26-2016, 04:33 PM
#404
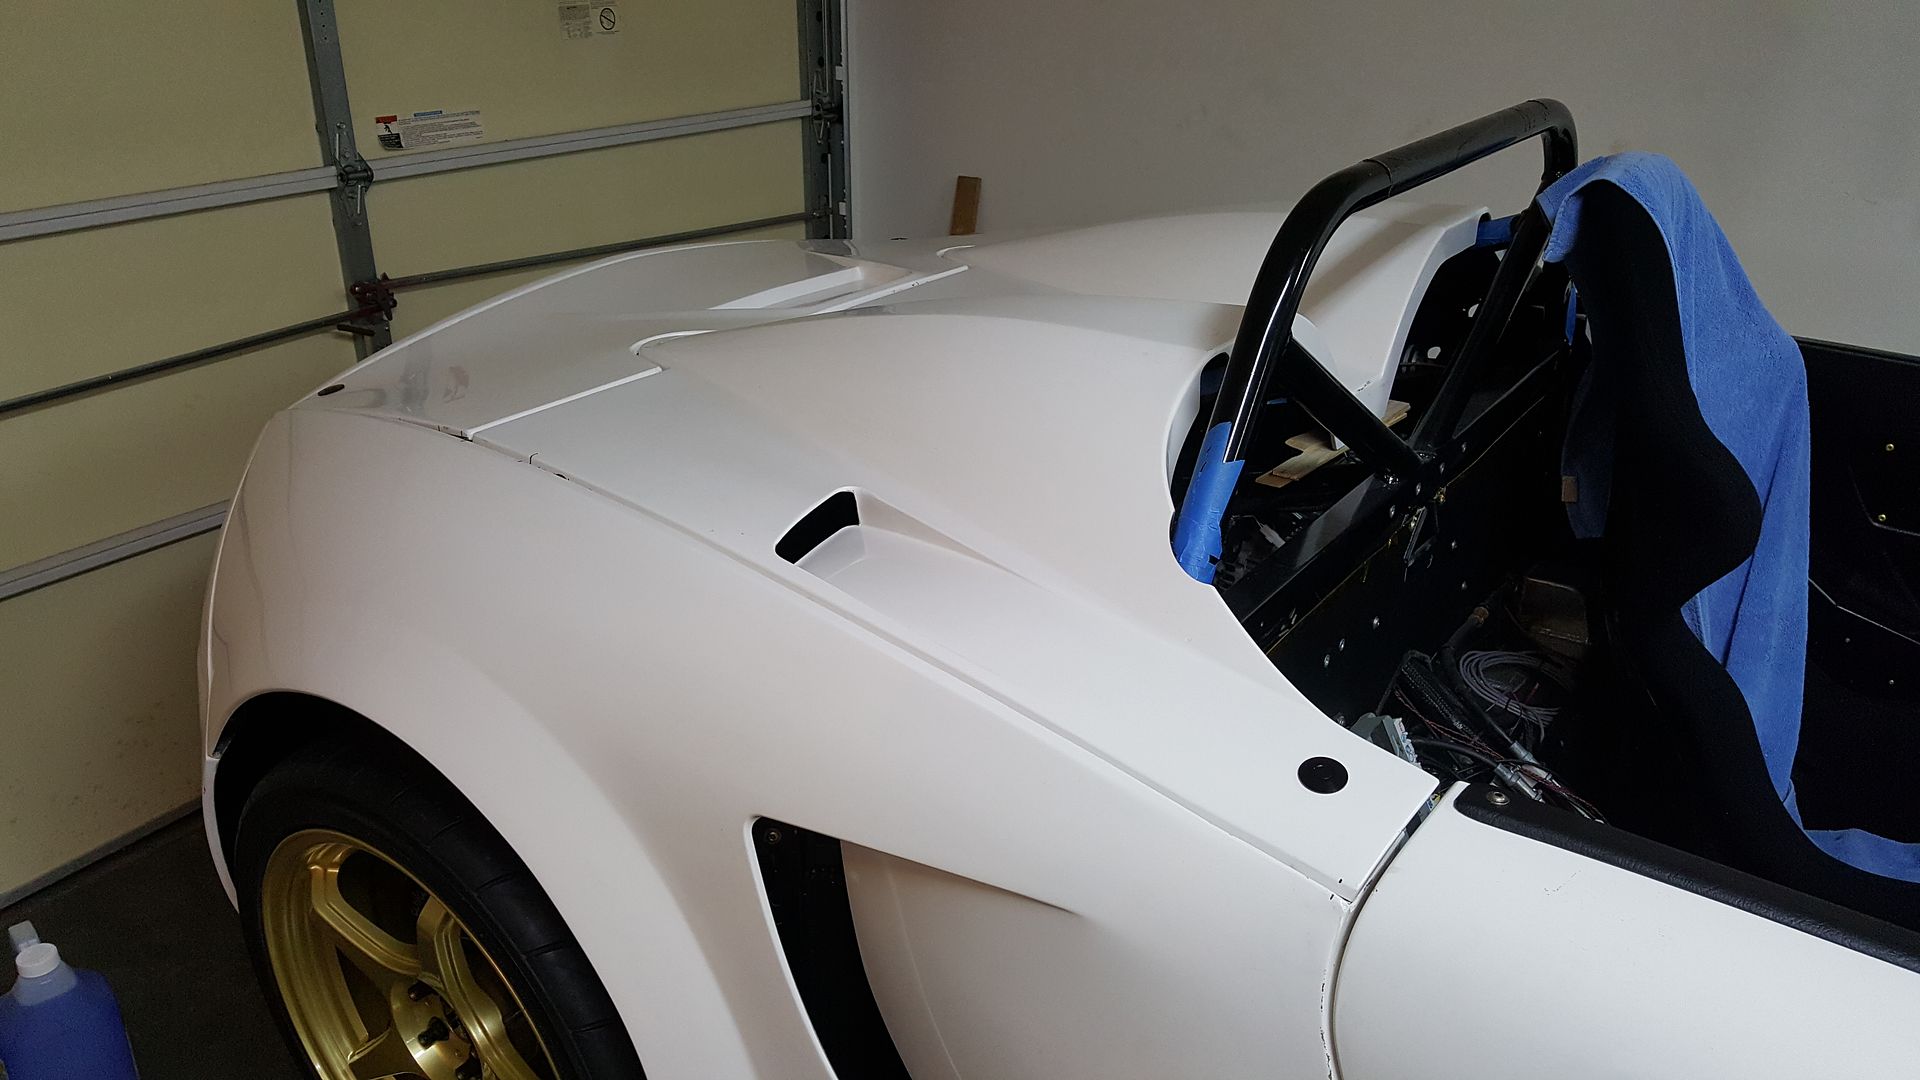
I think that corner looks like that on most cars. I chalk it up to design decisions that didn't focus on optimizing that junction. Most OEM cars seem to have the leading edge of the door even with the back edge of the windshield frame. With the doors wrapping up and around the windshield frame ends up floating instead of being able to sit flush with the fender which would hide that gap.
-
12-18-2016, 02:56 PM
#405
Senior Member
-
12-18-2016, 02:57 PM
#406
Senior Member
-
12-18-2016, 05:56 PM
#407
Senior Member

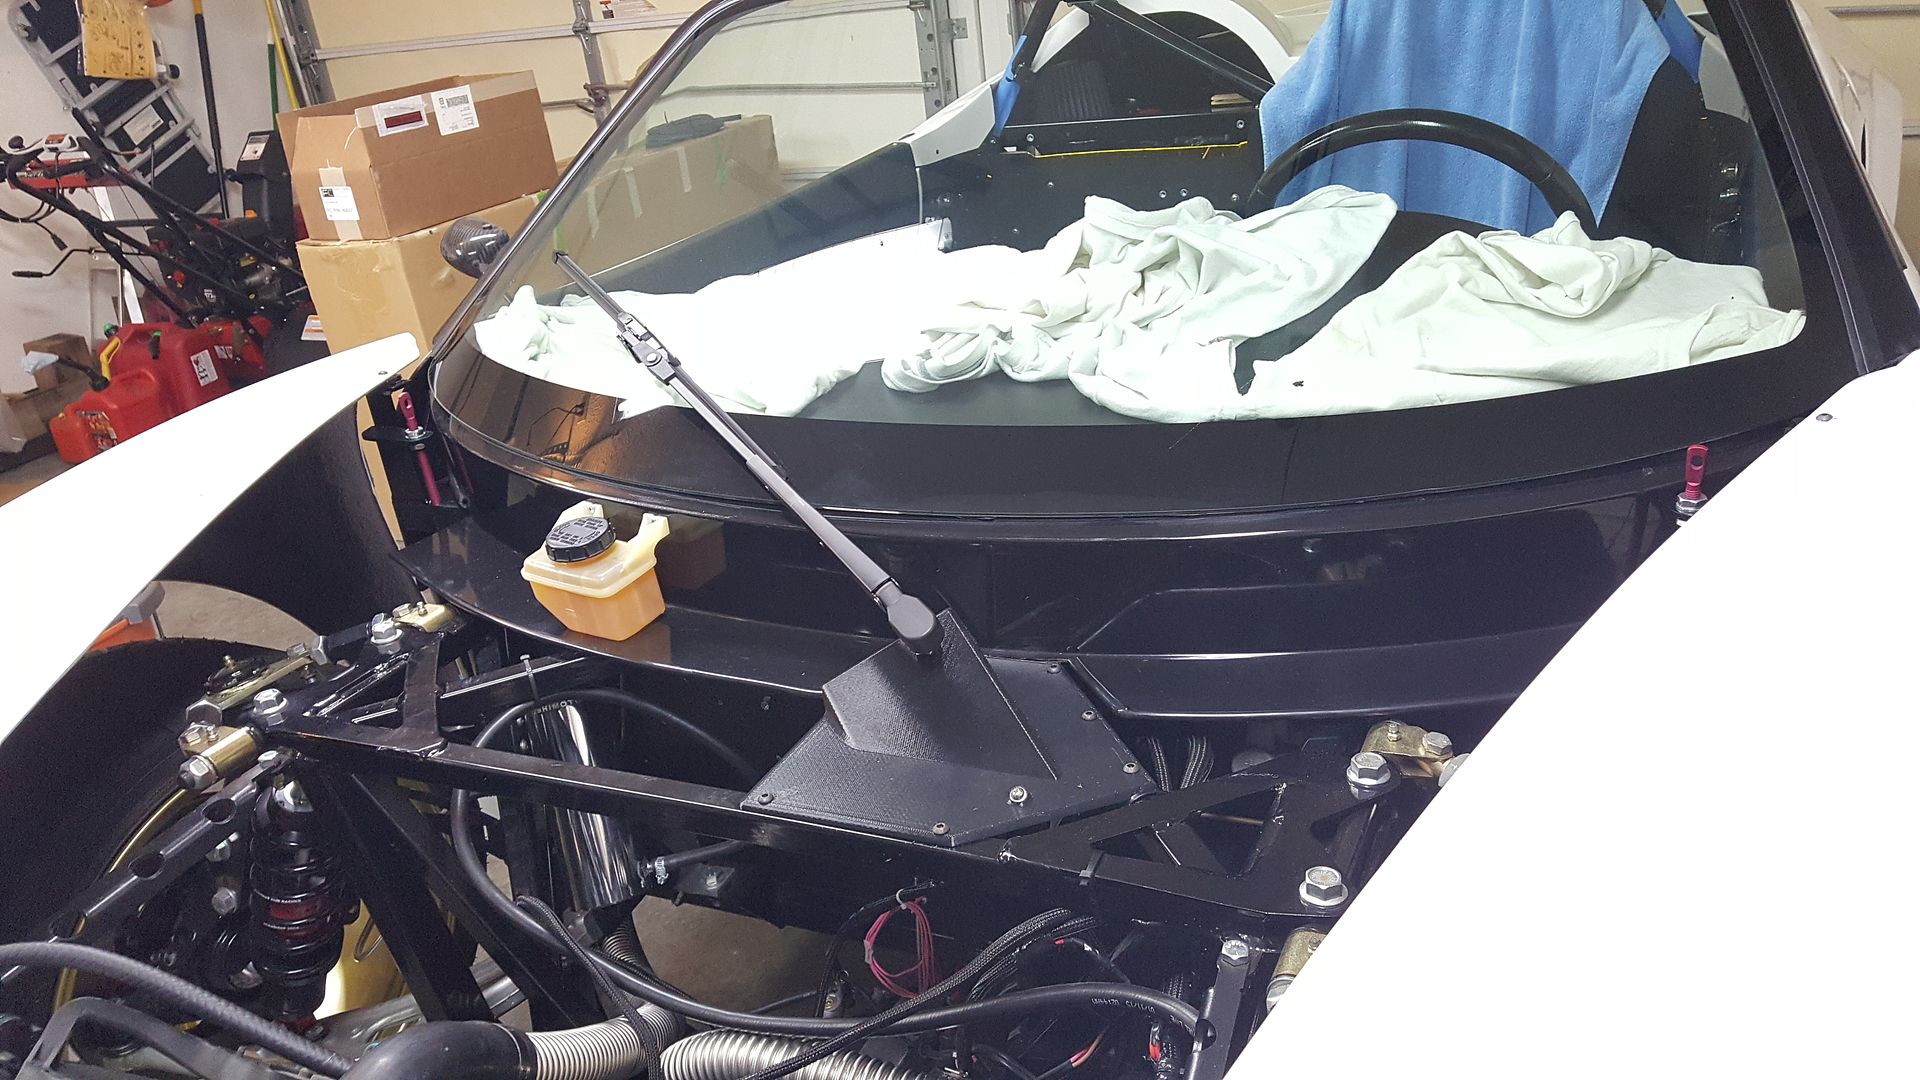
Permanent side sails installation. I wish I could do that, but requires too frequent removal for me.
Remind me your black sound deadening is?
Your hood clearance relative to the fenders is awesome. That too I wish I could do it but I need clearance for my wiper so I need to keep the hood as high as possible. Too bad...
Frank
818 chassis #181 powered by a '93 VW VR6 Turbo GT3582R
Go-karted Aug 5, 2016 - Then May 19+21, 2017
Tracked May 27/July 26, 2017
Build time before being driveable on Sep 27, 2019: over 6000h
Build Completed Winter 2021
-
12-18-2016, 06:03 PM
#408
Senior Member
-
12-19-2016, 03:23 PM
#409
Senior Member


Originally Posted by
metros

Over summer I took some time off from the build as it started to feel like work instead of a hobby.
Dude, I know exactly how you feel. I took a break from the build this fall by getting my motorcycle license and fixing up an old honda cb750 into a cafe racer, it's nearly done. It was a nice change of pace and talk about a piece of cake compared to the 818 (10x cheaper too). Glad to see you back at it.
-
02-05-2017, 01:48 PM
#410
Senior Member
-
02-05-2017, 02:42 PM
#411
Moonlight Performance


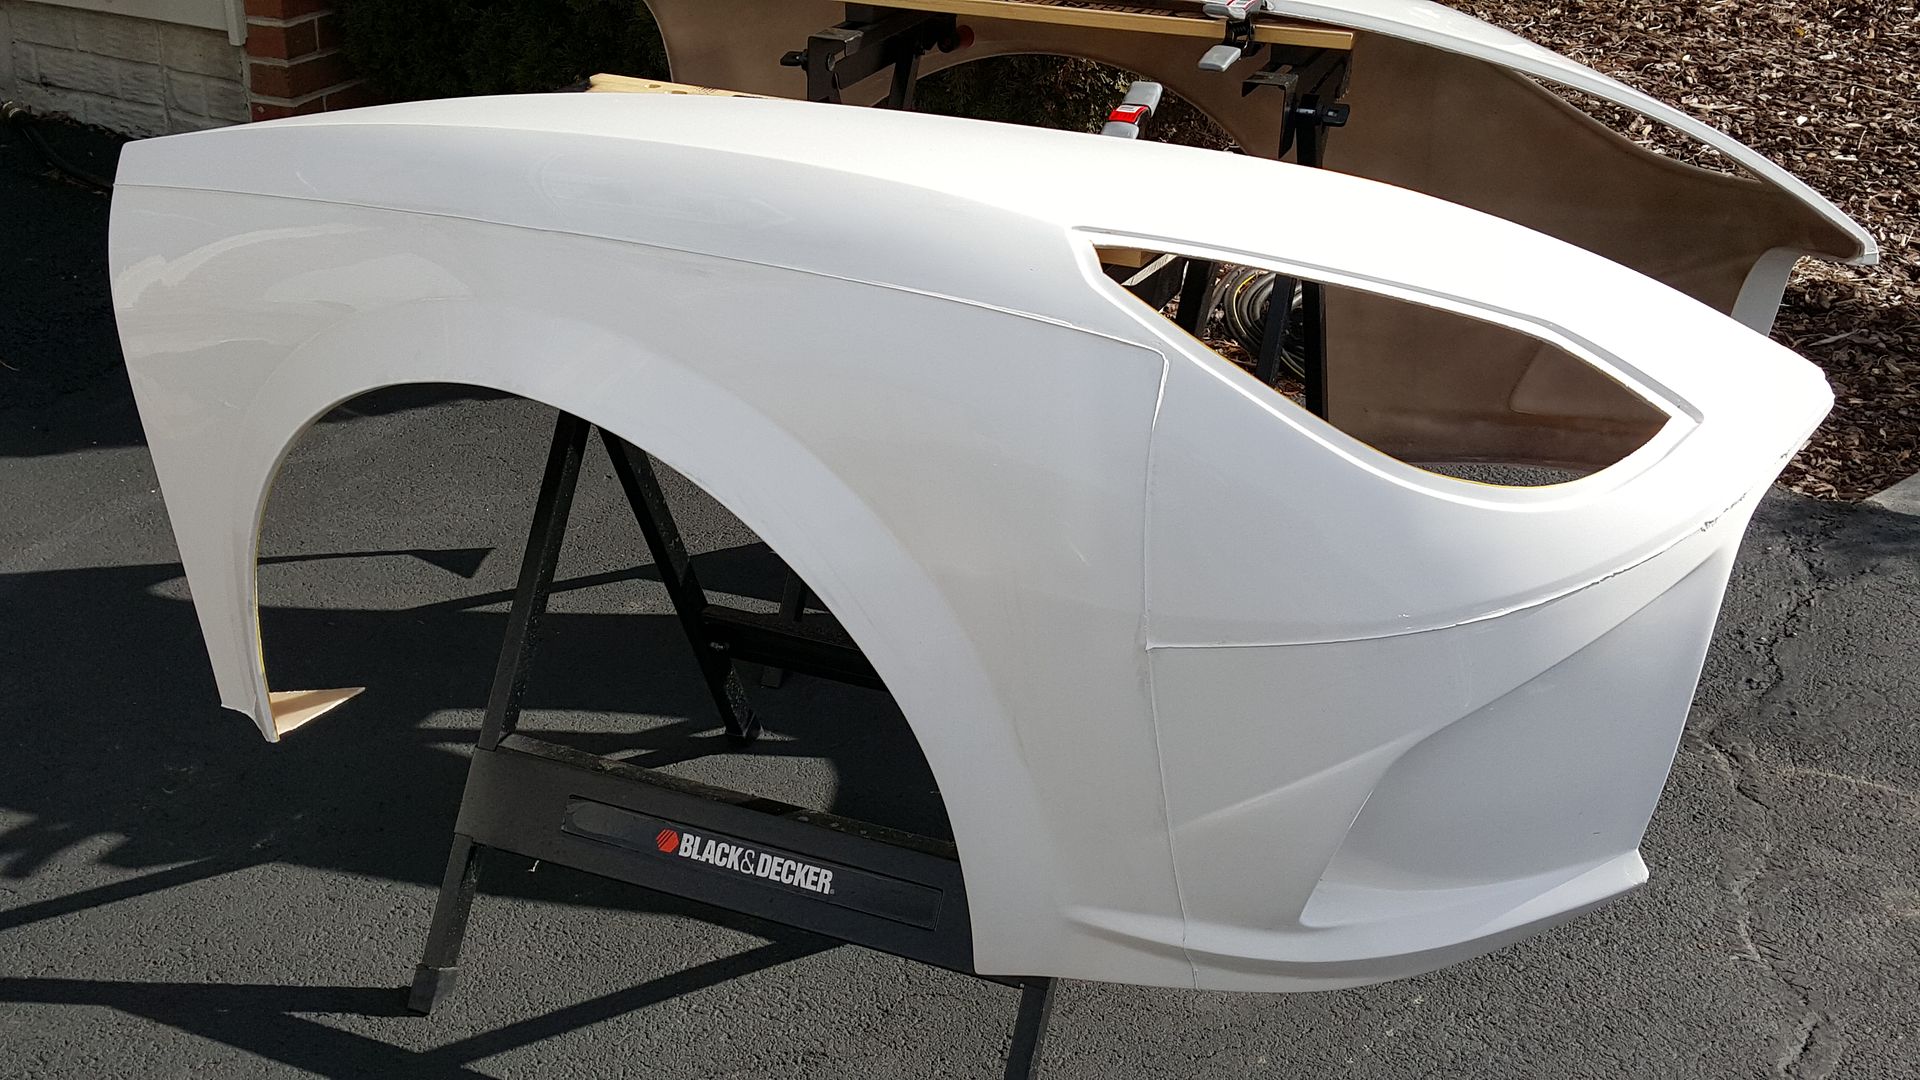
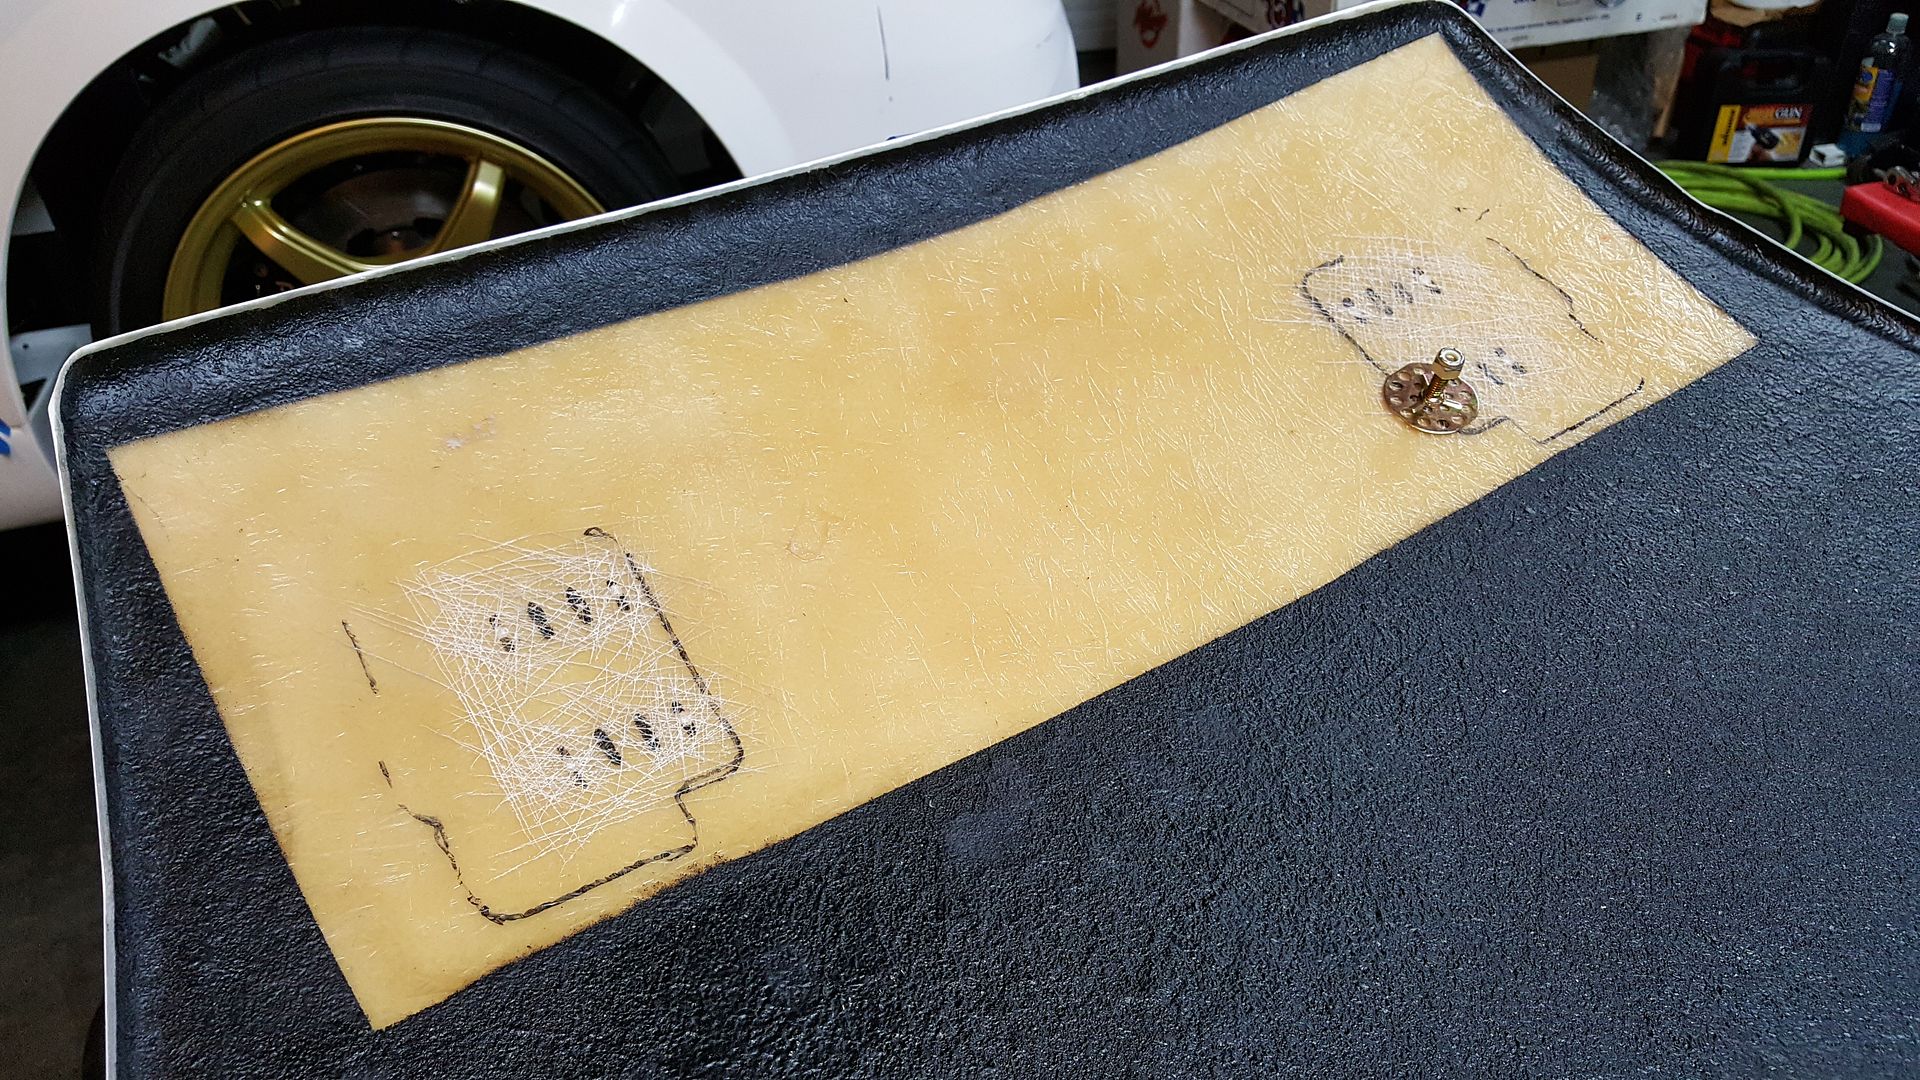
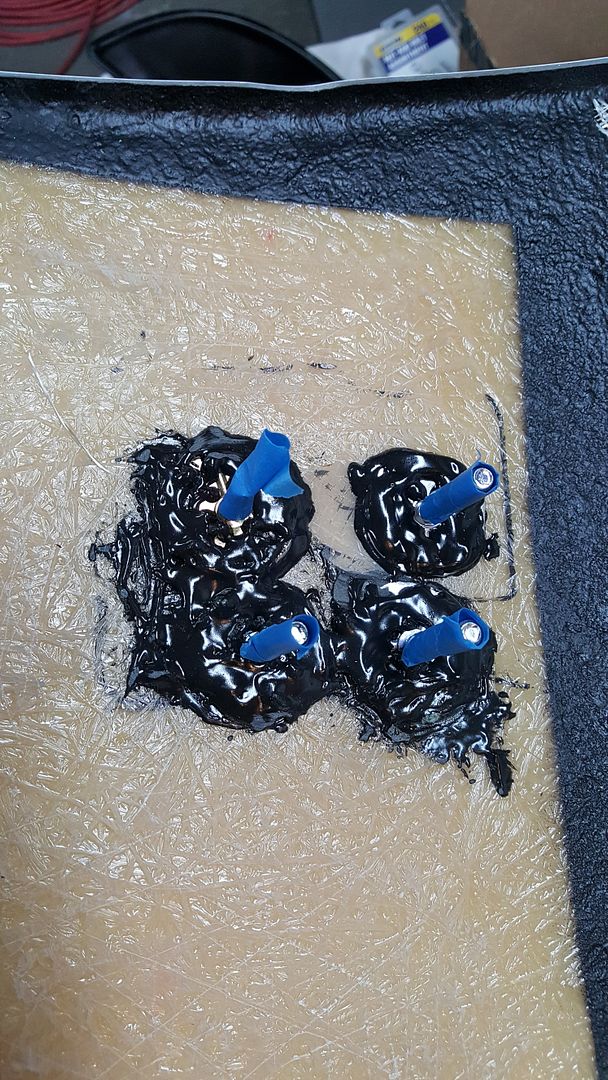
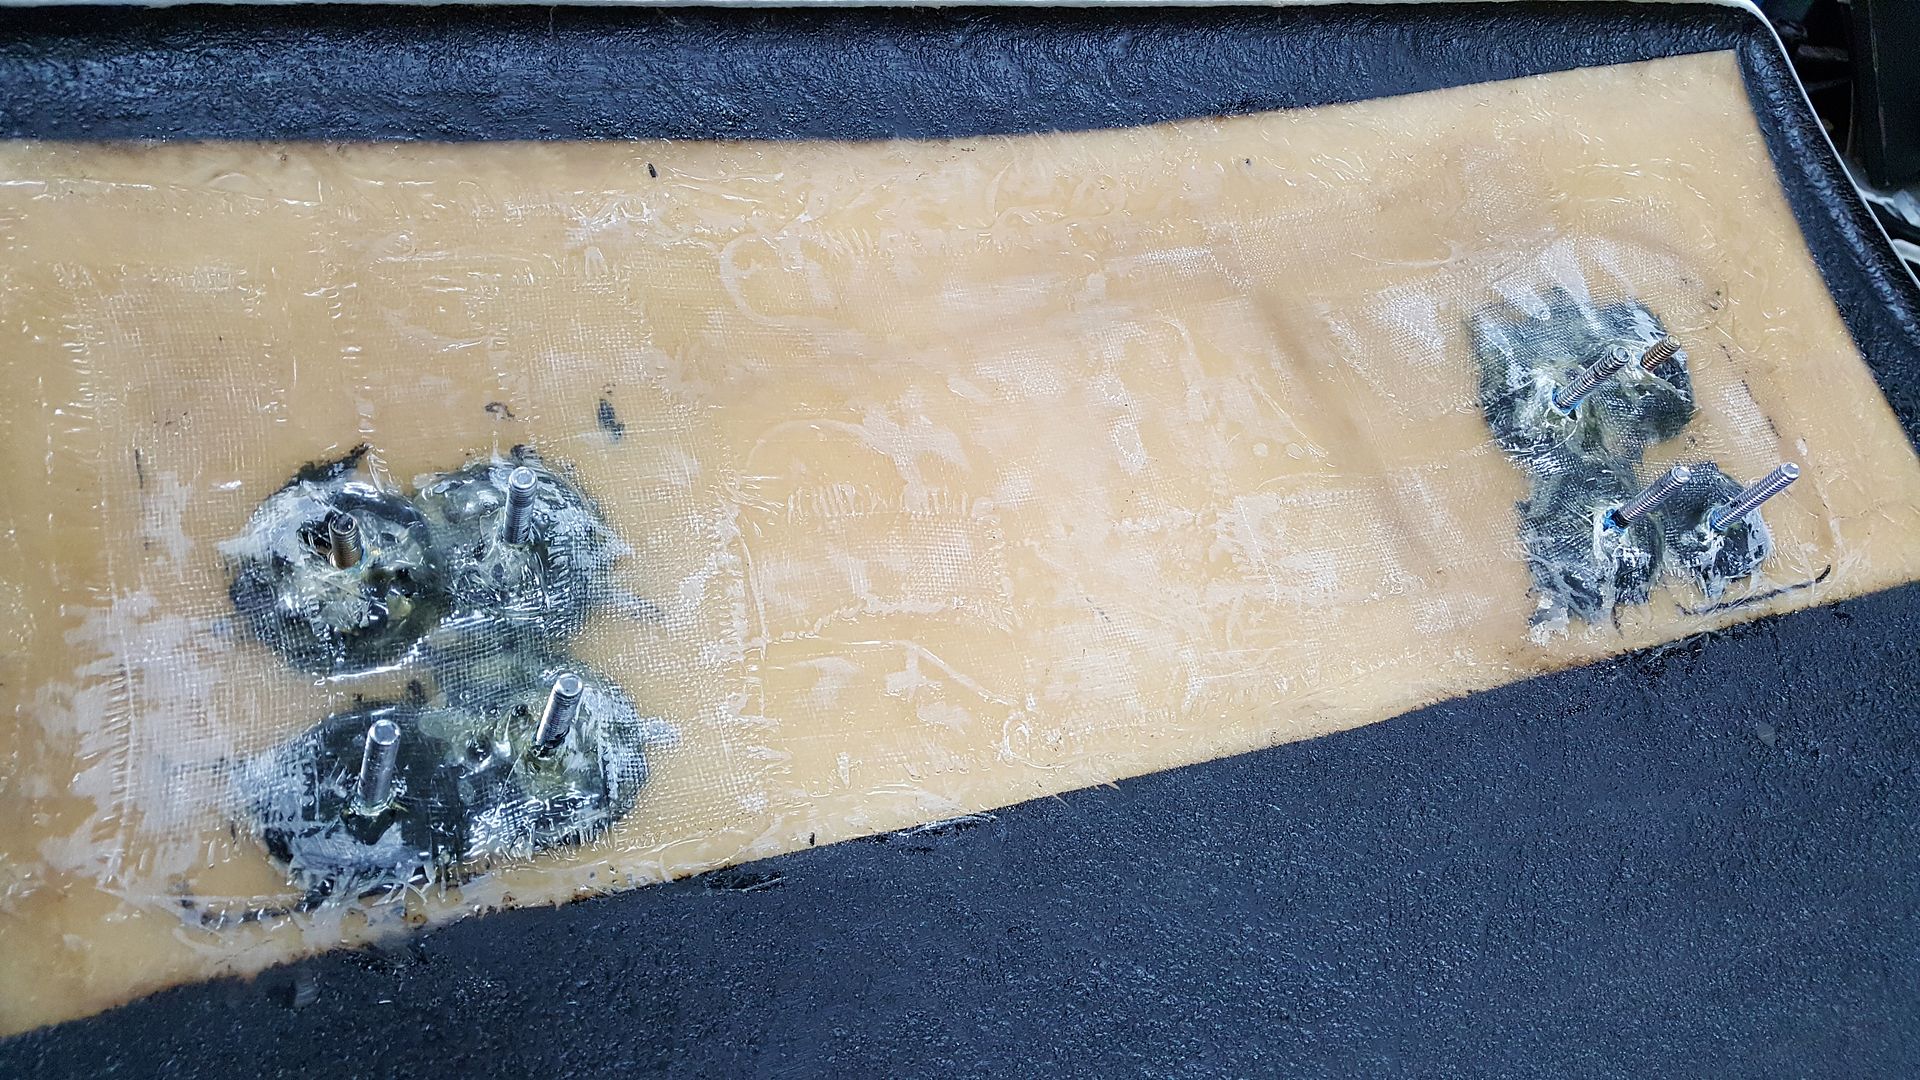
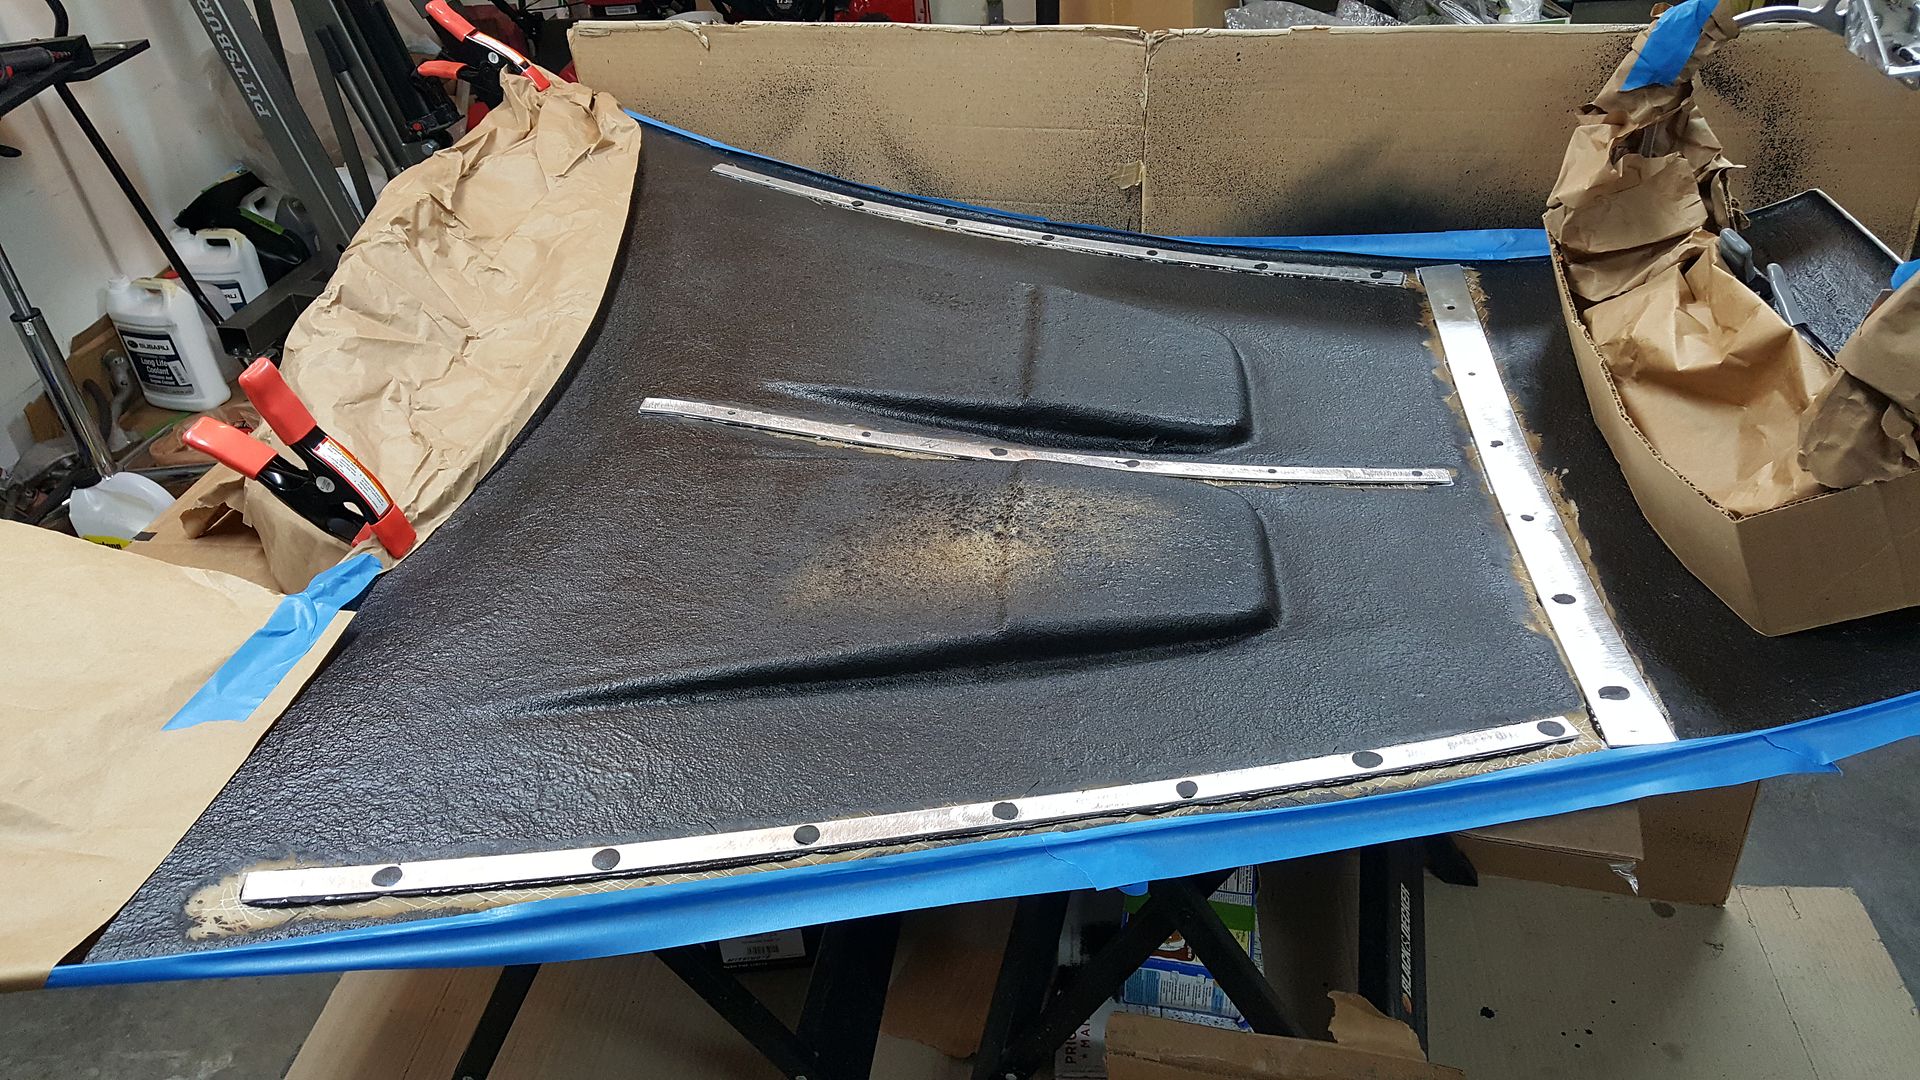
Wow there's a name I haven't seen in a minute. Glad you are still at it. Smart move, glassing over the studs. I have had several studs pop off on me - even ones that had low load on them (ones that were holding Mechie's hood louvers in place). But after I started glassing over them, I haven't had an issue yet, even on the studs that are forcing the headlights upward and have a ton of pressure on them. Your's should hold great.
-
02-05-2017, 02:48 PM
#412
Senior Member
^That's good to hear. That's also why I went with 4 studs on each side. Extra holding strength spread over a wider load.
-
02-05-2017, 05:14 PM
#413
Senior Member
I knew you'd like the 8115.  I mix it by hand and gauge proportions by eye, maybe not the best it works pretty good.
Your hood is awesome man, it's awesome. With 4 studs per side there's no way this thing will fall off. I noticed 2 per side is enough, although I'd like that added security of 2 more. Maybe another day after I register.
Keep up the good work like that.
Frank
818 chassis #181 powered by a '93 VW VR6 Turbo GT3582R
Go-karted Aug 5, 2016 - Then May 19+21, 2017
Tracked May 27/July 26, 2017
Build time before being driveable on Sep 27, 2019: over 6000h
Build Completed Winter 2021
-
04-30-2017, 06:54 PM
#414
Senior Member
-
05-06-2017, 06:20 PM
#415
Senior Member
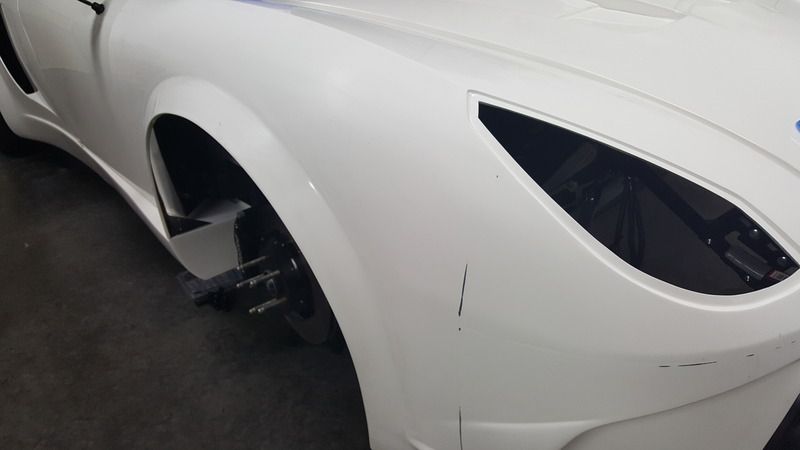
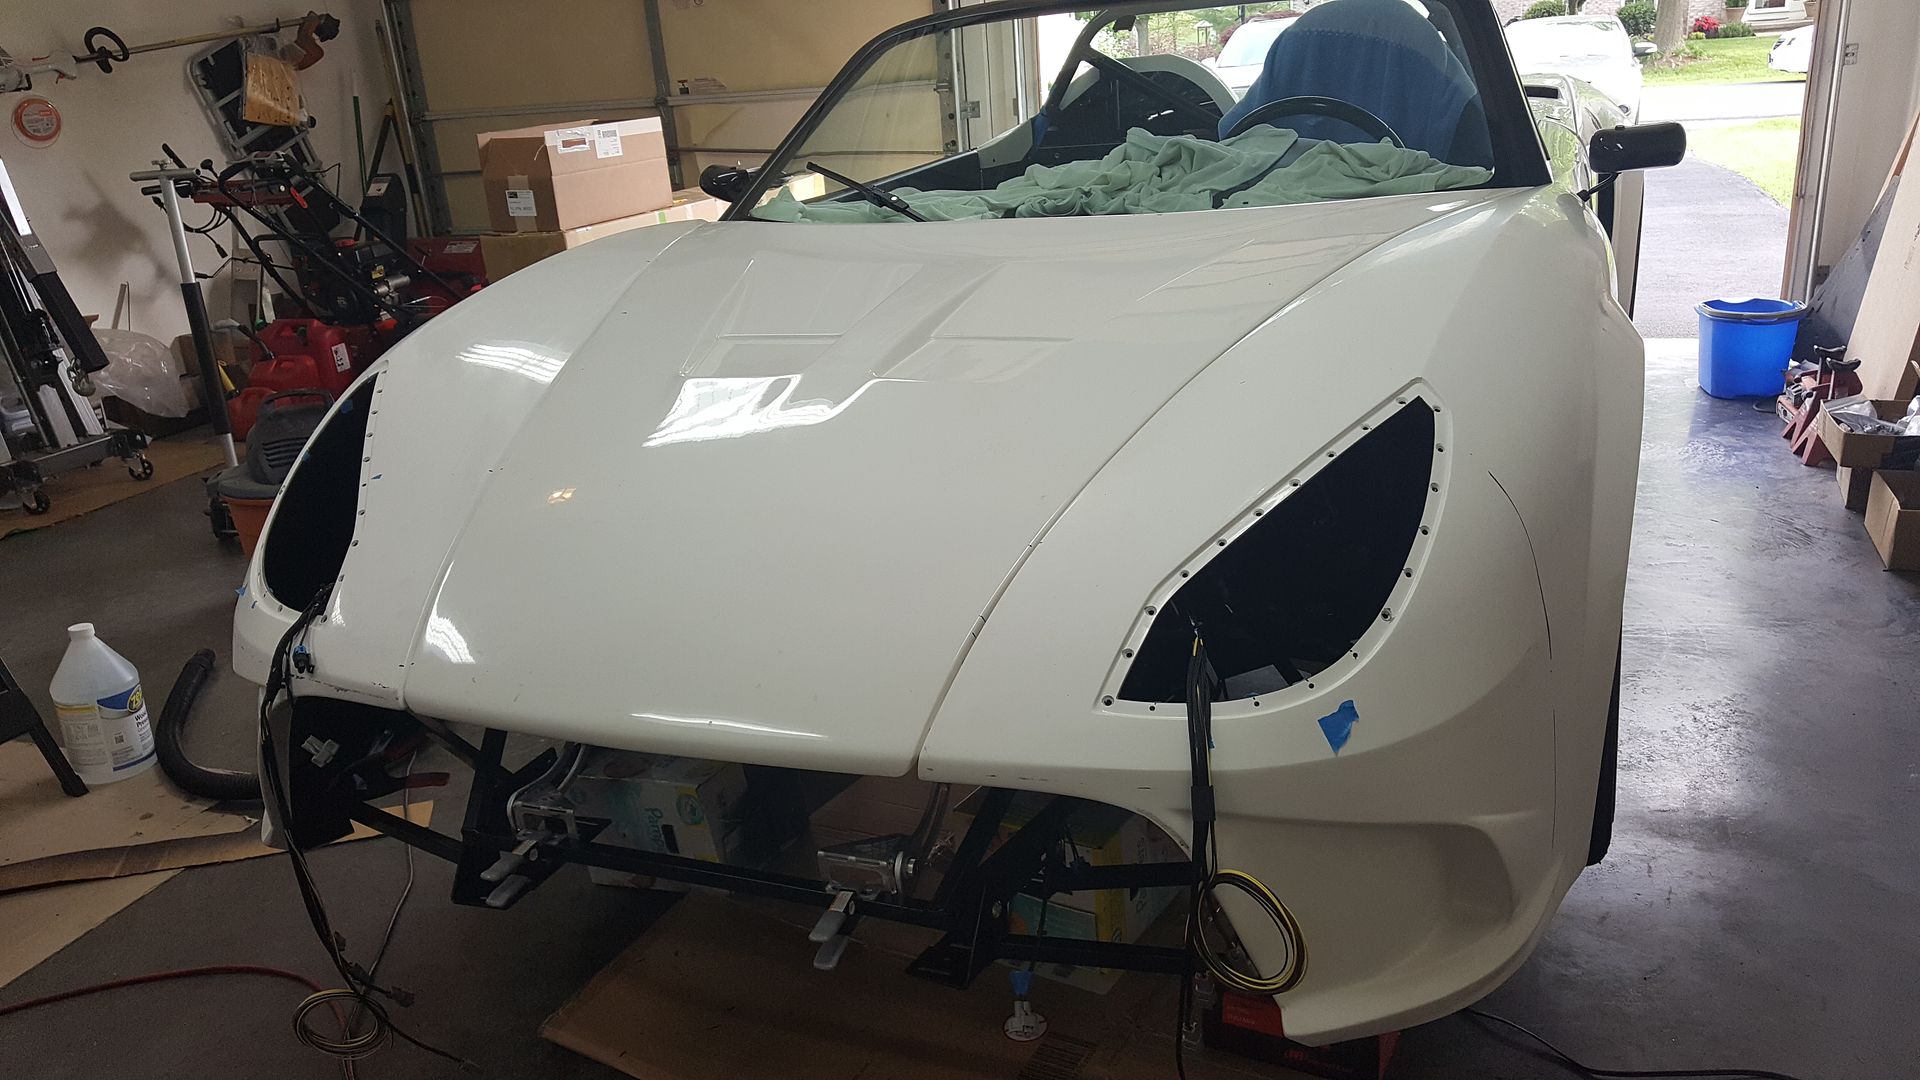
Man your gaps are thin, I love it, so precise. I wish I could spend time on that too.
Frank
818 chassis #181 powered by a '93 VW VR6 Turbo GT3582R
Go-karted Aug 5, 2016 - Then May 19+21, 2017
Tracked May 27/July 26, 2017
Build time before being driveable on Sep 27, 2019: over 6000h
Build Completed Winter 2021
-
05-06-2017, 08:30 PM
#416
Senior Member
They're not as nice as I would like them. I need to get it out in the sun for an afternoon again and re-adjust some of the panels. I've haven't taken it on a cruise around the neighborhood in too long as well
-
05-07-2017, 10:06 AM
#417
Senior Member

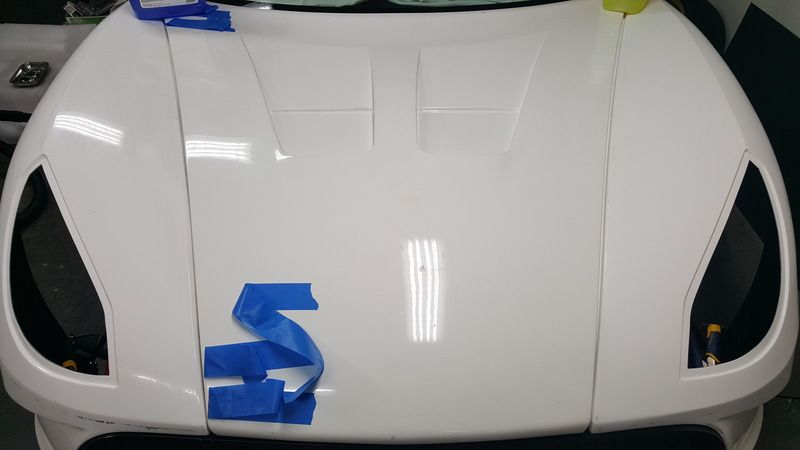
Good work on stiffening the hood. On your list, move the front splash guards down until the doors and headlights are done because they block the door hinges and the back of the headlights.
818S/C : Chassis #25 with 06 WRX 2.5 turbo, ABS, cruise, PS, A/C, Apple CarPlay, rear camera, power windows & locks, leather & other complexities. Sold 10/19 with 5,800 miles.
Mk3 Roadster #6228 4.6L, T45, IRS, PS, PB, ABS, Cruise, Koni's, 17" Halibrands, red w/ silver - 9K miles then sold @ Barrett-Jackson Jan 2011 (got back cash spent).
-
05-07-2017, 10:56 AM
#418
Hey metros, I know exactly what you mean about taking a break..... I have been doing the same on and off trying to fit lots of other aspects in.
Now that I'm back.... its more fun again.
I like what you did with the door trim and the gold rivets. looks good.
Also, I'm at the point where I am going to start sanding the body, and doing the fibreglass work. I just pulled off my hood yesterday to do the extra glass. Definitely needed. I wouldn't want it to pull loose at high speed.
Yesterday I did my alignment, today, bodywork starts.
good luck.
Harley
Harley
Bought 2002 Donor Jan 2014
First Start Jan 18, 2015
First Drive Feb 14, 2015
-
05-07-2017, 02:03 PM
#419
Senior Member
Thanks for the tips Pete. Having the right sequence helps efficiency.
I'd like more time to work on the car. I've been doing essentially management jobs at work with around 40 direct reports. Our new manager starts tomorrow so I'll be able to have a more manageable workload once bringing her up to speed. Its good for the fiscal budget, not so much the time budget.
Thanks Harley, I enjoy finding those little touches when putting the car together. I feel that with more experience on builds of this level I'll be able to better foresee opportunities for these kinds of little details. Good luck with the body work. Have experience in doing that kind of work?
-
05-28-2018, 07:00 PM
#420
Senior Member
-
05-28-2018, 07:01 PM
#421
Senior Member
-
05-28-2018, 07:55 PM
#422

Steve >> aka: GoDadGo

Originally Posted by
metros
This little man is now 4 years old and still loves going to the track with me.

And he always will loving going to the track with you.
My son is nearly 20, and still loves going to the track with me and his Uncle Nard (Bernard).
He even met a young lady at college who now loves going with him, so how cool is that?
You are not building a car, but memories with your son instead.
The car is just langniappe!
Last edited by GoDadGo; 05-28-2018 at 08:00 PM.
-
06-10-2018, 06:11 PM
#423
Senior Member
-
06-11-2018, 09:21 AM
#424
Senior Member
I vote drive it!... but you may want to have a tow hitch ready.
-
06-11-2018, 01:17 PM
#425
Senior Member
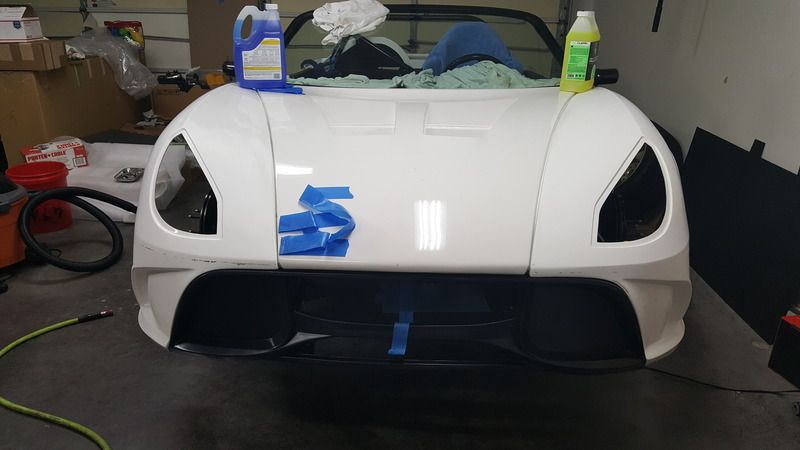
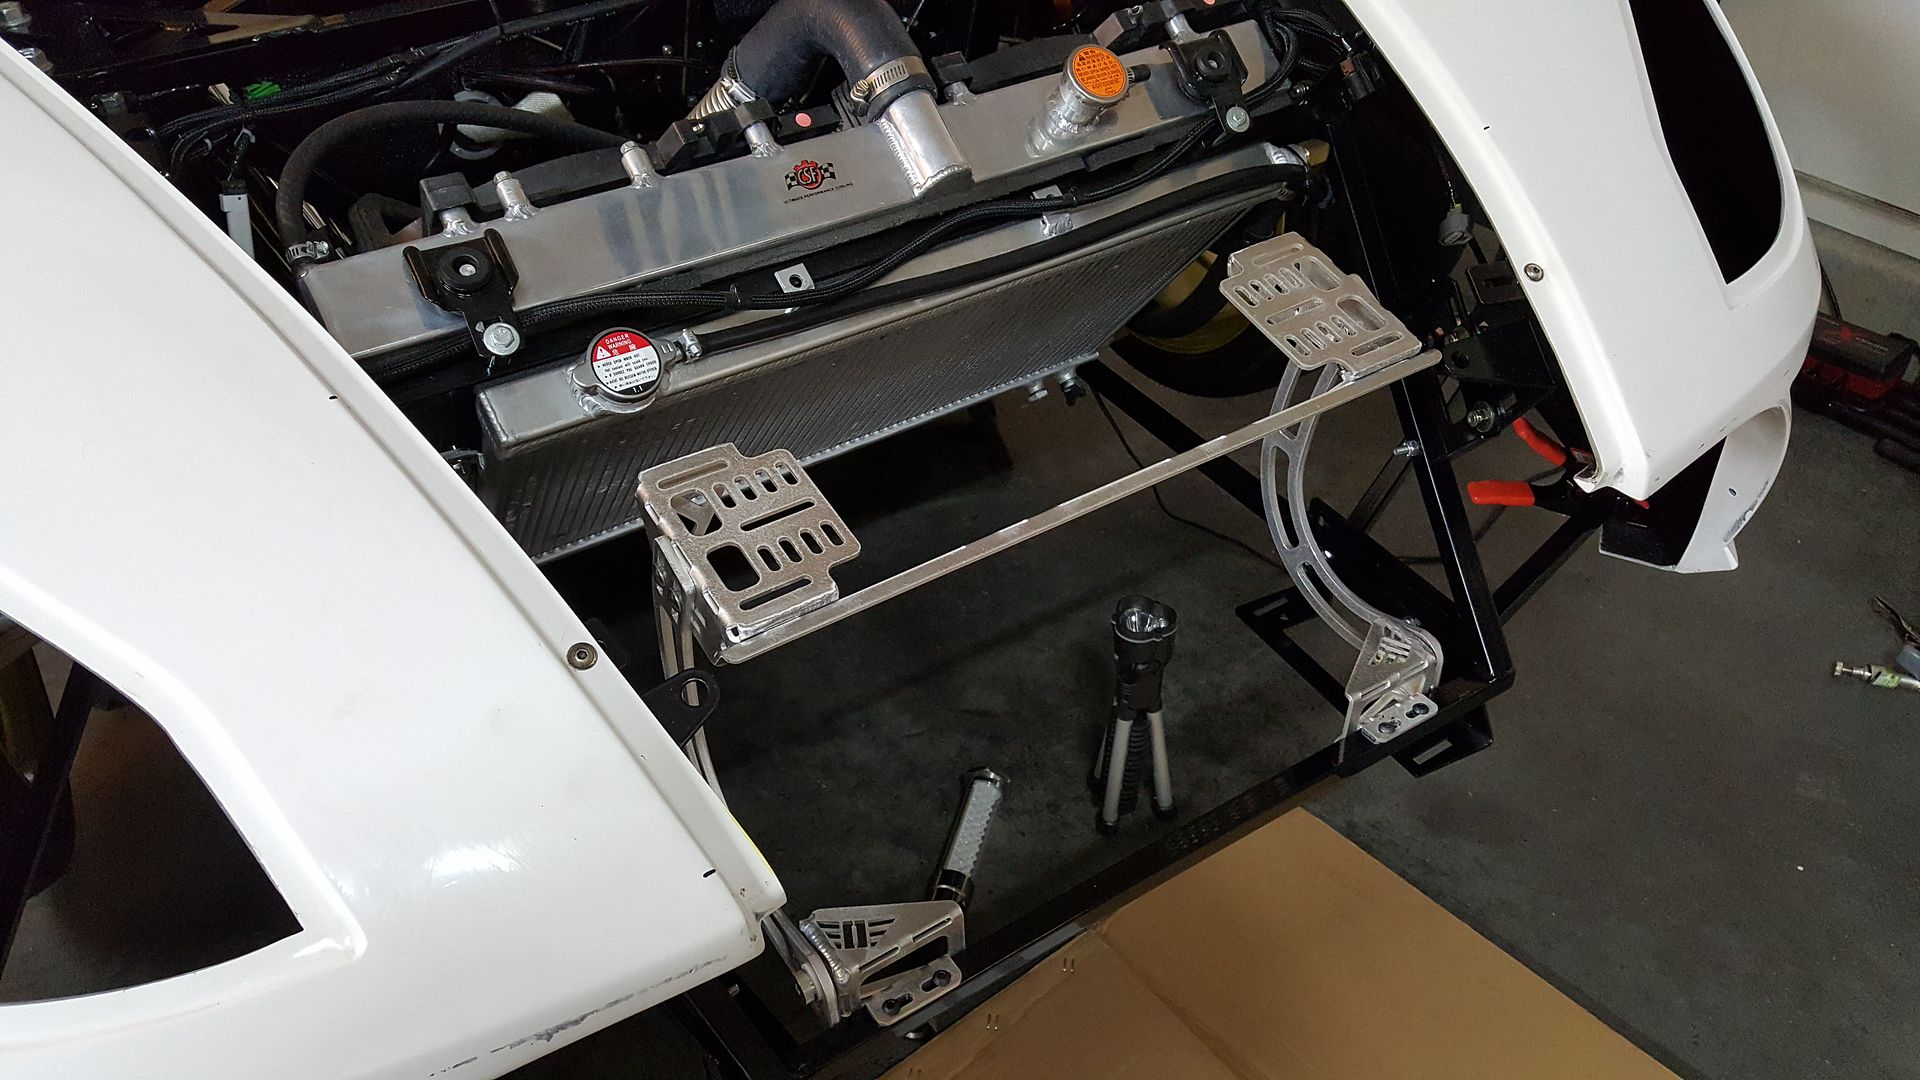
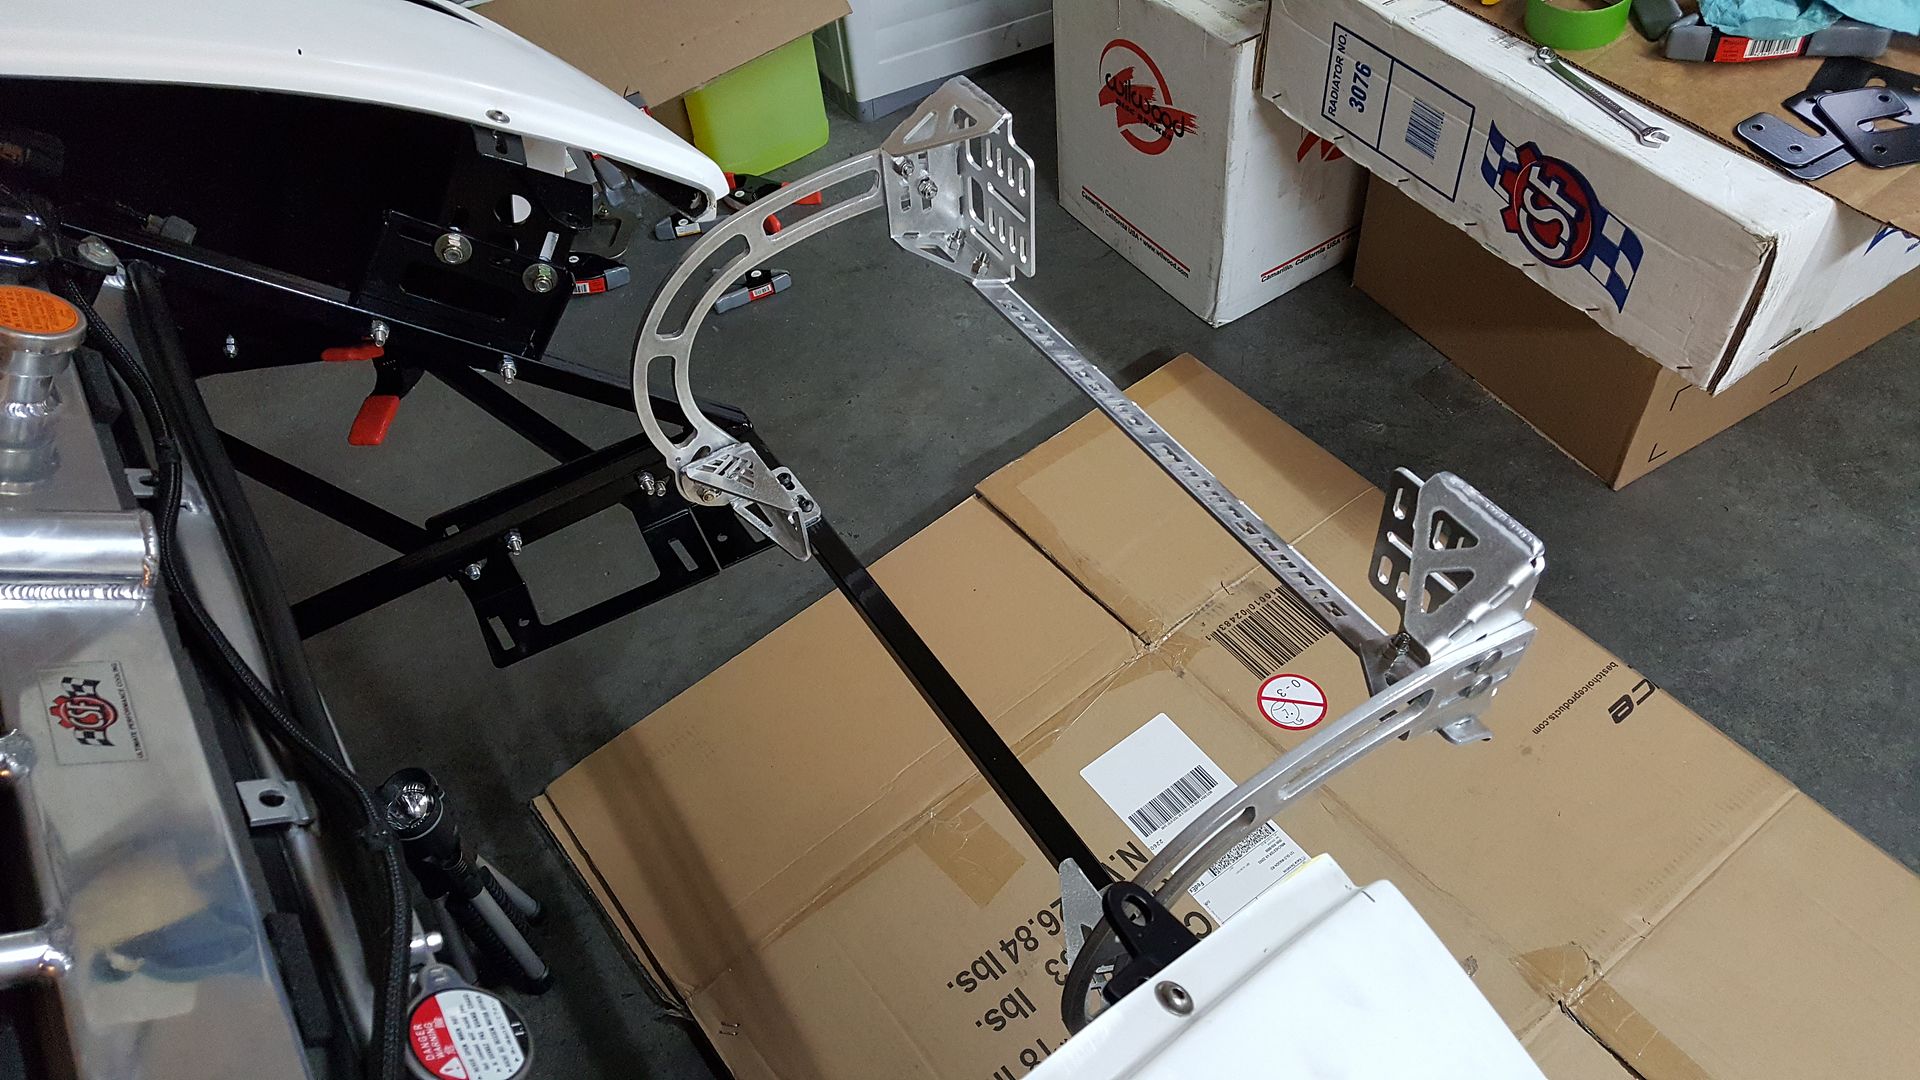
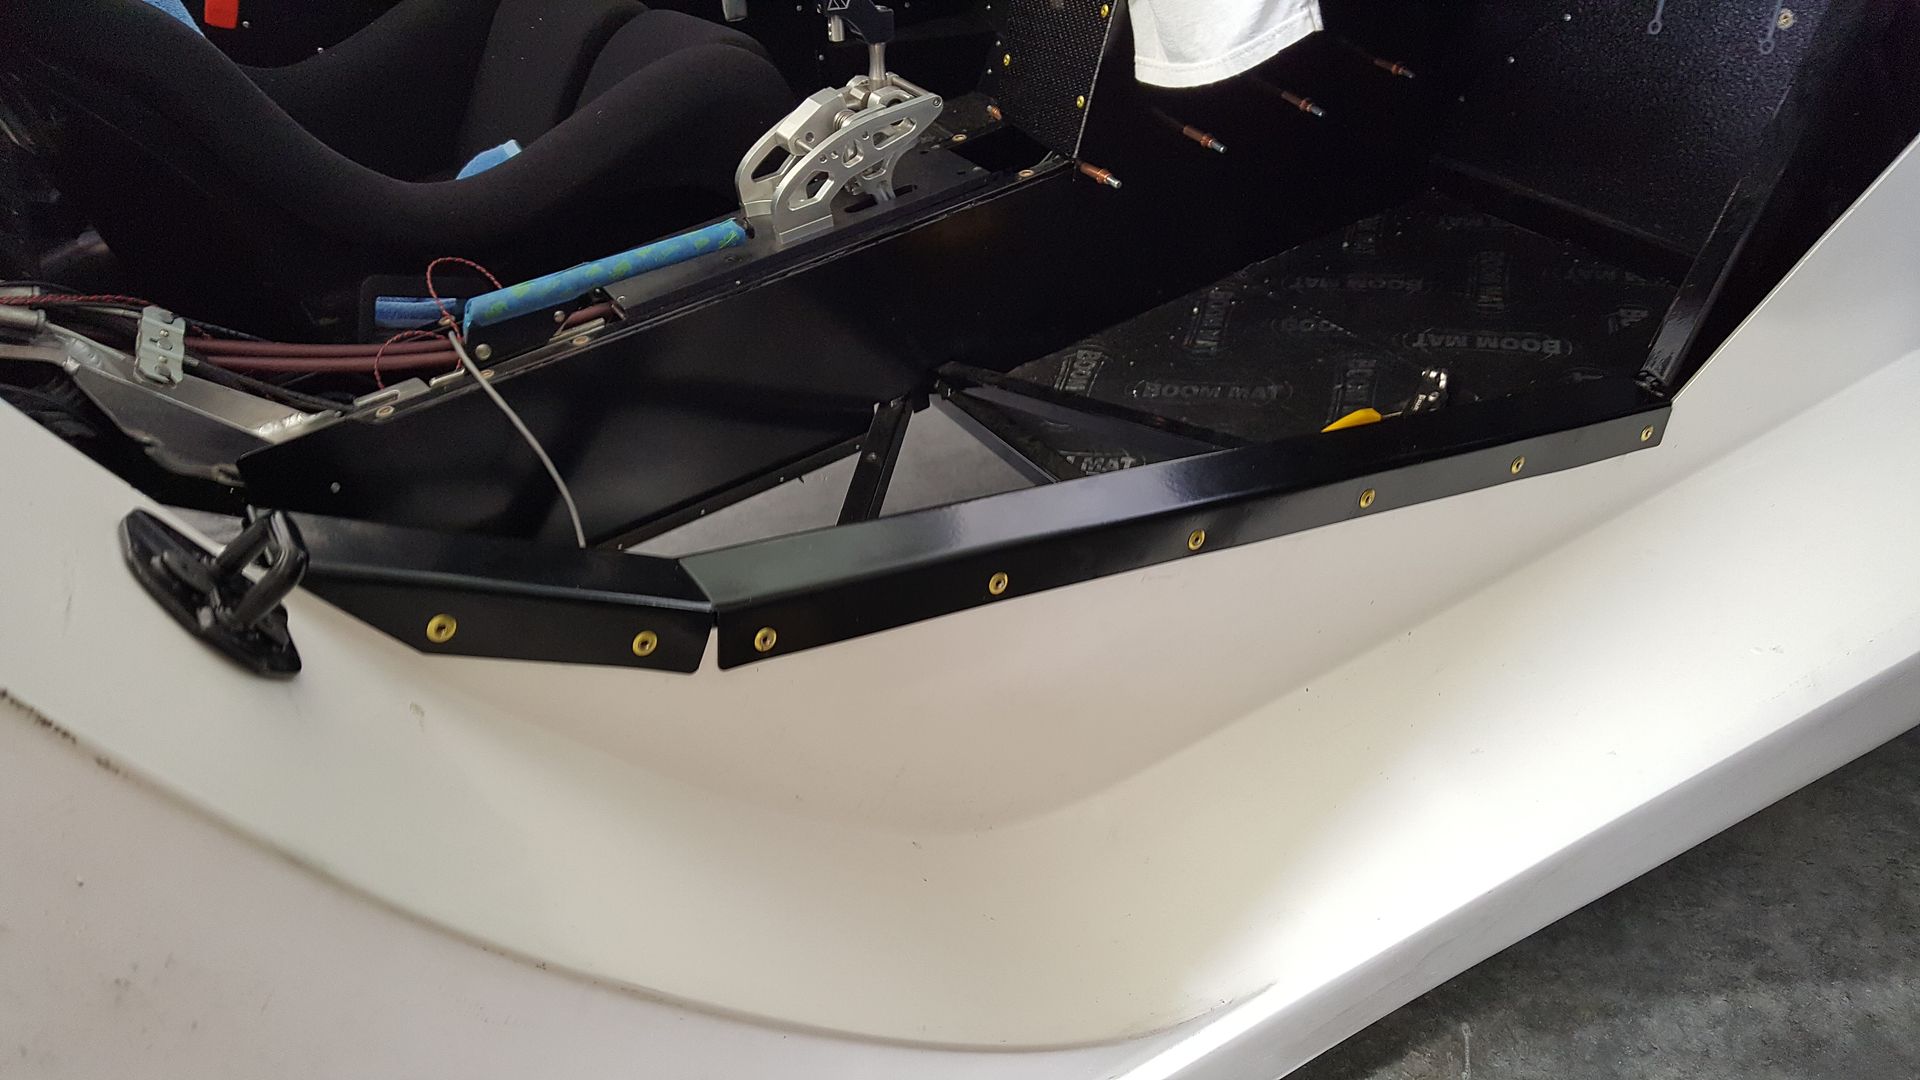
I like the nice clean work on the air dams around the radiator but I don't see any piece blocking the air gap between the radiator and hood. Between my donor radiator and the hood is a gap of over 4 inches so I made this baffle.

818S/C : Chassis #25 with 06 WRX 2.5 turbo, ABS, cruise, PS, A/C, Apple CarPlay, rear camera, power windows & locks, leather & other complexities. Sold 10/19 with 5,800 miles.
Mk3 Roadster #6228 4.6L, T45, IRS, PS, PB, ABS, Cruise, Koni's, 17" Halibrands, red w/ silver - 9K miles then sold @ Barrett-Jackson Jan 2011 (got back cash spent).
-
06-11-2018, 01:31 PM
#426
Senior Member
I planned on making something similar to what you did but found a better design to carry out the same purpose. It may have been posted on the 818 Facebook page. Someone created an aluminum dam for the topside that lined up with the bumper opening and then bent upward to mount at the top of the radiator. Hard to explain but carries out the same purpose.
I really want to drive it. But then the sensible side makes me second guess. I don't have anything arranged for the front end to be towed with
-
06-11-2018, 02:38 PM
#427
Senior Member
Welding on some better support structure for a tow hook has been on my to-do list for a while now, I consider it a necessity. Otherwise, if you get stranded, you'll have to get towed backwards by a strap attached to the roll bar - ask me how I know.
-
06-11-2018, 07:20 PM
#428
Senior Member
I think that will be after it's registered. Eye on the prize!
-
07-28-2018, 07:57 PM
#429
Senior Member
-
07-28-2018, 07:59 PM
#430
Senior Member
-
Post Thanks / Like - 0 Thanks, 1 Likes
-
07-29-2018, 09:29 PM
#431
The garage floor looks nice! Did you do it yourself or have it done?
-
Post Thanks / Like - 1 Thanks, 0 Likes
-
07-30-2018, 07:40 AM
#432
Senior Member
Congrats again on the new place, the new garage looks nice and wide! That must've been a fun drive too. So for your head light covers, did you end up painting the edge or doing vinyl?
-
07-30-2018, 10:40 AM
#433
Senior Member
Thanks! I was hellbent on doing the floor before moving. Once all my tools were there it would've never happened.There was 30 years of neglect in that garage before I started. Ground the really bad spots, degreaser the whole thing 2x and acid etched the whole thing 2x. I used rustoleum product. I wish they gave you just a bit more product to go on a touch thicker. But otherwise I'm happy with it. I would recommend the antislip additive. I used it and the floor is still a bit slick when wet.
The headlight lenses have vinyl on the edges that a shop put on for me. I don't think paint would have come out nearly as nice, we'll at least rattle can paint.
-
Post Thanks / Like - 0 Thanks, 1 Likes
-
08-02-2018, 11:49 AM
#434
fasterer and furiouser
did you do the clear on top? that made a big difference with me and the durability... if its not too late i would recommend.
https://www.maperformance.com/produc...SABEgIv9vD_BwE
A well stocked beverage fridge is the key to any successful project.
-
08-04-2018, 11:30 AM
#435
-
08-04-2018, 09:56 PM
#436
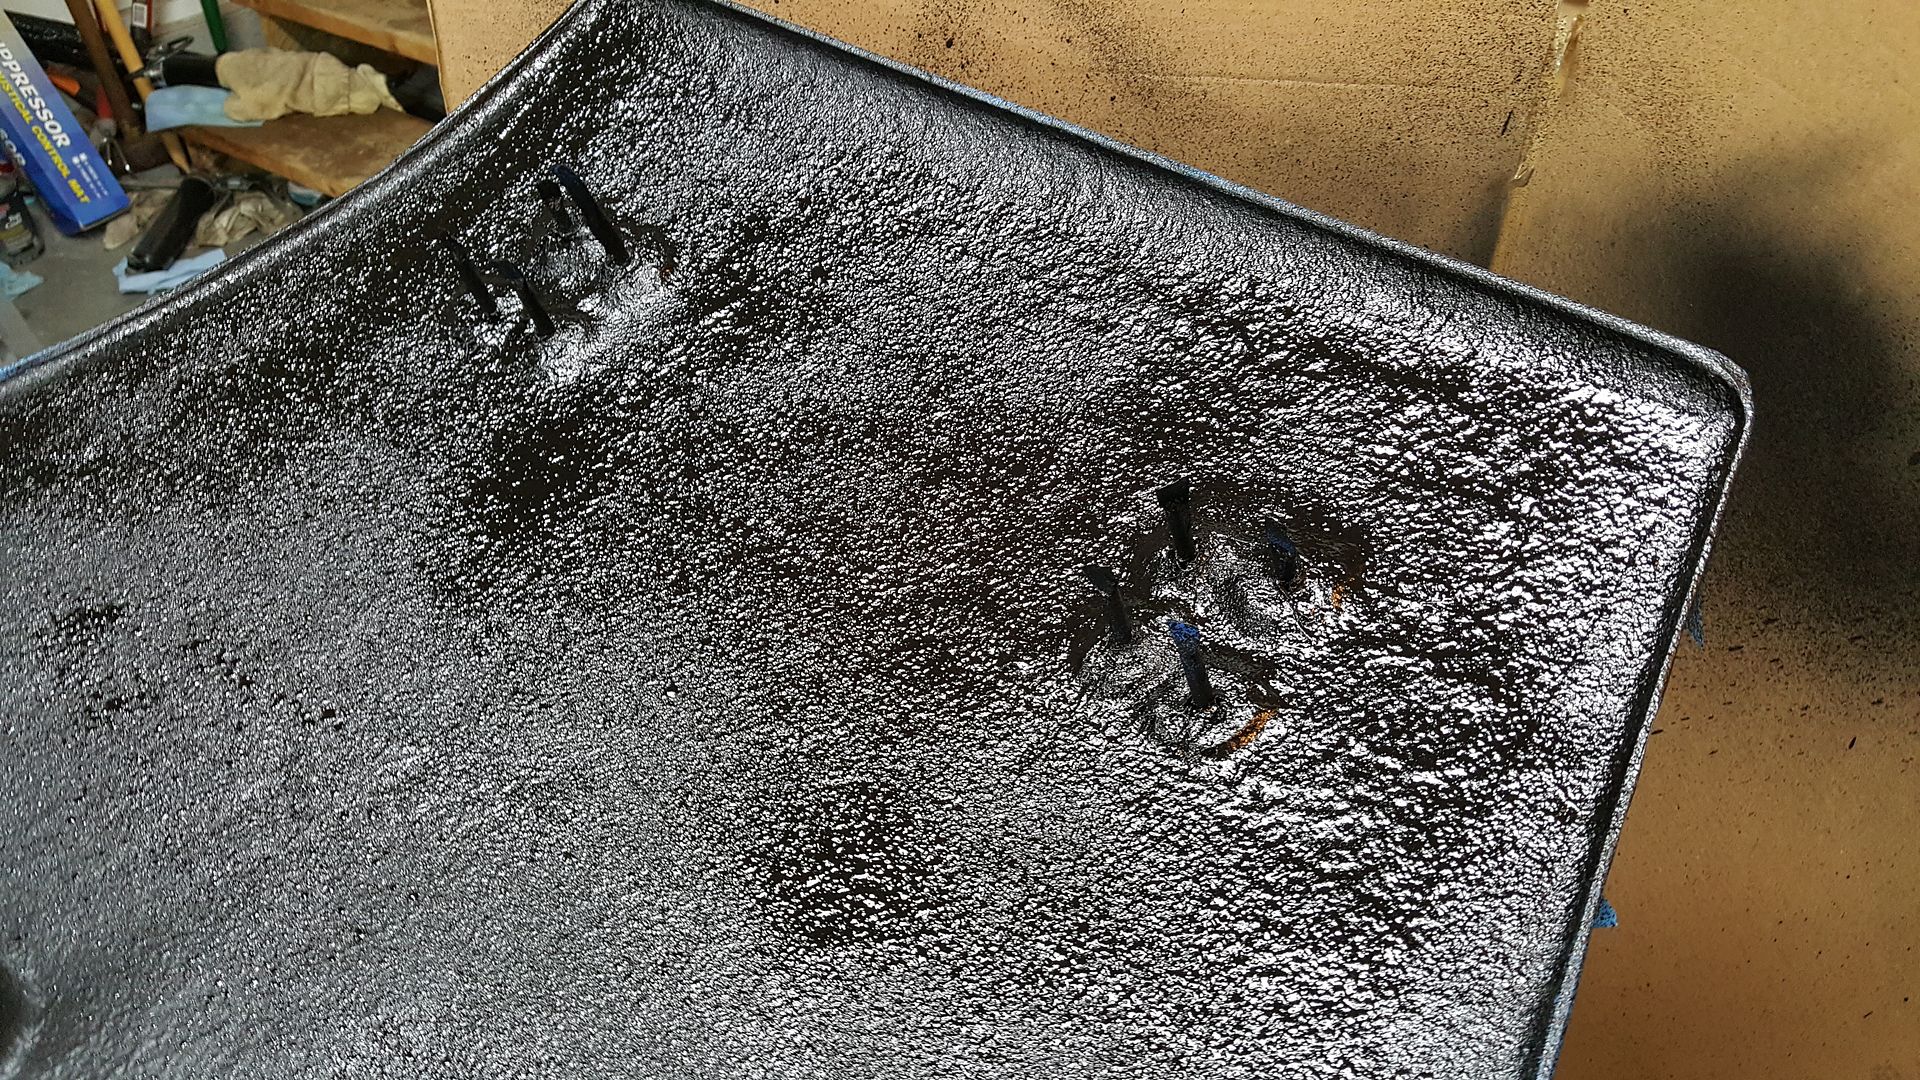
I've helped do an epoxy floor before, it's very hard work! I like the sound deadening on the inner fenders, but I'm curious to see how it holds up to rocks over time.
-
08-11-2018, 12:40 PM
#437
Senior Member
Thanks guys! I did not do the clear coat on top. I considered it, but in reality I wouldn't have had enough time to get that done before we had to move in. I'm hoping and thinking that this will be durable enough until I can have a separate workshop built.
I'm having a good time organizing all of the yard tools on an entire wall of the garage and my tool collection on the other side of the garage. Still working on getting all the lights installed as well.
-
09-02-2018, 07:57 PM
#438
Senior Member
-
01-25-2019, 08:05 PM
#439
Senior Member
So this happened today! State Trooper came by to attach the VIN plate. At this point I can start the registration process - once I'm ready. I'm waiting on receipt of a tig welder that I ordered. I'd like to weld up my own exhaust. We'll see how practicing goes and if I can realistically learn that skill fast enough to do so.
Working on a punch list of items to wrap up prior to spring driving season.
My PM box awaits any recommendations for friendly inspection stations in or around Loudoun County. :derp:


-
Post Thanks / Like - 0 Thanks, 5 Likes
-
01-25-2019, 09:48 PM
#440


 Thanks:
  Likes:


 Reply With Quote