FormaCars

Visit our community sponsor

Thanks Thanks:  0
Likes Likes:  0
Results 1 to 40 of 177

Thread: Three Bolts: Mk 4 Roadster Build

Hybrid View

Previous Post Previous Post   Next Post Next Post
  1. #1
    Senior Member MPTech's Avatar
    Join Date
    Feb 2011
    Location
    St. Louis, MO
    Posts
    1,196
    Post Thanks / Like
    Blog Entries
    8
    My experience (and I've thoroughly enjoyed it so far):
    2 years to get my car to gel-coat and registered / licensed. (I lost about 6 months of my build traveling to the Philippines for work).
    Before gel-coat I fitted, drilled, clecoed, then used a couple sheet metal screws per row, to temporarily hold all of the aluminum panels in place. I pretty much assembled the whole car without rivets, then licensed it on 4/24/13 and drove it all summer (almost 4k miles!!). It wasn't as pretty as a finished car, but just as fun!
    Then at the end of October, I began dis-assembly and re-finishing all of my panels, adding Damplifier, making carpet templates, THEN final assembly: silicon and rivets!
    This way I could enjoy the roadster all summer and work out the bugs / make any final adjustments, tweaks, mods during the winter.
    It adds a little more time to the build duration, but I did get to drive it for months and it's not going anywhere now (with single digit temps and snow on the ground! just warm up the garage and jump in!)
    YES, like eating an elephant, one bite at a time!
    Don't get in a hurry, it is over-whelming at times, but stick with it, IT WILL BE WORTH IT!


    Here's my final panel assembly post to help motivate you:
    Quote Originally Posted by MPTech View Post
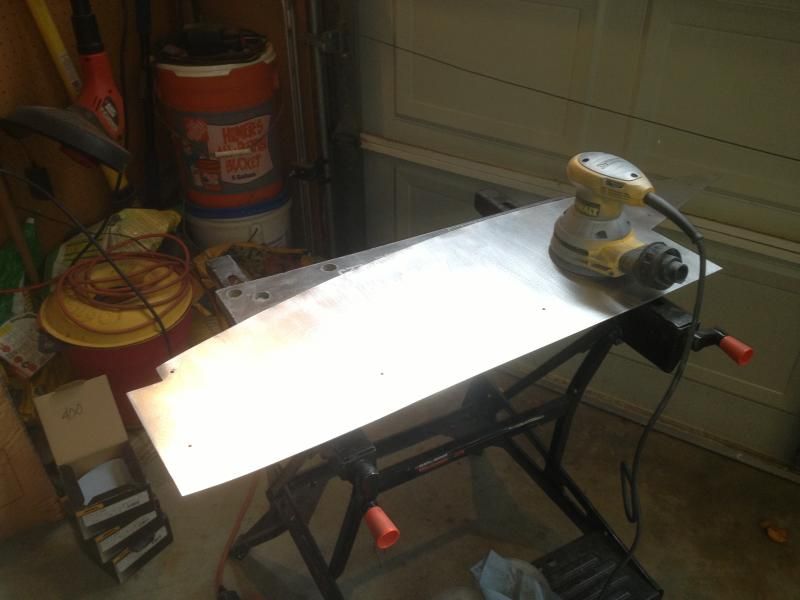
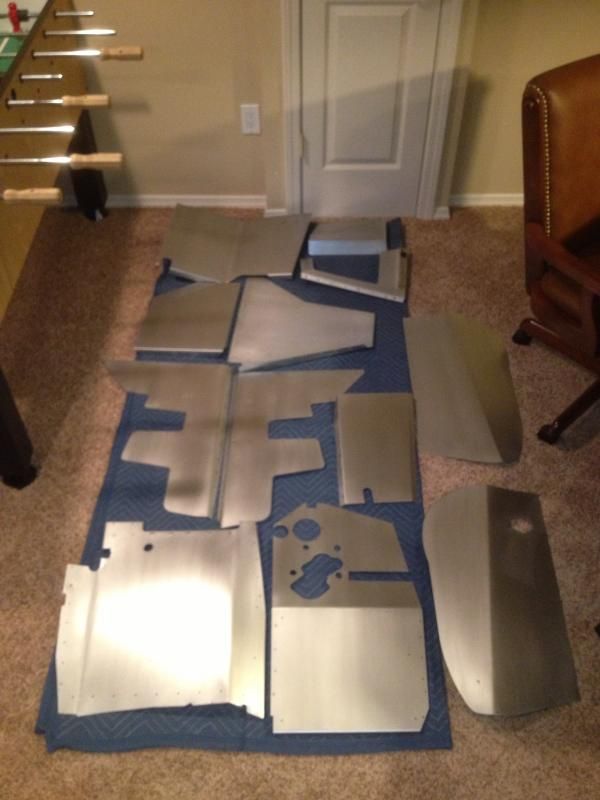
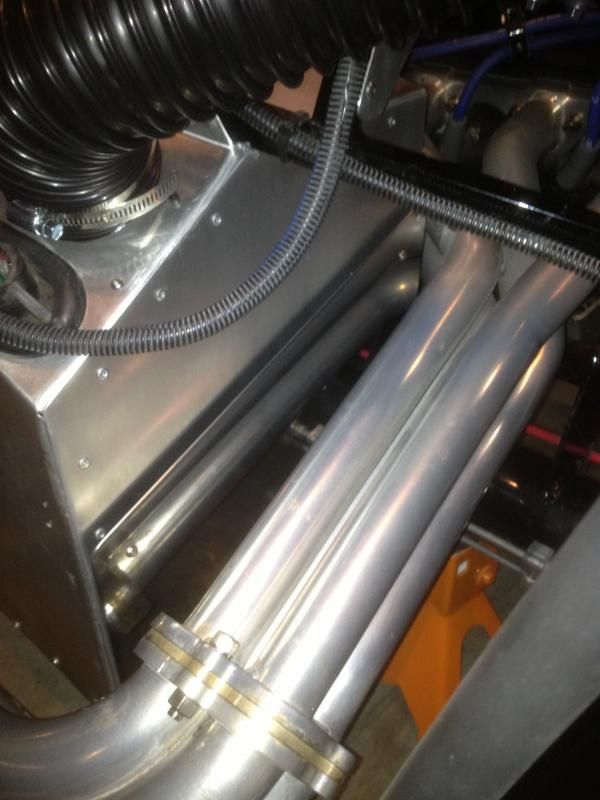
    I'm finishing up final riveting of my footboxes this week. Pulled them completely apart, sanded them with 200, 400, 800, then gave them a brushed finish with scotch-brite and coated them with Shark-hide. Kind of a pain, but really happy with the results. Also picked up some polished stainless-steel from Shaprios and fabricated some cool heat shields.
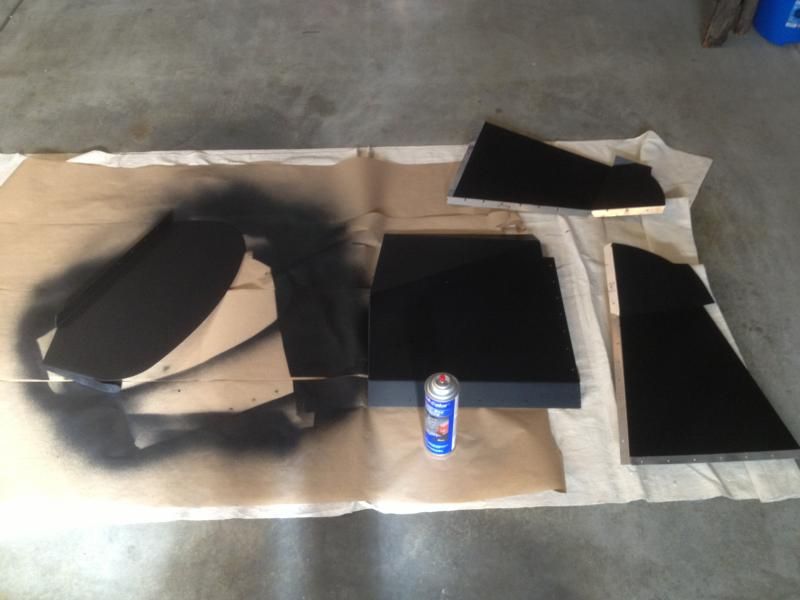
    I also undercoated the exterior aluminum panels (F-Panels, front & rear splash panels, and footbox floors) with Dupli-color truckbed liner. Really gives it a nice finished look in the fender wells. Make sure you mask it well and cover all holes (rivet holes too!). Sprays on easy, but do yourself a favor and buy a pistol-grip that snaps on the spray can, before your hand and fingers cramp up badly. I also recommend heating up the spray in a bath of hot water for consistent texture spraying.


    My newly finished panels:


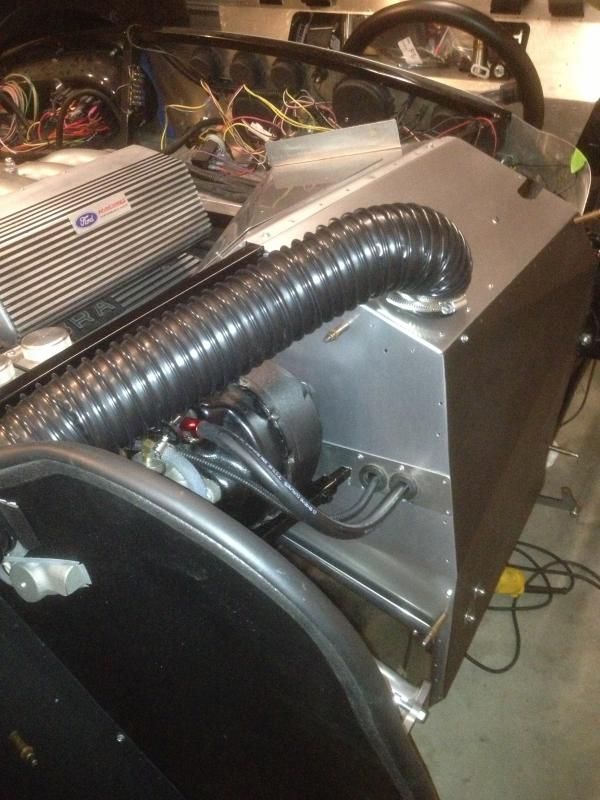
    And the completed footboxes, I coated the exterior panel and the splash guards with the truckbed liner.


    with the Stainless Steel heatshields


    F5R #7446: MK4, 302, T5 midshift, 3.55 Posi IRS, 17" Halibrands
    Delivered 4/4/11, First start 9/29/12, Licensed 4/24/13, off to PAINT 2/15/14!! Wahoo!

  2. #2
    Member
    Join Date
    Sep 2013
    Posts
    93
    Post Thanks / Like
    Quote Originally Posted by MPTech View Post
    My experience (and I've thoroughly enjoyed it so far):
    2 years to get my car to gel-coat and registered / licensed. (I lost about 6 months of my build traveling to the Philippines for work).
    Before gel-coat I fitted, drilled, clecoed, then used a couple sheet metal screws per row, to temporarily hold all of the aluminum panels in place. I pretty much assembled the whole car without rivets, then licensed it on 4/24/13 and drove it all summer (almost 4k miles!!). It wasn't as pretty as a finished car, but just as fun!
    Then at the end of October, I began dis-assembly and re-finishing all of my panels, adding Damplifier, making carpet templates, THEN final assembly: silicon and rivets!
    This way I could enjoy the roadster all summer and work out the bugs / make any final adjustments, tweaks, mods during the winter.
    It adds a little more time to the build duration, but I did get to drive it for months and it's not going anywhere now (with single digit temps and snow on the ground! just warm up the garage and jump in!)
    YES, like eating an elephant, one bite at a time!
    Don't get in a hurry, it is over-whelming at times, but stick with it, IT WILL BE WORTH IT!


    Here's my final panel assembly post to help motivate you:
    Thanks very much for sharing this breakdown of your work. It's very interesting to hear how much you stretched out your final aluminum work. To me, the best part is that you gave yourself a big window to make changes, live on the changes, and then make more changes—all based on your experience in real-world driving situations. This is excellent.

    Thanks again for this great information. It really helps me to visualize how to organize the aluminum panel work.
    F5R #8227 : Delivered 1/22/2014 : Build site at threebolts.com : @threebolts on Twitter.

Posting Permissions

  • You may not post new threads
  • You may not post replies
  • You may not post attachments
  • You may not edit your posts
  •  

Martin's Dent and Collision Shop

Visit our community sponsor