Forte's

Visit our community sponsor

Thanks Thanks:  0
Likes Likes:  0
Results 1 to 11 of 11

Thread: Serpent Express Retrofit Progress

  1. #1
    Out Drivin' Gumball's Avatar
    Join Date
    Feb 2011
    Location
    Blackberry Township, IL
    Posts
    2,653
    Post Thanks / Like

    Serpent Express Retrofit Progress

    My Serpent Express retrofit project is finally back on track. I bought the retro-kit a couple years ago, but since my car wasn't done until recently, the trailer got pushed to the back burner.

    My starting point is a 20 year old open steel trailer with leaf spring suspension that I purchased from a friend. It's really solid and somewhat overbuilt, but not too heavy. Given what I paid for it, it was like buying the new tires he'd just installed and getting the trailer for free. But, due to it's age, it was pretty sparse in the equipment department. Brakes on one axle only, no break-away system to actuate the brakes, frayed cables instead of safety chains, no clearance or width lighting, replaced coupler that was too small for the trailer's weight rating, etc... It was also pretty ugly - lots of scuffs and surface rust - and painted with an industrial machinery paint. Since the Serpent Express makes for a nice trailer, I decided to use this as a chance to upgrade other things... including the appearance.

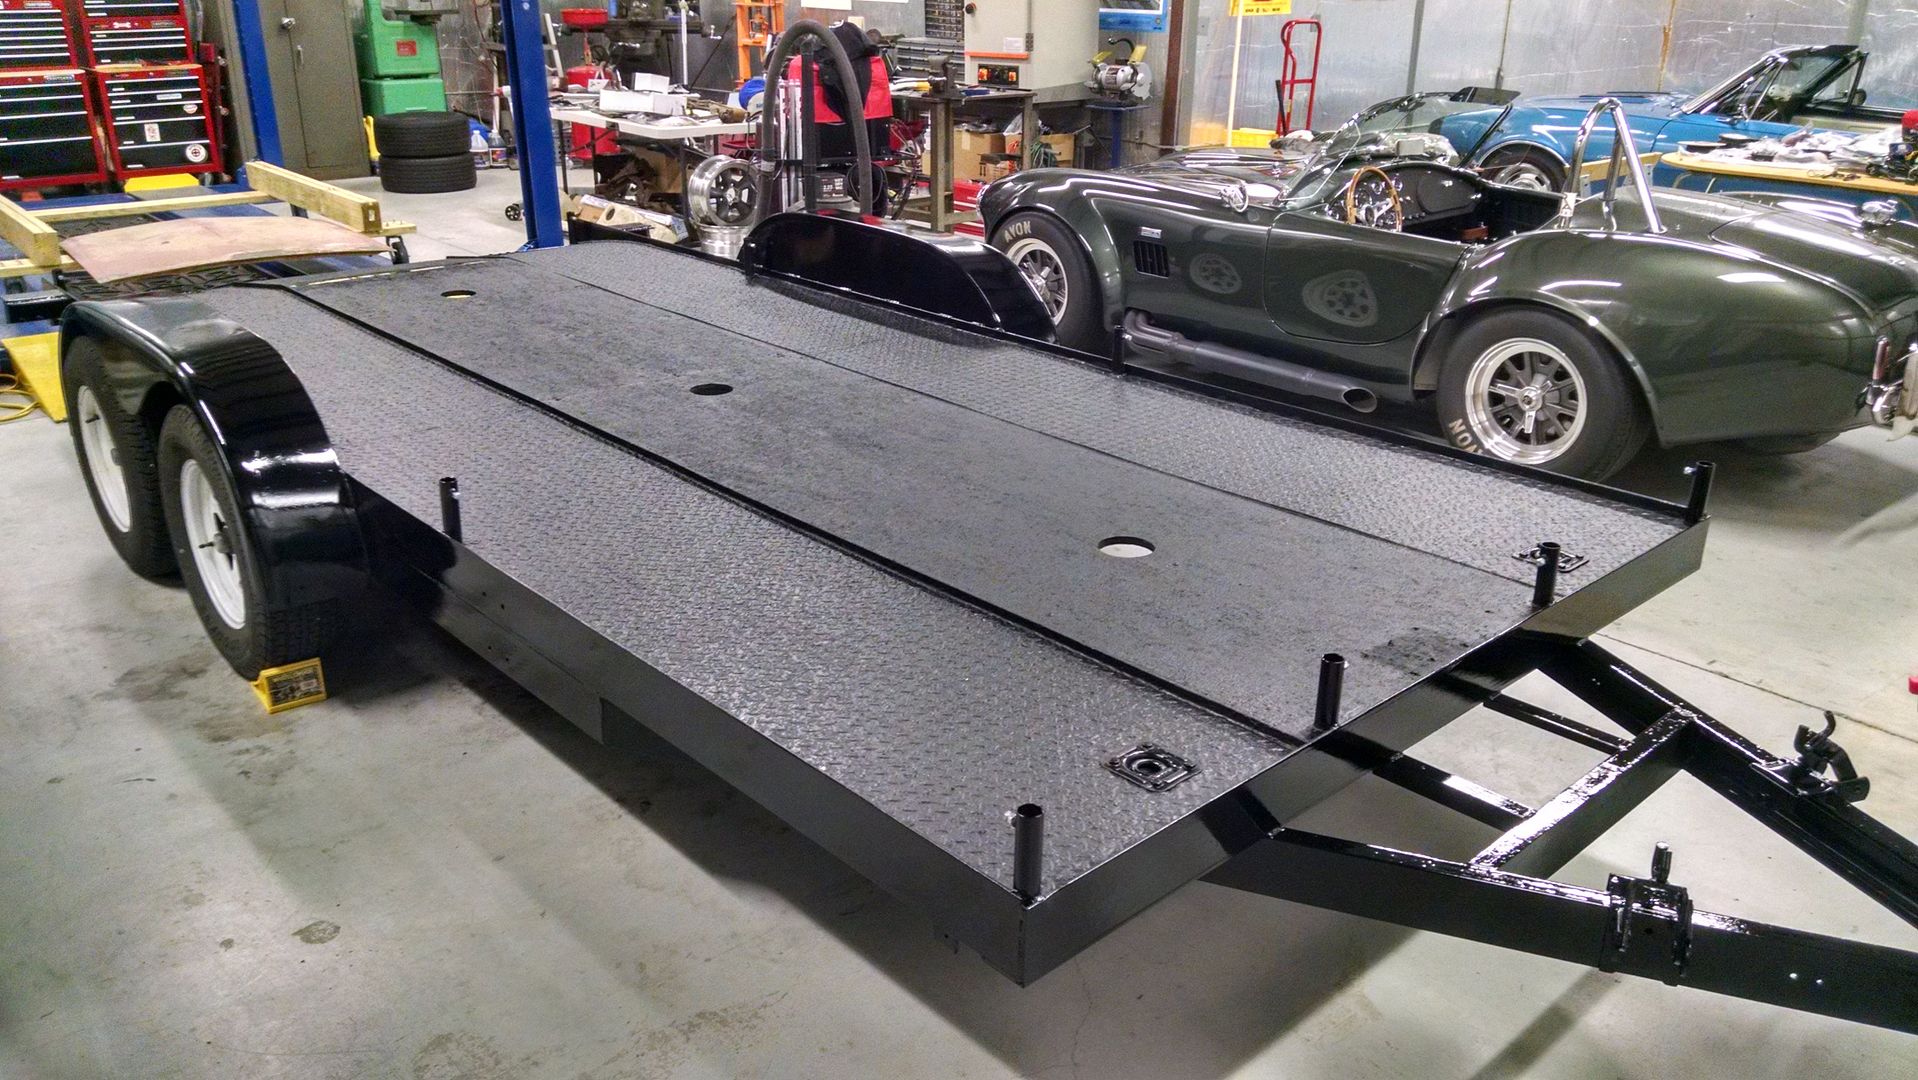
    It has diamond plate runways, but since it doesn't have a solid deck, I'm going to block the center using DryMax wood flooring (similar to the flooring used on enclosed trailers).

    Earlier this year, I stripped it down, removed all the old lighting and wiring, ground away all the rust, cut off the hand winch (something more appropriate for a boat trailer), and added a bunch of new PVC conduit for the new wiring.

    I'm also adding / replacing:

    All new brakes (both axles - all four wheels), hubs, bearings, etc...
    Silver steel wheels for the new-ish tires
    Aluminum tongue box
    Electric winch (with controls and battery in the tongue box)
    Central junction box for wiring in the tongue box
    Safety chains w/spring-loaded hooks
    Break-away system for brakes w/self-charging battery
    Class IV cast coupler (2 5/16")
    LED lighting throughout, including clearance and interior (floor and ceiling)

    Since I have access to a friend's bodyshop and paint booth (where we did my FFR), I decided to prep and paint it myself.

    Here's a picture fresh out of the booth after being epoxy sealed and covered with a few coats of urethane single-stage gloss black. Once it's complete, I'm going to try my hand at another new skill I've been working on lately - painted pinstripes.


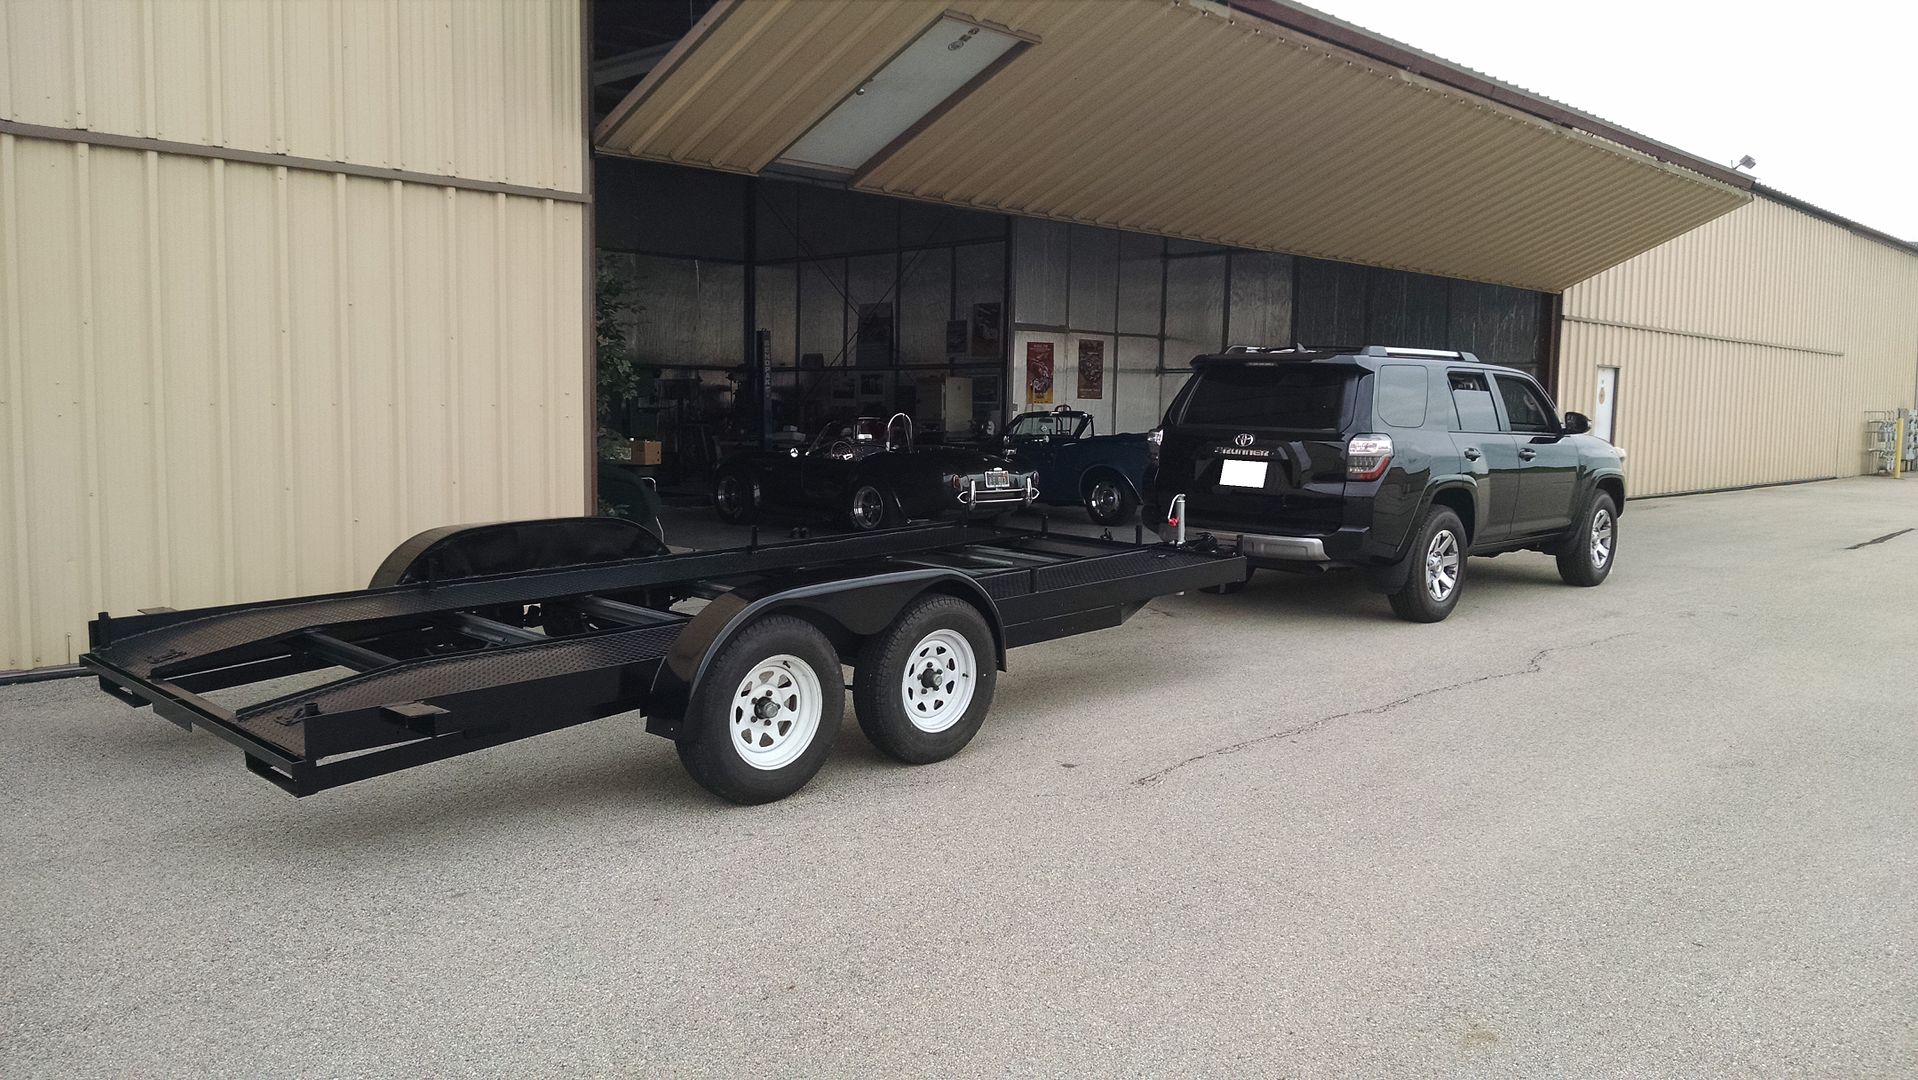
    Here's a before shot, too, the day we used it to haul the current project (the Rustang) out of the woods:

    Later,
    Chris

    "There are no more monsters to fear, and so, we have to build our own."
    Mk3.1 #7074

  2. #2
    Out Drivin' Gumball's Avatar
    Join Date
    Feb 2011
    Location
    Blackberry Township, IL
    Posts
    2,653
    Post Thanks / Like
    I had some time over the weekend of the 4th of July to do a little more prep work to get the trailer structure ready for the Serpent Express frame and cover. Since my trailer was built with an open center, I covered it with wood. I used DryMax OSB, which is touted as having great weather resistance. I painted the underside and edges of the wood with some oil based paint - a couple of very thin coats - and used some 3M seam sealer to seal all of the welded edges on the diamond plate runways and around the wood. Everything then got a few coats of Dupli-Color Bed Armor - really nice stuff to work with since it's a water-based product. The three large holes in the wood are for the floor lights - clear LEDs.

    I also picked up all of the conduit and will be cutting and installing that this week - next progress report will show the frame!

    Later,
    Chris

    "There are no more monsters to fear, and so, we have to build our own."
    Mk3.1 #7074

  3. #3
    Tool Baron frankeeski's Avatar
    Join Date
    Feb 2011
    Location
    "The I.E." SoCal
    Posts
    1,355
    Post Thanks / Like
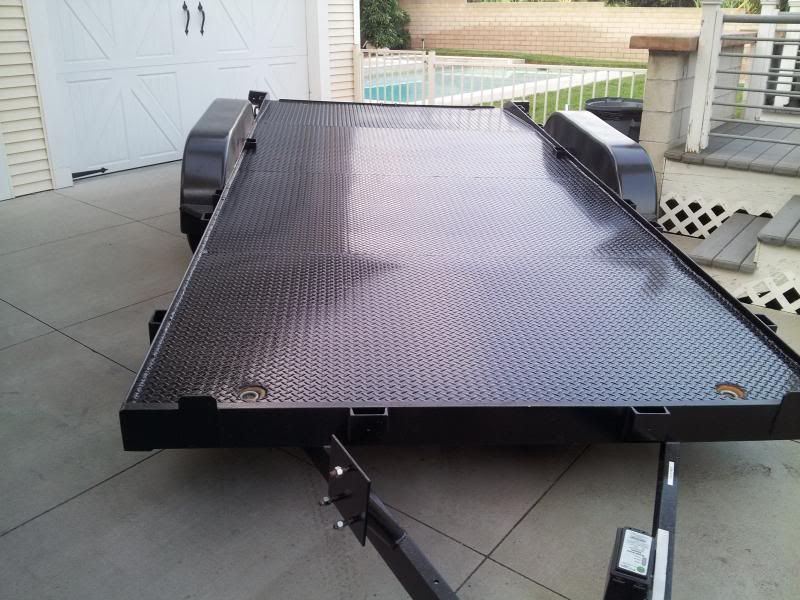
    That's pretty cool Chris. Mine had a 10 year old wood deck and I decided to just re-deck the entire trailer in diamond plate sheets. Still thinking about the Serpent Express retro fit but we also have a 20' fully enclosed trailer so I just can't justify the expense. Keep us updated on your progress.
    Frank
    __________________________
    Factory Five Racing MKIII Super Snake Replica. Cannonball Cobra Drop Trunk Box, Horn Button and other machined Do Dads.
    i.e.427 Chromed Full Width Roll Bar with integrated LED Third Brake Light.
    I will never forget My Buddy Paul.

  4. #4
    Out Drivin' Gumball's Avatar
    Join Date
    Feb 2011
    Location
    Blackberry Township, IL
    Posts
    2,653
    Post Thanks / Like
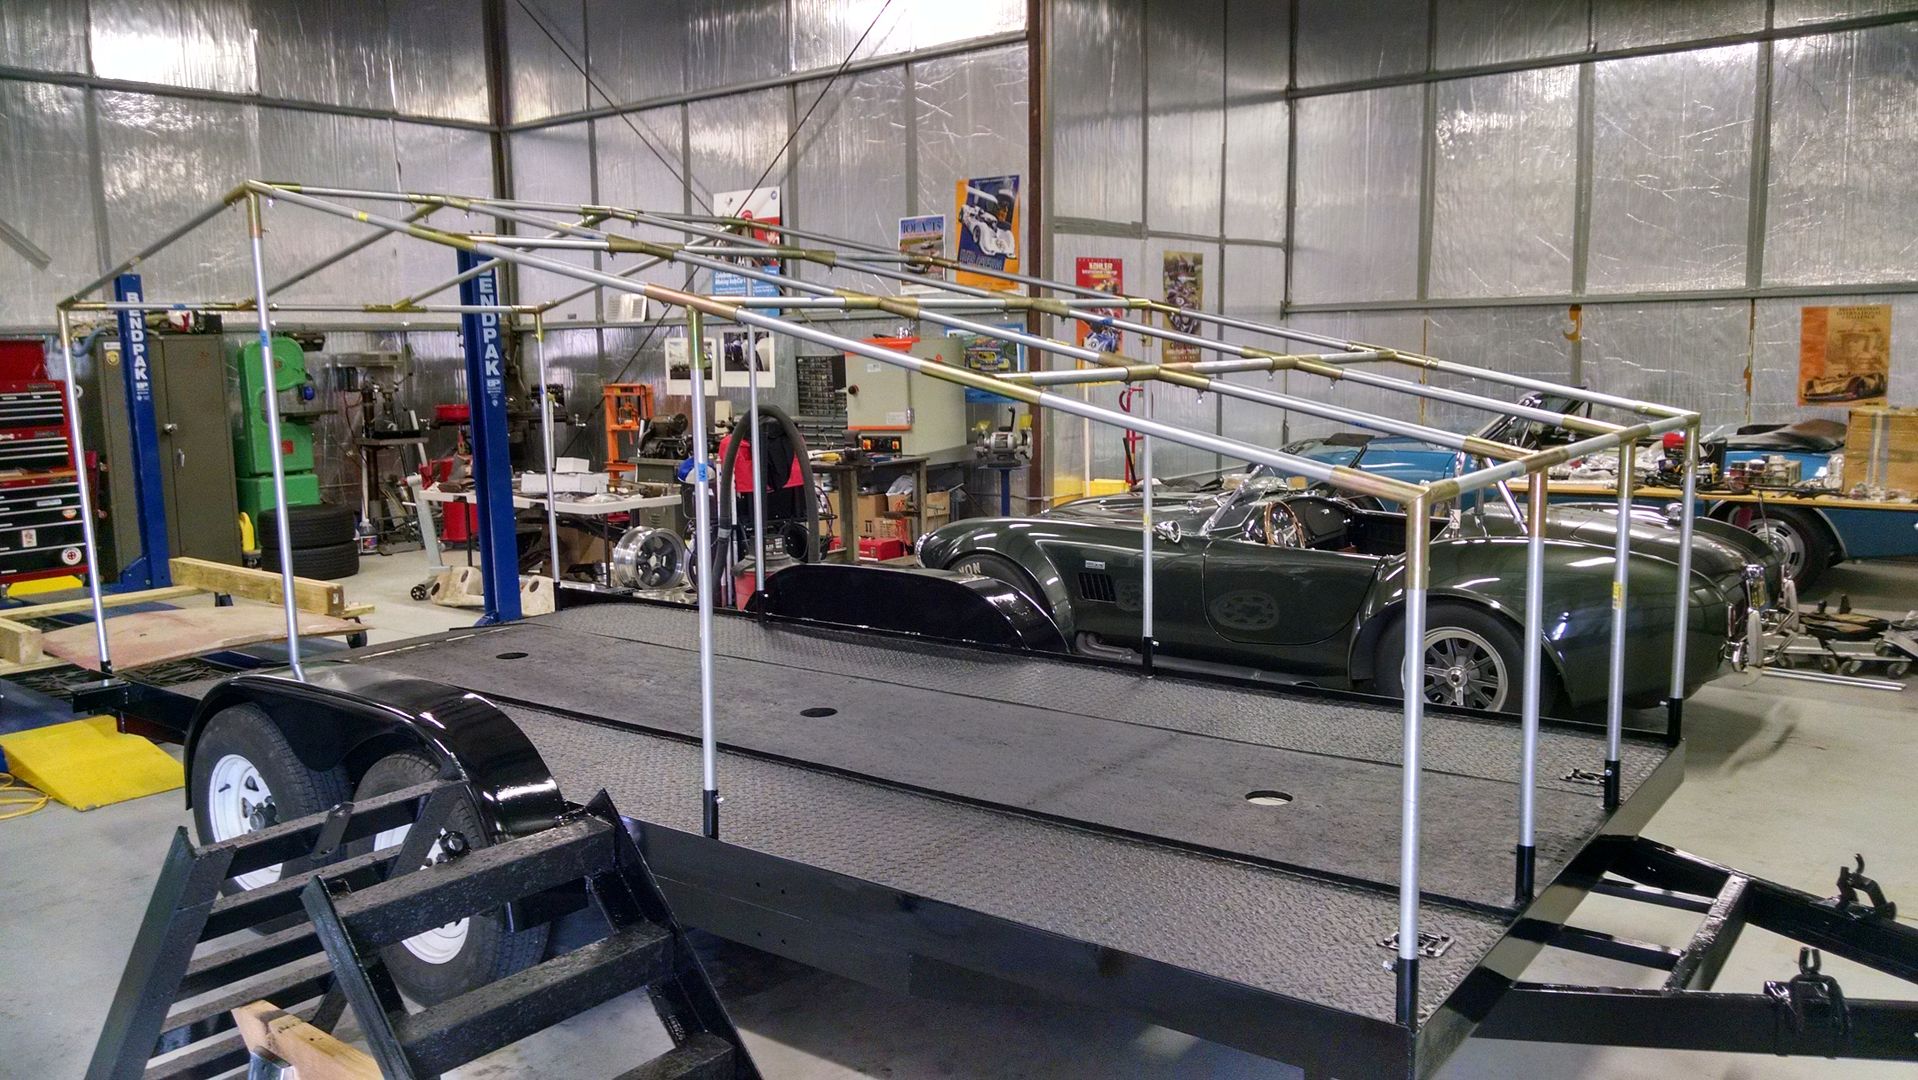
    The frame is installed and, if the weather cooperates, I'll get the cover on this weekend.

    Later,
    Chris

    "There are no more monsters to fear, and so, we have to build our own."
    Mk3.1 #7074

  5. #5
    Out Drivin' Gumball's Avatar
    Join Date
    Feb 2011
    Location
    Blackberry Township, IL
    Posts
    2,653
    Post Thanks / Like
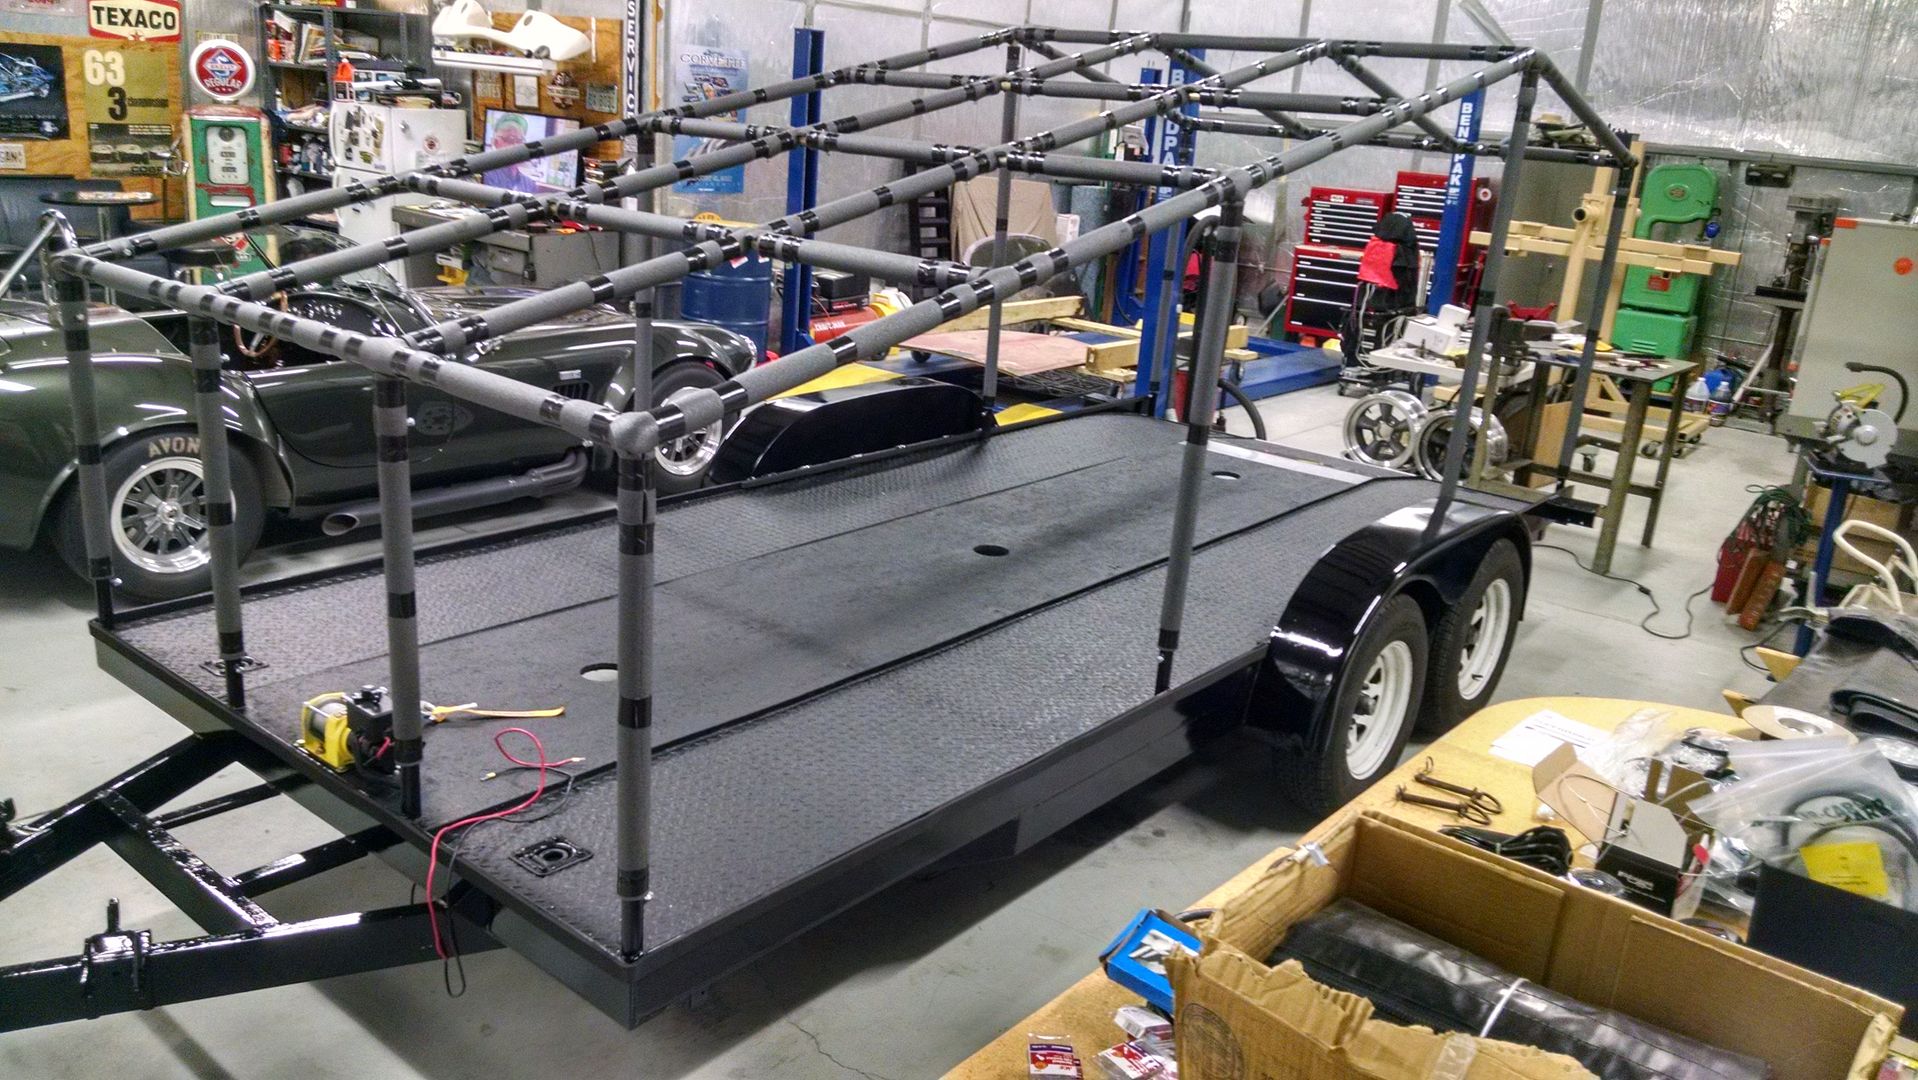
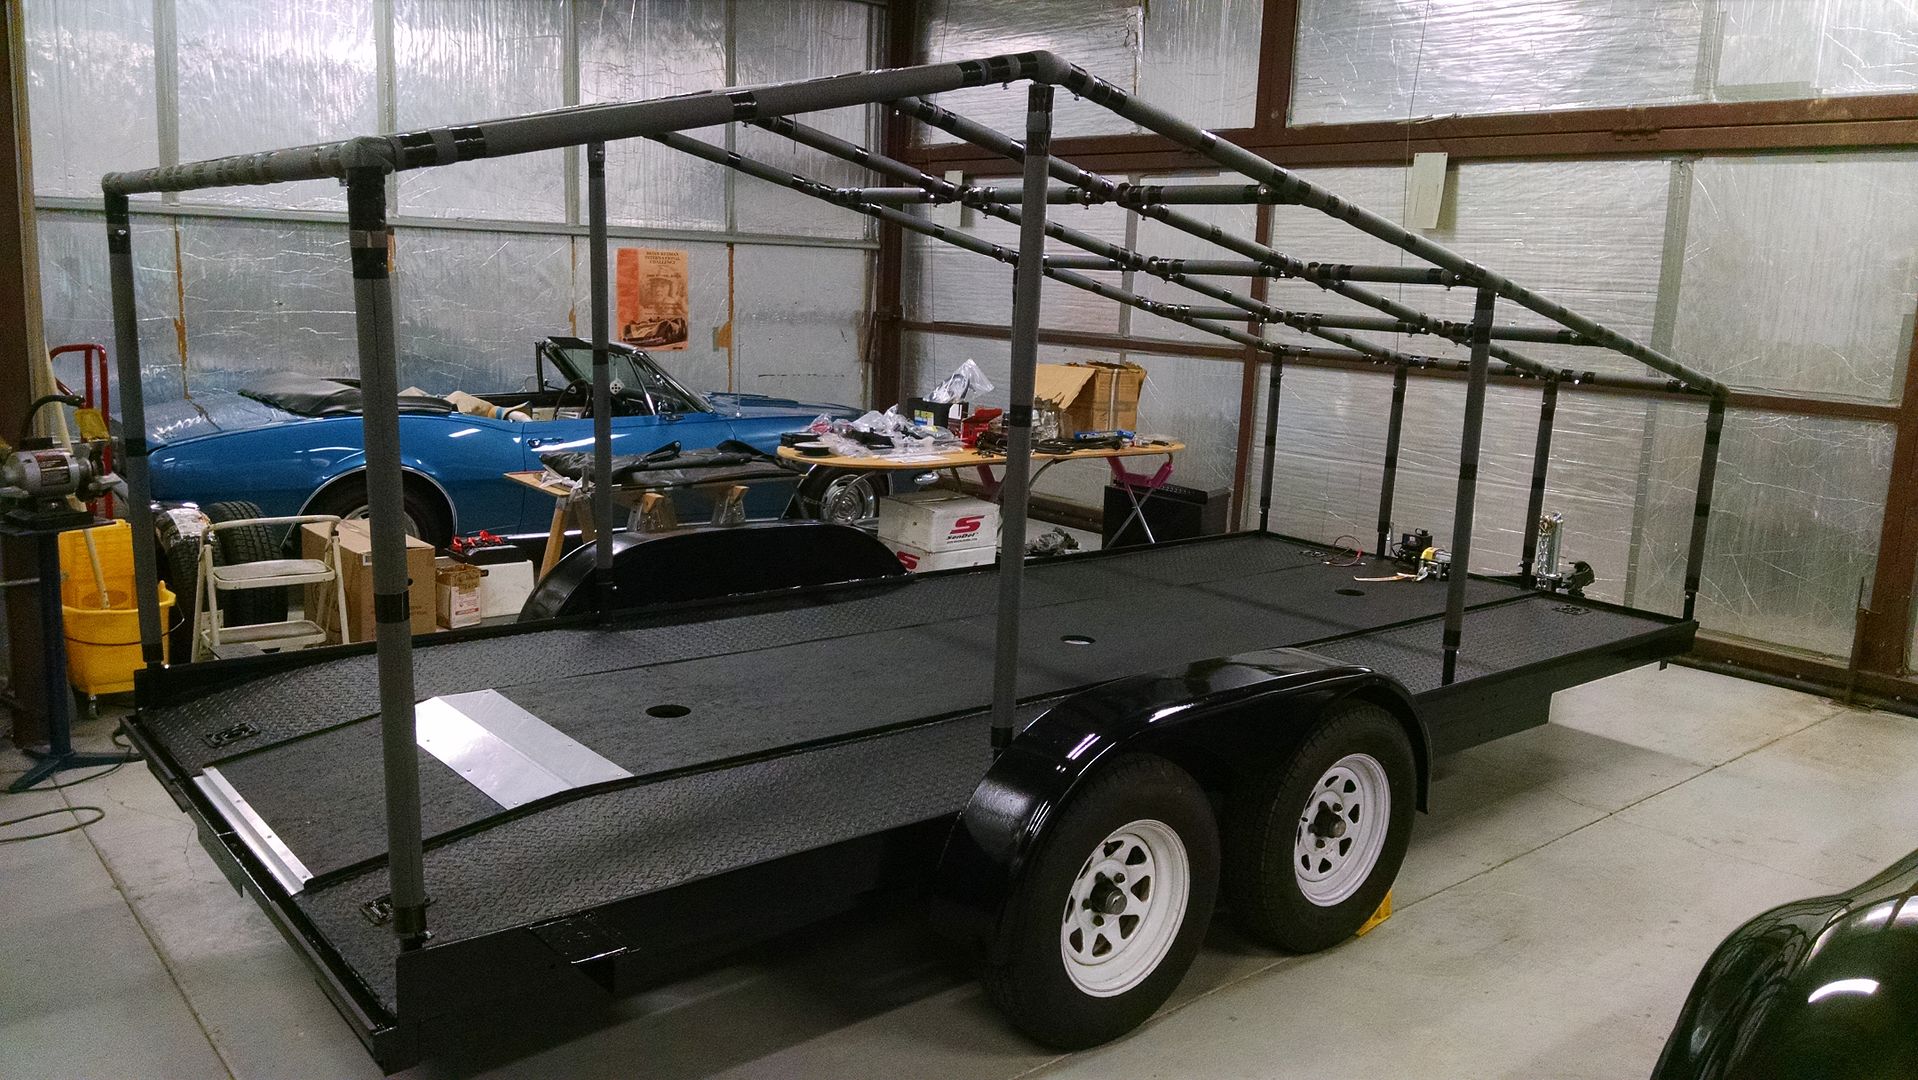
    Here are a few more pictures of progress. I've finished erecting the frame and covering it with padding so that it doesn't wear or cut through the cover. I originally thought zip ties would be a better choice, but after installing all of them, I realized that over time they may rotate and the sharp end could dig through the cover. So, I had to cut them all off and replace with tape. Per the instructions, I used heat-rated duct tape so that it will last a little longer.

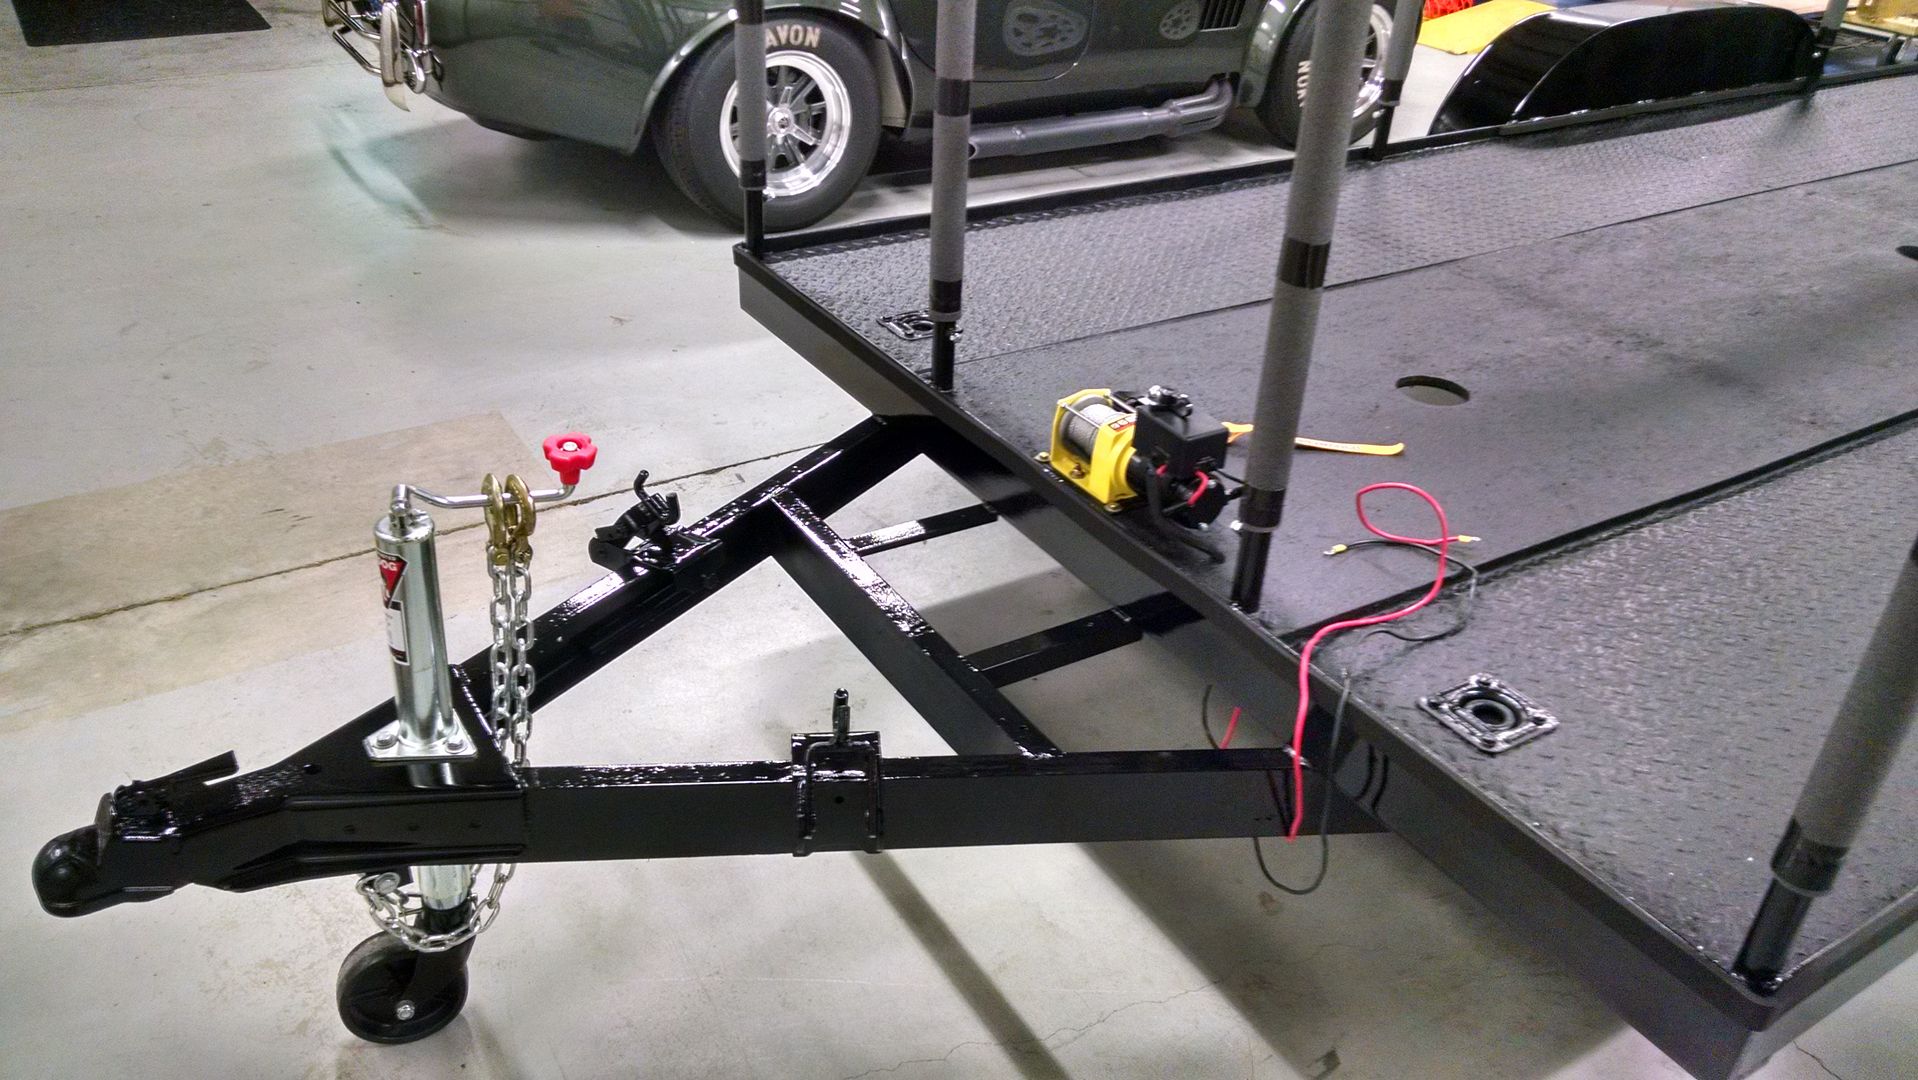
    I also installed the winch at the front - the wires run through the floor and will then run up into the tongue box where the Optima yellow-top will reside. Access to the winch and the tie-down straps will be through zippered openings at the front sides of the cover as the main front opening will be blocked by the tongue box for the most part. To make sure that the winch cable doesn't destroy the wood that runs down the center of the trailer, I added a piece of .060 stainless steel across the beaver tail drop. I finished off the wood with a piece of aluminum "Z" stock.

    I've also installed the new tongue jack, safety chains with spring-loaded hooks, insulation around the perimeter of the deck, and the wiring for the overhead light (this will have a quick disconnect so that I can take the cover structure off).

    Next step will be to get the cover in place, clamped down around the base, and then stretch it into place from the inside by positioning the frame.


    Later,
    Chris

    "There are no more monsters to fear, and so, we have to build our own."
    Mk3.1 #7074

  6. #6
    Administrator David Hodgkins's Avatar
    Join Date
    Feb 2011
    Location
    Corona del Mar, CA
    Posts
    6,063
    Post Thanks / Like
    Blog Entries
    7
    Chris, I want your shop, and everything in it. Great man-cave!

    The trailer looks great. Smart little details. It's gonna be a keeper!


    FFR 5369 Pin Drive, IRS, Trigos, Torsen, Wilwoods, FMS BOSS 302 "B" cam , Mass-flo. CA SB100 (SPCN) Registered
    Delivered 4/23/06. "Finished" 4/2012 (still not done!)


  7. #7
    Senior Member 68GT500MAN's Avatar
    Join Date
    Feb 2011
    Location
    Fresno, CA
    Posts
    1,808
    Post Thanks / Like
    Looks to be about the right size for me.
    Built FFR5196 MKII in 2003, 427w
    Building FFR0058HR, Edlebrock 347-AOD

  8. #8
    Out Drivin' Gumball's Avatar
    Join Date
    Feb 2011
    Location
    Blackberry Township, IL
    Posts
    2,653
    Post Thanks / Like
    Thanks guys - shop is a mess, but I'm on vacation next week and plan on spending quite a bit of time there finishing the trailer and doing a bit of cleaning in anticipation of the Rustang returning. I need that bay at the back next to the lift for it - note the rotisserie sitting there just waiting...
    Later,
    Chris

    "There are no more monsters to fear, and so, we have to build our own."
    Mk3.1 #7074

  9. #9
    Out Drivin' Gumball's Avatar
    Join Date
    Feb 2011
    Location
    Blackberry Township, IL
    Posts
    2,653
    Post Thanks / Like
    Cover went on today - very impressed with the fit. Larry and his team made this for me based on measurements I provided from my trailer and it literally fits like a glove. The diagonal lines are the result of it sitting folded / rolled in the box for so long, but they should smooth out when I put tension on the inner frame - this picture is just the loose fit.

    I have to say I'm very impressed with the product that Serpent Express sells - what a great way to have the benefits of a light(ish) open trailer but with some weather protection.

    Later,
    Chris

    "There are no more monsters to fear, and so, we have to build our own."
    Mk3.1 #7074

  10. #10
    Out Drivin' Gumball's Avatar
    Join Date
    Feb 2011
    Location
    Blackberry Township, IL
    Posts
    2,653
    Post Thanks / Like
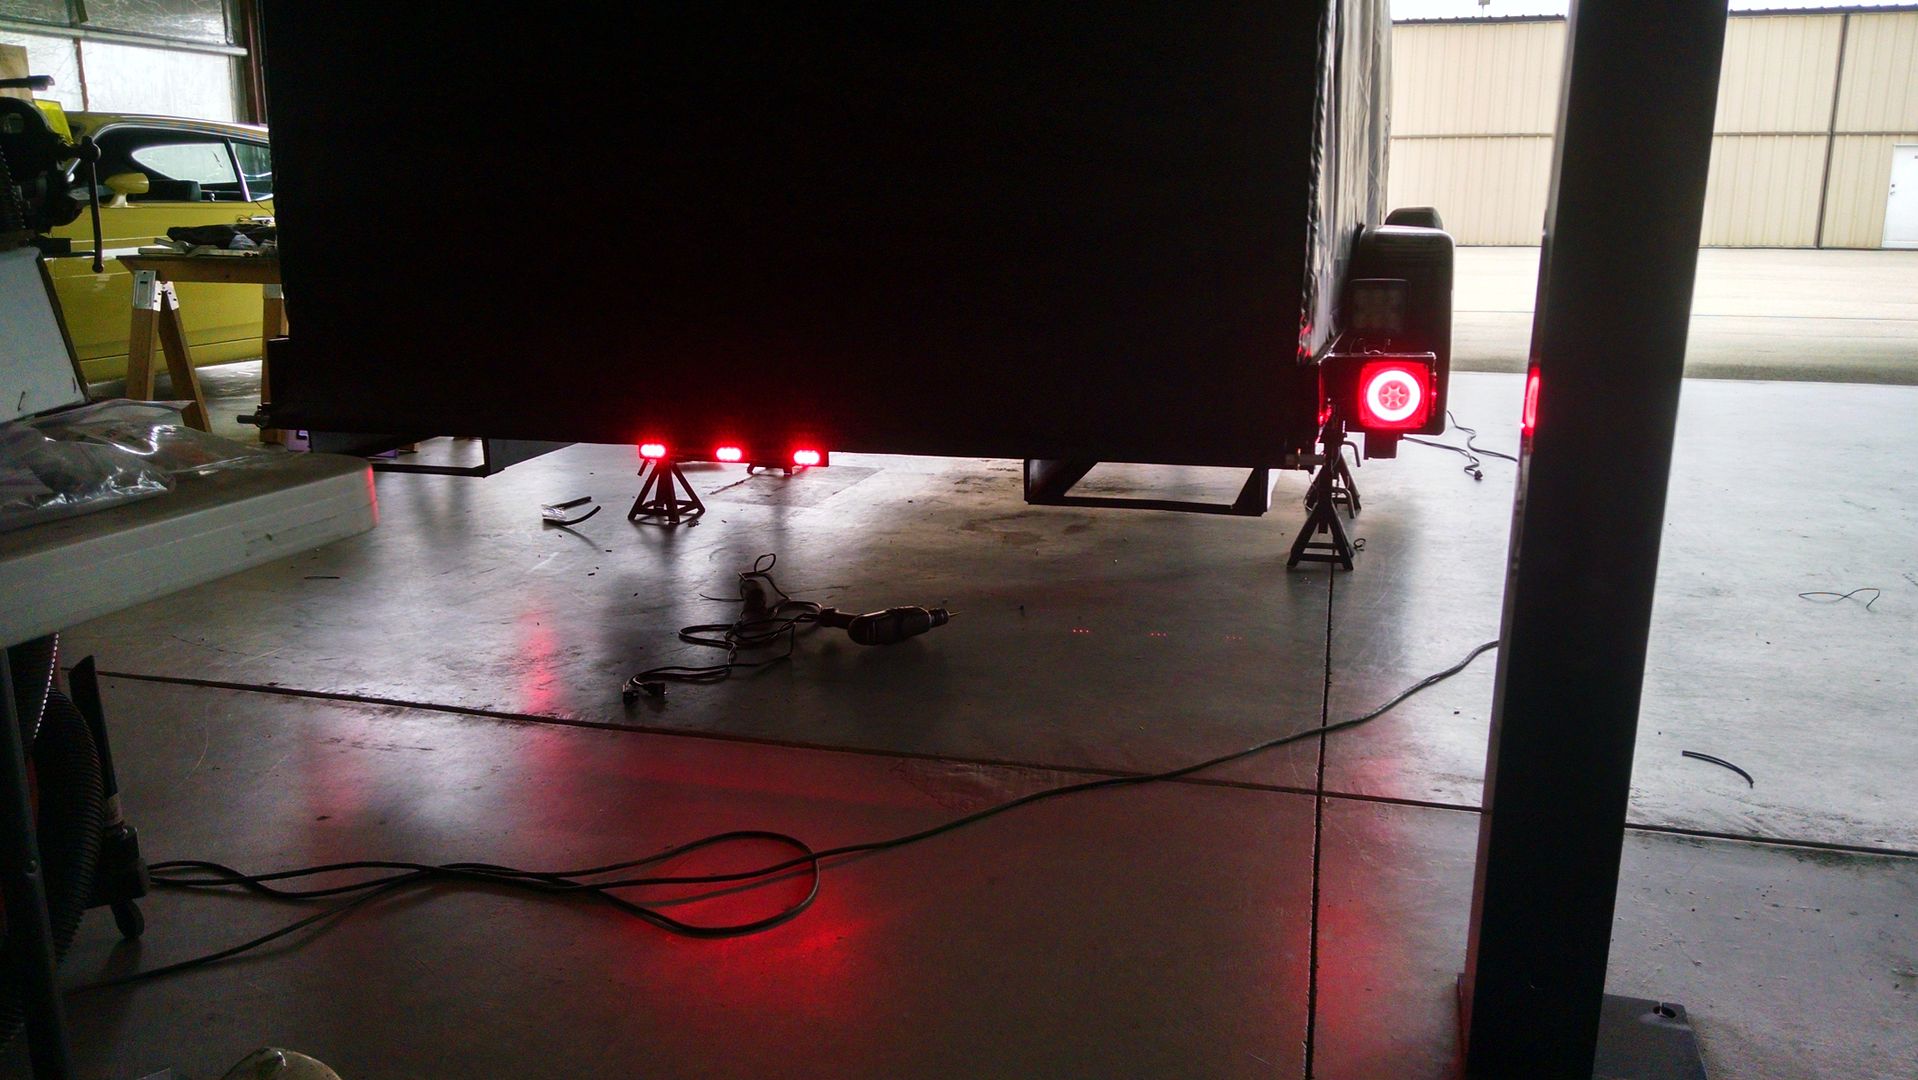
    Just finishing up the wiring - so here's a teaser photo of the rear lights. I used diffused halo lights for the main rear lamps - the centers contain a bunch of additional LEDs that are really bright for the stop and turn lights.

    Next up is installation of the tongue box, which will contain the wiring junction box (to split power from the tow vehicle connector to all the trailer systems) as well as the batteries for the winch and the break-away system. After that, all I have left to do is to adjust the cover on a warm, sunny day to eliminate wrinkles.

    Later,
    Chris

    "There are no more monsters to fear, and so, we have to build our own."
    Mk3.1 #7074

  11. #11
    Out Drivin' Gumball's Avatar
    Join Date
    Feb 2011
    Location
    Blackberry Township, IL
    Posts
    2,653
    Post Thanks / Like
    Finished....

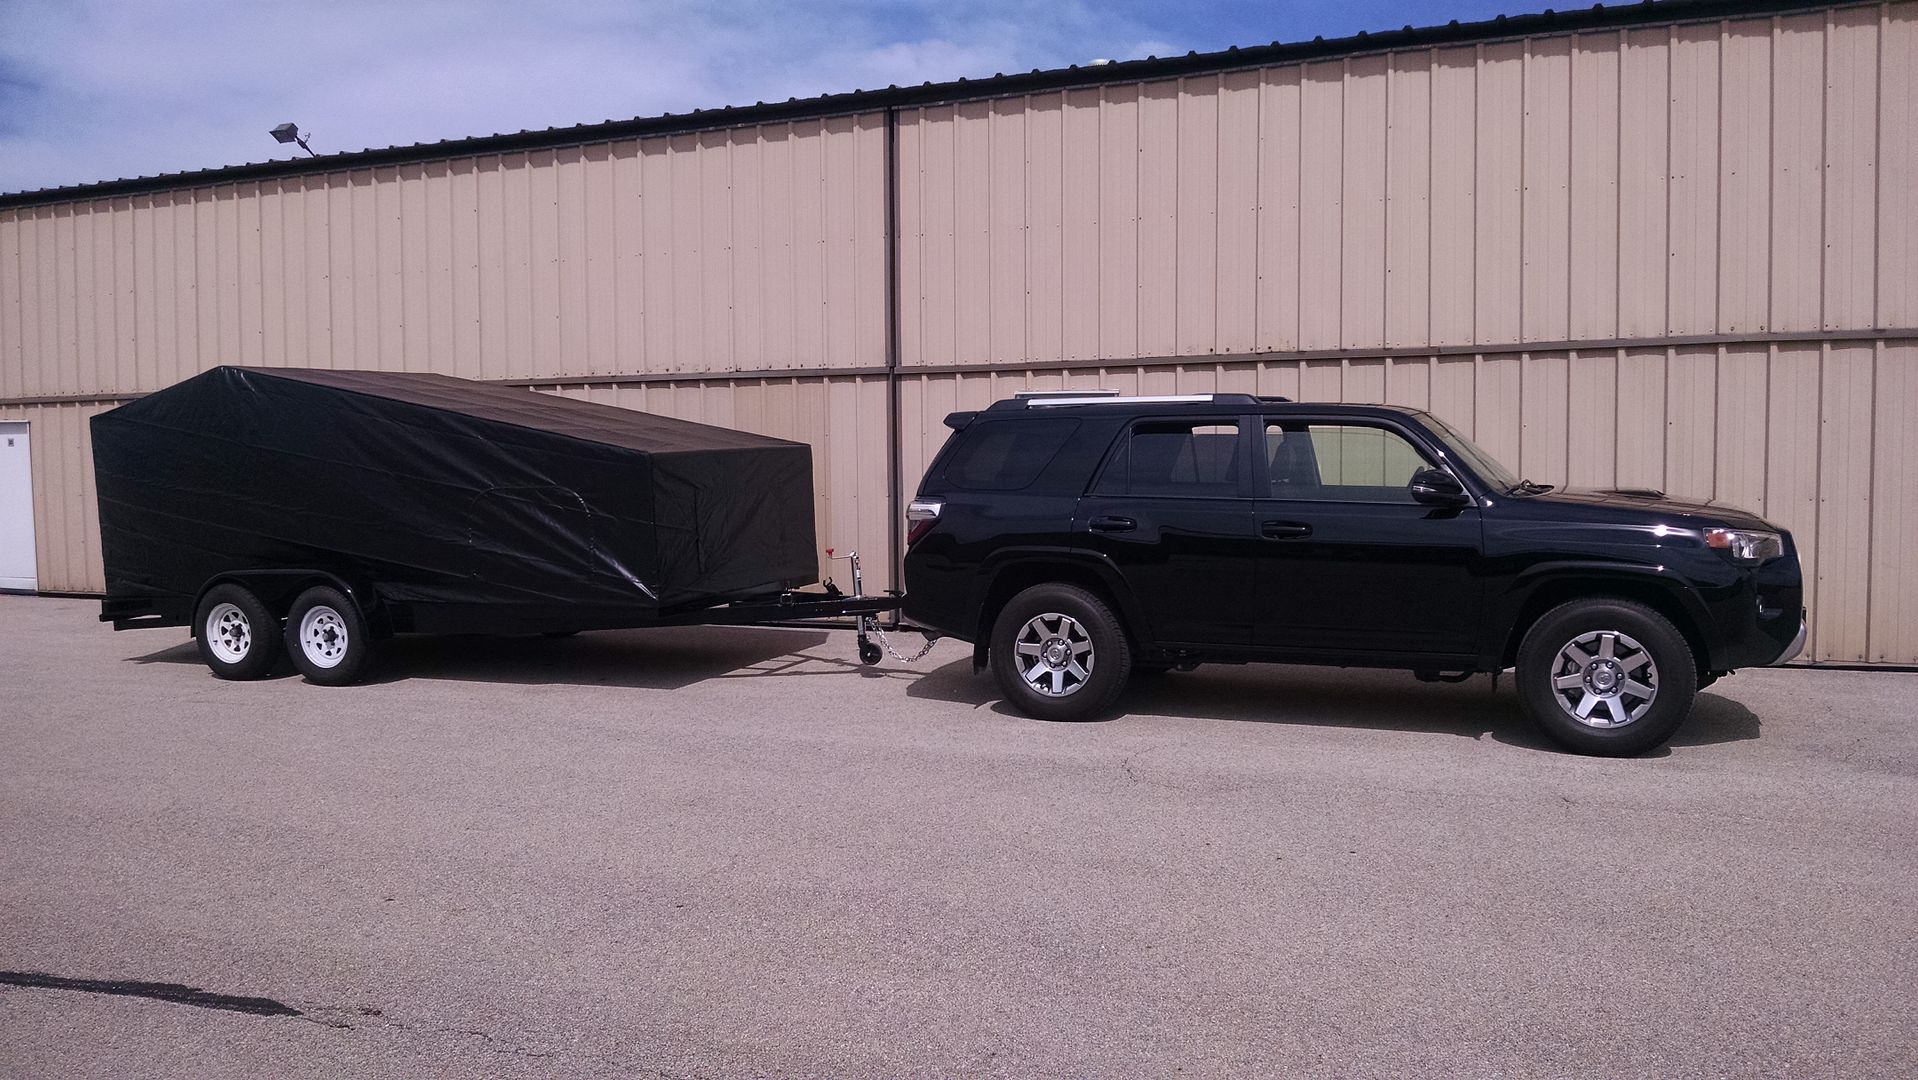
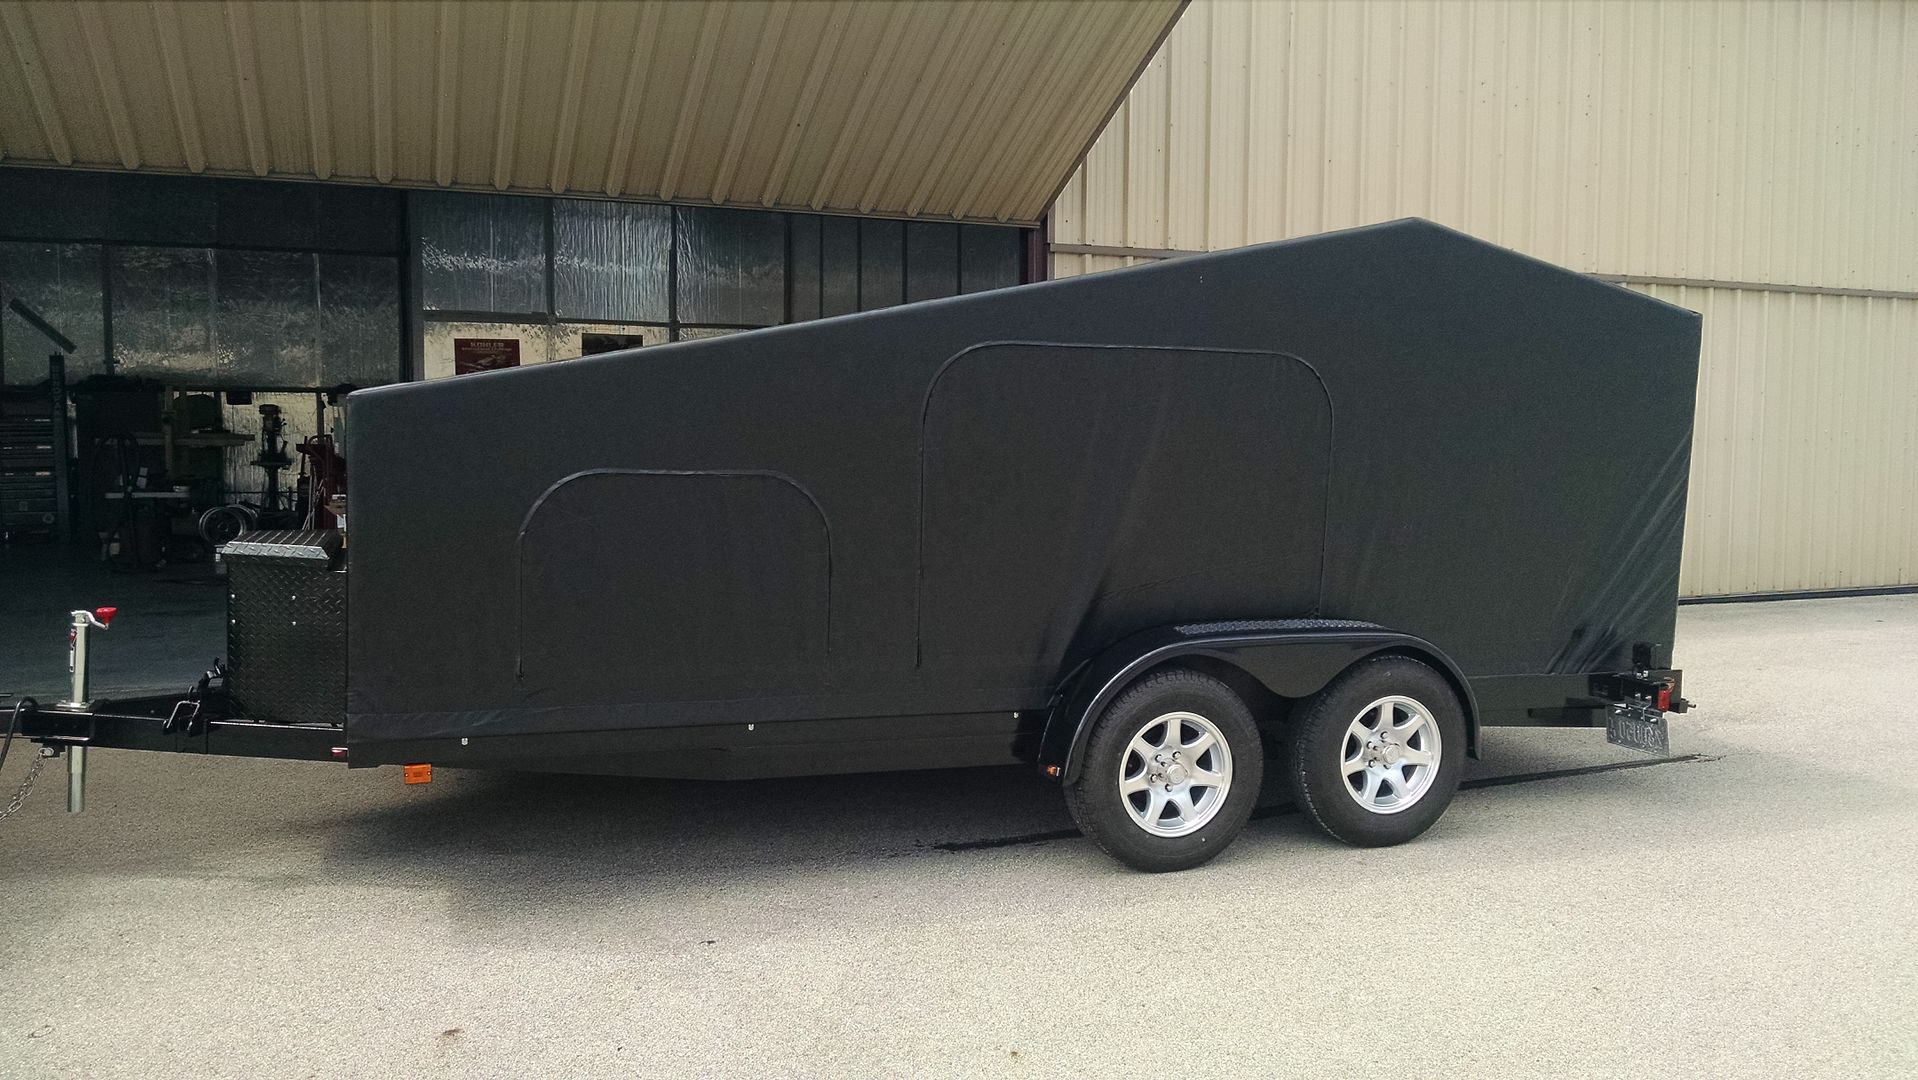
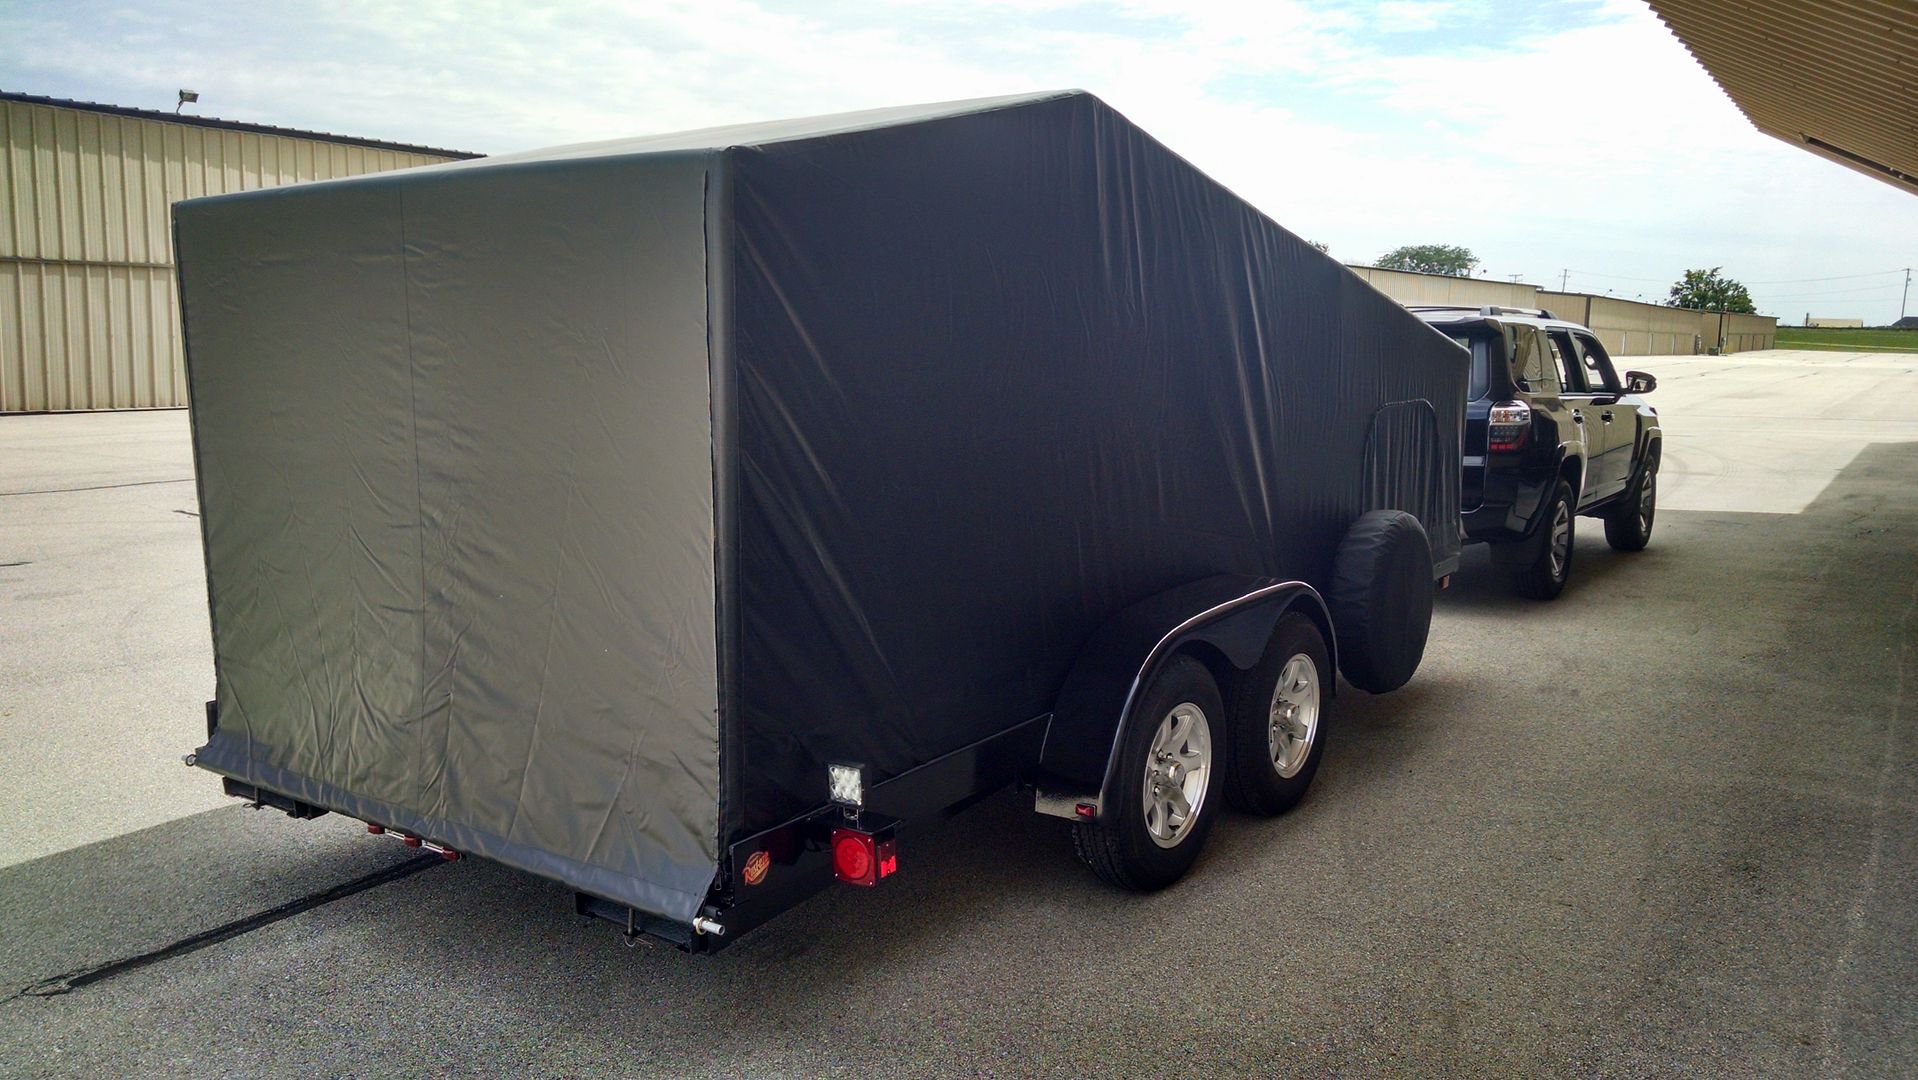
    This was fairly easy and an outstanding upgrade project for my 20 year old trailer - not much left but the original frame and the axles, though. It tows wonderfully and the cover fit perfect - Larry and his team really know their stuff, since he was just working off pictures of the trailer and my measurements. Check out how the rear flap fits the bottom of the trailer, even with the beaver tail, perfectly.

    There are still a few wrinkles I'll try to work out, but the first attempt came out pretty good.


    Later,
    Chris

    "There are no more monsters to fear, and so, we have to build our own."
    Mk3.1 #7074

Posting Permissions

  • You may not post new threads
  • You may not post replies
  • You may not post attachments
  • You may not edit your posts
  •  

Stewart Transport

Visit our community sponsor