I think those look really sharp. I’m thinking of attempting to recreate the FF fender vents out of carbon fiber and then just bolting to the fenders. We’ll see when I get there.
I think those look really sharp. I’m thinking of attempting to recreate the FF fender vents out of carbon fiber and then just bolting to the fenders. We’ll see when I get there.
Thanks for the feedback!
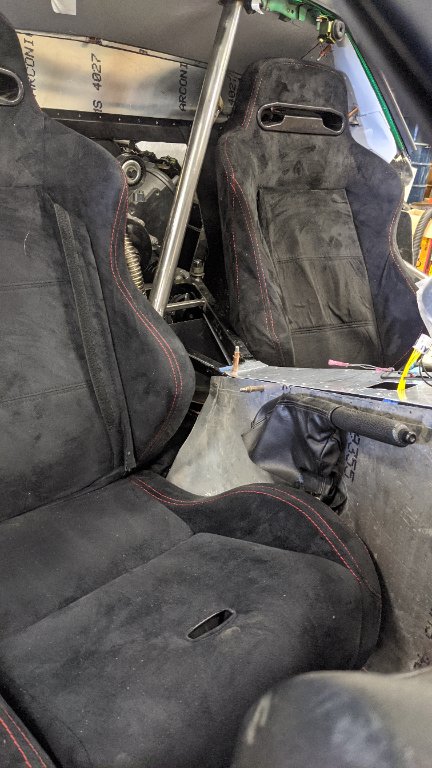
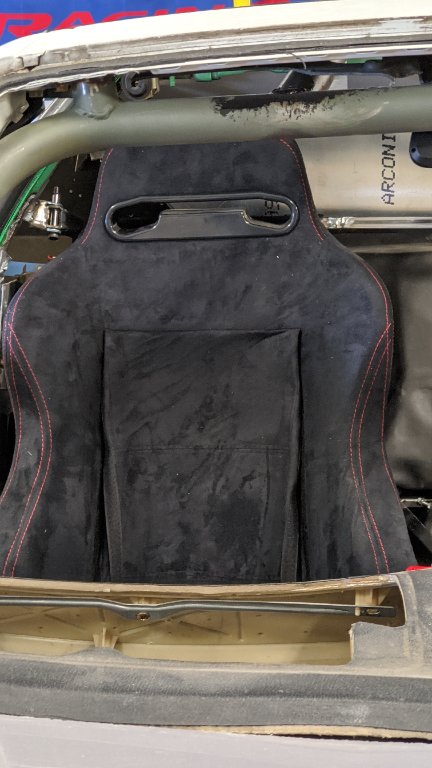
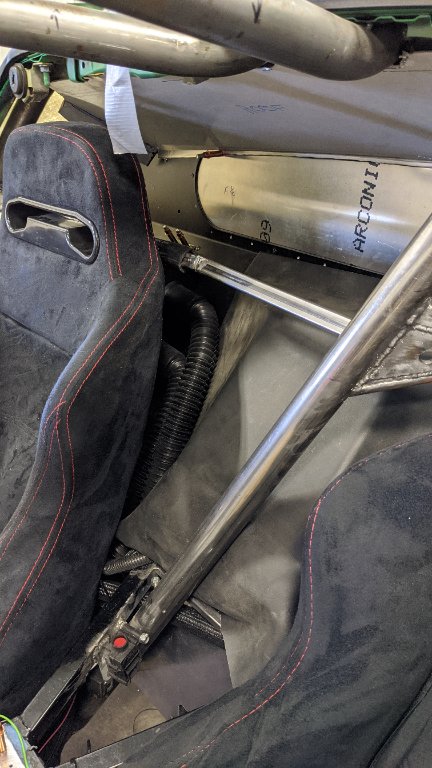
Back to the passenger seat, as everyone knows the cabin floor narrows along the center backbone as you move aft, which forces the seat towards the door. So some simple modifications were in order to allow the seat to move as far central as possible.
Fender vents look good, and you know what they same necessity is the mother of invention.... I am trying to decide what kind or how I want some fender vents for my build but have not gotten to the front end of the car yet. Was wanting something different that the FFR fender vents (they don't have any in stock anyway) to give it a different look. With the 3D print you can print almost anything so may have to design my own as well.
Fender vents look good, and you know what they same necessity is the mother of invention.... I am trying to decide what kind or how I want some fender vents for my build but have not gotten to the front end of the car yet. Was wanting something different that the FFR fender vents (they don't have any in stock anyway) to give it a different look. With the 3D print you can print almost anything so may have to design my own as well.
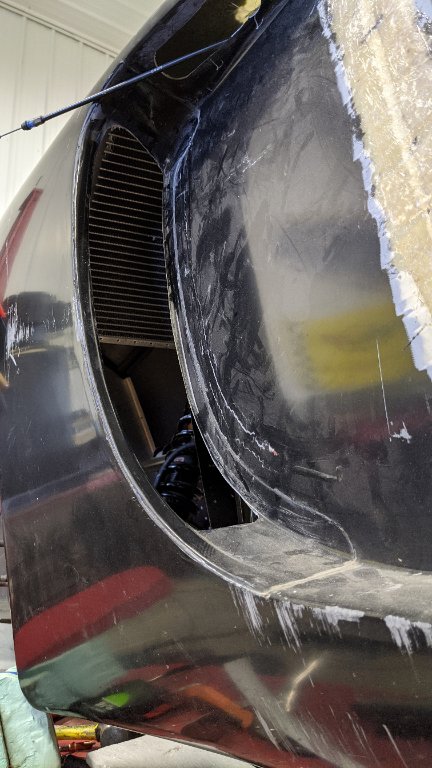
Thanks, James! The GTM as delivered probably does not 'need' fender vents as the front fenders are vented at the rear which is an efficient way of relieving pressure. I'm dumping my radiators into the fender wells so I can benefit from as much air extraction as possible. They certainly make for a more aggressive look.
Getting there one step at a time. Passenger seat is comfortable, first time I've been shotgun in a GTM. What's the passenger footroom like in the stock GTM? It's a little narrow in the footwell but I'd be comfy on a trip, and I'm 6'3". Good clearance for the E-brake too.
Thanks for the pic Mike.
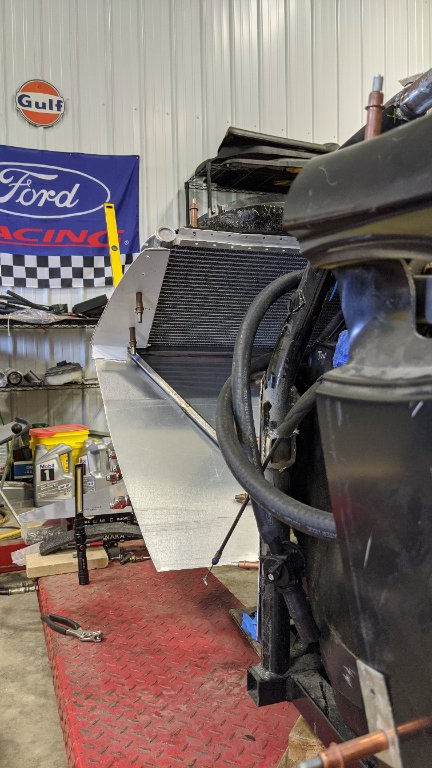
How much of your PDG radiator airflow is entering your wheel wells? Or do you have your radiator 100% sealed to your hood vent?
Successful EPAS test. Steering wheel is back at the house so you can see the assist with just spinning the hub. EPAS is activated by a switch so it's available on demand and can be disabled (ie highway cruising, track days). You can see me dialing down the assist, it's adjustable. Glad I made this mod. The EPAS is completely silent, all of the noise is the tires squeaking on the lift.
Looks like it work great, I have a EPAS with the adjustable diode but have not installed it in the car. Believe I can retrofit if I wanted but though I would try with out first. Anyway good video of how they work.
Unless you are increasing your caster significantly, you will probably find that you don't need power steering. Get your car to go kart stage and see how much effort you have in your steering. At 7.5ish caster, I felt I would appreciate EPAS.
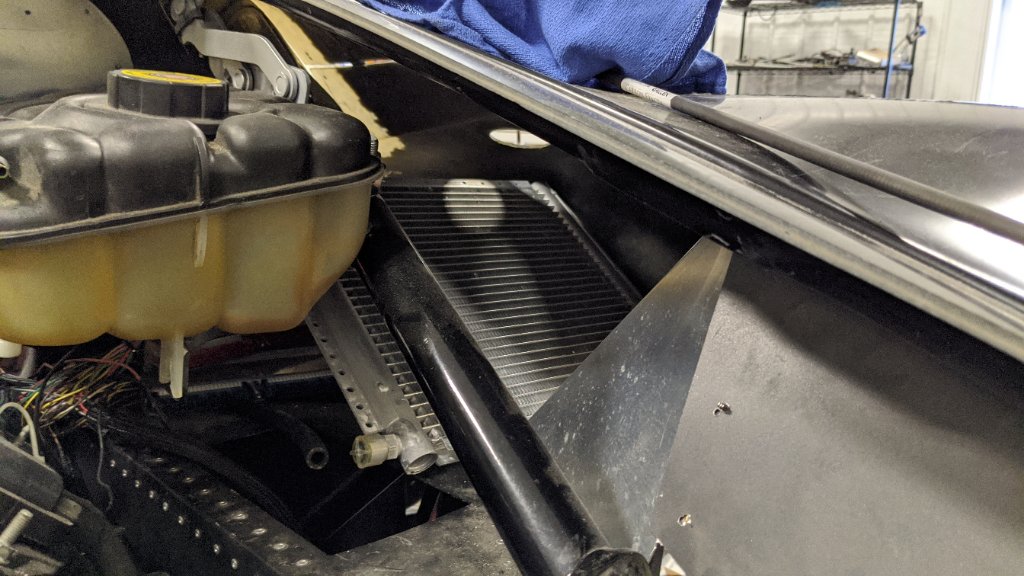
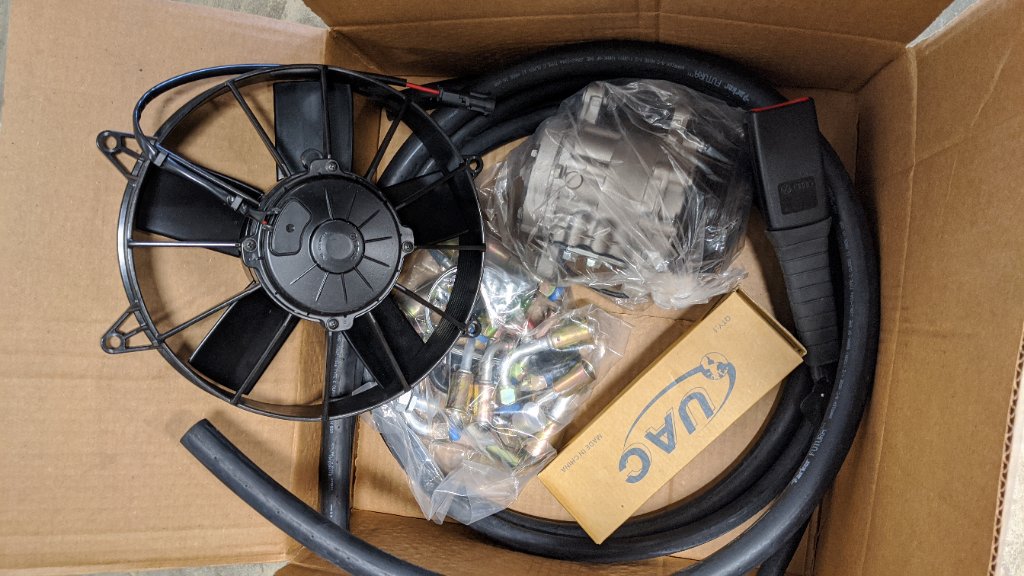
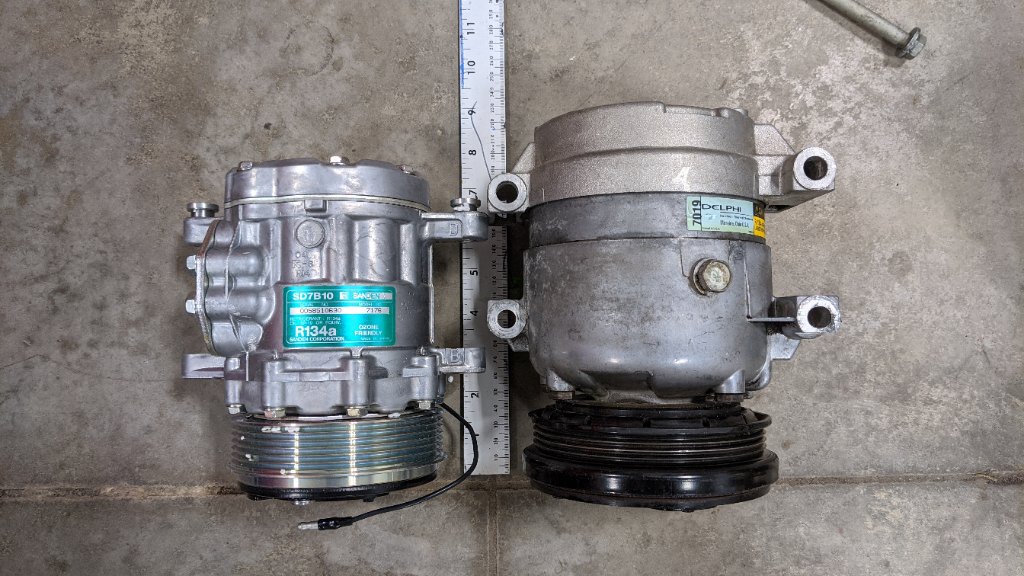
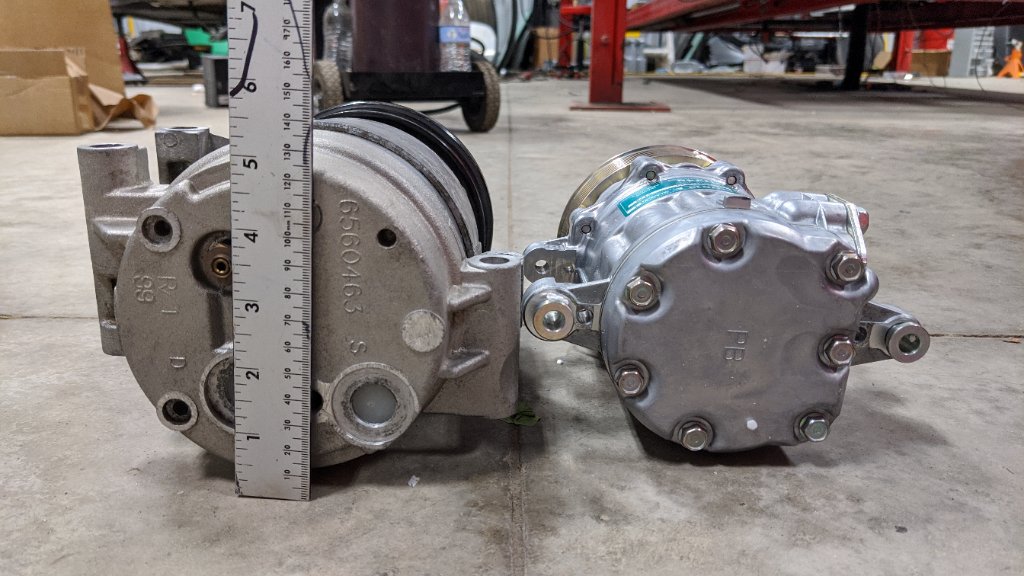
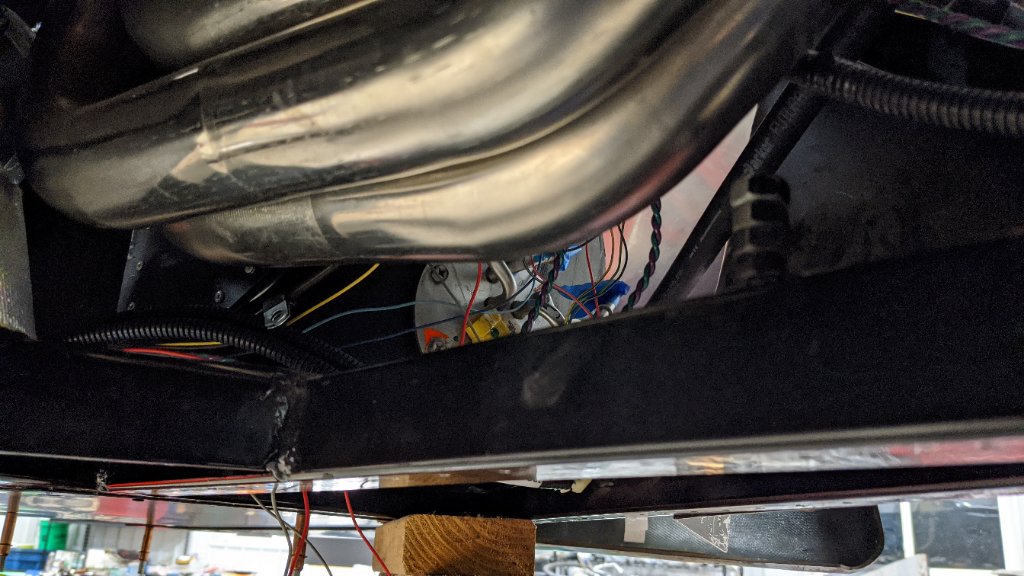
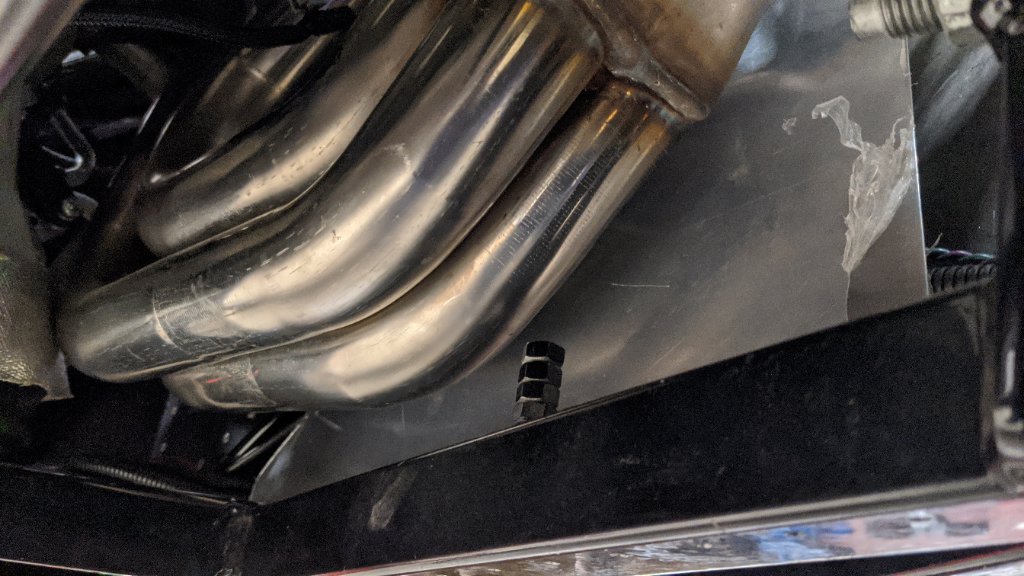
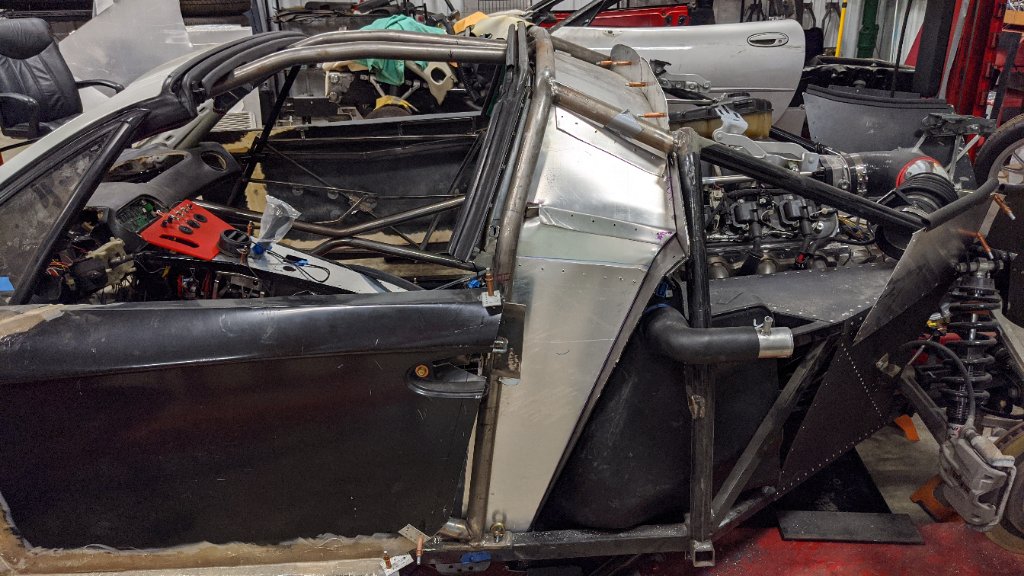
Another tangent - air conditioning. I wiggled the C5 compressor into position and didn't like that I only have about 1/4 to 1/3" between the compressor fitting/lines and the Kooks headers. I researched options and ended up ordering the Dirty Dingo Sanden low mount, the Sanden compressor, and the Dirty Dingo compressor fitting. I'll have an additional 3/4" between the header and the compressor body, PLUS the fittings come off the side of the compressor which saves another inch behind the compressor. So I'll have about 2 inches of clearance from the header to the new unit. Plus the lines aren't exiting next to the headers.
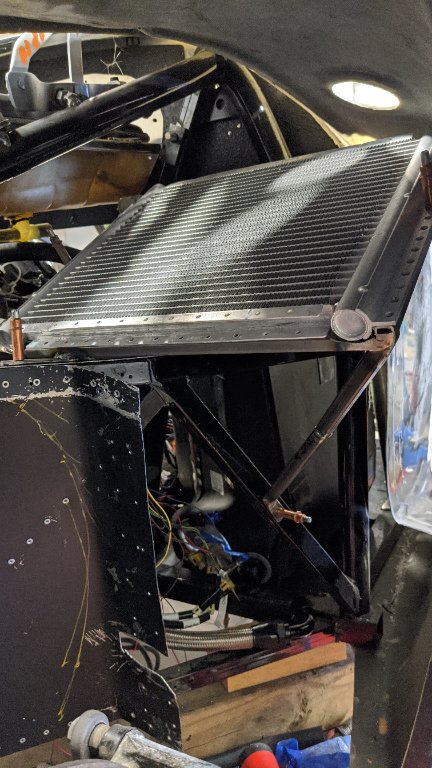
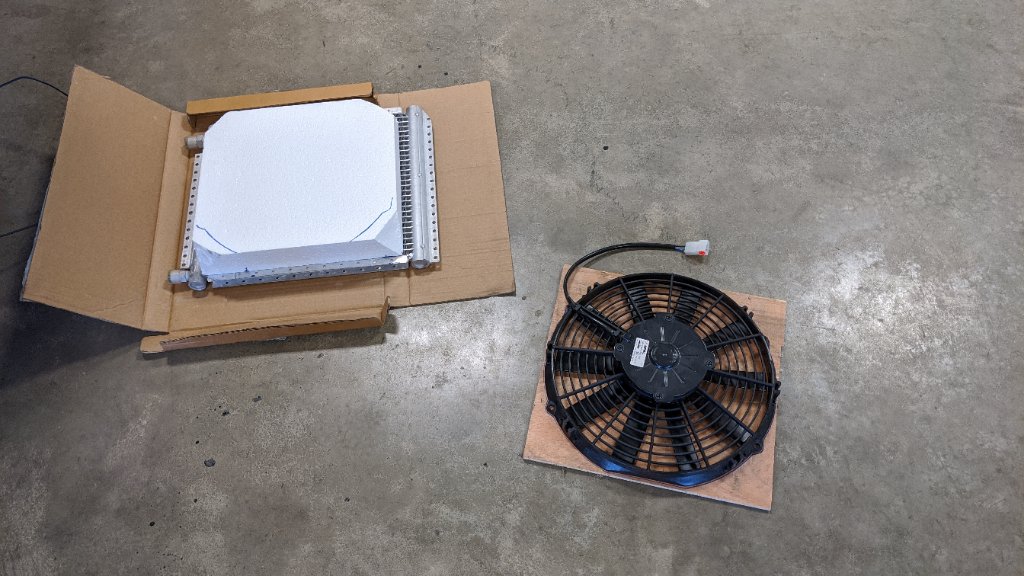
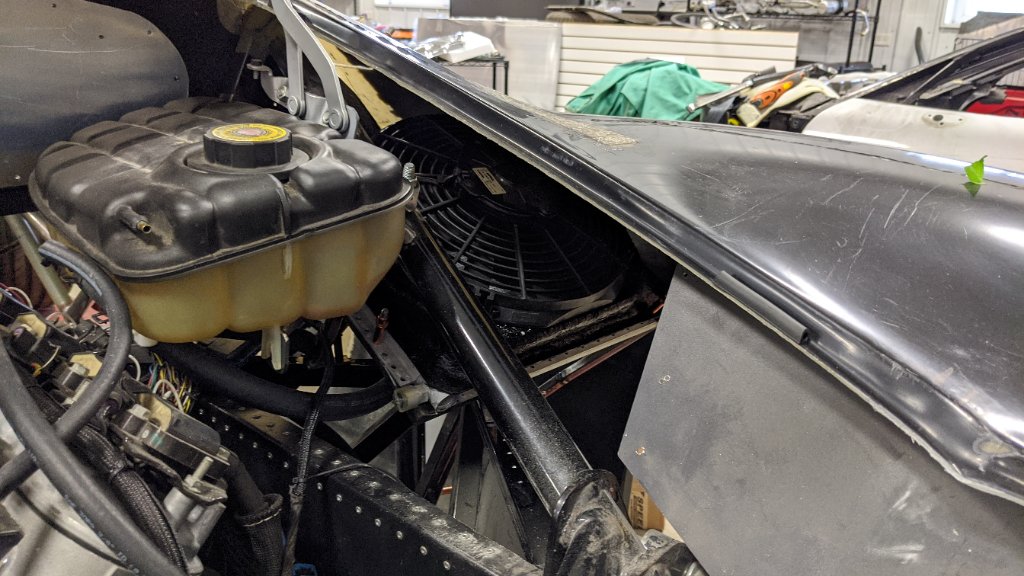
So I figured I would get started building the system while waiting for the compressor portion. The condenser is located in the passenger rear behind the side intake. It fit fairly well in a vertical position... Unfortunately I found out that condensers have to be mounted horizontally. So I made some changes.
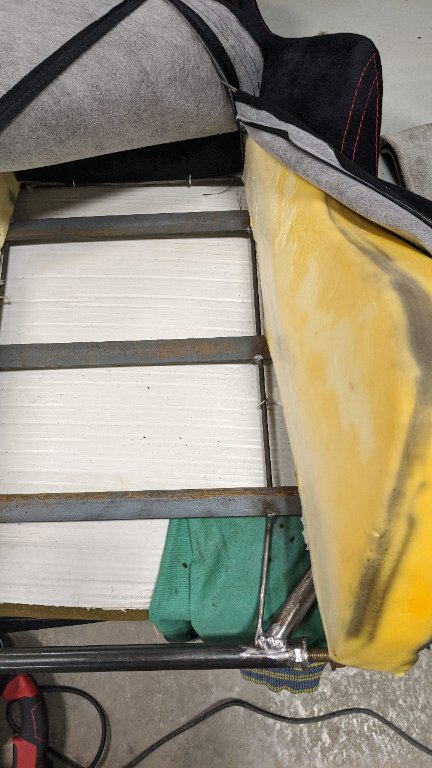
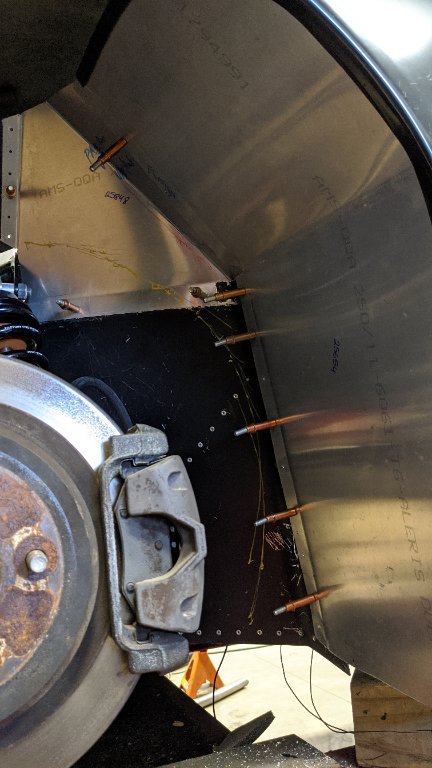
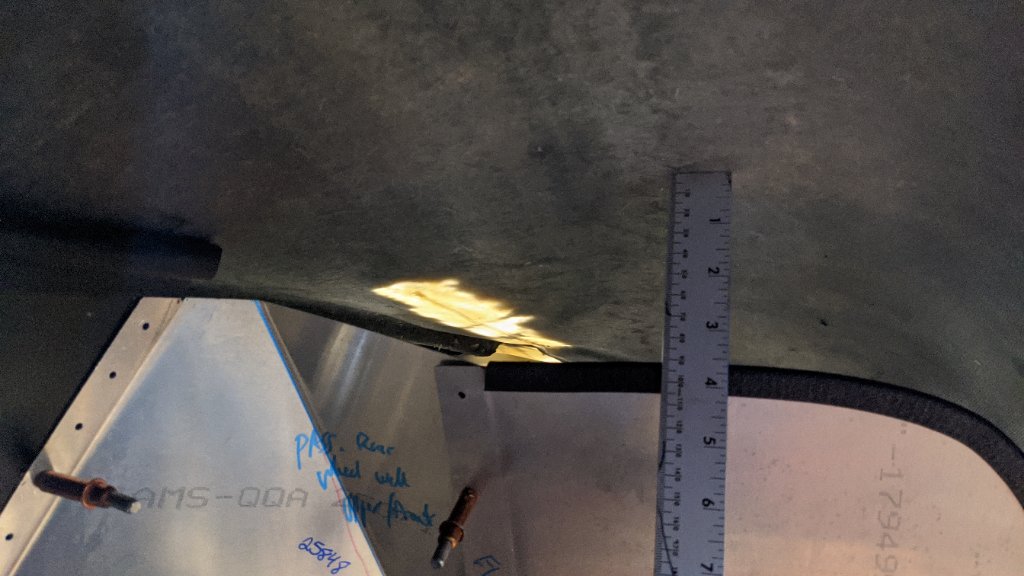
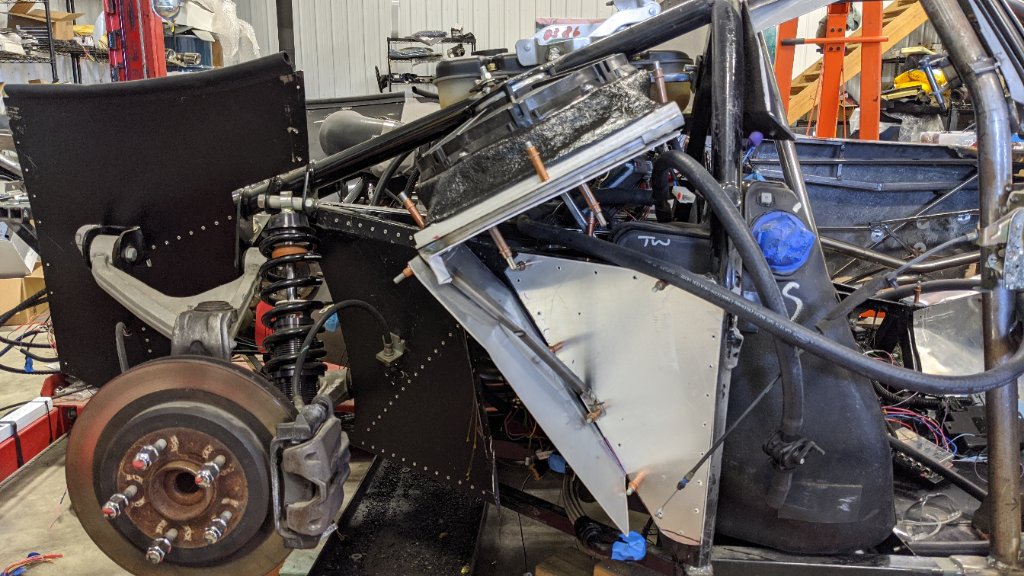
I started by wrestling with the GTM over something it hates to give up - real estate. In a car where every millimeter is needed, I found several INCHES (trying to contain my excitement as I type this) that could be better utilized than wasted. I marked the extremes of rear tire excursion at full bump and rebound. There is a lot of space to bring the front splash guard back towards the tire to free up space for the condenser. Bringing the front splash guard rearward also solves the problem of where the air goes after the condenser, a gap is created over the top of the splash guard into the wheel well. And the splash guard is retained to protect the condenser from tire debris.
So I bent the inner splash guard out just in front of the marked tire lines (these lines were drawn about 1/2" outside the diameter of the tire). This solved another problem, the inner splash guard had to be clearanced for the fuel crossover line and the fitting was exposed to tire stones, now it is safely behind the splash guards.
Here's the new front and inner splash guards.
And the gap to allow condenser air to exit into the wheel well. Time will tell if the wheel well will need to be vented.
This was the initial plan until I learned that condensers have to be mounted with the fittings horizontal to prevent oil accumulation and blockages.
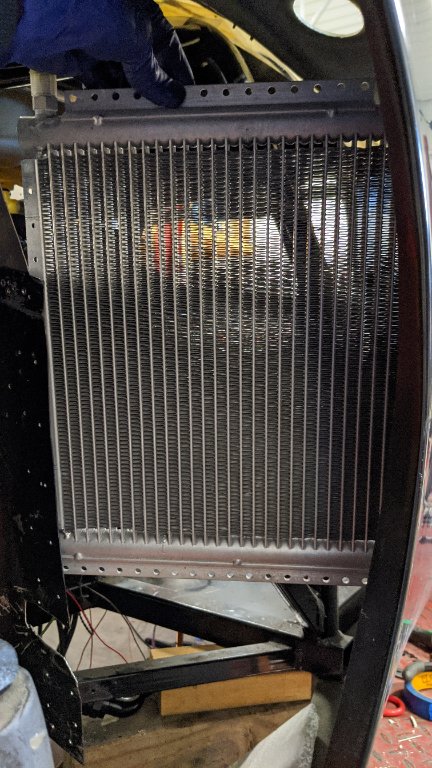
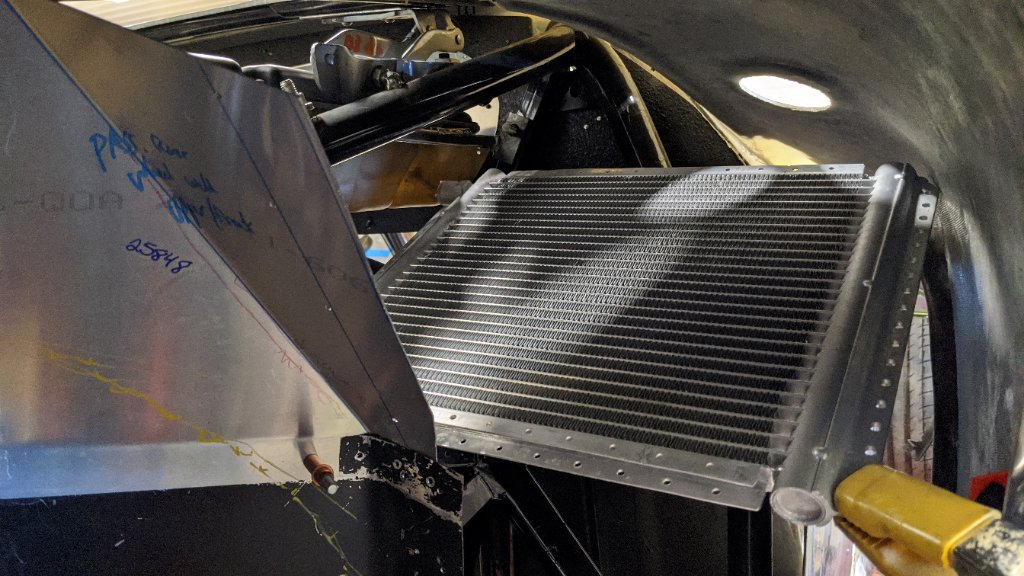
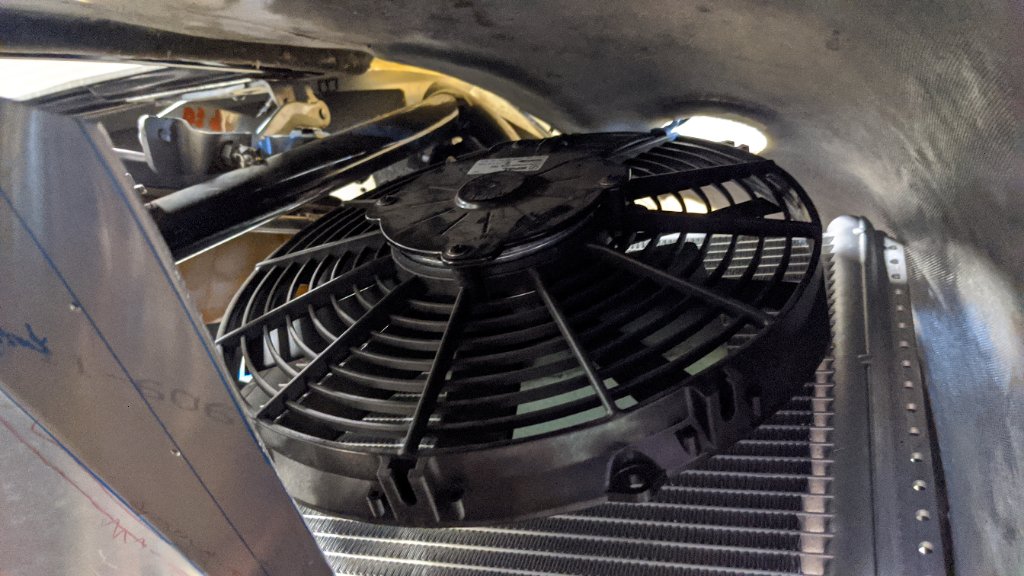
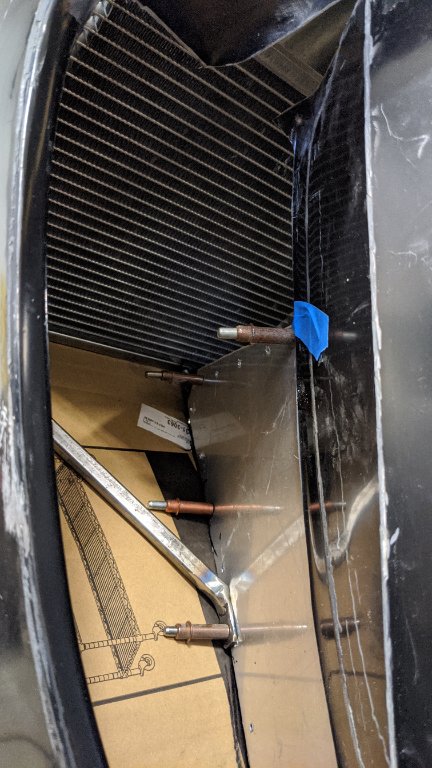
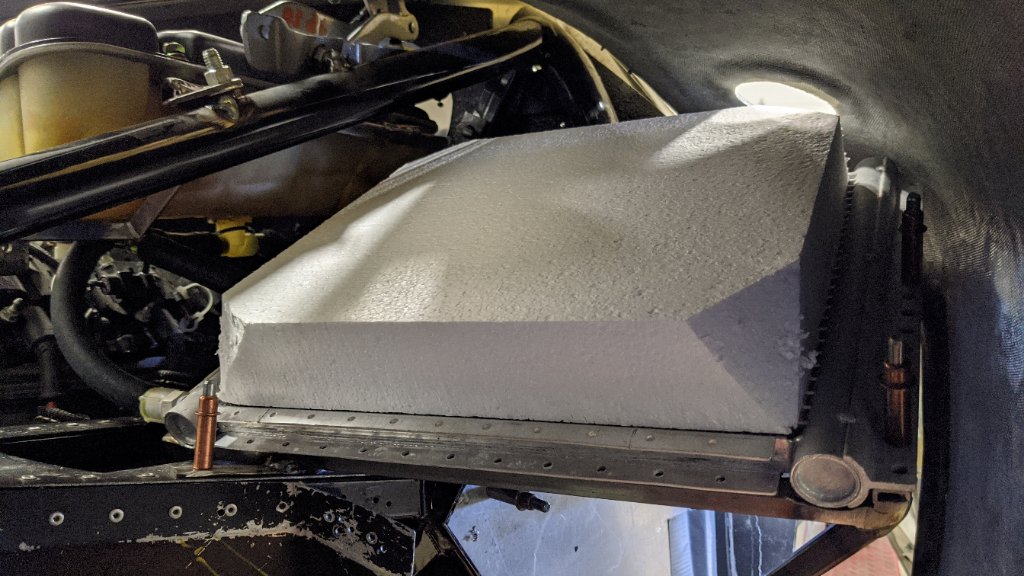
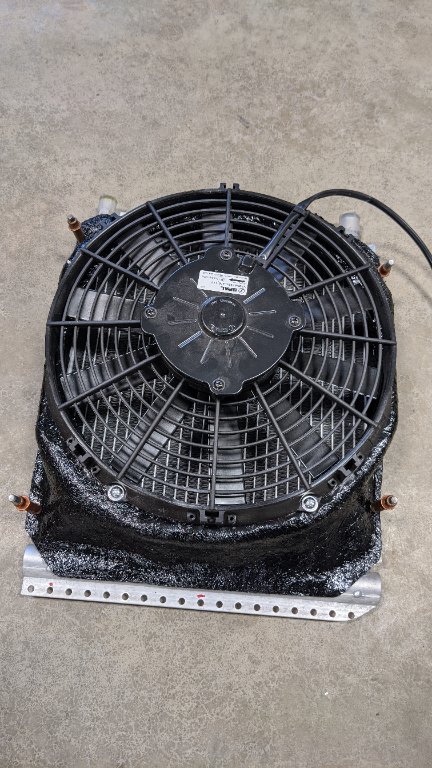
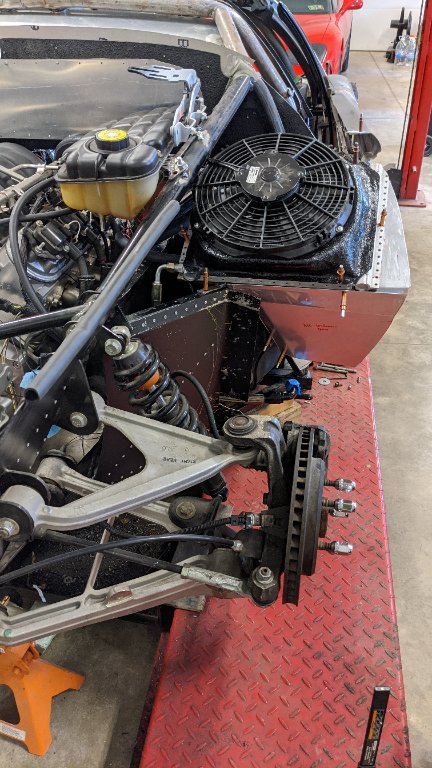
So here is the layout. The side intake will be enlarged and ducted to the front of the condenser. I'll fabricate a shroud on the back side between the condenser and the Spal fan. With this location, I have the option of venting to the wheel well, the engine bay, or both.
What makes you believe the condenser needs to be mounted horizontally? Almost all of the OEM setups mount the condenser vertically. Why would this condenser be any different?
What makes you believe the condenser needs to be mounted horizontally? Almost all of the OEM setups mount the condenser vertically. Why would this condenser be any different?
Sorry, lost in translation... Not fore/aft tilt, rather inlet /outlet line orientation. I was hoping to run it vertically like this:
But you can't run the lines that way, they have to enter and exit the sides of the condenser like this :
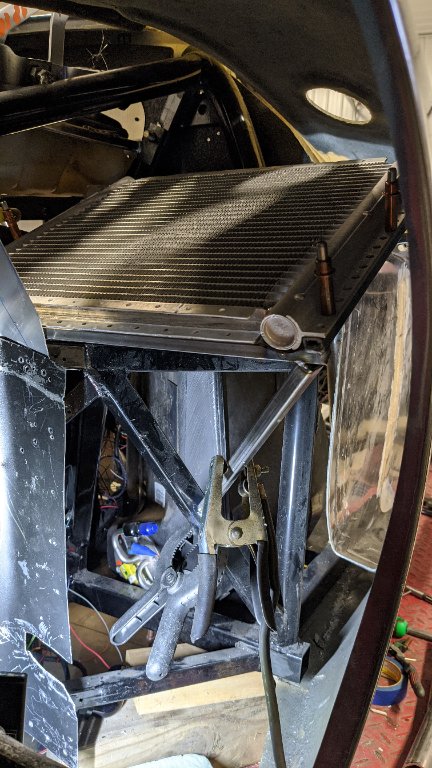
Got the condenser subframe built, bolts in and removable.
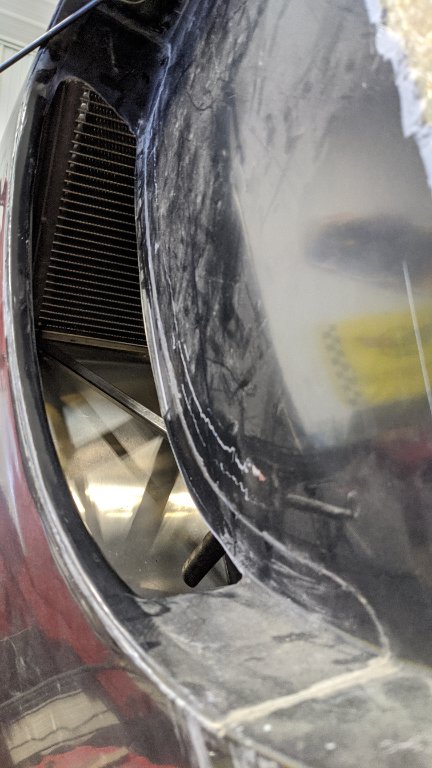
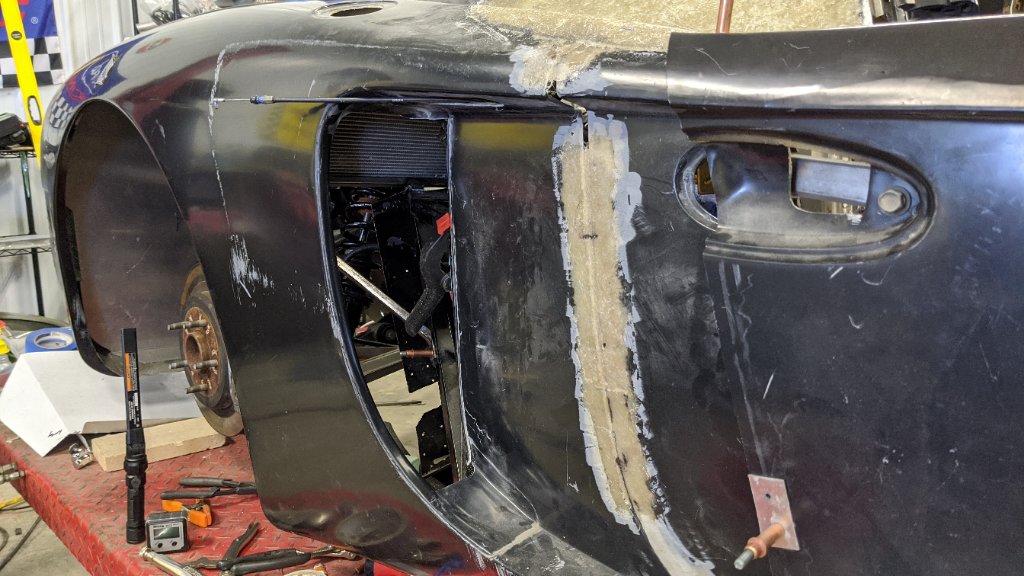
I wanted a larger side intake, so I made an incomplete cut through the inner side of the intake and hinged it inward. I actually like the look of the larger intake better than the stock size.
Fully agree on the larger opening looking better, very aggressive, that's a great idea.
I'm catching up on the GTM scene after a 5 year hiatus with my car, some time now with COVID lockdown and your build thread has been both educational and motivating, please keep up the amazing work! I imagine it's helping out many builders. Thanks man!
Thanks Aman! No shame in putting off the project to do life! Plus there are ideas and VRaptor parts that were unavailable 5 years ago...
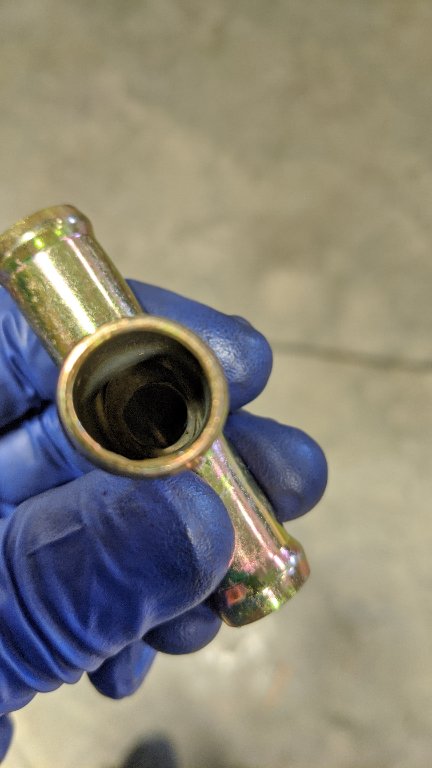
I need to apologize to Shane's dog for interrupting their walk this afternoon, I needed a little tech help. I got the heater core circuit plumbed up and ready to hook up to the heater core. I have a valve that completely cuts off coolant flow right before entering the heater core. So per Shane's recommendation, I T'd 3/8 lines off the 5/8 heater core line that leads back to the expansion tank to ensure constant coolant flow back to the thermostat (my T's are 5/8" outer diameter but 3/8 inner diameter offshoots if you are wondering why the lines are all 5/8).
Here's the T-fitting, you can see the smaller aperture in the bypass circuit.
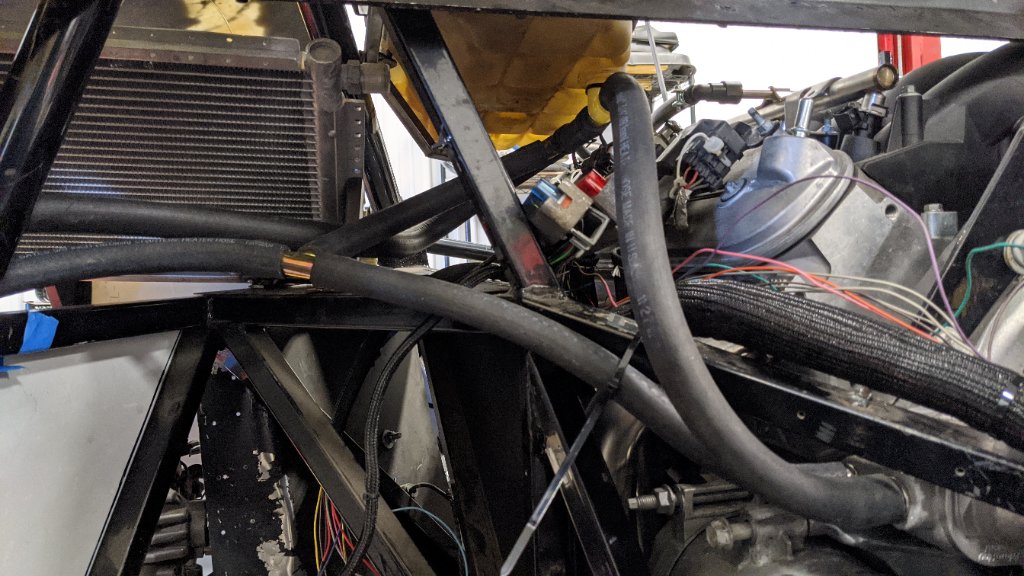
I really like this picture, it's 100% of the my heater /expansion tank circuit and 90% of my a/c system will be in this frame too.
You can see the coolant bypass line going back to the expansion tank.
Lines clear the fuel tank.
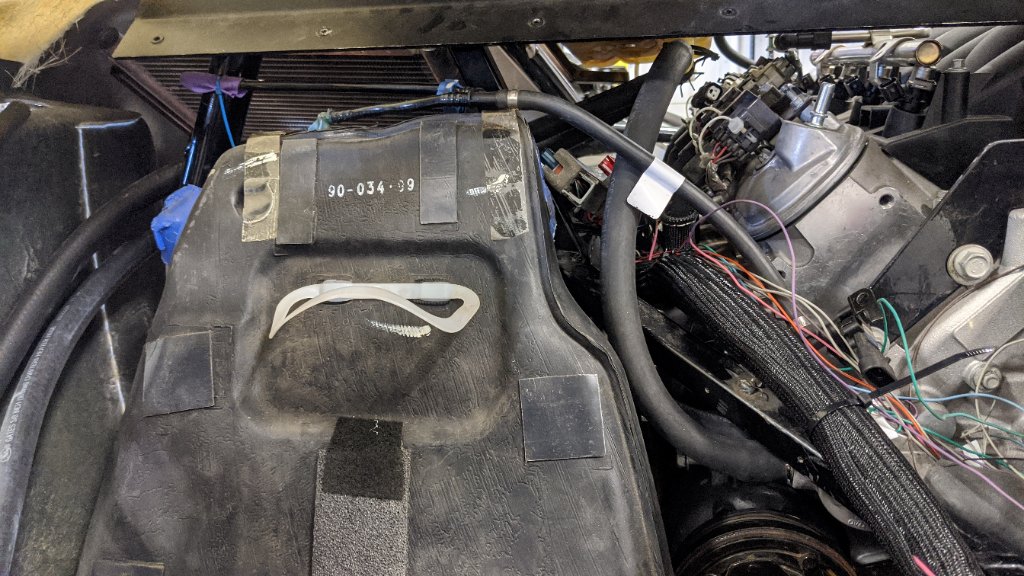
Here's where it will tie into the heater core, shutoff valve pictured too.
I ordered this, will allow me to run all my a/c lines and then take them into a shop to squeeze the crimps. It includes the low and high side service ports. Drier will be in the cabin behind the passenger seat with the evaporator to increase efficiency.
Was going to do some bodywork today, made a nice dish of Rage Gold, went to squeeze out the hardener and it was bad. Got another tube on order.
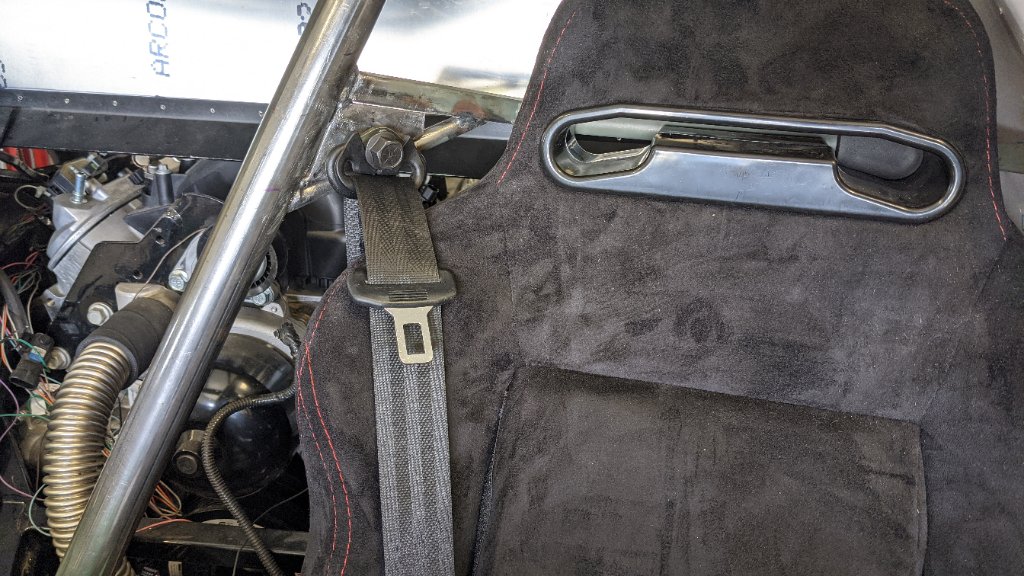
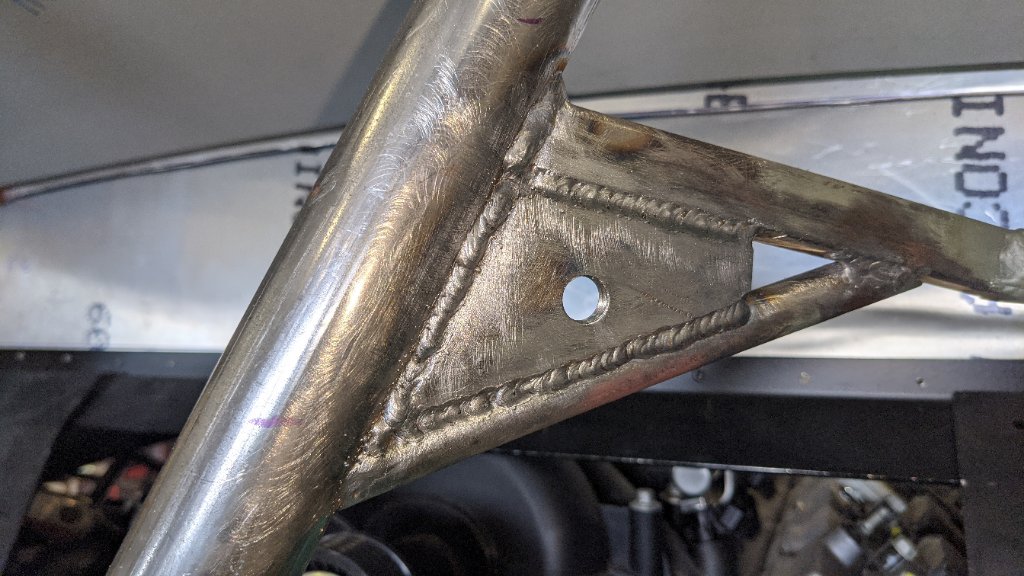
So I found a couple of other things to knock out today. Decided to redo the driver's side seat belt upper mount for a more factory look. Ripped out the custom mount I made, then welded in a thick plate for the upper seat belt mount. It was an interesting weld, 4 different thicknesses of steel. I got a little crooked at spots, too slow to in a couple spots, was kind of an awkward position. Oh well, it's going to be behind a trim piece anyways.
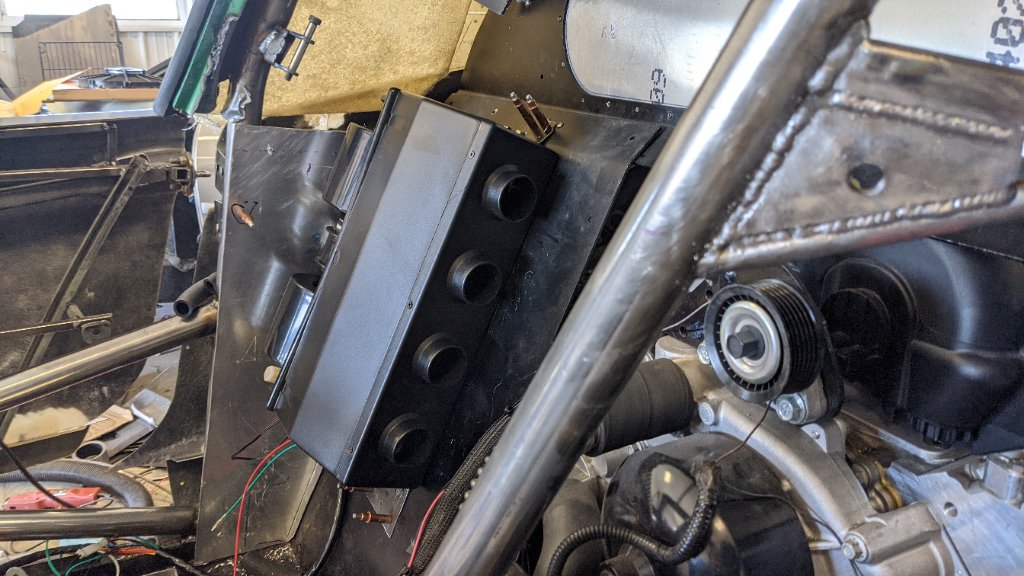
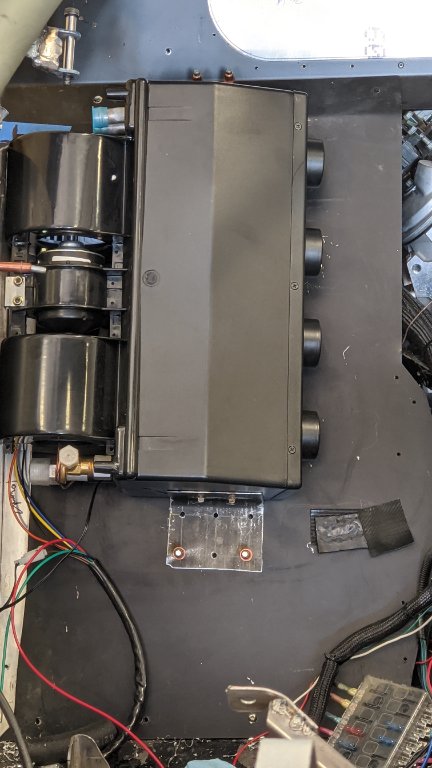
Got the hvac unit installed behind the driver's seat. It was given to me, some kind of universal unit with combo heater core /evaporator.
Running hvac ducting. The unit and ducts are fairly hidden behind the passenger seat, but can be seen from the driver's side. I may make a beauty cover to hide them a little better.
Cool, have fun with the track car. Haven't been working on the GTM in the last few days and my double oven quit, my dishwasher flooded the floor and the range hood lights quit working so back on the honey do projects first, especially since we are still staying home and I can't get away from the task master but going to get back out in the shop tomorrow. Have to wait for new motherboard, key pad and dishwasher to come in before I can do anymore. Hope they arrive soon, no dishwasher is not a good idea I found out, always though that was what the sink was for but guess I was wrong !!
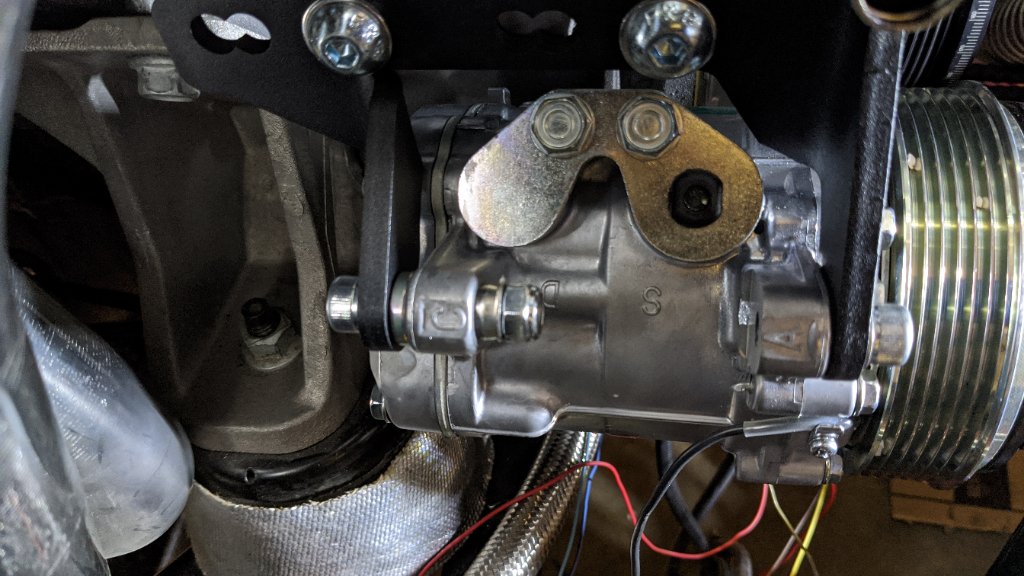
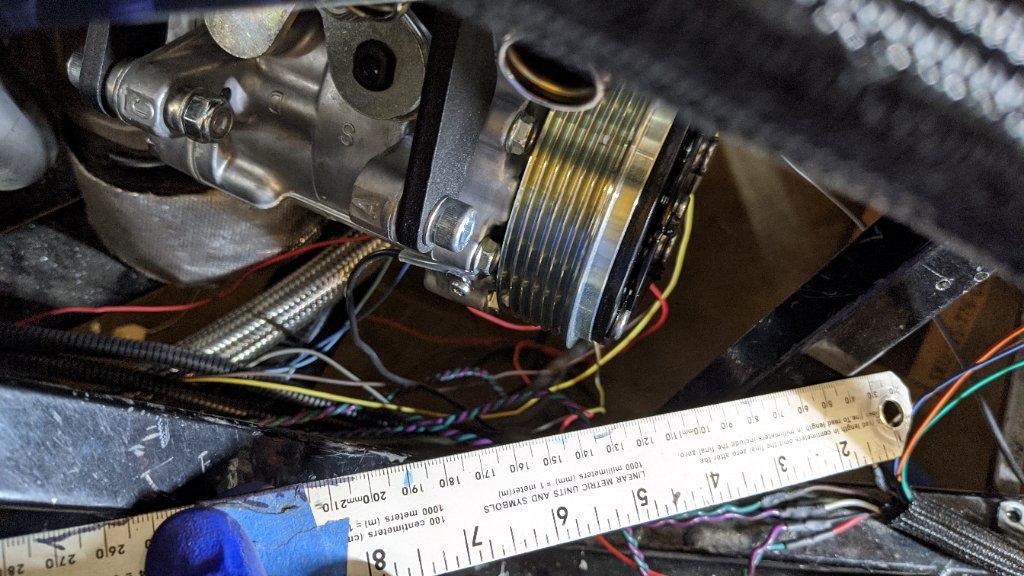
Got the Dirty Dingo low mount with the Sanden Sd7b10 installed. Fairly straight forward installation per Dirty Dingo instructions, although a couple of aggravations could have been prevented with improved installation instructions. I'll try to post a write up in a dedicated thread. I love the result, and it's a proven LSx setup. Highly recommended, I did it even though I have at least 2 C5 compressors laying around...
Much more compact.
Here's a strait edge marking the aluminum panel. With the C5 compressor, you need a kick out panel to clear it.
Dang, that is a nice little package and certainly help keep it away from the sheet metal and the headers. Looks like a great replacement for the GM compressor.
Wish I would have known about the Sanden mount. I replaced our c6 compressor last year with oem but my neighbor is an engineer at Sanden’s assembly factory here in North Texas. I think I’ll put in a request for an SD7b10 for future sake.
Last edited by HardRocker; 05-02-2020 at 02:40 PM.
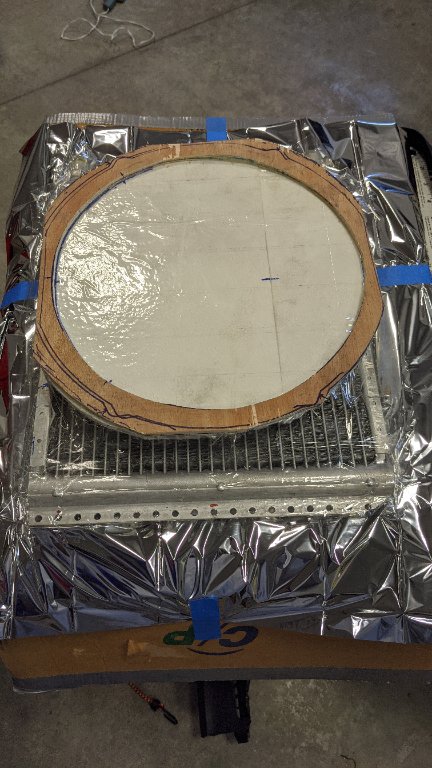
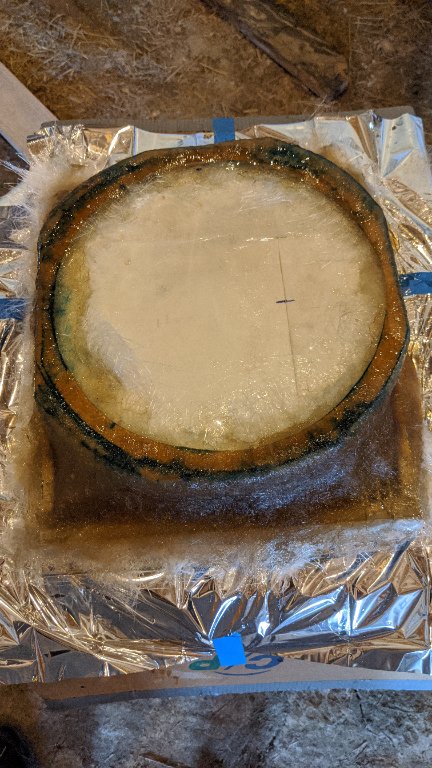
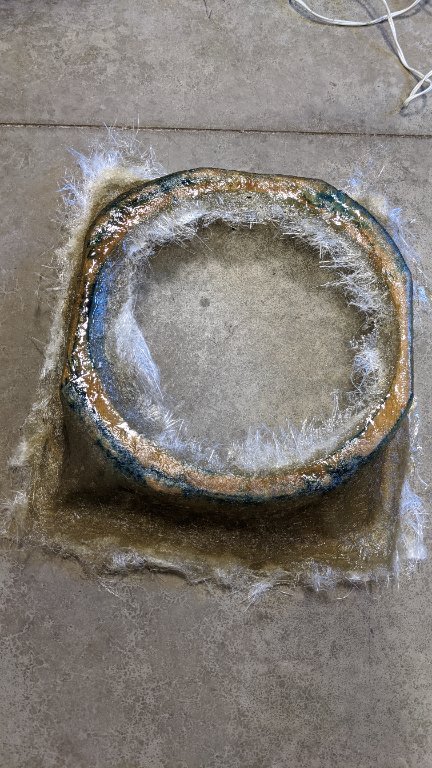
Between home projects, had some time today to run out and fab up the fiberglass condenser fan shroud. Plywood ring to mount the fan, used packaging tape to protect the buck and condenser and to create the shape of the shroud sides. No need to get anal about it here, it's not going to be a visible. Glassed it up, will trim tomorrow.
Yea there is an aluminum panel in the base kit for this. I also opted to coat it with Lizard Skin Thermal protection and place gold foil on my aluminum tanks. I haven’t delved into it much, but I’ll also have a fuel temp sensor that is pretty close to my fuel rail, that will feed into my ECU. Apparently there are some tuning adjustments I’ll be able to use to compensate for fuel temp changes.
There are the panels that sit on top of the chassis behind the top of the tanks and then bend down over the tube and extend down to the diagonal tube next to the headers, but there are no close-out panels that fit below that to fill in the area you're covering.
Shane Vacek
VRaptor SpeedWorks, LLC www.vraptorspeedworks.com
Turn-key GTM, SL-C & Ultima GTR Built to Your Specs!
Offering a full line of GTM Upgrades and Custom Parts
There are the panels that sit on top of the chassis behind the top of the tanks and then bend down over the tube and extend down to the diagonal tube next to the headers, but there are no close-out panels that fit below that to fill in the area you're covering.
Ah, ok. I do have the piece installed that you are describing, Shane. I keep cramming more stuff between the headers and the passenger side fuel tank, so I wanted some heat shielding. My PCM may end up there as well...
Has anyone else blocked that off? Or has it not been a concern typically? It's a simple piece and no significant weight penalty.
Ordered inner CV bolts from McMaster Carr from my measurements on my g96 gearbox, 10mmx1.5 bolts, 55mm long driver side, 60mm passenger side with the 4.5mm thick vss ring.
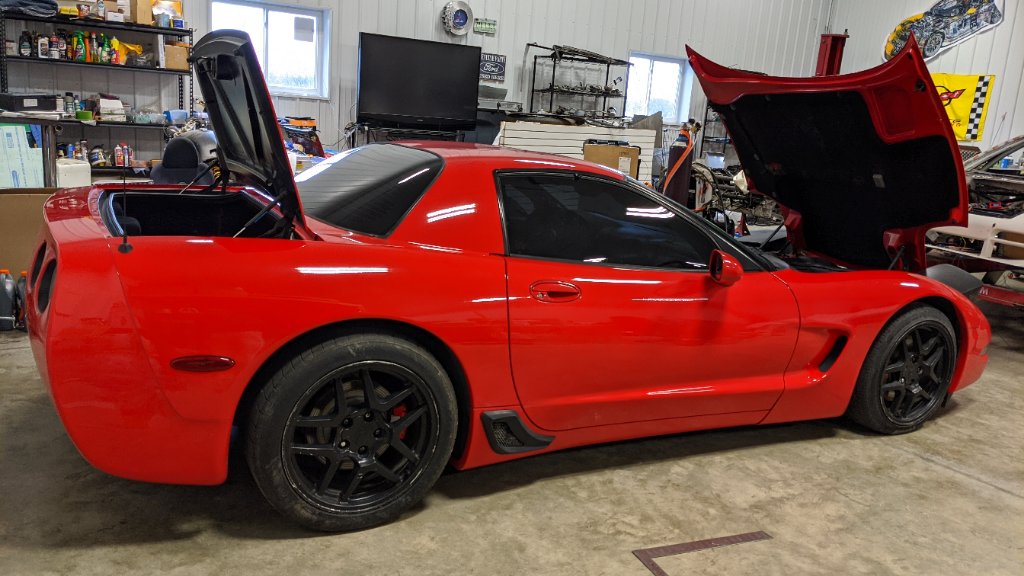
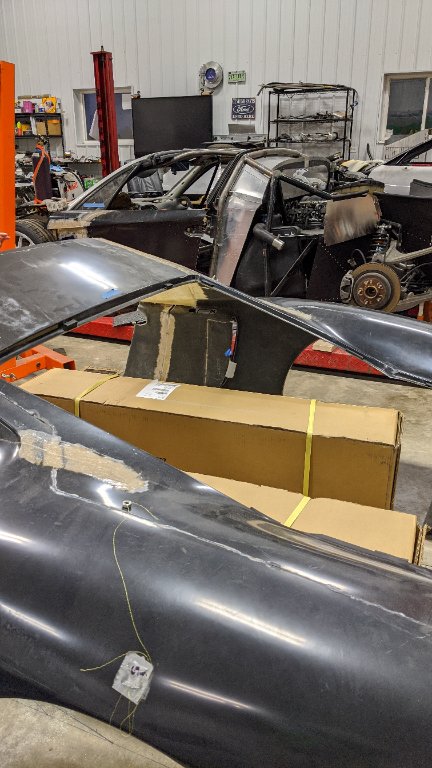
It's been ages since I've had the rear bodywork off, need to finalize wiring and have some welding finished. Getting closer to 1st start. My wife was kind enough to lend me a hand pulling the rear bodywork off, only took a couple minutes.


 Thanks:
  Likes:


 Reply With Quote