-
-
OK folks I need some help. I attempted to do my first start today and no luck. It appears I am not getting any spark. What I have done so far.
Pulled a plug wire and used a spare plug to see if I am getting any spark. I am not.
Pulled the wire from the distributor coming from the coil and used the plug and still no spark.
Tested the wire itself to make sure it was not bad and it appears fine.
Checked the voltage on the orange wire coming from the ignition that is connected to the positive side of the coil and it's showing fine.
My assumption was that the coil was bad. Went and picked up a new coil and still not getting any spark.
I am obviously missing something. Anybody have any ideas?
-
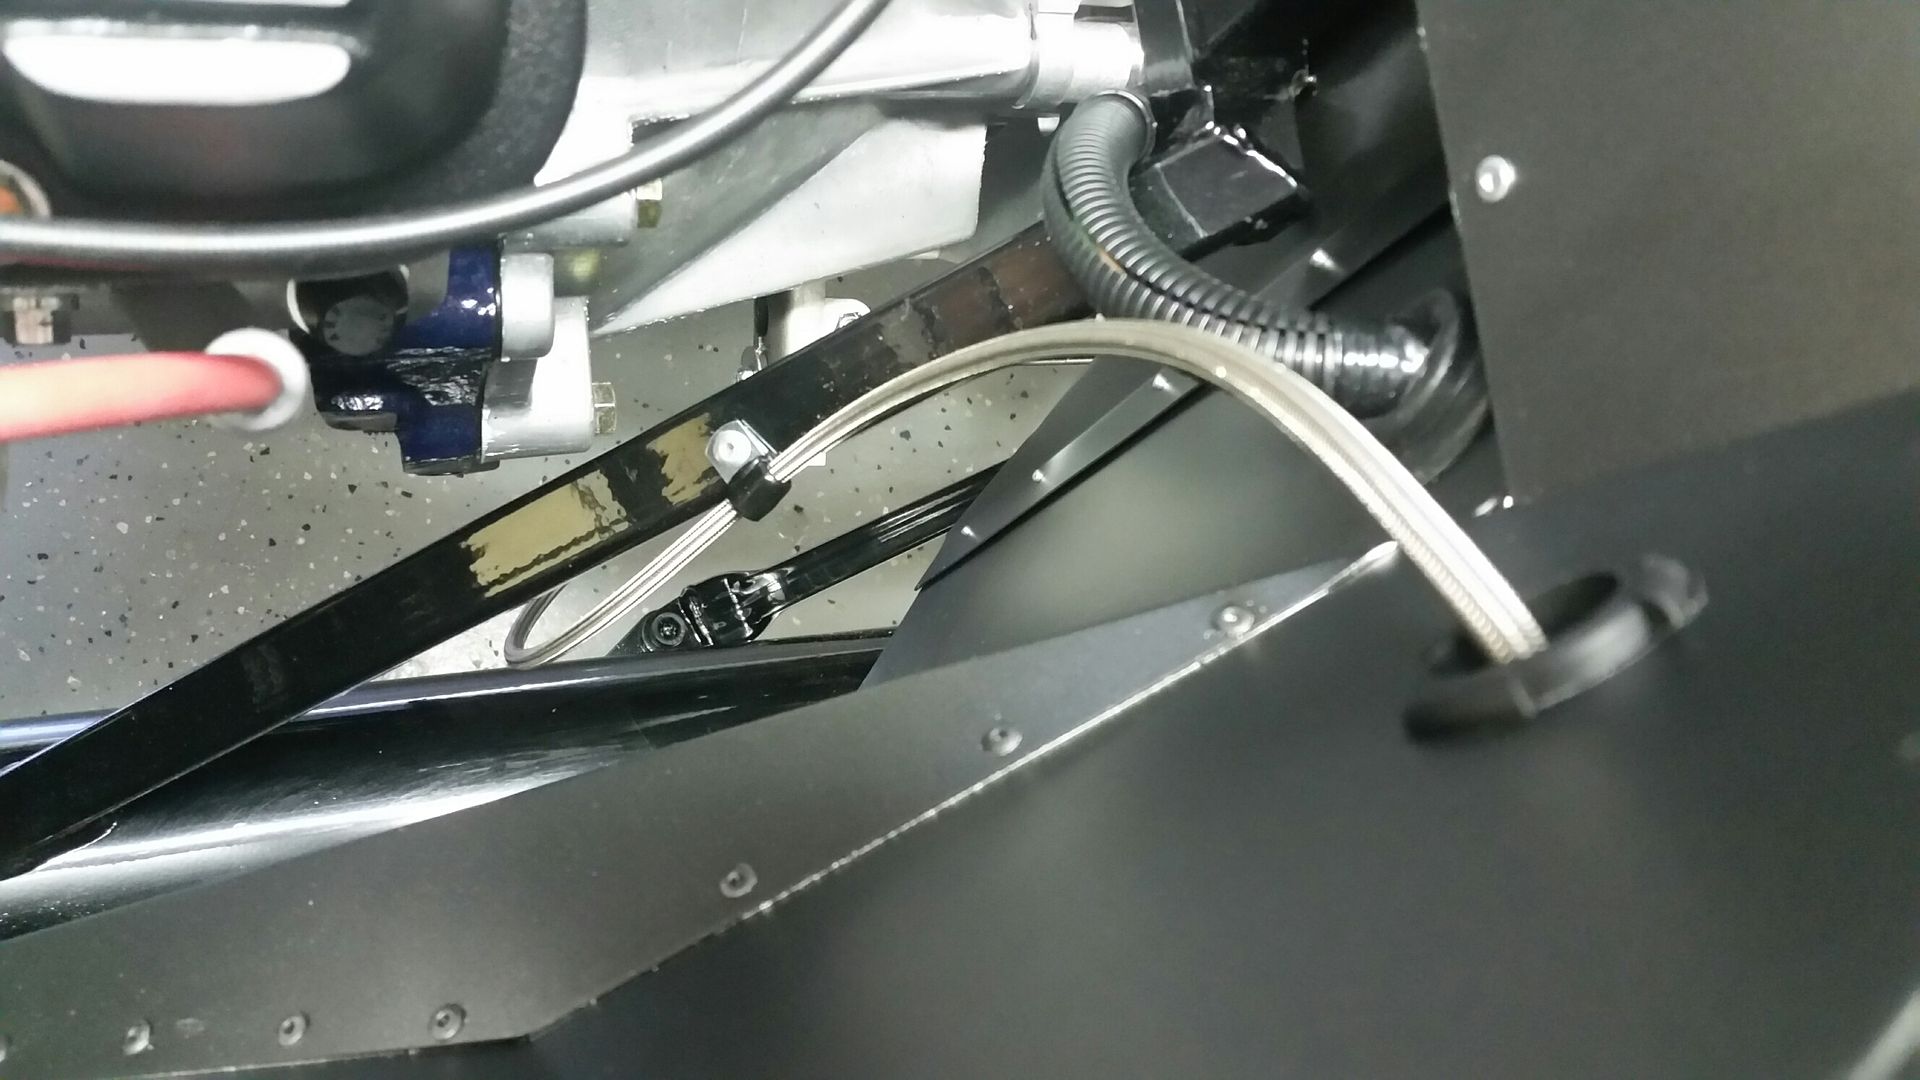
I spoke to Mike Forte last week and he sent me out a new distributor since we had eliminated the coil as the issue. I started pulling the old distributor off yesterday and found the problem. When I disconnected the two wires going to the coil and tried to remove them I discovered that the wire going to the negative side of the coil was crushed between one of the power steering bracket mounts and the head. I did not notice it because the it was on the bottom side that was not visible when I replaced the coil. Rather than changing out the distributor I got the wire loose and went ahead and cut off the crushed part and put a new end on what was left. Hooked everything back up and it started right up.
First Start Video
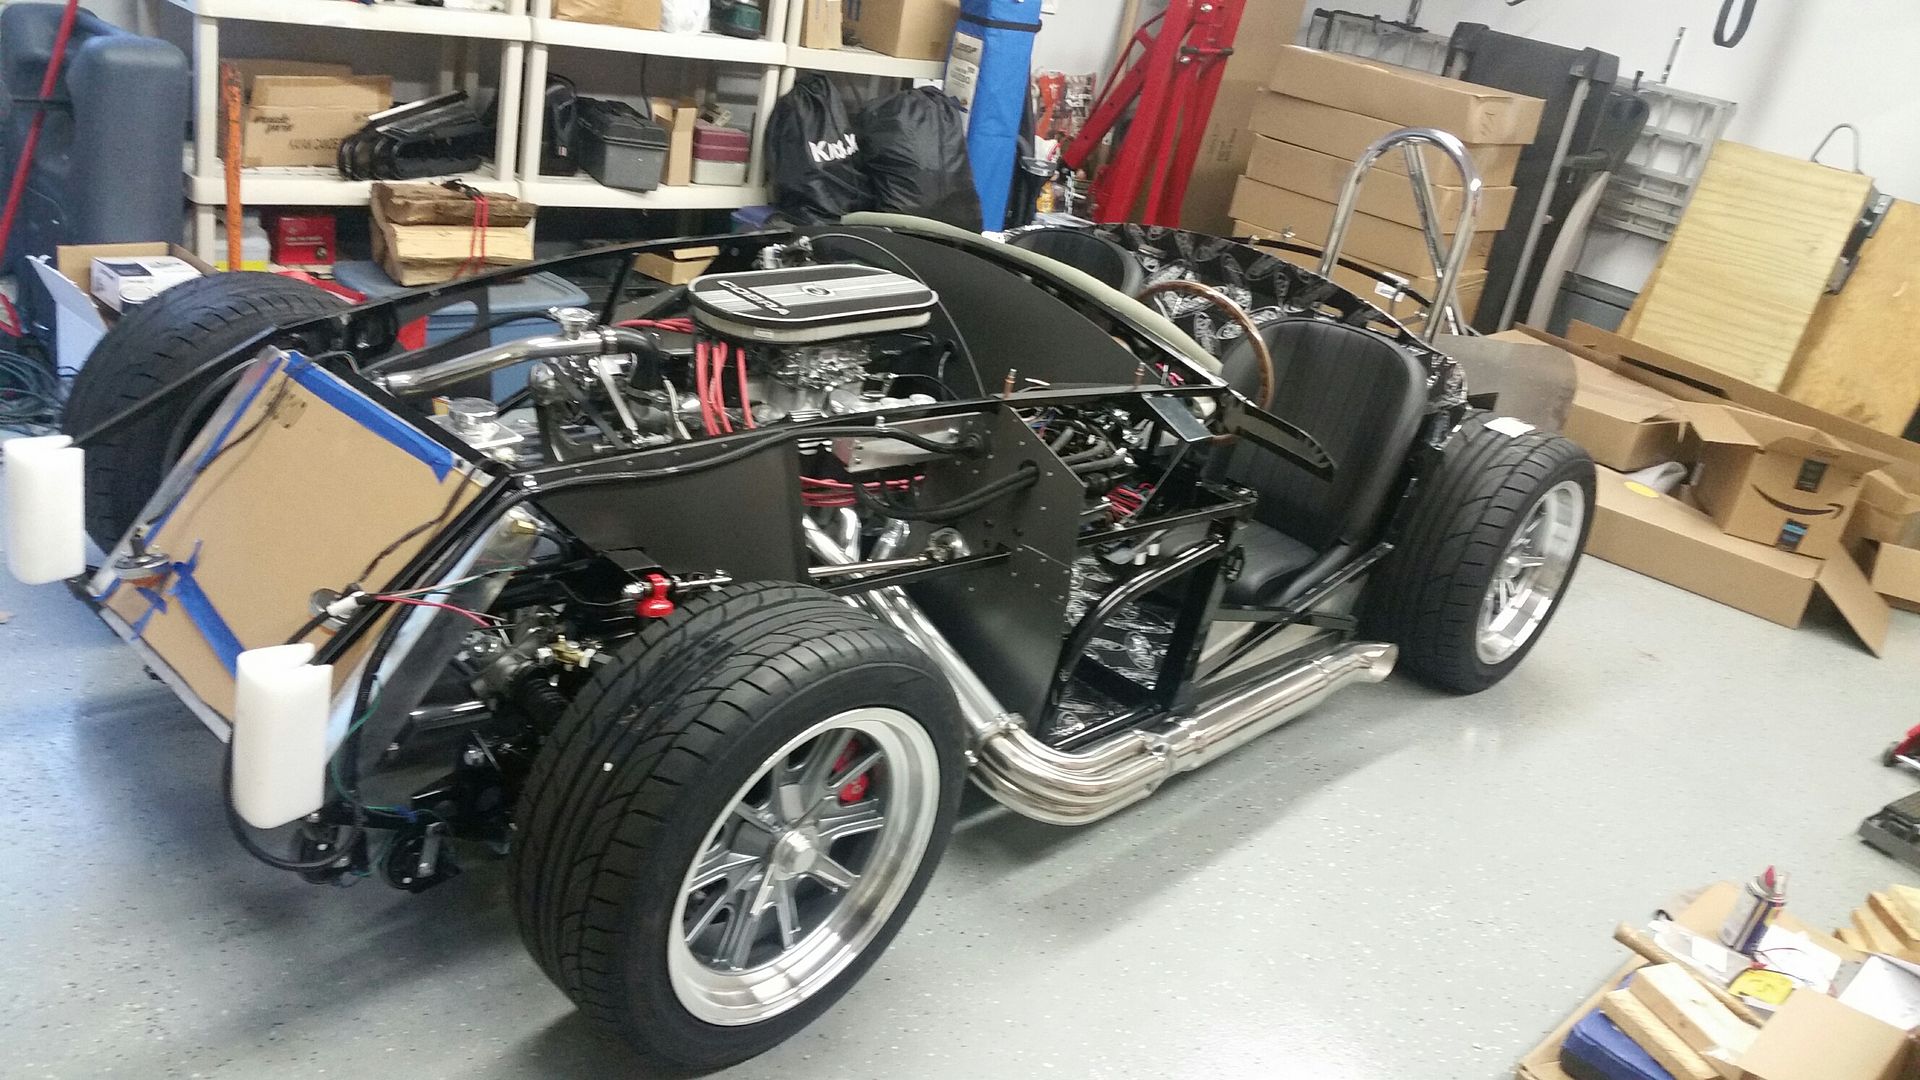
Got my wheels and tires last weekend and got those on the car. Went ahead and double checked the torque on all of the suspension bolts and greased everything.
Ran into a problem with the power steering. It appears that unless I have hooked something up wrong, that I have a bad power steering rack.
Last edited by GlenH; 07-30-2017 at 06:03 PM.
-
Senior Member

-
It's been a slow couple of weeks as far as progress. Find and fix one problem and another one pops up.
Managed to get my first start behind me. Figured out that I had reversed my power steering hoses. Only time will tell if I have blown the seals as a result. So far nothing is leaking. Likely an expensive lesson to double check everything if I have to replace the rack.
Got that corrected and the power steering is working like it should. However, I had power steering lines made because I just did not feel comfortable with making my own and having them hold up to the pressure. I may as well have made my own. The pressure side did not hold and I spent hours cleaning up the mess. Let me tell you with that kind of pressure the fluid goes EVERYWHERE. A week later and I am still finding it in places all over the garage. Got a pressure tested replacement hose and it is holding up.
Had a fuel leak in the coupling where two hard lines came together midway the car. Pulled both pieces and cut and re-flared the ends. Still could not get it to stop leaking. I went ahead and replaced the coupling and that seems to have corrected the problem. I will check it again in a day or two. If it still leaks I will take a step back and possibly start over.
Reworked the plumbing on the coolant overflow after several on the other forum pointed out I might have an issue.
Got the wheels and tires on the car and dropped the seats in temporarily. Dropped it off the jack stands for the first time.
I discovered that a couple of my soft brake lines needed to be adjusted so they would clear everything at full suspension travel as well as full left and right turning. Went ahead and adjusted them to a better position. Of course with having to loosen them I wound up having to re-bleed the brakes. On the right rear the adjusting caused the hard line to start leaking. Went back and tightened it back up and had to bleed that side again.
If all of the gremlins stay away I will go-cart this weekend.
-

Steve >> aka: GoDadGo

Congratulations On Getting To This Point In Your Build!
Excellent Work I Might Add, Excellent To Say The Least!
-
Looks great Glen. I have been following your build with much interest. I pick my kit up in about a month and am looking forward to getting started. Your posts have been very helpful!!!
-
I'm in love with the sound of that 347. Can't get enough of your first start video 
-
I couldn't wait until the weekend since the forecast is calling for rain. Decided to go ahead and go-cart last night. First was a little argument with my wife who insisted she get to ride with me on the first run. I wasn't real happy about it as the passenger side seat is not bolted in and there was not a seat belt on that side. Oh well. I have learned it's better to just say yes dear and move on.
Everything went great. I took it to the end of our driveway which is about 1000 feet and back a couple of times. No issues. The second time I did give it a little extra throttle going up the hill to the street. WOW. I can see how quickly it could get out of hand if you aren't careful.
Once back in the garage I looked for leaks. Apparently the fuel leak that I worked on has been resolved however now I have a new one. There was a small dime sized spot after it sat for a couple of hours. It is coming from the line from the fuel pump to the carb. I will try tightening a little this weekend and see if that takes care of the problem. I also have a power steering leak that appears to be coming from the low pressure hose where it meets the rack. This is another hose that I bought after I decided not to trust my own ability to make hoses and replaced the ones I had made. That one is a little more substantial. A spot about the size of my hand. I will dig into that this weekend. It is possible that it is actually the seals on the rack that are leaking because of my error in hooking the hoses up. If so I guess a new rack is in my future.
Overall I was starting to get a little discouraged due to all of the small problems over the last month or so. That first start and now the go-cart have cured that problem. Now I am as excited as I was the day the kit arrived.
Go Cart Part 1
Go Cart Part 2
-

Originally Posted by
pierreb

I'm in love with the sound of that 347. Can't get enough of your first start video
I actually wound up going a little different than I had initially planned. I wound up going with a Dart 363 from Mike Forte. It does sound great though.
-
Senior Member

Congrats on the go kart! Looks exciting.
Started dreaming of a Cobra around 1987
Purchased Complete Kit 6/9/2017, Delivered 9/4/2017, Rolling Chassis 3/30/2018, Engine Dyno'ed 3/4/2022, Engine installed 8/27/2022
Click here for my build thread
Serial #9158
Design Engineer at BluePrint Engines
-
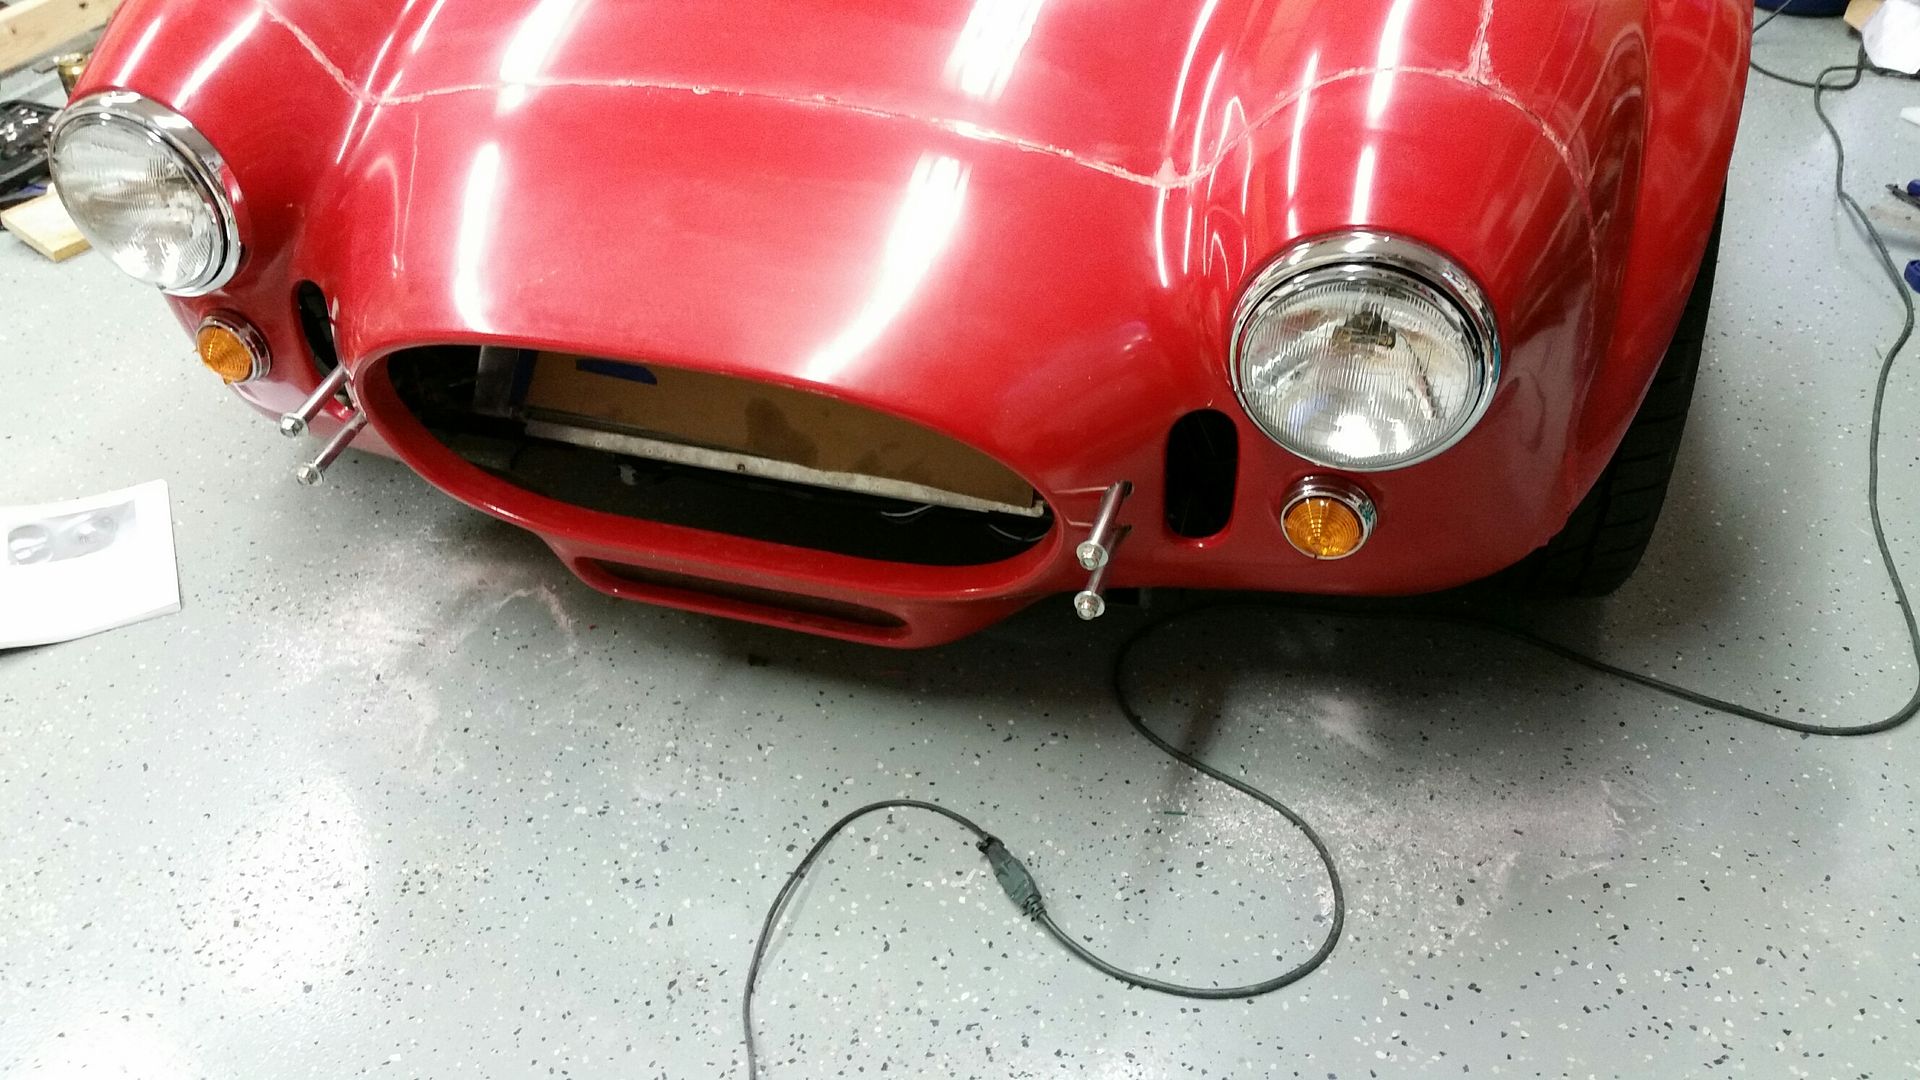
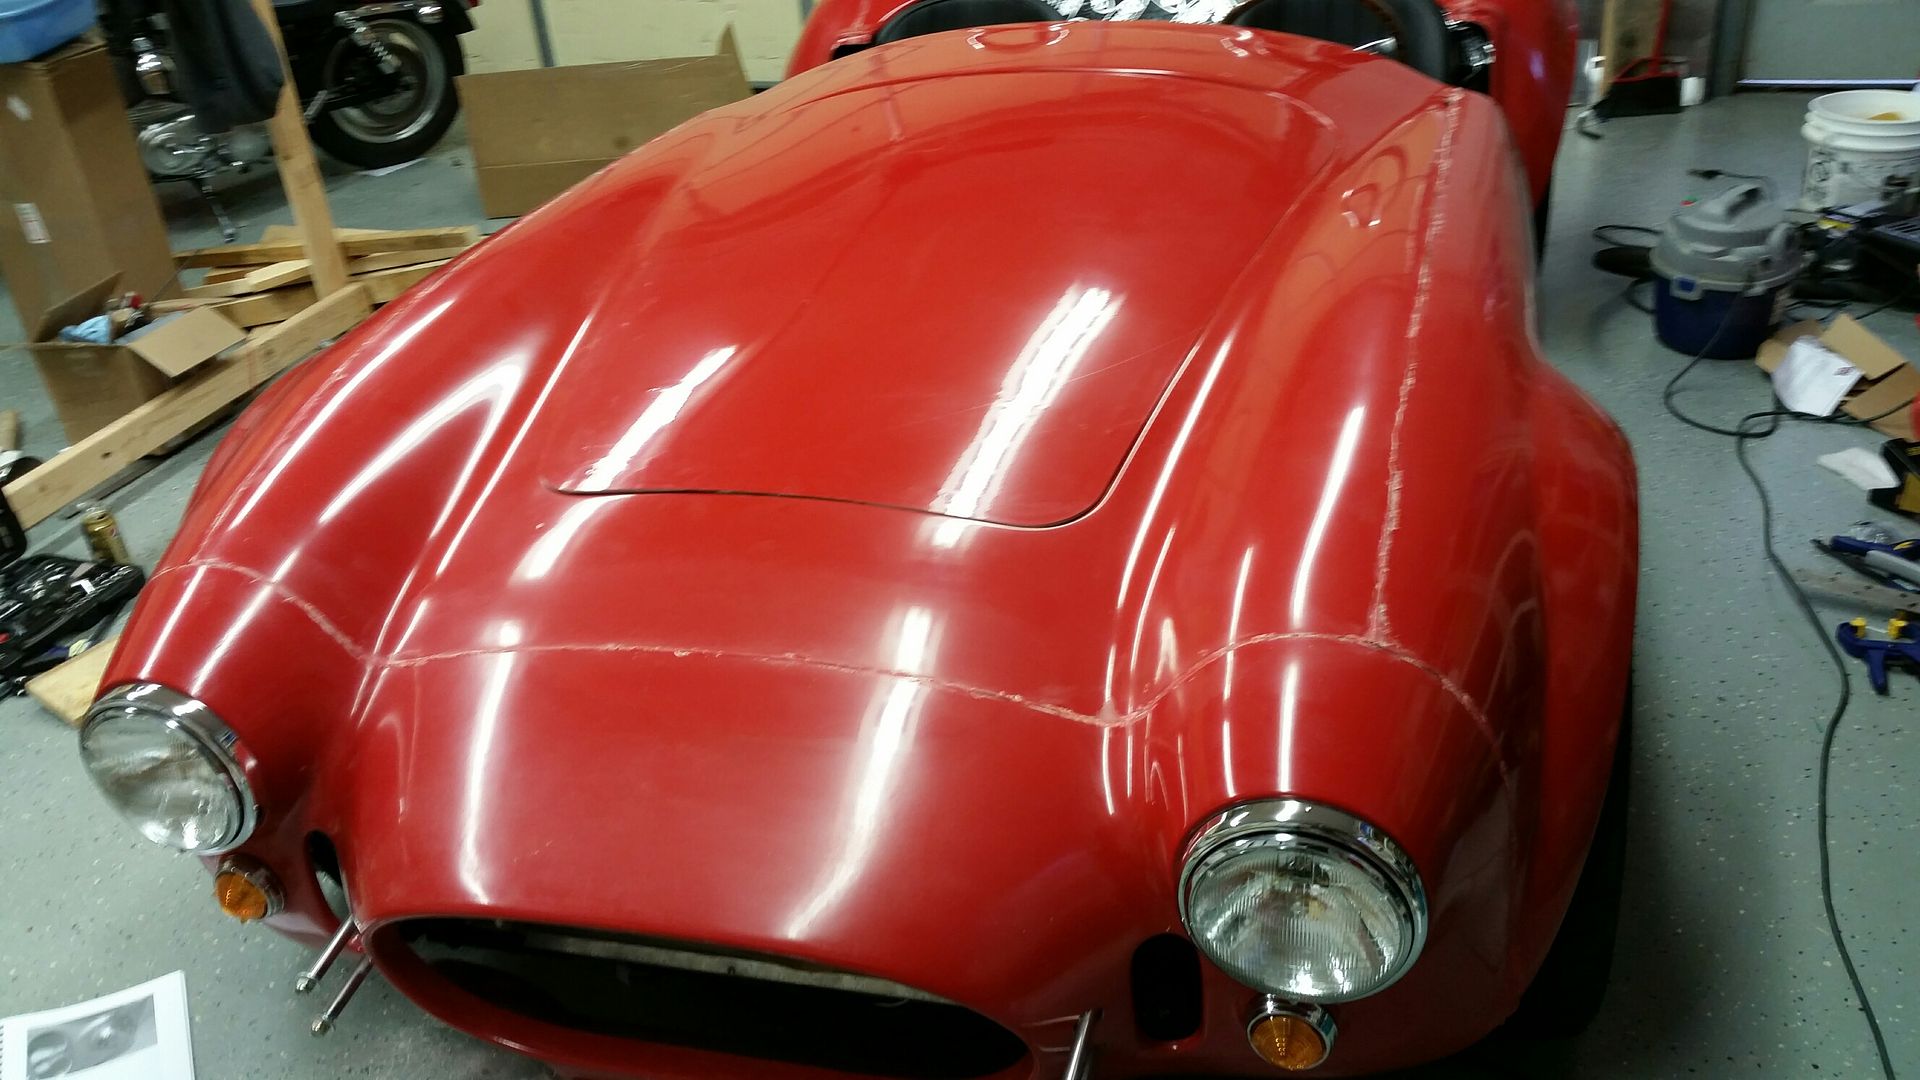
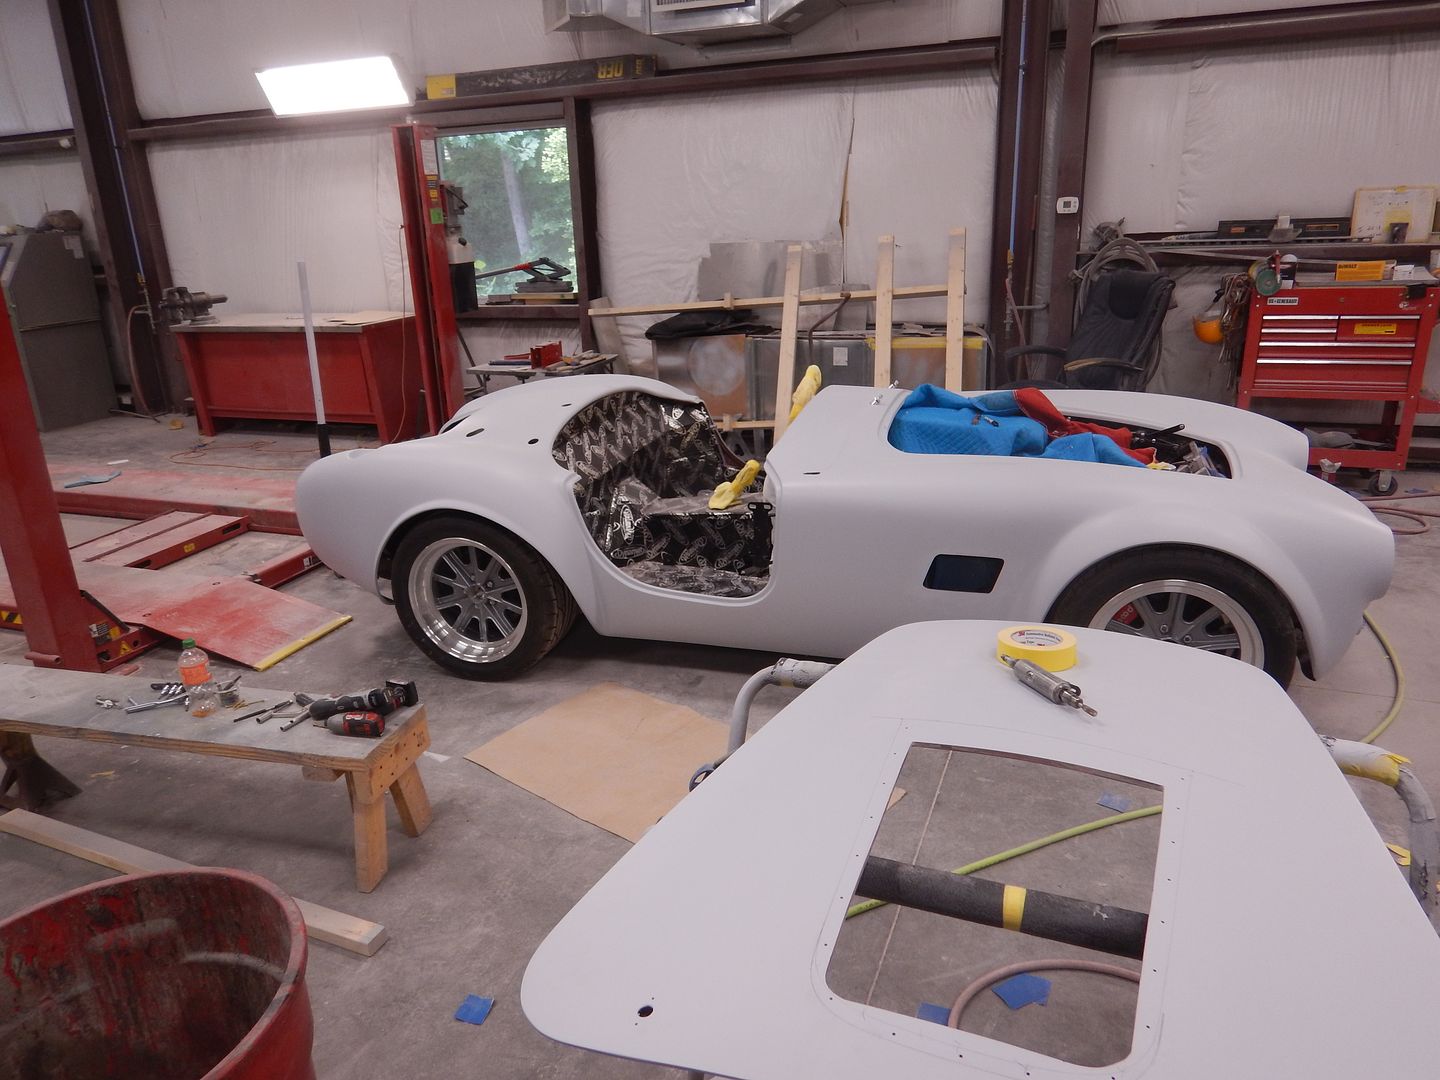
With the help of my youngest we managed to get the body on for the first time to do some test fitting.
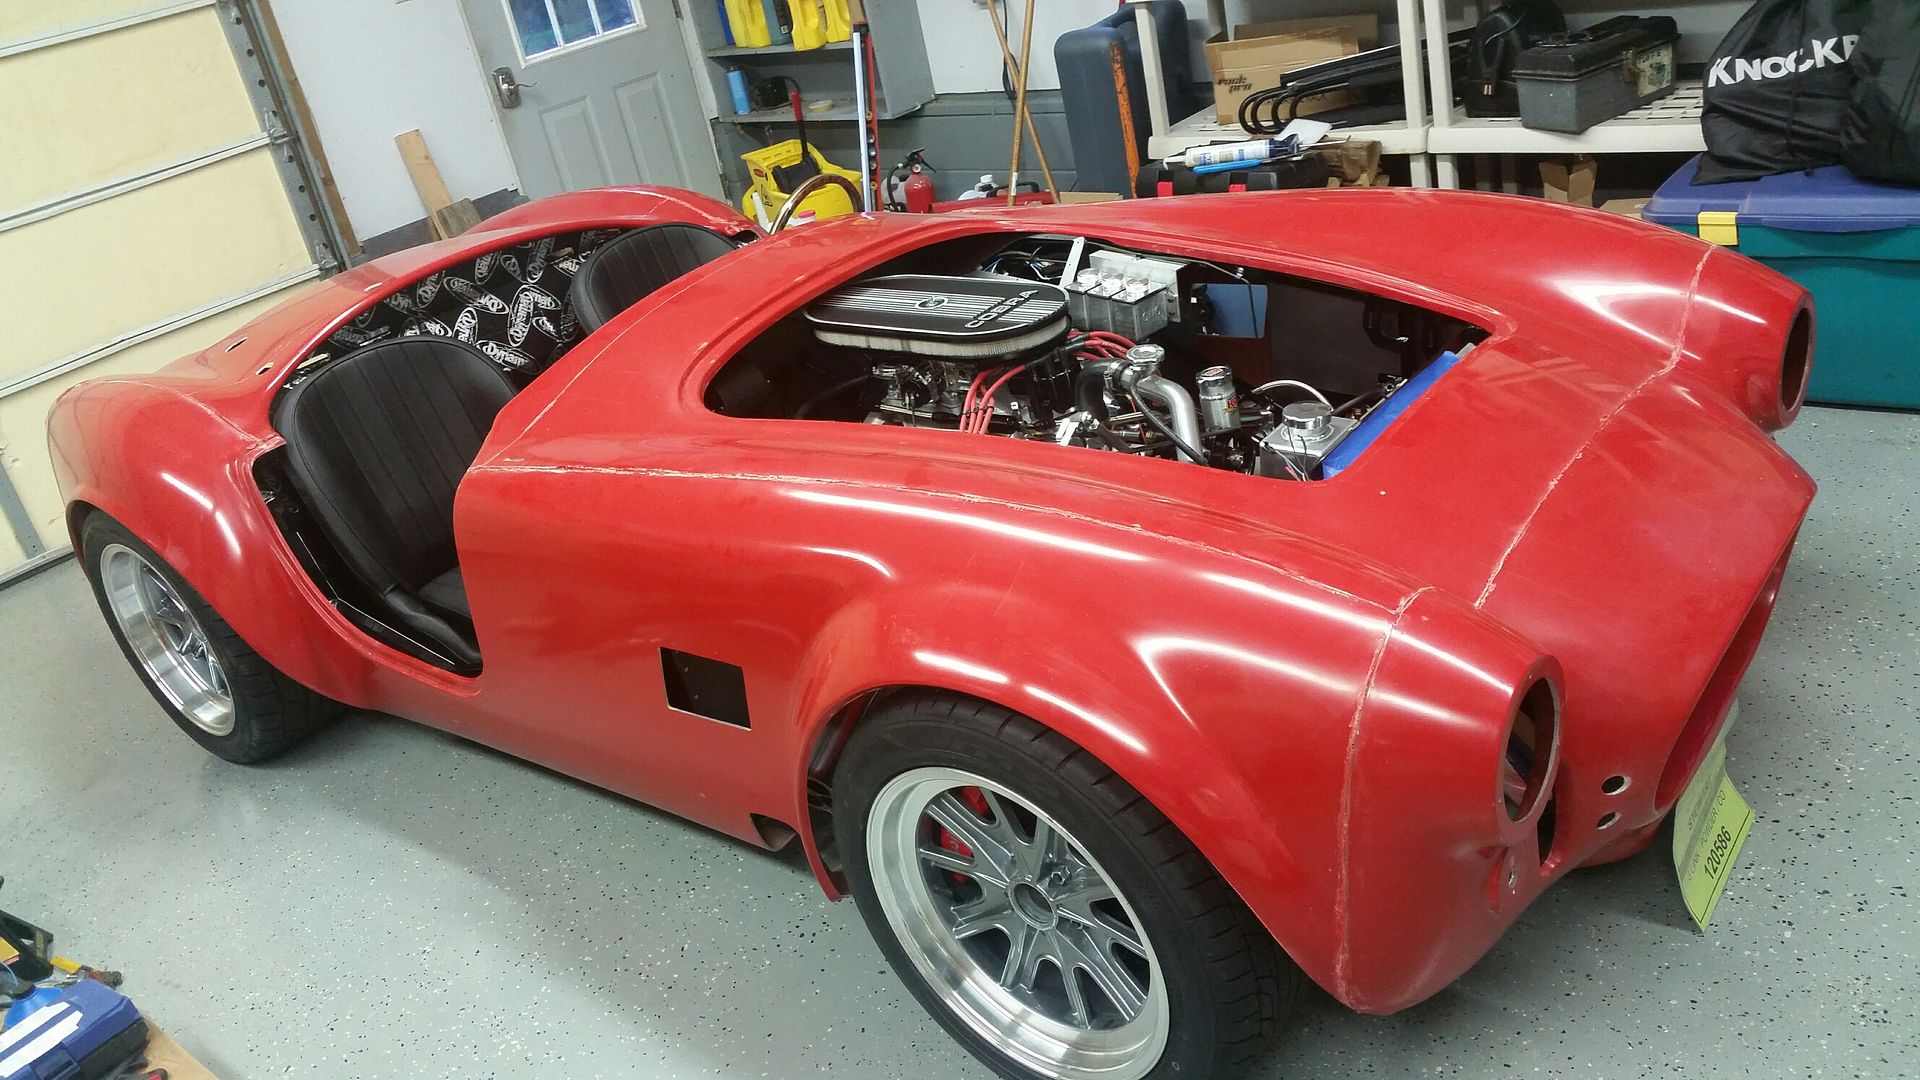
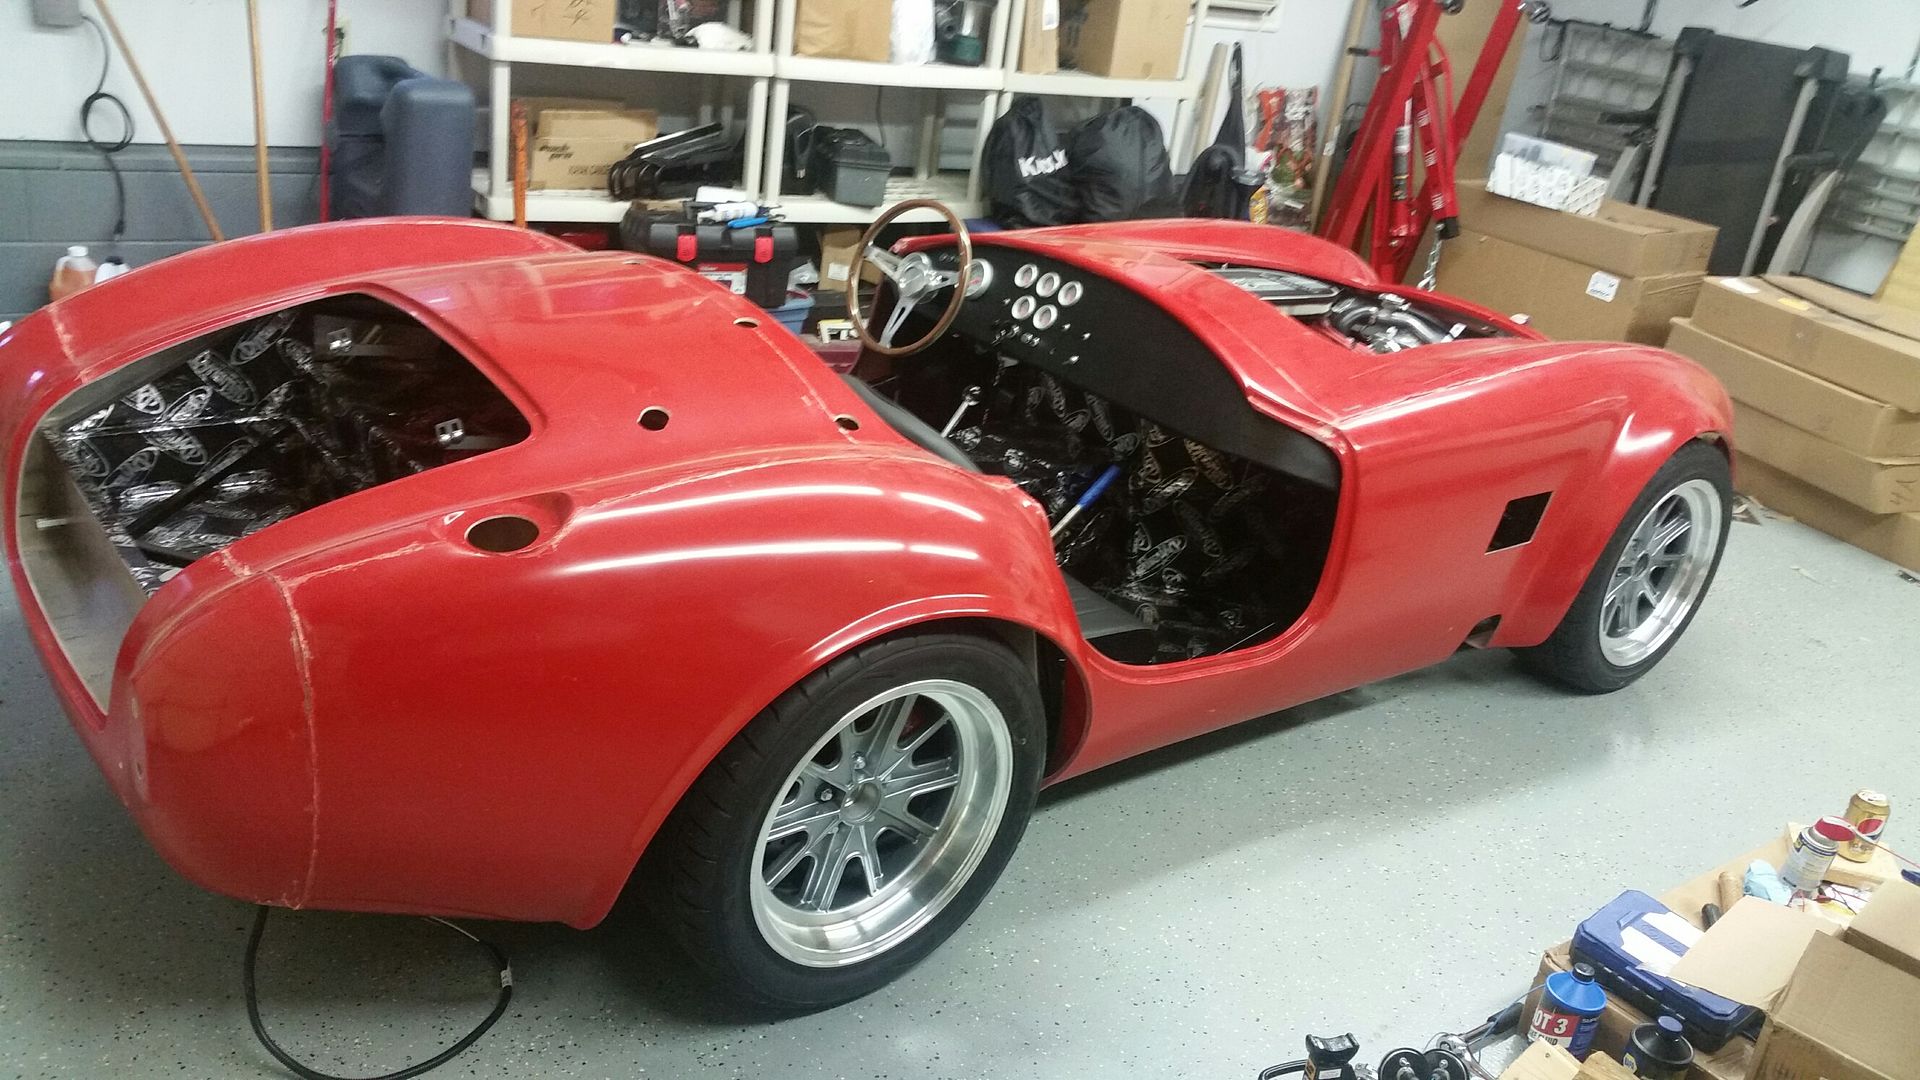
I will need to do some adjusting on the exhaust and roll bar cutouts. I will also need to knock back the lip at the dash just a bit. I am sure once I get into it more there will be a lot more to be adjusted. Also need to do some trimming on some of the aluminum.
For now I can go ahead and wire up all of the lights with weather pack connectors and finalize seat position.
-
Senior Member

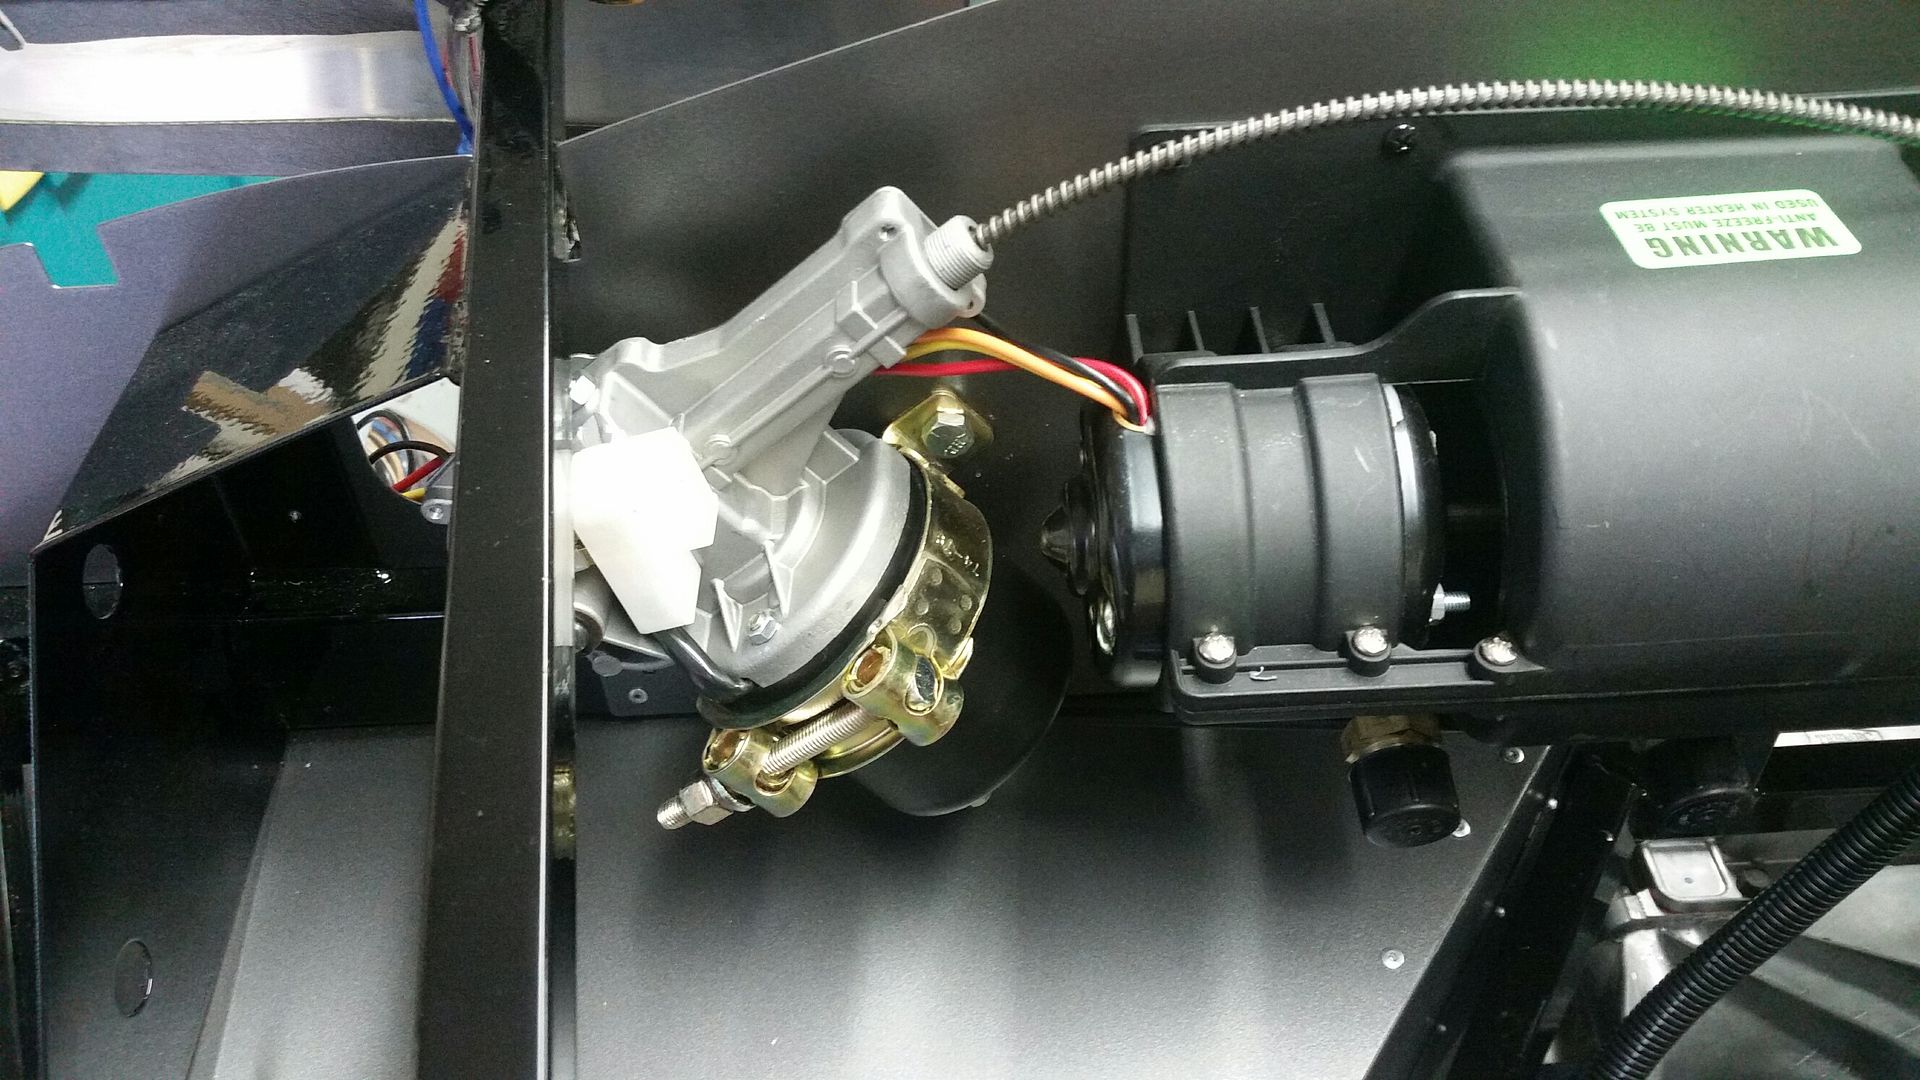
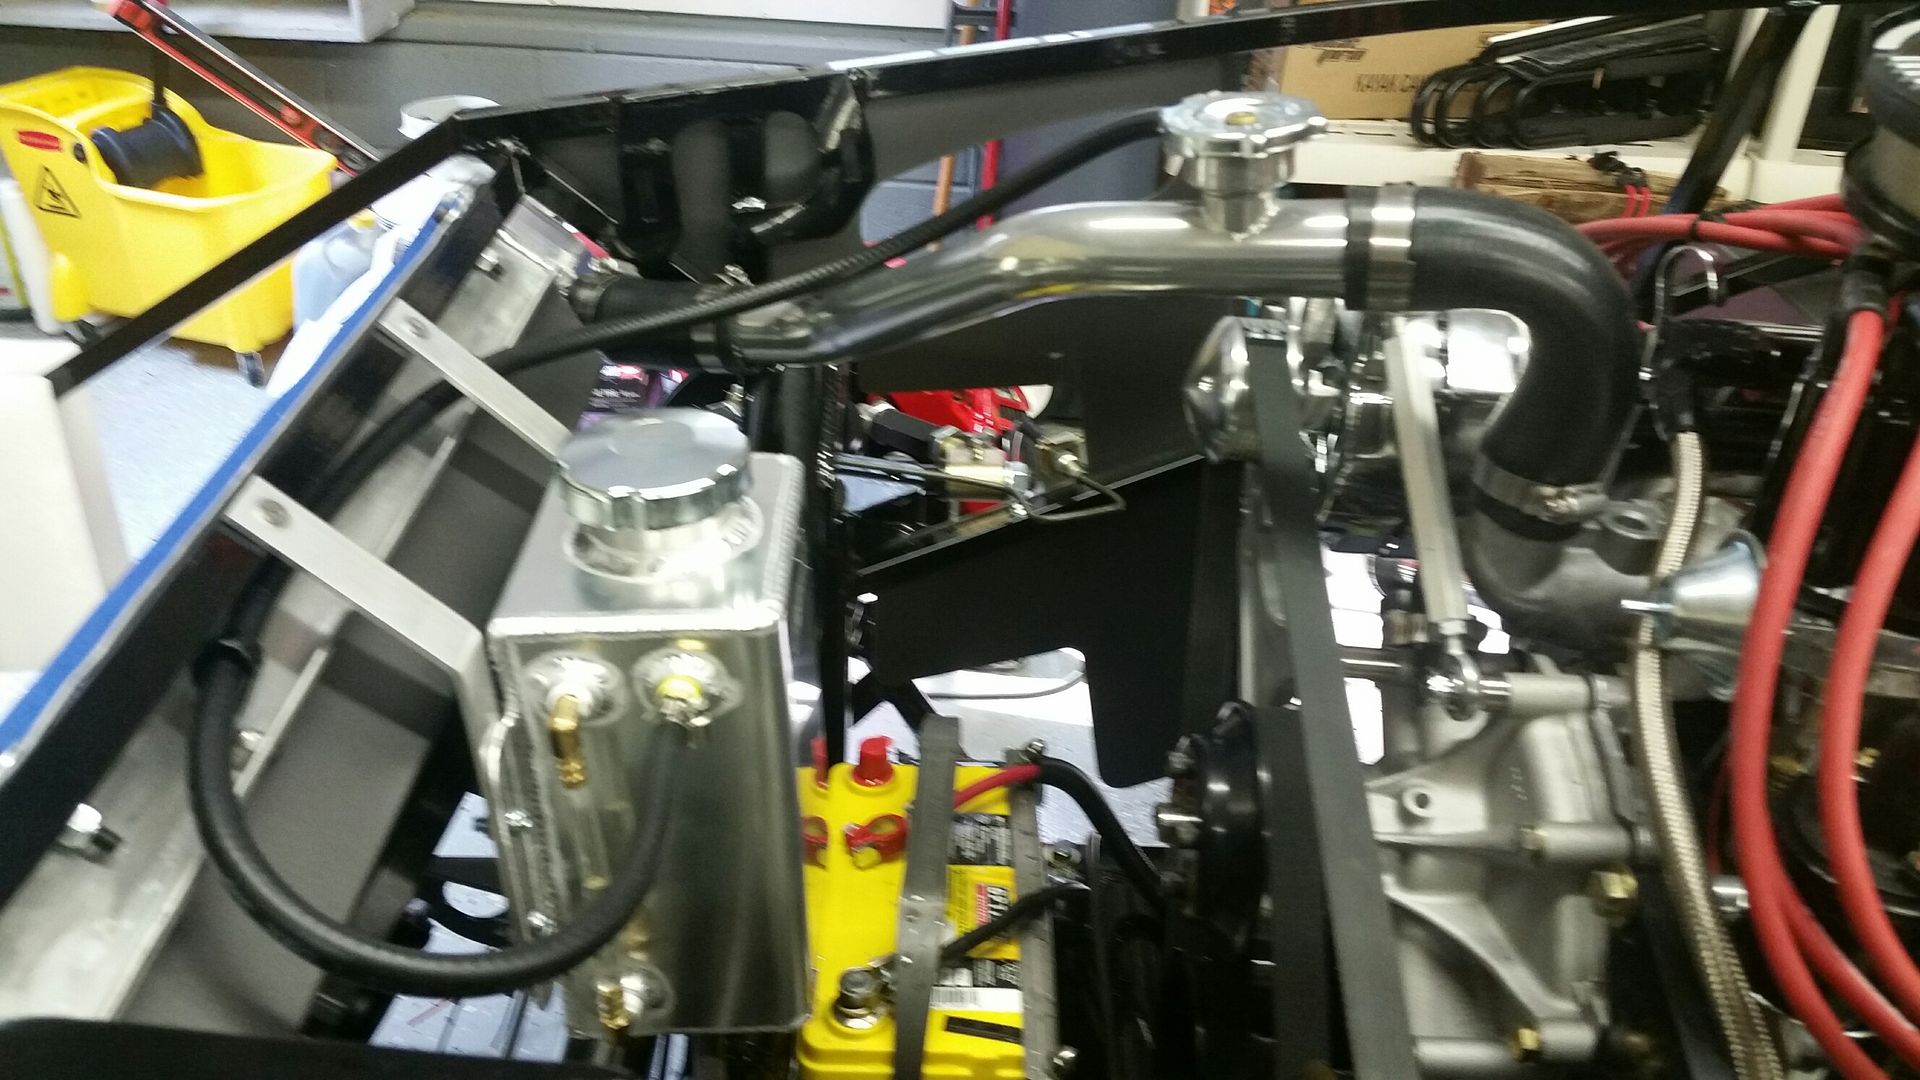
Hi Glen, I'm very encouraged with your progress. I'm wondering how you ran the heater hose from just under the alternator. I got a right angle heater hose fro Mike Forte but haven't tried to fit it yet.
Thanks and keep up the good work!
JR
Mk4 complete kit #9059 ordered 1/19/17 delivered 3/23/17, 2015 IRS, Fortes/DART347,TKO 600, hyd clutch, P/S, 12.88 wilwood brakes front and rear, heater/defrost and vintage gauges
First start and go-cart 4/11/18. Taken To Whitby Motorcars Greensboro, N.C. 2/5/21 for body/paint
-
Originally Posted by
jrcuz
Hi Glen, I'm very encouraged with your progress. I'm wondering how you ran the heater hose from just under the alternator. I got a right angle heater hose from Mike Forte but haven't tried to fit it yet.
JR
I actually still have to come back to that. I have stared at it quite a bit, but have not decided yet how to route them.
-
-
-
-
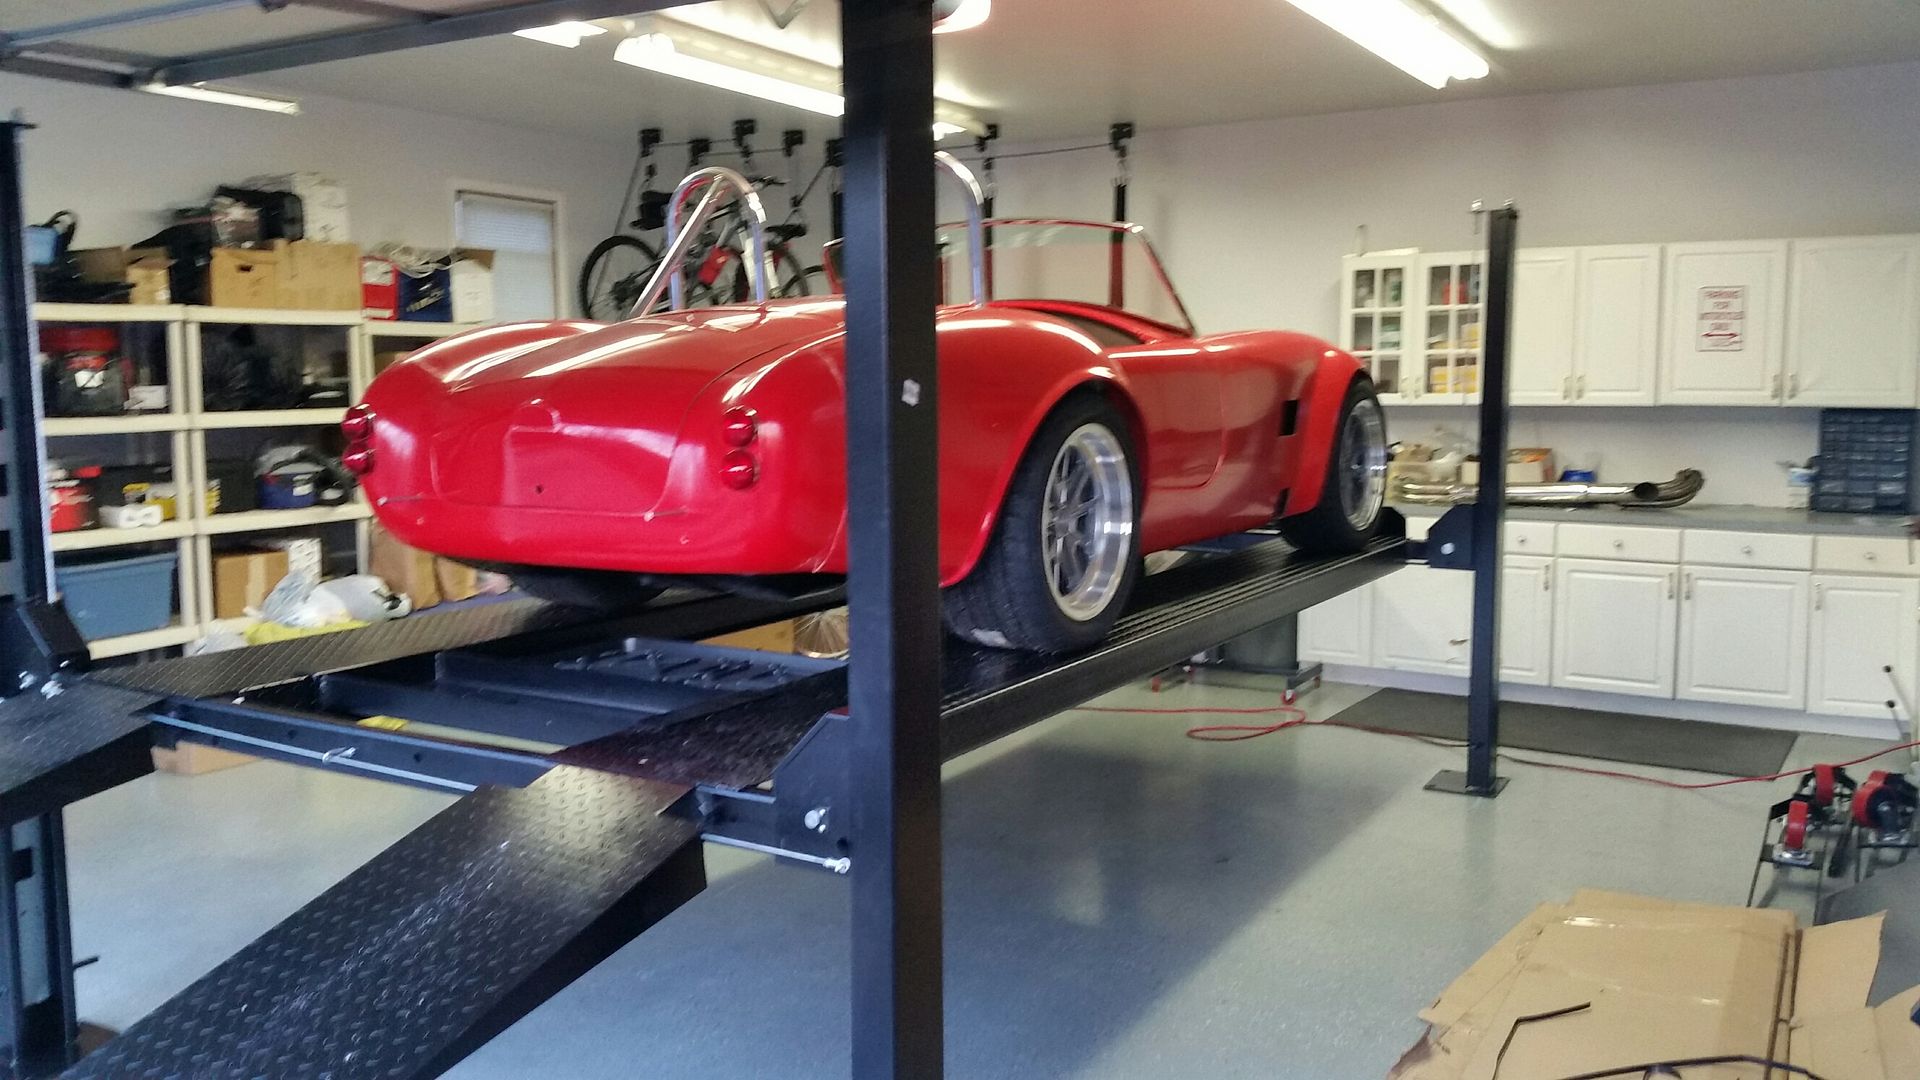
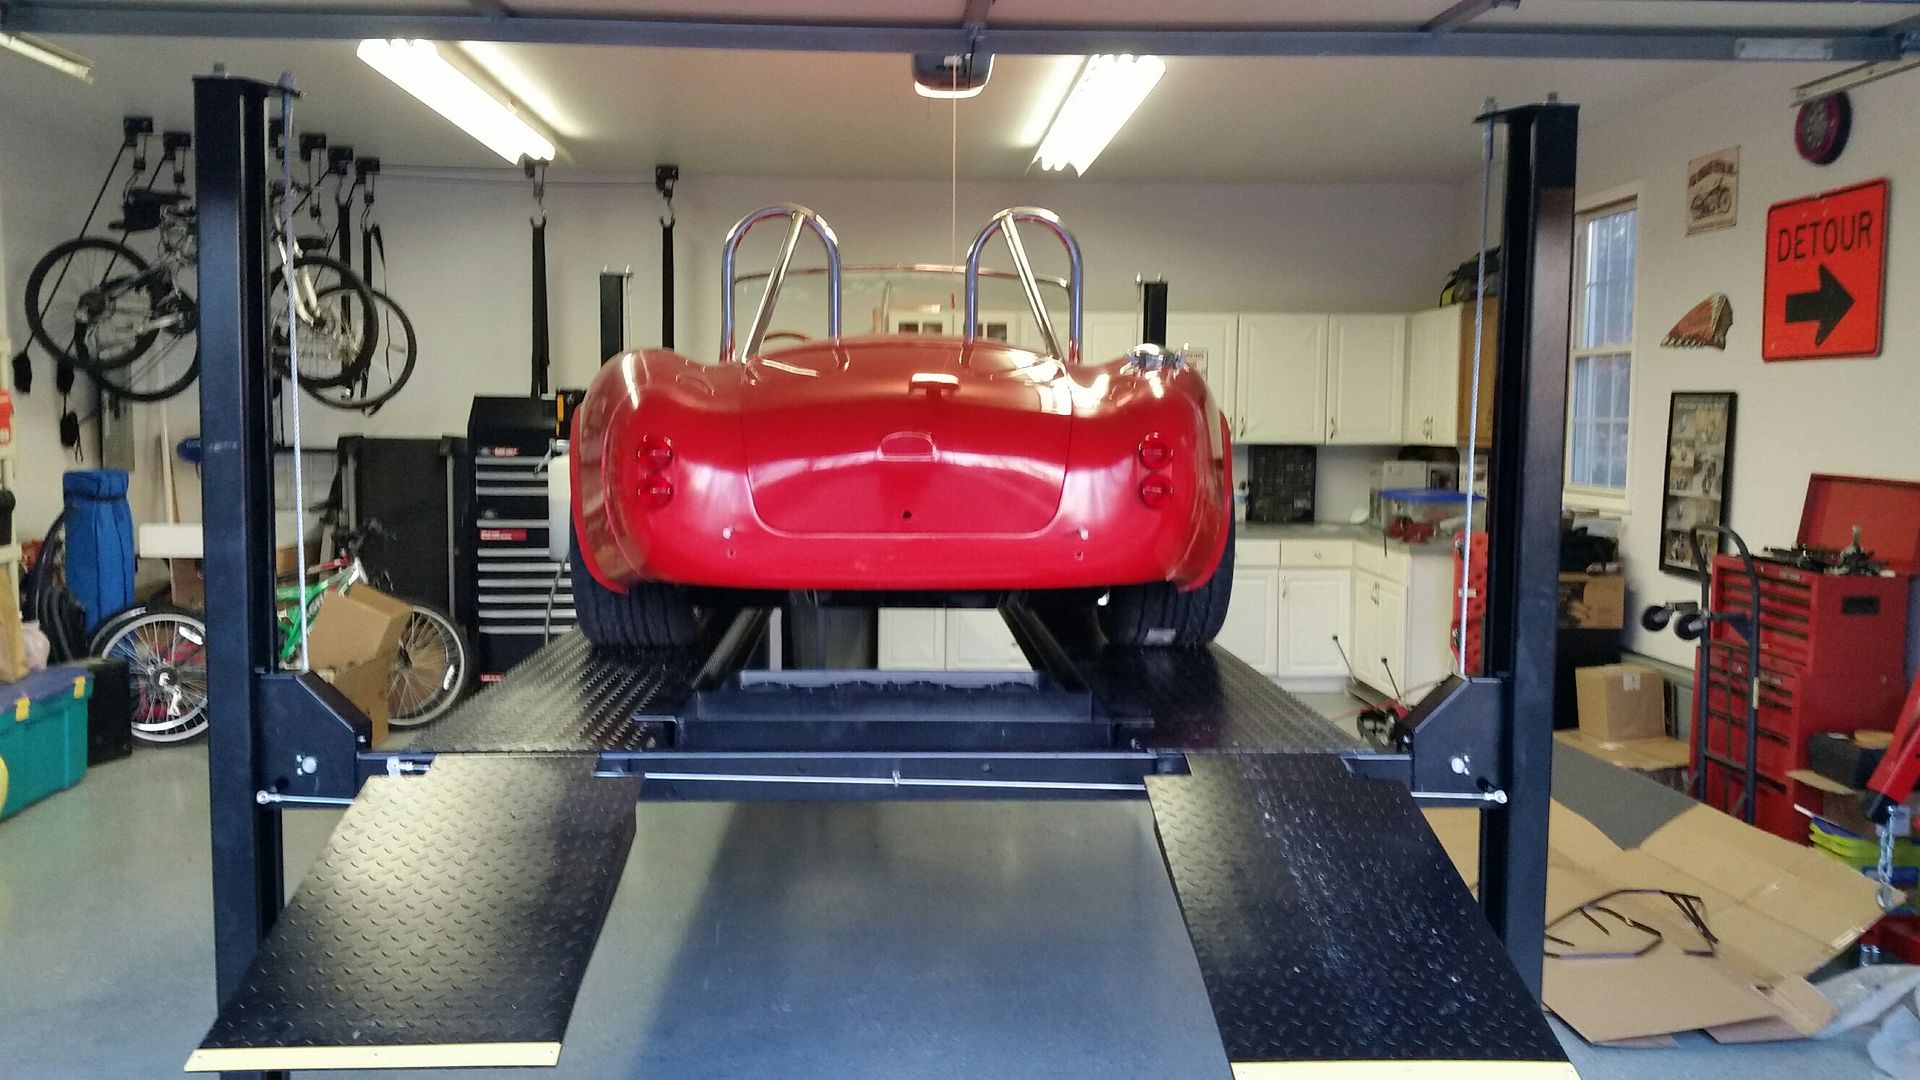
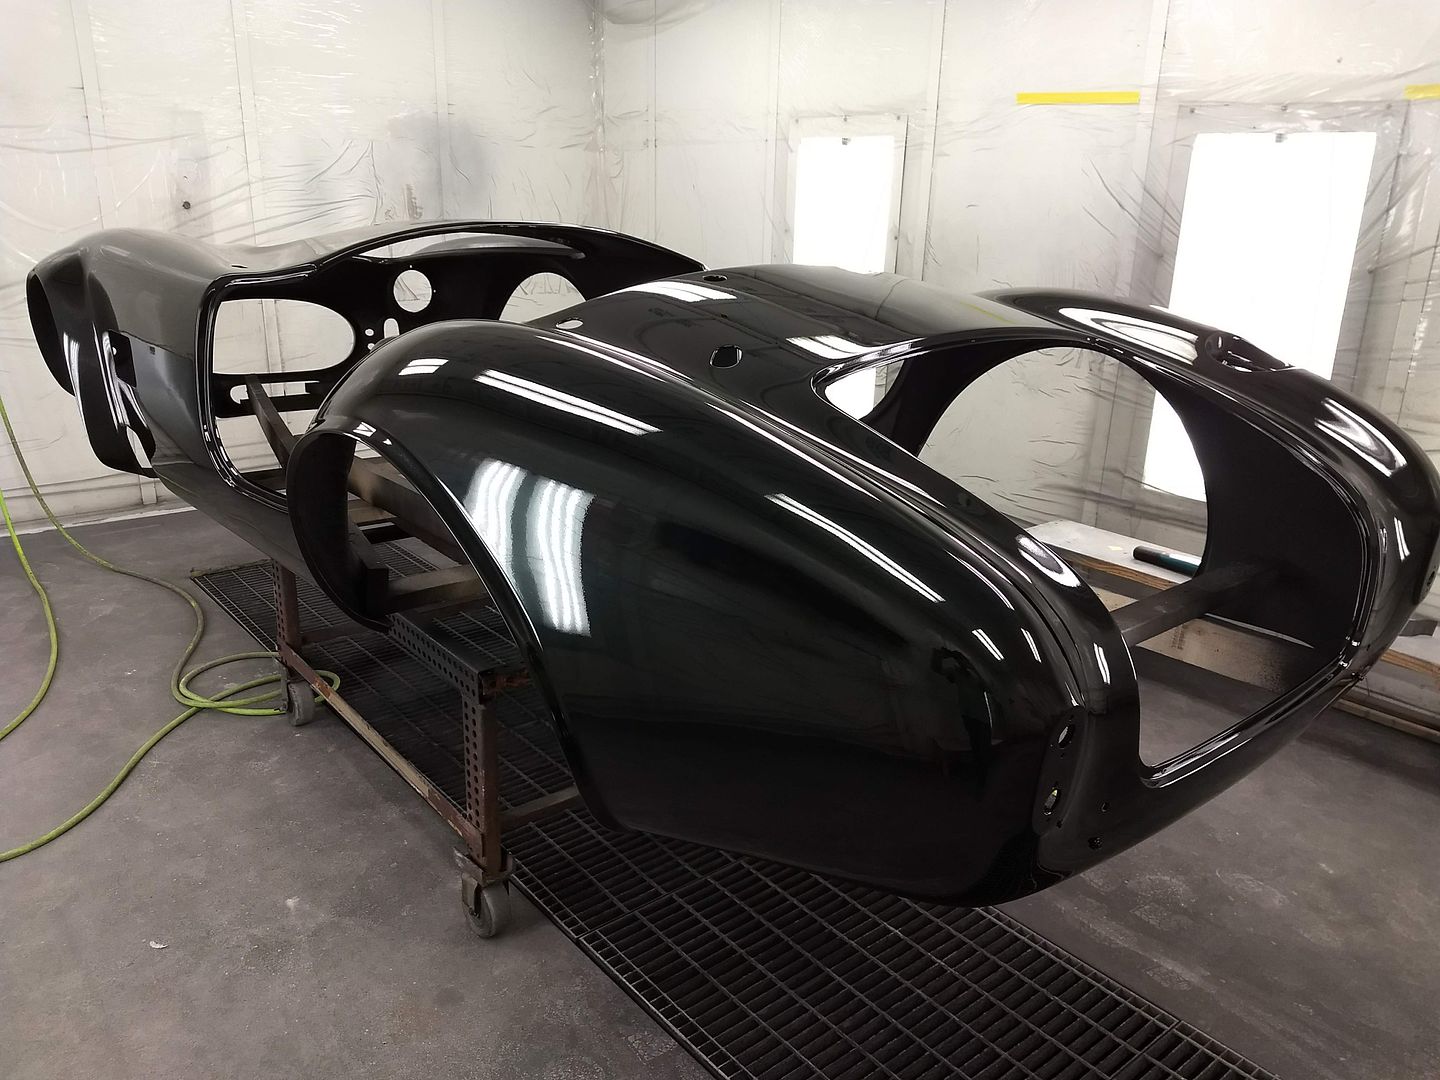
A few pictures of the progress. I brought it home last week to go ahead and get the carpet installed and dropped it back off this week. It should be back home in the next week or so.
-
-
Senior Member

Looks great Glenn! Not bad on the paint timing. Looks like you waited about 2.5 months.
-
Senior Member
Very nice Glen! I'd say I'm still a long way from finishing up on mine. I did do a first start and go-cart back on 4/11. Do you mind sharing in a pm who did your body and paint? I'm impressed. Lets hope you are on the road soon.
JR
Mk4 complete kit #9059 ordered 1/19/17 delivered 3/23/17, 2015 IRS, Fortes/DART347,TKO 600, hyd clutch, P/S, 12.88 wilwood brakes front and rear, heater/defrost and vintage gauges
First start and go-cart 4/11/18. Taken To Whitby Motorcars Greensboro, N.C. 2/5/21 for body/paint
-
Originally Posted by
cv2065
Looks great Glenn! Not bad on the paint timing. Looks like you waited about 2.5 months.
I waited about 3 months for them to get it in and then about 2.5 for them to get it done. It would have been done sooner, but they had a problem that caused a little bit of delay. They had pretty much gotten it finished and put it outside in the sun for the day to make room to work on something else. Whoever moved it outside did not set the parking brake and appears they did not have it in gear. It rolled forward and hit the curb. It wound up breaking a small piece off the bottom of the nose. They stepped up and fixed it. I looked pretty hard at it and you can't tell where the damage was. Overall they did a great job.
-
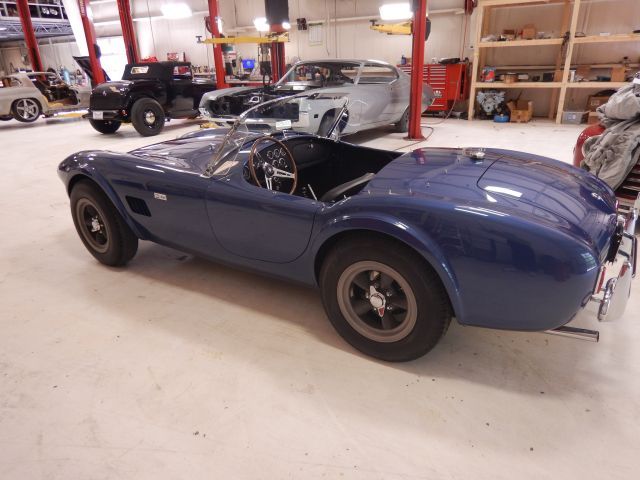
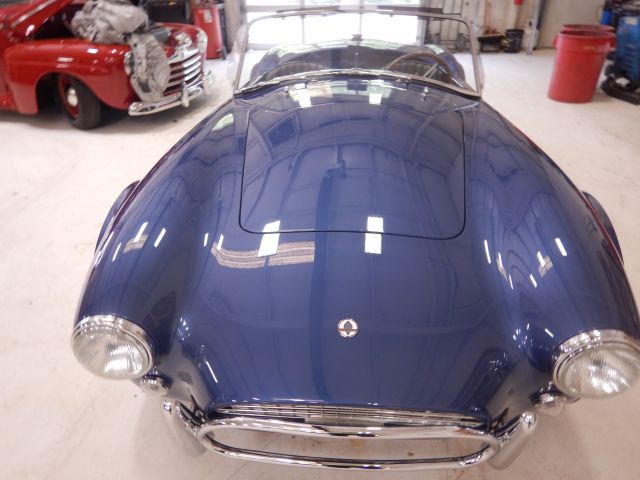
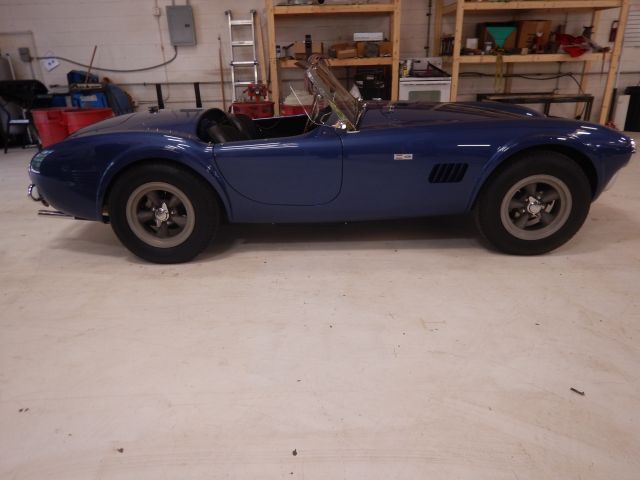
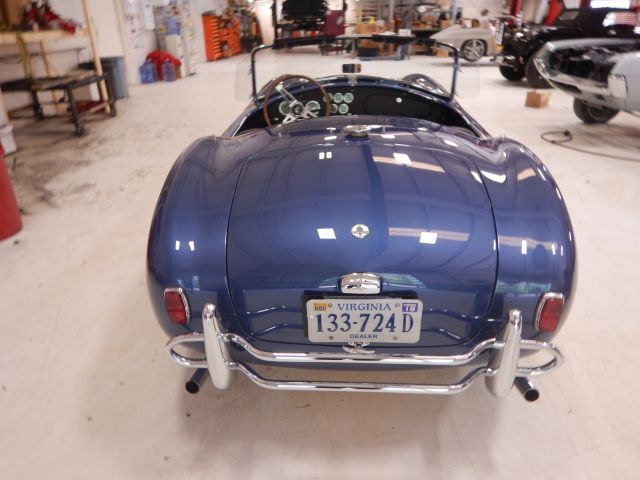
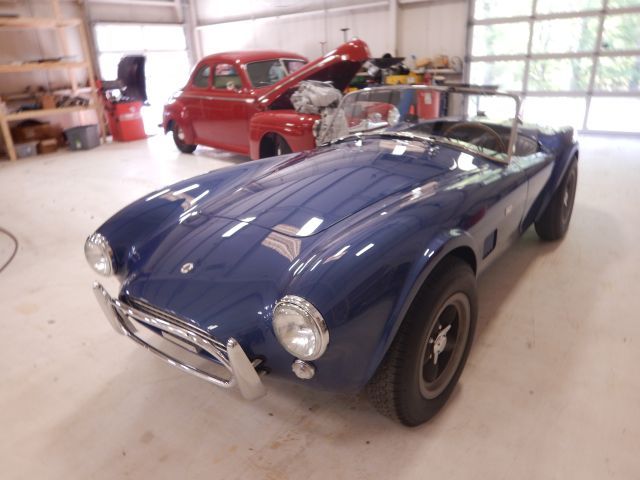
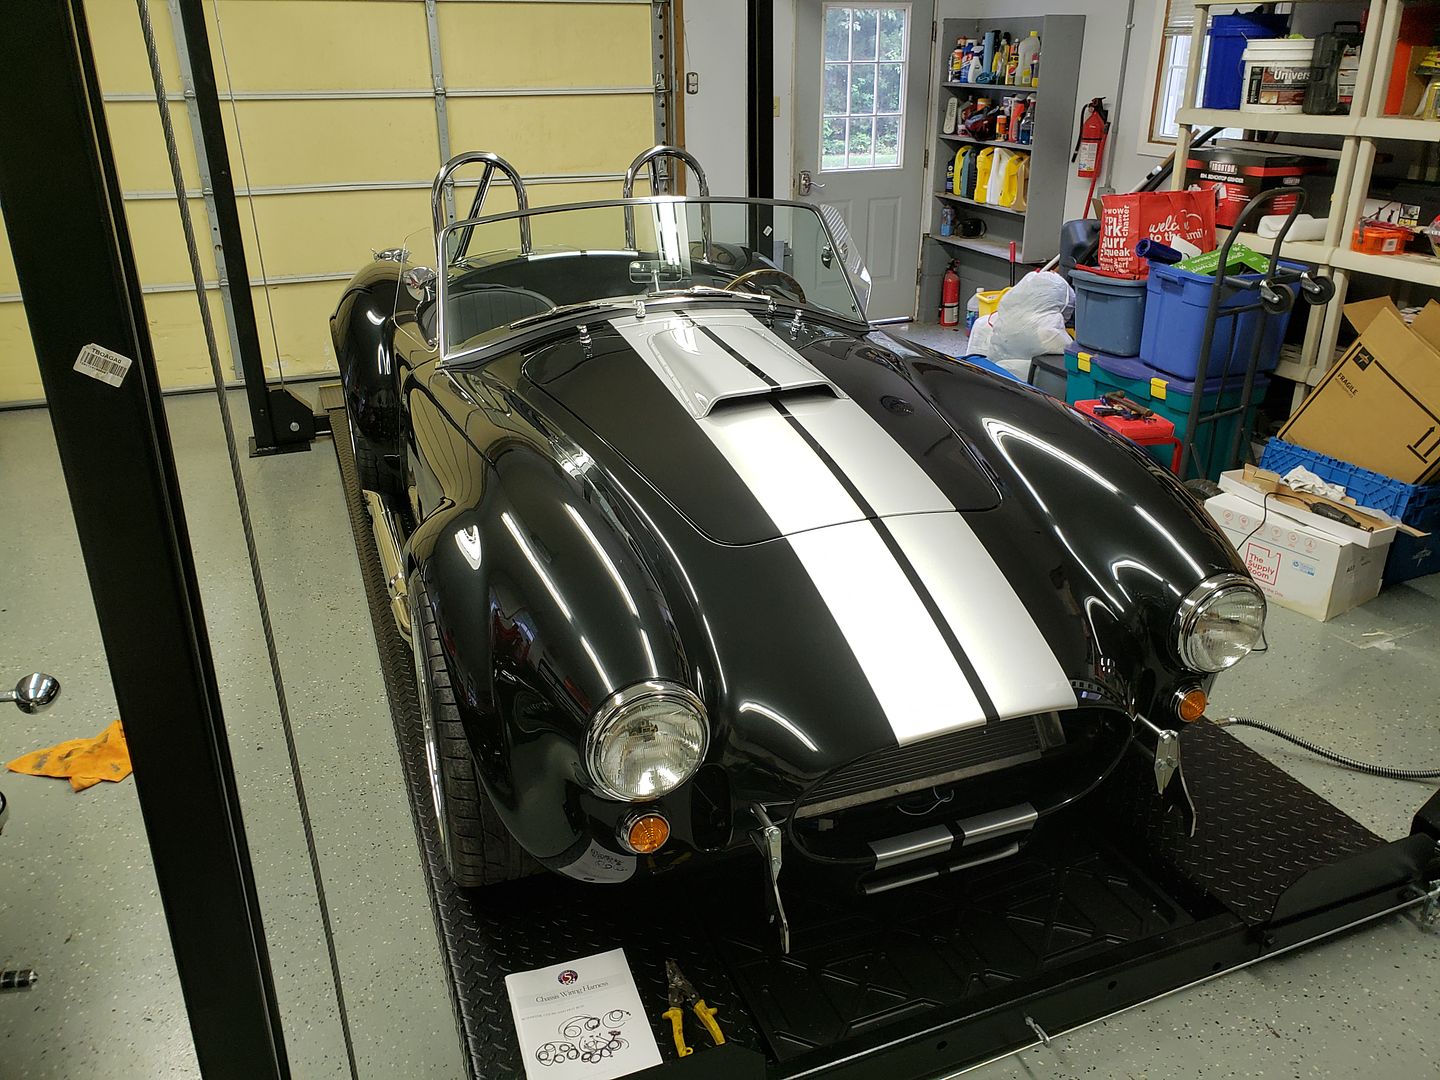
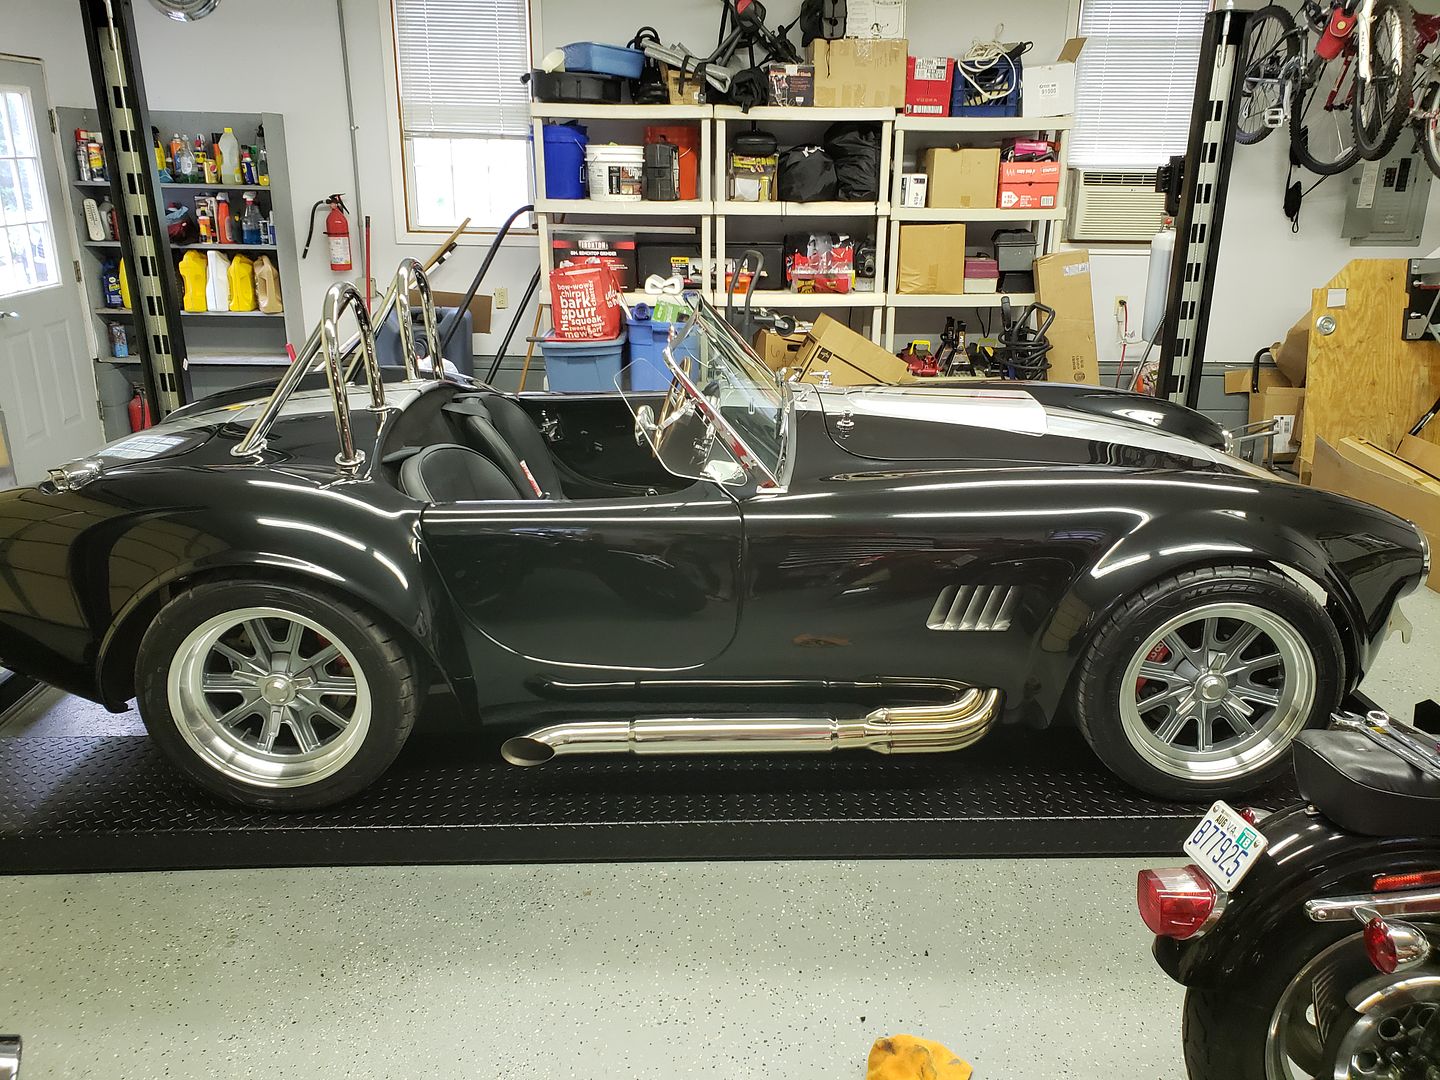
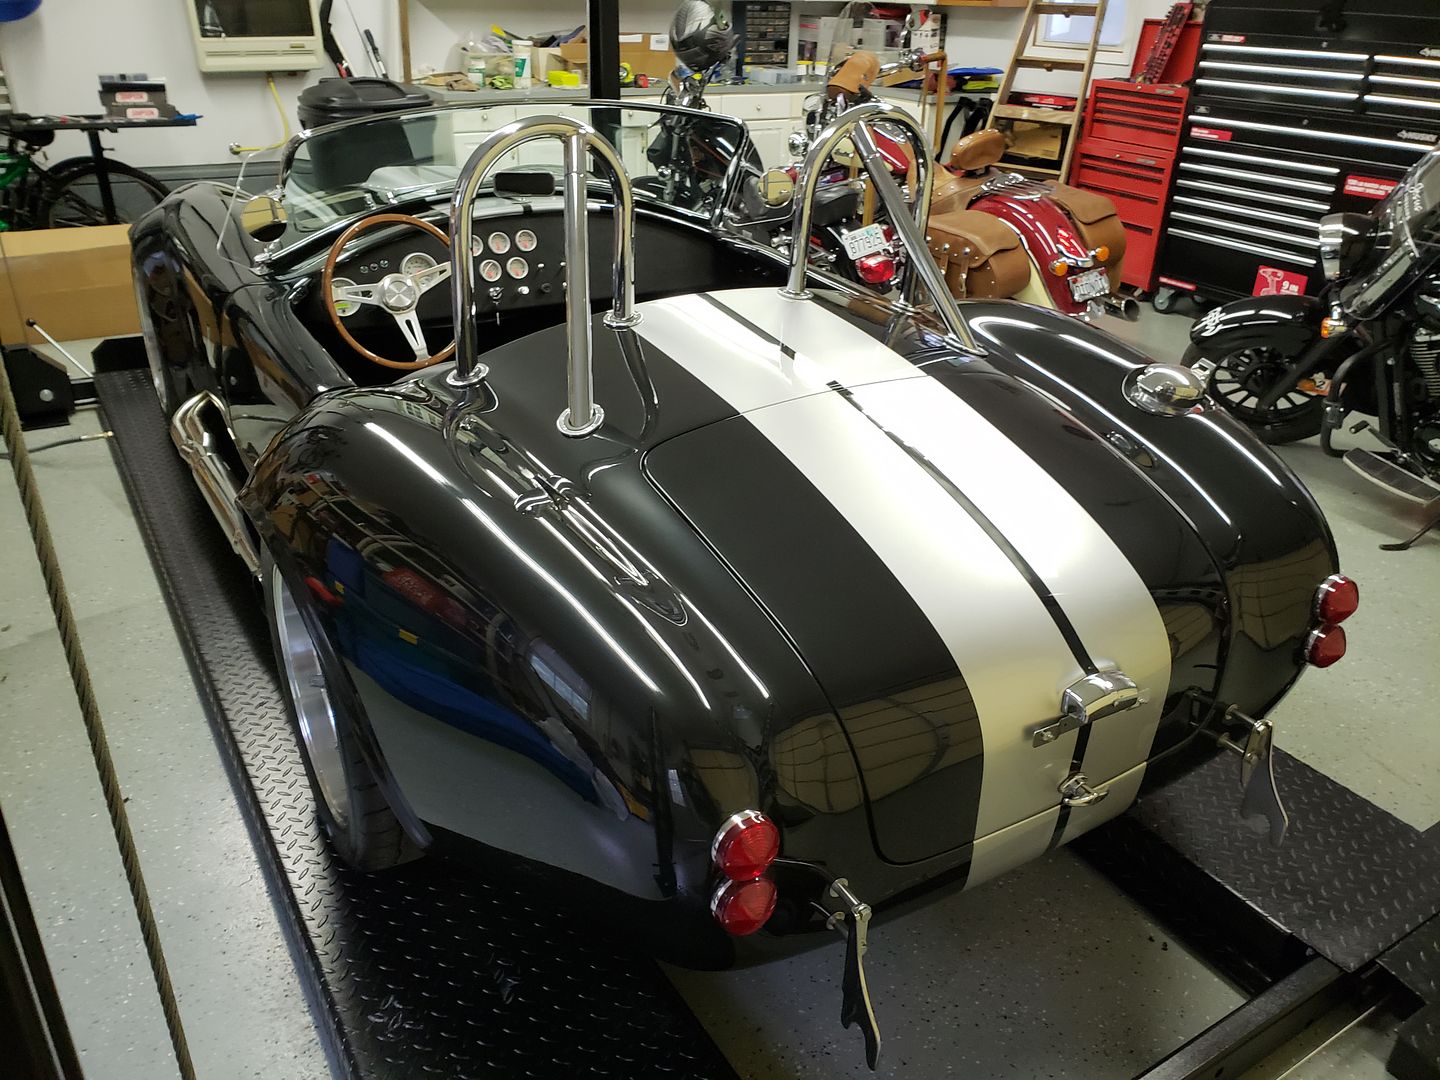
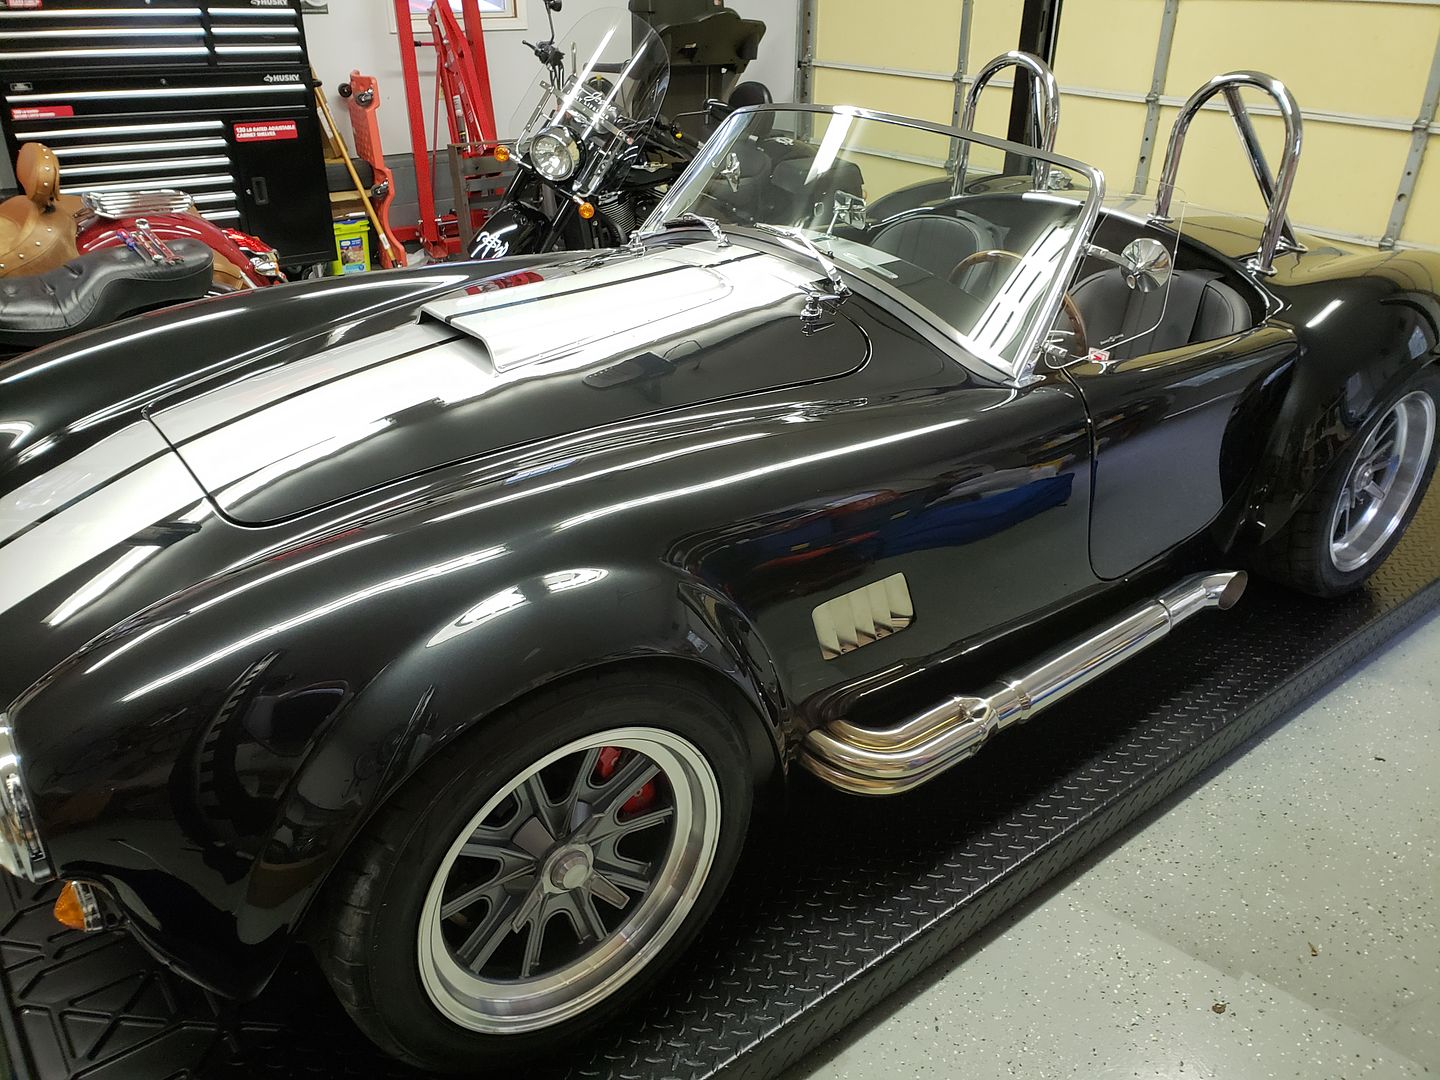
It's been a long time since I posted any updates. I have been working on things off and on since I finally got the car titled in September of 2018. Since then I have put about 2000k miles on it. It was not complete yet at the time. I just finally finished up this past week in getting the final gremlins worked out. The one good thing about being quarantined.
Some pictures of the final build.
20200419_154845.jpgIMG_1215.jpg20200419_154910.jpg20200419_155009.jpg20200419_154950.jpg20200430_191550.jpg
MKIV #9084, Dart 363 from Mike Forte, TKO600, Hydraulic Clutch, Power Steering, 3-Link Moser Rear End, Wilwood Brakes, Dual Roll Bars
Delivered 4/21/2017, First Start 7/29/2017, Street Legal 9/24/2018.
Build Thread
-
Post Thanks / Like - 0 Thanks, 1 Likes
 Fman
Fman liked this post
-
Senior Member
Looks great Glen. Good to see you posting again. I'm still building.
JR
Mk4 complete kit #9059 ordered 1/19/17 delivered 3/23/17, 2015 IRS, Fortes/DART347,TKO 600, hyd clutch, P/S, 12.88 wilwood brakes front and rear, heater/defrost and vintage gauges
First start and go-cart 4/11/18. Taken To Whitby Motorcars Greensboro, N.C. 2/5/21 for body/paint
-
Congratulations. Timeless look, there. Well done!
-Steve


 Thanks:
  Likes:


 Reply With Quote