BluePrint Engines

Visit our community sponsor

Thanks Thanks:  24
Likes Likes:  101
Page 4 of 14 FirstFirst ... 23456 ... LastLast
Results 121 to 160 of 545

Thread: Yama-Bro's MK4 Build Thread - #9158 (Index in Post #1)

  1. #121
    Senior Member Yama-Bro's Avatar
    Join Date
    Jul 2012
    Location
    Kearney Nebraska
    Posts
    847
    Post Thanks / Like
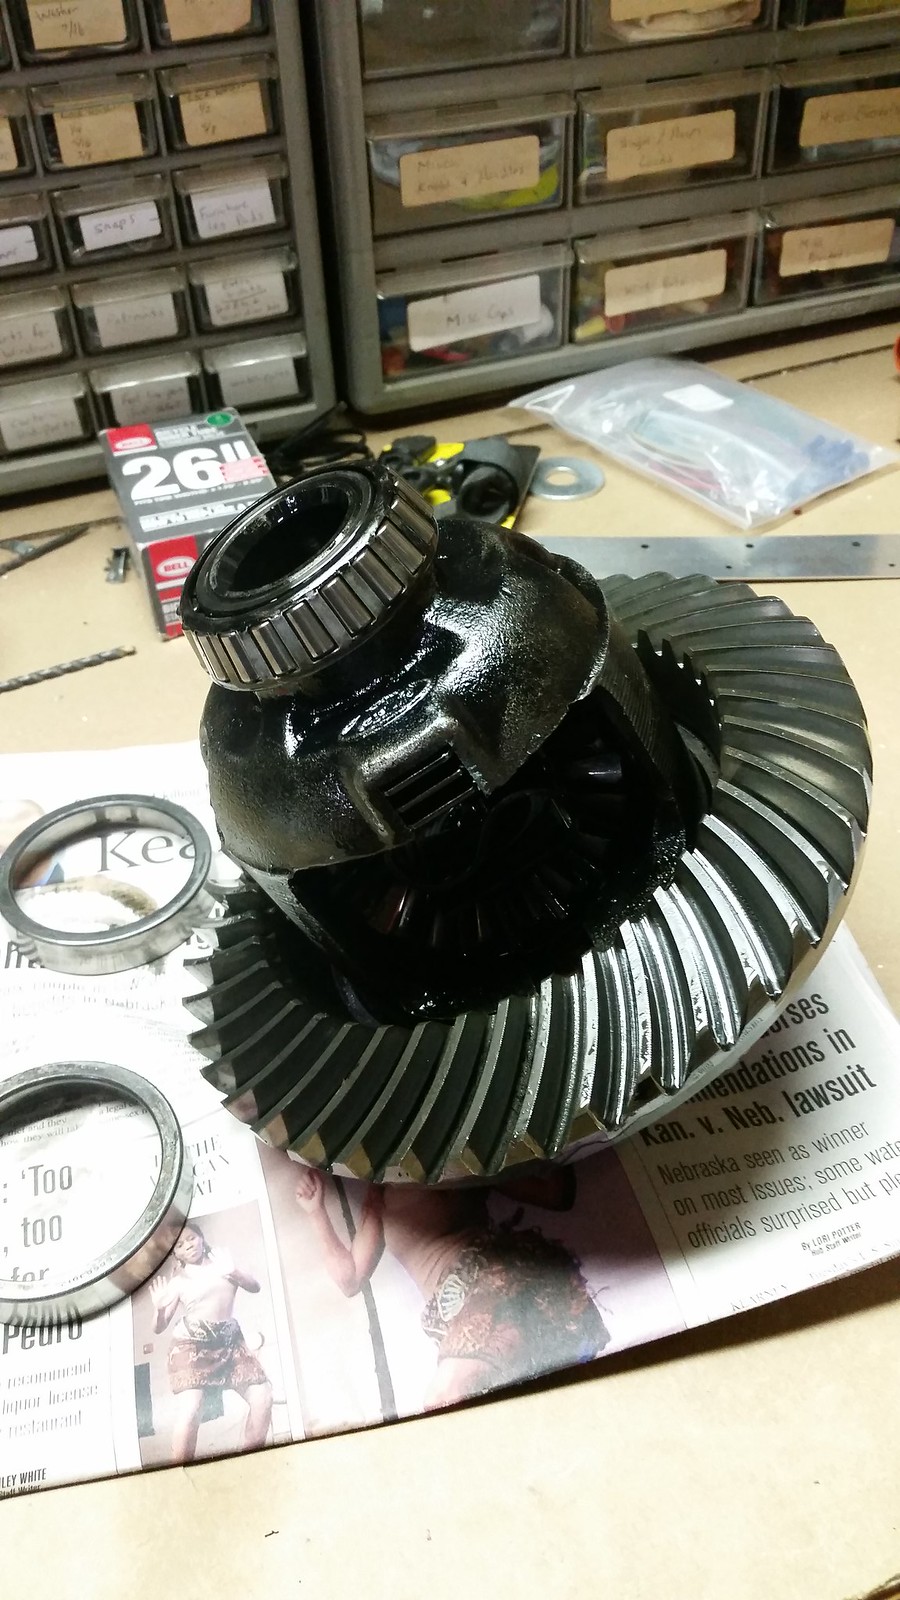
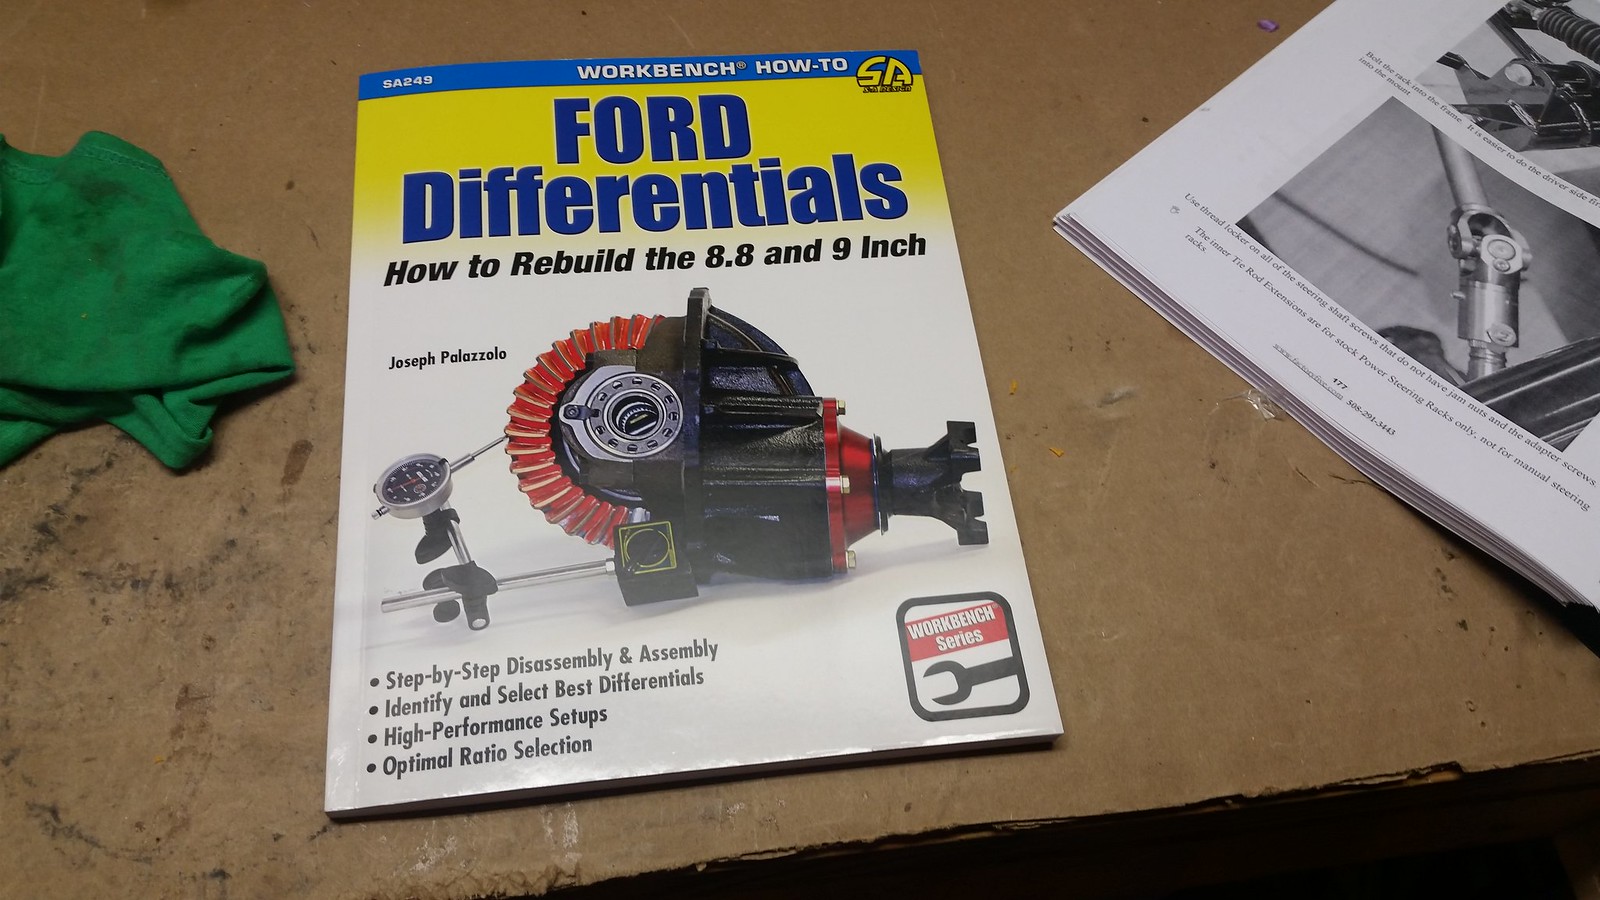
    For the axle, I decided to go with the 3 link straight axle. I would prefer the IRS, but I felt this was an area that I could save a bit of money and still end up with good performance. Obviously, I'll be giving up some of the smooth ride characteristics of the IRS, but I need to keep the budget in check some how and I'm willing to sacrifice. I gave myself the goal of buying and rebuilding the axle for a total of $1000. After looking into parts, I decided for that price, I can get a used axle, gut it and replace all the internal parts with new parts, plus have enough left over to pay a professional to do the more complicated setup procedures if I get in over my head (or lack the tools). We'll see how this works out.

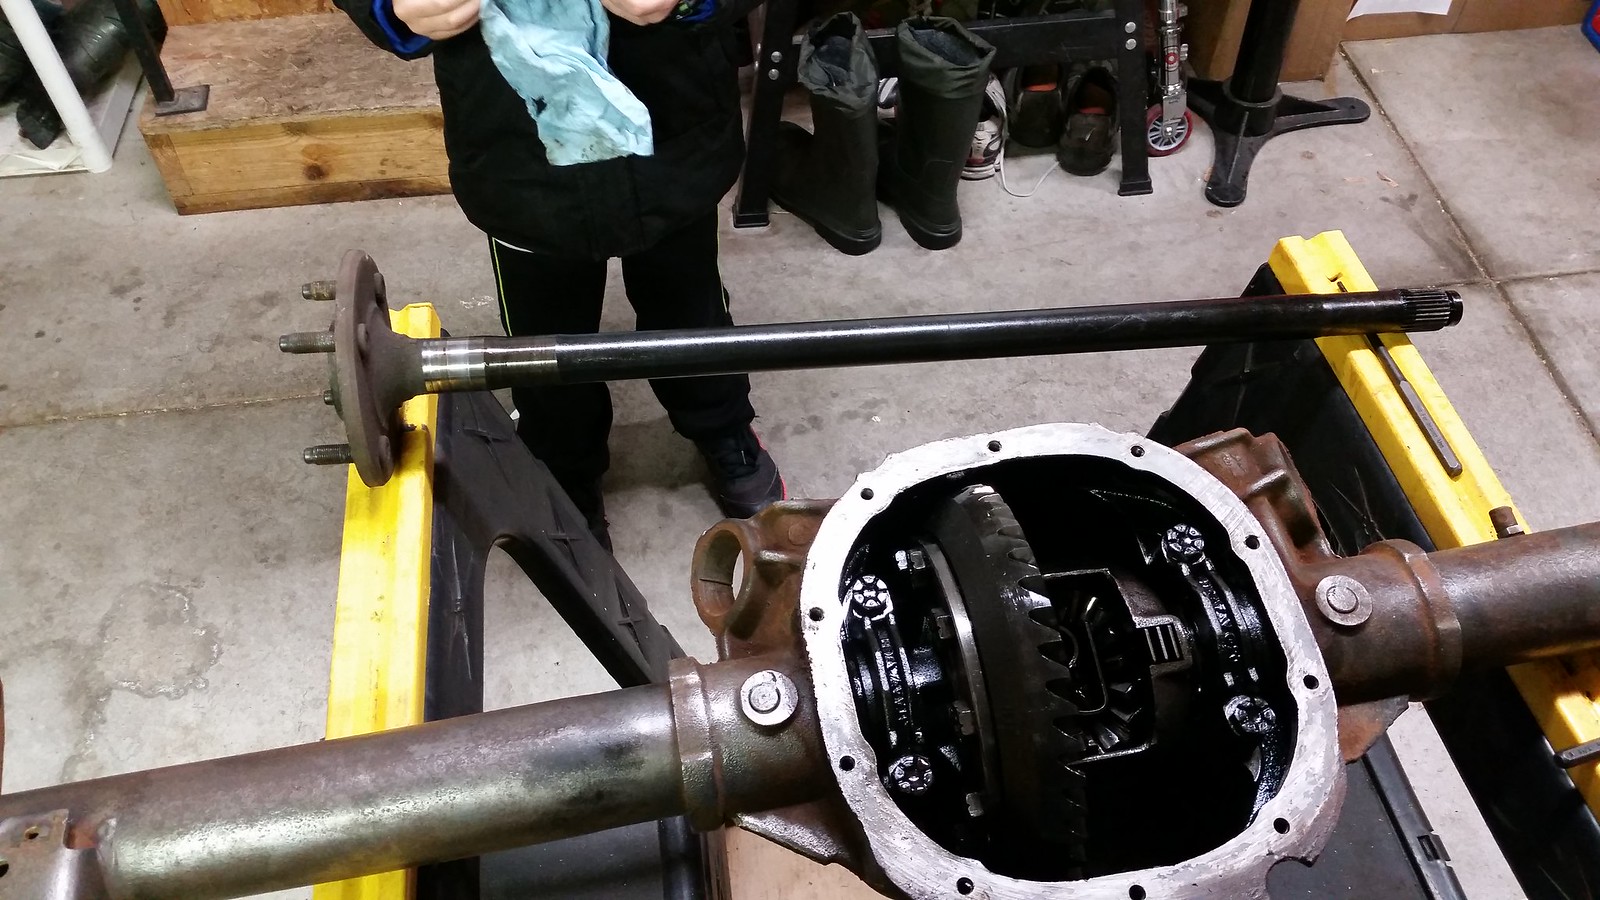
    Since this is going to be the only donor part in my roadster, I started on the quest to find a suitable axle long before I ordered my kit. I did some reading on the forum and general question asking. See my old post here. I learned that the axle for the Fox body GT Mustangs ('87 to '93), that Factory Five designed their kit around, is the ideal size at 59.25" flange to flange. I also learned that the axle housings for the '94 to '98 Mustang GTs are the exact same length, however the axle shafts in those years are roughly .75" wider per side. Since I was planning on replacing all the internals of the axle, the shaft lengths didn't concern me and any housing from 87' to 98' would work. If you are going to rebuild an axle and are thinking of using the stock internal parts, keep in mind that the fox body 'stangs had 4 lug axle shafts, so they would need to be replaced if you are going to use 5 lug rims. Basically, you'll be replacing the axle shafts in any axle from '87 to '98 no matter what, unless you are using 4 lug rims or wheels with a custom offset.

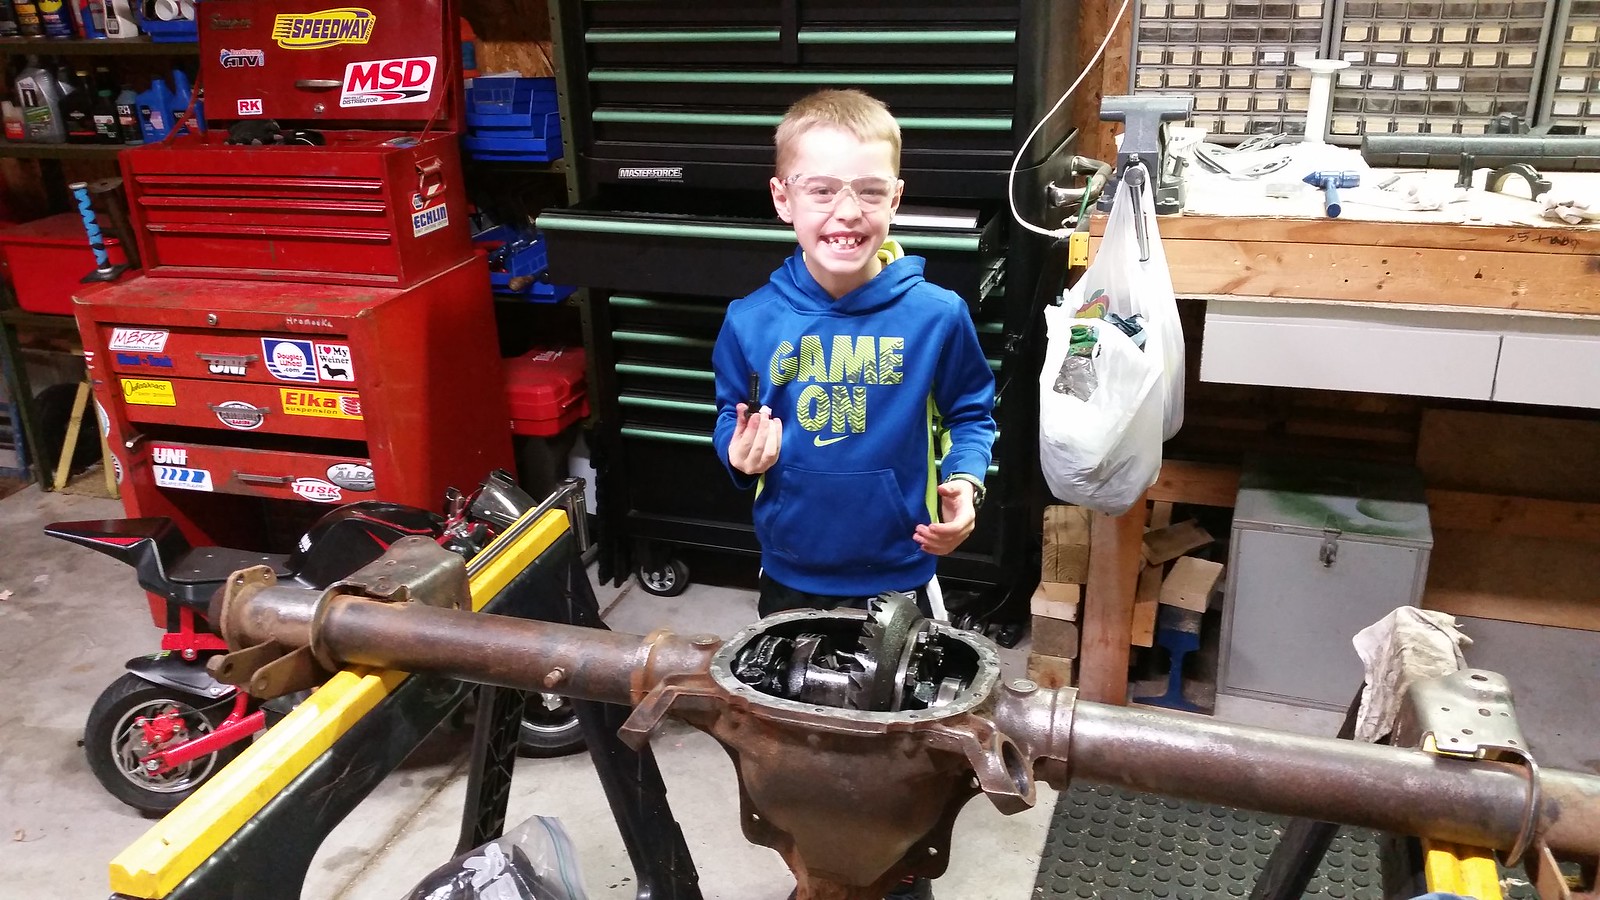
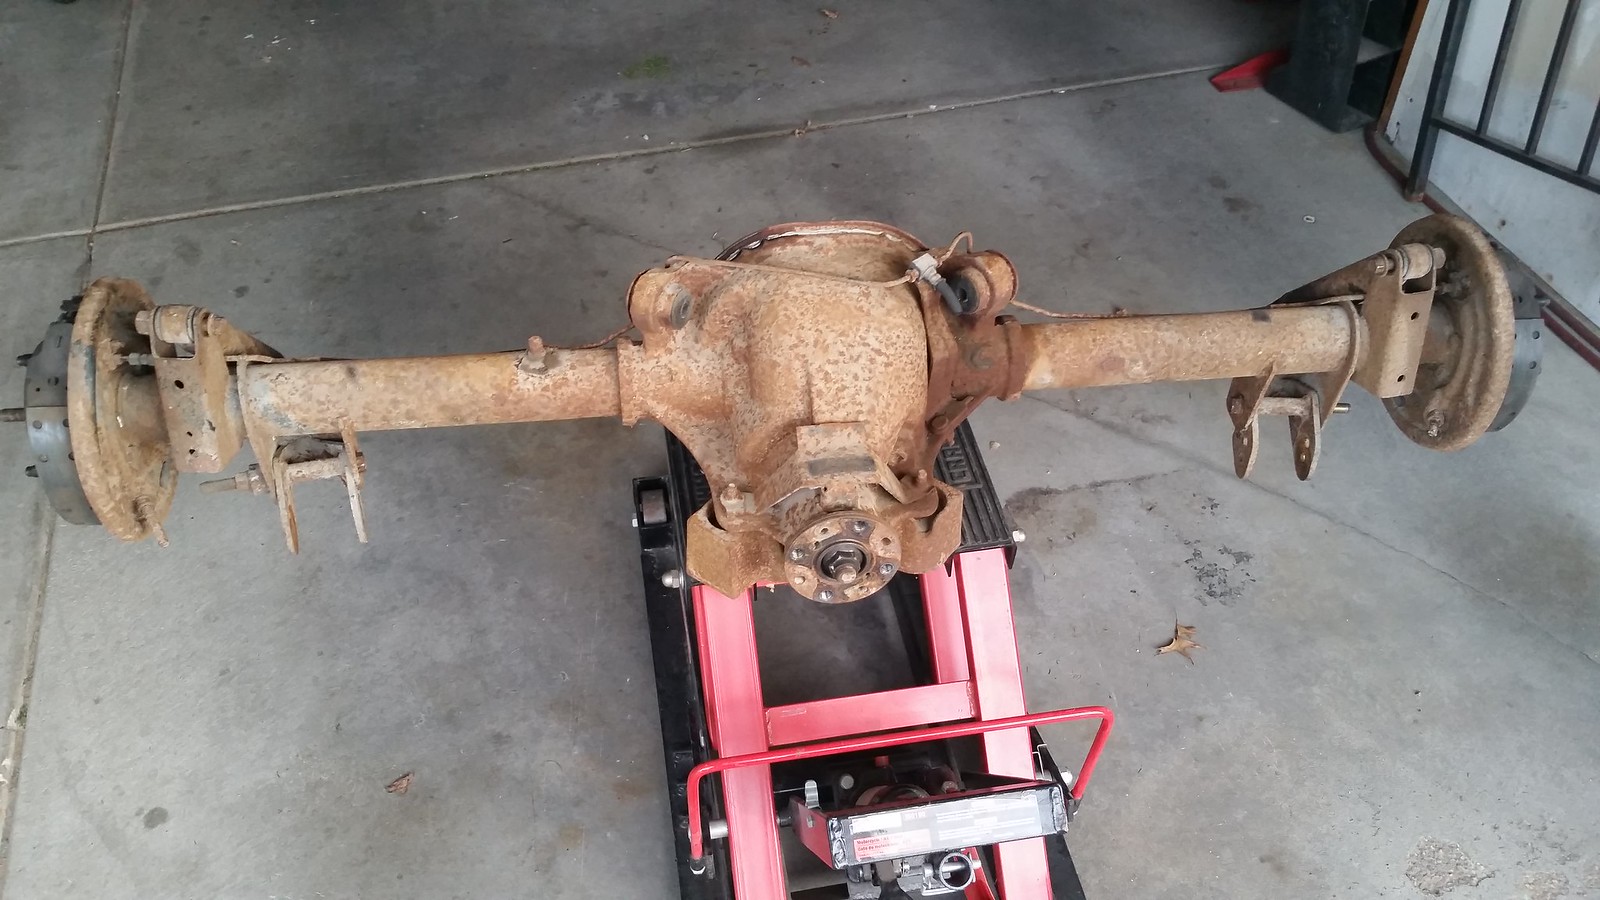
    I called the local auto salvage yards, but didn't turn up much. I put a post on a local Facebook buy/sell/trade group and located an axle a few hours from my place that came out of a '89 Mustang GT. I picked it up the following weekend and ended up scoring the whole assembly for $150.

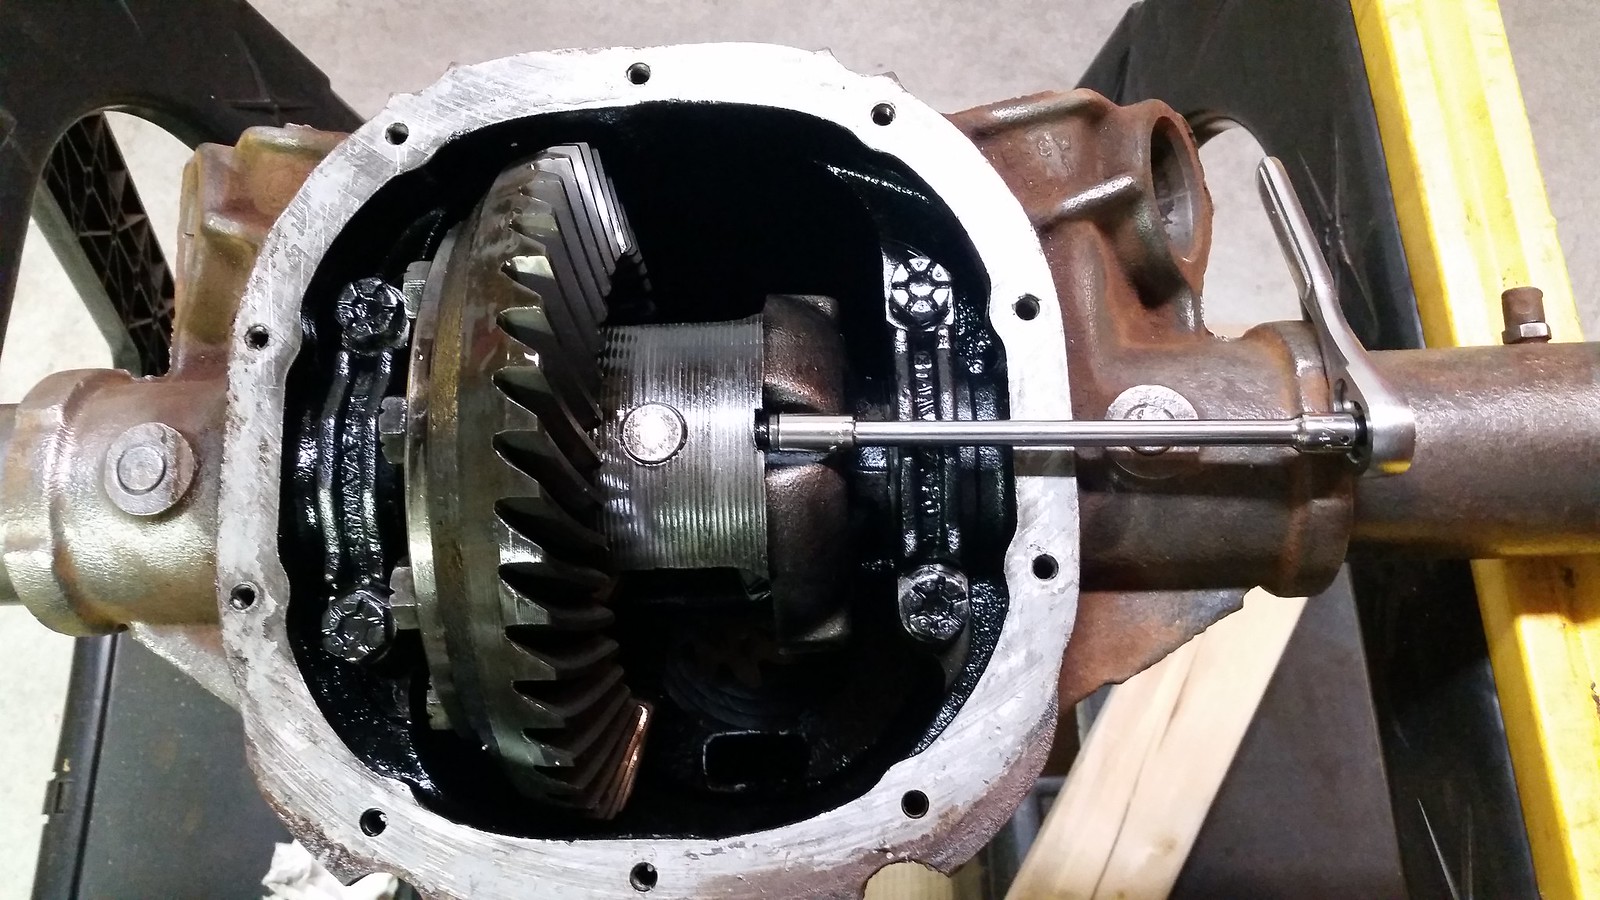
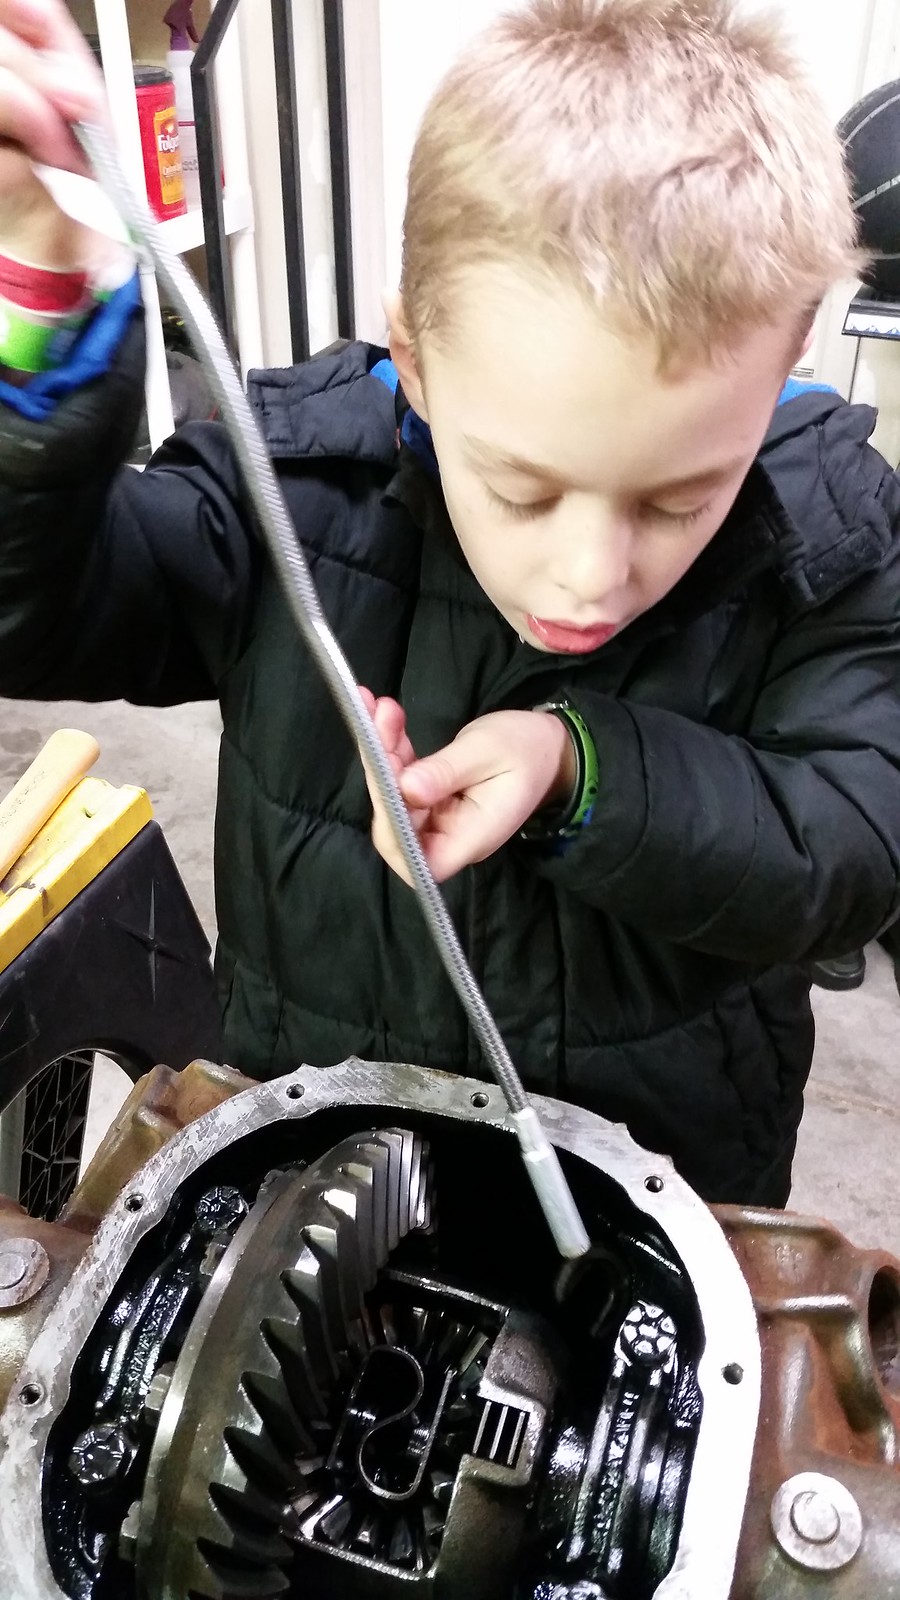
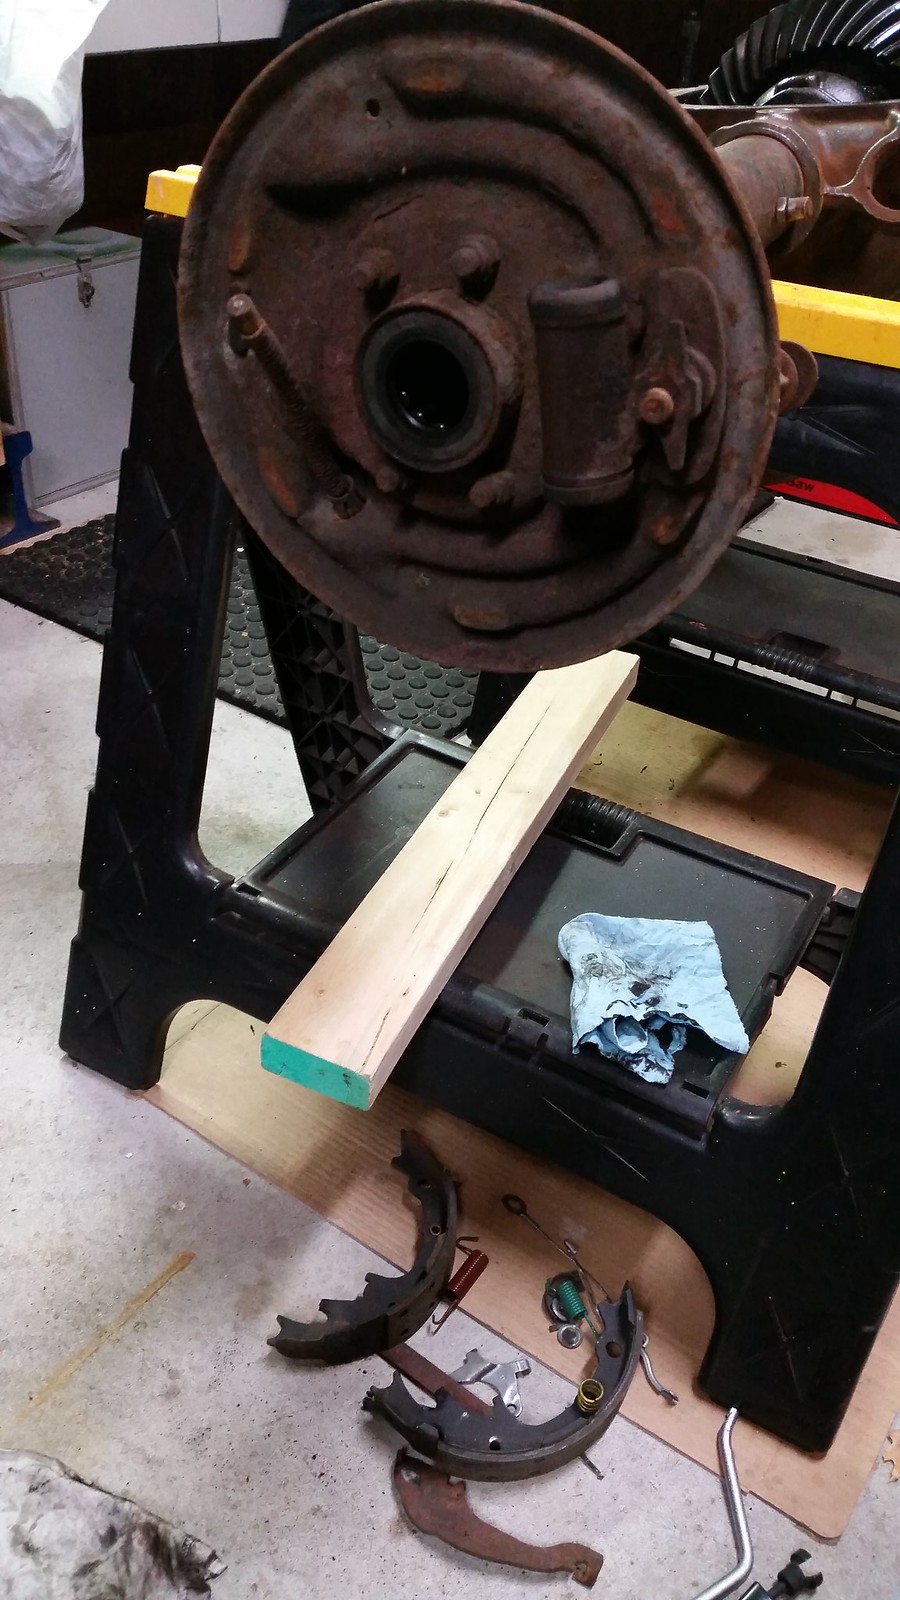
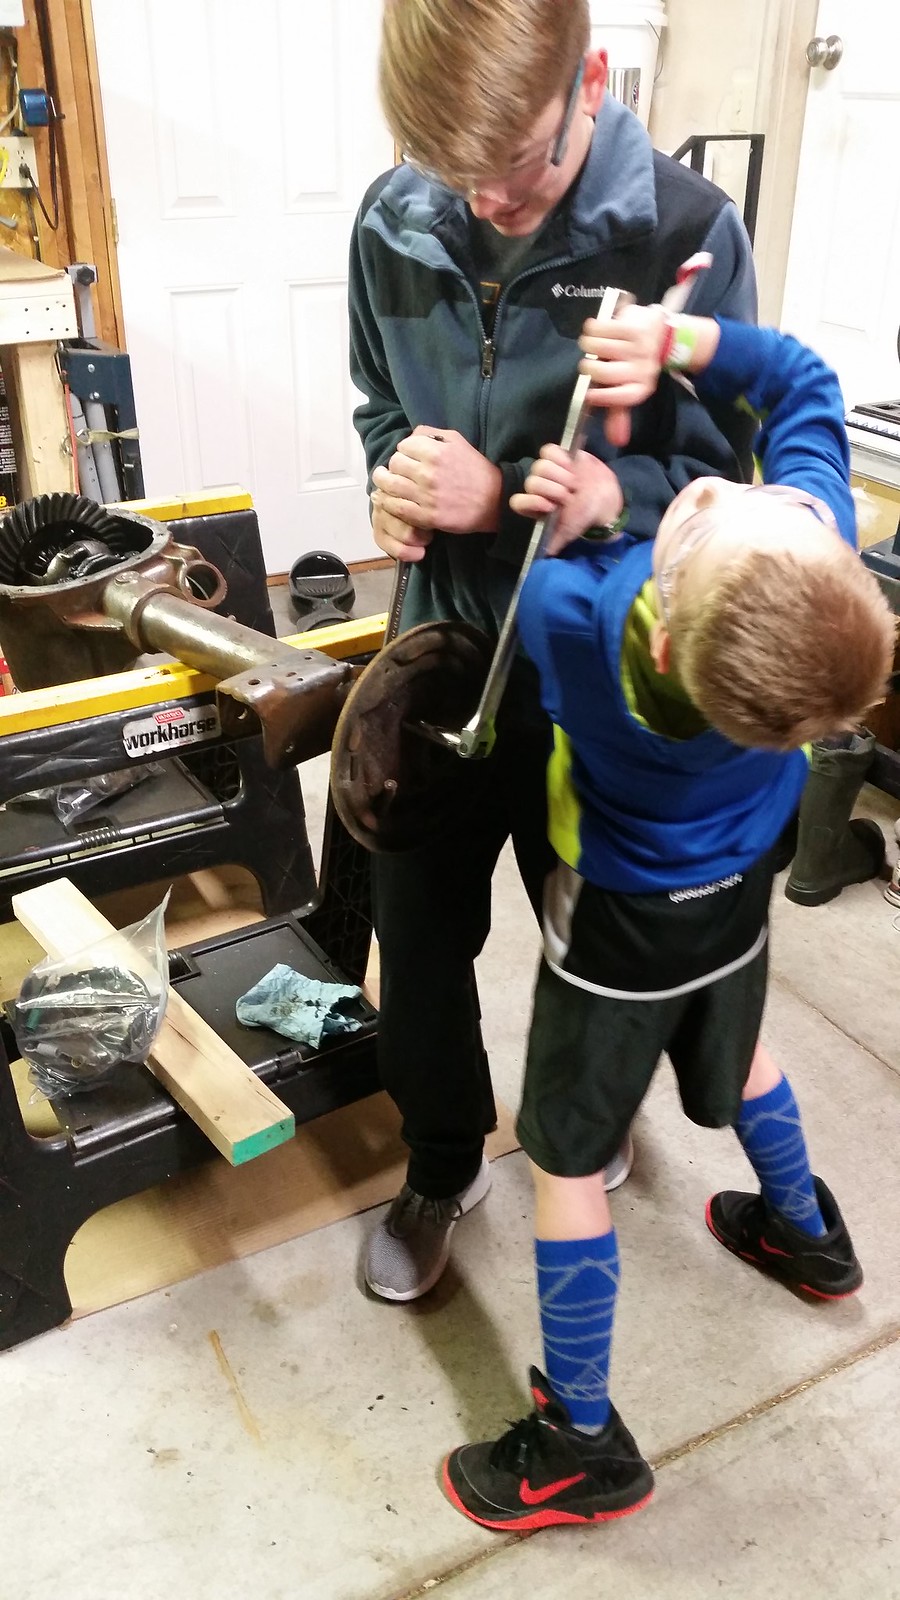
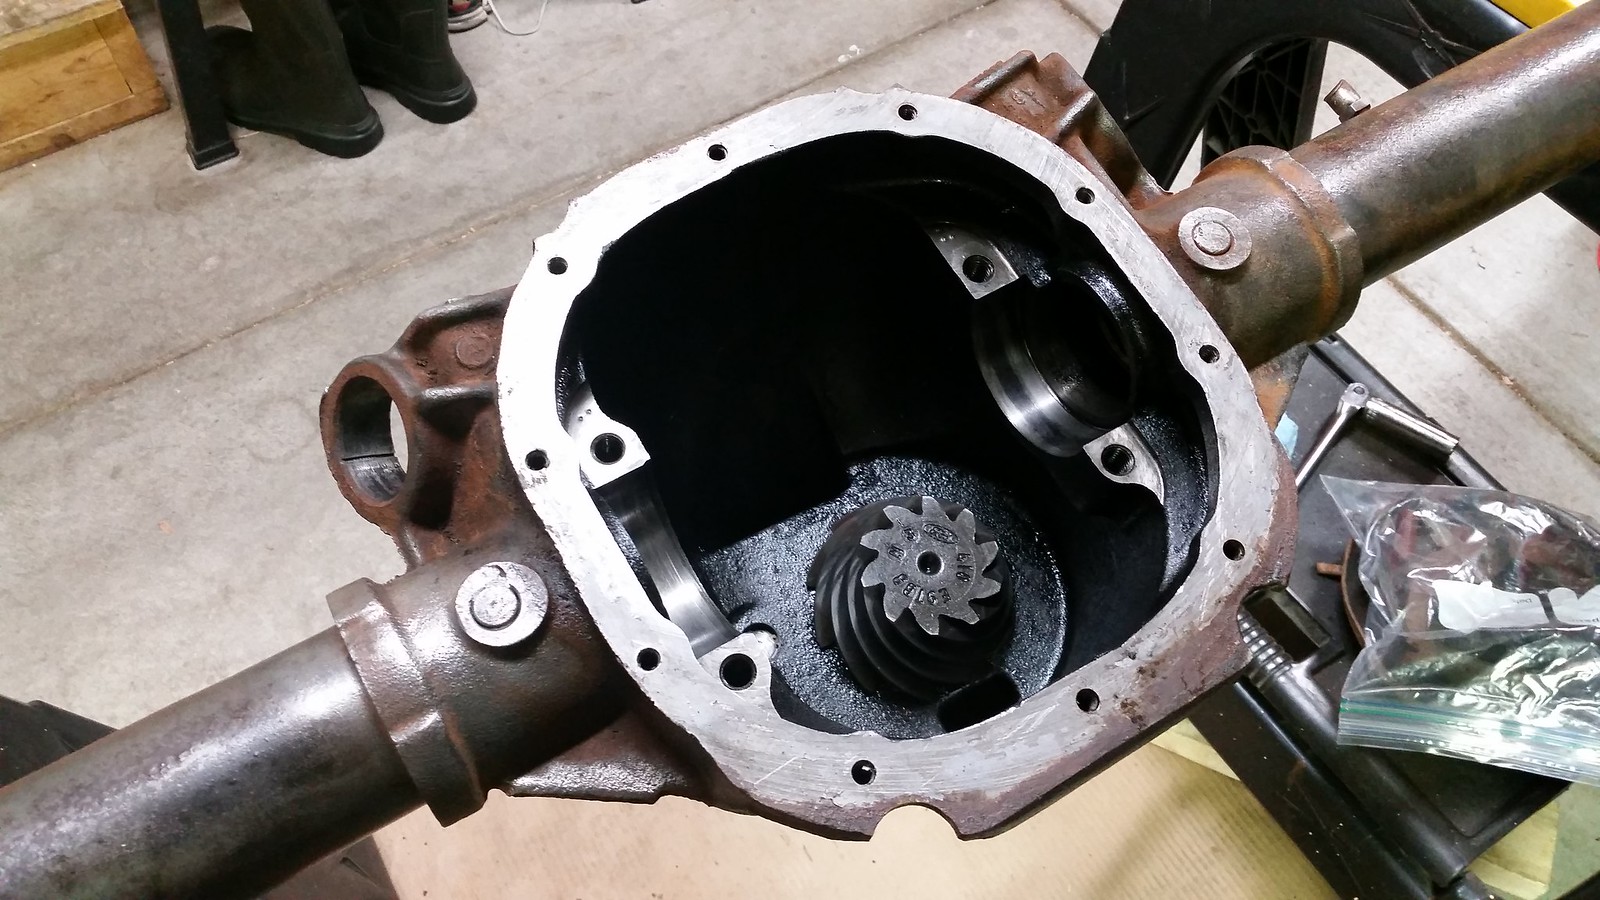
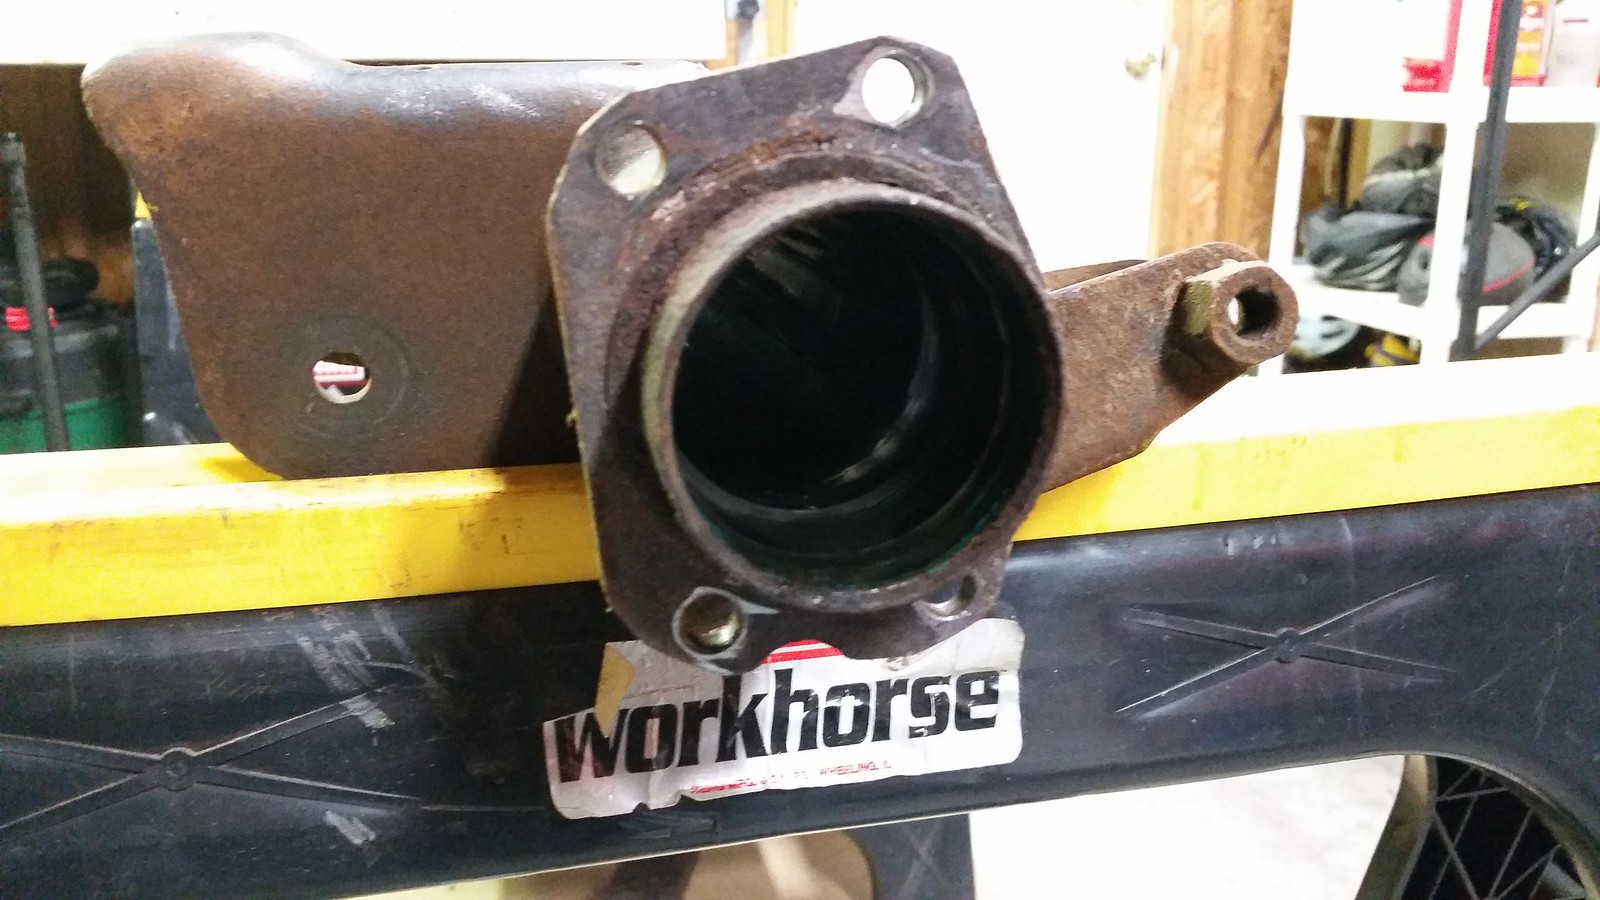
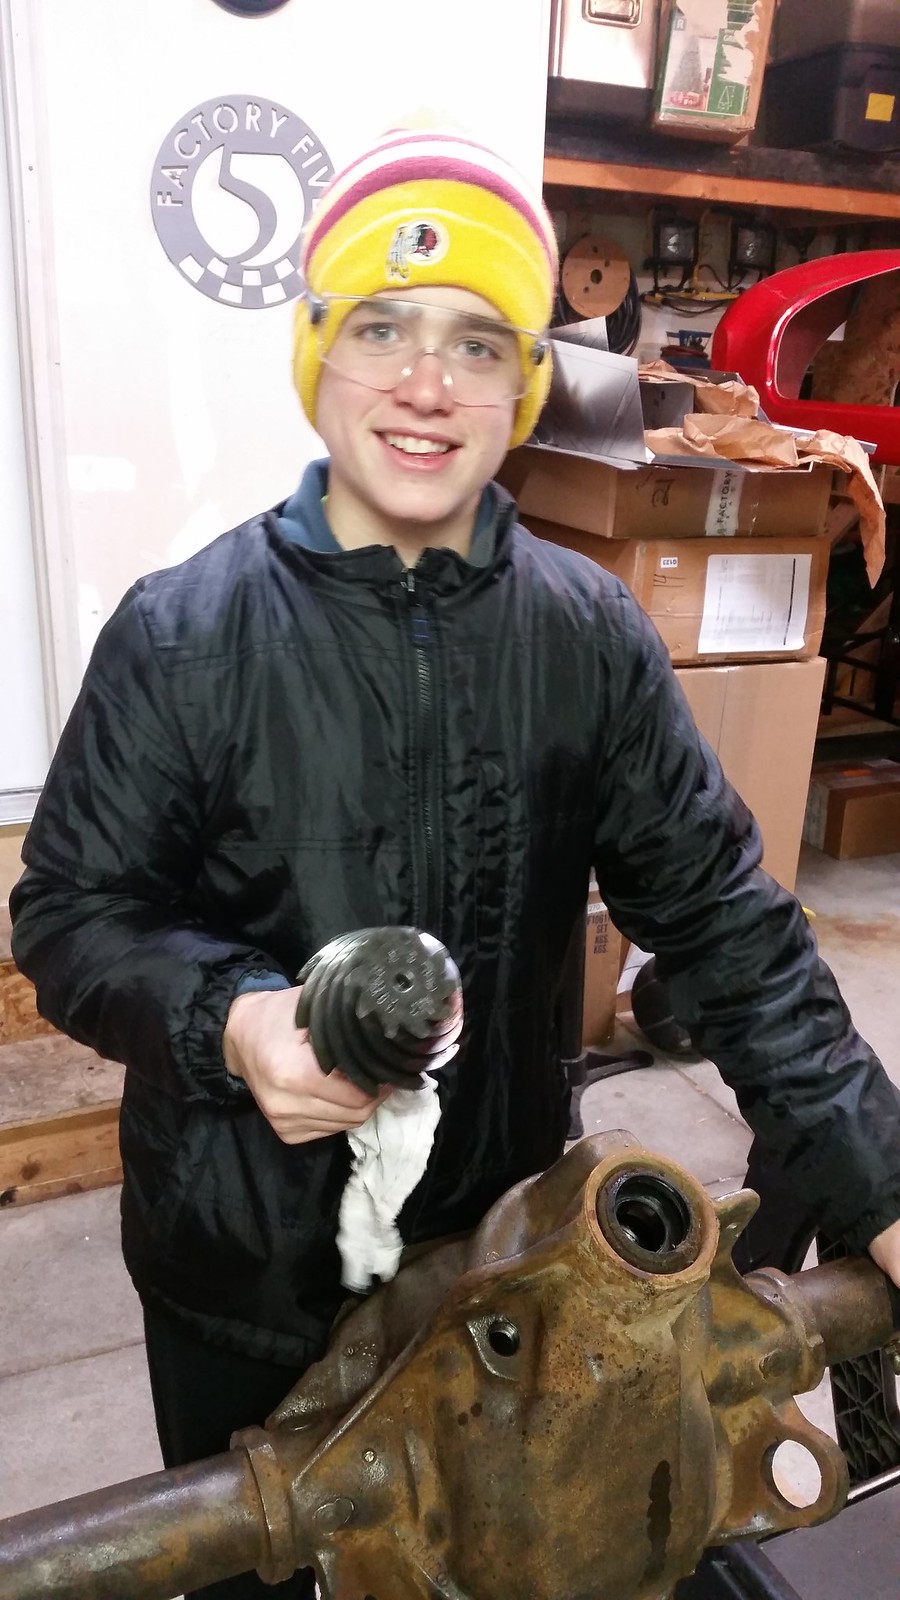
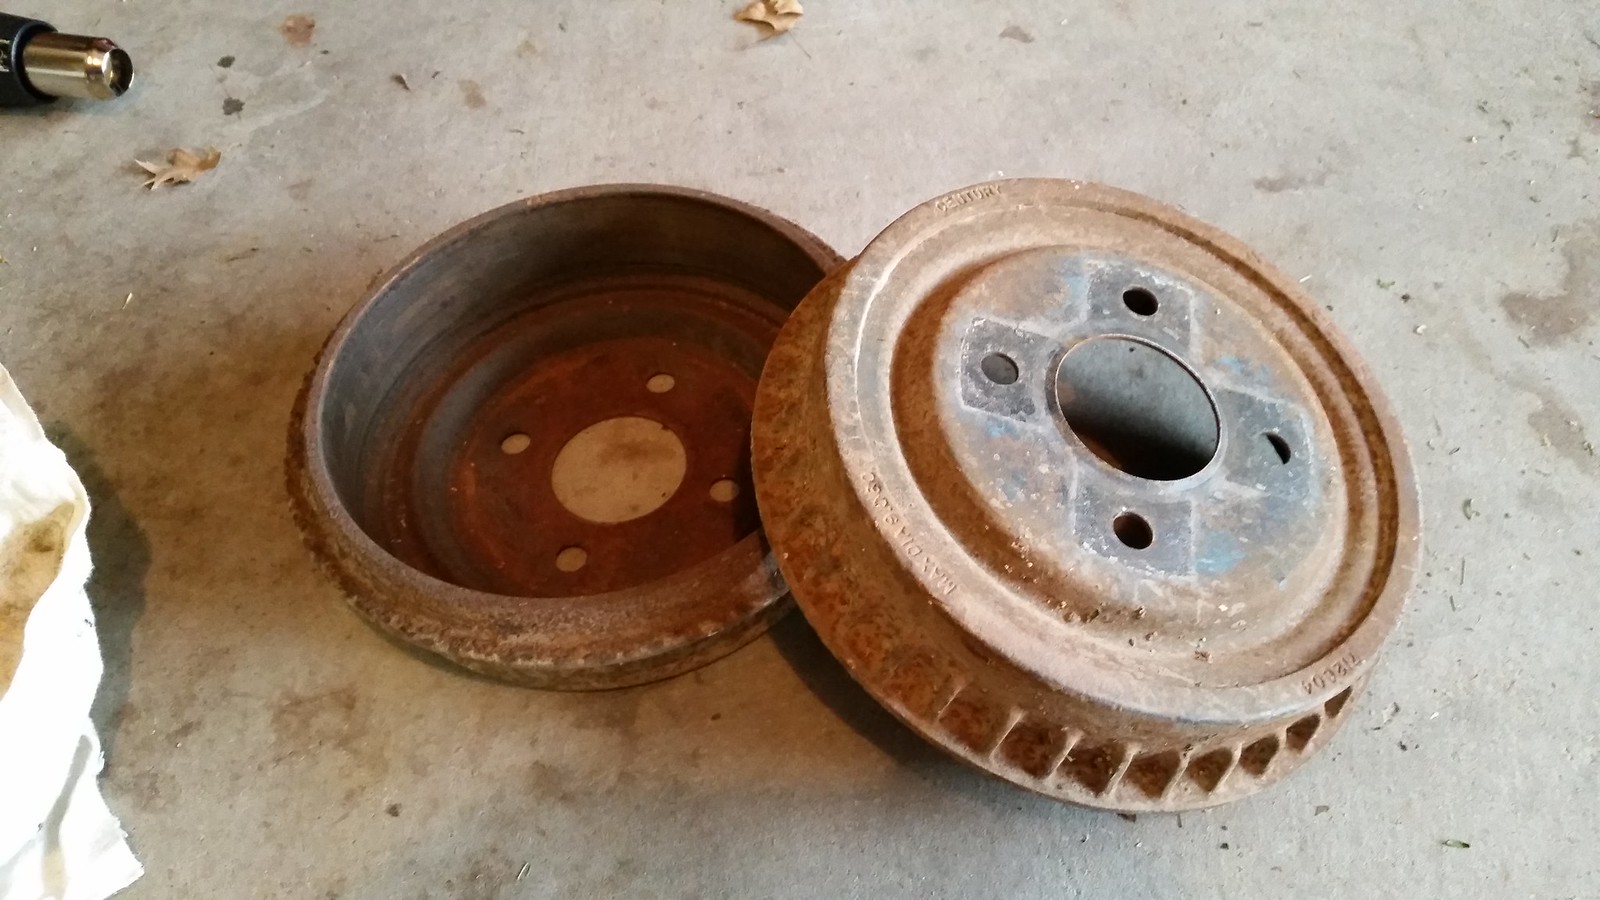
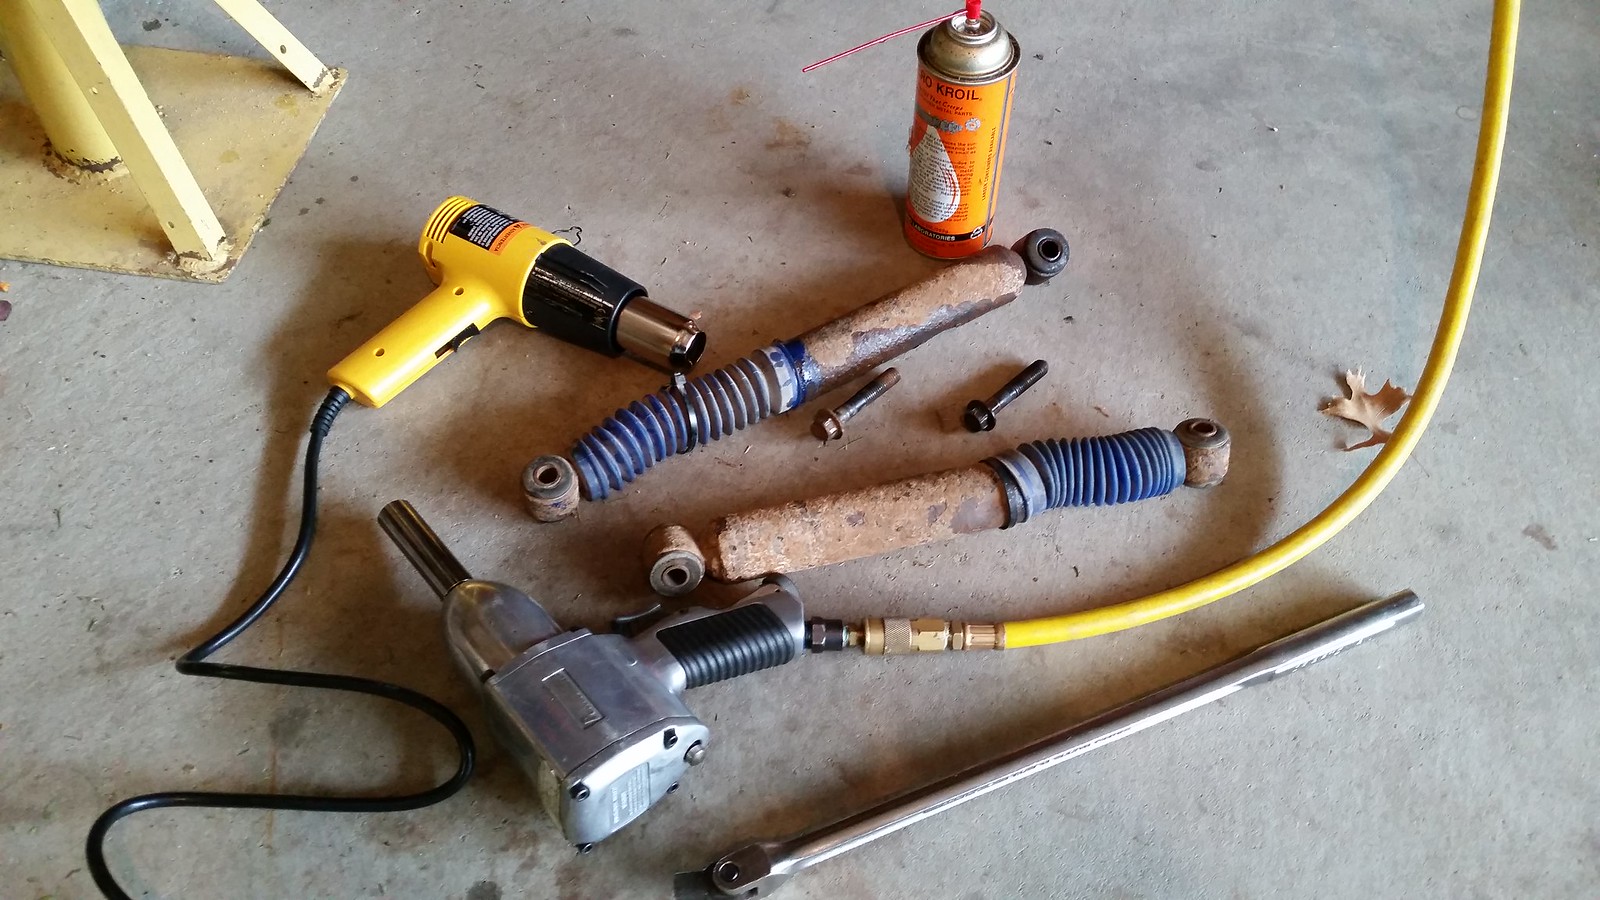
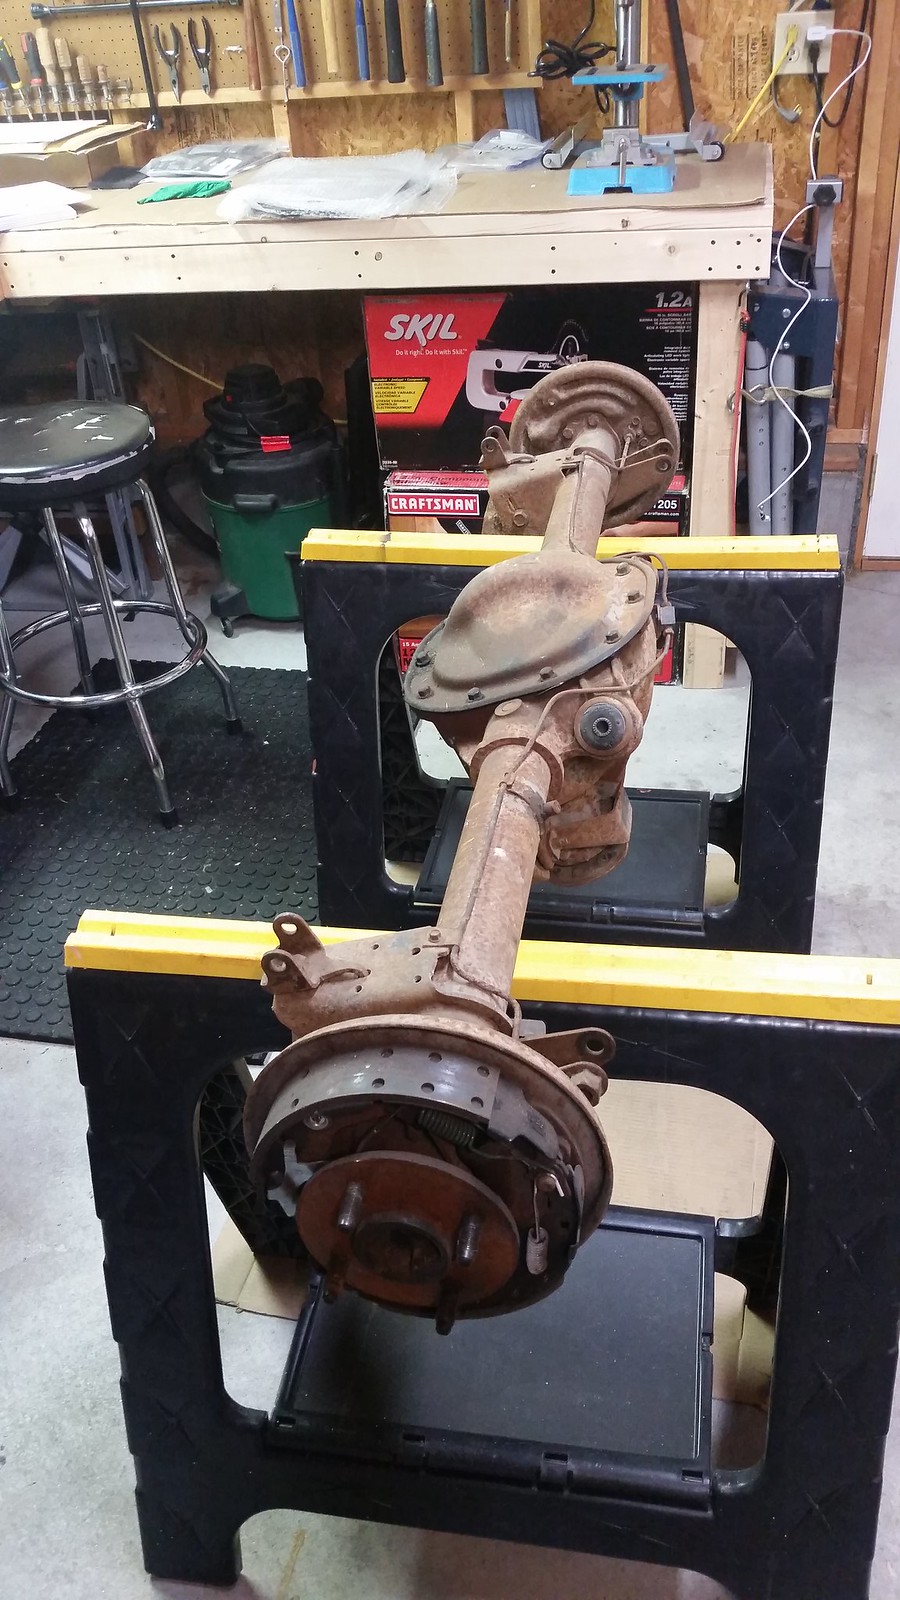
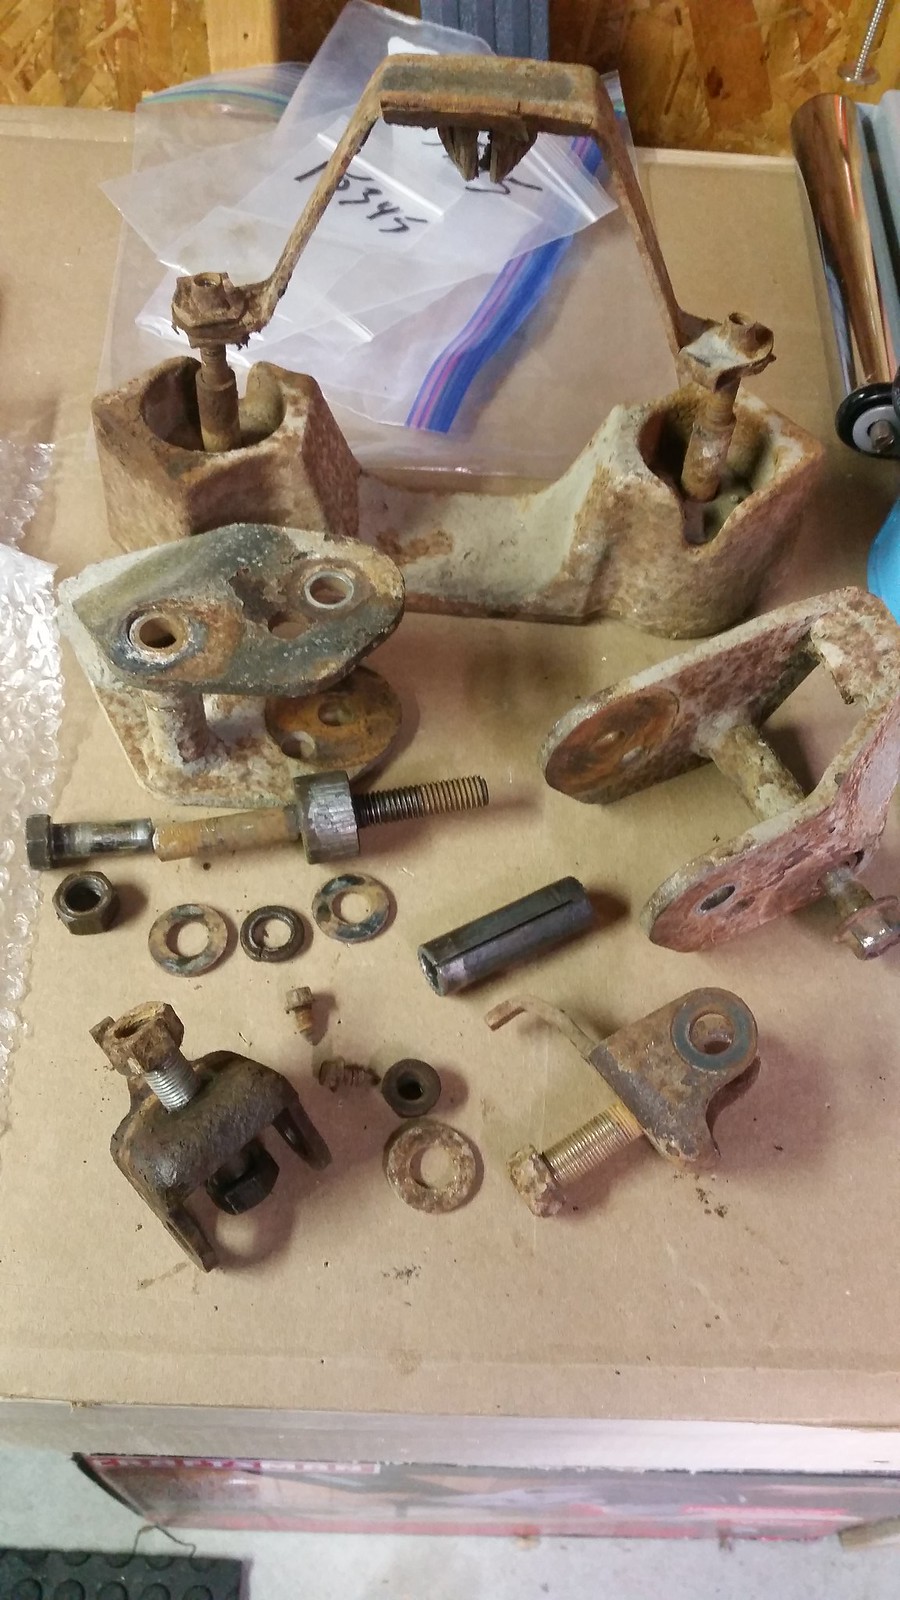
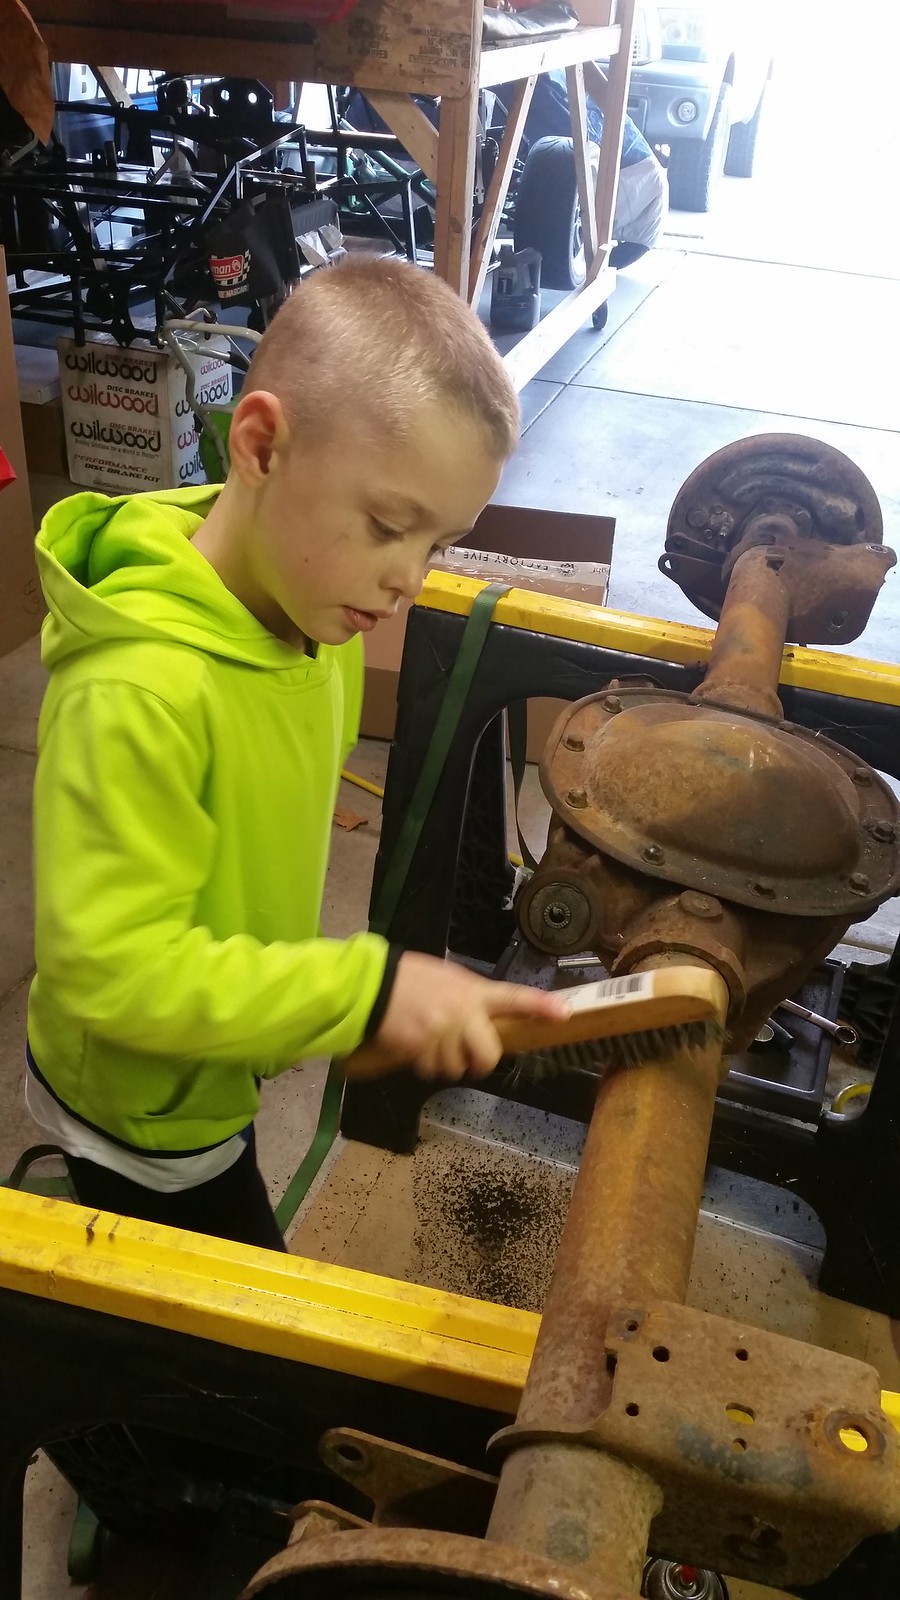
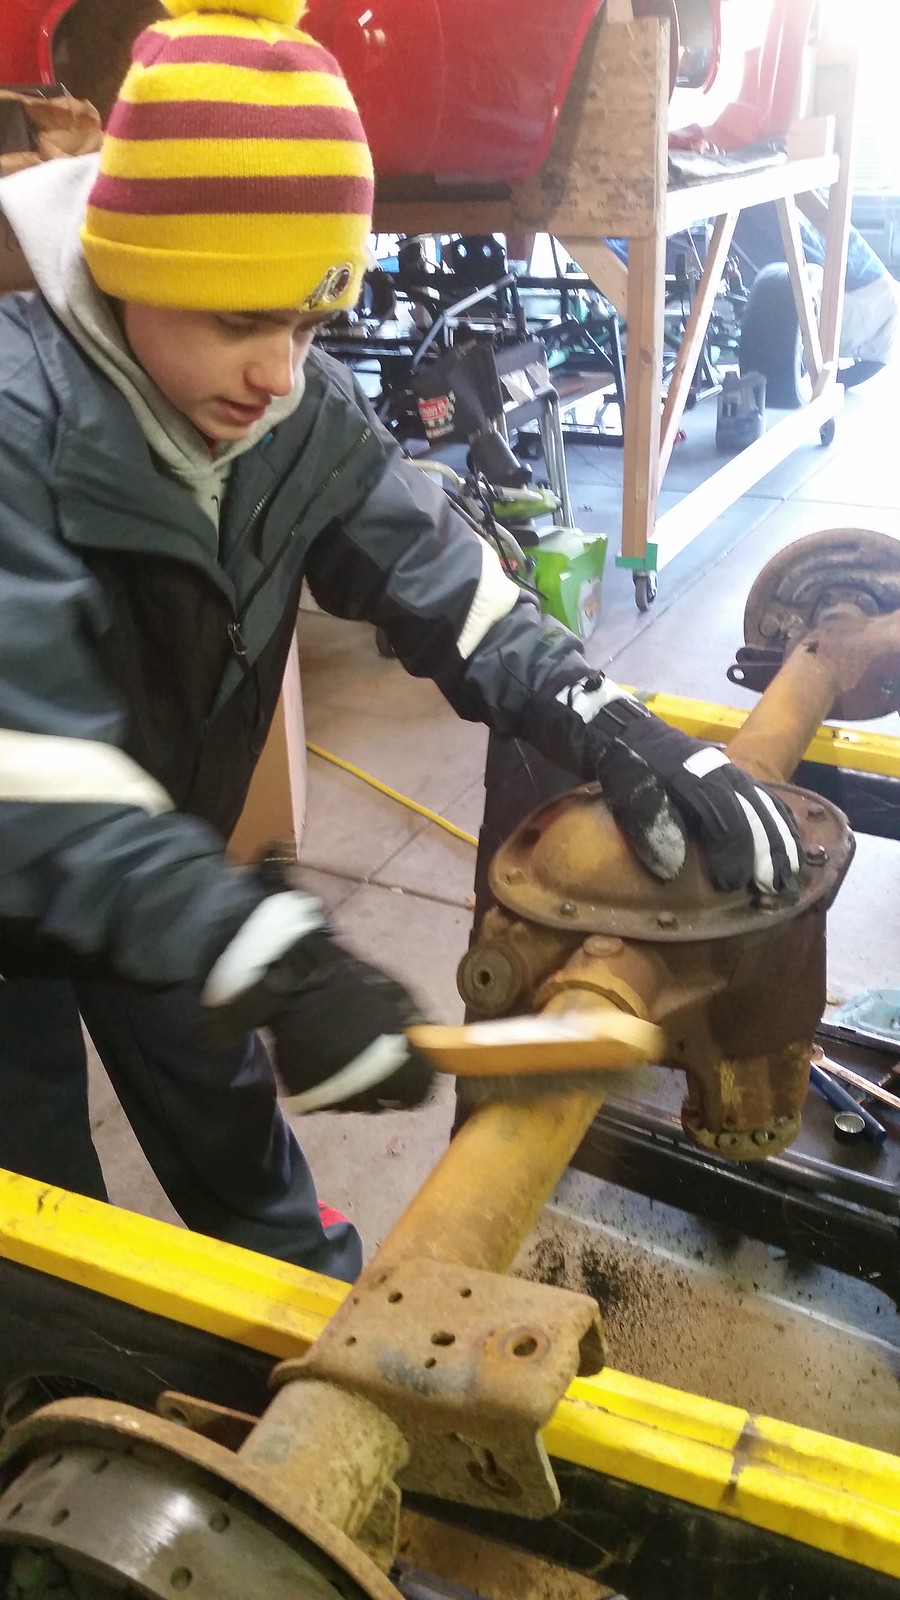
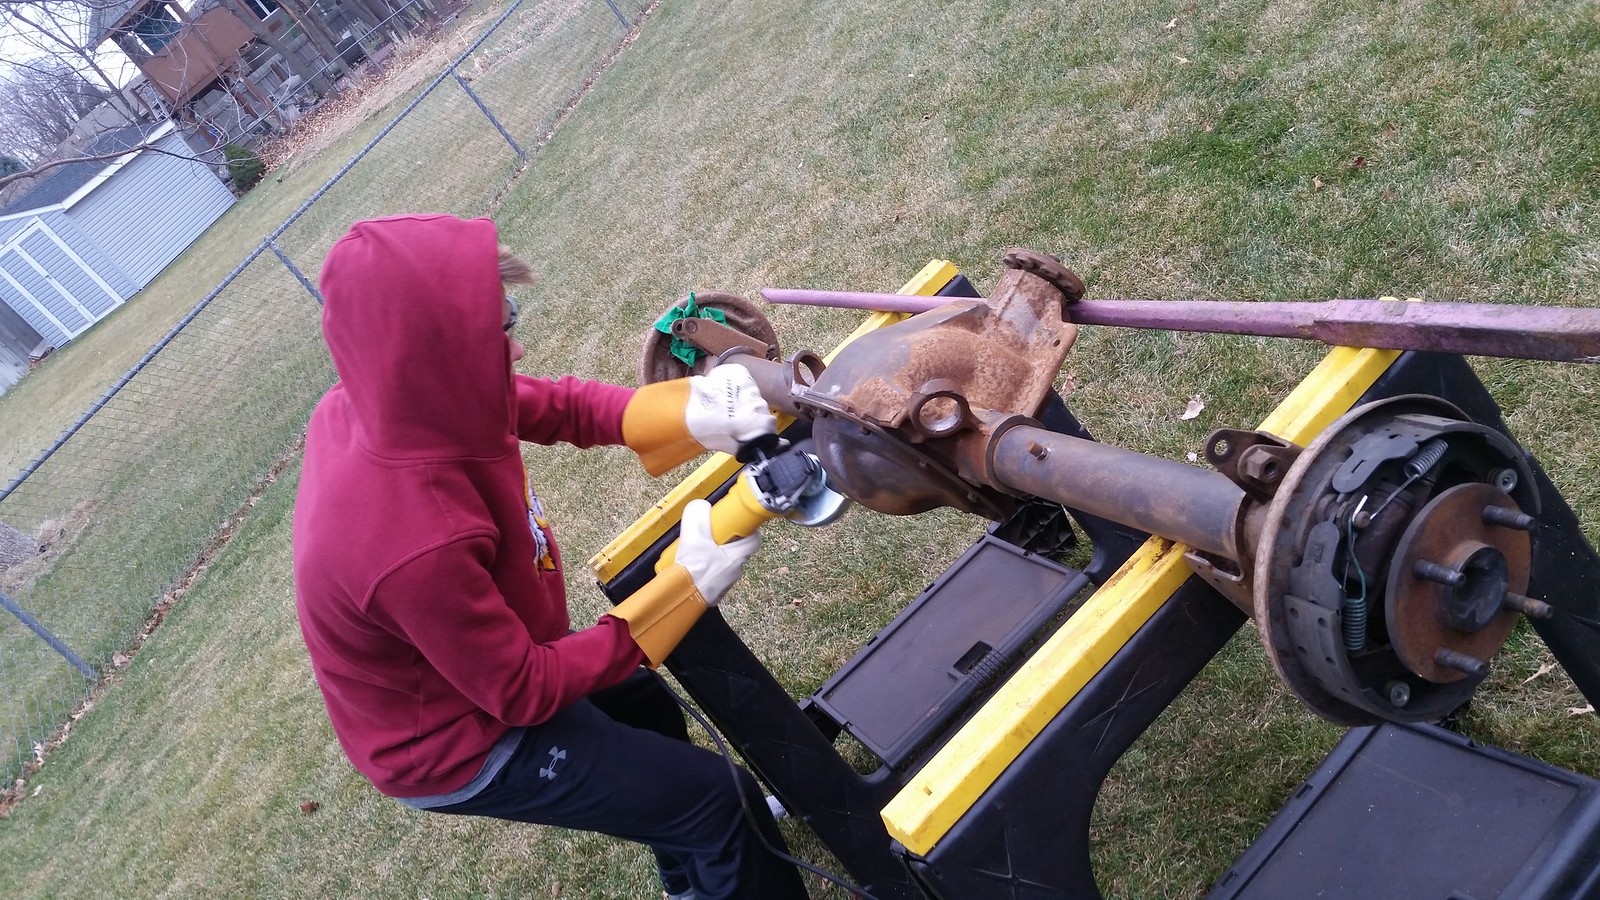
    Here's what it looked like when we brought it home. It's not the prettiest thing it the world, but I think it'll work. With a little hard work it will look better than new. It's complete with rusty brake lines, leaky quad shocks, drum brakes, trac lok diff, and the rest of the works.


    Last edited by Yama-Bro; 10-17-2018 at 12:44 PM.
    Started dreaming of a Cobra around 1987
    Purchased Complete Kit 6/9/2017, Delivered 9/4/2017, Rolling Chassis 3/30/2018, Engine Dyno'ed 3/4/2022, Engine installed 8/27/2022
    Click here for my build thread
    Serial #9158
    Design Engineer at BluePrint Engines

  2. #122
    Senior Member Higgybulin's Avatar
    Join Date
    Dec 2017
    Location
    Southern Ontario
    Posts
    486
    Post Thanks / Like
    I'll be watching this part very closely!!
    Higgy

  3. #123
    Papa's Avatar
    Join Date
    Dec 2016
    Location
    Mexico, MO
    Posts
    5,602
    Post Thanks / Like
    Frank,

    As you go through the restoration and upgrades on your rear end you may want to consider having the axle tubes fully welded. There was a thread several months ago describing the plug weld breaking and the tube rotating under acceleration. I think it was in the 33 Forums, but I can't find it.

    Dave
    Last edited by Papa; 01-15-2018 at 01:39 PM.
    My Build Thread: http://thefactoryfiveforum.com/showt...ter-Build-9754
    (Most viewed Roadster build thread on this forum!)

    Delivered: 6/17/2017
    First Start: 12/30/2017
    Completed: 12/7/2019
    Legal: 1/30/2020

    Member of the Mile-Hi Cobra Club
    Dave's Cobra YouTube Channel: https://www.youtube.com/channel/UCbk...npK1UZHj4R-bYQ
    Agora 1:8 Scale Cobra Build: https://thefactoryfiveforum.com/show...l-Build-Thread

  4. #124
    Senior Member Yama-Bro's Avatar
    Join Date
    Jul 2012
    Location
    Kearney Nebraska
    Posts
    847
    Post Thanks / Like
    Thanks, I've been trying to decide if I should do that or not. I've also been trying to decide if I should weld the banana bracket on or get the VPM brace...or both.
    Started dreaming of a Cobra around 1987
    Purchased Complete Kit 6/9/2017, Delivered 9/4/2017, Rolling Chassis 3/30/2018, Engine Dyno'ed 3/4/2022, Engine installed 8/27/2022
    Click here for my build thread
    Serial #9158
    Design Engineer at BluePrint Engines

  5. #125
    Papa's Avatar
    Join Date
    Dec 2016
    Location
    Mexico, MO
    Posts
    5,602
    Post Thanks / Like
    Quote Originally Posted by Yama-Bro View Post
    Thanks, I've been trying to decide if I should do that or not. I've also been trying to decide if I should weld the banana bracket on or get the VPM brace...or both.
    Since you have the 4-link tabs, you may be better off going with the VPM brace and just bolting the bracket on. Some of us have been having problems getting pinion angles set with the welded bracket.
    My Build Thread: http://thefactoryfiveforum.com/showt...ter-Build-9754
    (Most viewed Roadster build thread on this forum!)

    Delivered: 6/17/2017
    First Start: 12/30/2017
    Completed: 12/7/2019
    Legal: 1/30/2020

    Member of the Mile-Hi Cobra Club
    Dave's Cobra YouTube Channel: https://www.youtube.com/channel/UCbk...npK1UZHj4R-bYQ
    Agora 1:8 Scale Cobra Build: https://thefactoryfiveforum.com/show...l-Build-Thread

  6. #126
    Senior Member Yama-Bro's Avatar
    Join Date
    Jul 2012
    Location
    Kearney Nebraska
    Posts
    847
    Post Thanks / Like
    Here we are with Parts Removal Part 1:

    The first parts we removed were the quad shocks. It took a few different removal methods to coax them off, but they eventfully gave in and came off...


    I then rearranged my garage and parked the axle where my motorcycle usually resides. I lifted the axle up on some saw horses so it's easier to work on...


    With 30 years of rust and grime...some of the parts came off easy, some not so much. Shown here are all the parts we removed, excluding the brake lines and rubber grommets. You won't need any of these parts if you are building axle for a FFR roadster.


    I handed the boys the wire brush and told them to get to work. I didn't let them go to far before I told them about the grinder with the wire wheel I was planning to use. LOL.


    Here's what the axle looks like after removing all those parts. There are still a few more to remove, but we'll save that for later.
    Last edited by Yama-Bro; 10-17-2018 at 02:15 PM.
    Started dreaming of a Cobra around 1987
    Purchased Complete Kit 6/9/2017, Delivered 9/4/2017, Rolling Chassis 3/30/2018, Engine Dyno'ed 3/4/2022, Engine installed 8/27/2022
    Click here for my build thread
    Serial #9158
    Design Engineer at BluePrint Engines

  7. #127
    Senior Member Yama-Bro's Avatar
    Join Date
    Jul 2012
    Location
    Kearney Nebraska
    Posts
    847
    Post Thanks / Like
    I picked up this book as a reference guide. I read through the whole thing. It seems like it covers everything. It has already been helpful.
    [url=https://flic.kr/p/22ggUbf]
    Last edited by Yama-Bro; 10-17-2018 at 02:16 PM.
    Started dreaming of a Cobra around 1987
    Purchased Complete Kit 6/9/2017, Delivered 9/4/2017, Rolling Chassis 3/30/2018, Engine Dyno'ed 3/4/2022, Engine installed 8/27/2022
    Click here for my build thread
    Serial #9158
    Design Engineer at BluePrint Engines

  8. #128
    Senior Member
    Join Date
    Feb 2011
    Location
    Myrtle Beach, SC
    Posts
    2,108
    Post Thanks / Like
    Frank-

    You are a dog for not telling the boys about the wire wheel!! HAHA They do look pretty intense working on that axle though...

    I have enjoyed following along with you!

    Regards,

    Steve

  9. #129
    Senior Member Yama-Bro's Avatar
    Join Date
    Jul 2012
    Location
    Kearney Nebraska
    Posts
    847
    Post Thanks / Like
    Quote Originally Posted by WIS89 View Post
    Frank-

    You are a dog for not telling the boys about the wire wheel!! HAHA They do look pretty intense working on that axle though...

    I have enjoyed following along with you!

    Regards,

    Steve
    Haha, I know! I think it's good they learn that there's more than one way to skin a cat. Thanks!
    Started dreaming of a Cobra around 1987
    Purchased Complete Kit 6/9/2017, Delivered 9/4/2017, Rolling Chassis 3/30/2018, Engine Dyno'ed 3/4/2022, Engine installed 8/27/2022
    Click here for my build thread
    Serial #9158
    Design Engineer at BluePrint Engines

  10. #130
    Senior Member broku518's Avatar
    Join Date
    Sep 2017
    Location
    Jupiter, FL
    Posts
    472
    Post Thanks / Like
    man, you should have told them...this will come around and bite you! My 7y old is wicked smart and does this stuff all the time.
    Life is short, so start living it.
    Build thread: http://thefactoryfiveforum.com/showt...-in-the-garage!
    delivery date: 10/31/2017, first start 2/24/2018, title and registration passed 6/22/2018

  11. #131
    Senior Member Yama-Bro's Avatar
    Join Date
    Jul 2012
    Location
    Kearney Nebraska
    Posts
    847
    Post Thanks / Like
    Quote Originally Posted by broku518 View Post
    man, you should have told them...this will come around and bite you! My 7y old is wicked smart and does this stuff all the time.
    Haha, My kids are probably saving up and will pay me back when I'm in the nursing home.
    Started dreaming of a Cobra around 1987
    Purchased Complete Kit 6/9/2017, Delivered 9/4/2017, Rolling Chassis 3/30/2018, Engine Dyno'ed 3/4/2022, Engine installed 8/27/2022
    Click here for my build thread
    Serial #9158
    Design Engineer at BluePrint Engines

  12. #132
    Senior Member
    Join Date
    Jan 2018
    Posts
    116
    Post Thanks / Like
    Always remember that your children choose your nursing home lol

  13. #133
    Senior Member Dagwoods's Avatar
    Join Date
    Nov 2017
    Location
    Lavon, TX
    Posts
    100
    Post Thanks / Like
    Thanks for documenting the rear end rebuild. I'll be starting this same thing in a couple of weeks. I'm sure the pics will help.

  14. #134
    Senior Member Yama-Bro's Avatar
    Join Date
    Jul 2012
    Location
    Kearney Nebraska
    Posts
    847
    Post Thanks / Like
    Quote Originally Posted by JoeAIII View Post
    Always remember that your children choose your nursing home lol
    Haha, I'll keep that in mind as we move forward

    Quote Originally Posted by Dagwoods View Post
    Thanks for documenting the rear end rebuild. I'll be starting this same thing in a couple of weeks. I'm sure the pics will help.
    No problem! I'm glad the pictures are helping someone.
    Started dreaming of a Cobra around 1987
    Purchased Complete Kit 6/9/2017, Delivered 9/4/2017, Rolling Chassis 3/30/2018, Engine Dyno'ed 3/4/2022, Engine installed 8/27/2022
    Click here for my build thread
    Serial #9158
    Design Engineer at BluePrint Engines

  15. #135
    Senior Member Yama-Bro's Avatar
    Join Date
    Jul 2012
    Location
    Kearney Nebraska
    Posts
    847
    Post Thanks / Like
    Class was in session...wire wheeling 101. We removed roughly 75% of the rust and grime that has accumulated on the axle over the last 30 years. Our wire wheel wore out about the same time we ran out of day light...and it got cold, so there will be a second session of this class.

    "This is waaaayyy better then the wire brush..."


    It's looking shinier...


    Last edited by Yama-Bro; 10-17-2018 at 02:23 PM.
    Started dreaming of a Cobra around 1987
    Purchased Complete Kit 6/9/2017, Delivered 9/4/2017, Rolling Chassis 3/30/2018, Engine Dyno'ed 3/4/2022, Engine installed 8/27/2022
    Click here for my build thread
    Serial #9158
    Design Engineer at BluePrint Engines

  16. #136
    Senior Member Higgybulin's Avatar
    Join Date
    Dec 2017
    Location
    Southern Ontario
    Posts
    486
    Post Thanks / Like
    Keep it up!!!
    Higgy

  17. #137
    Senior Member John Ibele's Avatar
    Join Date
    Sep 2011
    Location
    Minneapolis, MN
    Posts
    719
    Post Thanks / Like
    Okay, now I'm caught up ... nice work, Yama-Bro! Yeah, cleaning up used parts isn't the most fun, but they are cleaning up nice and you'll be glad you did it. That book saved me from going temporarily mad from bad gear patterns . Its very clear and you'll have a good guide for getting things dialed in. Now you've got me motivated to see if I can keep pace - I've gotta go back up front and get the steering in (as well as pedal box) to stay even near you!
    MK4 #7838: IRS 3.55 TrueTrac T5z Dart 347
    The drawing is from ~7th grade, mid-1970s
    Meandering, leisurely build thread is here

  18. #138
    rrrose's Avatar
    Join Date
    Feb 2017
    Location
    Parker, Colorado
    Posts
    90
    Post Thanks / Like
    Thats hard work cleaning up old parts. Well done to you and your boys. x3 on they pick your nursing home and can chose to not tell attendants when you need a diaper change.
    MK4 # 9181 - Complete Kit - 408 EFI, TKO600, IRS - Delivered 2017-10-06
    Build Thread - http://thefactoryfiveforum.com/showt...499#post299499

  19. #139
    Senior Member Yama-Bro's Avatar
    Join Date
    Jul 2012
    Location
    Kearney Nebraska
    Posts
    847
    Post Thanks / Like
    Thanks for the comments guys!

    Quote Originally Posted by John Ibele View Post
    Okay, now I'm caught up ... nice work, Yama-Bro! Yeah, cleaning up used parts isn't the most fun, but they are cleaning up nice and you'll be glad you did it. That book saved me from going temporarily mad from bad gear patterns . Its very clear and you'll have a good guide for getting things dialed in. Now you've got me motivated to see if I can keep pace - I've gotta go back up front and get the steering in (as well as pedal box) to stay even near you!
    I don't think you'll have any problems catching up to me. I'm moving along at a snail's pace compared to several of the guys on here. I'll probably be following your build thread for ideas and direction before you know it.

    Quote Originally Posted by rrrose View Post
    Thats hard work cleaning up old parts. Well done to you and your boys. x3 on they pick your nursing home and can chose to not tell attendants when you need a diaper change.
    When you mentioned diaper change...I got visions of the kids giving the wire brush I made them use all those years ago to the attendants for my weekly cleaning. LOL Ouch!
    Started dreaming of a Cobra around 1987
    Purchased Complete Kit 6/9/2017, Delivered 9/4/2017, Rolling Chassis 3/30/2018, Engine Dyno'ed 3/4/2022, Engine installed 8/27/2022
    Click here for my build thread
    Serial #9158
    Design Engineer at BluePrint Engines

  20. #140
    Senior Member Yama-Bro's Avatar
    Join Date
    Jul 2012
    Location
    Kearney Nebraska
    Posts
    847
    Post Thanks / Like
    Since it's still a little chilly out, we decided to start taking the axle apart. We'll get back to the rust cleanup later.

    The first step was to remove the cover and drain out that sweet smelling differential fluid. Just kidding about the smell. If you haven't messed with this stuff before...it smells horrible. Do it with the garage door open, if you can.

    After the fluids are gone the next thing that needs to be done is remove the pin retention bolt. To my surprise, the bolt came out really easy. After closer inspection, I realized it came out easy because half of it was still in the hole. Oh no. In the 2nd picture, you can see the chunk I got out and see how deep it goes in. There's a pin attached to the end of the bolt that goes thru the large pin (the circle that looks like a quarter).


    I did some research. It appears this is a fairly common problem. There are different ways to get it out. And of course, there are kits out there that come with all the tools you need to remove the bolt. Most of those kits come with a screw that acts as a pilot, a long drill, and a bolt extractor bit. I already have a bolt extractor kit, so I decided I could get by for far less by sourcing my own kit parts. For my pilot screw, I drilled a 9/64" hole thru a 5/16-18 socket head cap screw. Then I went to my local Ace hardware store and found a 12" long .125" drill bit. The drill I purchased was a black oxide Irwin brand for about $8.

    Here's my drilled cap screw...
    I suggest using a cap screw, because the hex recess in the head makes for a nice center mark for the 9/64" drill. Also, don't get a grade 8, as that will make it more difficult to drill into.


    I threaded the cap screw into the hole where the rest of the bolt was residing. Then I chucked up the long drill bit and proceeded to drill a hole into the remaining bolt. You have to have such a long drill bit in order to have enough clearance to get a straight shot with the drill.


    Here's a close up of the cap screw in the hole. I used my magnet tool to catch metal chips and keep them out of the differential.


    I removed the cap screw. Then tapped in the easy out. Time for the easy out to work it's magic!


    I slowly turned the easy out with a small crescent wrench until the rest of the bolt came out. This couldn't have went better. I was expecting to spend all weekend on this, so I was pretty happy when it came out without a fight.


    I might add that the 3 other solutions I found during my internet research were:
    1. Drill into the end of the large pin that goes thru the diff. Drill to the depth of where you are getting into the retention pin bolt. Once you get into the bolt, use a small screwdriver or needle nose pliers to slowly rotate the bolt until it threads itself out the hole. If you do this you'll need to replace the bolt and the pin.
    2. Take a large punch and a large hammer and pound the end of the pin until it shears the bolt into three pieces. It sounds like this method has potential to damage the diff housing.
    3. Cut into the diff to remove the bolt with a die grinder. You'll most likely ruin the diff housing doing this.
    Last edited by Yama-Bro; 10-17-2018 at 02:26 PM.
    Started dreaming of a Cobra around 1987
    Purchased Complete Kit 6/9/2017, Delivered 9/4/2017, Rolling Chassis 3/30/2018, Engine Dyno'ed 3/4/2022, Engine installed 8/27/2022
    Click here for my build thread
    Serial #9158
    Design Engineer at BluePrint Engines

  21. #141
    Papa's Avatar
    Join Date
    Dec 2016
    Location
    Mexico, MO
    Posts
    5,602
    Post Thanks / Like
    You're much cooler than I would have been. Congrats on getting the bolt out.
    My Build Thread: http://thefactoryfiveforum.com/showt...ter-Build-9754
    (Most viewed Roadster build thread on this forum!)

    Delivered: 6/17/2017
    First Start: 12/30/2017
    Completed: 12/7/2019
    Legal: 1/30/2020

    Member of the Mile-Hi Cobra Club
    Dave's Cobra YouTube Channel: https://www.youtube.com/channel/UCbk...npK1UZHj4R-bYQ
    Agora 1:8 Scale Cobra Build: https://thefactoryfiveforum.com/show...l-Build-Thread

  22. #142
    Senior Member Higgybulin's Avatar
    Join Date
    Dec 2017
    Location
    Southern Ontario
    Posts
    486
    Post Thanks / Like
    Very nice execution!! That could have easily been a weekender for sure!!

  23. #143
    Senior Member wareaglescott's Avatar
    Join Date
    Apr 2016
    Location
    Auburn, AL
    Posts
    2,146
    Post Thanks / Like
    Thanks for the thorough documentation on a difficult problem. That will surely be helpful to others. Im glad I have seen that if I ever need it.
    MK4 #8900 - complete kit - Coyote, TKO600, IRS - Delivered 6/28/16 First Start 10/6/16 Go cart - 10/16/16 Build completed - 4/26/17 - 302 days to build my 302 CI Coyote Cobra - Registered and street legal 5/17/17
    Build Thread http://thefactoryfiveforum.com/showt...e-build-thread
    PHIL 4:13 INSTAGRAM - @scottsrides

  24. #144
    Senior Member Yama-Bro's Avatar
    Join Date
    Jul 2012
    Location
    Kearney Nebraska
    Posts
    847
    Post Thanks / Like
    Quote Originally Posted by Papa View Post
    You're much cooler than I would have been. Congrats on getting the bolt out.
    Quote Originally Posted by HiggyMK4#???? View Post
    Very nice execution!! That could have easily been a weekender for sure!!
    Thanks guys. One thing I mentioned to my wife is that these days, the internet sure makes this kind of stuff a lot easier to tolerate. Twenty years ago, this would've been really frustrating. Now, I try to figure it out for awhile and If I start getting overwhelmed, I just go do some searching on the net and find all kinds of solutions from other people that have experienced the same problem.

    Quote Originally Posted by wareaglescott View Post
    Thanks for the thorough documentation on a difficult problem. That will surely be helpful to others. Im glad I have seen that if I ever need it.
    Good point. I wasn't even thinking about the fact that this applies to all of us whether you have a straight axle or IRS, new or rebuilt.
    Started dreaming of a Cobra around 1987
    Purchased Complete Kit 6/9/2017, Delivered 9/4/2017, Rolling Chassis 3/30/2018, Engine Dyno'ed 3/4/2022, Engine installed 8/27/2022
    Click here for my build thread
    Serial #9158
    Design Engineer at BluePrint Engines

  25. #145
    Senior Member
    Join Date
    Jan 2018
    Posts
    116
    Post Thanks / Like
    Excellent problem solving, yama!

  26. #146
    Senior Member Yama-Bro's Avatar
    Join Date
    Jul 2012
    Location
    Kearney Nebraska
    Posts
    847
    Post Thanks / Like
    After the bolt came out, the good times kept rolling...

    The retention pin slid out without a hitch. I read these can be difficult if the axle has been abused. There can be grooves worn in the pin that don't allow it to slide out. We got lucky on this one.


    The next step is to push the axles into the housing from the end. This will allow access to the C-clips in the center of the differential. They can be a little tricky to remove from the groove in the end of the axle. We put a punch on each side of the clip and gently tapped them until the clip fell off into the housing.


    What kid doesn't like to use a magnet tool to retrieve parts?


    One C-clip...


    Grab the hub of the axle shaft and pull. Make sure to have a rag handy, as this these are greasy parts.


    We moved onto the drum brakes after removing the axle shafts. We removed all the parts with a couple brake tools. These were pretty dirty, but they came off easy.

    Last edited by Yama-Bro; 10-17-2018 at 02:32 PM.
    Started dreaming of a Cobra around 1987
    Purchased Complete Kit 6/9/2017, Delivered 9/4/2017, Rolling Chassis 3/30/2018, Engine Dyno'ed 3/4/2022, Engine installed 8/27/2022
    Click here for my build thread
    Serial #9158
    Design Engineer at BluePrint Engines

  27. #147
    Senior Member Yama-Bro's Avatar
    Join Date
    Jul 2012
    Location
    Kearney Nebraska
    Posts
    847
    Post Thanks / Like
    When removing the drum brake backing plates, sometimes you have to use every muscle in your body... Haha, I love this picture.


    As you can tell by the smile...it's a rewarding experience...


    After removing the backing plates, we moved back to the pumpkin. We started by marking the bearing caps and their corresponding area of the housing with a center punch. We marked one side with two punch marks and the other side with three punch marks. You want to get these back on the correct side and in the same orientation as they came out, because they are machined with the housing and will only work one way. Once marked, we removed the bolts. Here my helper is holding one of the bolts in his grubby mitts. He mentioned..."this is the most fun I've had my entire life". I can't disagree with him.


    I didn't get any pictures of the diff removal process because this part was pretty hands on for me. We used a combination of large screw drivers and pry bars to pop it out of place. Then we lifted it out.


    You'll want to save your cast iron spacers and record which side they go on. I threw mine in marked ziploc bags for later reuse.


    The boys cleaned out the housing with rags. I didn't have the tools to remove the pinion gear, so this was our stopping point for the day.
    Last edited by Yama-Bro; 10-17-2018 at 02:47 PM.
    Started dreaming of a Cobra around 1987
    Purchased Complete Kit 6/9/2017, Delivered 9/4/2017, Rolling Chassis 3/30/2018, Engine Dyno'ed 3/4/2022, Engine installed 8/27/2022
    Click here for my build thread
    Serial #9158
    Design Engineer at BluePrint Engines

  28. #148
    Senior Member
    Join Date
    Dec 2017
    Location
    SW Fl
    Posts
    130
    Post Thanks / Like
    Yama-Bro, Nice work by the assistants, and very clever use of the cap screw as a guide. I have had those too-easy to have been the whole screw before but not recessed like this one. Another tidbit of a good workaround to file in the build think bank.

  29. #149
    Papa's Avatar
    Join Date
    Dec 2016
    Location
    Mexico, MO
    Posts
    5,602
    Post Thanks / Like
    Frank,

    I had such a huge smile on my face reading your last update and seeing the enthusiasm your boys are exhibiting. You'll all remember these times forever; priceless!

    Dave
    My Build Thread: http://thefactoryfiveforum.com/showt...ter-Build-9754
    (Most viewed Roadster build thread on this forum!)

    Delivered: 6/17/2017
    First Start: 12/30/2017
    Completed: 12/7/2019
    Legal: 1/30/2020

    Member of the Mile-Hi Cobra Club
    Dave's Cobra YouTube Channel: https://www.youtube.com/channel/UCbk...npK1UZHj4R-bYQ
    Agora 1:8 Scale Cobra Build: https://thefactoryfiveforum.com/show...l-Build-Thread

  30. #150
    Senior Member Higgybulin's Avatar
    Join Date
    Dec 2017
    Location
    Southern Ontario
    Posts
    486
    Post Thanks / Like
    Better than spending the day in front of the TV!!!
    Higgy

  31. #151
    Senior Member Yama-Bro's Avatar
    Join Date
    Jul 2012
    Location
    Kearney Nebraska
    Posts
    847
    Post Thanks / Like
    Thanks for the comments guys...this is a fun journey!
    Started dreaming of a Cobra around 1987
    Purchased Complete Kit 6/9/2017, Delivered 9/4/2017, Rolling Chassis 3/30/2018, Engine Dyno'ed 3/4/2022, Engine installed 8/27/2022
    Click here for my build thread
    Serial #9158
    Design Engineer at BluePrint Engines

  32. #152
    Senior Member Yama-Bro's Avatar
    Join Date
    Jul 2012
    Location
    Kearney Nebraska
    Posts
    847
    Post Thanks / Like
    I forgot to post these pics. The same day we also pulled the bearings and seals out of the ends of the housing using a slide hammer and bearing puller kit. I didn't have either of those tools so I borrowed them from our local Oreilly's Auto store. These tools made removing bearings easy. It seems they could make a lot of other tasks easier. I added them to my tools-to-buy-list...


    Bearing and seal...


    Empty tube end...


    My oldest trying out the slide hammer...


    We cleaned up a few of the small parts that we took out. With the cold weather we've had and the garage that's not heated all the time, the solvent was ice cold.


    I had to get a group shot, just to prove I've been working on this and not just making my boys do all the work... LOL
    Last edited by Yama-Bro; 10-17-2018 at 02:50 PM.
    Started dreaming of a Cobra around 1987
    Purchased Complete Kit 6/9/2017, Delivered 9/4/2017, Rolling Chassis 3/30/2018, Engine Dyno'ed 3/4/2022, Engine installed 8/27/2022
    Click here for my build thread
    Serial #9158
    Design Engineer at BluePrint Engines

  33. #153
    Senior Member
    Join Date
    Dec 2017
    Location
    SW Fl
    Posts
    130
    Post Thanks / Like
    Looks like you photo shopped yourself in, lol... Just kidding

  34. #154
    Senior Member Yama-Bro's Avatar
    Join Date
    Jul 2012
    Location
    Kearney Nebraska
    Posts
    847
    Post Thanks / Like
    Quote Originally Posted by SerpantFL View Post
    Looks like you photo shopped yourself in, lol... Just kidding
    LOL...Busted!

    My dad, brother, and I spent a year and a half building a rustic cabin that we pretty much finished up right before my kit was delivered. I'm the most tech savvy of the group, so I took all the pictures. When I look back through the pictures it doesn't look like I even did anything because I'm not in too many of pictures. I learned if you want a record of the work you were involved in...sometimes you just gotta take a selfie.
    Started dreaming of a Cobra around 1987
    Purchased Complete Kit 6/9/2017, Delivered 9/4/2017, Rolling Chassis 3/30/2018, Engine Dyno'ed 3/4/2022, Engine installed 8/27/2022
    Click here for my build thread
    Serial #9158
    Design Engineer at BluePrint Engines

  35. #155
    Senior Member
    Join Date
    Dec 2017
    Location
    SW Fl
    Posts
    130
    Post Thanks / Like
    Definitely nice work by the team, you are blessed to have such good helpers... Well done guys!

  36. #156
    Junior Member JAB's Avatar
    Join Date
    Feb 2011
    Posts
    10
    Post Thanks / Like
    Please , keep this build page going! Awesome watching the boys getting their hands dirty and learning stuff.

  37. #157
    Senior Member FLPBFoot's Avatar
    Join Date
    Nov 2017
    Location
    Cape Coral, FL
    Posts
    480
    Post Thanks / Like
    Nice work with the crew!

    That's a 4 bolt axle. You have wheels that will fit it or are you going to change them out and go to a 5 bolt?
    2nd MK4 #10639 received 3-19-23. Wife's version. Street Snake - IRS, Willwoods, no roll bars, no hood scoop, no stripes, Blue Print EFI 306 with AOD trans, and under car exhaust. Ford Eruption Green with saddle leather interior.
    1st build - Mk4 Roadster #9319, received 4-10-18. IL registration 8/6/19. Moser 8.8. 3 Link. Wilwood brakes. Blue Print 427, Holley 750, TKO 600, 0.64 OD. Paint Dec 2020. Ruby Red with Carbon Flash Black metallic stripes.

  38. #158
    Senior Member Yama-Bro's Avatar
    Join Date
    Jul 2012
    Location
    Kearney Nebraska
    Posts
    847
    Post Thanks / Like
    Quote Originally Posted by SerpantFL View Post
    Definitely nice work by the team, you are blessed to have such good helpers... Well done guys!
    Thanks Man!

    Quote Originally Posted by JAB View Post
    Please , keep this build page going! Awesome watching the boys getting their hands dirty and learning stuff.
    I'm planning to keep it going until the end. I enjoy posting the progress. I'm glad you are enjoying watching it.

    Where did you find your avatar? I like that. Did you draw it?

    Quote Originally Posted by ILPBFoot View Post
    Nice work with the crew!

    That's a 4 bolt axle. You have wheels that will fit it or are you going to change them out and go to a 5 bolt?
    Thanks!

    You are correct. It is a 4 lug axle. I do have 5 lug rims. I have new 5 lug 31 spline axles that I am going to swap in. Basically, I'm not reusing any of the internal axle parts (besides caps, bolts, and spacers). I'm planning to sell the old parts and recoup some of my money. I know it won't add up to a lot, but I think I'll cover the expense of the axle itself and them some.
    Last edited by Yama-Bro; 02-07-2018 at 10:24 AM.
    Started dreaming of a Cobra around 1987
    Purchased Complete Kit 6/9/2017, Delivered 9/4/2017, Rolling Chassis 3/30/2018, Engine Dyno'ed 3/4/2022, Engine installed 8/27/2022
    Click here for my build thread
    Serial #9158
    Design Engineer at BluePrint Engines

  39. #159
    Mark Eaton's Avatar
    Join Date
    Apr 2017
    Location
    Medford, Oregon
    Posts
    756
    Post Thanks / Like
    You're boys are having a blast. That's awesome
    MK4 #9130 , complete kit, arrived 8/10/2017, Street Legal 2/14/2020.
    DART SHP 347, EFI, TKO600, IRS
    http://thefactoryfiveforum.com/showt...n-Build-Thread

  40. #160
    Senior Member Yama-Bro's Avatar
    Join Date
    Jul 2012
    Location
    Kearney Nebraska
    Posts
    847
    Post Thanks / Like
    We looked for a loaner pinion flange holding tool locally, but couldn't find anything, so we improvised. We threaded disposable bolts into two of the threaded flange holes. Next, we jammed a large breaker bar between the bolts and proceeded to remove the pinion nut with our pneumatic impact wrench while holding the bar. The nut was tight, but it slowly worked it's way off the pinion. I was expecting to have to use a puller to remove the flange from the pinion. To my surprise, once the nut was off, the pinion dropped out of the housing. It almost hit Cody's foot. That was close. We were lucky. It looks like the cardboard I had on the floor to absorb spills protected the concrete and the pinion from breaking. Double lucky!

    Cody with the pinion...


    The pinion with bearing, crush sleeve, and pinion flange...


    The 2nd bearing, oil slinger, and seal. We pried the seal and slinger out with a large screw driver. It came out fairly easy once I got it placed properly. My axle rebuild seal kit comes with a new slinger. Some don't, so make sure yours does before you damage this one.


    We tapped out the bearing races...


    And finally, the empty shell of an axle...
    Last edited by Yama-Bro; 10-17-2018 at 02:55 PM.
    Started dreaming of a Cobra around 1987
    Purchased Complete Kit 6/9/2017, Delivered 9/4/2017, Rolling Chassis 3/30/2018, Engine Dyno'ed 3/4/2022, Engine installed 8/27/2022
    Click here for my build thread
    Serial #9158
    Design Engineer at BluePrint Engines

Page 4 of 14 FirstFirst ... 23456 ... LastLast

Posting Permissions

  • You may not post new threads
  • You may not post replies
  • You may not post attachments
  • You may not edit your posts
  •  

Breeze

Visit our community sponsor