Midwest Classic Insurance

Visit our community sponsor

Thanks Thanks:  0
Likes Likes:  0
Page 3 of 3 FirstFirst 123
Results 81 to 92 of 92

Thread: Starting a new GEN 3 Daytona build

  1. #81

    Join Date
    Feb 2011
    Location
    Norton, MA USA earth
    Posts
    3,338
    Post Thanks / Like
    I got the Daytona back from the body shop. It was there for them to finish gap the doors and nose. No I am going to fit the exhaust and at some point the side windows. Then I will remove the body and give it back to them to finish and paint.
    Here are a few pics of the exhaust install. Both pipes fit pretty decent but did need a little help. Both side pipes got a Breeze shim to move the end of the pipe closer to the body by 1 inch. also i needed to use 5/16 bolts to bolt them up so I could rotate the side pipe up a bit to make it parallel with the body. The end result is a perfect fitting pipe.

    Here are a couple of pics before the shim and smaller bolts.


    and here is a pic after the shim and smaller bolts.


    and a pic of the hanger at the back of the pipes.


    I have read a lot of complaints about the side pipe fitment, but i didn't find them too bad. Certainly not any worse than the Cobra.

    I also started getting the Coyote wiring and computer in place. I found that with a very minor mod to the engine harness i could get the computer mounted into the firewall.
    Seems like a good spot for it and its out of the way. No interference behind the dash either.


    The fuse box for the engine will also be mounted inside the car.

  2. #82

    Join Date
    Feb 2011
    Location
    Norton, MA USA earth
    Posts
    3,338
    Post Thanks / Like
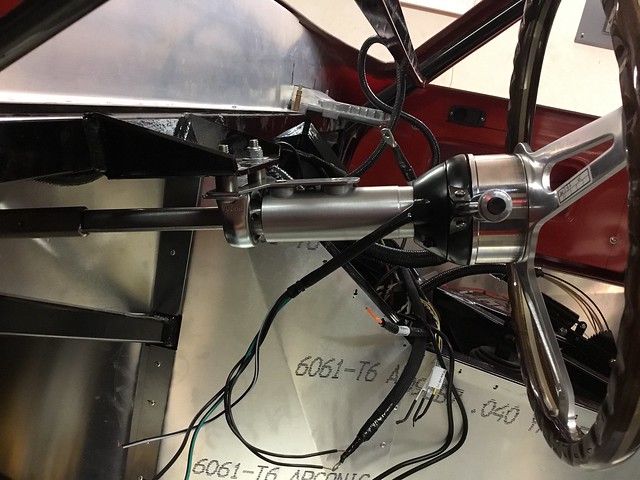
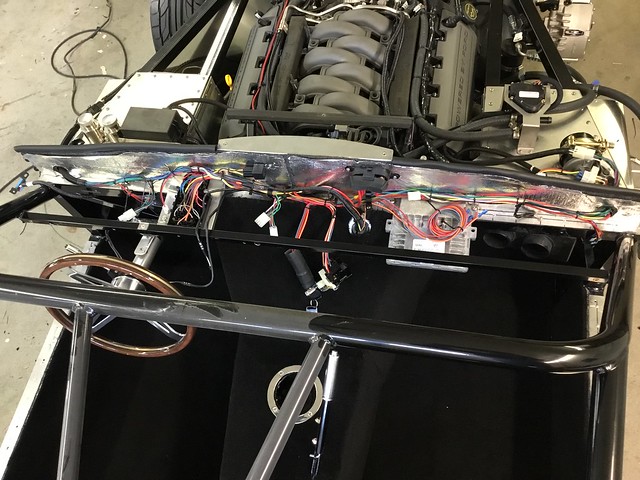
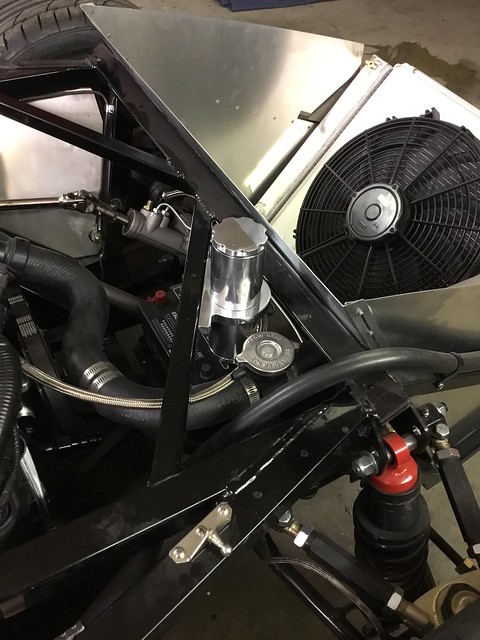
    And finally here is a pic of where I mounted the power steering reservoir. That system is now completed.


  3. #83
    PLATNUM Supporting Member
    wallace18's Avatar
    Join Date
    Apr 2012
    Location
    Trenton, Florida
    Posts
    5,381
    Post Thanks / Like
    Very nice work Mike.

  4. #84
    Senior Member
    Join Date
    Feb 2011
    Location
    Edmonton Alberta
    Posts
    798
    Post Thanks / Like
    Looking good and coming together quickly.
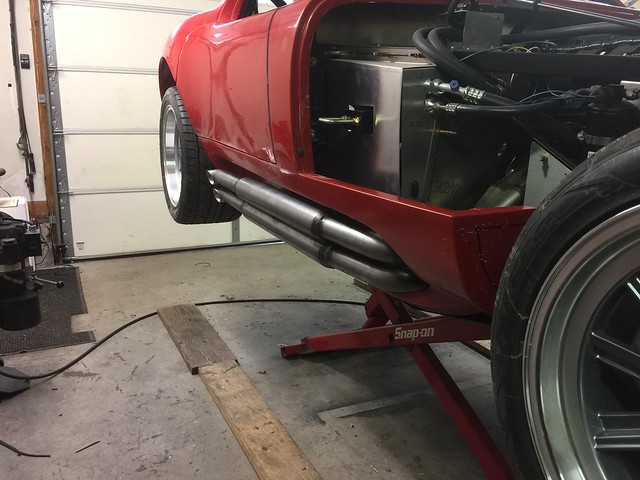
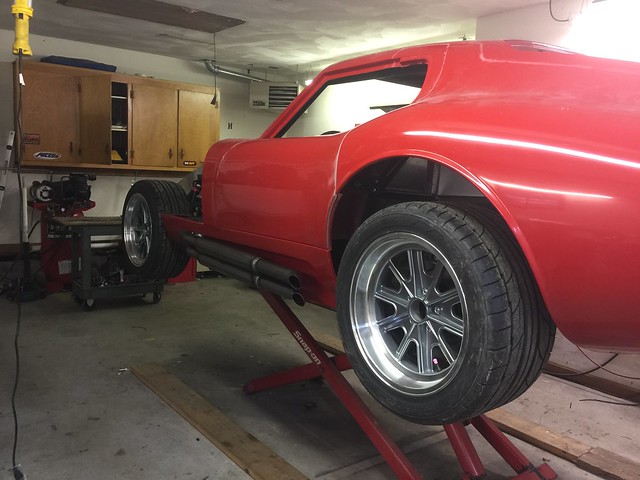
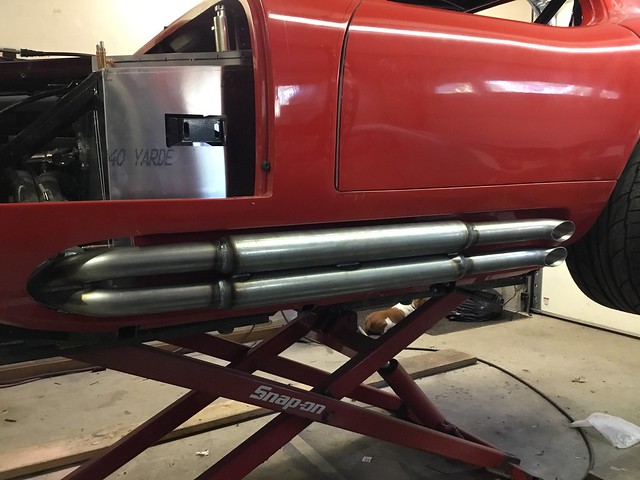
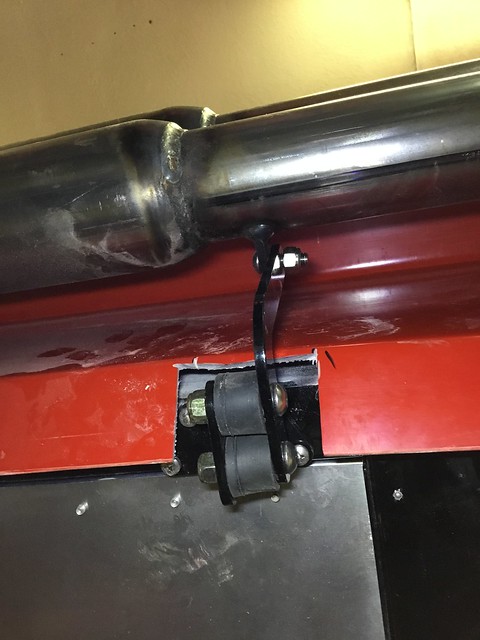
    It seems the side pipe fit is good with the Coyote but those of us going old school with the 302 based engines are having issues. My driver side is OK but the passenger side is off by about 2 inches. FFR is working with me to fix it and I know I will "win" in the end
    David W

  5. #85

    Join Date
    Feb 2011
    Location
    Norton, MA USA earth
    Posts
    3,338
    Post Thanks / Like
    Started working on some of the interior wiring. I already modified and ran the front and rear harnesses. This is a heavily modified RF harness. I decided to mount the fuse box to the right of the steering column up under the dash. Its the only place that made sense to me and still be able to get to the fuses.


    Also have the Russ Thompson turn signal installed and wired in. Hope to have the rest of the wiring done tomorrow then onto the Coyote wiring.


  6. #86
    nkw8181's Avatar
    Join Date
    Sep 2013
    Location
    Dallas, TX
    Posts
    762
    Post Thanks / Like
    Looking good. I won't catch you but I will try
    Nolan
    65 coupe Gen 3 "Phoenix" build
    http://thefactoryfiveforum.com/showt...032#post297032

    818 s (with r windscreen ) 350 rwhp. Registered and street legal (SOLD)

  7. #87

    Join Date
    Feb 2011
    Location
    Norton, MA USA earth
    Posts
    3,338
    Post Thanks / Like
    Been a while since I have updated. The body is being worked on at the body shop. I have been finishing up a ton of little things to get it ready to go. One of the big things was wiring the A/C unit.
    I wired up the face plate with a plug so it could be removed for service if ever needed. Makes the wiring a little neater too.


    I now have all of the wiring done and tested. Also have most of the interior insulated and carpeted Waiting on some high back seats and a shifter to finish off the interior.


    In this picture you can see where the fuse box and computer are mounted. Makes for a clean wiring job.


    I opted to mount the Coyote fuse block on top of the driver foot box. there is not enough room to remove the cover once the body is on. I decided to mount it to a bracket that will allow me to remove one screw and slide it forward.


  8. #88
    Senior Member
    Join Date
    Oct 2016
    Location
    Fayetteville WV
    Posts
    256
    Post Thanks / Like
    Mike,

    Amazing detail and very neat. Enjoy following each update. Just great work.

    Thanks,
    Len
    1972 Corvette Stingray 350 c.i. Manual Steering & Brakes
    2003 H-D Softail Deuce 88 c.i. TwinCam
    Gen 3 Coupe Dreamer

  9. #89
    nkw8181's Avatar
    Join Date
    Sep 2013
    Location
    Dallas, TX
    Posts
    762
    Post Thanks / Like
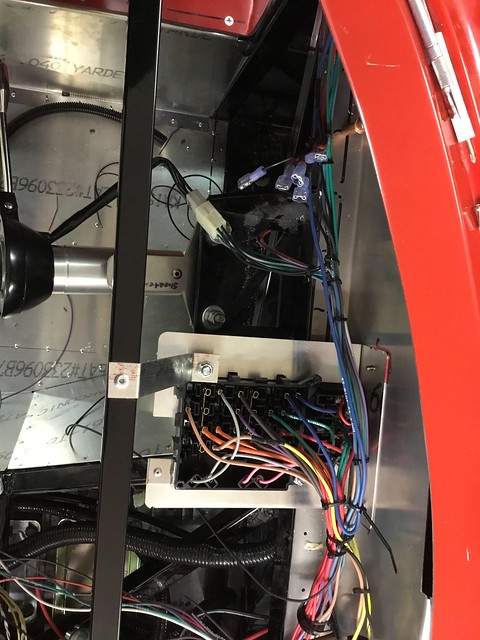
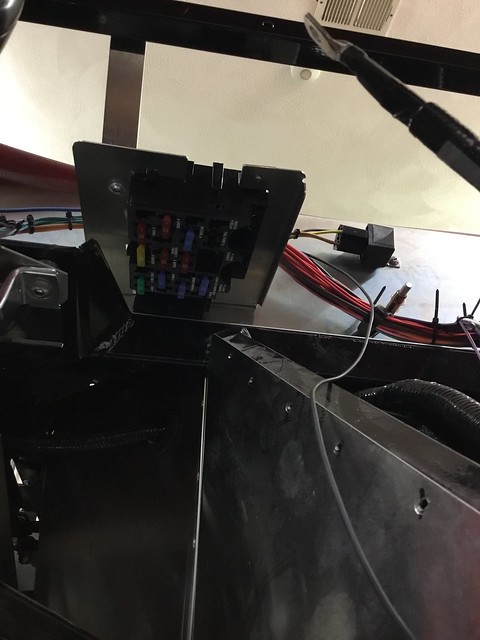
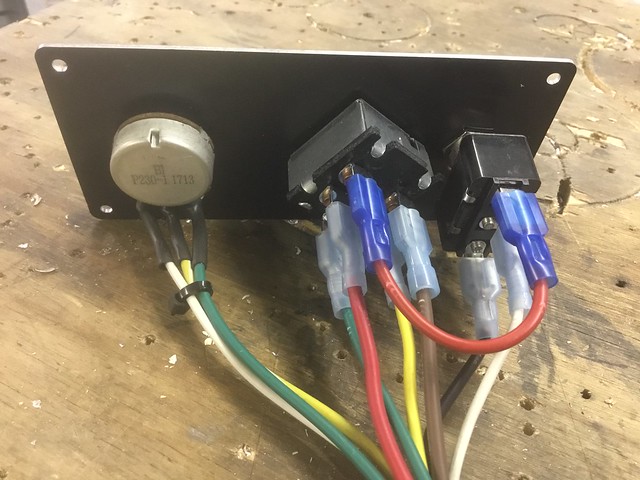
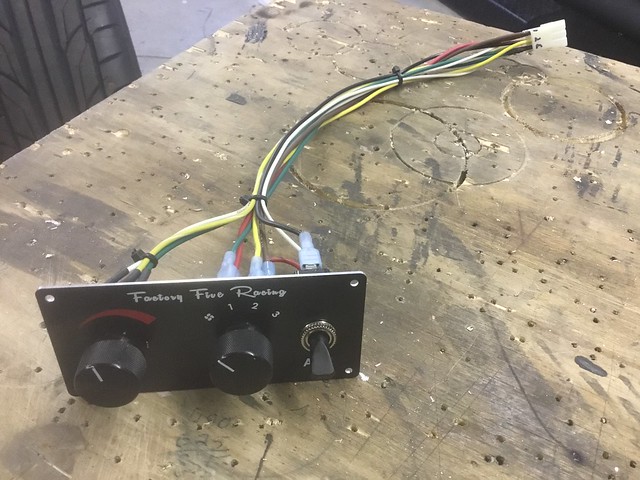
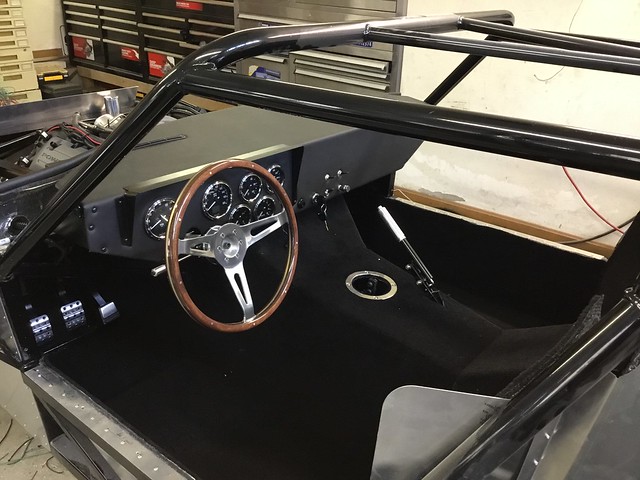
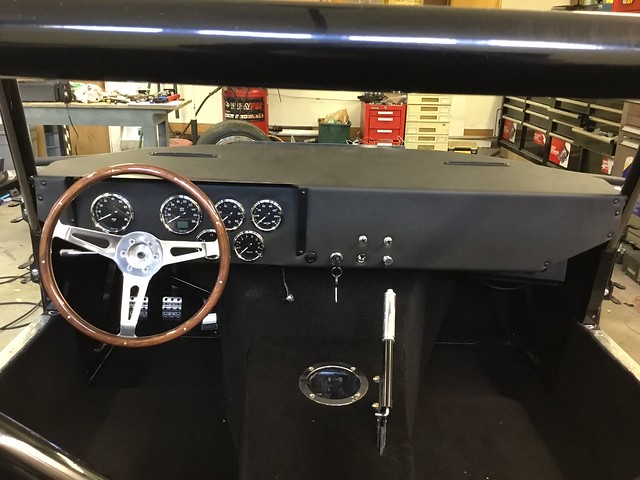
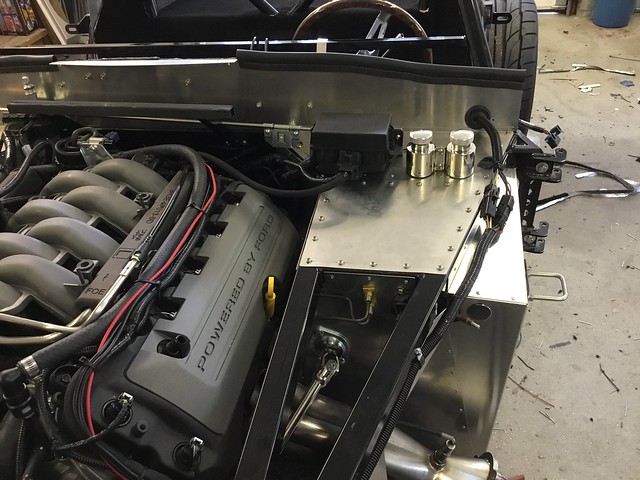
    Looking great. It is amazing how the cars ca be "the same" but how we all do a little of this and a little of that different. I might copy you with the two switches above the stock ones. I find I have ALOT of switches.
    Nolan
    65 coupe Gen 3 "Phoenix" build
    http://thefactoryfiveforum.com/showt...032#post297032

    818 s (with r windscreen ) 350 rwhp. Registered and street legal (SOLD)

  10. #90
    Senior Member bil1024's Avatar
    Join Date
    Feb 2011
    Location
    NY
    Posts
    1,428
    Post Thanks / Like
    Looks great Mike, any advice on the a/c install ? Getting ready to do the passenger side foot box and would like to see what hints you have for the install

  11. #91
    Senior Member edwardb's Avatar
    Join Date
    Feb 2011
    Location
    Lake Orion, Michigan
    Posts
    10,566
    Post Thanks / Like
    Quote Originally Posted by bil1024 View Post
    Looks great Mike, any advice on the a/c install ? Getting ready to do the passenger side foot box and would like to see what hints you have for the install
    Don't recall Mike had a lot of detail in his build thread about the A/C. He tends to spend his time building instead of in front of the keyboard like some of us. Assume you're talking about the Factory Five heat/AC kit for the Gen 3 Coupe? Talked about it quite a bit in my build thread with lots of pictures. Link in my sig line below.
    Build 1: Mk3 Roadster #5125. Sold 11/08/2014. Build 2: Mk4 Roadster #7750. Sold 04/10/2017. Build Thread
    Build 3: Mk4 Roadster 20th Anniversary #8674. Sold 09/07/2020. Build Thread and Video. Build 4: Gen 3 Type 65 Coupe #59. Gen 3 Coyote. Legal 03/04/2020. Build Thread and Video
    Build 5: 35 Hot Rod Truck #138. LS3 and 4L65E auto. Rcvd 01/05/2021. Legal 04/20/2023. Build Thread. Sold 11/9/2023.

  12. #92
    Senior Member bil1024's Avatar
    Join Date
    Feb 2011
    Location
    NY
    Posts
    1,428
    Post Thanks / Like
    Quote Originally Posted by edwardb View Post
    Don't recall Mike had a lot of detail in his build thread about the A/C. He tends to spend his time building instead of in front of the keyboard like some of us. Assume you're talking about the Factory Five heat/AC kit for the Gen 3 Coupe? Talked about it quite a bit in my build thread with lots of pictures. Link in my sig line below.
    Cool , will check it out thanks

Page 3 of 3 FirstFirst 123

Posting Permissions

  • You may not post new threads
  • You may not post replies
  • You may not post attachments
  • You may not edit your posts
  •  

Breeze

Visit our community sponsor