Thanks:
  Likes:


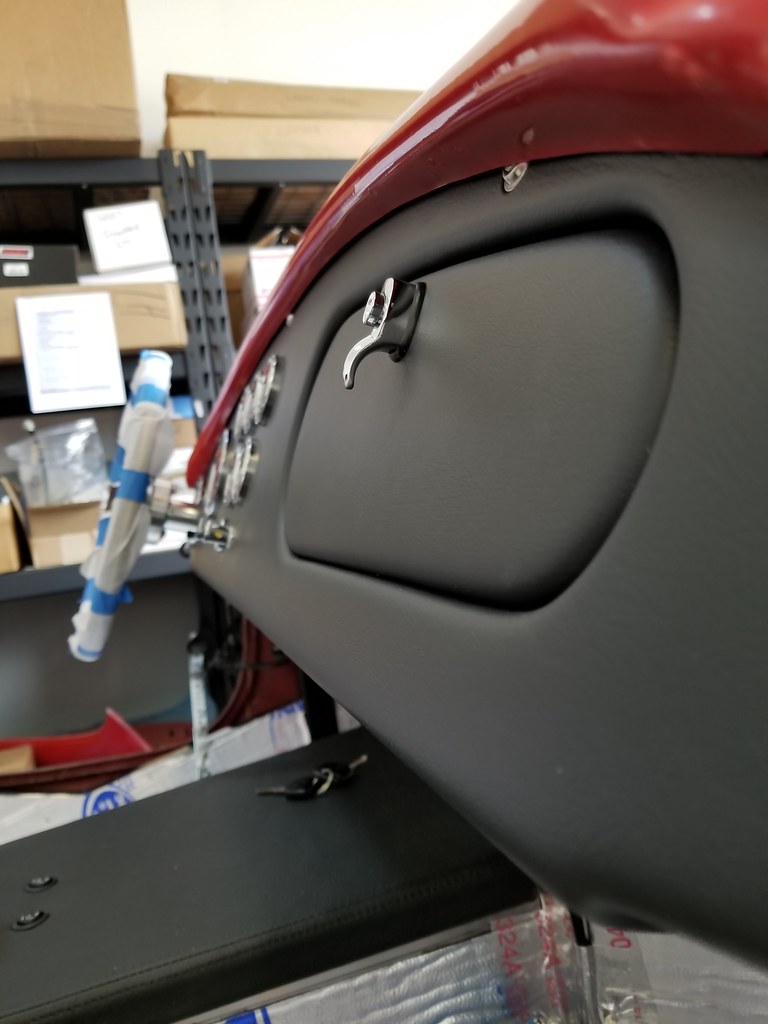
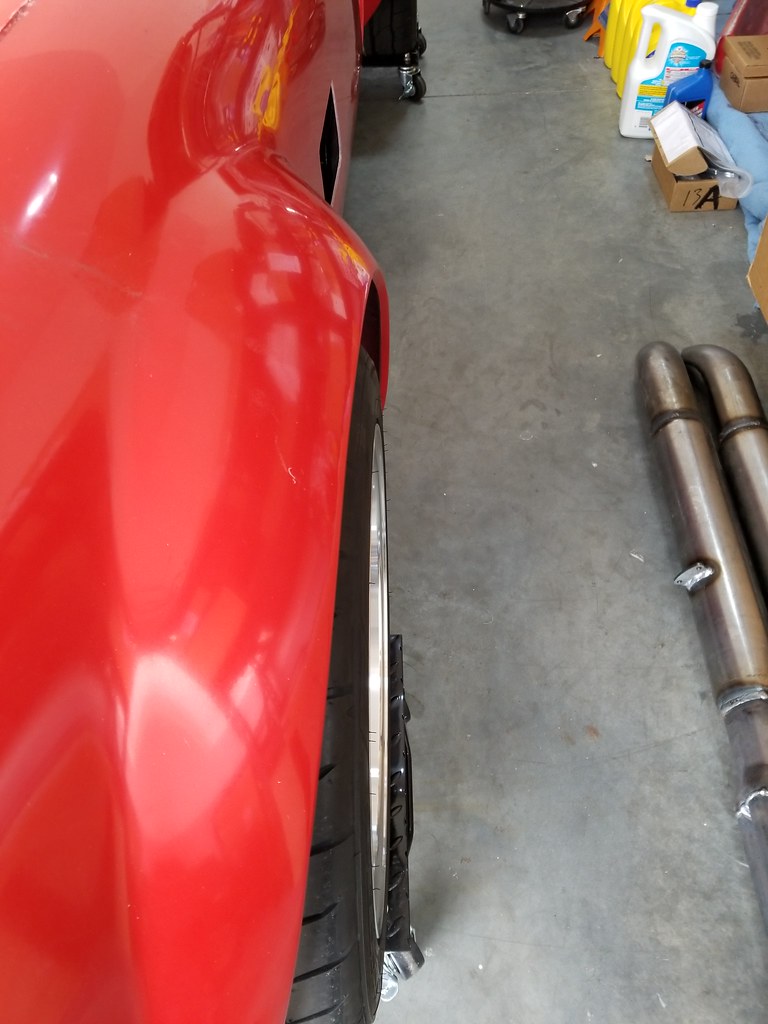
First, I want to thank Jeff for his write-up on fitting the body onto the chassis. I've read it several times and it has helped quite a bit. Right now, I don't have any of the bulb seals or other rubber in place. I'm looking for general fit and clearance of all the panels that the rubber will go to be sure there is plenty of room for the body to sit without being propped up too high because of a clearance issue. I do have the front splash guards cleco'd in place to the F-panel, but not attached to the body.
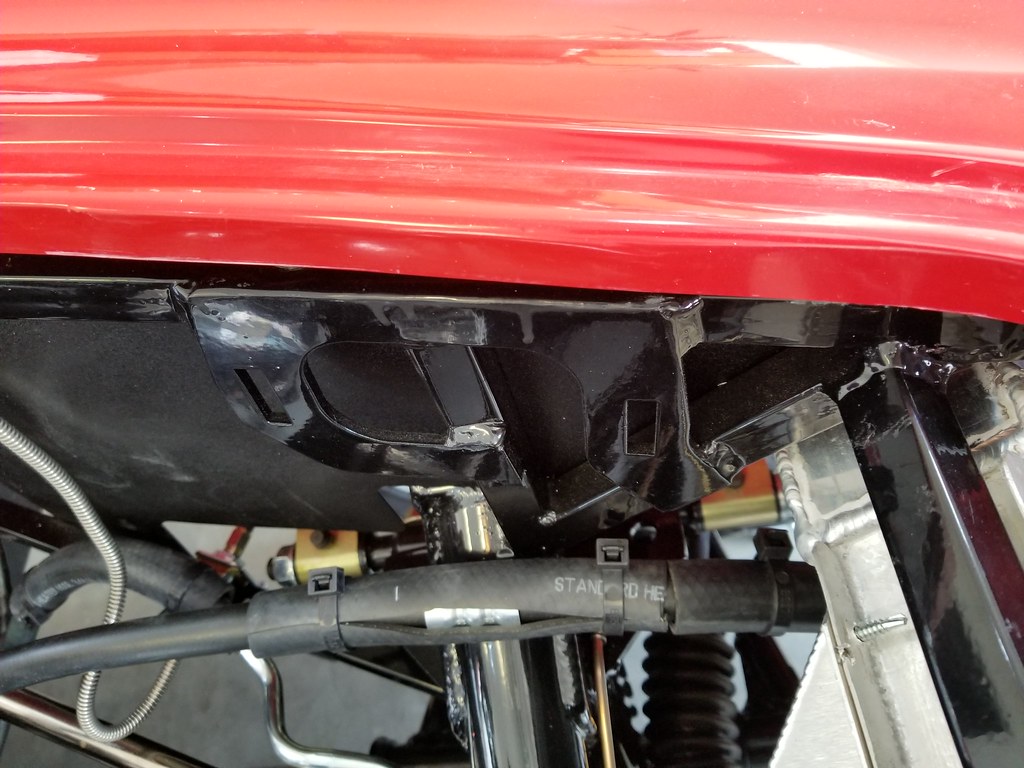
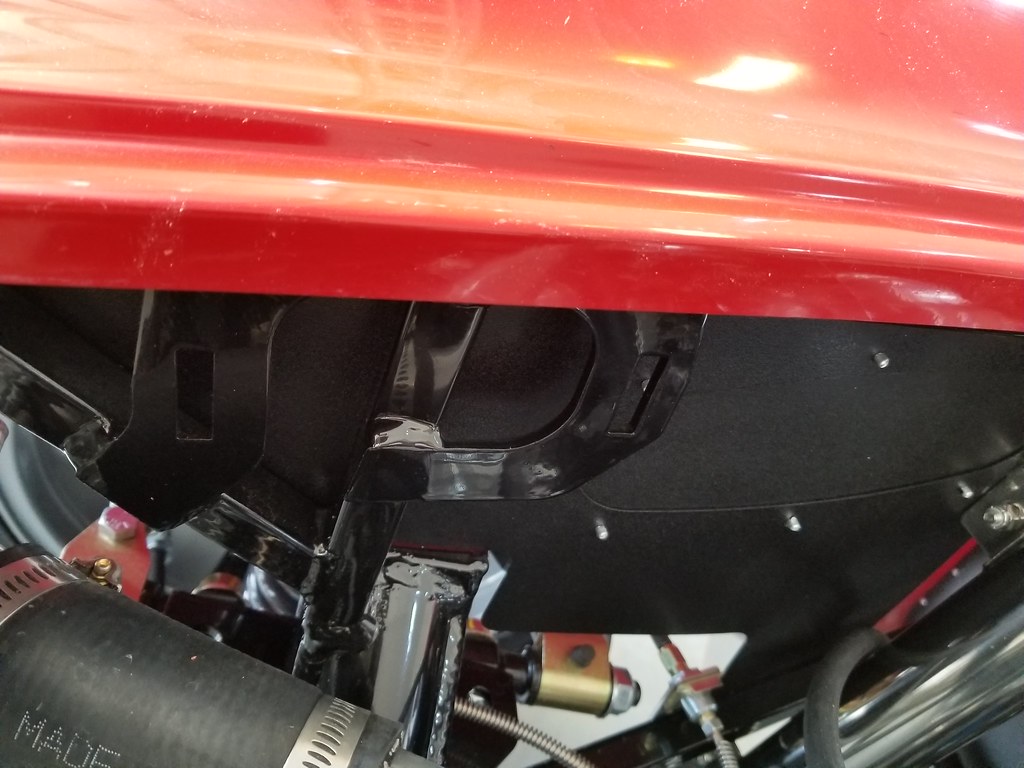
How should the hood hinge mounts sit relative to the hood opening? Right now mine is sitting with the driver's side about flush with the lip of the hood opening and the passenger side is recessed quite a bit.
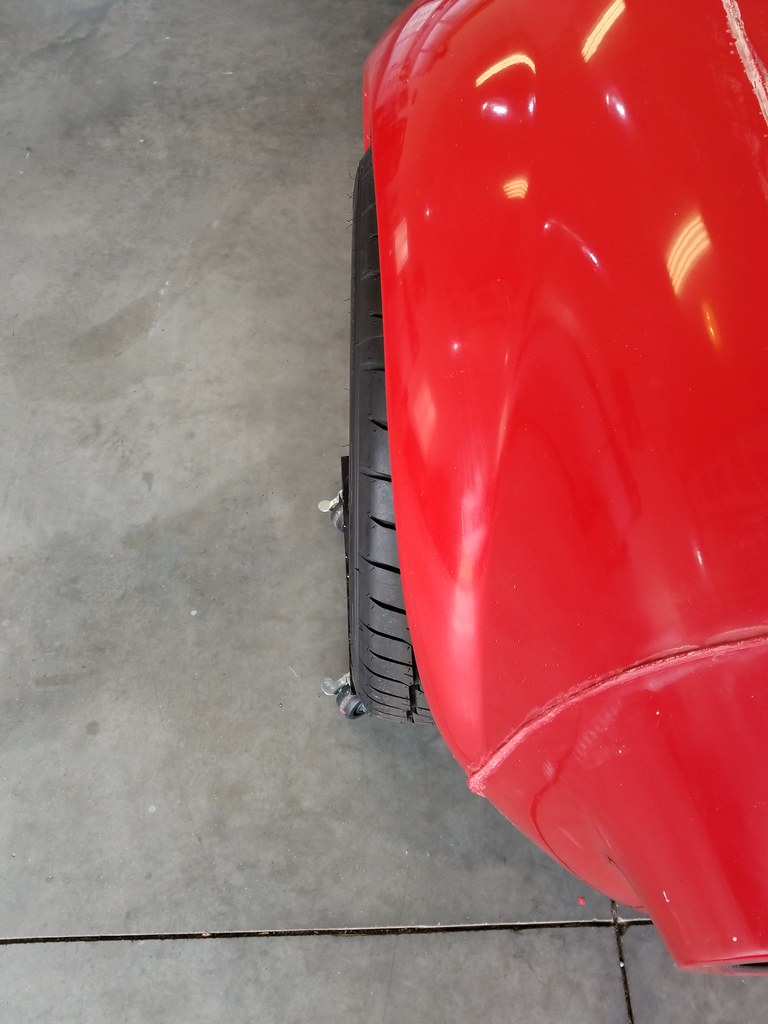
Driver's side:
Passenger side:
It seems like the body will need to move over toward the passenger side in the front.
- Home
- Latest Posts!
- Forums
- Blogs
- Vendors
- Forms
-
Links

- Welcomes and Introductions
- Roadster
- Type 65 Coupe
- 33 Hot Rod
- GTM Supercar
- 818
- Challenge Series
- 289 USRCC
- Coyote R&D
- Ask a Factory Five Tech
- Tech Updates
- General Discussions
- Off Topic Discussions
- Eastern Region
- Central Region
- Mountain Region
- Pacific Region
- Canadian Discussions
- Want to buy
- For Sale
- Pay it forward
-
Gallery
- Wiki-Build-Tech

 Reply With Quote