 IMG_1833
 by
jhsitton, on Flickr
 IMG_1828
 by
jhsitton, on Flickr
 IMG_1825
 by
jhsitton, on Flickr
For those of you inclined to do this mod yourself, here are some lessons I learned:
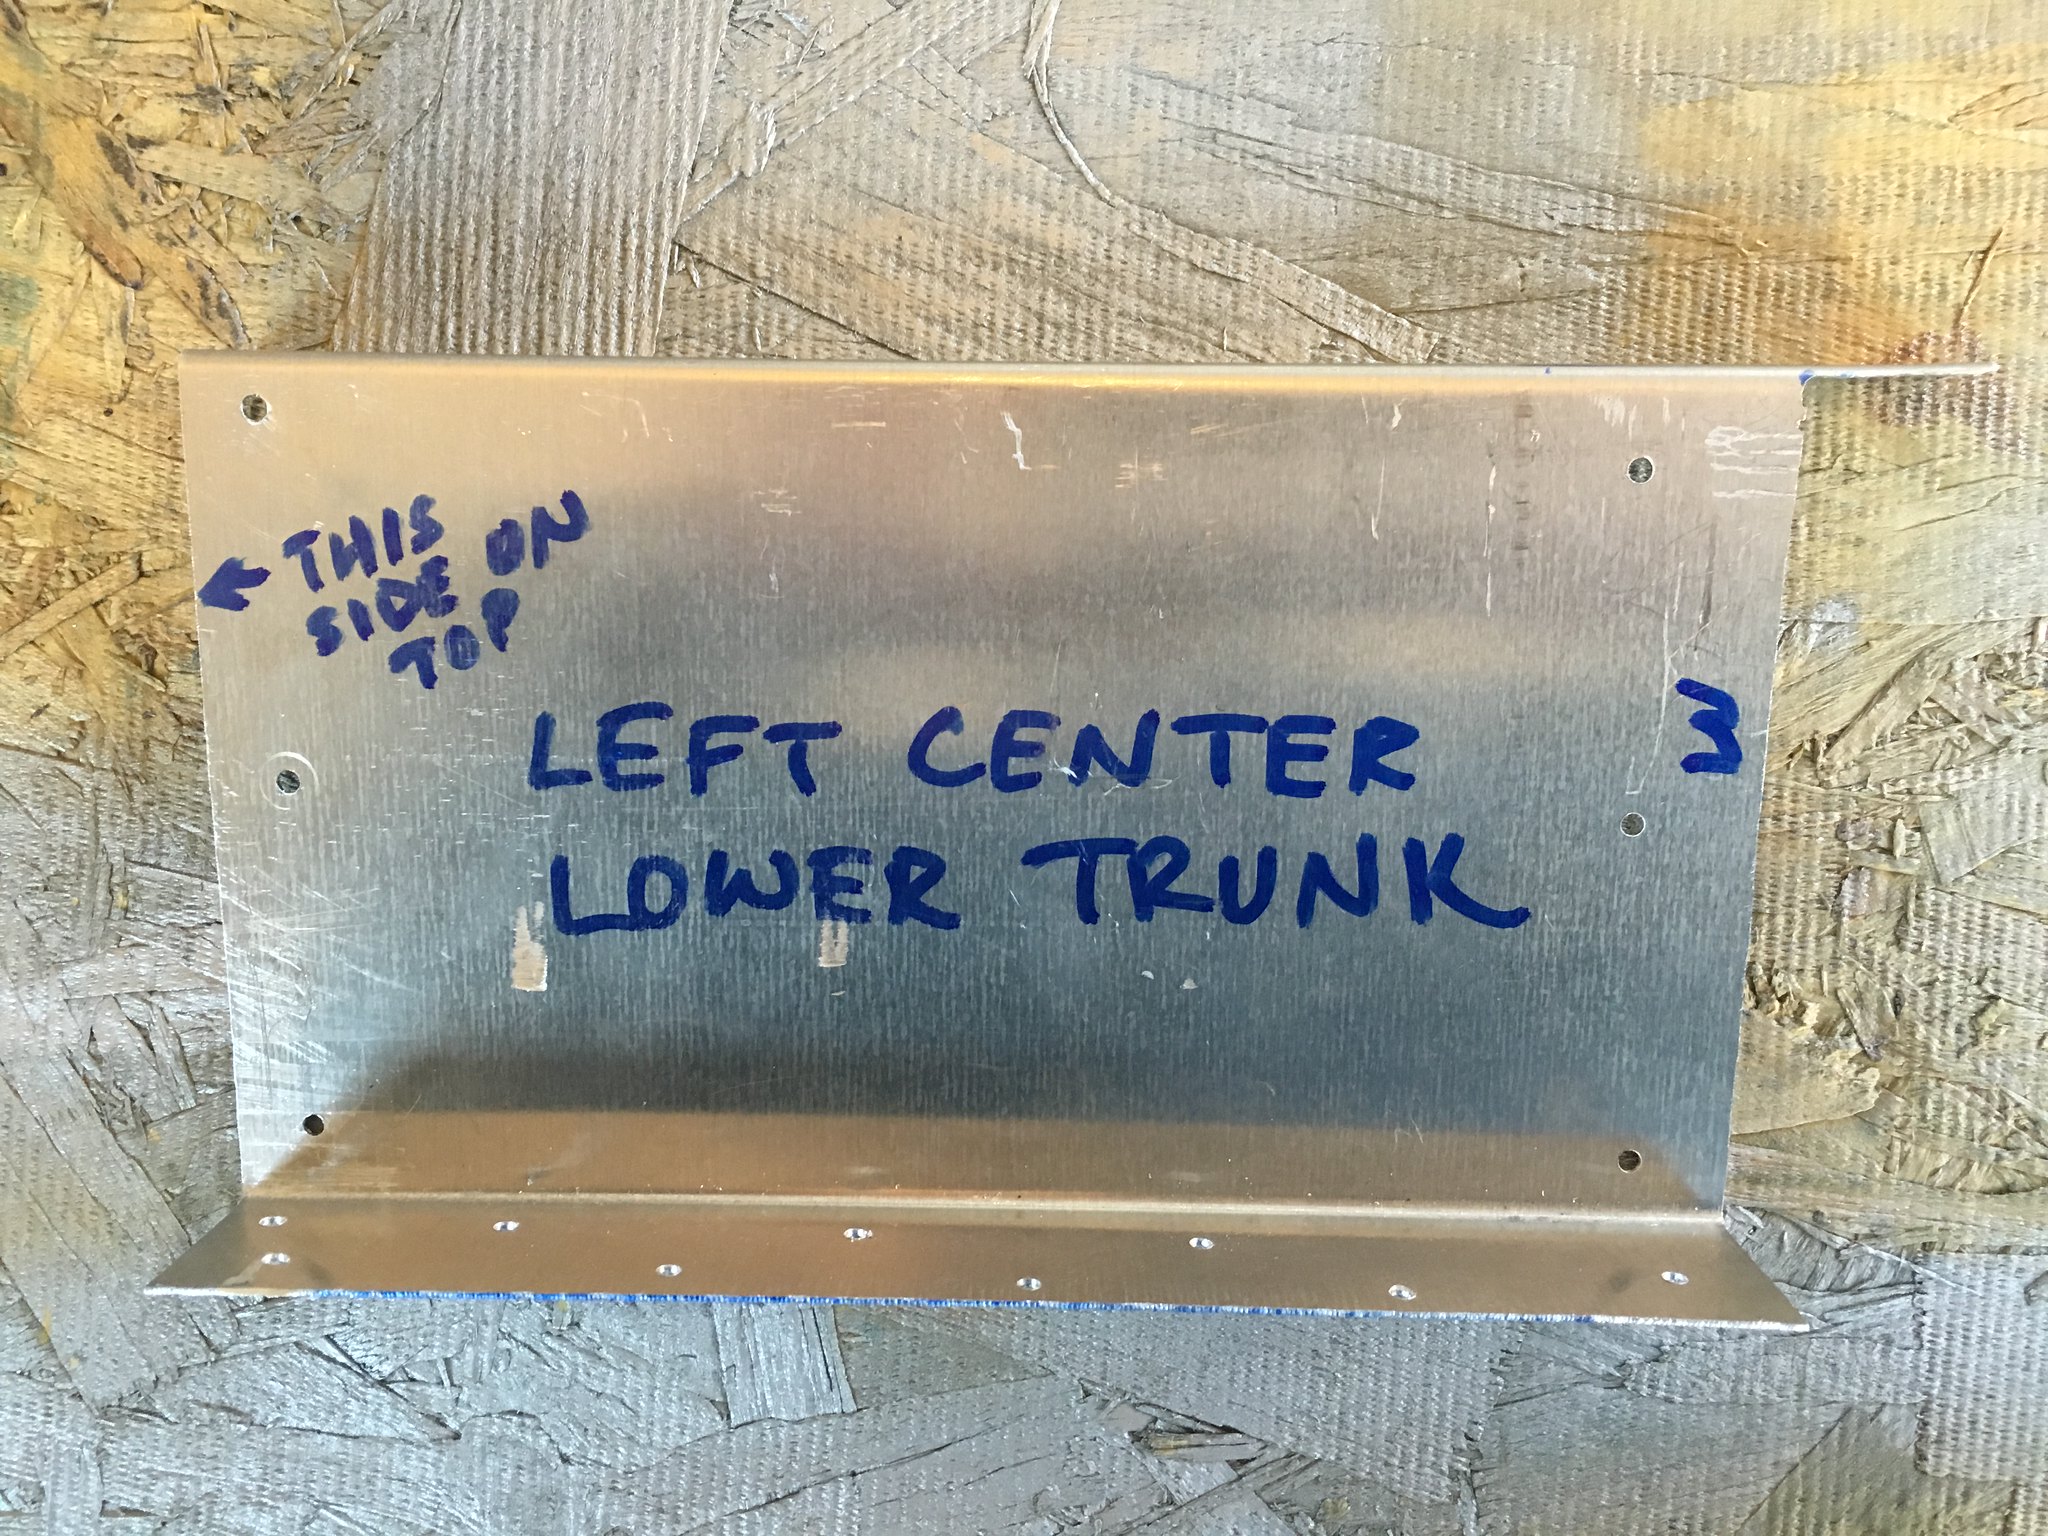
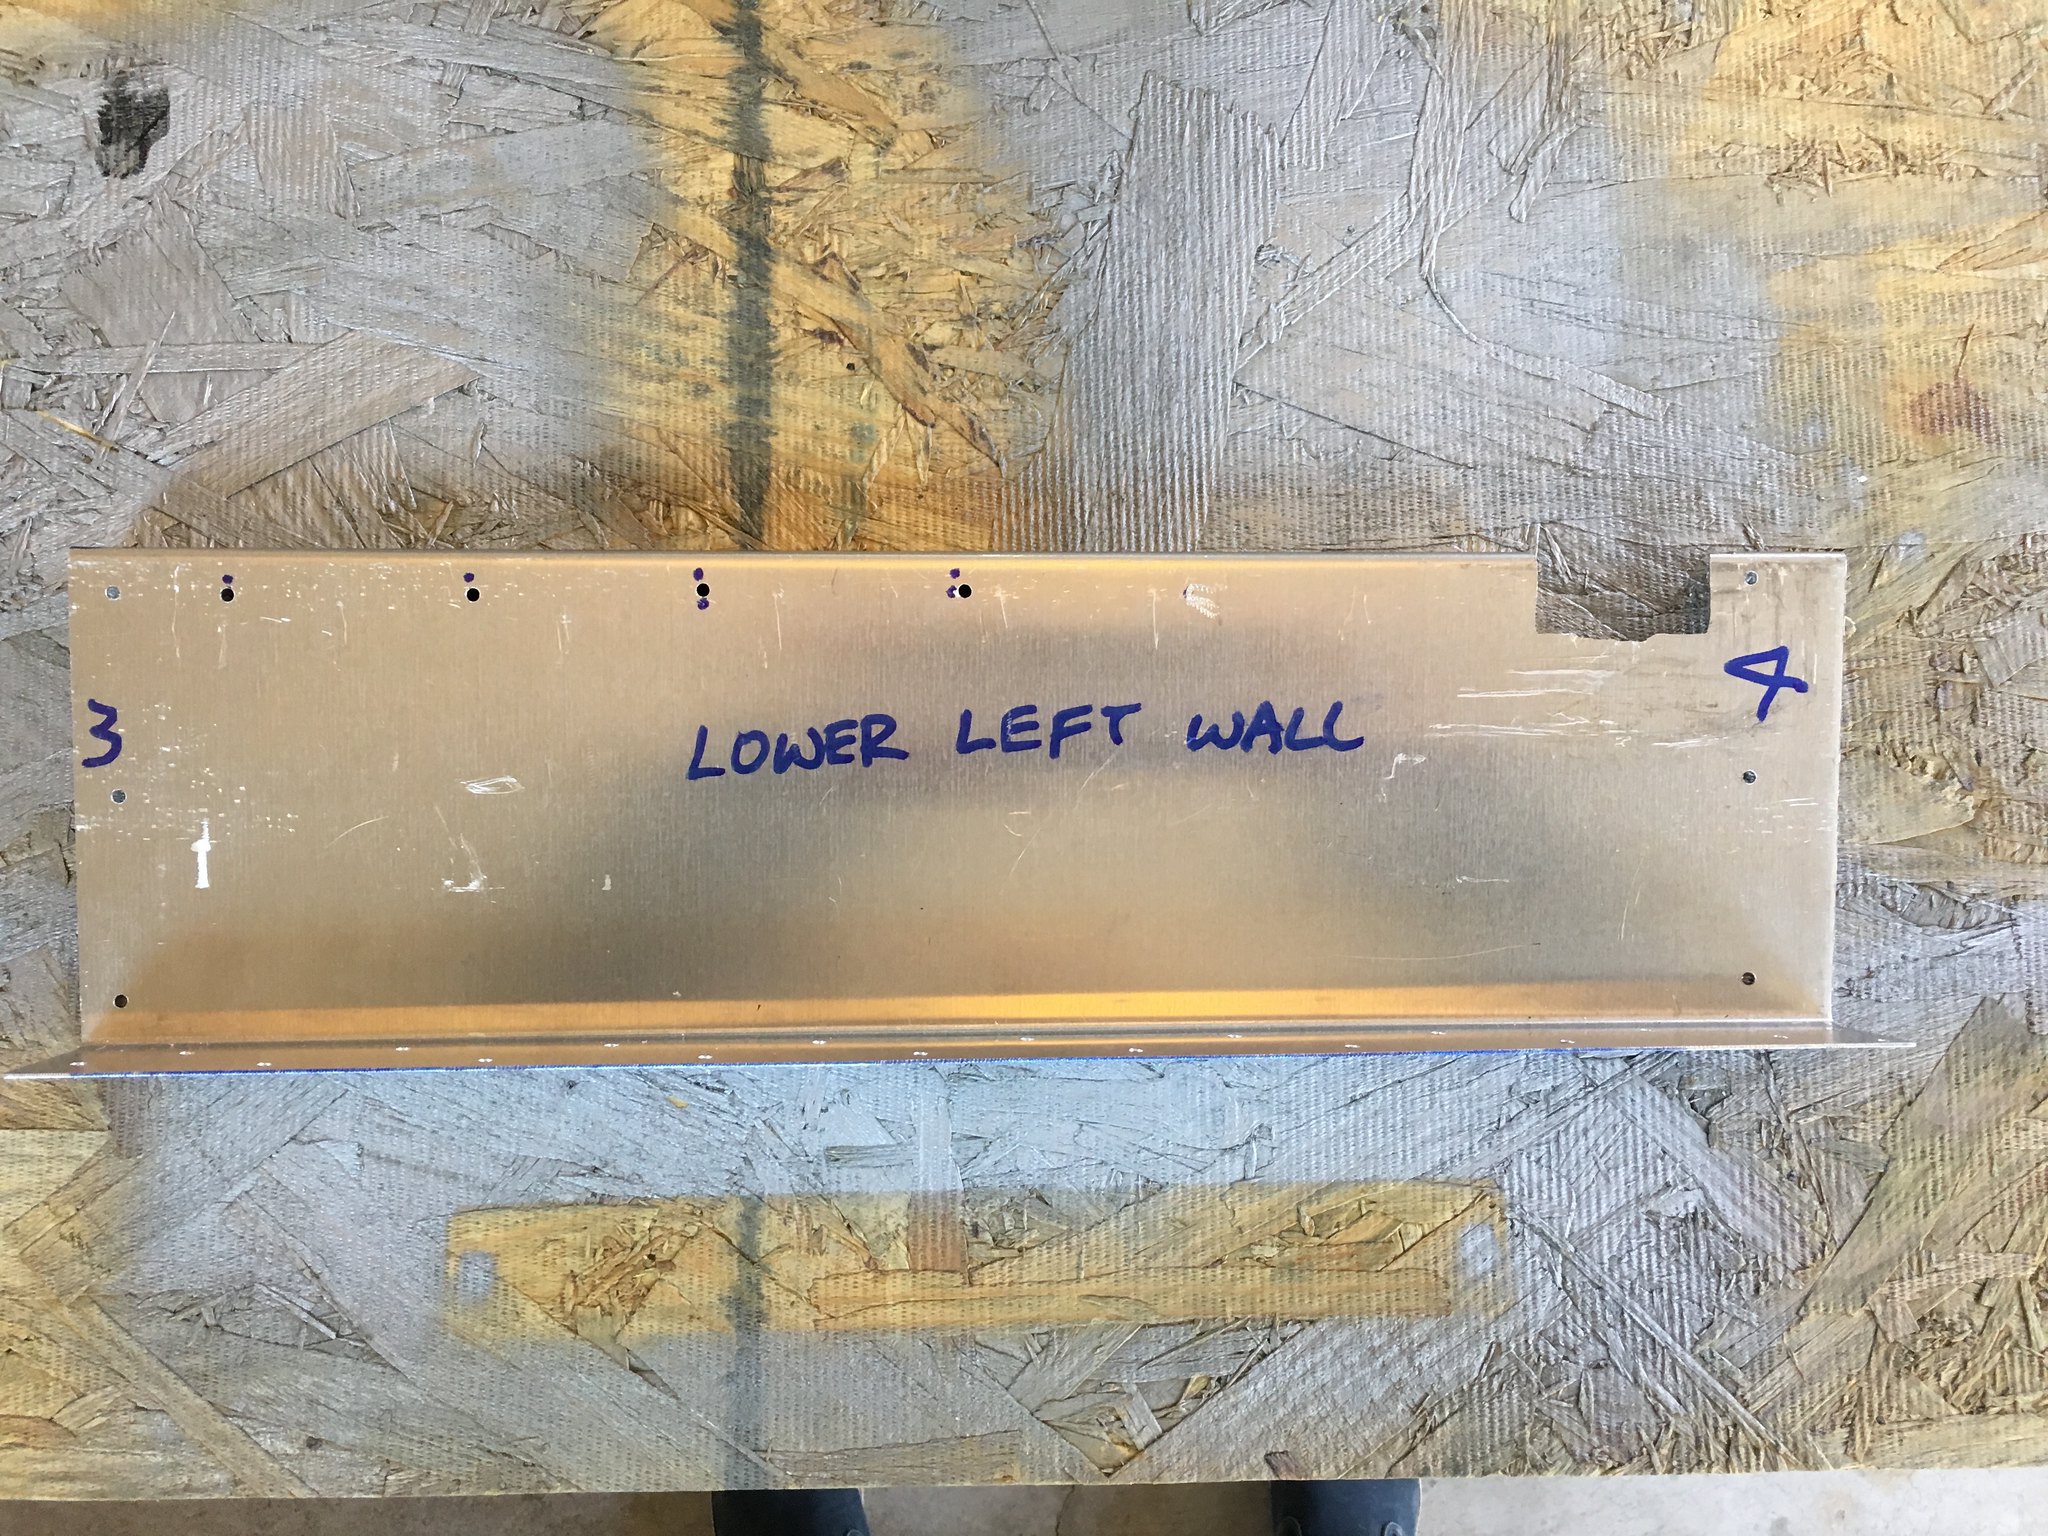
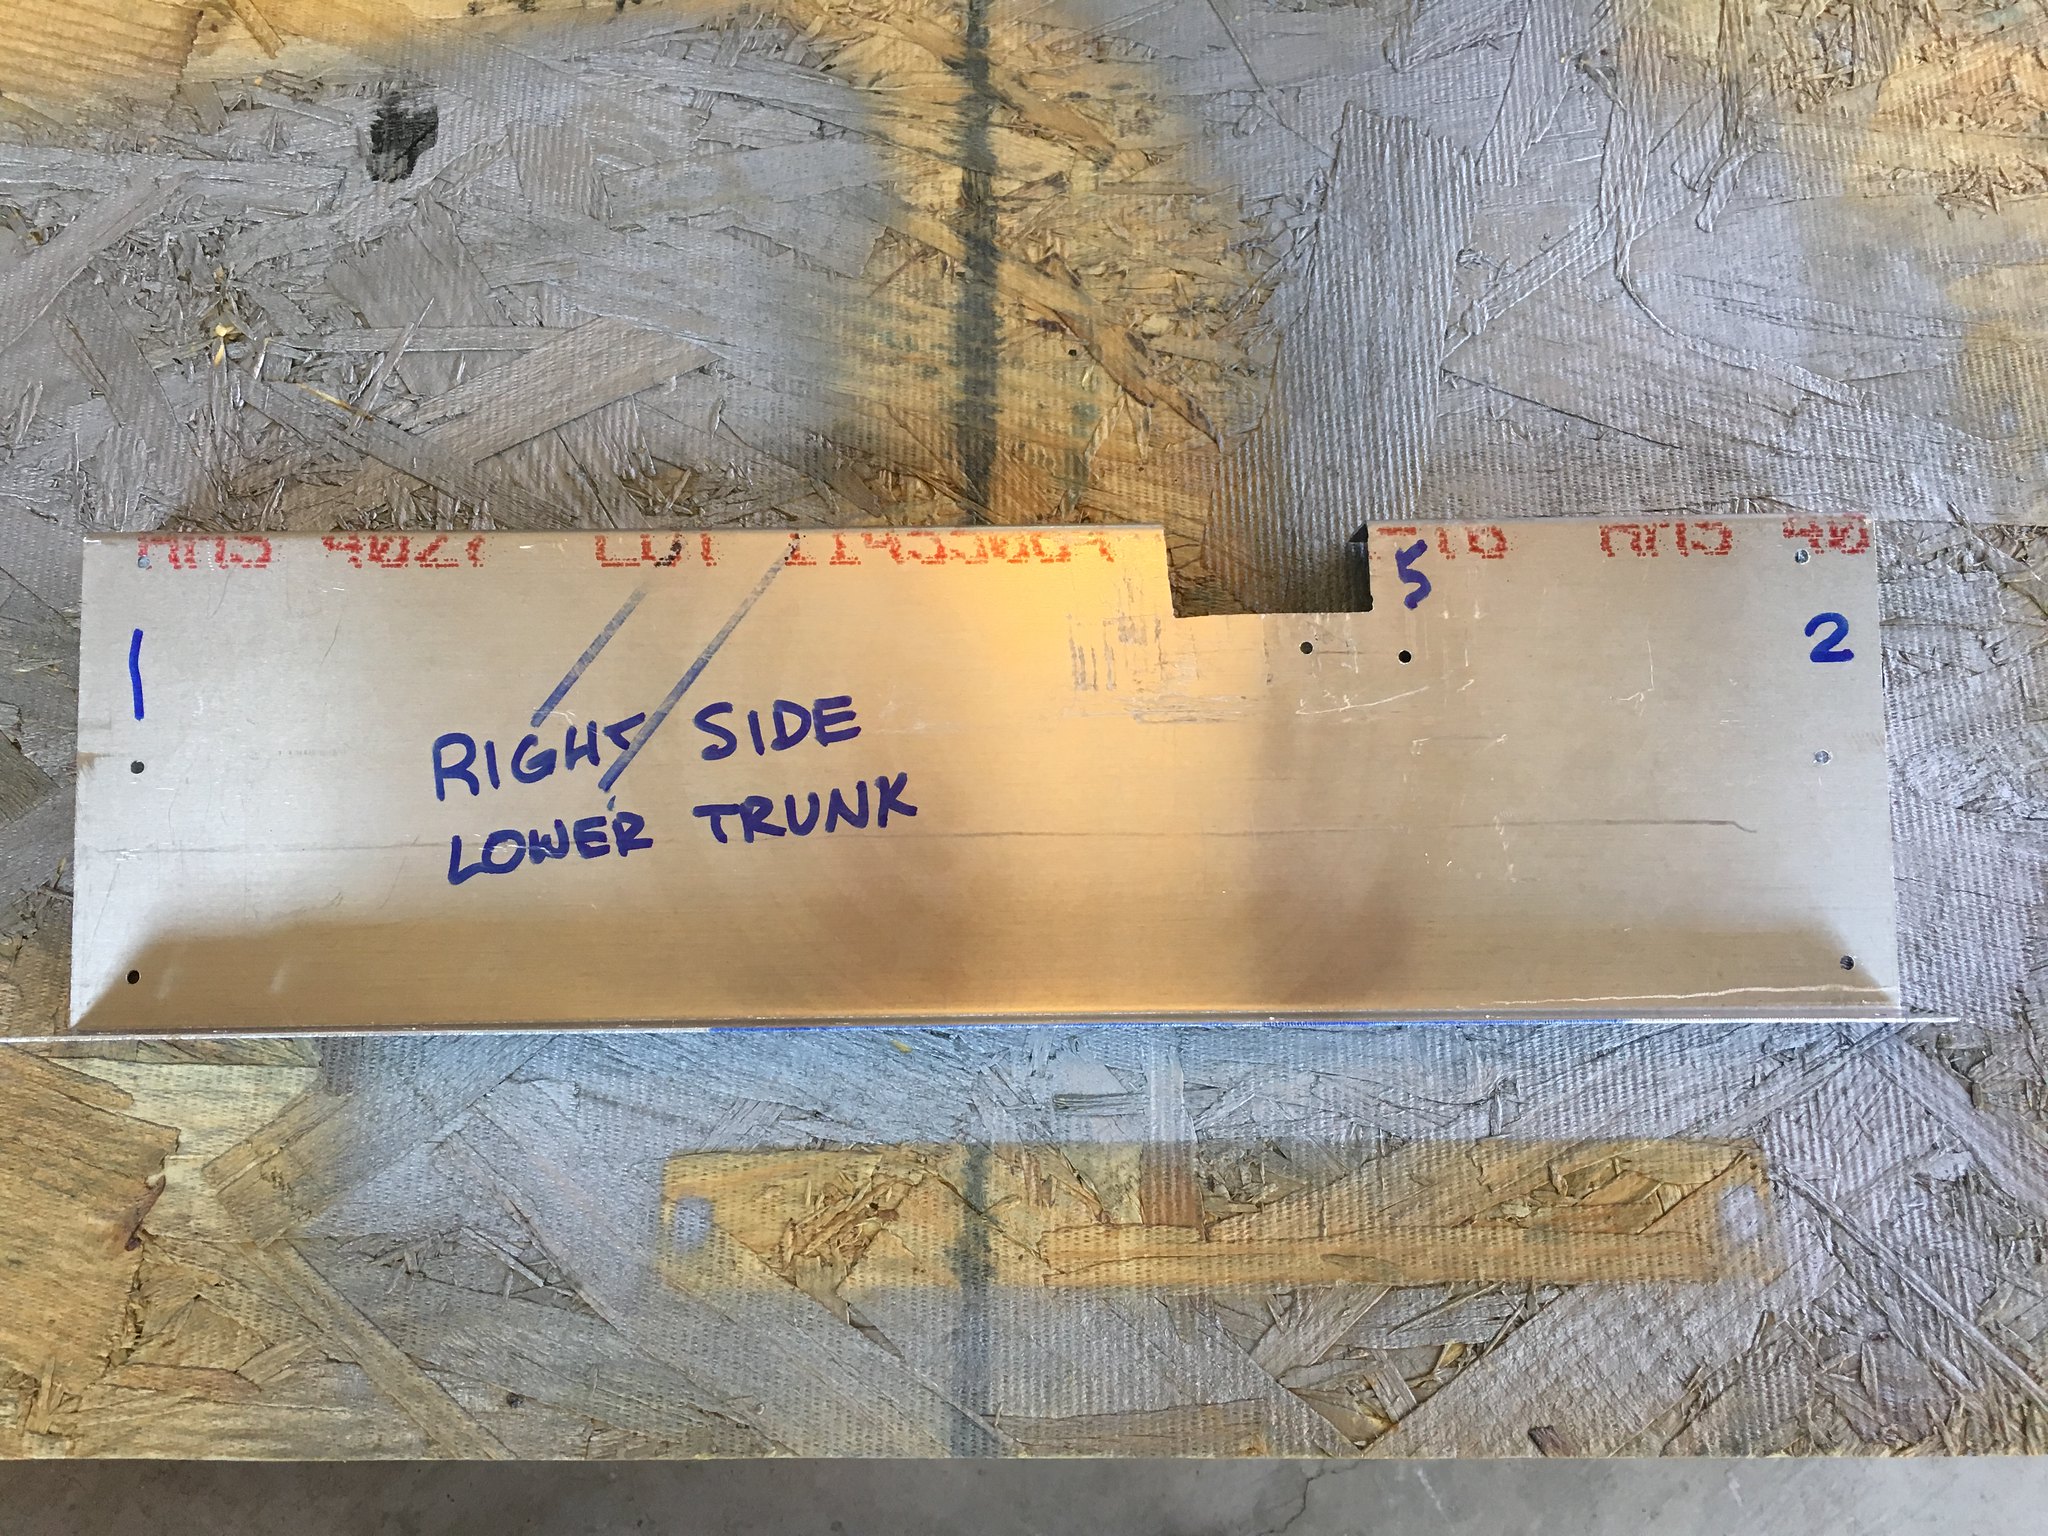
1. The trunk framing is NOT square. For me, the left side of the 3/4 tube running between the rear roll bar mounts was a full 1/4 higher than the right side. I know this because when I fabricated the lower trunk wall panels they didnt join. At first I thought Id made a mistake, but subsequent measuring and inspecting and assembly off the car showed I had in fact made a square, non-joining-up box. I ended up remaking the lower left wall and sloping it so that I got a non-square box. If you dont tell I wont.
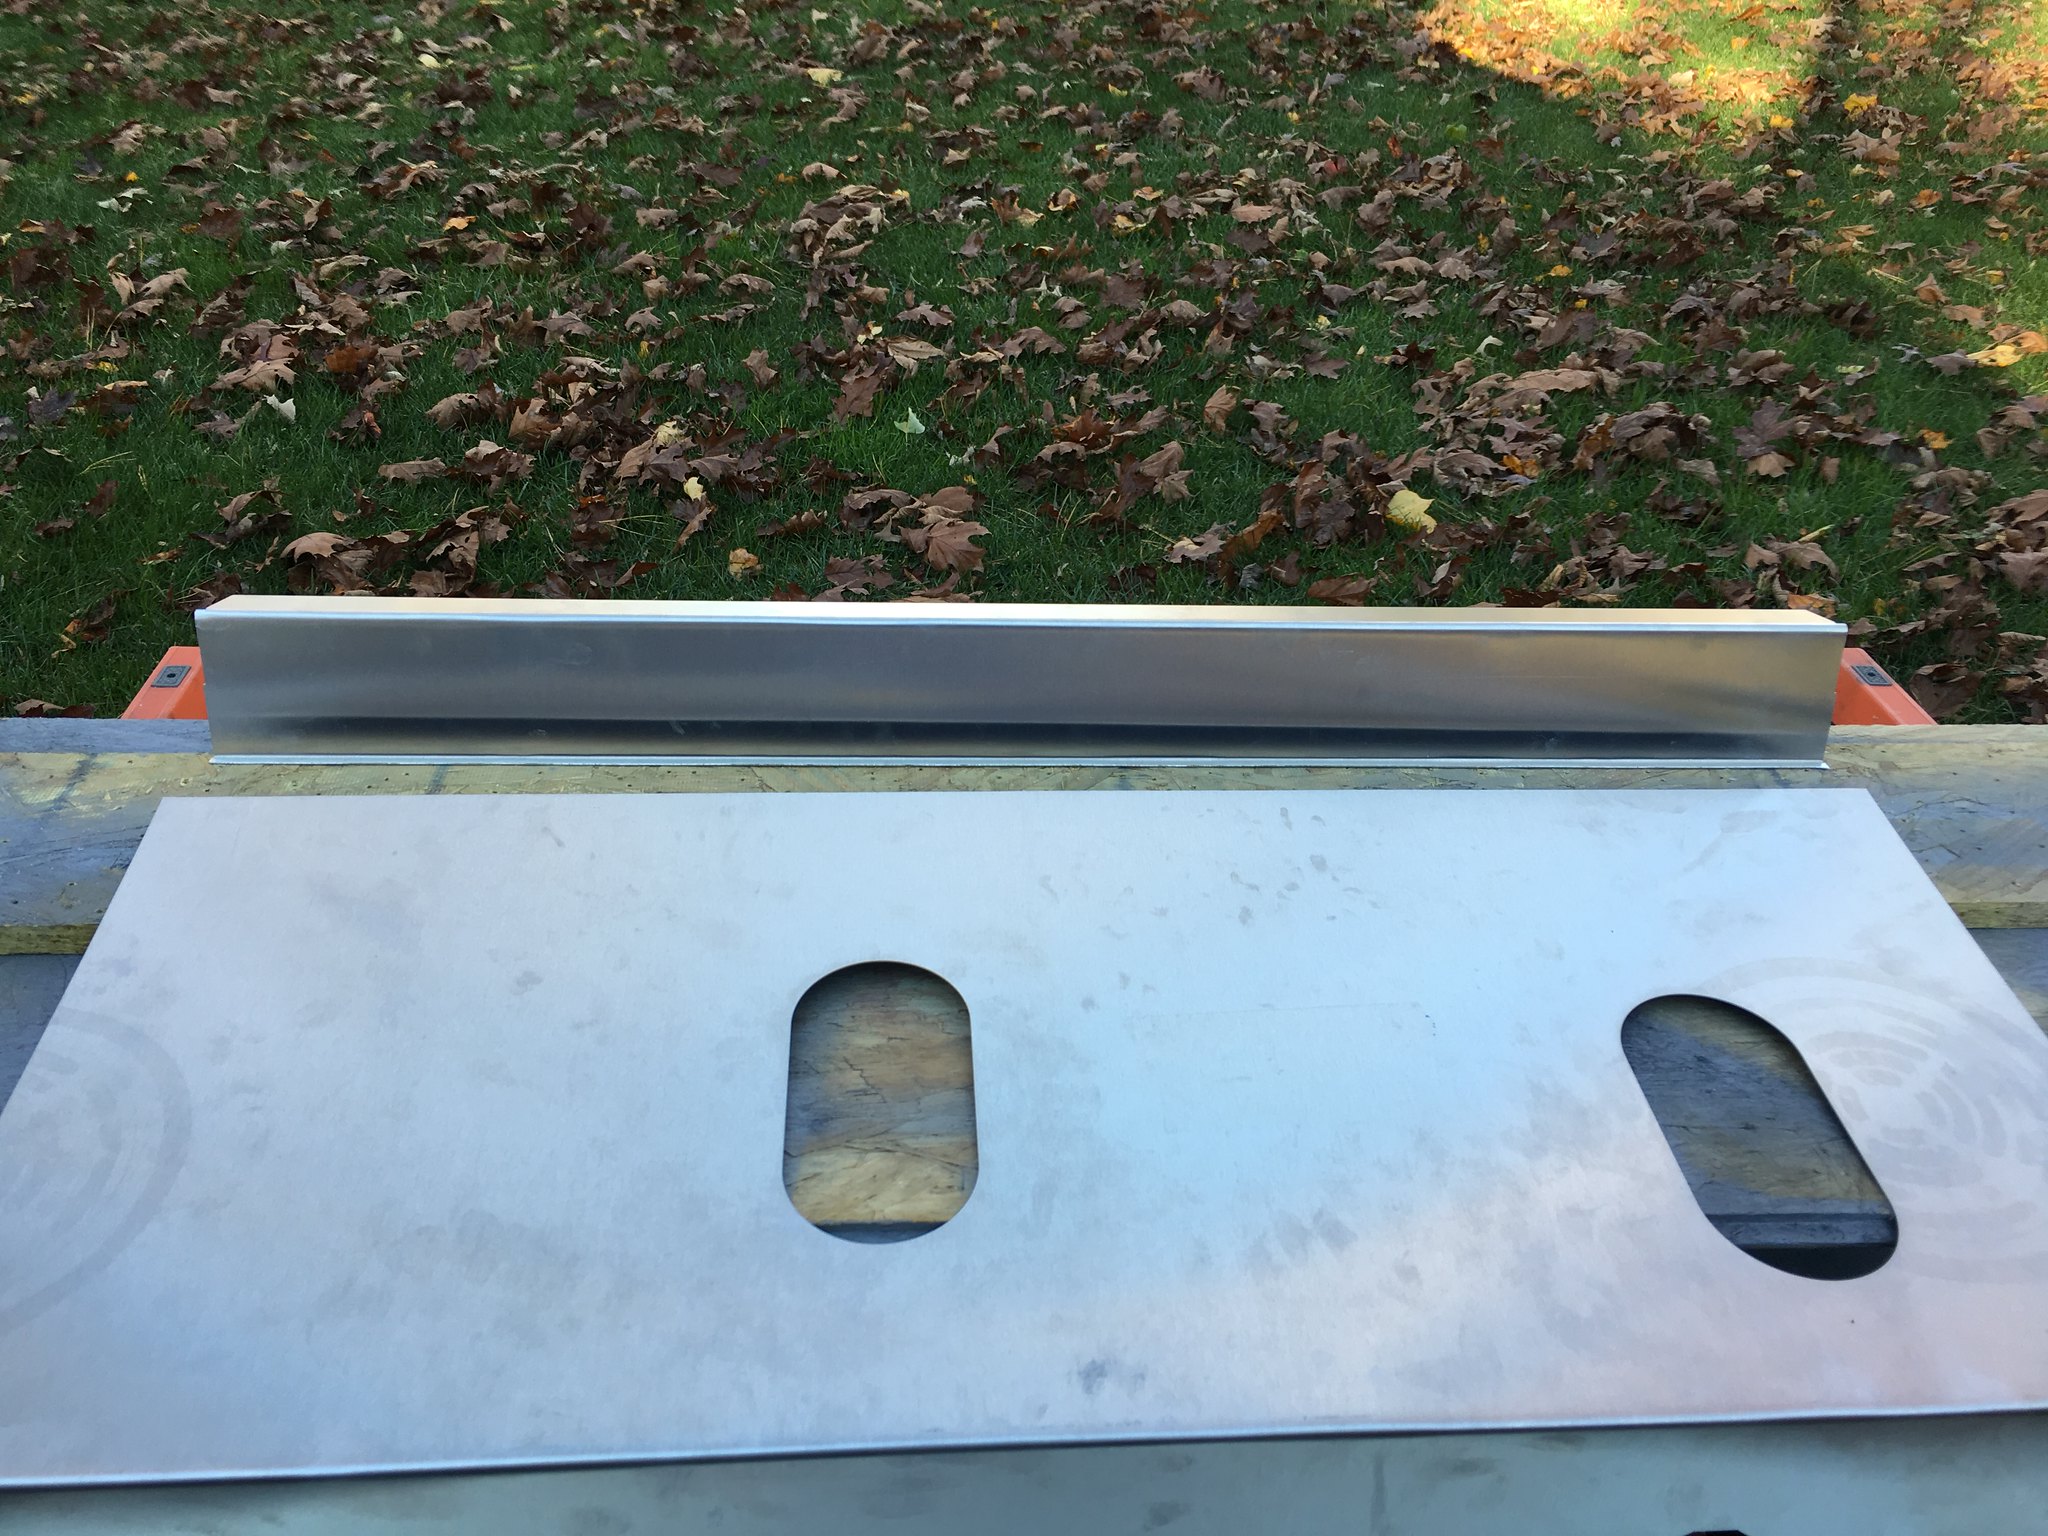
2. Use a piece of scrap aluminum to get 90* bends on the longer panels with your 30 Harbor Freight metal brake. First, make your bend as usual. Youll find that the only the outermost 2-3 are at 90* and that the part you just bent up is bowed such that the middle is only at ~75*. No big - just insert that scrap aluminum between the brake and the work piece:
 IMG_1856
 by
jhsitton, on Flickr
and bend a second time. Repeat everywhere you see the need.
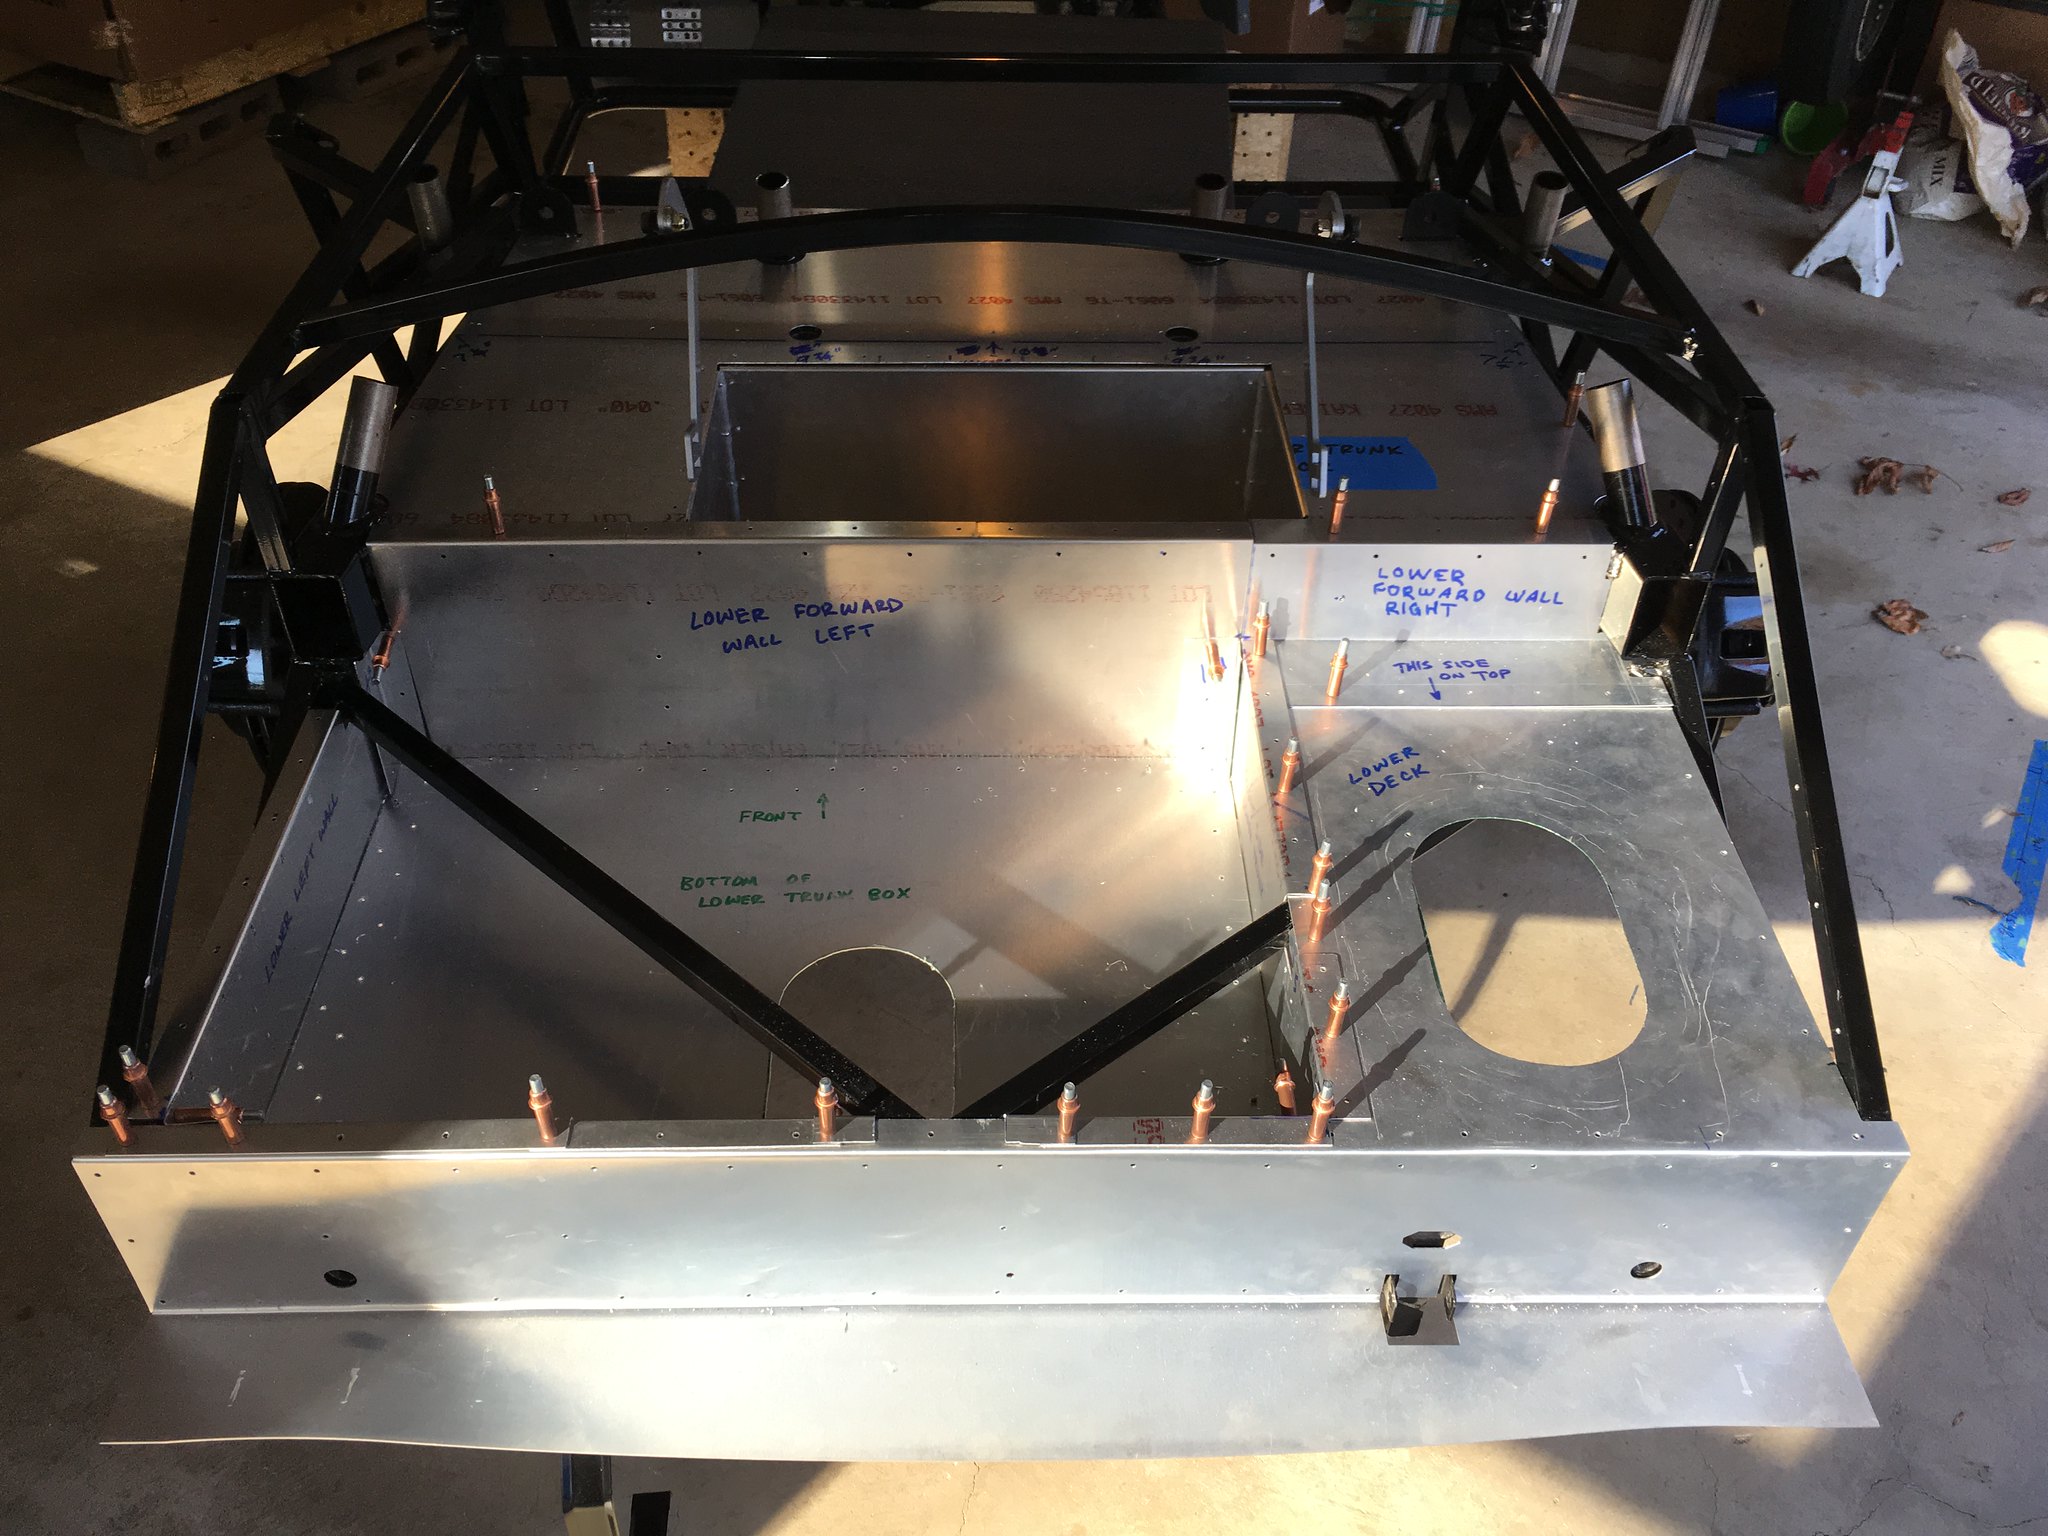
3. There is no elegant way to notch the aluminum panels so that they clear the frame members. I used a jig saw and a lot of trial fitting. I probably spent an hour on each piece and they still look like crap. Good thing they got covered up!
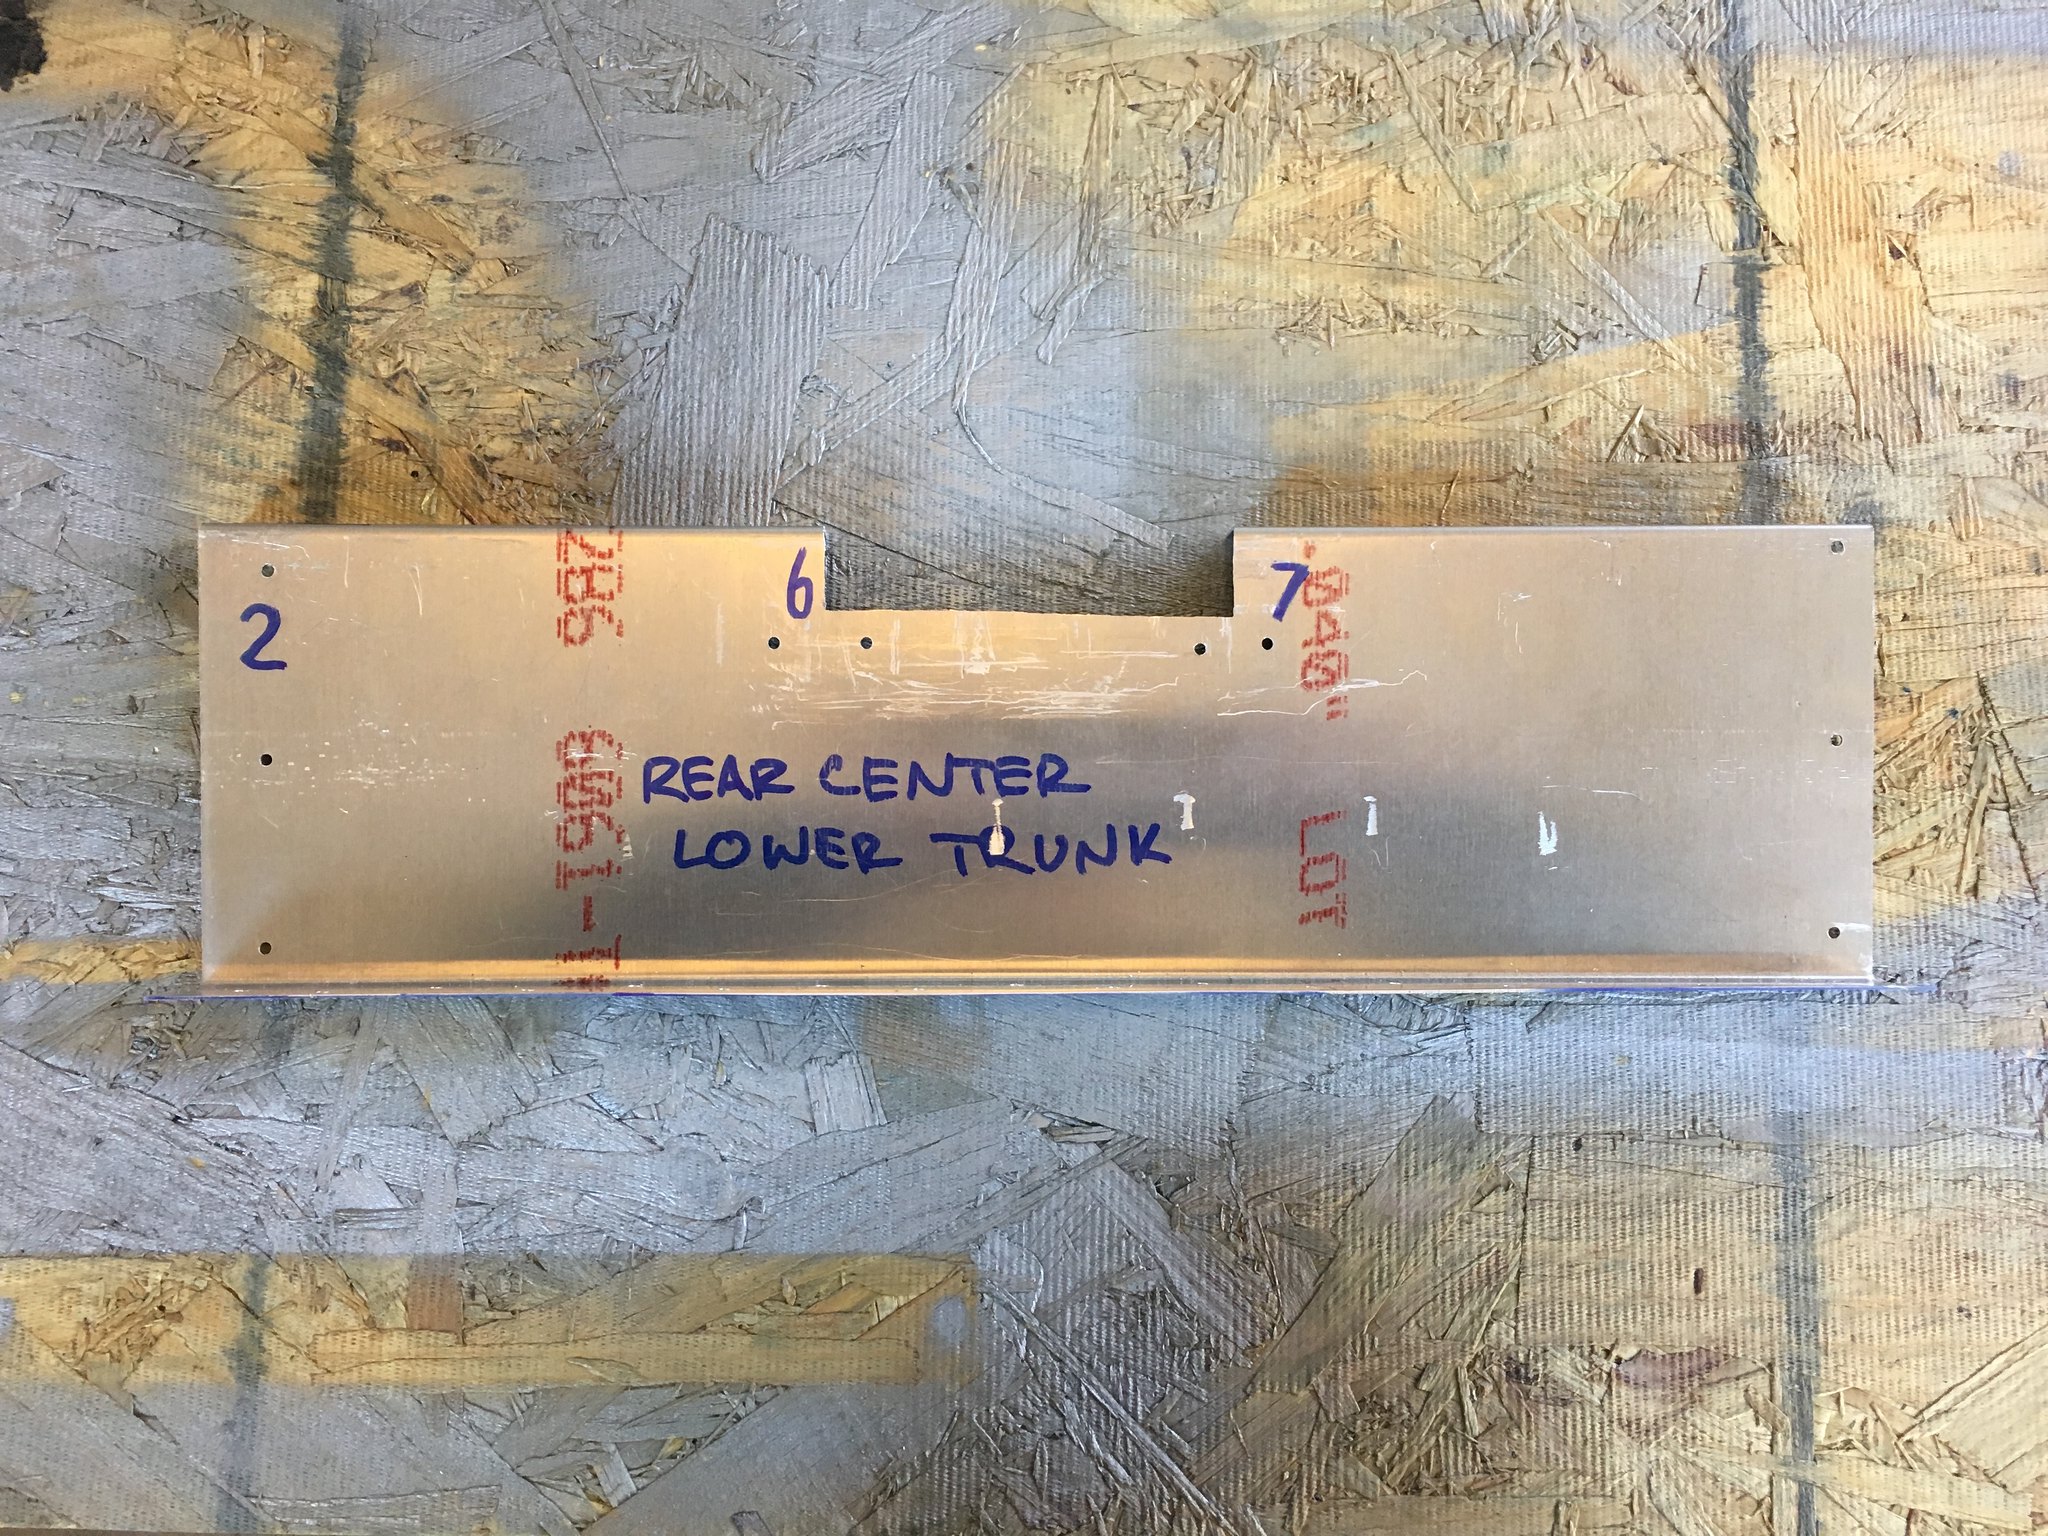
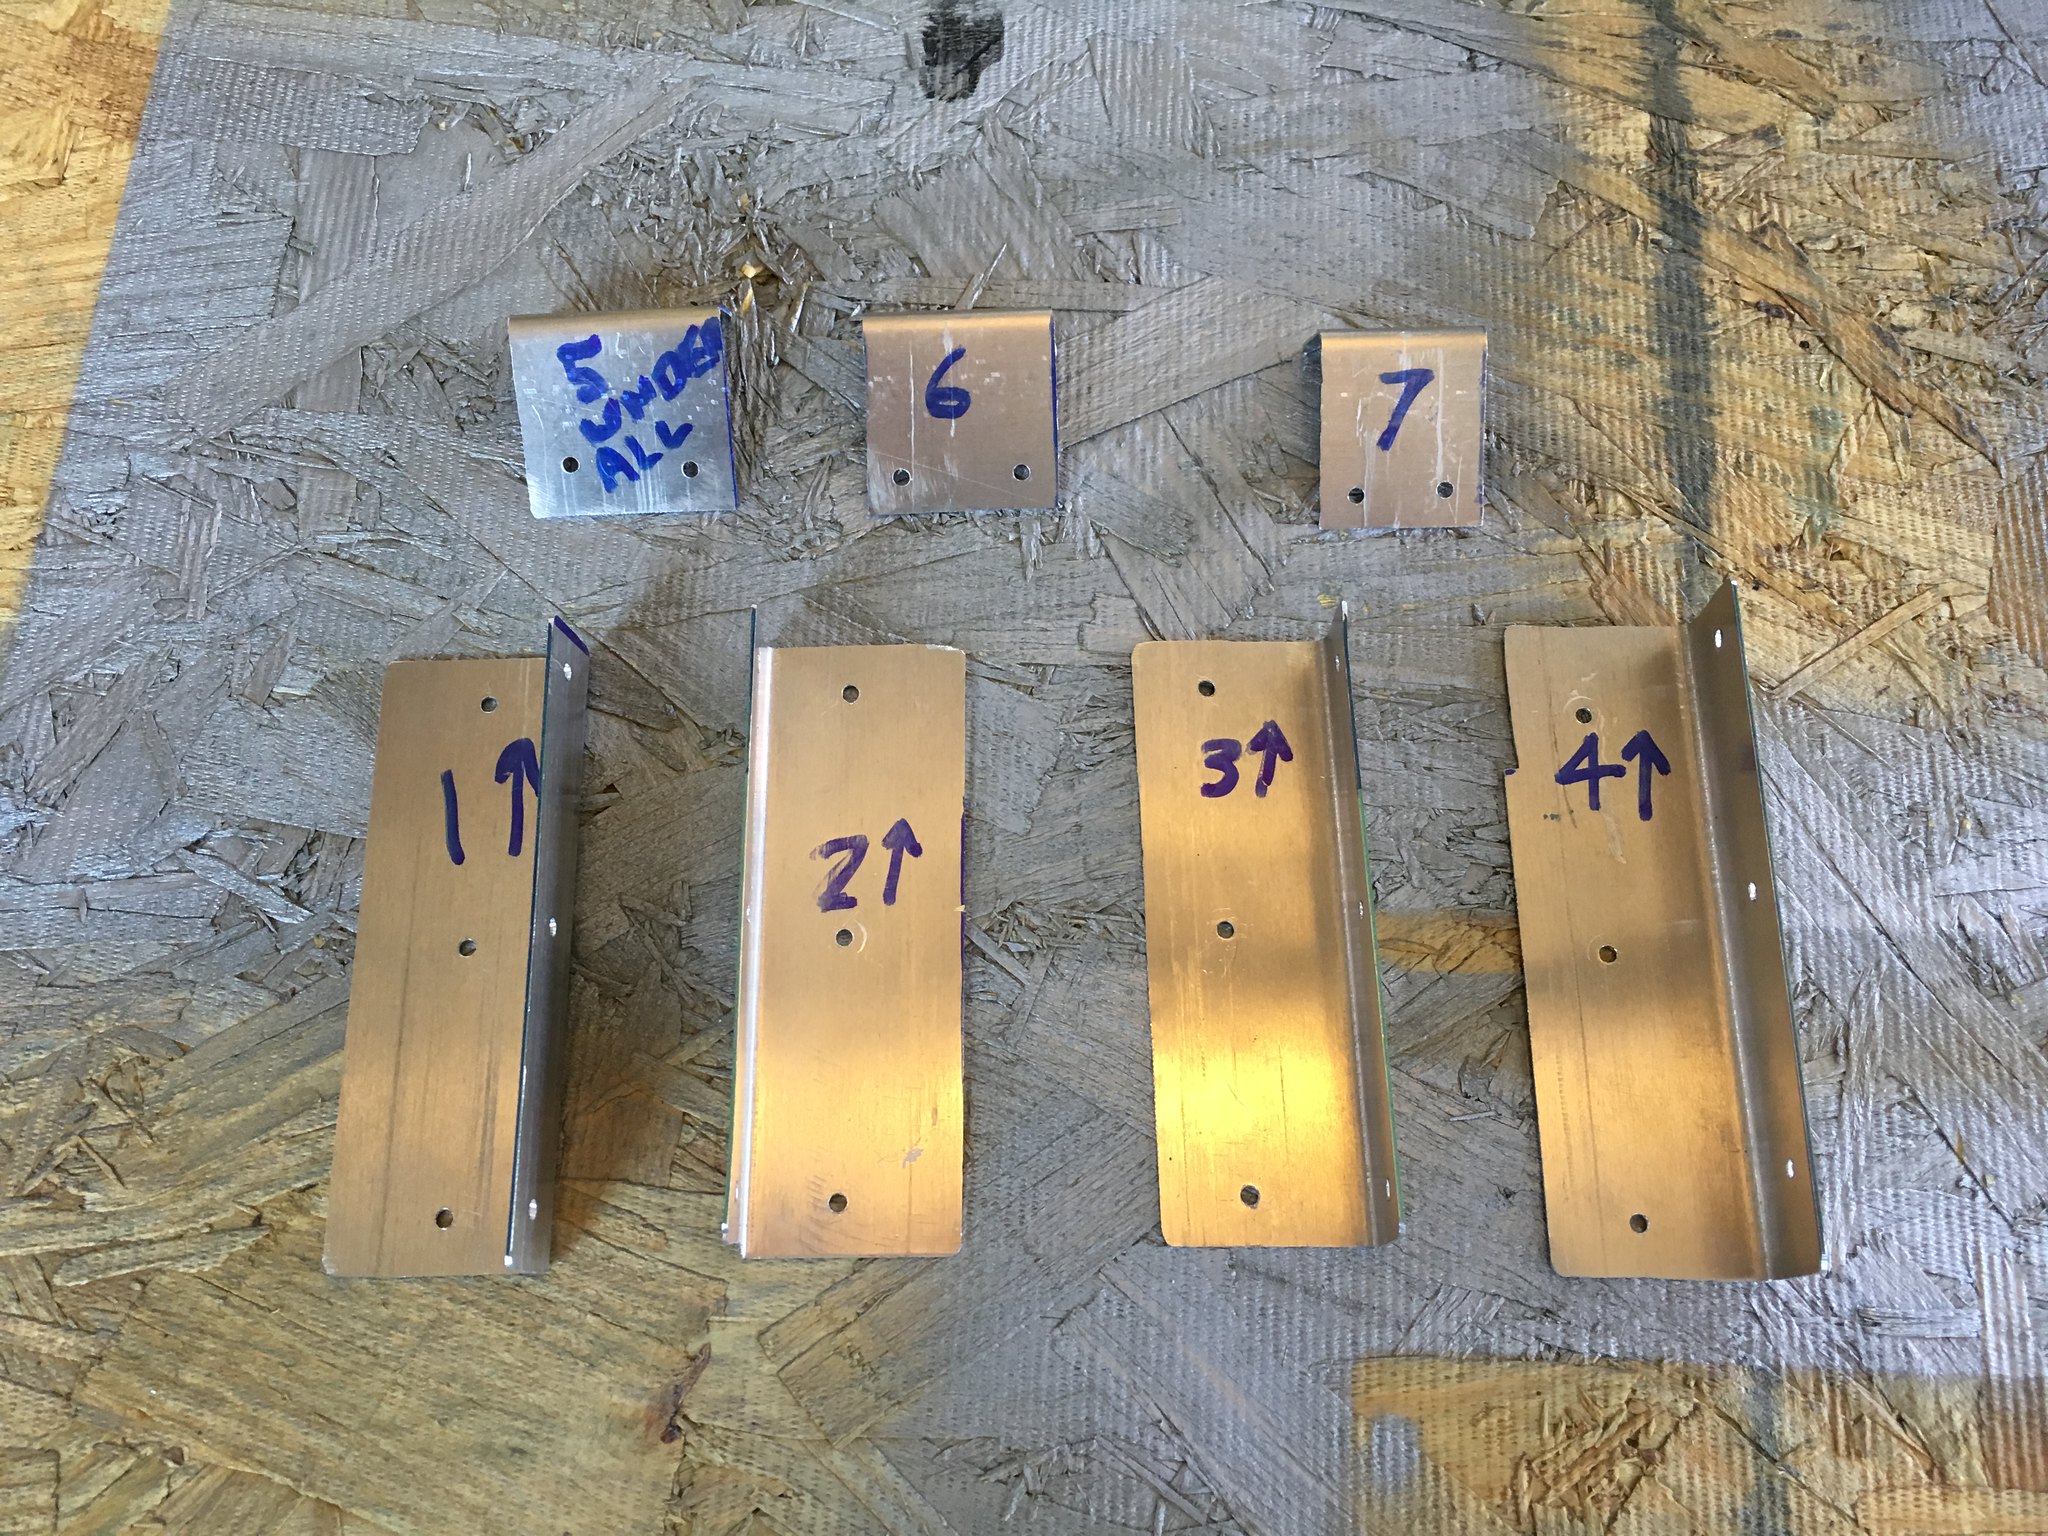
4. I used a bunch of patch panels to cover gaps between the major panels and to provide strength in the corners. I numbered the patch and whatever panel they went on. Note the notch in patch #4 below; thats a result of Lesson Learned #3 immediately above.
IMG_1825 by
jhsitton, on Flickr
5. Round off the corners of your pieces with a file. If you dont youll bleed.
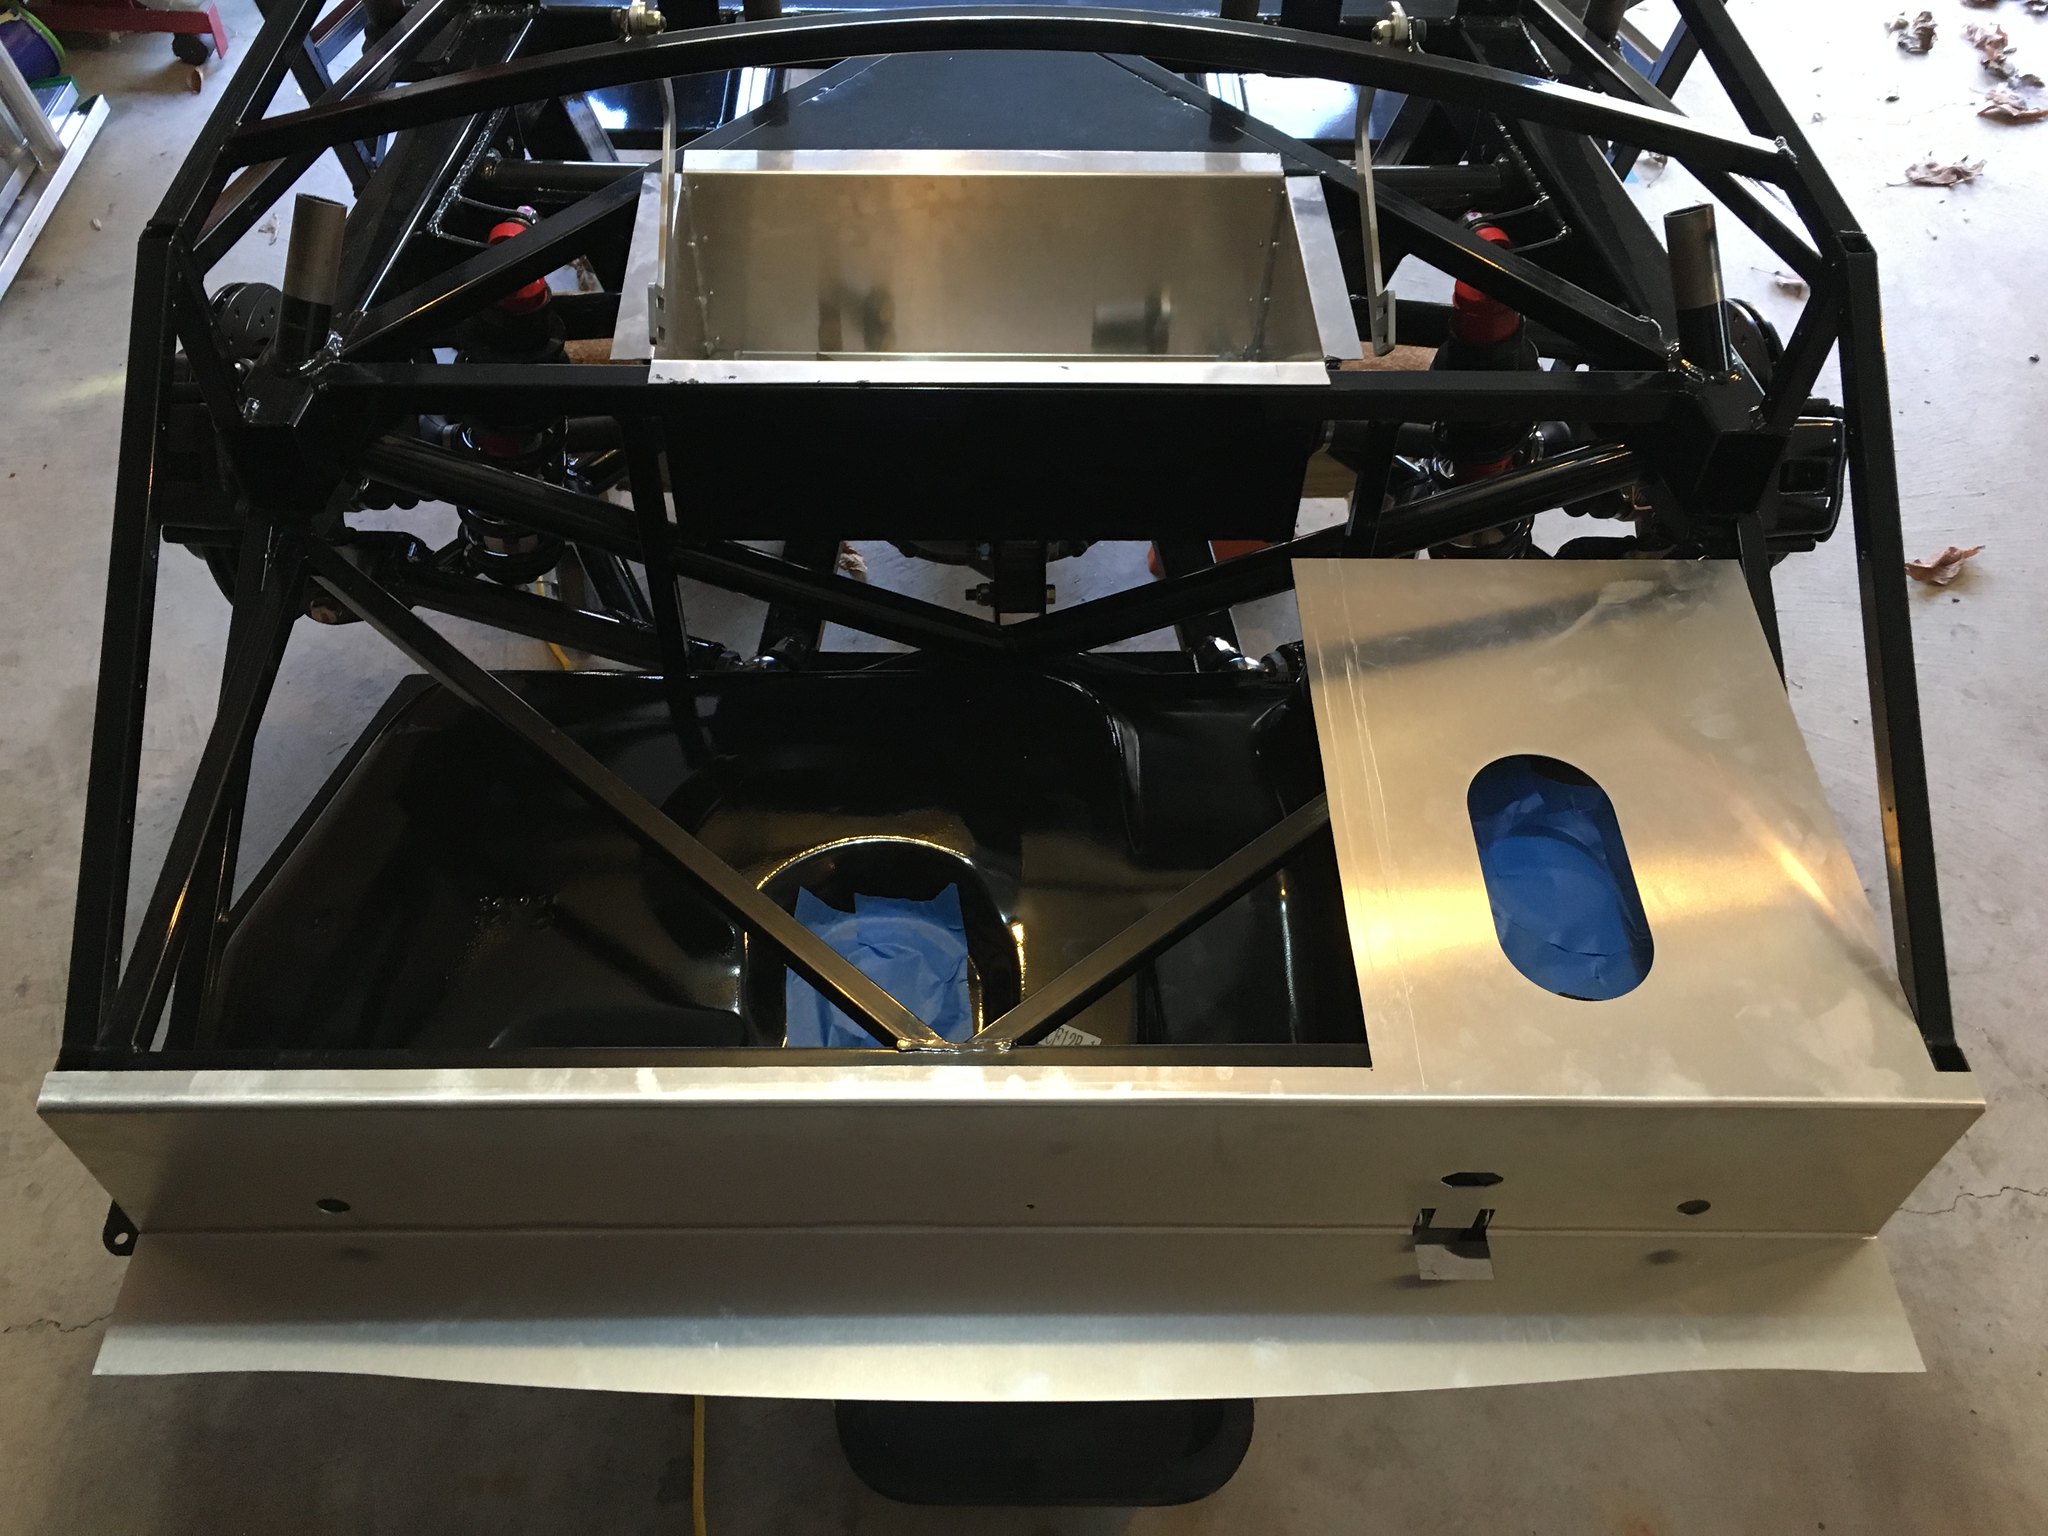
6. Dont get too concerned about putting the box on the car after go-kart. I tried to come up with an assembly method that did not require dropping the gas tank, but I ended up having to do that anyway. Just leave yourself enough feed/return hose between the tank and filter/hard line such that you can get the tank out of the way.
I cant call this a lesson learned because I havent actually done it, but it MAY be better to fabricate a shallow tub for the bottom rather than use a flat piece of aluminum like I did. That would let you make the walls of the lower trunk box L-shaped instead of Z-shaped. The tradeoff is that with the tub method youre guaranteed a row of rivets around the side walls of your box.
The upper trunk mod is much more straightforward (I started with that one to get some practice). Note that this mod IS NOT POSSIBLE with the 2015 IRS; the framing is such that a box like I built won't fit. The upper trunk mod reclaims some space between its floor and the differential. The box shown below is 9 x 18 x 6 1/2, and it just barely fits. I later found out that a 6 1/2 box interfered with the routing for my parking brake cables. The depth had to be reduced to 5 1/2. So if your parking brake cables run over your differential at all, go with the 5 1/2" depth.
 IMG_1502
 by
jhsitton, on Flickr
When finished, my trunk aluminum looked like this:
 IMG_1815
 by
jhsitton, on Flickr
Feel free to contact me if you have questions.
John


 Thanks:
  Likes:


 Reply With Quote