Ive seen some really nice fab ideas on some of the build threads a while back, but cant see seem to remember where. any h6 builders care to share come pics of what they did. thanks
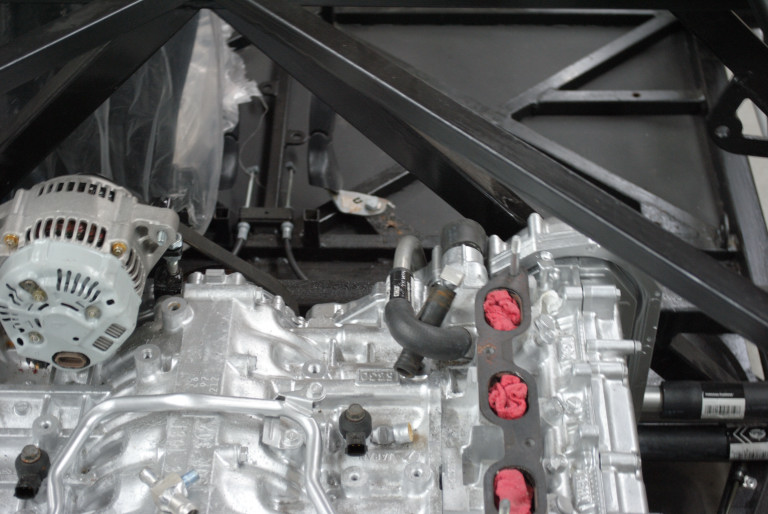
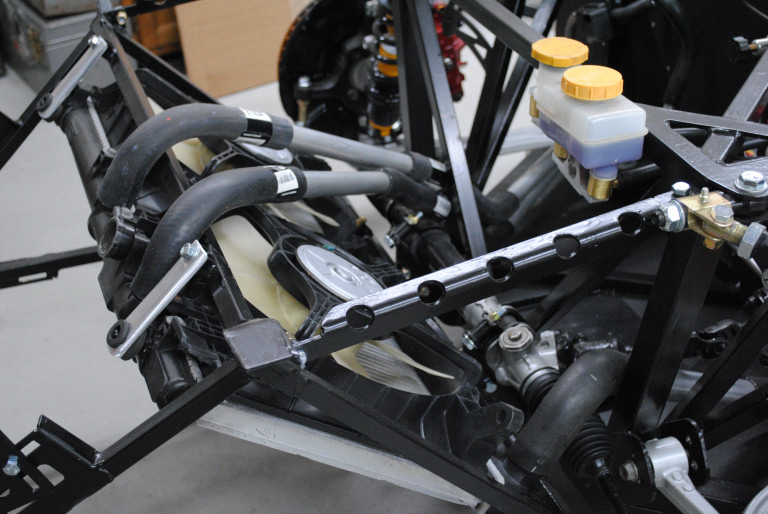
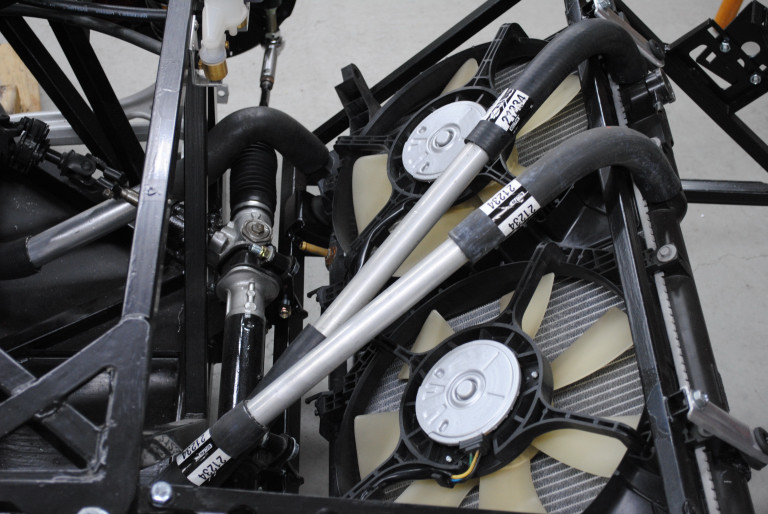
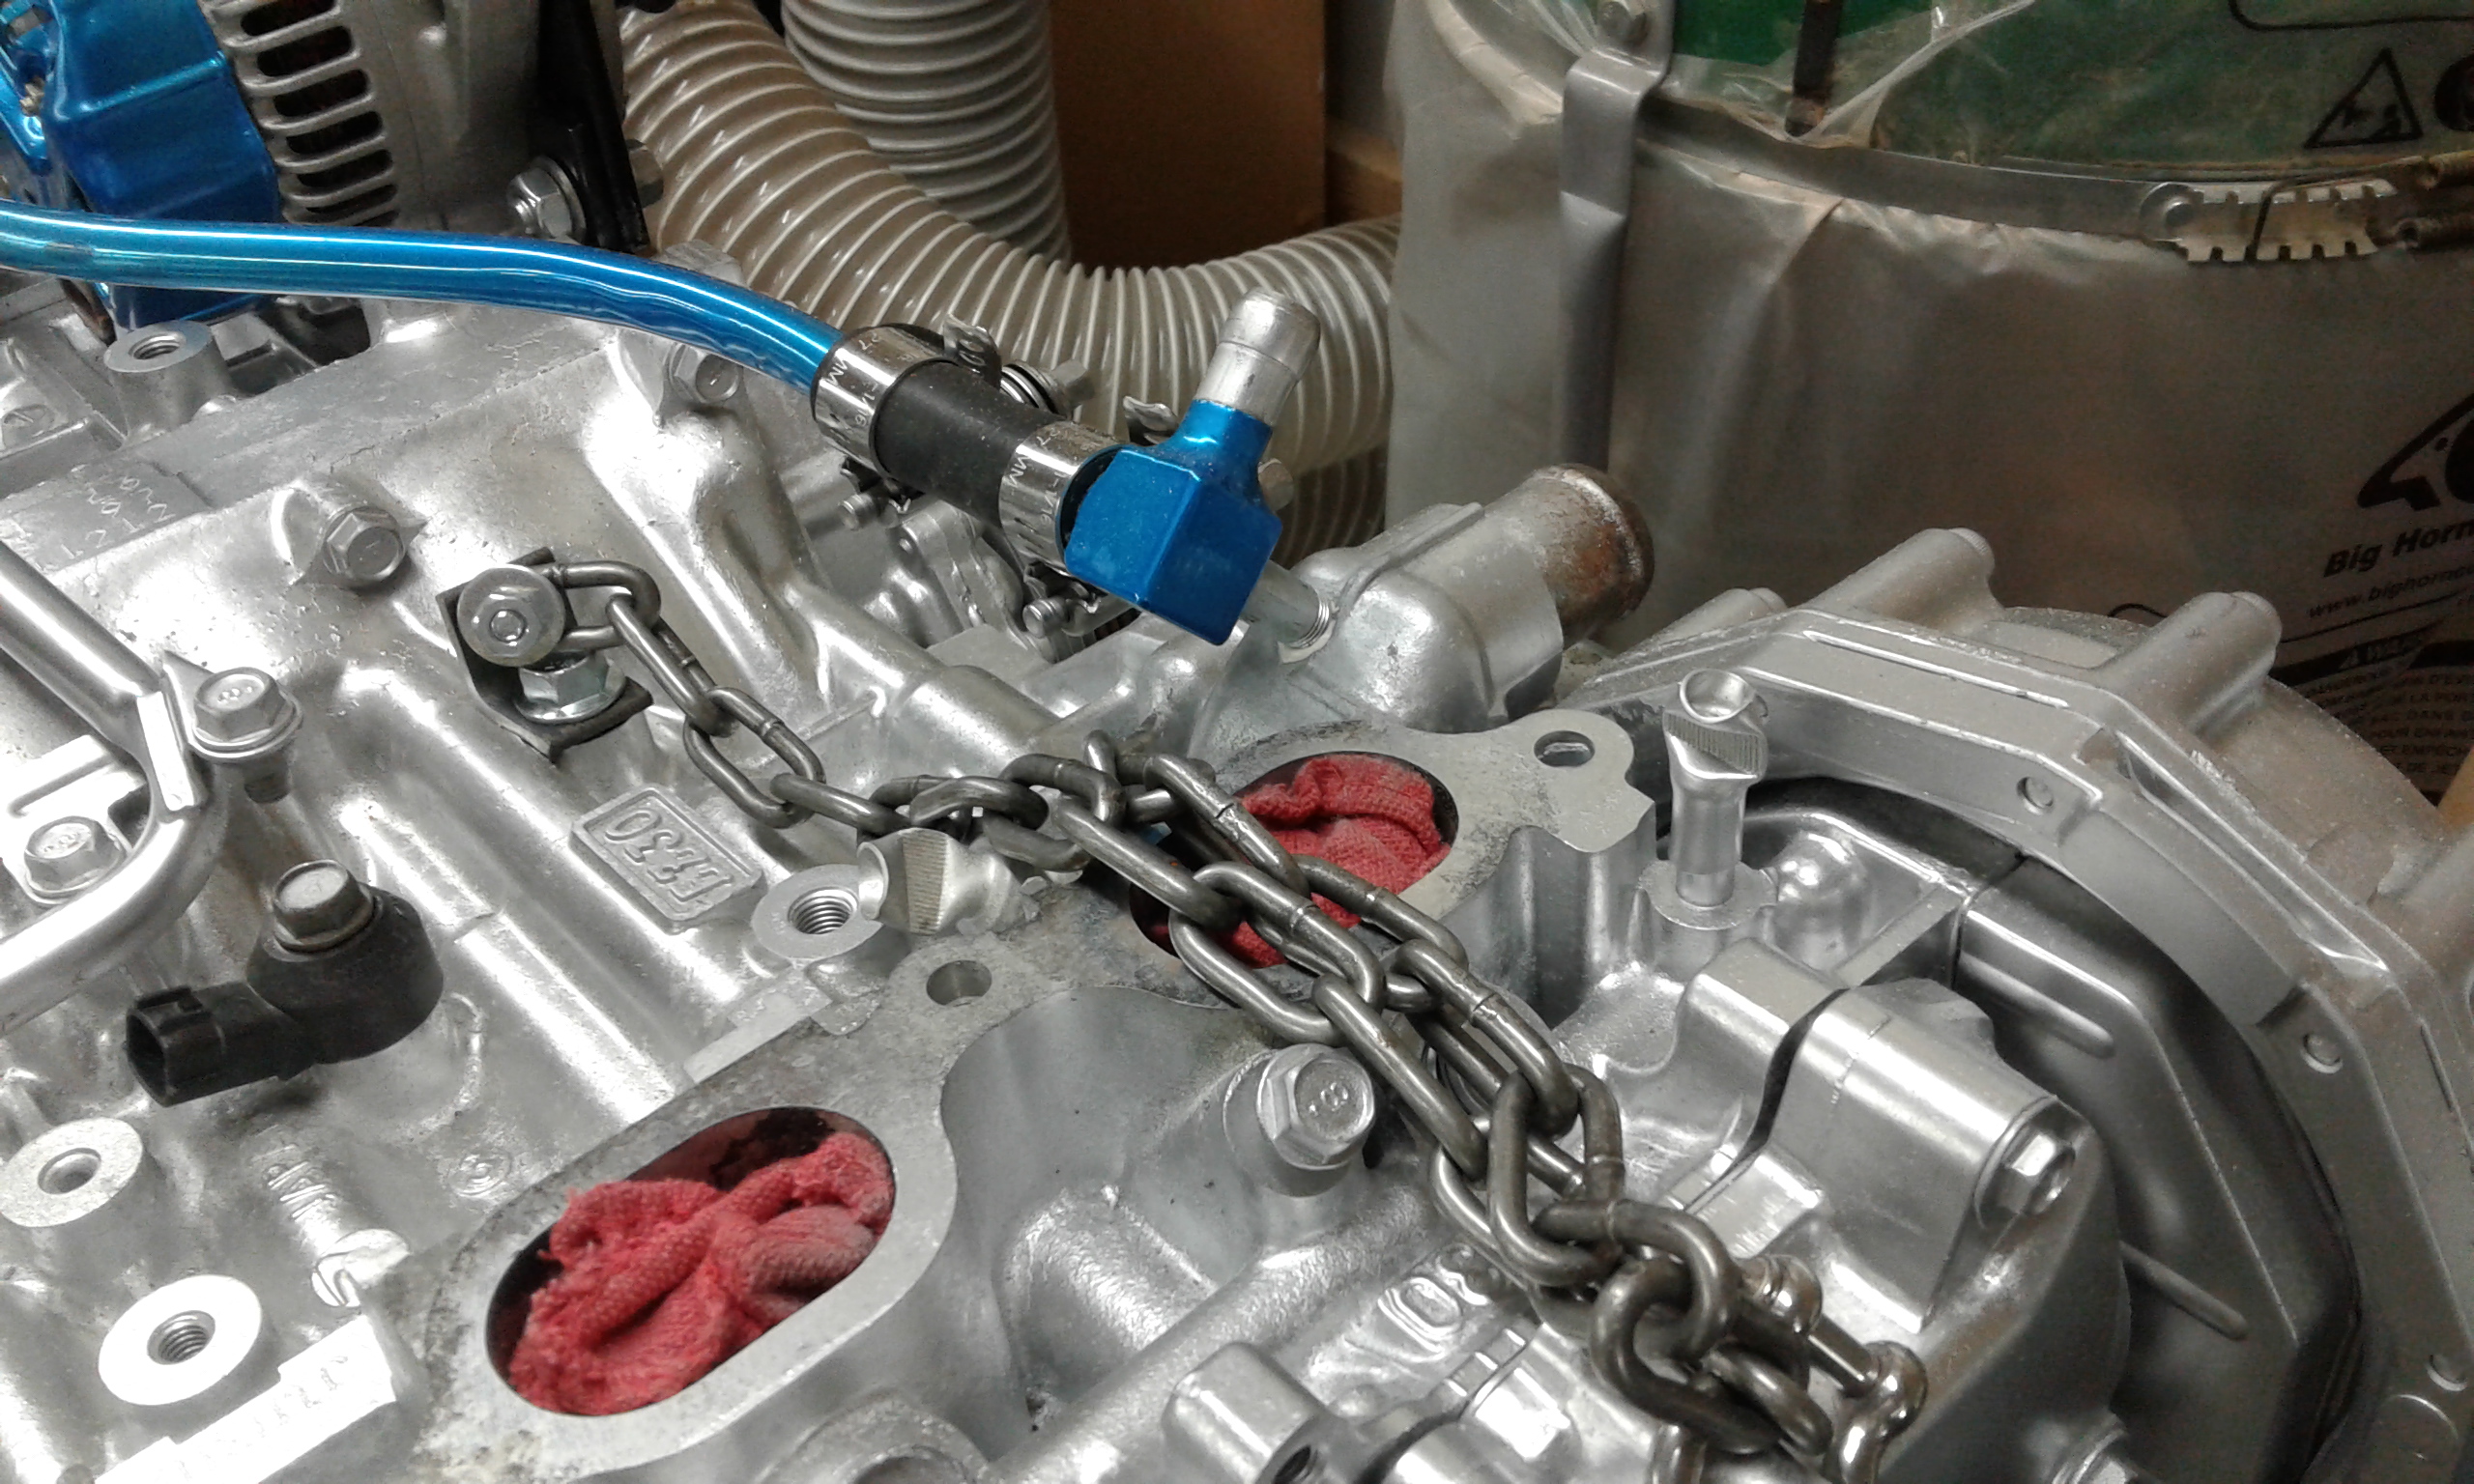
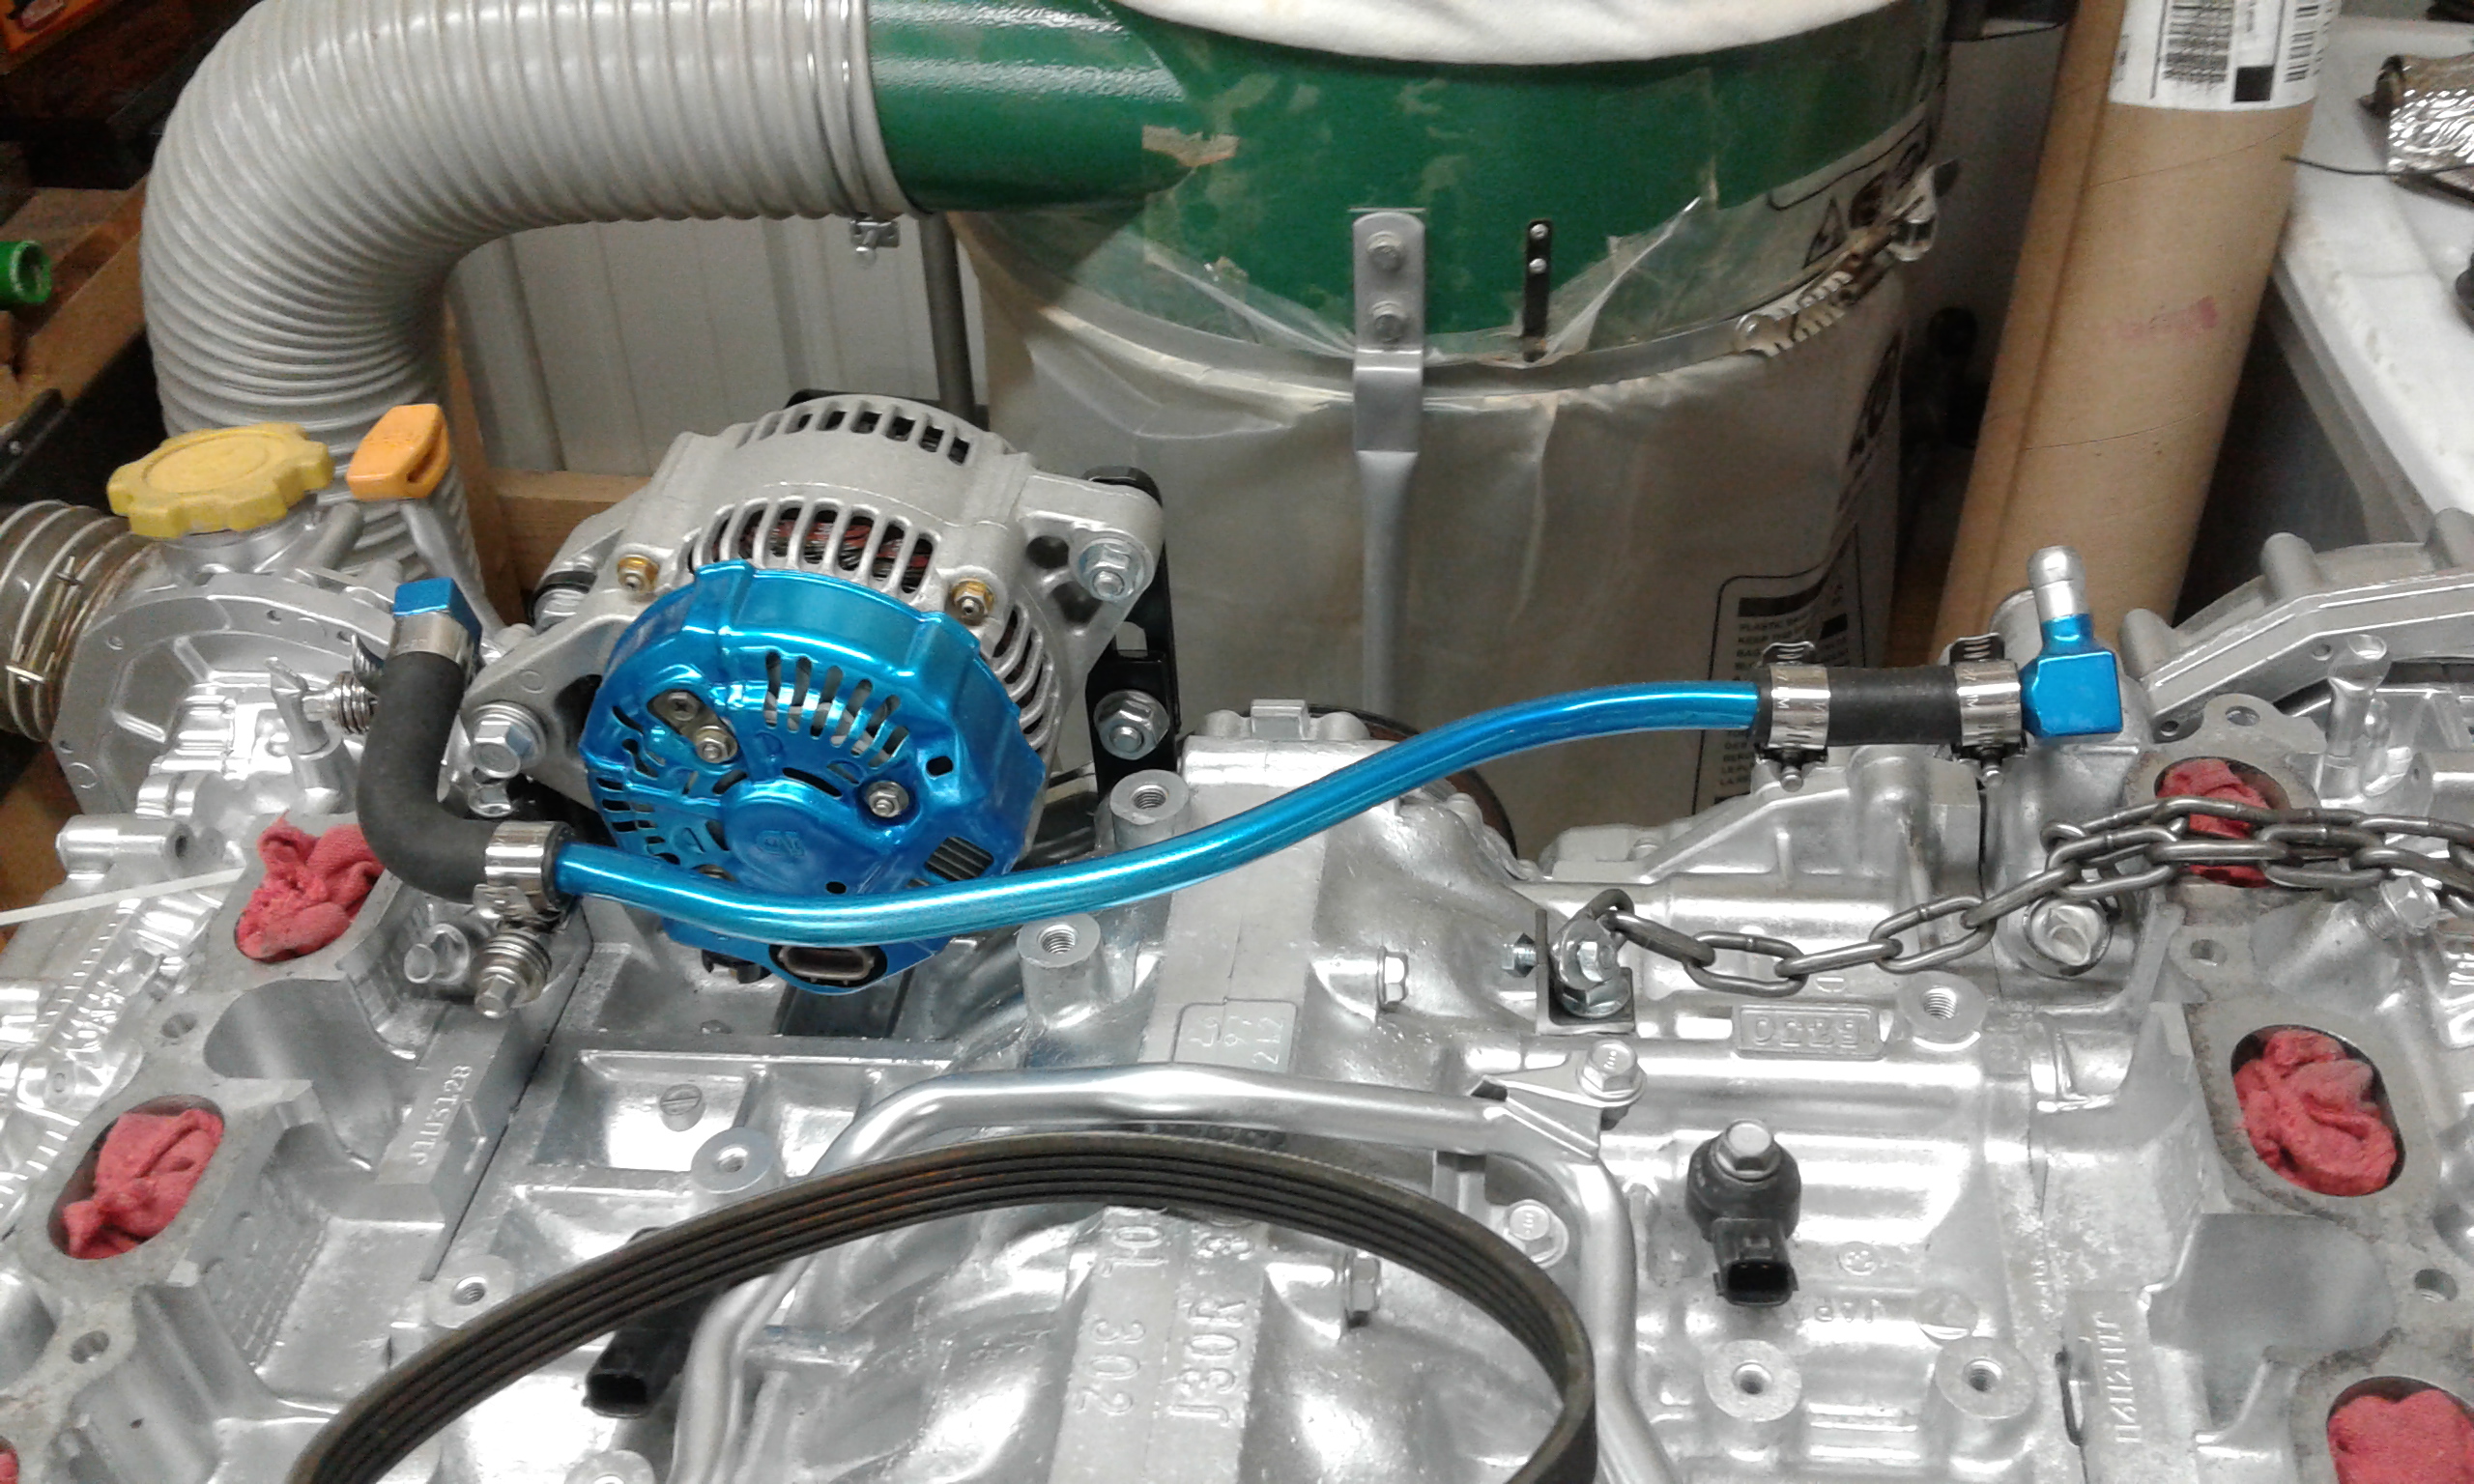
I routed the left side main outlet down and across to the right, where I put a Tee. Across the tee goes around the corner and forward. Off the tee goes up to a "header tank" (tube with rad. cap). The right side main outlet feeds into the header tank along with the 2 small outlets that are tee'd together behind the alternator. The highest point in the system is the cap/vent to the reservoir. Pictures are probably a better reference! IMG_20180629_131519326.jpgIMG_20180629_131310165.jpgIMG_20180629_131249624_HDR.jpg
DSR-3, I have several questions. Your use of the radiator cap in the "header tank" is that for ease to burp the system?
How did you deal with the 1" to 1.5" lines? Is it done at the header tank?
The two smaller outlets, are they for the heater lines? Are you using an expansion tank?
Sorry for all the questions, I'm having trouble seeing how it all comes together.
That cap is the functioning one connected to a generic expansion tank. The front rad. cap is plugged and only for burping/filling.
I used 1" x 1.25" silicone elbows on the engine, and a 1.25" to 1.5" coupling from the cross tube to the tee. The tee and header tank 1.5", and the AL 45 is 1.25 into the header tank.
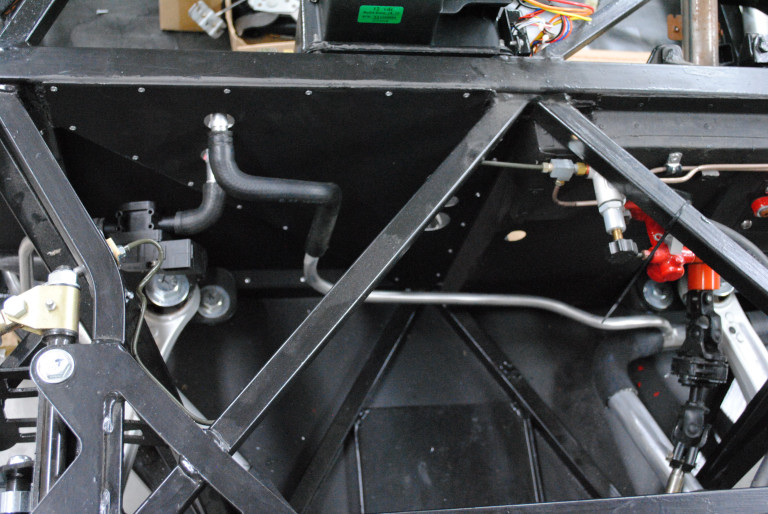
Yes, the 2 ports that feed the heater and TB are tee'd together and connect into the header tank. They should make good bubble routes to the cap- all uphill. IMG_20180629_151331766_HDR.jpgIMG_20180629_131352184.jpg
Eventually posting my coolant setup in my build but that may be some time yet, was waiting to show the final engine in & lines to fill tank, overflow, etc. Here it is to date:
McMaster Carr on the hot side:
89965K394 General Purpose Aluminum Tubing, 1-1/8" OD, 0.049" Wall Thickness, 6 Feet Long
89965K14 General Purpose Aluminum Tubing, 5/8" OD, 0.049" Wall Thickness, 6 Feet Long
All the straights and elbows for the 1-1/8" are cut from 21234 hoses. Gates and others use this number, prices are all over the place, just have to search for deals.
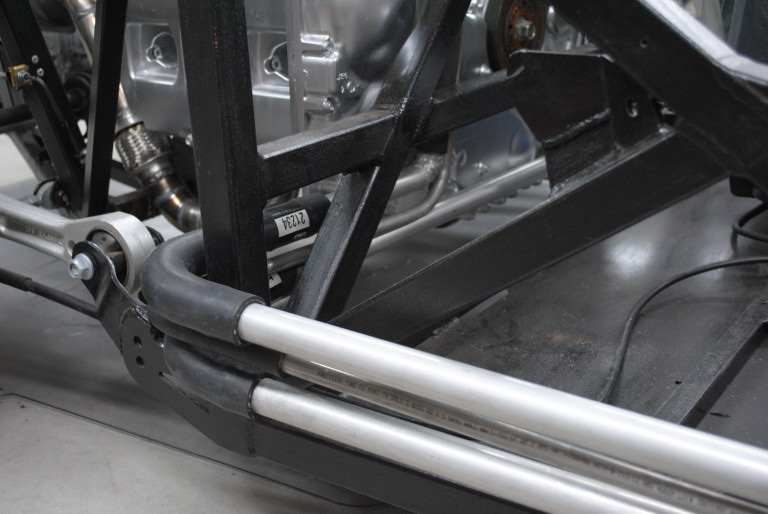
I welded up short 90 degree elbows at the bottom of each "down tube" at the bottom of the engine for each of the two hot oullets. The 5/8" goes to the cabin heater.
FFR supplied 180 hose couples to that 5/8" pipe:
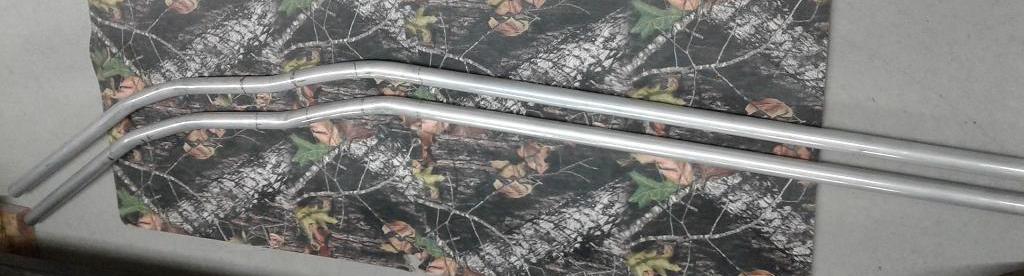
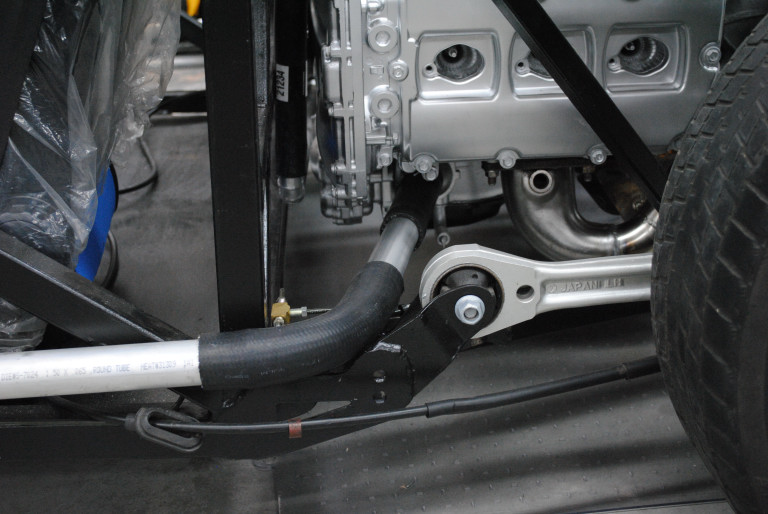
The right side pipes look like this, ready to work into the frame:
I decided to hang the radiator lower at the top to improve hose/top clearance to hood, and help with the clearance over the steering boot. Not 100% happy with this lower position, but not a lot of choices using the Subaru radiator. All the tabs were broken off the radiator, I fashioned steel u-shaped parts with steel pins welded to make new pins then bonded one at each top and bottom pin location, with "RightStuff" sealant. No pics of the parts, but end result is solid, should be able to hold the radiator in road shock modes.
For the Vintage Air heater:
Return:
Not counting the loop hose over the steering boot (no clue where I got that), the other returns - front and rear bends and straights all from Napa #9683:
Clamps - Breeze constant torque clamps. Dig around on eBay and find super price on 10 packs. I got sizes to do all the hoses. Impressed but haven't seen them under pressure. A little bulky looking but - bet they work good.
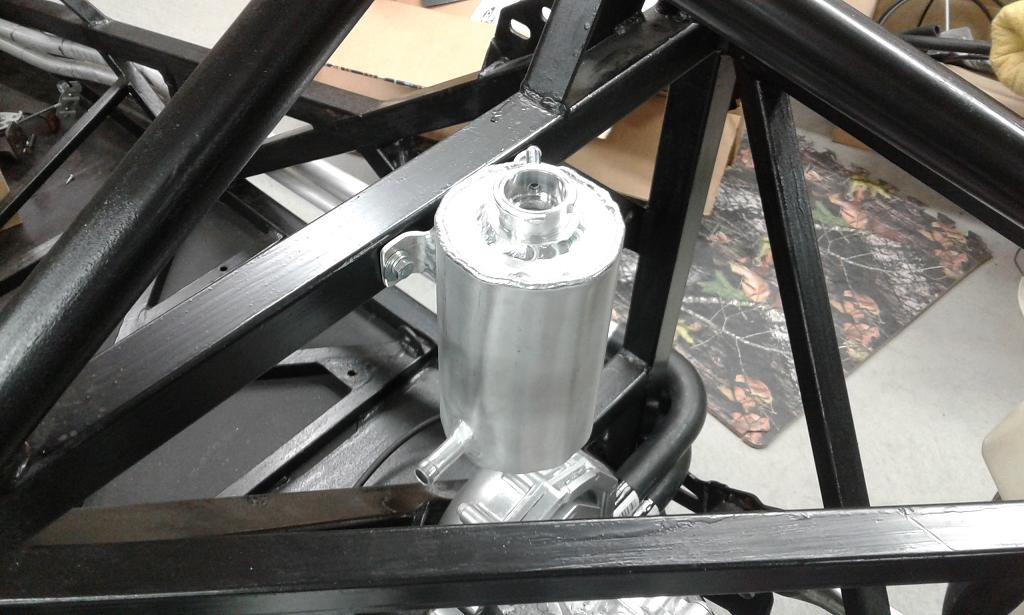
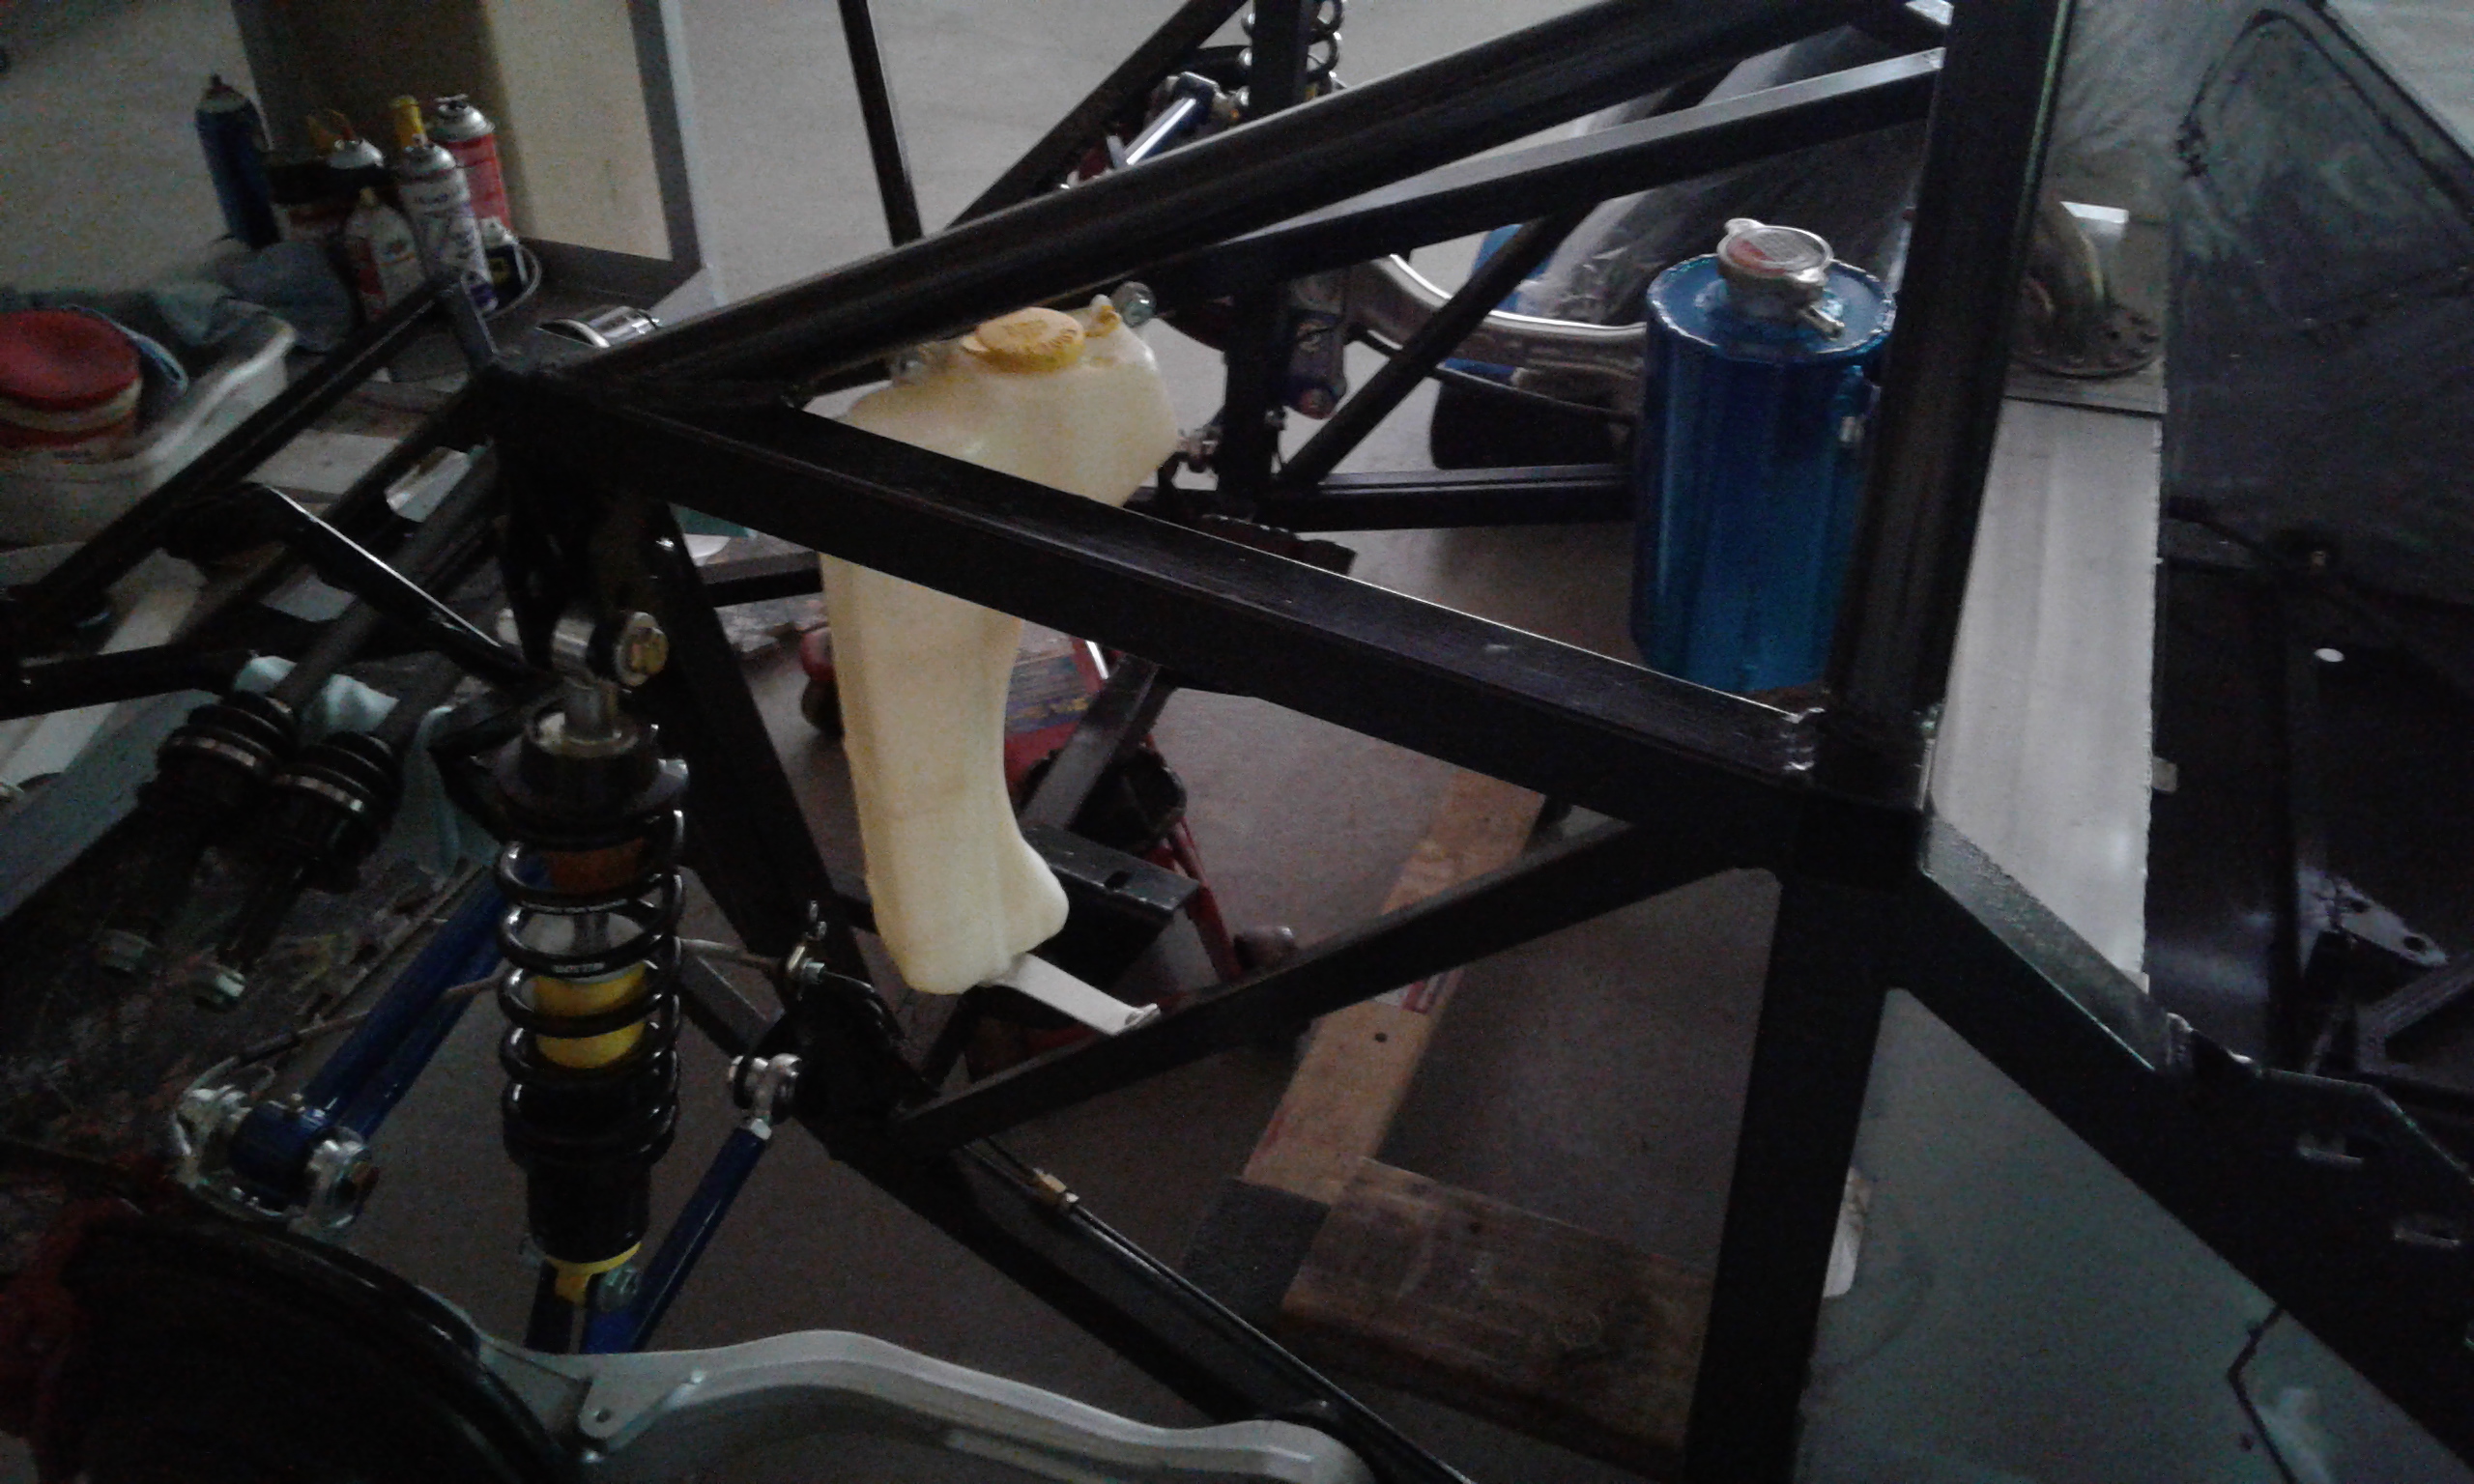
Homemade pressure/reservoir/fill tank and Subaru overflow tanks:
As often mentioned for 818 radiator setups, you likely want to have 1.3 Bar cap up front, so it won't vent, and 1.1 Bar cap at the tank near the engine, so it can properly vent the highest point for fill/overflow/venting. Some builders may even close off the radiator side (not use a venting cap) altogether but using a 1.3 Bar cap = "backup" to the 1.1 Bar in the back, and you do need a way to burp up front.
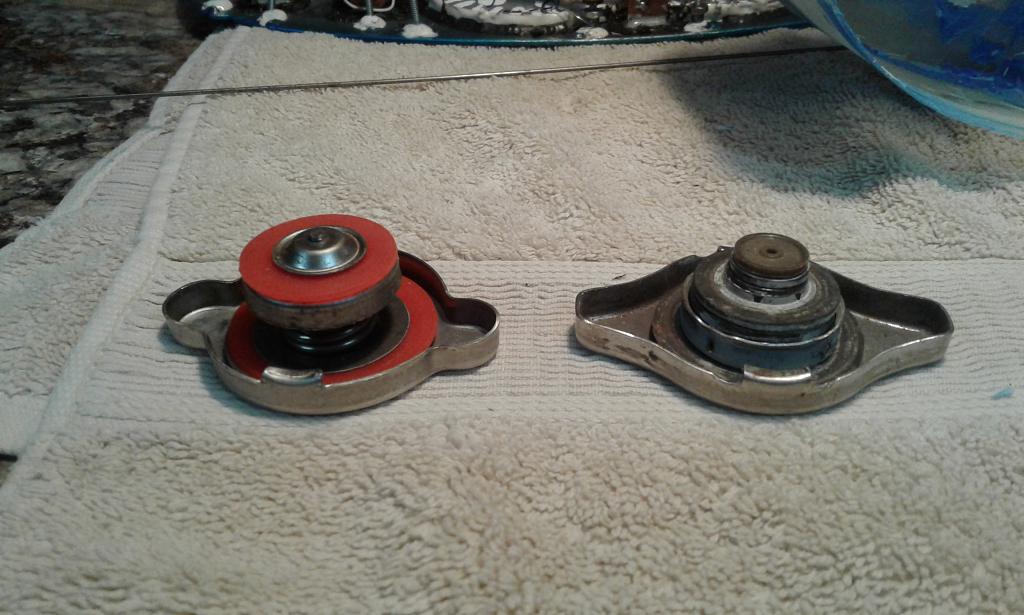
So - front radiator cap - change to 1.3 Bar, Put 1.1 Bar on the near engine located pressure/reservoir/fill tank. It appears to me that Subaru uses either "small" or "large" lower rubber seal diaphrams on caps, depending on models/years. The two 2002-2003 EZ30 radiators I ended up with have the "small" lower seal. I looked at the difference between these two types of caps for a while, and the inside of the cap/fitting on the radiators - I don't think they should be interchangeable, but if someone knows better please say so.
These "small" seal versions can be hard to chase down for 1.3 Bar - I only found one on eBay from a ship-from-China source that gave enough info to be pretty sure it was right size, and it does match the OEM small seal (1.1 Bar) in the picture below. First one I got from a USA based seller said "smaller size seal" but it was NOT... YMMV. "Large style" - first one I got - doesn't fit EZ30 radiator - is on the left:


 Thanks:
  Likes:


 Reply With Quote