BluePrint Engines

Visit our community sponsor

Thanks Thanks:  0
Likes Likes:  1
Page 1 of 2 12 LastLast
Results 1 to 40 of 48

Thread: RYANMAC's Build Thread

  1. #1
    Member ryanmac's Avatar
    Join Date
    Sep 2015
    Posts
    81
    Post Thanks / Like

    RYANMAC's Build Thread

    Long time admirers of the FF Roadster, my father and I will be building a MK4 Roadster over the next year. My dad is recently retired and I am an engineer for a steel mill in Ohio.

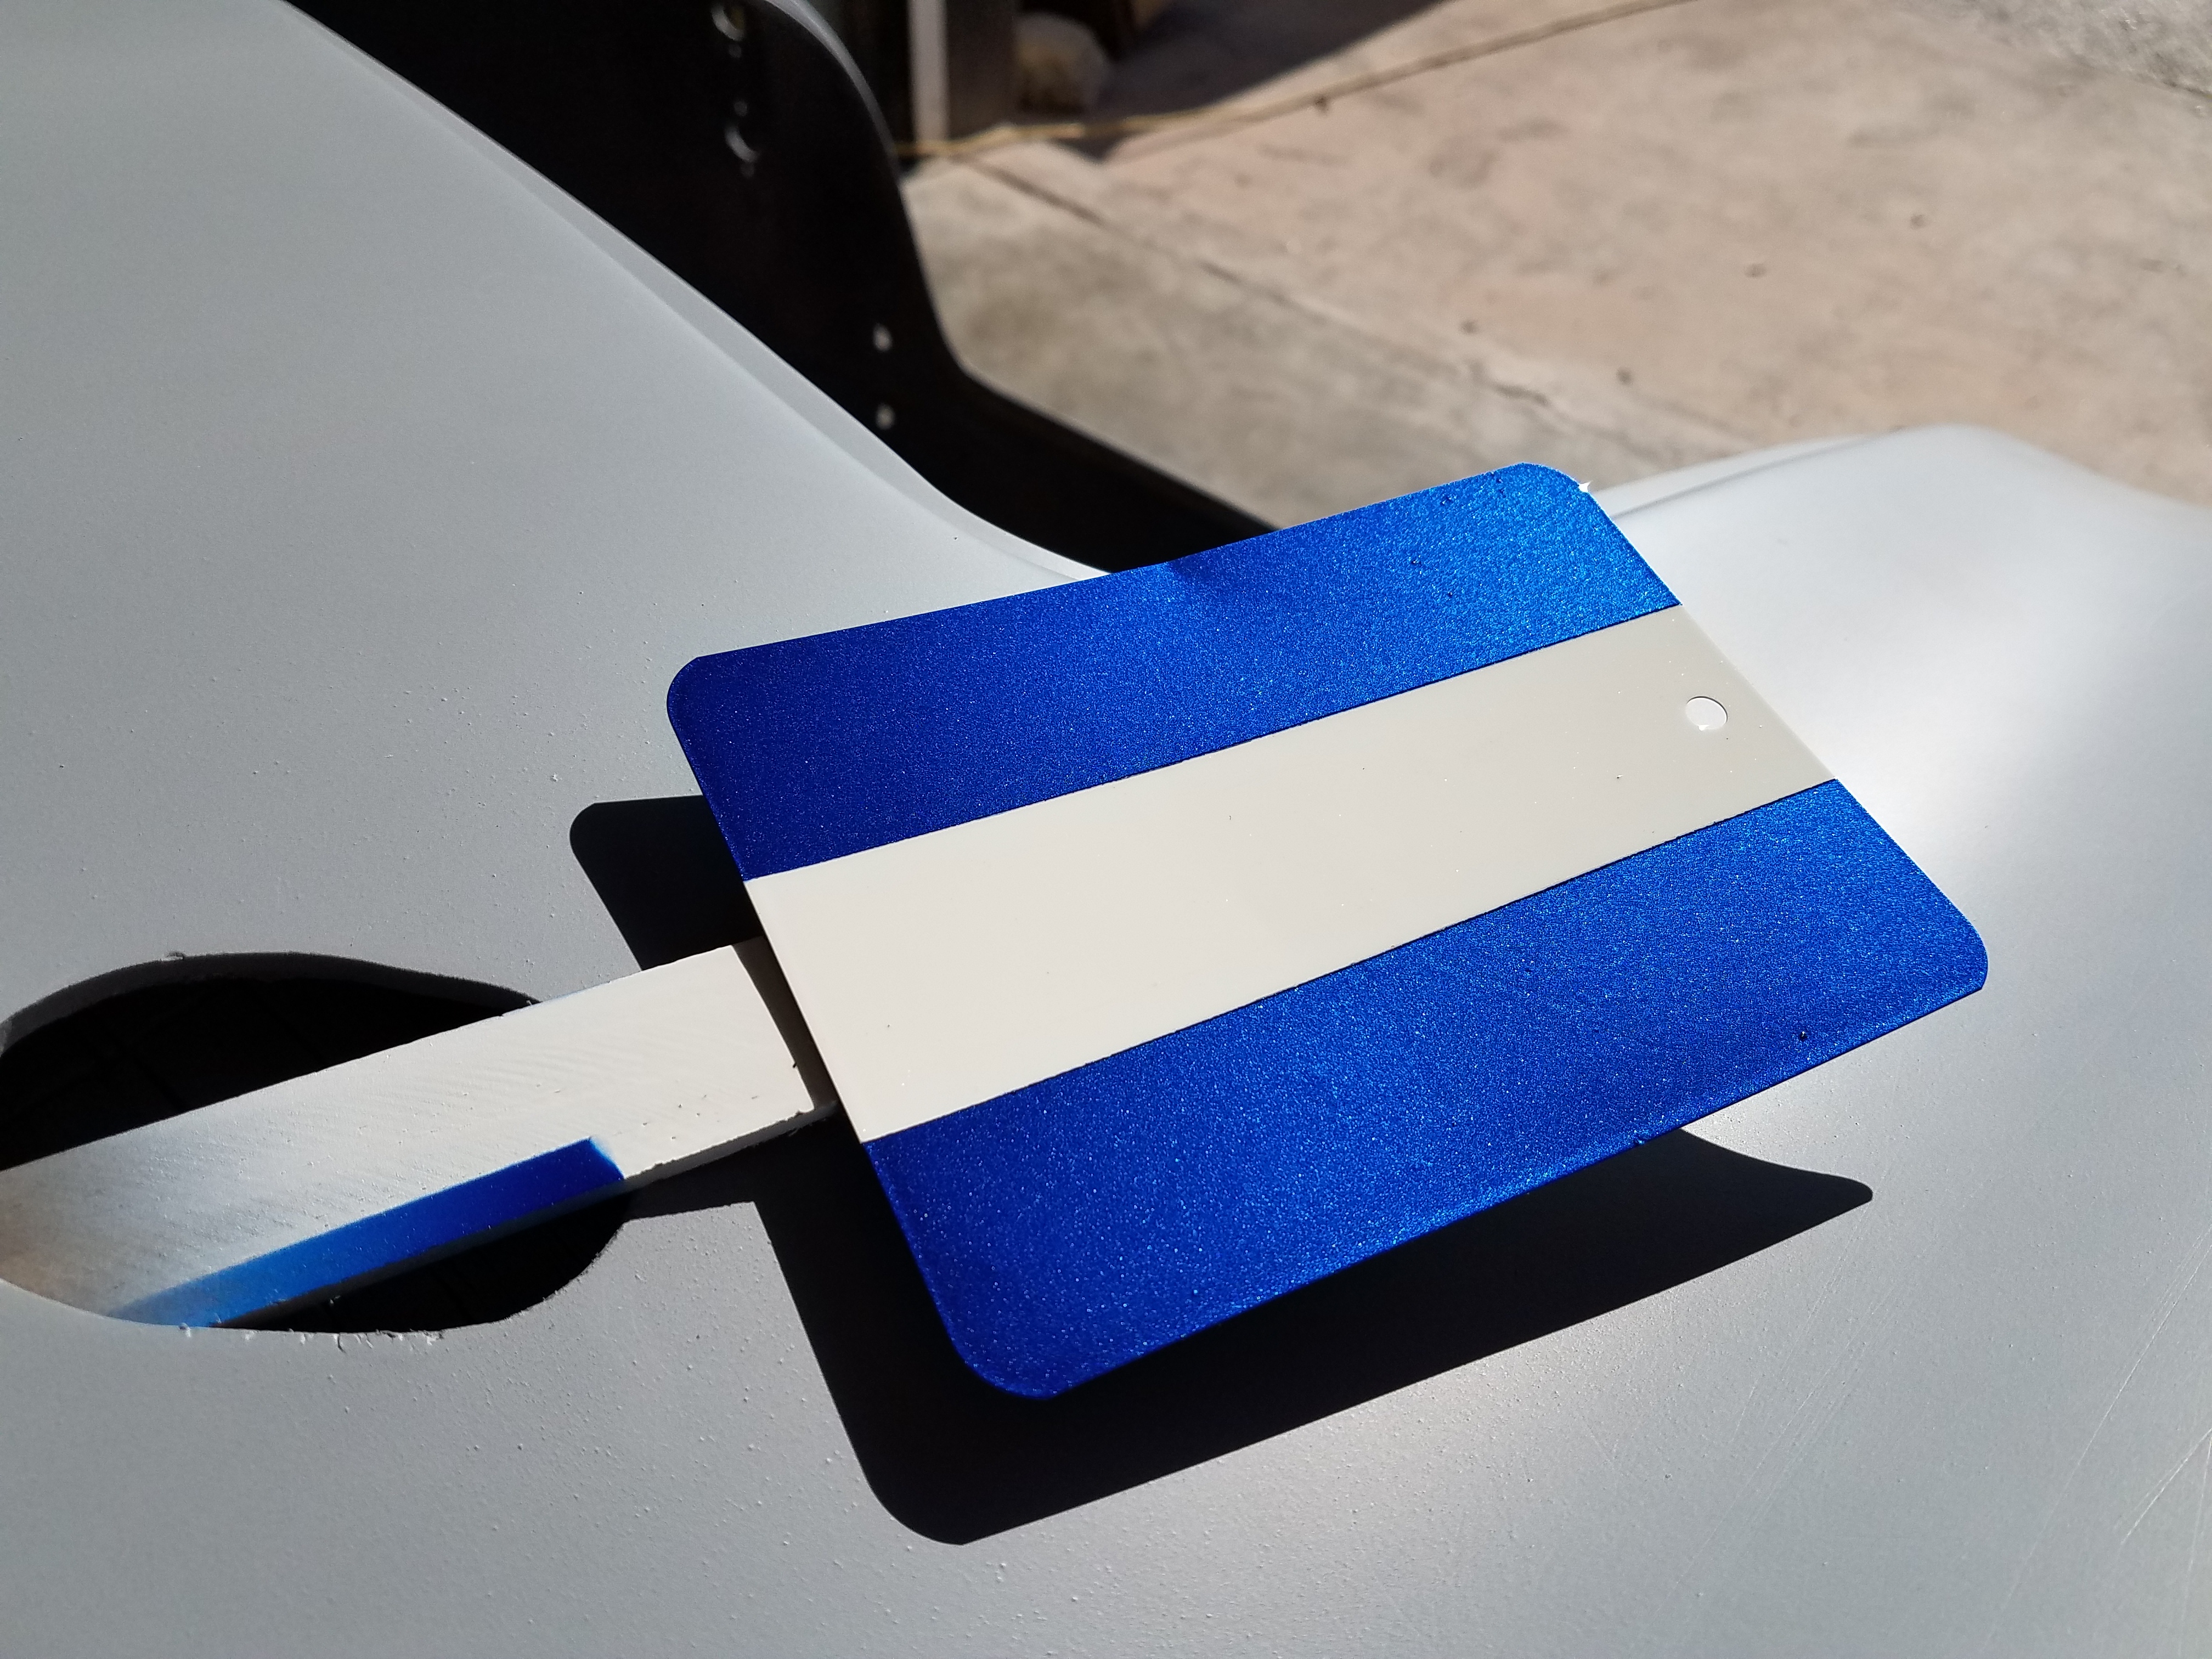
    We have a pickup date of December 12, 2015 for our Complete Kit. And, we'll be pulling the drivetrain, ecu, and electrical harness out of a 2003 Mustang GT with 84k miles. We thought about the donor kit for awhile, but ultimate decided on a complete kit with the usual upgrades (chrome rollbar, polished side pipes, vintage gauges, etc).

    Here are some pictures of the donor; they should appear in a new window / tab in your browser.

    Donor - Right Rear Qtr
    Donor - Right Side
    Donor - Front Qtr
    Donor - O/R X-pipe
    Donor - Rearend

    The donor car already has an offroad x-pipe, CAI, and tune to eliminate the cats and rear O2 sensors. We did opt for the upgraded 4.6 headers in our kit, so we'll have to weld in bungs for the 'pre-cat' O2 sensors. I know a lot of car guys would be upset at cutting up a 2003 GT in that condition, but it is a northeast car (Ohio) and does have rust on the rear quarters that are beginning to blister through the paint. We figure we'll have a solid roadster in the end this way, without the expense of a new crate motor, trans, ecu, rearend.


    More to come...

    Thanks,
    Ryan & Mac

    The first rule of FFR, do not call it a C****.
    The second rule of FFR, do not call it a C****.
    Last edited by ryanmac; 09-21-2015 at 05:40 PM.

  2. #2
    Member ryanmac's Avatar
    Join Date
    Sep 2015
    Posts
    81
    Post Thanks / Like
    We got an updated pickup date from FFR today.... Looks like we'll be going to Wareham on October 24th to pick up our kit!

  3. #3
    Member ryanmac's Avatar
    Join Date
    Sep 2015
    Posts
    81
    Post Thanks / Like
    Some have asked about our plans and upgrades...

    Complete Kit (unpainted frame) with:

    17" x 9" Halibrand Wheels (#14862)
    Body Cutouts (#12070)
    Mustang 4.6L Donor Pack (#14766)
    Chrome Rollbar (#15101)
    Ceramic 4.6L Headers (#13683)
    Polished SS Side Pipes (#14932)
    Vintage Gauges (#16004)
    14" Leather Steering Wheel (#15760)
    Windscreen Wings (#12049)
    Rollbar Grommets (#15158)


    Planned Add-ons:

    Cubby Mod (Breeze)
    Radiator Shroud (Breeze)
    External / Chrome Trunk Hinges (**********)
    Battery Relocation to Front (Breeze)
    Oil Based Enamel Coated Aluminum Panels
    Truck Bedliner Underbody


    And, here is our budget...so far...

    Our Budget


    Another person asked what a 4.6L x-pipe sounds like...not as good as it will...but here's a mp3 file anyways:
    O/R X-pipe


    Now back to building a frame dolly and body buck...
    Attached Images Attached Images
    Last edited by ryanmac; 09-17-2016 at 09:48 AM. Reason: Updated Budget

  4. #4
    Administrator David Hodgkins's Avatar
    Join Date
    Feb 2011
    Location
    Corona del Mar, CA
    Posts
    6,063
    Post Thanks / Like
    Blog Entries
    7
    Ryan & Mac, here's a tutorial on using the galleries to host pics:
    http://thefactoryfiveforum.com/showt...tures-in-posts

    Here's how to do it from an external site:
    http://thefactoryfiveforum.com/showt...-post-pictures

    I'll make sure you have full access. Best of luck with the build! I'll be following along...


    FFR 5369 Pin Drive, IRS, Trigos, Torsen, Wilwoods, FMS BOSS 302 "B" cam , Mass-flo. CA SB100 (SPCN) Registered
    Delivered 4/23/06. "Finished" 4/2012 (still not done!)


  5. #5
    Member ryanmac's Avatar
    Join Date
    Sep 2015
    Posts
    81
    Post Thanks / Like
    We picked up our kit (#9442) on Saturday (10/24/15).


    It was about 860 miles each way for us; taking about 16 hours each with construction, traffic, and a slight detour to cross the Geo Wash bridge in NYC.
    Last edited by ryanmac; 10-26-2015 at 08:19 PM.

  6. #6
    Member ryanmac's Avatar
    Join Date
    Sep 2015
    Posts
    81
    Post Thanks / Like
    We completed the tear down of the mustang today. Took us about a day and a half, but everything is out now and ready for cleaning / paint prep.


  7. #7
    Member ryanmac's Avatar
    Join Date
    Sep 2015
    Posts
    81
    Post Thanks / Like
    We're going to Build School in Howell, MI on Nov 13-15. So, we've decided to wait until after school to start assembly / mockup.

    Our final update for this week: Mac sandblasted & primed the rearend and primed the chassis, while Ryan removed the remaining sections of wiring harness and electrical components from the mustang.


    Our plan in the next couple months after build school will be to get the car to 'go-cart' with everything in primer and raw aluminum. Then, take it back apart for the 4 P's (paint, powdercoat, plating, and polishing) before final assembly and bodywork.

  8. #8
    Member ryanmac's Avatar
    Join Date
    Sep 2015
    Posts
    81
    Post Thanks / Like
    Tires are ready to roll...

    Nitto NT555's: 255-40ZR17 for the front and 275-40ZR17 for the rear.

  9. #9
    Member ryanmac's Avatar
    Join Date
    Sep 2015
    Posts
    81
    Post Thanks / Like
    Build school was great! They showed us many things that will definitely save time and create a better build. Thanks Mott Community College, and thanks Todd and Jim.


    Since school one week ago, we've completed our frame modifications and begun to fitup / drill all of the aluminum panels.

    1. Welded in angle iron to the front 4" cross support for a billet aluminum battery tie-down.


    2. Reworked the trunk tubing to drop a section of the trunk approximately 17" by 26" by 6" deep. We plan on using the donor's tank and fuel pump.


    3. Offset the tubing in the driver's footbox to give clearance for the Wilwood Clutch Pedal.
    Last edited by ryanmac; 11-19-2015 at 12:50 PM.

  10. #10
    Member ryanmac's Avatar
    Join Date
    Sep 2015
    Posts
    81
    Post Thanks / Like
    We completed the fit up and drilling of all the panels over the past two days.

    Broke about twenty 1/8" double headed drill bits....not too bad for close to 2,000 holes. We drilled everything on 2" spacing, and used the FF ruler to sharpie mark 3/4" painters tape to assist in the hole layout.


    And, we made the 'Z' panels to drop the trunk section down 6". We bought the extra 6061 aluminum from Onlinemetals; they will cut sheets down to custom sizes for you. We cut the panels with a 4-1/2" grinder with a cutoff wheel, then filed edges smooth...much cleaner edge than tin snips. With multiple rows of rivets on the bottom flange to bottom panel, it becomes so solid you can stand on it. Why have a trunk if it can't hold a couple cases of beer, a racing helmet, and a small carry-on bag.

    Last edited by ryanmac; 11-21-2015 at 09:07 PM.

  11. #11
    Member ryanmac's Avatar
    Join Date
    Sep 2015
    Posts
    81
    Post Thanks / Like
    Happy Thanksgiving.

    We are using the holiday weekend to complete the mock up of the drivetrain and to paint the chassis, rearend, and small parts (bare steel items supplied in the kit).


    Here are some pics of the driveshaft safety loop. We welded it into the center of the 4" main tubes and placed it 3" back from the front u-joint. It is also off center 3/4" as the motor & trans are over to the passenger side with the mounts supplied in the kit:


  12. #12
    Senior Member edwardb's Avatar
    Join Date
    Feb 2011
    Location
    Lake Orion, Michigan
    Posts
    10,567
    Post Thanks / Like
    Lots of nice work going on here. Congrats on your kit and work you're doing. Just one note of concern. The battery mounting you're showing in post #9 I believe is going to interfere with your engine, specifically the crankshaft pulley and balancer. I don't know what you're planning to mount on those angle irons, but even the pieces themselves I believe will interfere. There is a commonly used front battery mounting from forum vendor Breeze that many of us use. The back of the battery stays in front of the 4 inch tube. Even then you have to be careful to keep the battery cables from interfering with the engine.
    Last edited by edwardb; 11-28-2015 at 09:18 PM.
    Build 1: Mk3 Roadster #5125. Sold 11/08/2014. Build 2: Mk4 Roadster #7750. Sold 04/10/2017. Build Thread
    Build 3: Mk4 Roadster 20th Anniversary #8674. Sold 09/07/2020. Build Thread and Video. Build 4: Gen 3 Type 65 Coupe #59. Gen 3 Coyote. Legal 03/04/2020. Build Thread and Video
    Build 5: 35 Hot Rod Truck #138. LS3 and 4L65E auto. Rcvd 01/05/2021. Legal 04/20/2023. Build Thread. Sold 11/9/2023.

  13. #13
    Member ryanmac's Avatar
    Join Date
    Sep 2015
    Posts
    81
    Post Thanks / Like
    You're right, the crankcase pulley is very close to the angles and the back of the 4" cross tube...about 3/8" on our 4.6L 2V.

    We were hoping to reuse a billet tiedown and battery from the donor; but after mocking up the drivetrain, there just is not enough room up there. Our plan now: trim back the angle supports to give at least an inch of clearance to the pulley, and order a yellow top D51 and a smaller tiedown. The D51 is a shave over 5" wide.

    Last edited by ryanmac; 11-30-2015 at 08:50 PM.

  14. #14
    Member ryanmac's Avatar
    Join Date
    Sep 2015
    Posts
    81
    Post Thanks / Like
    The chassis and other small parts are now painted! (Hood hinges, trunk hinges, and exhaust brackets will be chrome plated.)

    We worked on it a little each day; sand, clean, spray; sand, clean, spray; repeat. We flipped the chassis on the side to put three coats on the bottom first, then set it up on jack stands to coat the top.


    Next, we're painting the aluminum panels while beginning to assemble the rolling chassis...stay tuned...

  15. #15
    Member ryanmac's Avatar
    Join Date
    Sep 2015
    Posts
    81
    Post Thanks / Like
    Rear suspension was installed today. We changed the axle studs, diff cover, and fluid as well.


    And, the footbox panels are almost ready to go on...


  16. #16
    Member ryanmac's Avatar
    Join Date
    Sep 2015
    Posts
    81
    Post Thanks / Like
    We're painting all of the panels in three batches: First set (footboxes & firewall) is complete, second set (cockpit) is in the booth, and the third set (trunk) is cleaned and scotch-brited.


    Between prepping and painting panels, we installed the front suspension and brakes today.


    We're taking tomorrow off to help a buddy install a lift. But, we'll be back on it all next week with the goal of being at 'go-kart' by the end of the week...

  17. #17
    Member ryanmac's Avatar
    Join Date
    Sep 2015
    Posts
    81
    Post Thanks / Like
    Installed the firewall and footboxes panels today.


    Then, insulated the lower halves of the engine bay with ThermoTec blanket.


  18. #18
    Member ryanmac's Avatar
    Join Date
    Sep 2015
    Posts
    81
    Post Thanks / Like
    Also installed the rear disc brakes, borrowed from the donor (2003 GT). We sandblasted them and painted them with high heat paint.

    The parking brake springs are fun to put back on.

    Had to compress them in the bench vise, then safety wire them to maintain tension, then cut wire once in place. We tried a cable tie first, but it could not handle the tension.


  19. #19
    Member ryanmac's Avatar
    Join Date
    Sep 2015
    Posts
    81
    Post Thanks / Like
    We edged the ThermoTec blanket with metal duct tape and installed the fuel tank, cockpit panels, and Wilwood pedal assembly today.


  20. #20
    RR20AC's Avatar
    Join Date
    Jul 2015
    Location
    Puyallup/WA
    Posts
    394
    Post Thanks / Like
    Blog Entries
    1
    Wow, you and your dad are going to it! Looks great.
    Last edited by RR20AC; 12-17-2015 at 07:06 PM.

  21. #21
    Member ryanmac's Avatar
    Join Date
    Sep 2015
    Posts
    81
    Post Thanks / Like
    Thanks Jim. We're making a good run at it this week as I burn my last week of vacation.

    Fuel line and brake lines were installed today. Plus, we cleaned the motor, changed plugs, and figured out our serpentine belt routing (no ps & no ac). Motor and trans will go back in tomorrow...

  22. #22
    Member ryanmac's Avatar
    Join Date
    Sep 2015
    Posts
    81
    Post Thanks / Like
    We installed the motor, trans, driveshaft, and headers today. Also, Mac installed the cubby mod and half of the trunk panels, while Ryan welded 02 bungs into the headers.


  23. #23
    Member ryanmac's Avatar
    Join Date
    Sep 2015
    Posts
    81
    Post Thanks / Like
    As our vacation build week (8 straight days) comes to an end, we installed the battery, radiator, radiator shroud, coolant lines, overflow can, and accelerator cable.


    Things will slow down now, as we enjoy the holidays. While we are not at go-kart yet, we are pretty close. With a little chassis wiring and donor harness mods, we'll be ready to fire it up.


    A few tips we've learn this week...

    1. Most of the bolts from FFR are okay, but not great. Usually the bolts are a little too long. And, almost all of the socket head cap screws are black oxide coated. So, plan on some dollars in extra bolts, washers, and locknuts.

    2. Borrow or buy an air rivet gun ($70) and 360 swivel adapter ($10) for it. There are a ton of rivets in this project, and the hand rivet tools will bounce off the rivet and scratch / mark the panels.

    3. Use vaseline on the coolant hoses and sleeves to help fitup / mockup before cutting the stainless hose. They are hard to slip on without folding up the internal spacer sleeves unless you use a little lube.

    4. Some creativity will be required to make a few FFR supplied items work with your application. We had to make a few items, like bushings to hold the throttle body end of the accelerator cable. Some people might get frustrated with these challenges during their build; but remember: you did decide to 'make' your own car. Embrace the challenges; adapt and overcome!


    Last edited by ryanmac; 12-19-2015 at 11:43 PM.

  24. #24
    Senior Member KDubU's Avatar
    Join Date
    May 2015
    Location
    Kennebunkport, ME
    Posts
    1,192
    Post Thanks / Like
    Moving along nicely! Dang that was quick getting it all that put together.
    Kyle

    Complete Kit pickup 09/05/2015, 351w, QF680, 3.55, 3-Link, 15" Halibrands with MT's, Painted Viking blue with Wimbledon white stripes on 03/15/2017. Sold in 08/2018 and totally regret it.

  25. #25
    Administrator David Hodgkins's Avatar
    Join Date
    Feb 2011
    Location
    Corona del Mar, CA
    Posts
    6,063
    Post Thanks / Like
    Blog Entries
    7
    Wow, astounding progress! You compressed months of work (for me )into 8 days. I couldn't match that, no way. And I'm diggin' the cubby! Looks like my MKIII build. Nice and deep. Are you going to leave it open, or are there plans for a door or netting?

    GREAT job so far!


    FFR 5369 Pin Drive, IRS, Trigos, Torsen, Wilwoods, FMS BOSS 302 "B" cam , Mass-flo. CA SB100 (SPCN) Registered
    Delivered 4/23/06. "Finished" 4/2012 (still not done!)


  26. #26
    Member ryanmac's Avatar
    Join Date
    Sep 2015
    Posts
    81
    Post Thanks / Like
    Thanks David. Build school inspired us to make a solid run at the build once we had everything on hand. We probably have a total of 220 manhours into it at this point, including painting the chassis, donor parts, & panels.

    We do plan on running the cubby open, and this space will get dynamat and carpet. We were inspired by your build to open this area up as much as possible for on-the-go storage. Figured that the door's ecu and harness would rule out a glove box.

  27. #27
    Member ryanmac's Avatar
    Join Date
    Sep 2015
    Posts
    81
    Post Thanks / Like
    Merry Christmas!

    Even the MK4 got a present this year...a homemade quilt made from Factory Five t-shirts. My Mom made it while we were assembling the chassis this past week.


    Spoiler Alert: The car will be Ford Royal Blue with White Stripes.

  28. #28
    Senior Member
    Join Date
    Feb 2011
    Location
    Myrtle Beach, SC
    Posts
    2,108
    Post Thanks / Like
    Ryan and Mac-

    You have a seriously talented family!!

    Awesome progress on the build. I echo the earlier comments regarding the pace. You have accomplished more in a few weeks than many do in months. You clearly had a solid plan in place, and gave it heck!

    The quilt your Mom made is a really awesome touch. Tell Mom she did great, and she might have a market for that quilt. I especially love the stitching; very, very clever, and so personal! Hooray for Mom, you rock!!

    Keep up the great work, and keep posting. I have been enjoying seeing your progress.

    Regards,

    Steve

  29. #29
    Member ryanmac's Avatar
    Join Date
    Sep 2015
    Posts
    81
    Post Thanks / Like
    Thanks Steve!

    My wife (Ryan's Mom) makes about two dozen quilts a year. The roadster quilt is a throw (50"x60") for those cooler nights next year when the car is complete. She makes a lot of harley t-shirt quilts each year, sold through word of mouth at events like bike nights and cruise-ins. Price would be $200 with shirts supplied by customer. A throw sized quilt takes six t-shirts, using both the front and back of shirts on the front of the quilt. The backing is flannel for added warmth and durability.


    PM us for more info...

    - Mac
    Last edited by ryanmac; 12-27-2015 at 08:18 PM.

  30. #30
    Member ryanmac's Avatar
    Join Date
    Sep 2015
    Posts
    81
    Post Thanks / Like
    We put the wheels on it, aligned it, and set the ride height today. WOW, this thing sits low; even adjusted to 5" without body and passenger weight in the car.


  31. #31
    RR20AC's Avatar
    Join Date
    Jul 2015
    Location
    Puyallup/WA
    Posts
    394
    Post Thanks / Like
    Blog Entries
    1
    Just like the build school. Done in a weekend. Very impressive. Nice quilting. I still have not got one of those from my wife as she is so busy doing customer quilts. Still in holiday mode and have not started on the build? Thanks for the updates. Jim

  32. #32
    Member ryanmac's Avatar
    Join Date
    Sep 2015
    Posts
    81
    Post Thanks / Like
    Well, after a three and a half month break...Mac spent the winter in Florida...we got back to it.

    Over this past week, we installed the trunk panels, completed the wiring (including wire dieting the donor harness), and sound insulated the cockpit and trunk. The roadster starts easy, idles nice, and sounds great!!


  33. #33
    Member ryanmac's Avatar
    Join Date
    Sep 2015
    Posts
    81
    Post Thanks / Like
    Here is a preview of our work on the dash today. Ryan's mom (Cathy) just finished a custom dash wrap that will match the transmission tunnel cover, parking brake boot, and cubby wall (both sides).

    And, Mac decided on a warning light and switch layout for the dash. Warning lights will match the pattern of the three over two accessory gauges. Red light will be parking brake reminder and amber light will be low fuel reminder...


  34. #34
    Member ryanmac's Avatar
    Join Date
    Sep 2015
    Posts
    81
    Post Thanks / Like
    The dash wiring is now complete! ...two day count down to full go-cart...

    - 'Yes Mom, we'll bolt on the pipes, seats & safety belts before testing. And, we'll double check all fluid levels and the front alignment one more time.'


  35. #35
    Member ryanmac's Avatar
    Join Date
    Sep 2015
    Posts
    81
    Post Thanks / Like
    WOW!! Thanks FFR for engineering and making such a fun car possible!

    Go-Kart Video


    Mac go-kart:


    Ryan go-kart:

  36. #36
    Carl carlewms's Avatar
    Join Date
    May 2012
    Location
    Nokesville, VA
    Posts
    1,125
    Post Thanks / Like
    Congratulations!
    Mk 4 Roadster
    October 25, 2012 - Kit Arrives
    April 8, 2013 - Build Starts
    August 23, 2015 - Rolling Chassis/Engine & Transmission Installed
    March 26, 2016 - Go Cart

  37. #37
    Member ryanmac's Avatar
    Join Date
    Sep 2015
    Posts
    81
    Post Thanks / Like
    Quote Originally Posted by carlewms View Post
    Congratulations!
    Thanks Carl!

    We've enjoyed the project thus far, but realized this week that there is still more than a little ways to go...

    This week we set the body on the chassis, removed sets and belts for panel fitting, and installed the hood, trunk, doors, and rollbar. Body fitment is not as straightforward as bolting on suspension and drivetrain components...a lot of adjusting, sanding, tweaking, etc to make each piece work out...


  38. #38
    Member ryanmac's Avatar
    Join Date
    Sep 2015
    Posts
    81
    Post Thanks / Like
    We passed (barely) our State Inspection today with the Ohio Highway Patrol.

    They will have a new VIN tag ready in about ten days from now.

    The troopers were happy with the car, except for two items: no side mirrors and no windshield wipers. They said if we add these before returning to get the VIN tag, then we'll be able to close out paperwork and get the title. We'll be adding Breeze side mirrors and Speedway Motors manual wipers (P/N 91056111) and clamp-on brackets (P/N 91656002).

    The inspection took three hours; and because we used a lot of parts from our donor, they put it on a lift to check donor parts numbers / OEM ID stickers. They also had to dissolve some of the chassis paint under the dash to reveal the FFR chassis serial number.


  39. #39
    Member ryanmac's Avatar
    Join Date
    Sep 2015
    Posts
    81
    Post Thanks / Like
    Little over a year since last post....

    We drove the car in gelcoat from July to November last year, racking up a little over 900 miles without issues. As planned, we were ready for paint over the winter / spring of 2017. Unfortunately, our painter of first choice was not and could not commit to getting to us this year, so we had to find another painter and get in the back of a new line...

    We dropped our car off at the new painter's shop this May. And, we just visited the shop this weekend to see it after first coat of primer and to approve the color choice. While there (about seven hours away), we also wrapped the dash. Our car should be painted in next two weeks, and reassembled (ready for pickup) around the first week of September.


    The blue is paint code PBE (2nd gen Viper GTS Blue) and the white is paint code HP (Ford Performance White).

  40. #40
    RR20AC's Avatar
    Join Date
    Jul 2015
    Location
    Puyallup/WA
    Posts
    394
    Post Thanks / Like
    Blog Entries
    1
    Ryan, good to see an update from you. Looks like our cars will be finished about the same time now. I hope to get some miles before winter sets in. Our winters are mild here so I am sure there will be days of rides then too. That is probably the best looking dash yet. Talk again sometime, Jim.
    20th Anniversary MK4 Roadster, #8752, 18 of 20, Delivered 12/03/15, 1st Start 01/28/2017, off to paint 4/13/2017, Forte 351w/ Holley EFI, Forte throttle linkage, TKO 600/Forte Hyd. Clutch, UniSteer Electra Steering, RT's turn Signals, many Breeze parts, Paint by the Jeff Miller. Finished on 10/08/2017. 500 mile inspection on 10/21/2017, 3000 mile inspection on 1/14/19.

Page 1 of 2 12 LastLast

Posting Permissions

  • You may not post new threads
  • You may not post replies
  • You may not post attachments
  • You may not edit your posts
  •  

Breeze

Visit our community sponsor