-
Senior Member

Epoxy Garage Floors
Hi all--
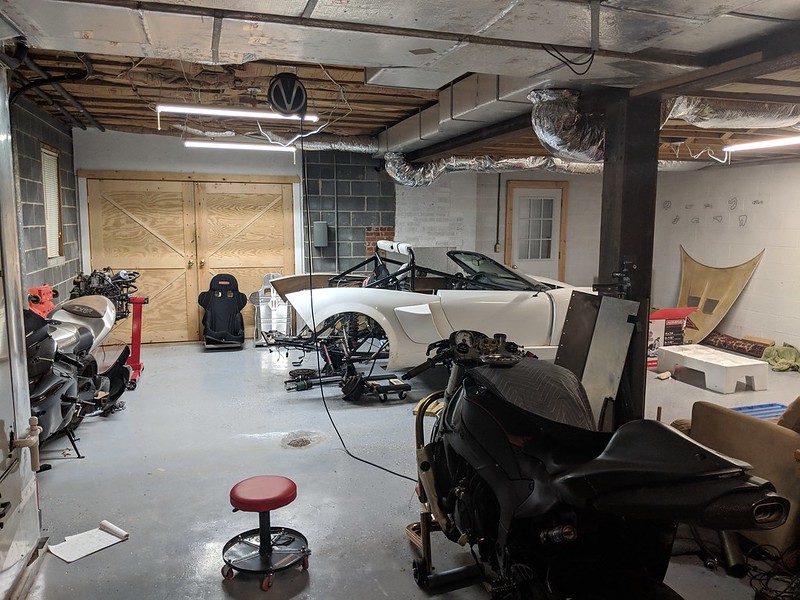
I have a large garage/shop/basement (~1,500 sq ft of unfinished basement with HVAC and plumbing attached to ~780 sq ft of garage) under the house. I epoxyed the floor (in a few stages, as money, time,. storage allowed), I also painted the walls. Figured I would give a run down of how that went, some tips and tricks I've learned along the way, and my happiness so far (spoiler-- I love it). I've done my garage, 2 friend's garages, and my trailer (more on that to come), so I've got some experience with it now.
I started with this the day I moved in (a little over a year ago) and it took over 6 months to finish (mostly due to time and having too much crap in the basement). It's really nice now. Has held up super well, except where there was sitting water (which we've since identified and repaired). It's super easy to clean up oil (or cat puke) with just a wipe, it's a lot cozier than concrete (I actually don't wear shoes often enough in parts of the shop). It also looks great and brightened up the room.
Tools/Material required
- crappy clothes/shoes
- gloves
- steel bristled scrub brush
- paint roller and tray (high tack)
- hose
- 5 gal bucket
- paintbrush
- roller extender
- mask
- painters tape
- fan(if the area isn't well ventilated)
- epoxy kit [I have used Rustoleum Epoxy Shield and Rock Solid]
Cost
$25 in consumables per time or so (gloves, masks, foam roller pads, paint rollers (I just buy the crappy plastic ones and toss 'em), and $120 for a 2 car garage kit. I've done between 200 and 600 sq ft on a single kit; really depends on how thirsty your concrete is. Total cost for my epoxy is 6 kits (with enough left over to do my 6x12 enclosed trailer's floor), probably just under $1,000 with consumables, and some inefficiencies from lessons learned. Paint costs are somewhere in $200 range but I'm only 2/3s done.
I've done this alone once and it sucked. 2 (or more) person job is much easier.
I prep the floor by washing it with the hose, and scrubbing anything away. I start with just water for the bad spots (hot if you have it nearby) and then I use the acid included in the kits. This is the worst part by far. Getting things clean here is the key to a good bond on the floor.
Once it's washed and free of oil/stains/etc. I rinse the hell out of it and let it dry. Great time for a fan if you're not in a well-ventilated space. Once it's dry, I stage everything out and tape off that I don't want epoxyed. I used to tape the wall, but now I just use a brush and slowly/carefully paint the edges of the floor. I definitely have a few little marks on my walls, but I'm no perfectionist (see build thread for examples of that).
Then, mix the 2 parts together. Sometimes the epoxy comes in cans (which you can add paint to to die them) and sometimes it's in pouches. The pouches can't be painted, and as such I went with a base color instead of a painted one (the blue/gray one, though the tan looks nice too). You have to stir it a bunch before it's ready to spread. Once time's passed you can paint and roll it on, while sprinkling paint chips all over the wet epoxy. It likes a wet edge, so try to keep the whole edge wet during your application. Throw out the brush, foam rolling pad, even the roller sometimes. All gets covered in crap.
If you do it in multiple stages, the edges where they meet are distinct and clear. I have gone over mine with a good amount of overlap to help pretty that up, but it's still noticeable if you're looking for it.
Hope all this helps someone. I'm happy to answer and questions about it.
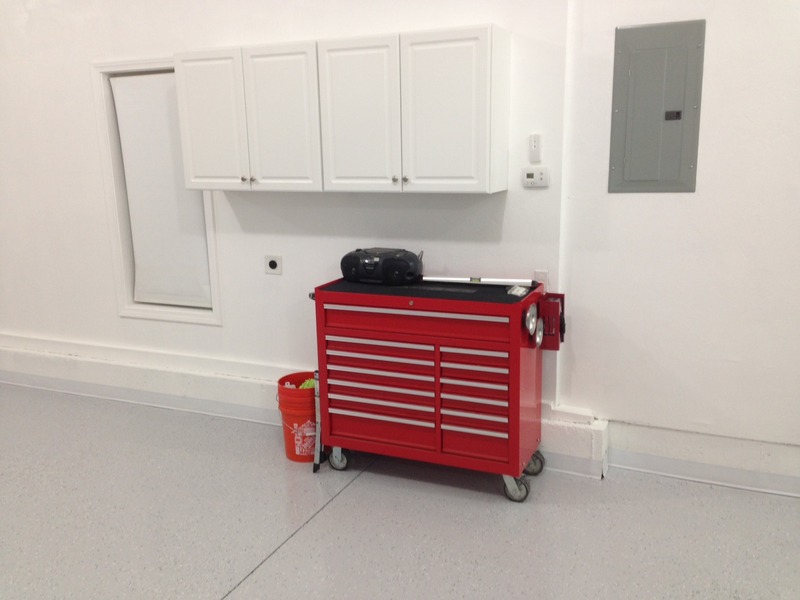
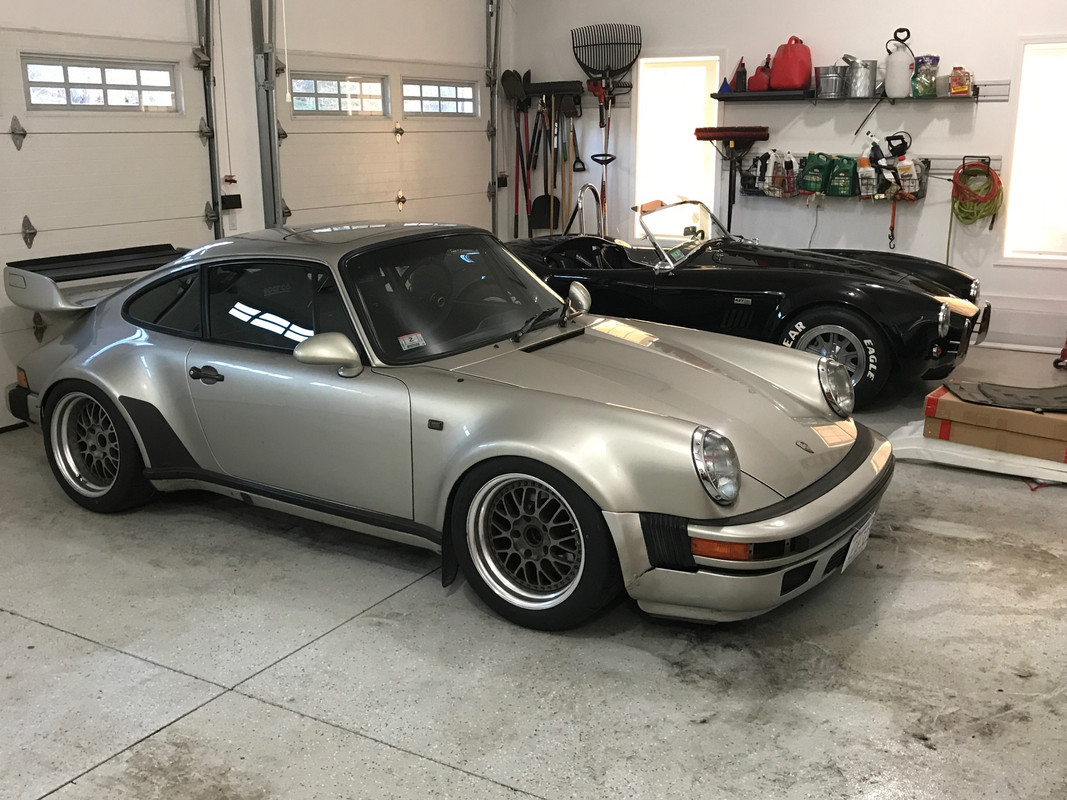
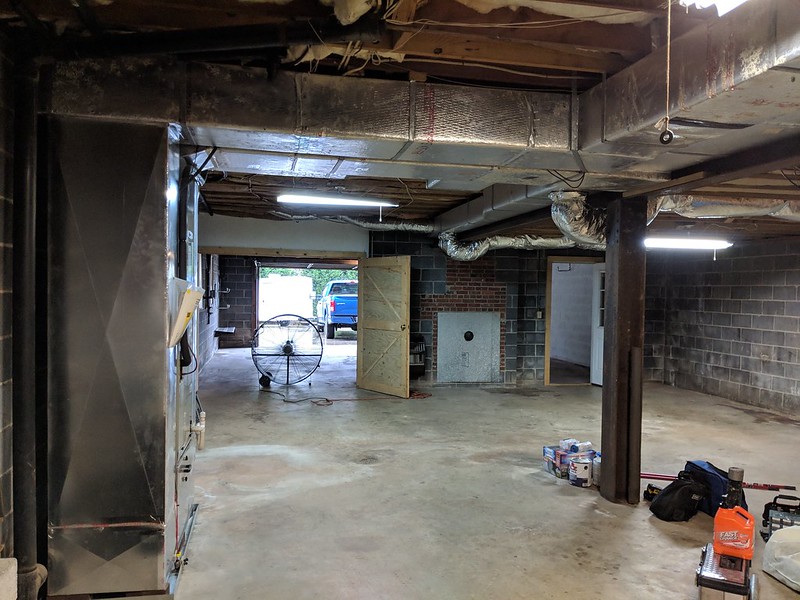
Photo time! Here's before/during, after below.


Last edited by Pearldrummer7; 11-11-2019 at 09:35 AM.
-
Post Thanks / Like - 0 Thanks, 2 Likes
-
Senior Member
-
Post Thanks / Like - 0 Thanks, 1 Likes
-
Senior Member
Also, forgot about these and figured people might get a kick out of the "artwork" in the shop. All places I've ridden/driven:
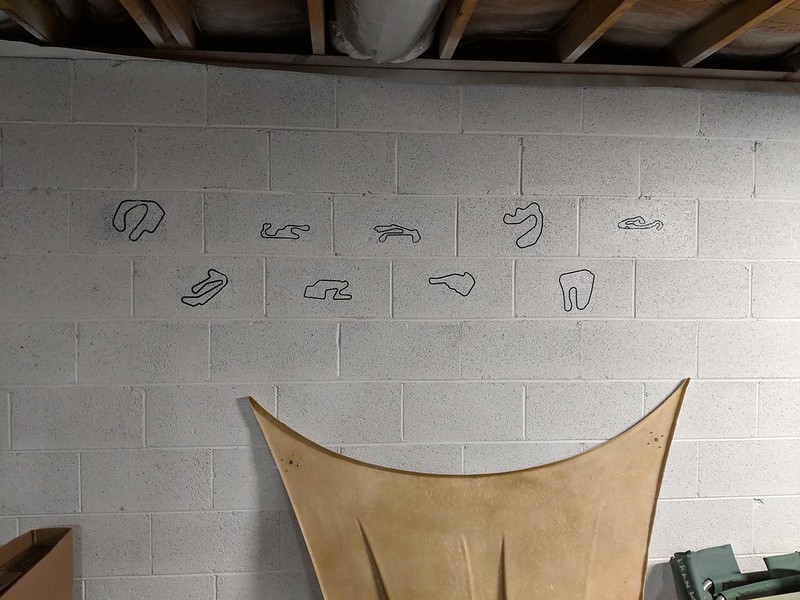
Top row, then bottom row, L->R: CVMP in upstate NY (kart track), NYST, Barber Motorsports Park, Jennings GP, National Corvette Museum, SLMP (upstate NY), Waktins Glen, Road Atlanta, Talledega GP.
Process


-
On a roll

Looks great!
My experience is similar; I did mine 5 years ago. I have been very happy with the result, but it is showing its age and wearing in places. I emptied the entire garage and did the whole thing at once rather than doing it in stages. Your approach is easier! I used an entire gallon of the Rustoleum product. One good thing - I needed some touch up, contacted Rustoleum, and they sent me a "touch up kit" for no extra charge. I thought that was great customer service!
My neighbor had his done professionally about the same time that I did mine (mine was DIY). The difference is that his guy used a concrete grinder to prep the floor. I did not. His is in great shape still. So, when I re-do mine (probably in the spring) I'll rent a grinder for prep before I apply the paint.
Mk IV Roadster - #8650 - delivered 7-17-2015 - first start 7-28-2018 - first go-kart 10-13-2018 - licensed and on the road 9-9-19: body/paint completed 3-17-2020.
Complete kit / 2015 Coyote / TKO600 / IRS / Wilwood brakes / Mid-Shift mod / Power Steering / Heater and Seat Heaters / RT turn signal / Breeze radiator shroud and mount
-
Senior Member

-
Senior Member

Originally Posted by
Al_C

Looks great!
My experience is similar; I did mine 5 years ago. I have been very happy with the result, but it is showing its age and wearing in places. I emptied the entire garage and did the whole thing at once rather than doing it in stages. Your approach is easier! I used an entire gallon of the Rustoleum product. One good thing - I needed some touch up, contacted Rustoleum, and they sent me a "touch up kit" for no extra charge. I thought that was great customer service!
My neighbor had his done professionally about the same time that I did mine (mine was DIY). The difference is that his guy used a concrete grinder to prep the floor. I did not. His is in great shape still. So, when I re-do mine (probably in the spring) I'll rent a grinder for prep before I apply the paint.
Awesome! I was just talking with my SO about touch up epoxy and how we should do that. I guess I'll contact Rustoleum! I didn't grind either; hopefully next garage!
Originally Posted by
Duke
Nice work. Did you go with 100% epoxy solids kit? Have you had any issues with the clear coat?
I did my main garage about 5 yrs ago. I turned out great, but the NE winters have been hard on the top clear coat. There's several areas where the clear coat has worn through to the epoxy coat under. I also have about a dozen chip marks from tools falling on it over the years. My second garage I just build I went with porcelain tile with epoxy grout. So far it's been indestructible, but it was a PITA to install with zero air pockets under the tile.
I used this kit, so no clear coat for me. No problems so far; we don't have salt or anything on the roads (but I know that feel from living in upstate NY!), so it's a bit easier on the flooring. The tile looks super nice!
-
Post Thanks / Like - 0 Thanks, 1 Likes
-
My only caution is with the plastic color chips provided with the kit - they look nice but I would not use them again. I did my last garage (28, x 40') several years ago and loved the floor except for the chips. When you drop something small on the floor and can't locate it, the chips just make it that much harder to locate. I have a new garage, little smaller (24 x 36) and this will get coated in the spring with just straight color. I also broke the areas up when it was time to stop by ending at the expansion jiunts cut in the slab. That way the match between different start/stops isn't as noticeable.
-
Post Thanks / Like - 0 Thanks, 1 Likes


 Thanks:
  Likes:


 Reply With Quote