FormaCars

Visit our community sponsor

Thanks Thanks:  9
Likes Likes:  41
Page 3 of 3 FirstFirst 123
Results 81 to 87 of 87

Thread: Terry's LS MK4 Build

  1. #81
    Senior Member
    Join Date
    Feb 2022
    Location
    Flower Mound, TX
    Posts
    304
    Post Thanks / Like
    Quote Originally Posted by BRRT View Post
    Hey Terry, your accessory drive setup looks great!
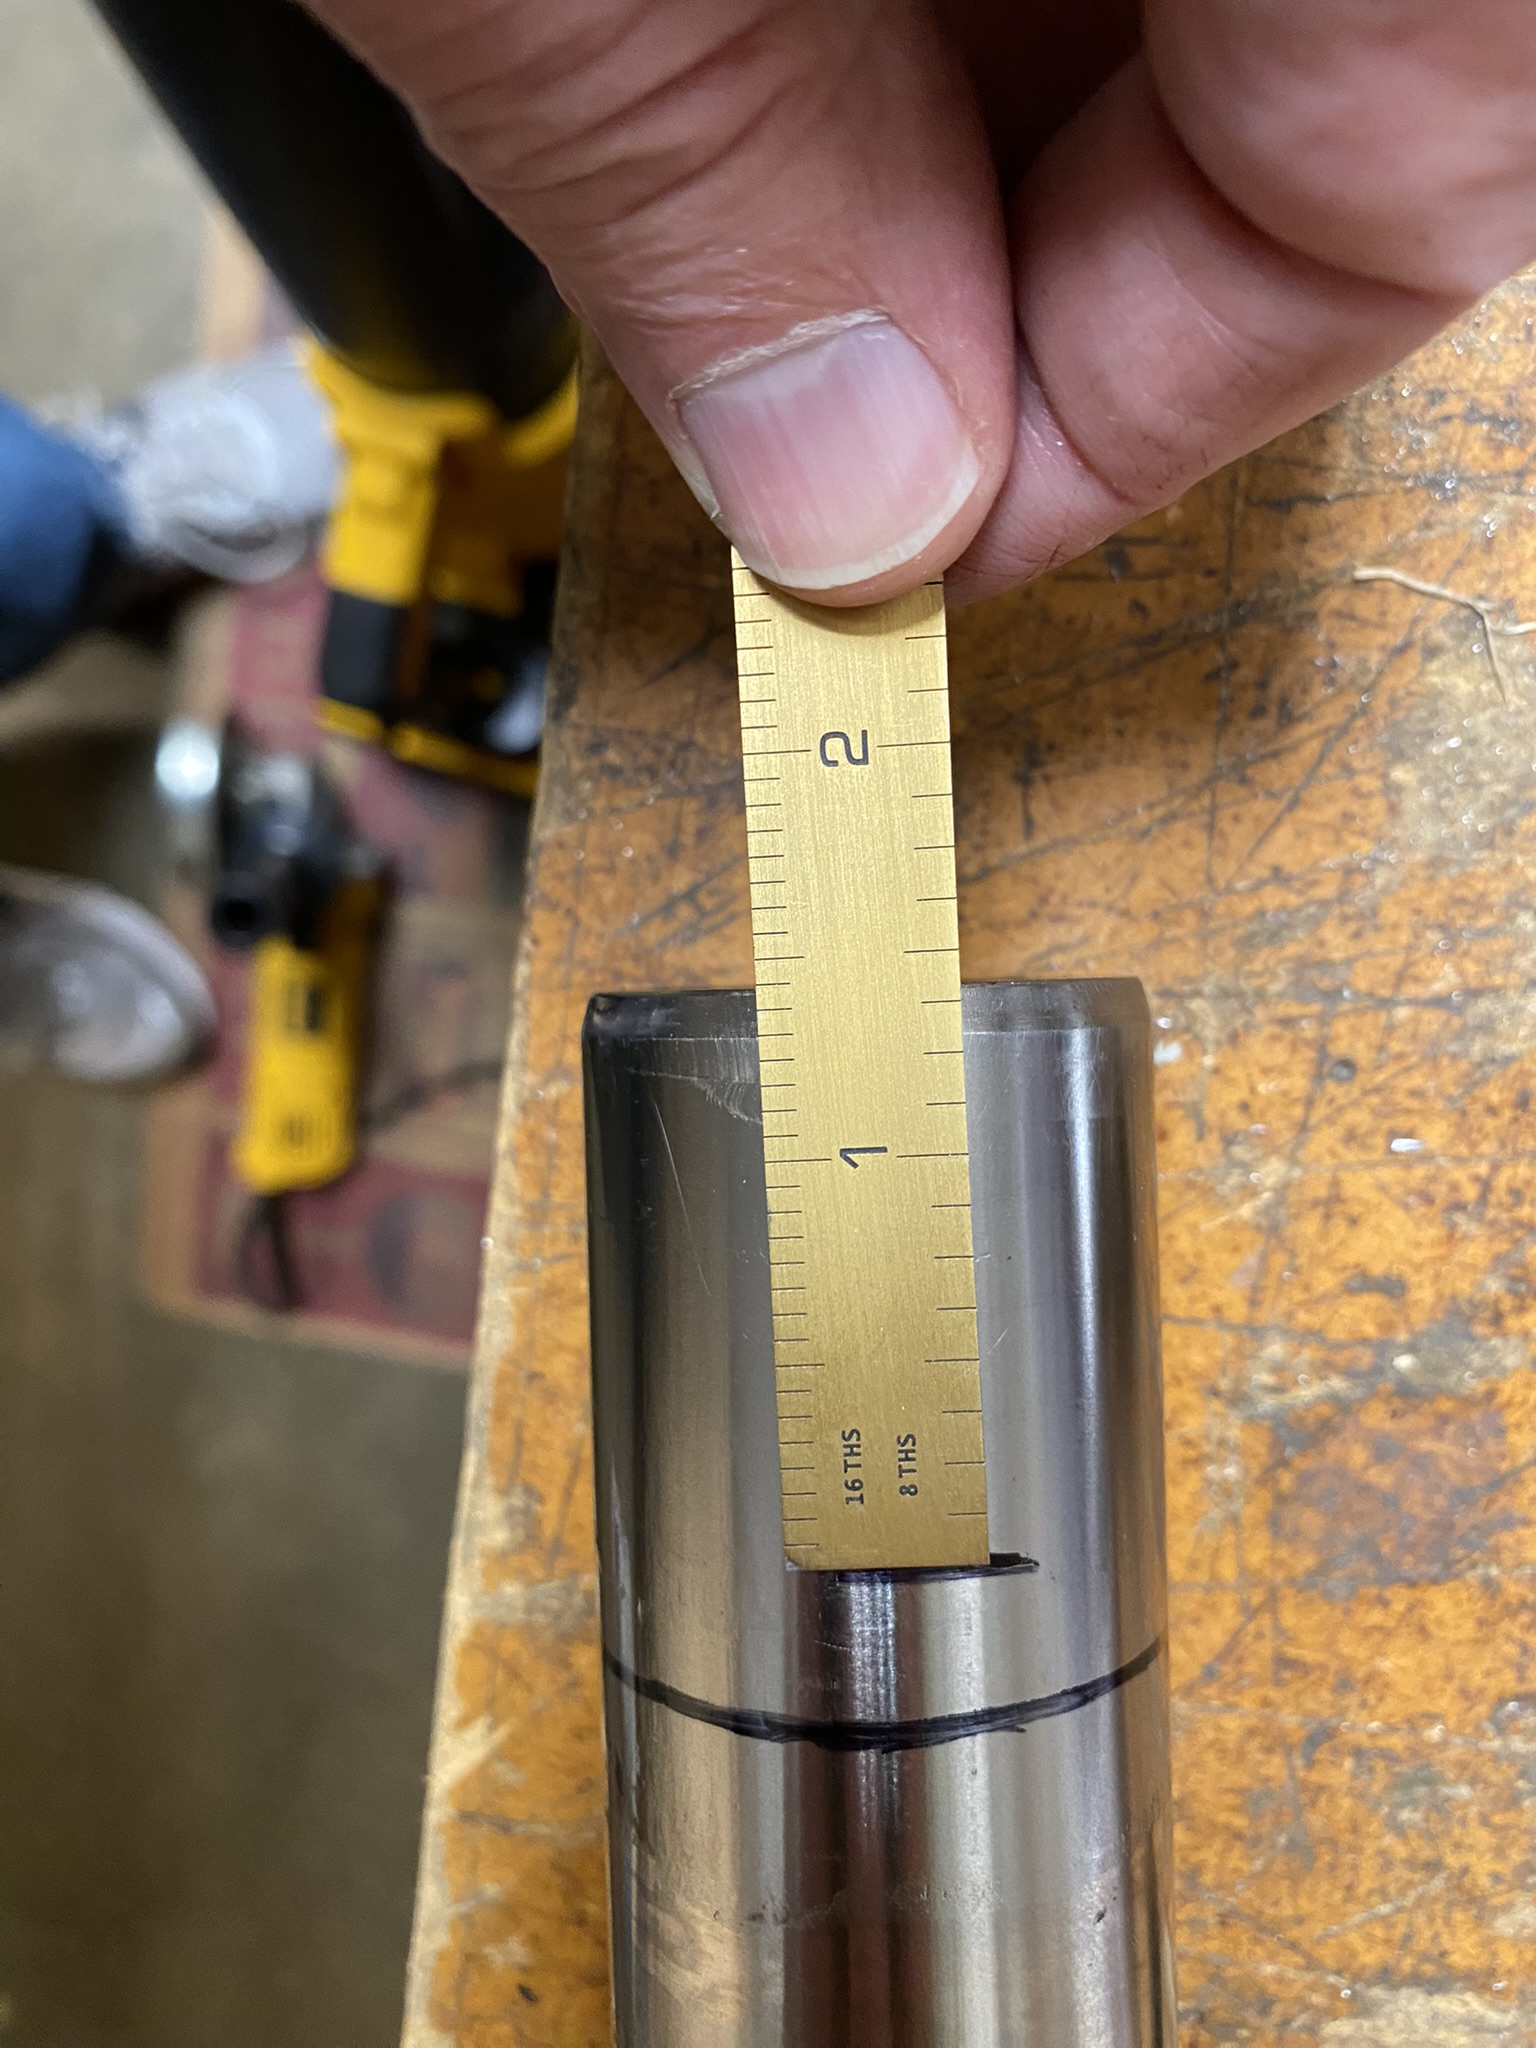
    When you had your engine in, did you check your driveshaft? FFR provided driveshaft #16038 with my order. Due to it being so short, I only had about 1 3/8" of engagement with the transmission output shaft. Most of the yoke was hanging out.
    I contacted FFR and sent some pics. They have driveshaft #60175 on the way to me. My engine is still in for test fitting, so I will see how it lines up once it arrives.

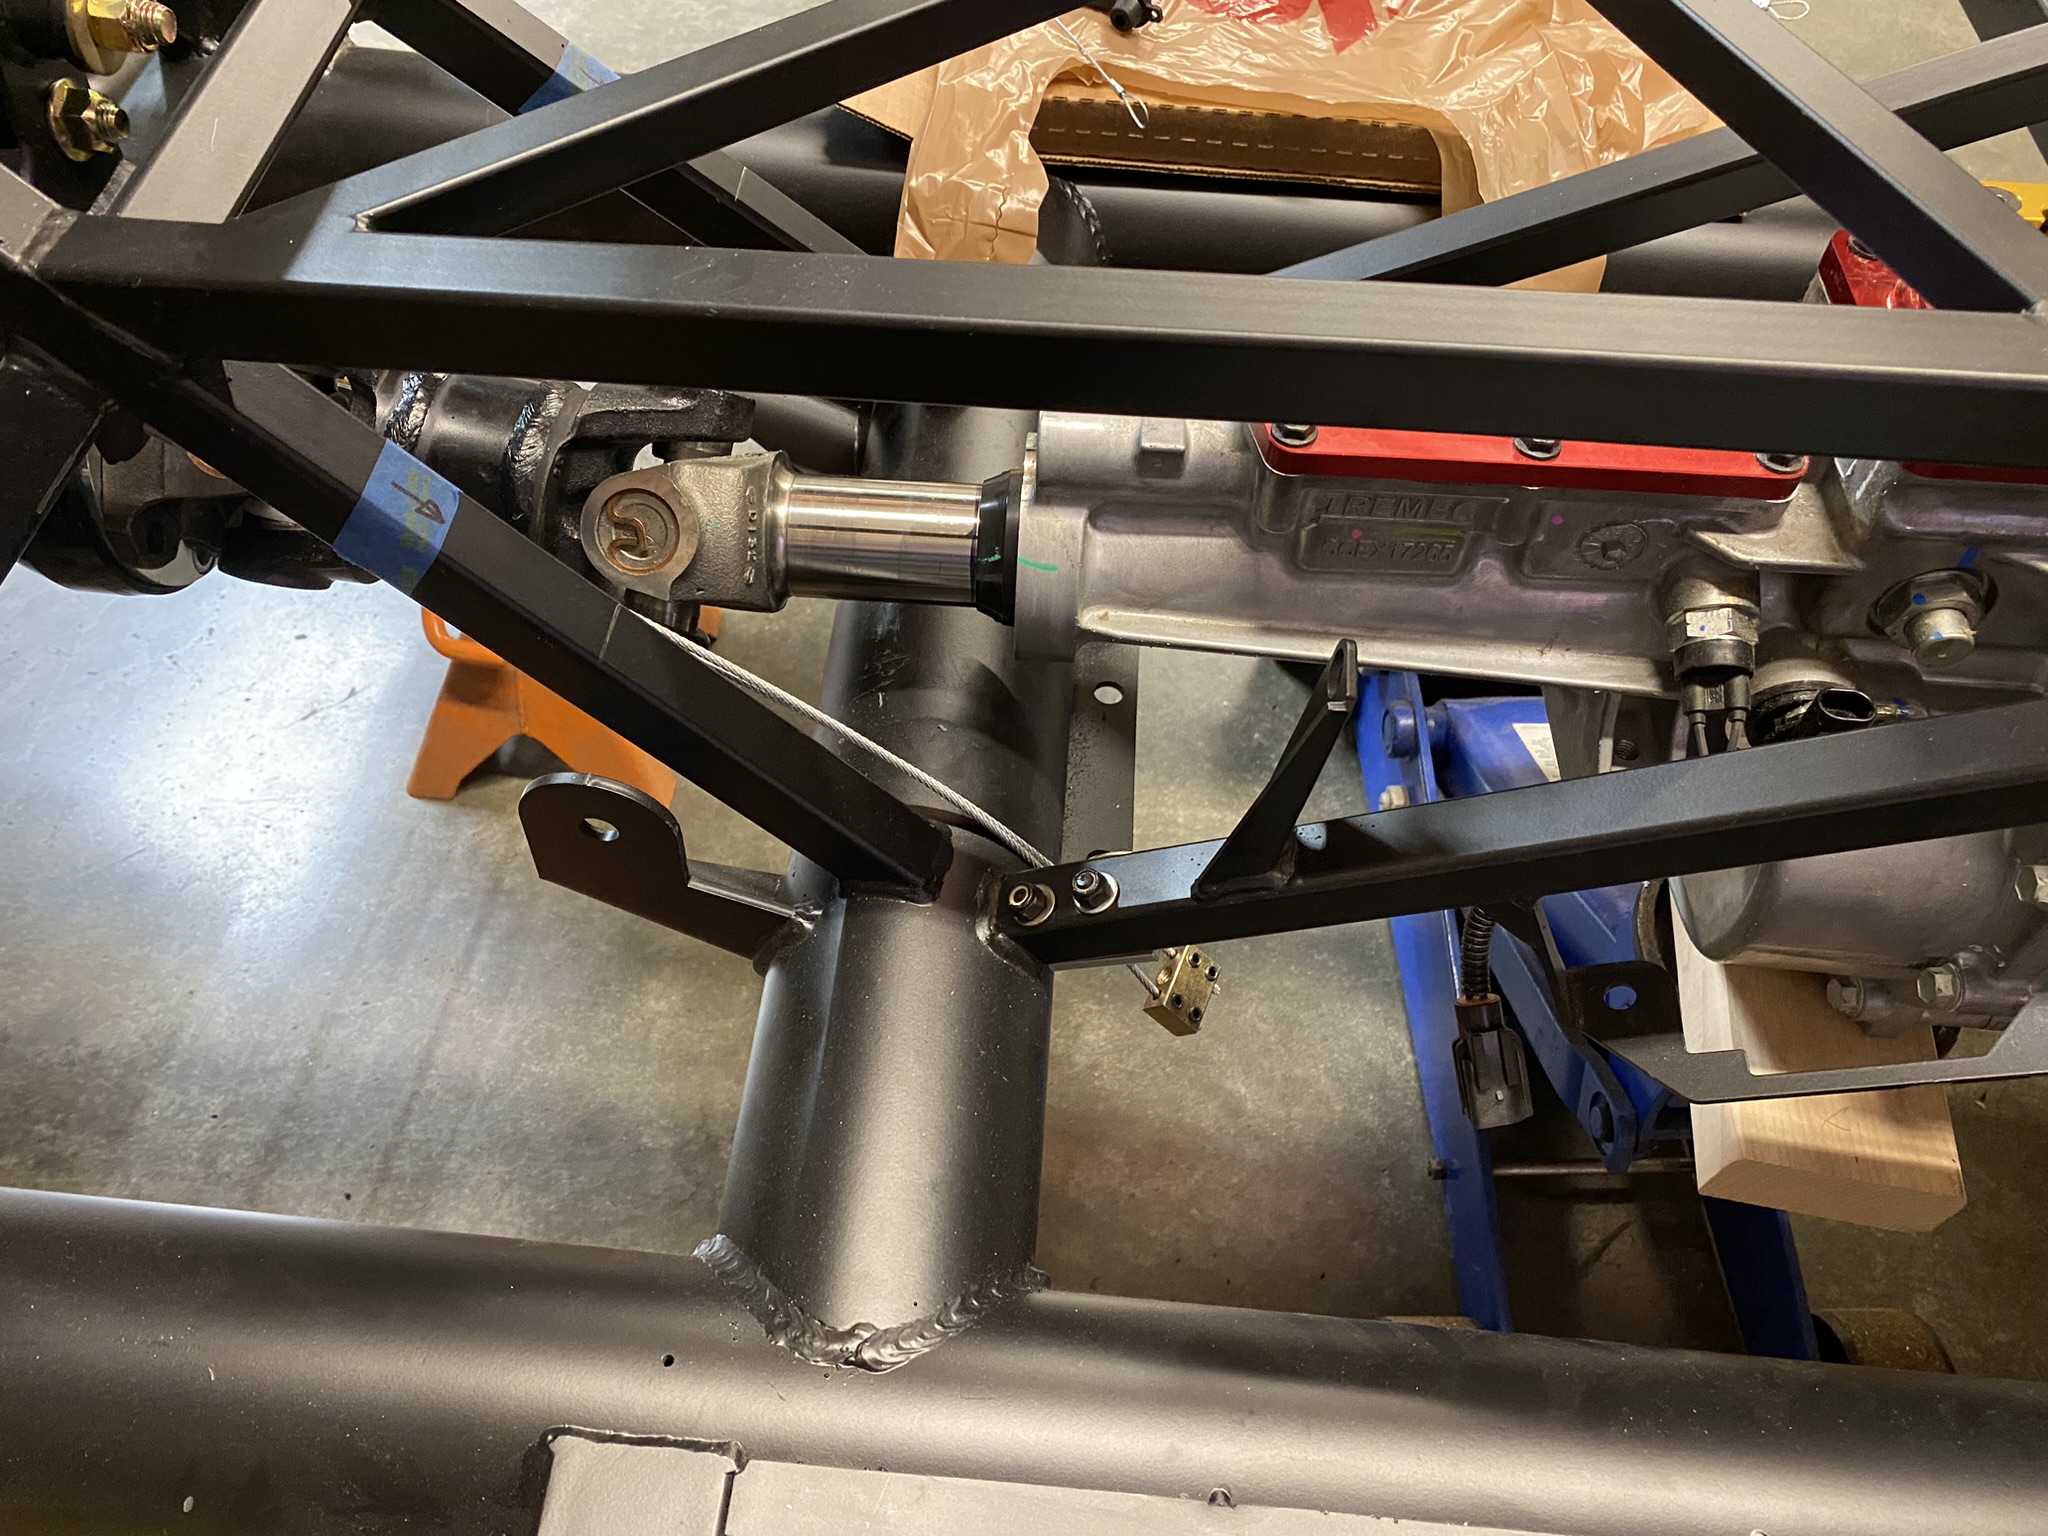
    Thanks Jeff, I'll definitely measure before I drop it back in. Appreciate the heads up.

  2. #82
    Senior Member
    Join Date
    Feb 2022
    Location
    Flower Mound, TX
    Posts
    304
    Post Thanks / Like
    Quote Originally Posted by Its Bruce View Post
    Looks good. How do intend to plumb between the lower radiator and thermostat housing?
    It shouldn't be too difficult since the radiator inlet and outlet are both on the passenger side, but those are famous last words.

  3. #83
    Senior Member
    Join Date
    Feb 2022
    Location
    Flower Mound, TX
    Posts
    304
    Post Thanks / Like

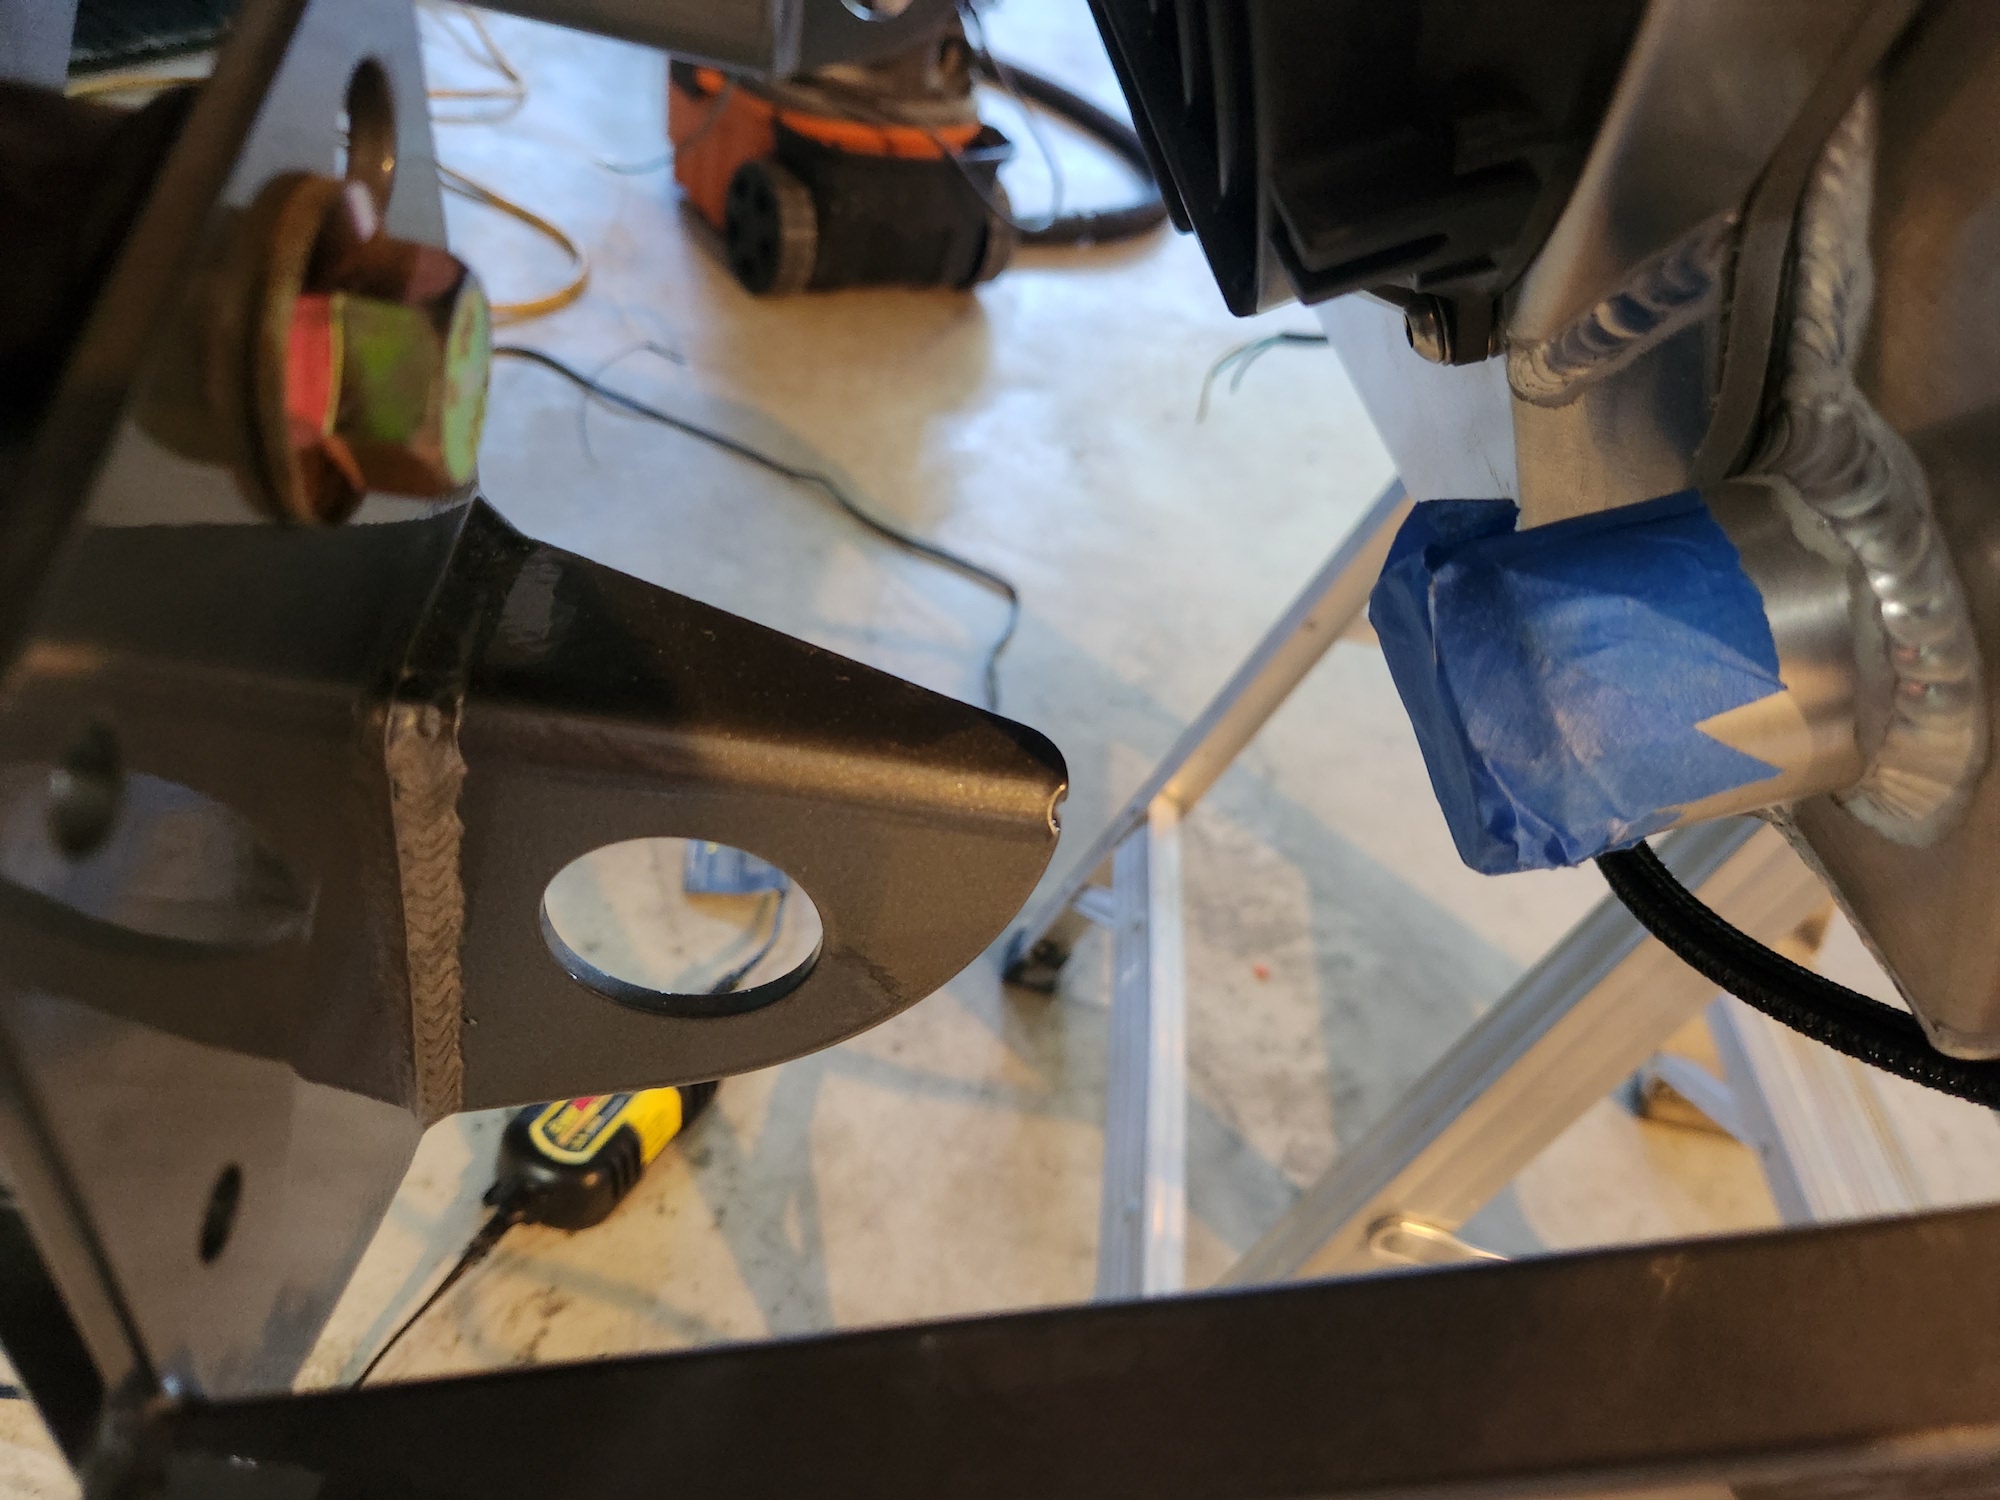
    Bellhousing Alignment

    Not much new to report, other than I removed the drivetrain assembly and installed the clutch and Tilton 6000 hydraulic throwout bearing. Prior to that I checked the alignment of the bellhousing and was pleased to find that I don't need any adjustments (i.e. offset dowels).

    In case it helps anyone else, I used an alignment method prescribed by Silver Sport Transmissions. It's very simple and straightforward. They describe it in this video:


    Using this method, I ended up with a final number of 0.0025, which is within the 0.005 tolerance required by Tremec. I believe the smallest available offset dowel 0.007, which wouldn't help here.


  4. Thanks zarnold thanked for this post
    Likes BRRT liked this post
  5. #84
    Senior Member
    Join Date
    Feb 2022
    Location
    Flower Mound, TX
    Posts
    304
    Post Thanks / Like

    Drivetrain install

    Pardon the absurdly large photos... I must have forgotten to resize correctly.

    Pretty good weekend, got the final drivetrain install done. I'm sure other LS builders will agree that this setup sits in there very nicely, but no surprise given the dimensions are similar to the SBF. The crank pulley sits about an inch (maybe a hair less) above the cross member, and that's with the FFR LS mounts and no spacers. Very happy about that. As can been seen in the photos, I rotated the fuel rail 180 degrees and converted the quick-connect to AN.


    The trimmed Quicktime bellhousing sits about dead even with the bottom of the 4" tubes. Crappy photo, but you get the idea:


    I was able to get the transmission aligned within spec to the rear end with three 1/4" spacers from Forte:


    And finally, as I think I noted previously, the shifter landed in a perfect location without having to cut any of the chassis.


  6. Likes Mike.Bray, Jim Frahm liked this post
  7. #85
    Senior Member
    Join Date
    Feb 2022
    Location
    Flower Mound, TX
    Posts
    304
    Post Thanks / Like
    Again, it's been a while since my last update.

    My primary focus now is getting everything in place required to start the engine. I've got the wiring harness and PCM installed, along with the primary power wiring. As you might imagine, there are no lack of fancy billet PCM mounts out there, but I chose to go with an $20 GM unit from eBay that's made of some sort of plastic or poly material. Apparently using a conductive mount can lead to ground looping issues.


    The fans are all wired and tested. At low temp, both Spal fans move at half-speed and they barely make any noise. At high temp, both fans run at full speed and I think they could suck a small child into the radiator. Still pretty quiet though. The relay box is installed on the 3/4" tube in the engine bay. The fan harness is specifically for dual fans and the LS platform/PCM.


    Last edited by OB6; 04-21-2024 at 06:31 PM.

  8. #86
    Senior Member
    Join Date
    Feb 2022
    Location
    Flower Mound, TX
    Posts
    304
    Post Thanks / Like
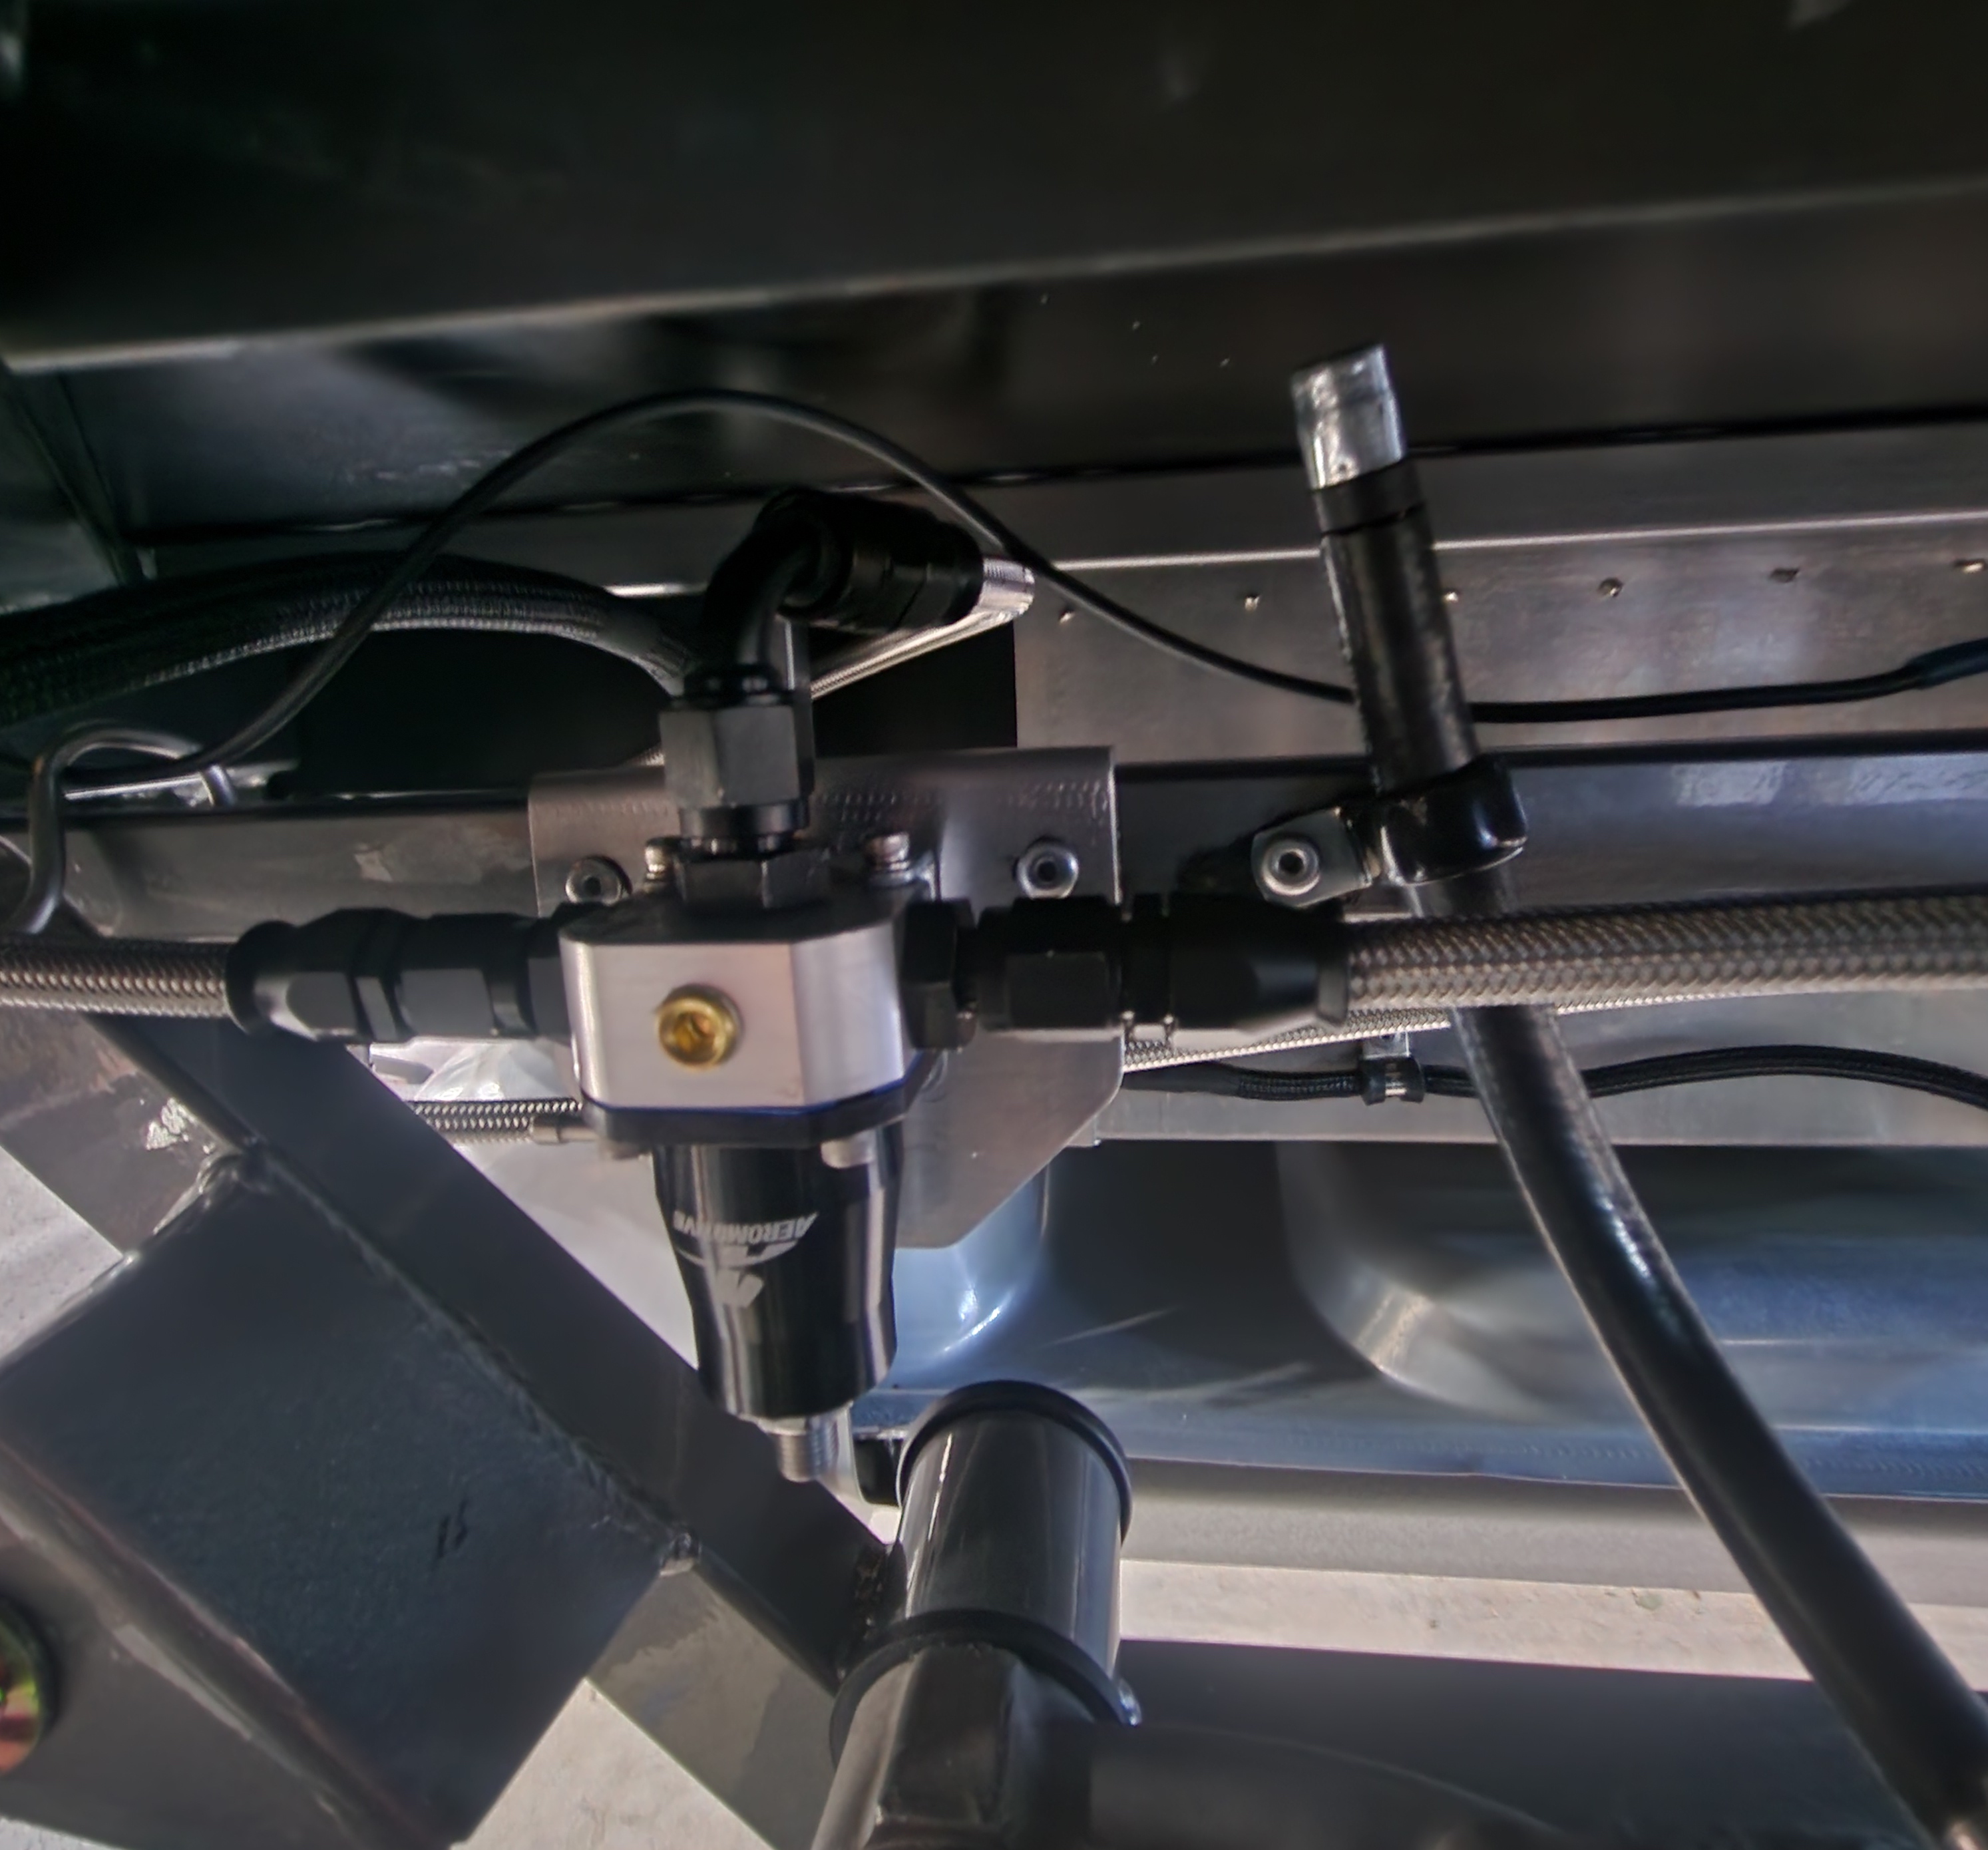
    The fuel lines are all in place and pressure tested with my compressor and soapy water. Good old-school leak test. Of course I'll double check when the system is pressurized with fuel. The regulator sits just inside the passenger side rear wheel well and is very accessible.

    Last edited by OB6; 04-21-2024 at 06:28 PM.

  9. #87
    Senior Member
    Join Date
    Feb 2022
    Location
    Flower Mound, TX
    Posts
    304
    Post Thanks / Like
    One thing I'll need to figure out is the connection to the lower port on the radiator. The tow loop is right there and doesn't provide much room, so I think I'll need to trim or remove it completely (maybe replace with a threaded tow hook like you'd see on many modern vehicles). Other than that, the routing is pretty straightforward.

    Last edited by OB6; 04-21-2024 at 06:28 PM.

Page 3 of 3 FirstFirst 123

Posting Permissions

  • You may not post new threads
  • You may not post replies
  • You may not post attachments
  • You may not edit your posts
  •  

FFMetal

Visit our community sponsor