-
02-02-2024, 09:33 AM
#161
Senior Member

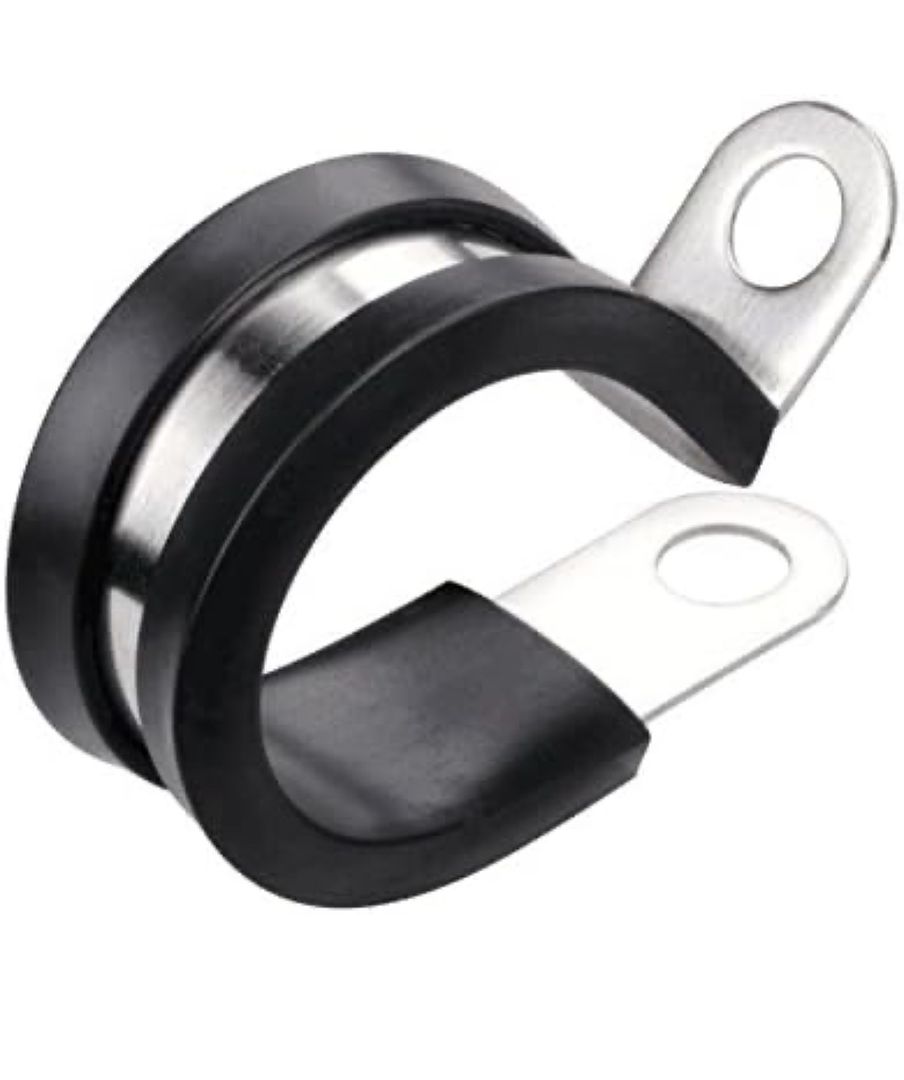
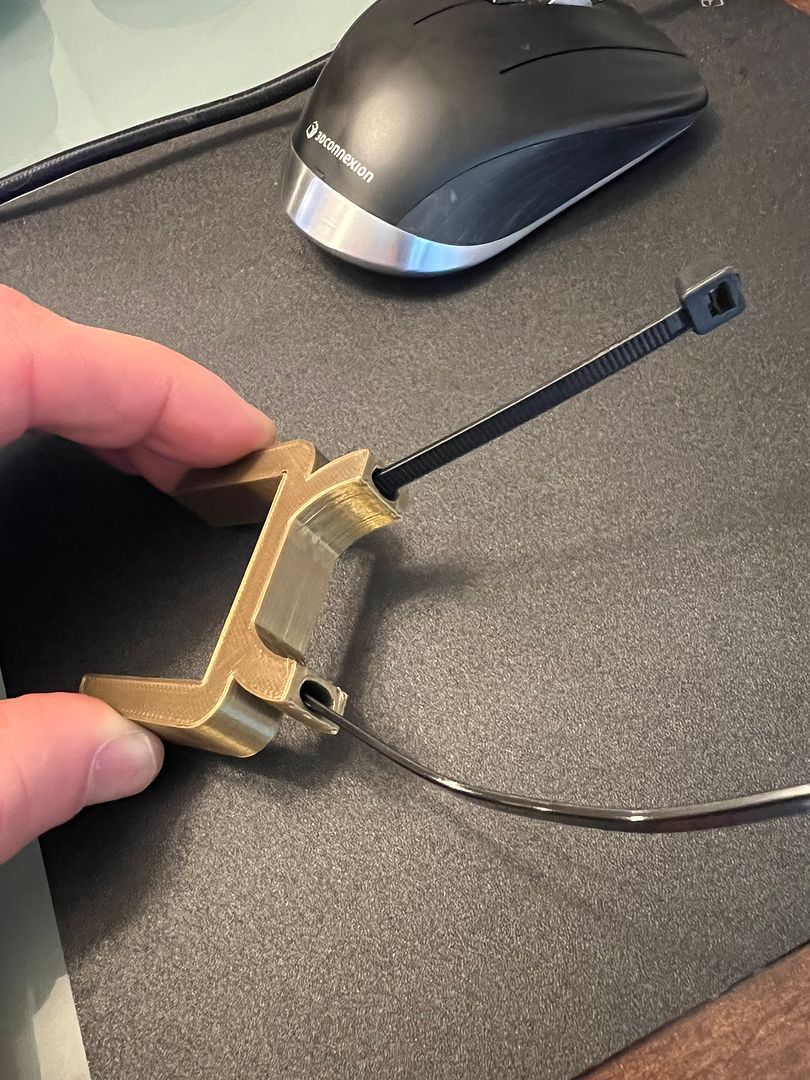
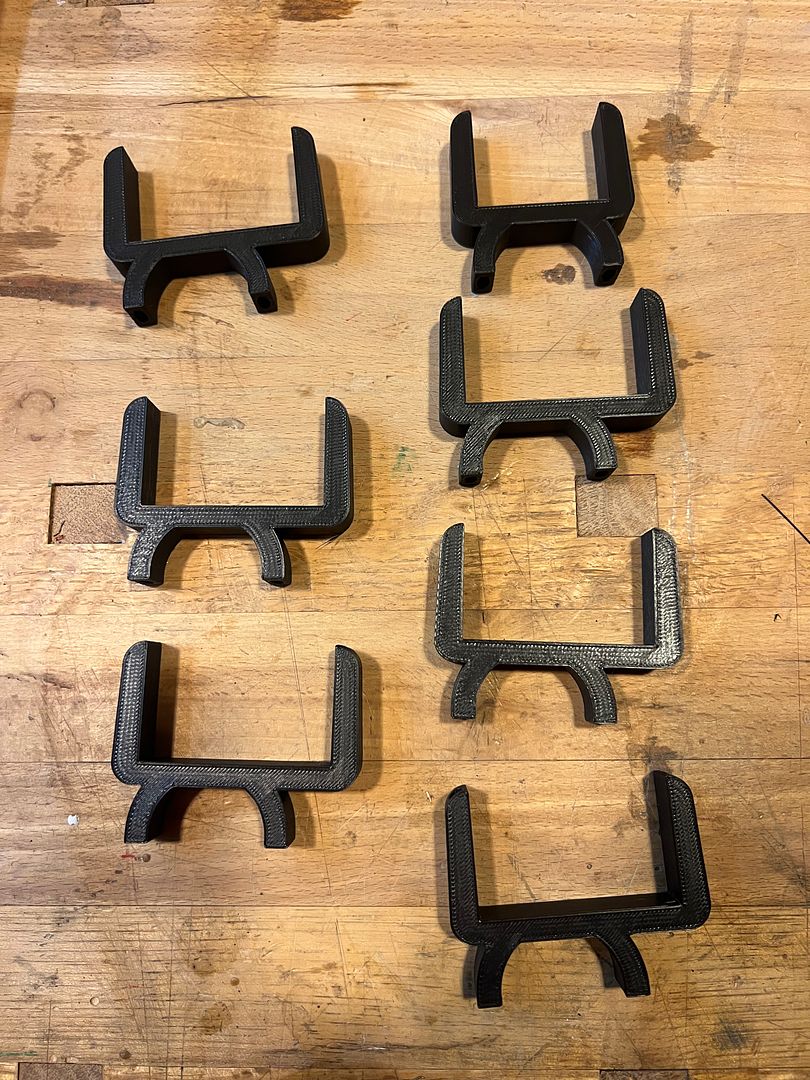
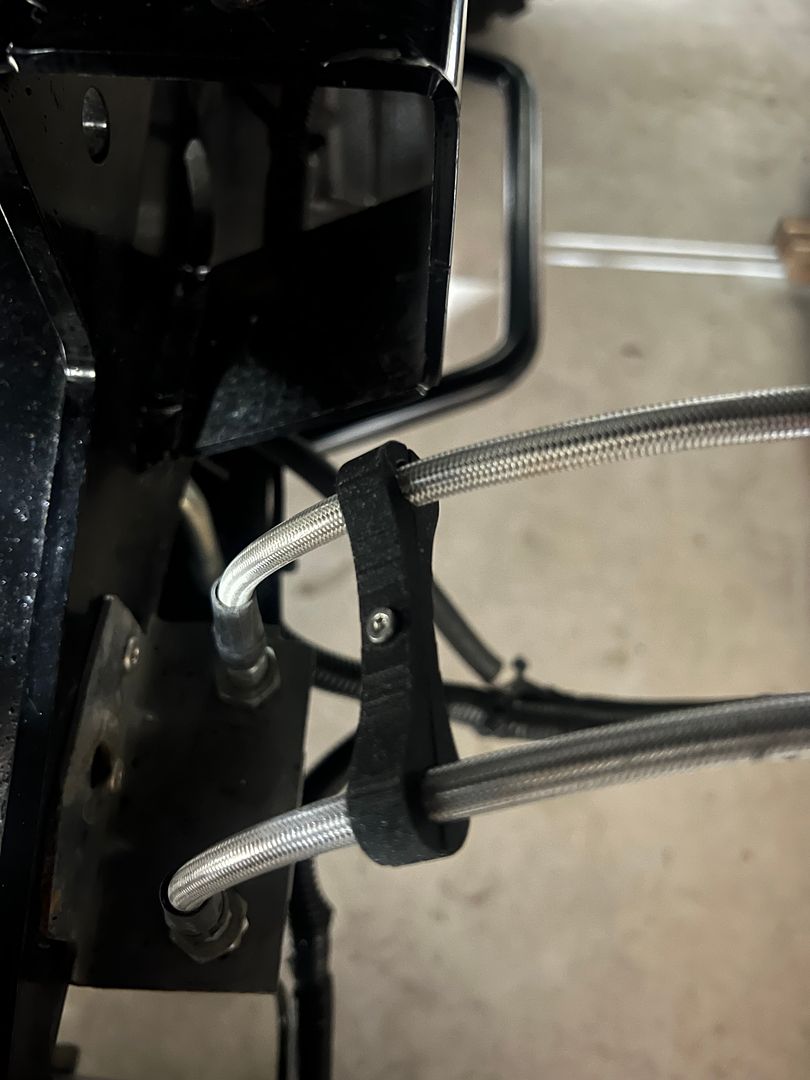
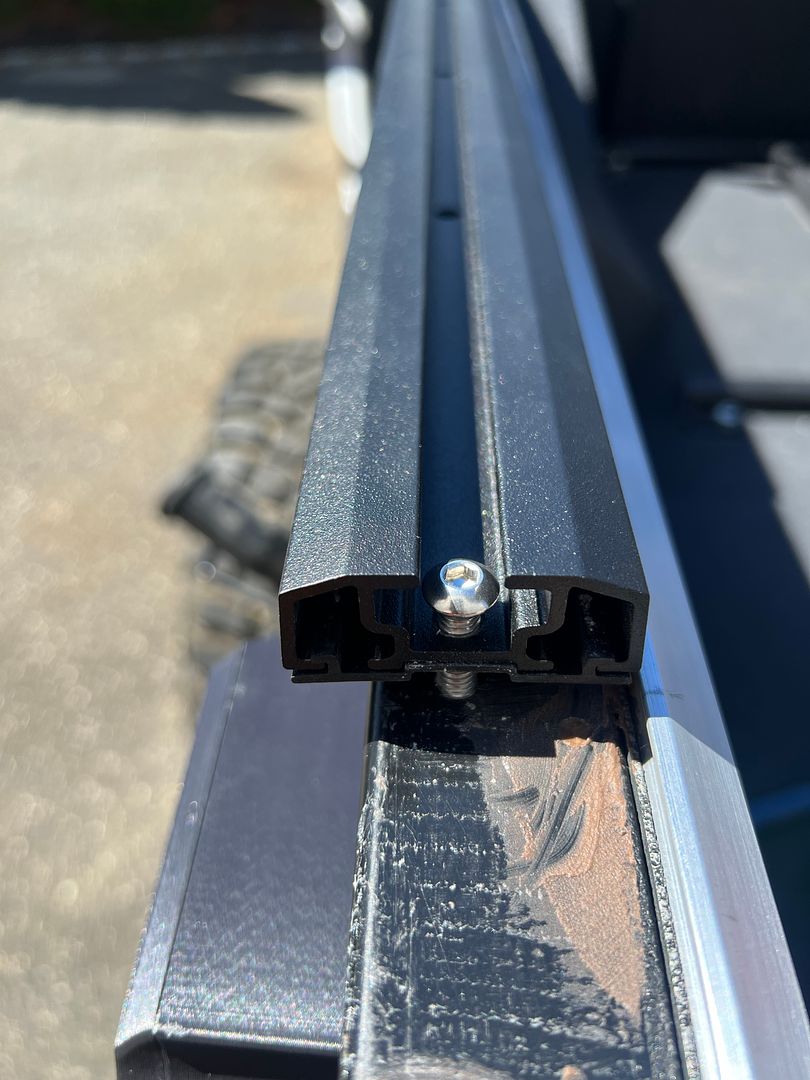
What did you use to smooth the ends caps?
MK4 #11012 picked up 04/16/24
351W, 3 link, single roll bar
MK4 #10616 picked up 4/10/23
302w, 4 link, 17's, dual roll bar SOLD
MK4 #9759 picked up on 4/3/19
351C, 3 link, 17's, dual roll bars SOLD
-
02-02-2024, 05:44 PM
#162
Member


Originally Posted by
Higgybulin

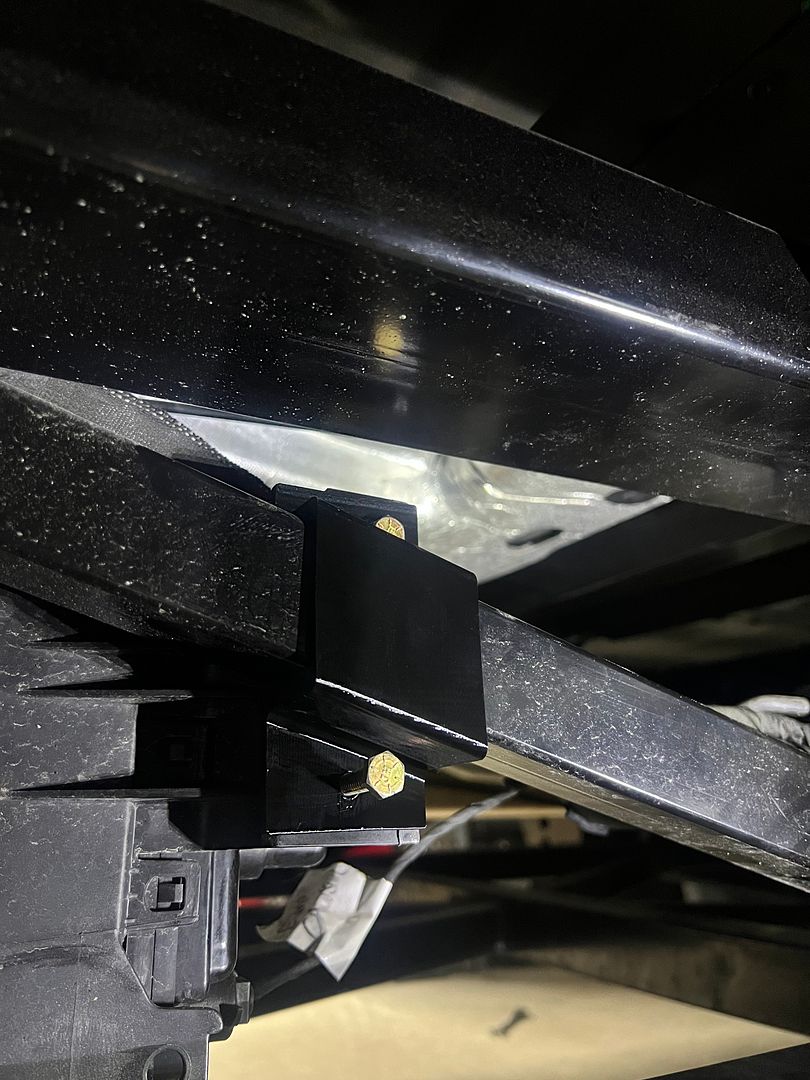
What did you use to smooth the ends caps?
Hey Higgy,
I actually didnt do any post processing of this print. Its right off the printer.
I did consider using acetone vapor to smooth the surface, but semi melting the surface would likely make the part shiny and round the edges a bit. I wanted the sharper edges and the matte finish so I just pulled the part of the printer and installed it.
I did print with thin layers. I if I remember correctly I printed at 1/10 of a millimeter layers.
XTF #2
build start date June 19 2023
GTM # 344
Build Start December 2010
First track day April 2013
-
Post Thanks / Like - 0 Thanks, 1 Likes
-
02-06-2024, 09:19 AM
#163
Senior Member

Originally Posted by
kabacj
THANKS Crash!
Thats the type of experience I was looking for.
While I don't want to pay a high price, I know I will own this trailer for a long time. My 24 foot 10k enclosed race trailer has served me well. Id like about that size in a goose neck as well. Hauling two trucks, even the XTF and a lighter shorter Jeep is going to be pushing the 26,000 lb weight combined GVW weight limit in NY.
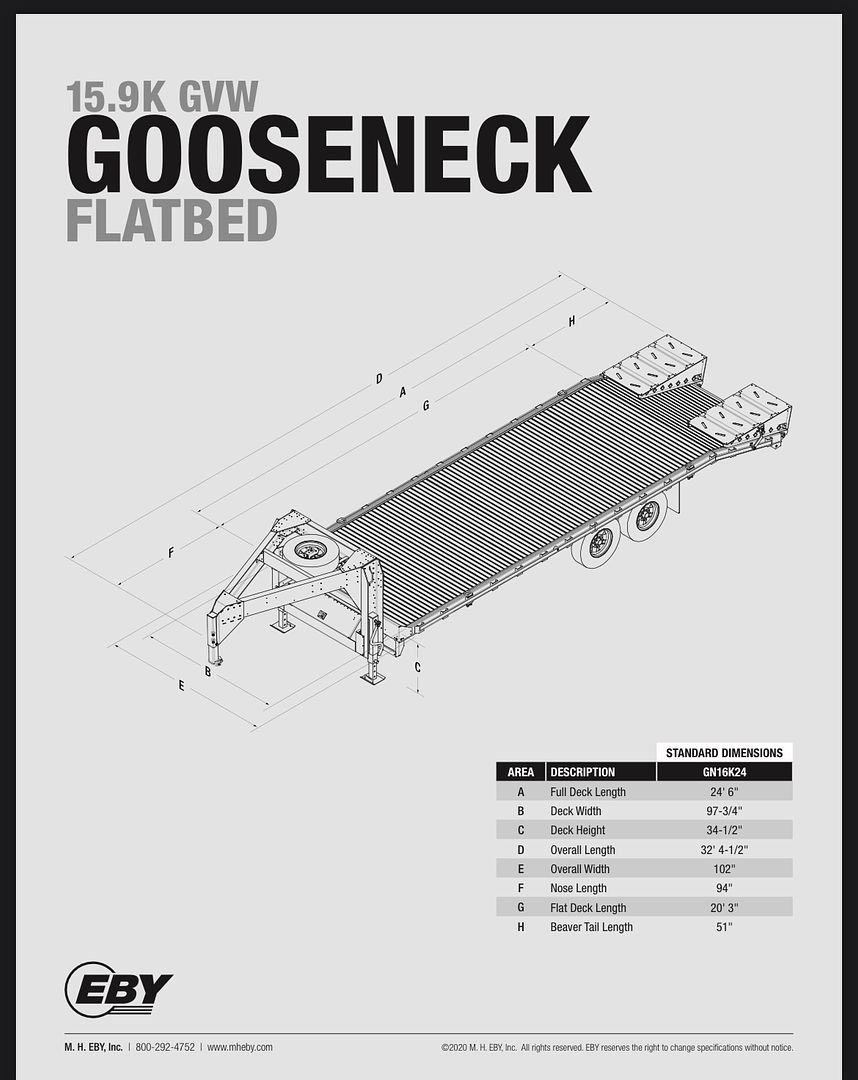
Unfortunately getting a CDL in NY is a little annoying. It means signing up for a commercial drivers license training course that includes rental of the rig for taking the test. I wouldn't mind learning how to drive a Semi, however its a time investment.
It looks like getting a de rated goose neck might be my best bet. I can get a 16k trailer de rated to 14,000k which will keep me under the combined 26,000 lb GVW limit. It sounds like even if I have a heavier than 14,000 trailer empty , I could be ticketed because the combined rating is above the CDL limit.
Oh well. Seems that the DMV laws have not kept up with the capability of todays pickups.
This is correct. I had a CDL in Oregon, when I moved back to NY I surrendered it because it just wasn't worth the hassle or annual fees for a "just in case" license.
MK4 #10008 - Ordered 10/06/20, Delivered 03/03/21, First Start 7/22/21, First Go Kart 7/24/21
Paint by Metal Morphous 5/14/22, Legally registered 6/8/22, Graduated 7/20/22
Build Thread
https://thefactoryfiveforum.com/show...been-delivered
Complete Kit, Ford 306, Sniper/Dual Sync, T5, Hydraulic clutch
-
Post Thanks / Like - 1 Thanks, 0 Likes
-
02-06-2024, 11:55 PM
#164
Member
-
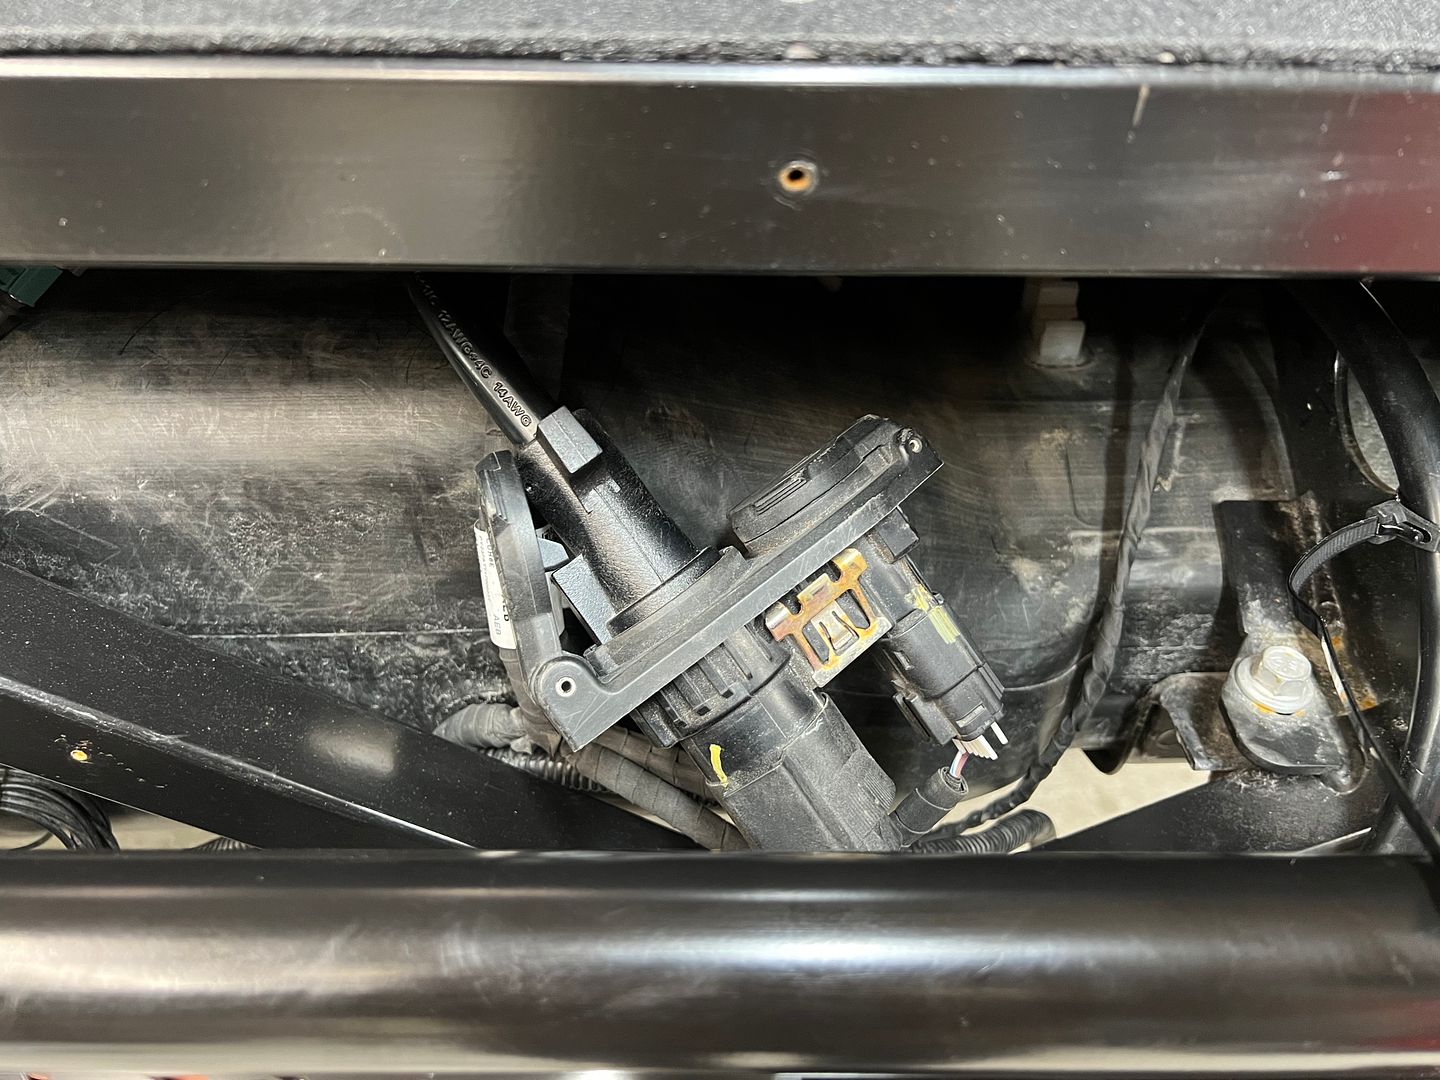
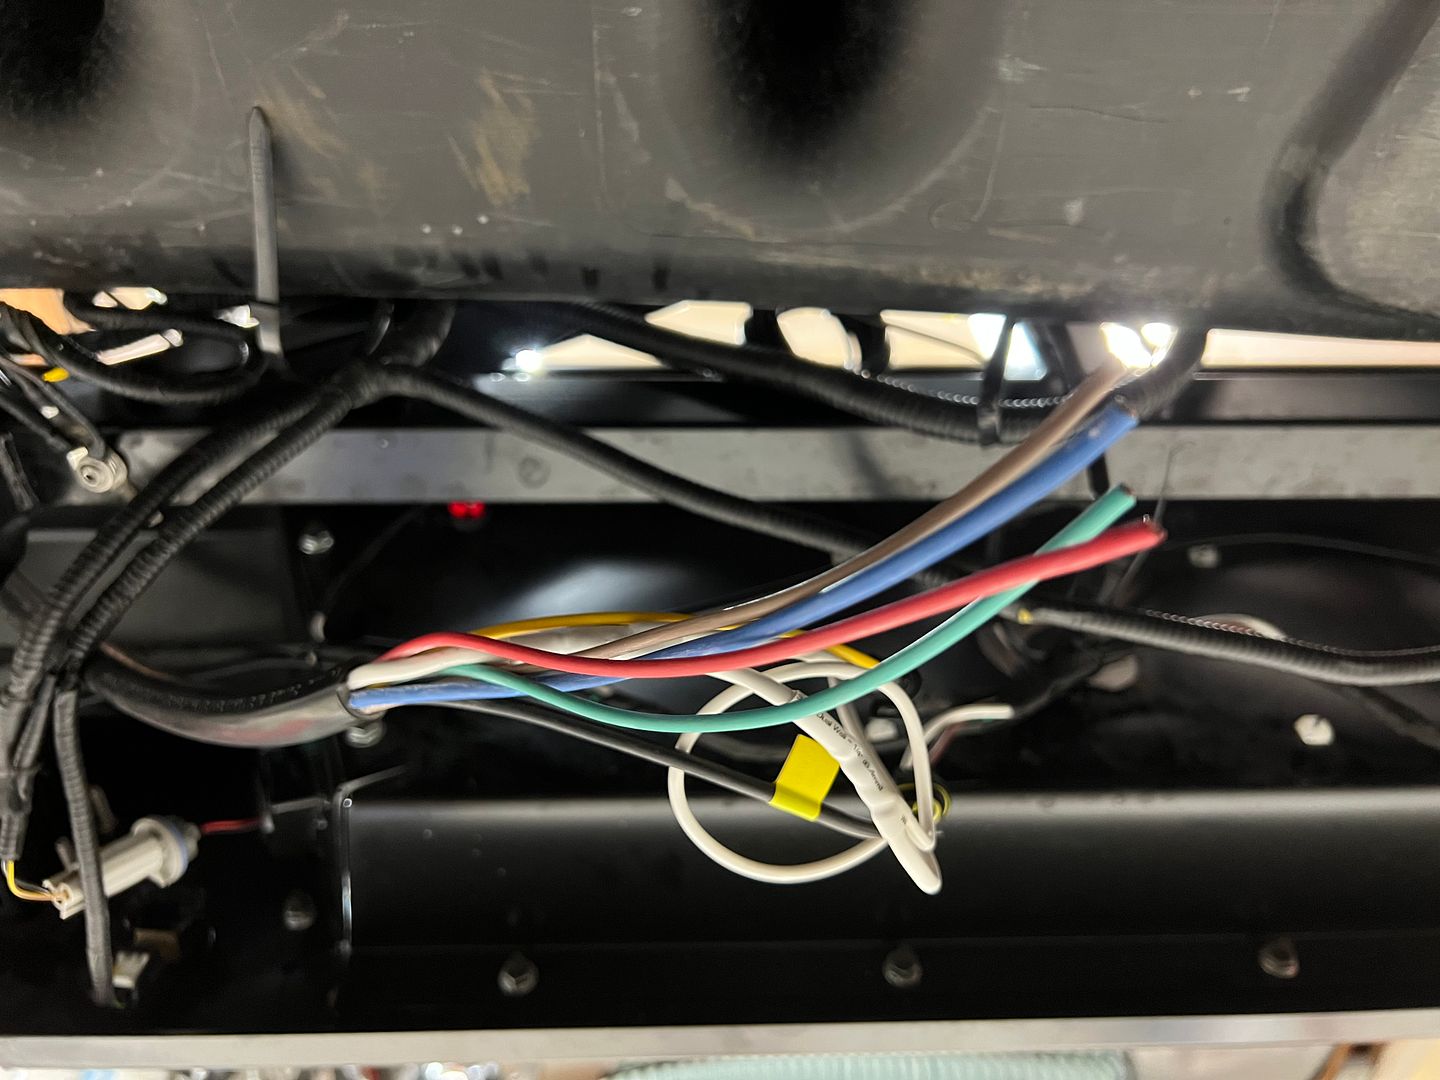
02-07-2024, 12:54 AM
#165
East Coast Speed Machines

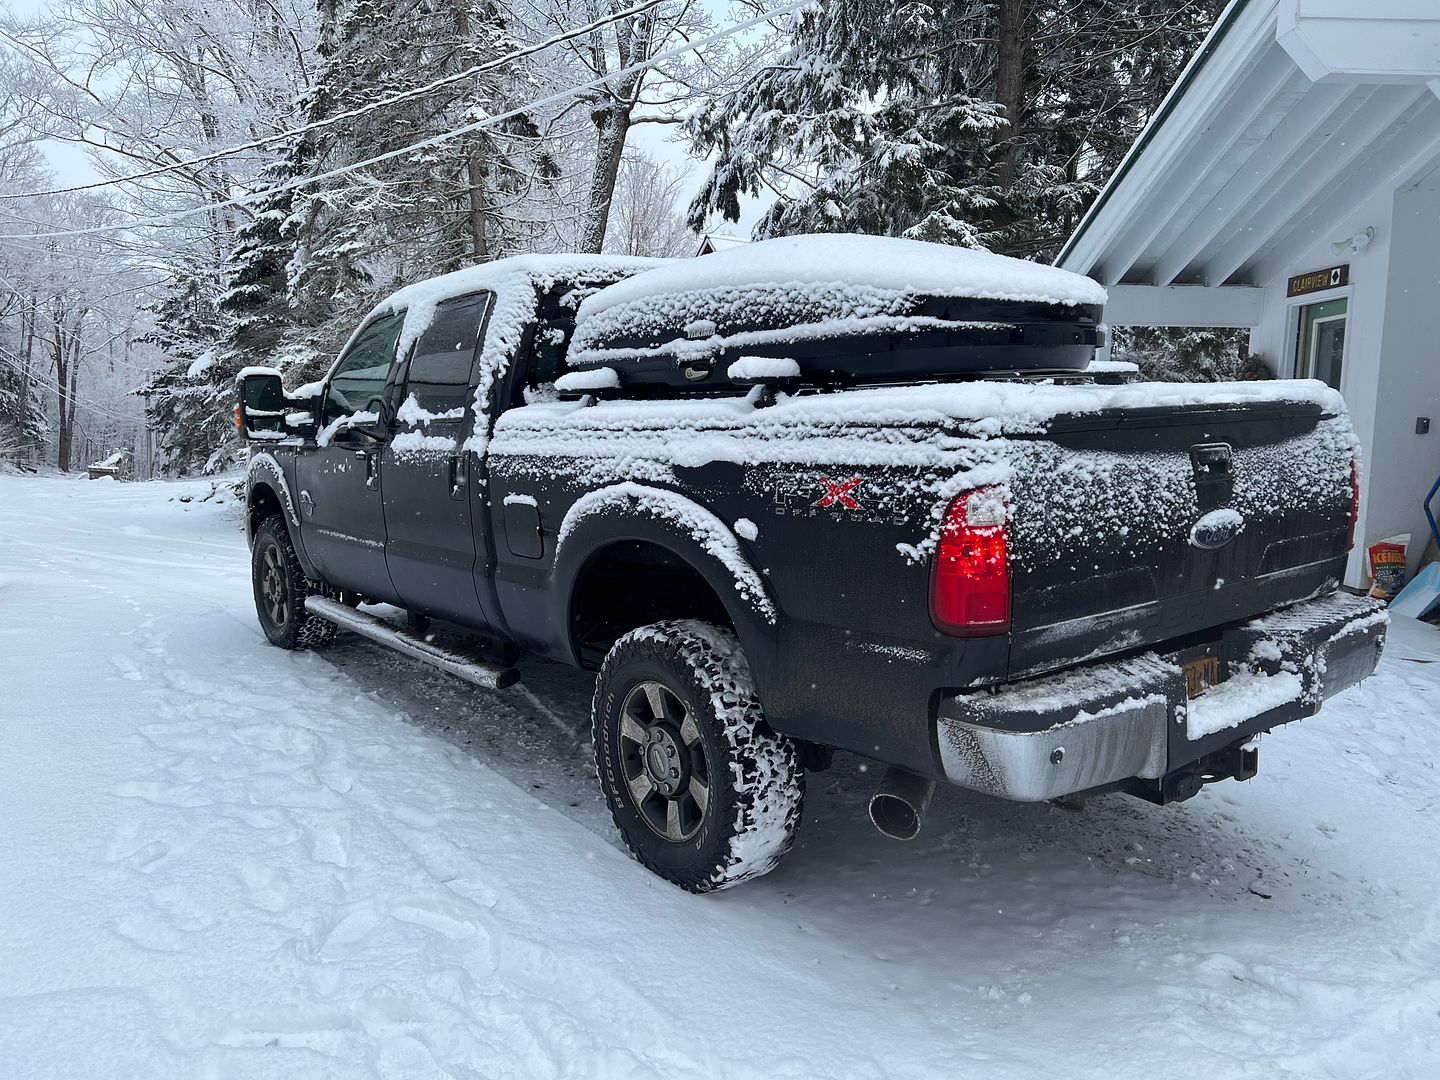
Looks great - I still haven't wired up any of my lights in the back 
FFR 1879, Blown DSS 306,REDLINE management, VeryCoolParts Tuned 460RWHP
FFR 818S, The Flash, Chassis #5, 2.0L, LSD, Electromotive TEC-S, VCP Tuned, 278RWHP 265 RWTQ
FFR 6651, Green Lantern, 408W Crate, Hellion 66mm Turbo, JGS Waste gate / Blowoff valve, Tec-GT management, VCP Tuned, 575 RWHP, 690 RWTQ
FFR 8335, Black Mamba, 289 FIA CSX 2001 tribute car, 347, 48 IDA webers, VCP Tuned, 311 RWHP 386 RWTQ, 3-link, Trigo's
FFR 0004, Gen 3 , Hawk Coupe, Coyote twin turbo, 683 RWHP 559 RWTQ, IRS, VCP Tuned. "not too shabby"
US ARMY Maintenance Test Pilot (CW4 Retired)
-
02-24-2024, 07:10 PM
#166
Member
I am looking forward to some testing like this with my XTF!! That suspension travel and smooth ride over insane terrain is next level.
https://youtube.com/shorts/jBzkl-x-s...nIdNwzc4O1hihX
XTF #2
build start date June 19 2023
GTM # 344
Build Start December 2010
First track day April 2013
-
03-12-2024, 04:56 PM
#167
Member
-
Post Thanks / Like - 0 Thanks, 1 Likes
-
03-15-2024, 07:03 AM
#168
Member
-
03-29-2024, 05:59 PM
#169
Member
-
Post Thanks / Like - 0 Thanks, 1 Likes
-
04-07-2024, 06:31 AM
#170
Member


 Thanks:
  Likes:


 Reply With Quote