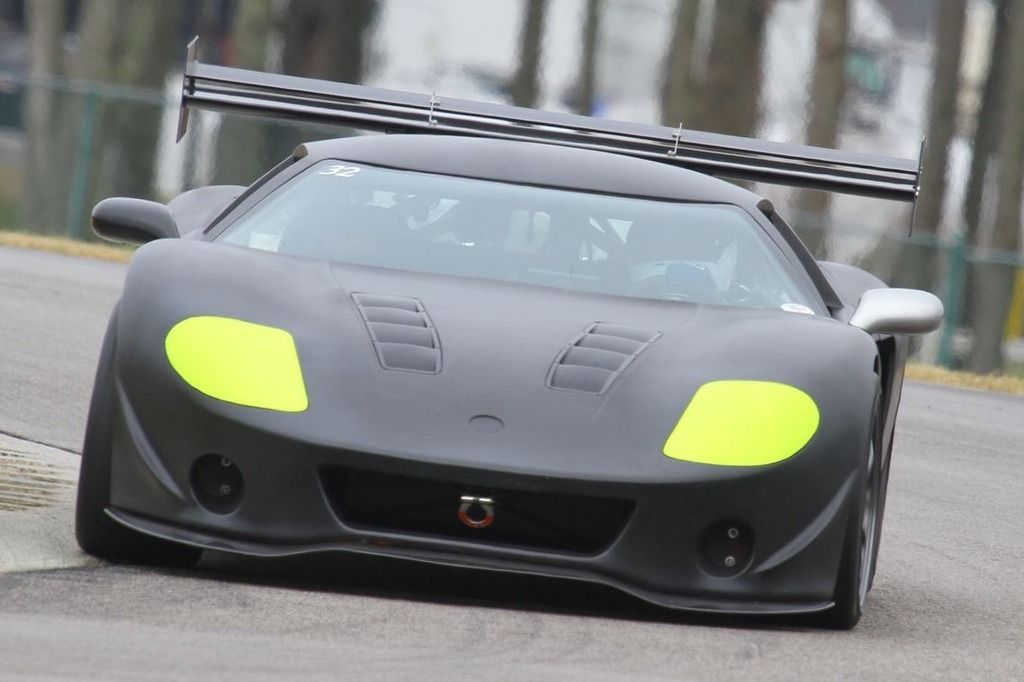
I'm fitting a Gen II hood on to a Gen I frame and noticed a few differences. There is a provision for the windshield wiper on the Gen I that is not there on the Gen II. The holes for the lights were already cut out (poorly), and fitting this thing has been a pain in the ***.
Am I crazy, or was every Gen II hood shipped this way?
The gen 2 lost the hump for the wiper for sure. The lights however were molded in as folks had a hard time attaching them on the Gen 1 hood. Im surprised yours are cut out.
Unfortunately the GTM body parts allow tons of adjustment and that makes them very hard to install. The body can be warped based on how you mount it to the chassis. The hood hinges massively change how the hood fits based on their position and if you accidentally add any stress to the hood which will warp it slightly.. but enough to cause fitment issues. Finally id pay attention to the prop rod cylinders.
I changed how mine worked so when the hood was down the rods no longer were adding upward pressure to the hood. Basically moving the ball mount of the gas charged cylinders to the front bulkhead so the rods push horizontally when the hood is down.
XTF #2
build start date June 19 2023
GTM # 344
Build Start December 2010
First track day April 2013
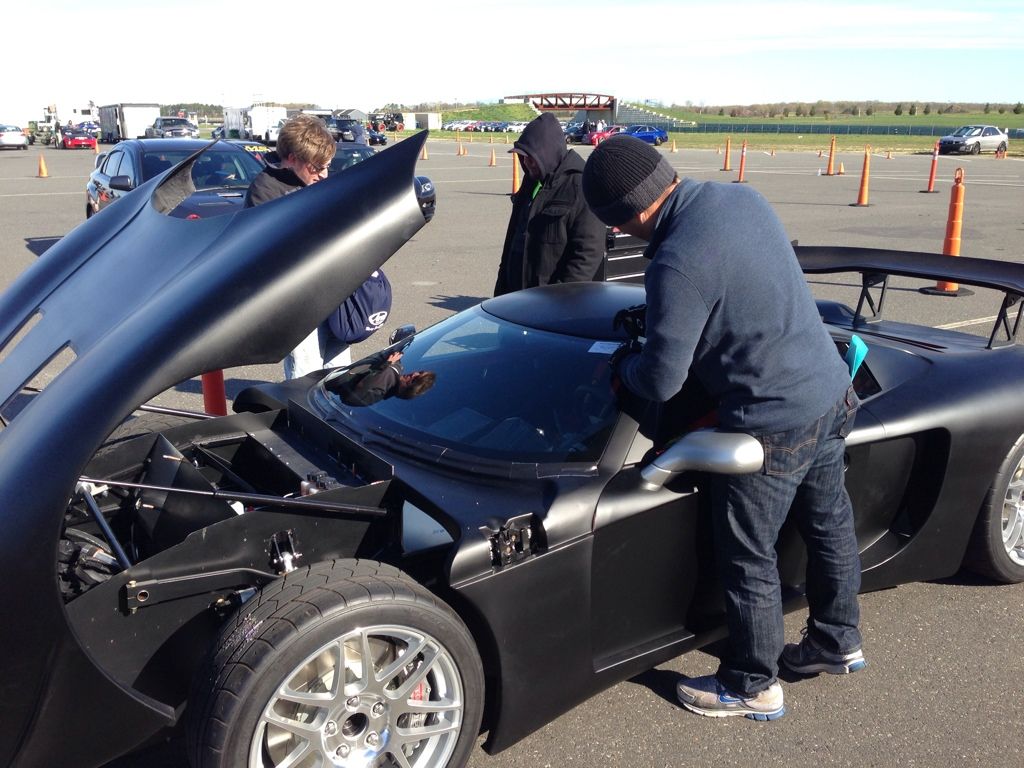
Here is a gen II hood on the FFR PDG GTM race car, which is a gen I car.DSCF2999.jpg As far as I know they are all like this.
Aside from adding the hump, should I just pray for clear skies and coat the windshield with rain? Lol.
Thanks, pictures always help. I have to do a bit of trimming to get everything to fit in right. This has been challenging, but I'm turning the final corner.
I set the hood on, got it lined up exactly how I wanted it, and attached the hinges to the hood first. Then I lined up the brackets for the latch. The gas struts will be the next thing. Can you send me a picture of your mounting area for the struts? I planned to raise them a bit, and weld in a piece of metal as a new mount support.
The hood is a bit shaky when lifted, but I don't plan on lifting it often (fingers crossed)
you are on the right track with your mounting method.
note how when the hood is closed the struts are pushing directly across the hood instead of still pushing it up. I found that this method of mounting the struts helped make the hood fitment easier.
XTF #2
build start date June 19 2023
GTM # 344
Build Start December 2010
First track day April 2013
Same struts? Definitely doing that! That's a genius setup! I'm always impressed with what I see people put their own spins on in their builds.
Yes same struts. No changes to the parts. I think I even used the factory five ball ends I just welded them to the frame in the new position and moved the mounting place on the hood. I think I also fiberglassed in an 1/4 inch piece of aluminum into the hood where the struts mount. This is the same method factory five use to mount things to the fiberglass parts.
XTF #2
build start date June 19 2023
GTM # 344
Build Start December 2010
First track day April 2013
I picked up all black hardware. I used 8115 to bond a sheet of aluminum to reinforce the latch area and the gas strut area. I think I'll go panel bond and glass it over, I still have a ton of panel bond left after my taillight mods.
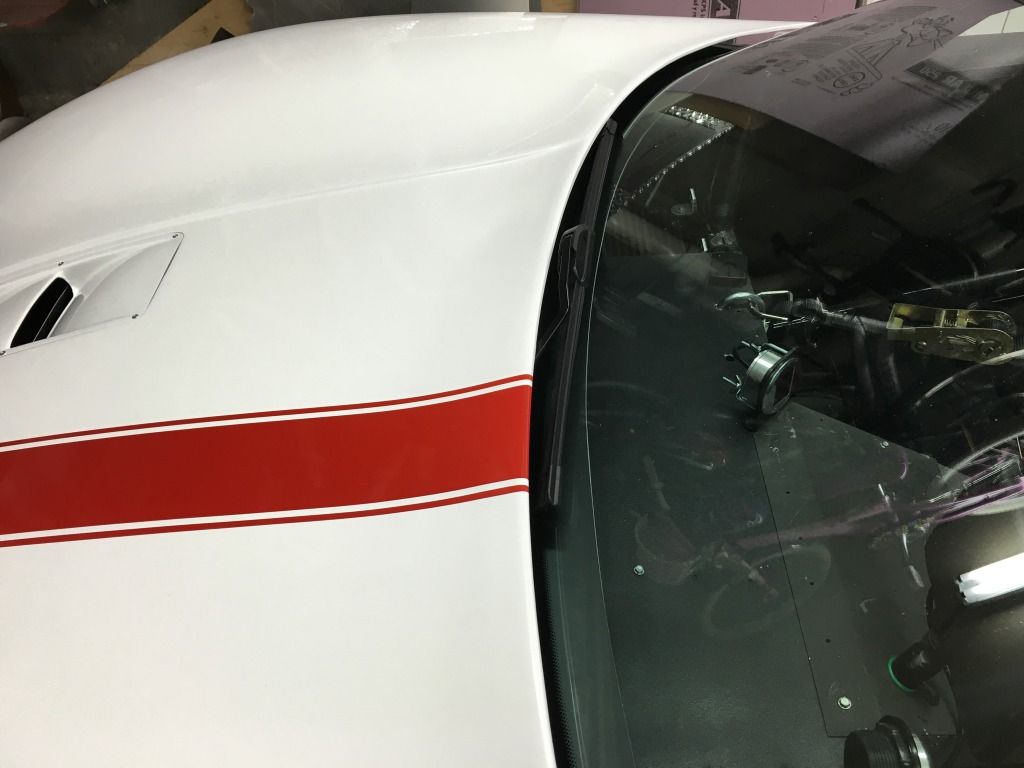
There is still clearance for the wiper on the Gen II hood, so not much really changed there. Make sure you flip the wiper pivot mount around so the short side is toward the splines in order to give more clearance between the wiper arm and the hood.....
Shane Vacek
VRaptor SpeedWorks, LLC www.vraptorspeedworks.com
Turn-key GTM, SL-C & Ultima GTR Built to Your Specs!
Offering a full line of GTM Upgrades and Custom Parts
You may note how clean the underhood is of the kabacj GTM? While he does not look to be running wipers, at least at that point in the build, I have gone over to an after market wiper unit that essentially ends up with that same lack of clutter in the underhood, while maintaining a wiper setup.
So does that unit fit entirely under the dash area or does some of the drive unit protrude out into the under-hood area? How much modification is needed to get it to fit?....is it mounted just to the body or to the chassis?
Shane Vacek
VRaptor SpeedWorks, LLC www.vraptorspeedworks.com
Turn-key GTM, SL-C & Ultima GTR Built to Your Specs!
Offering a full line of GTM Upgrades and Custom Parts
Shane, as you know, my GTM had been modified in some areas previous to my ownership so I cannot say definitively how it would fit a standard GTM, but for my install it happened with everything being under the dash and just mounting to the body. It mounts with a nut on the wiper shaft, and then a bolt in the body of the unit to resist torque. The unit I used does only have one speed, but multiple speed units are available. You can adjust the sweep angle, which I did, and I am using the 110 degree sweep. The only modifications I had to make was to cut out the sheet metal "box" that sealed the stock wiper mechanism from the hood area. I then just sheet metaled over the opening. I think you can see the one side of that sheet metal cover in this picture. Sorry I do not have a better picture and would take some for this thread but the car is in the trailer while I work out some construction issues around the shop.
As Crash said, I didn't install the windshield wiper early in the build. On the race track, rain X works fine . I have raced in everything from mist to raining cats and dogs with only rain X. I never wanted a wiper.
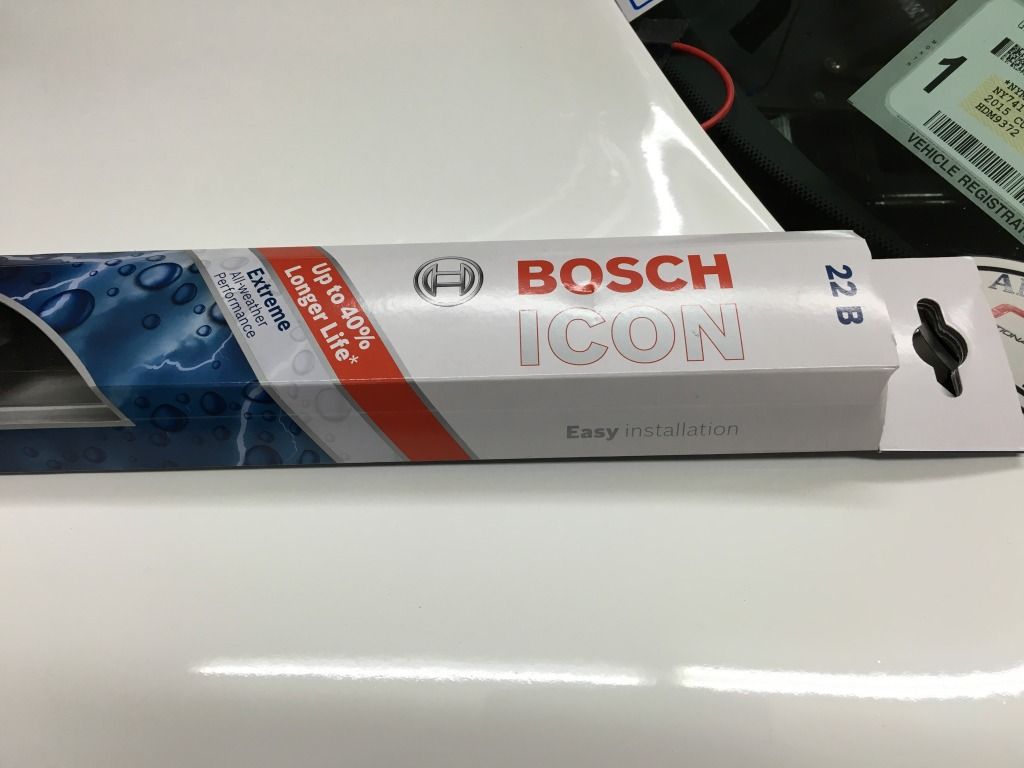
For the street when you aren't going fast enough for the wind to blow the water off the windshield I did install a wiper using the stock setup.
This wiper blade works well.
XTF #2
build start date June 19 2023
GTM # 344
Build Start December 2010
First track day April 2013
Great info, Crash! For builds with a lot of extra "stuff" under the hood (PS, ABS, Battery-relocate) this might be a great option.
Shane Vacek
VRaptor SpeedWorks, LLC www.vraptorspeedworks.com
Turn-key GTM, SL-C & Ultima GTR Built to Your Specs!
Offering a full line of GTM Upgrades and Custom Parts
The quality, or lack there of, on the part of this hood is astonishing. The hood latch area on the passenger side of the hood is in the wrong place. I mounted it as far down as I possibly could, and it is still about 2 inches off.
The quality, or lack there of, on the part of this hood is astonishing. The hood latch area on the passenger side of the hood is in the wrong place. I mounted it as far down as I possibly could, and it is still about 2 inches off.
I've never ran into anything like what you're describing.....can you post some pics?
Shane Vacek
VRaptor SpeedWorks, LLC www.vraptorspeedworks.com
Turn-key GTM, SL-C & Ultima GTR Built to Your Specs!
Offering a full line of GTM Upgrades and Custom Parts


 Thanks:
  Likes:


 Reply With Quote