Visit our community sponsor

Thanks:
0

Likes:
1
-
Senior Member

-
PLATNUM Supporting Member


Great job so far. It is looking great.
-
EFI Rules and Carbs Drool

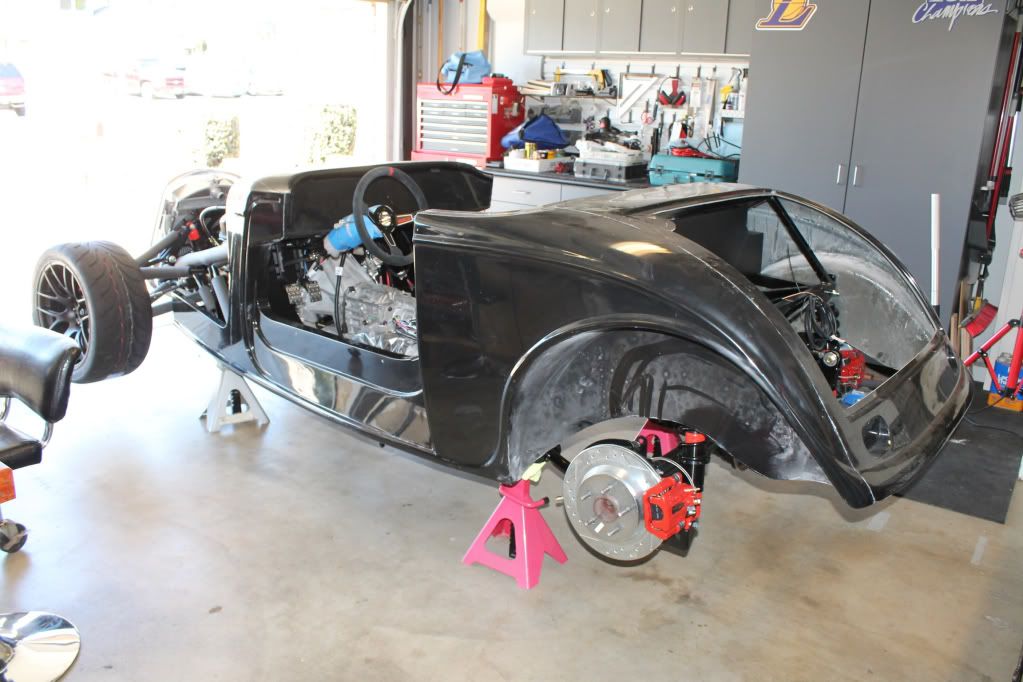
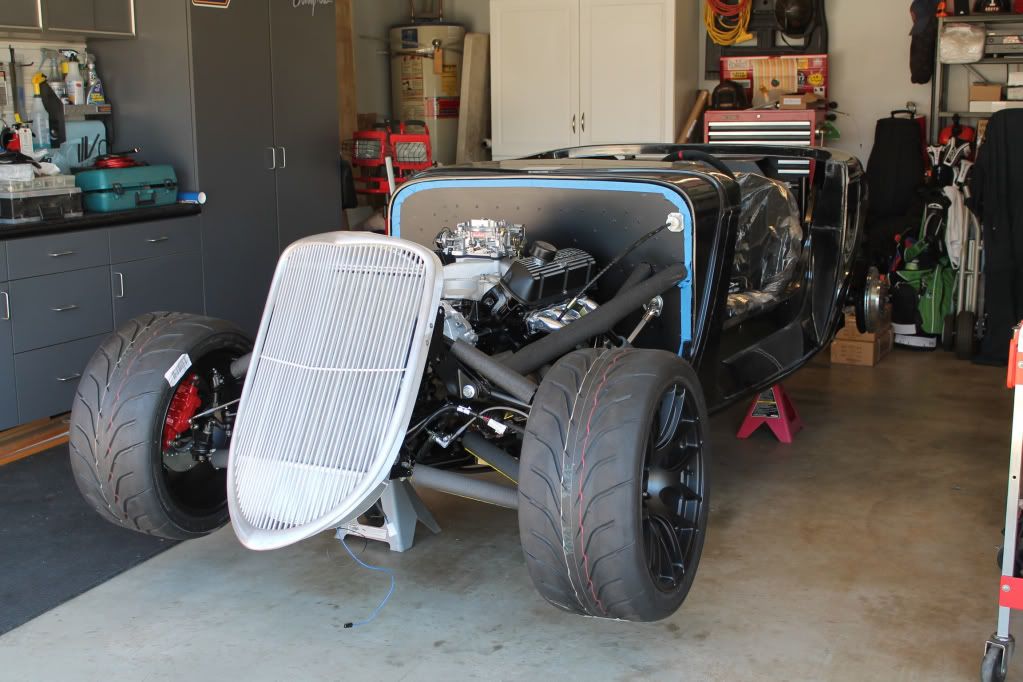
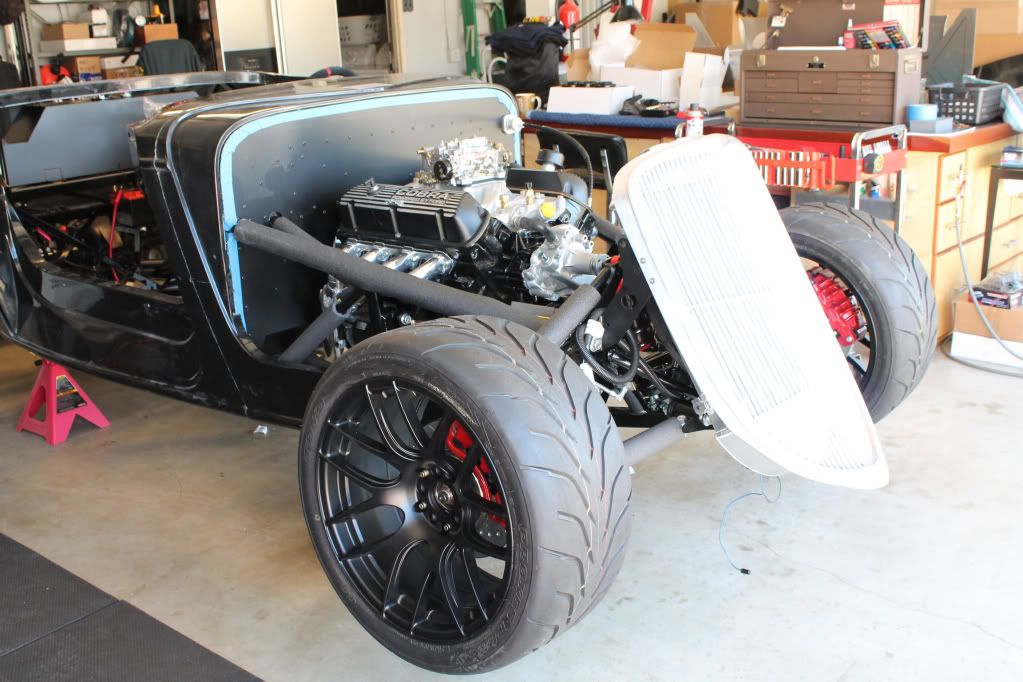
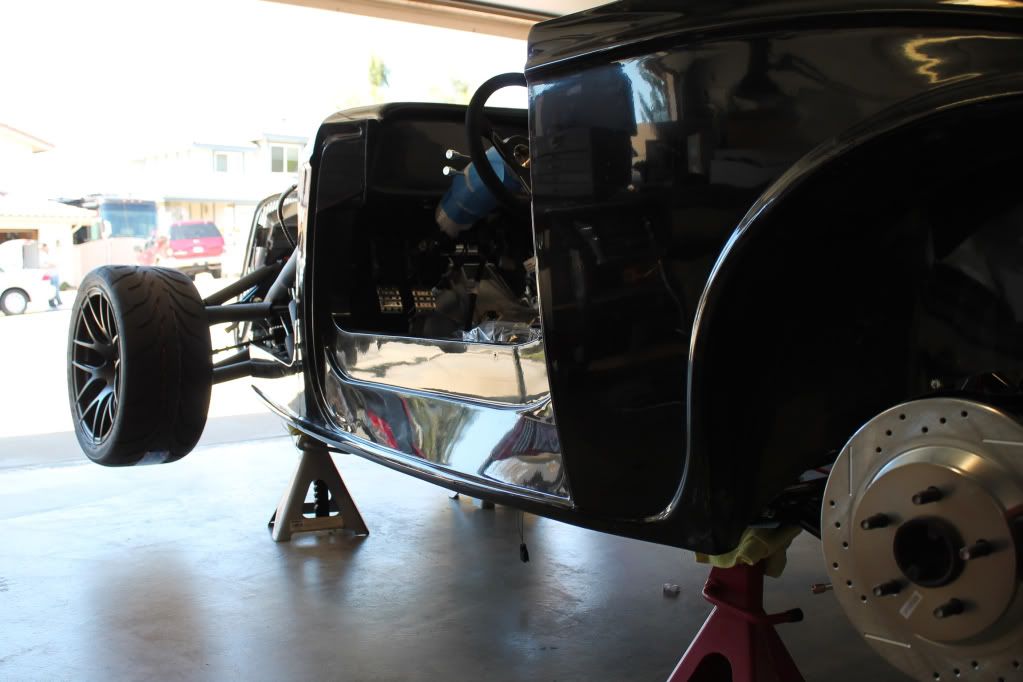
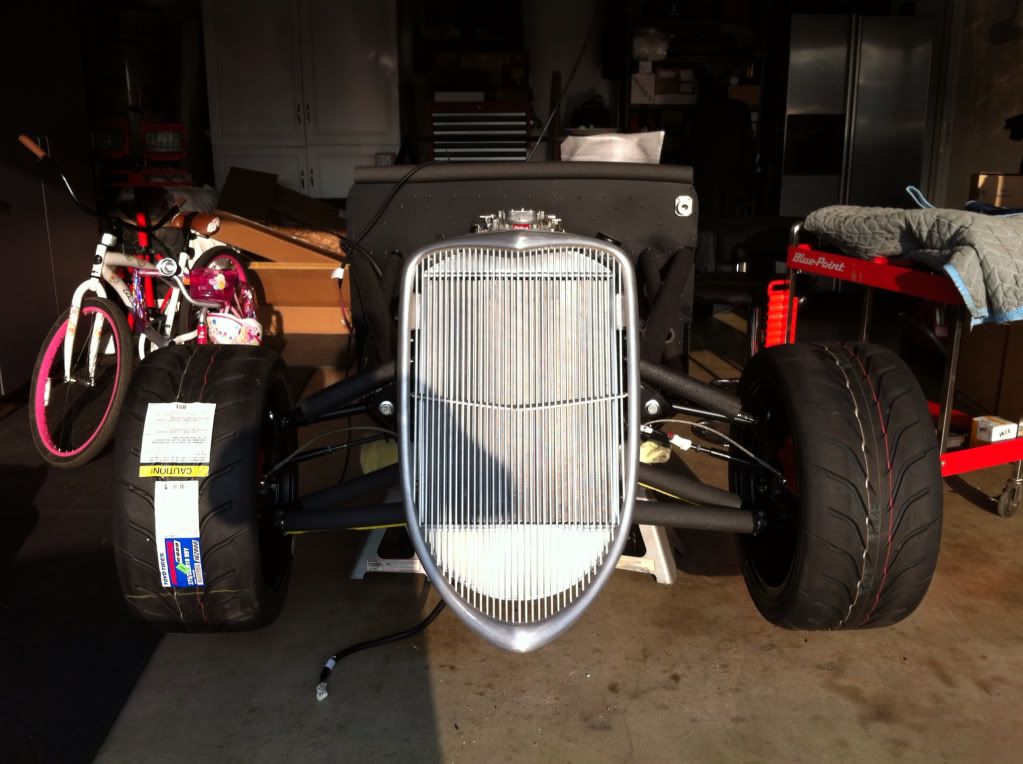
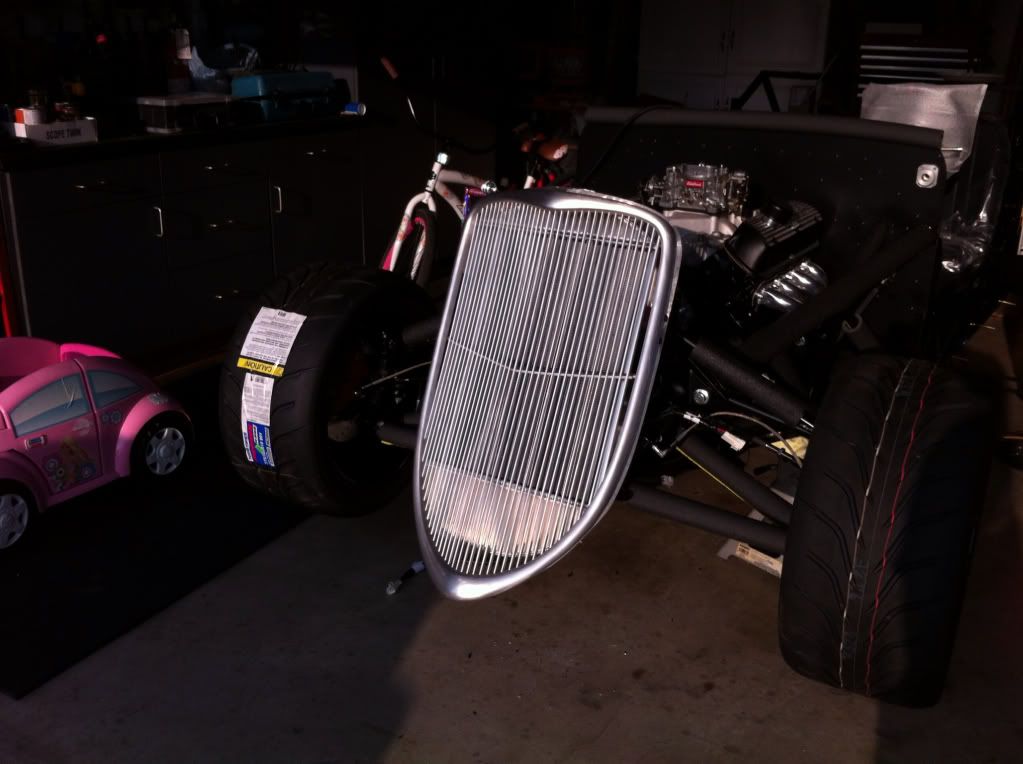
Your really making some progress. Funny, I think we are so used to the crooked grill, we forget how nice it looks when straight like yours.

Originally Posted by
esff32

-
Senior Member
It went in very easy. I read a bunch of the other posts and saw how much of a pain in the *** it was. Even the brackets were aligned perfect with the edge of the grill.
-
Tech Support Manager, FFR

Hi Evan looks killer you'll be do doing burnouts before you know it !! Tony@ffr
-
Senior Member
Thanks Tony. It will be awful tempting until I recall how much the tires cost. 
-
PLATNUM Supporting Member
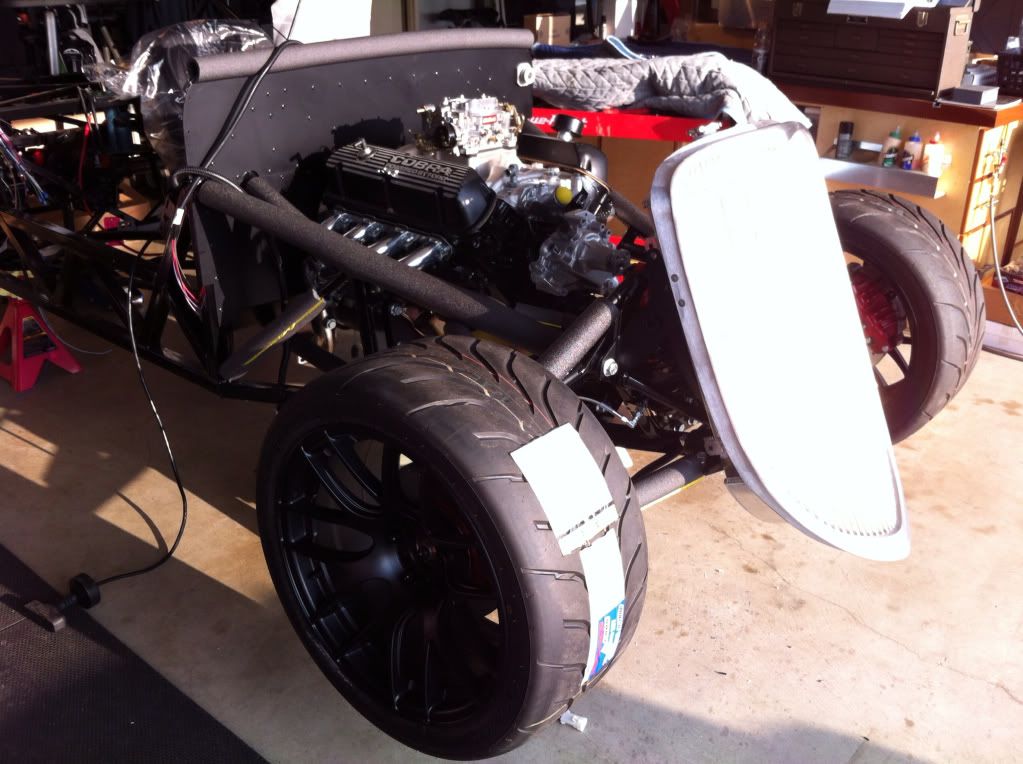
Boy this picture sure did help me. I thought I was missing stuff from the pictures in the manual and PDF. I had to modify mine the hole were not deep enough to use the bolts supplied. Thanks for the great photos.
Originally Posted by
esff32
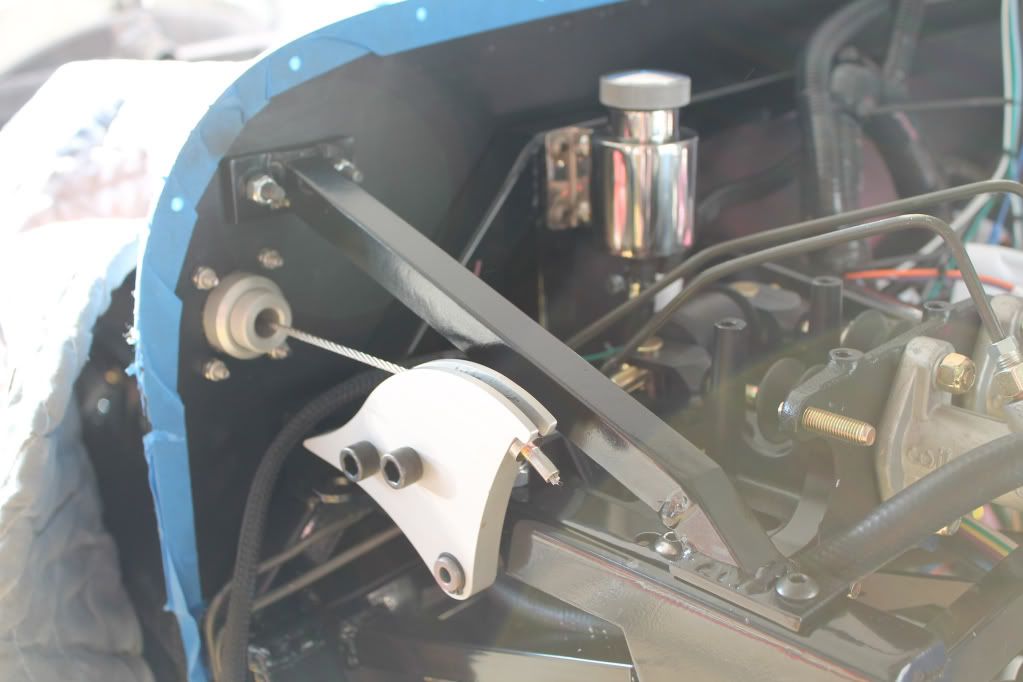
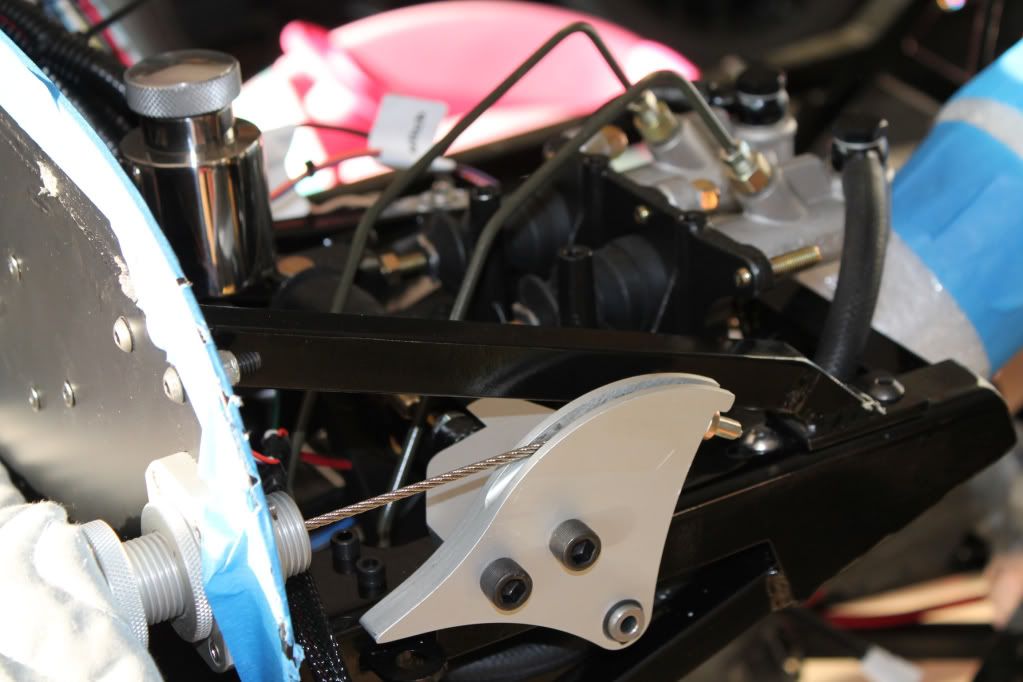
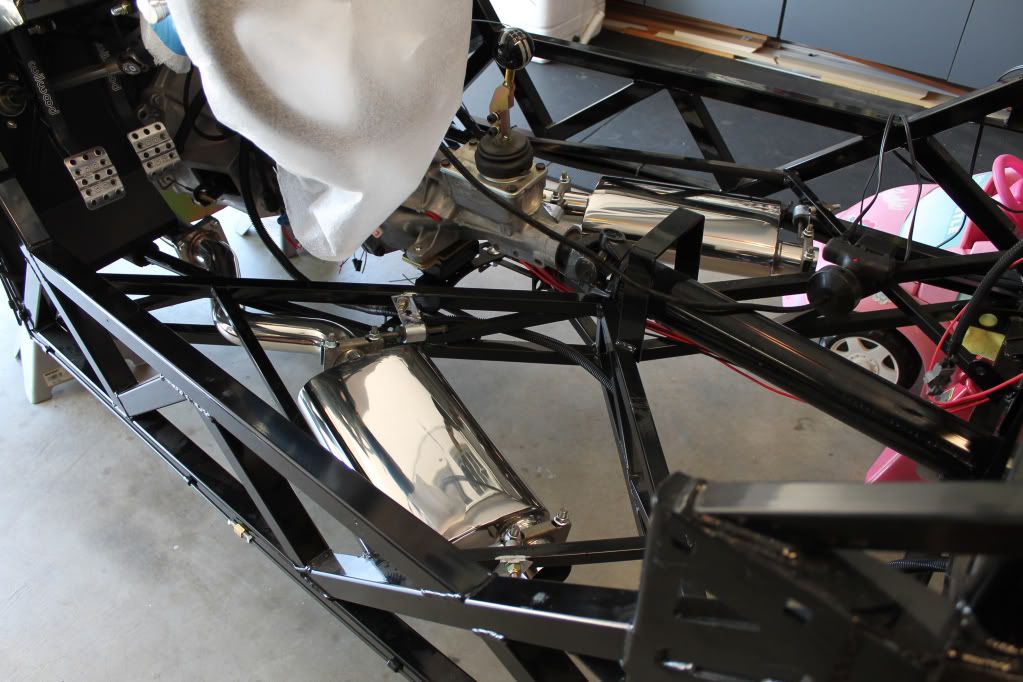
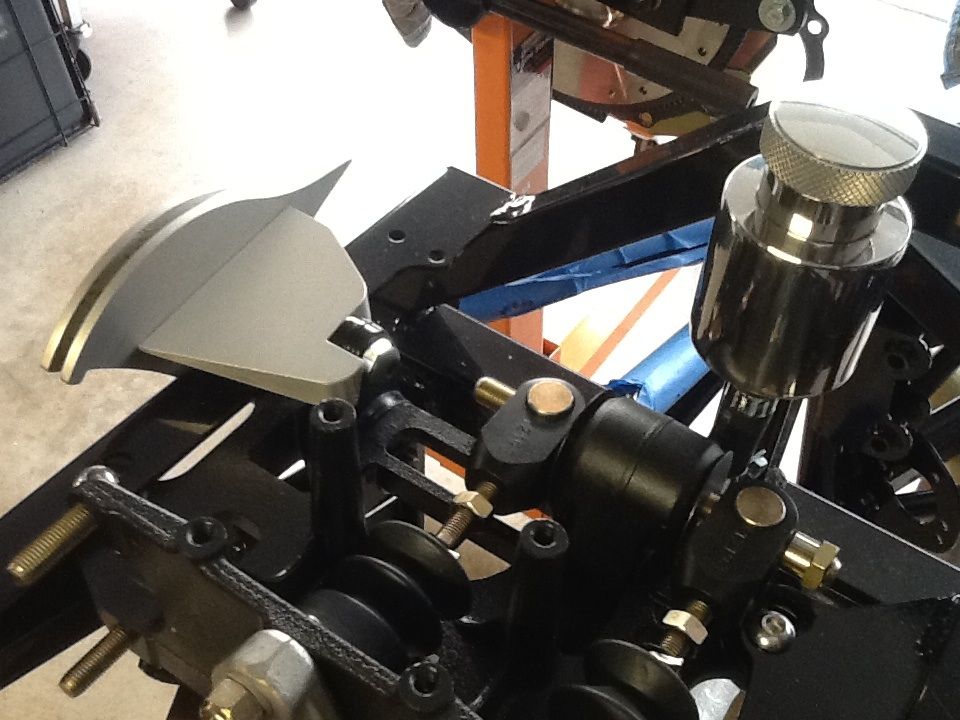
Updated clutch quadrant mechanism
-
Senior Member

I too have had questions answered by referring to Evans and many other pics on this site . Just great guys. Loving this project.
Nick Sebastian - 33 Hot Rod #495
Factory Five Forums - hdnik
FFCars - lowntubd
Build Site/Blog -
www.nicks33hotrod.com
-
Senior Member
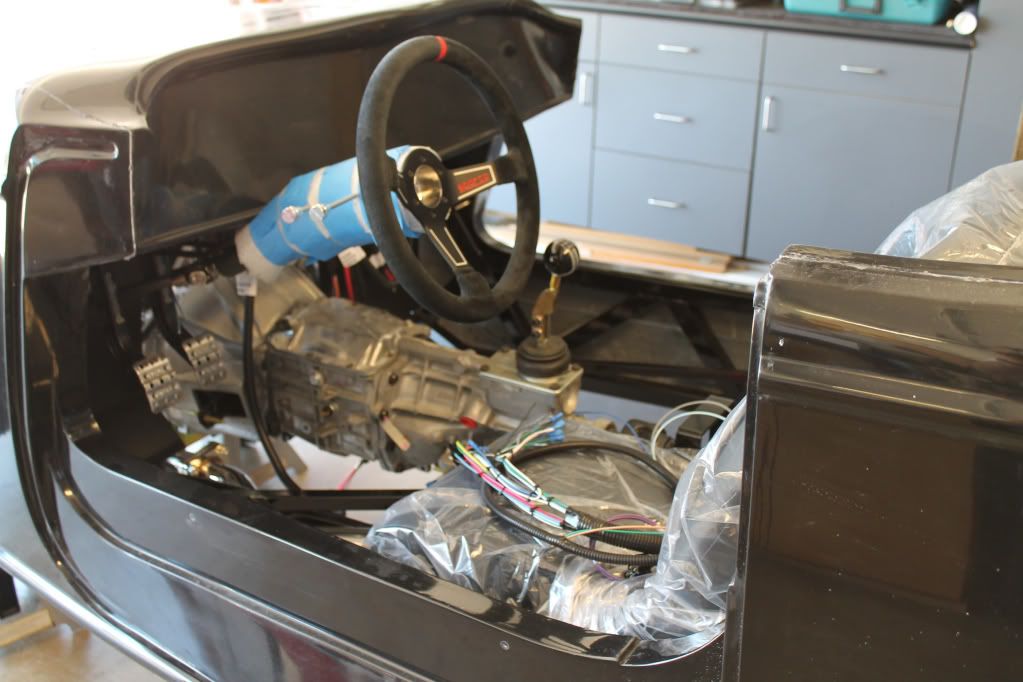
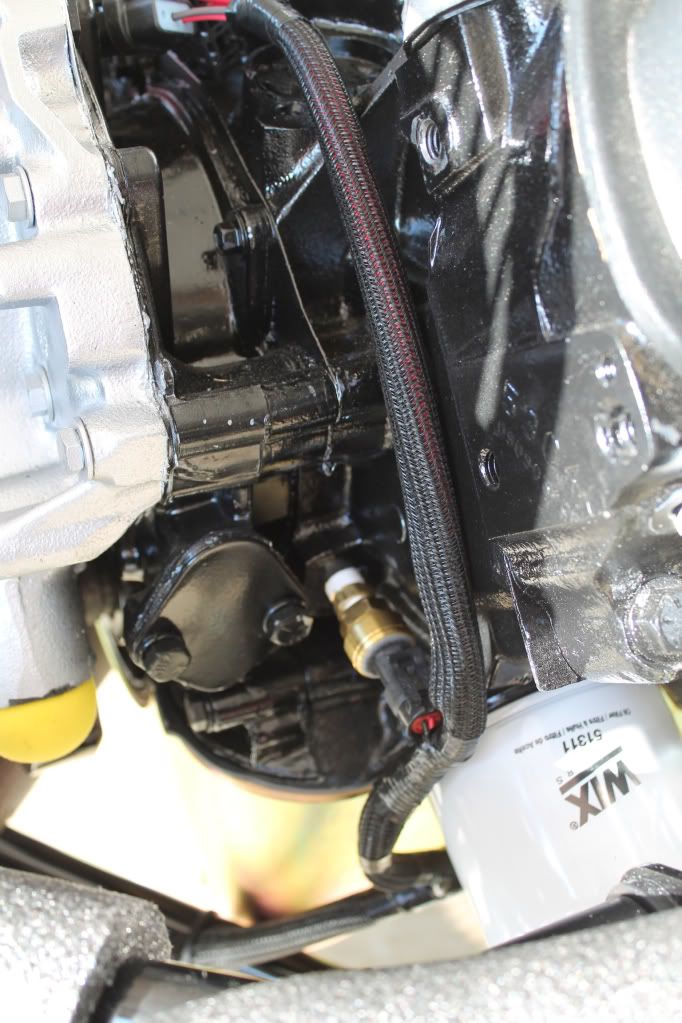
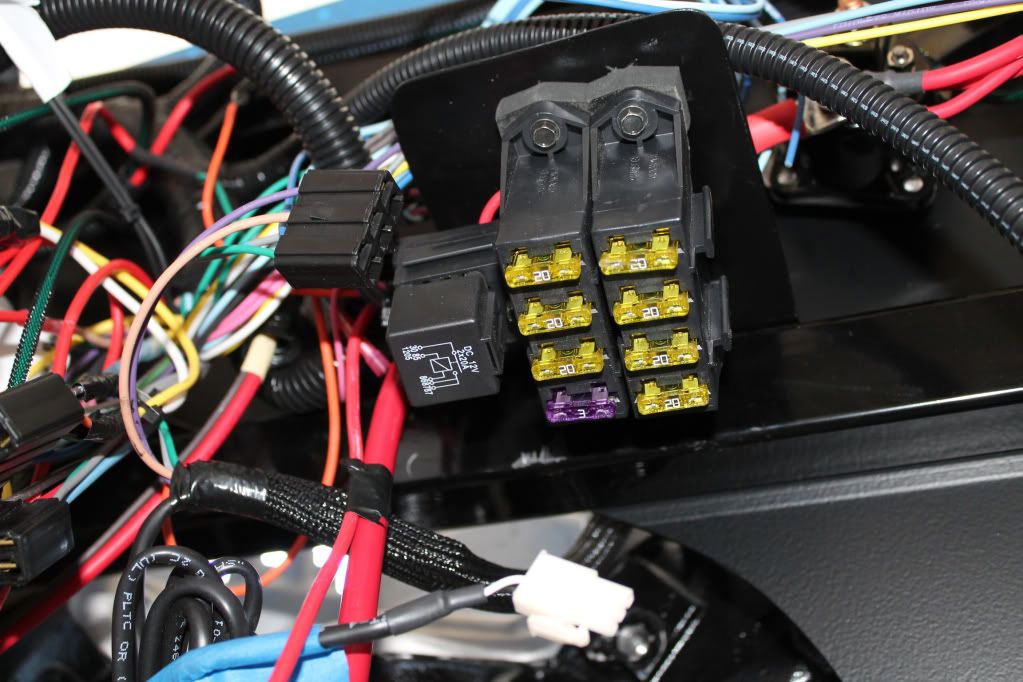
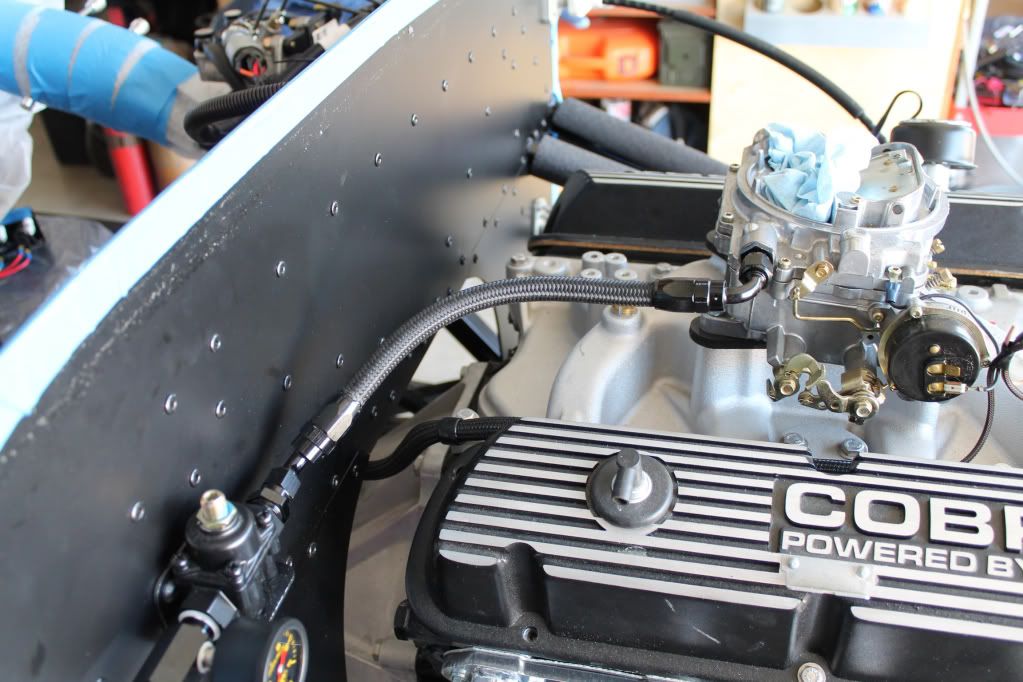
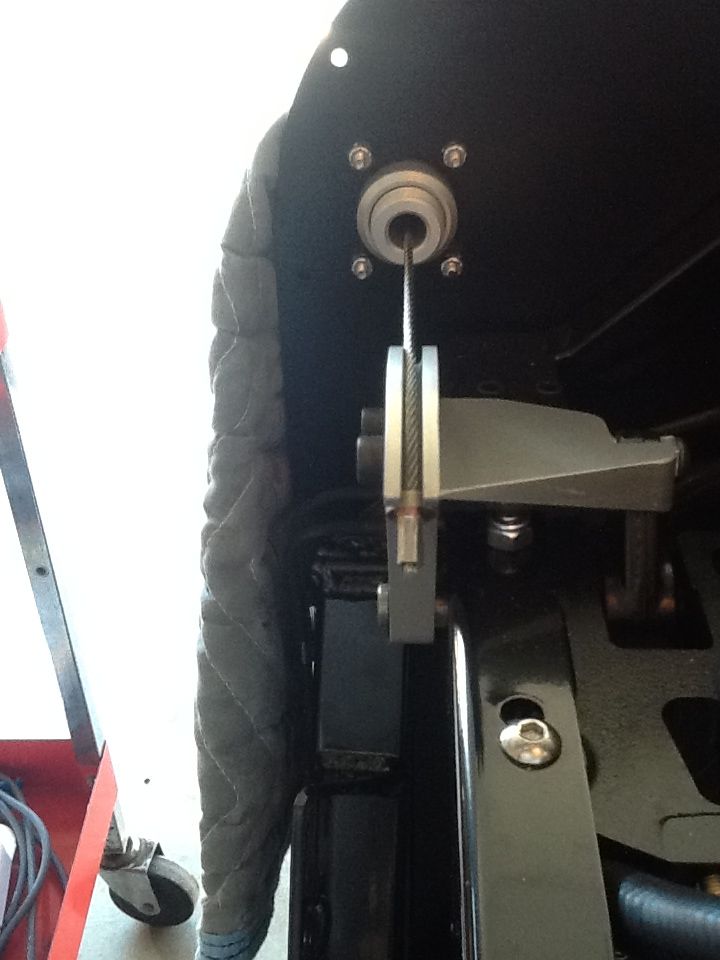
Thanks guys. It took a call to Tony at FFR to put me on track with the clutch quadrant. It was a head scratcher for sure. I installed the stop however I'm not sure it is necessary considering it has a quasi-stop built in. Also, be careful with the clutch bracket locating template supplied in the manual. I put mine on the firewall and transferred the holes not really thinking it would be off. My clutch cable rides slightly crooked through the bracket. I dont think it will be an issue but i wish i would have double checked the alignment prior to drilling all the holes. The firewall has a crazy amount of flex. I read in many other posts about this issue and the body is supposed to limit this but i will probably fabricate a brace for added support. I may also go to a hydraulic clutch in the future. Here is a photo.
-
Senior Member
-
Senior Member
-
Senior Member

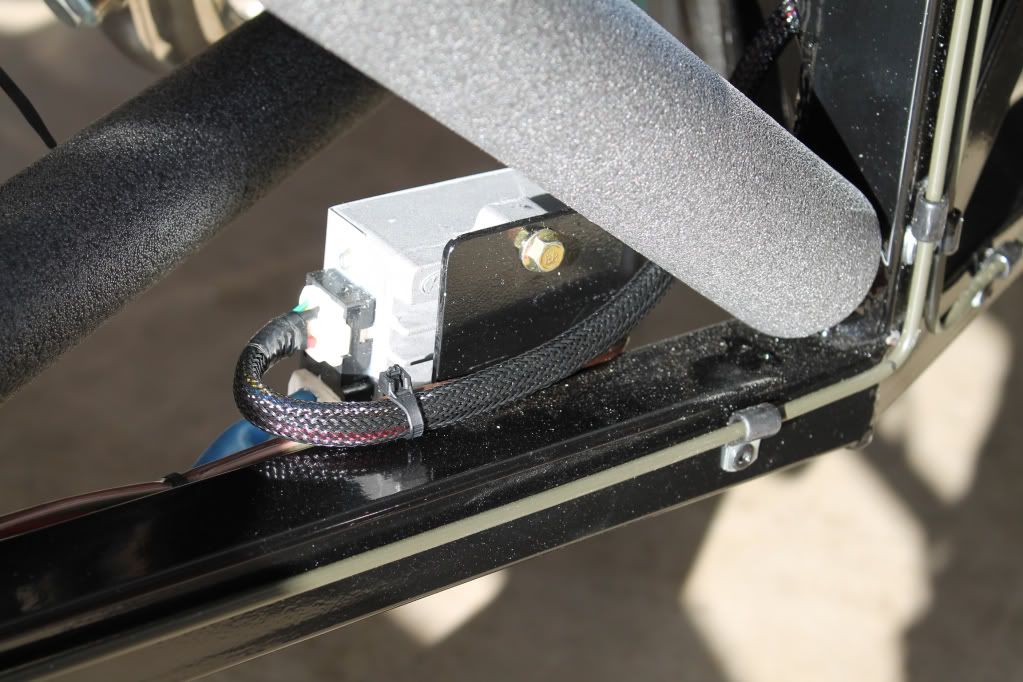
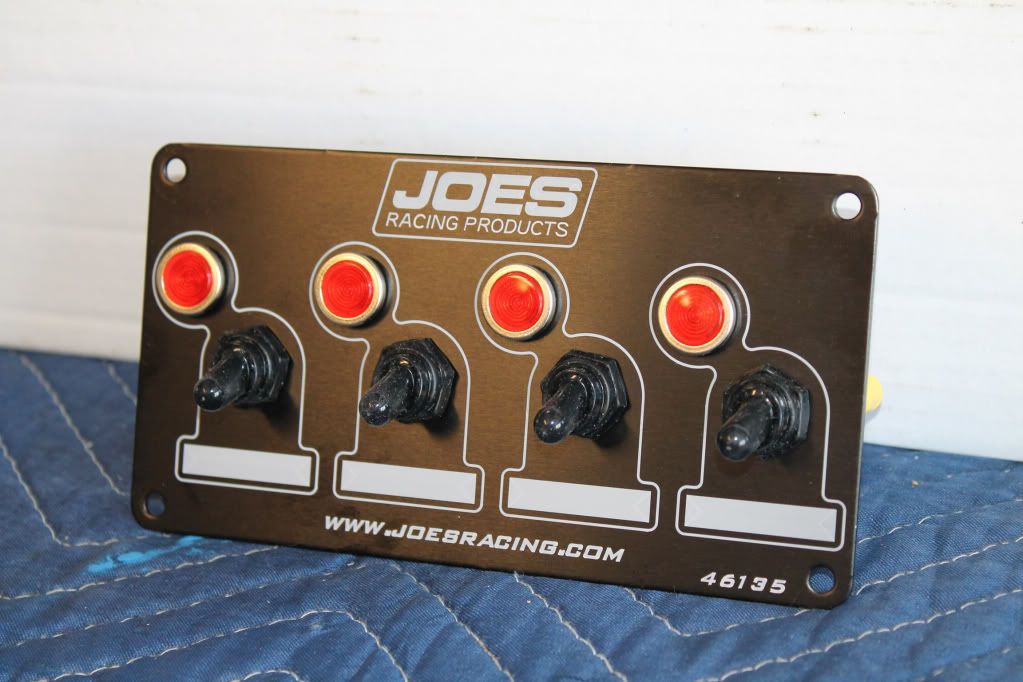
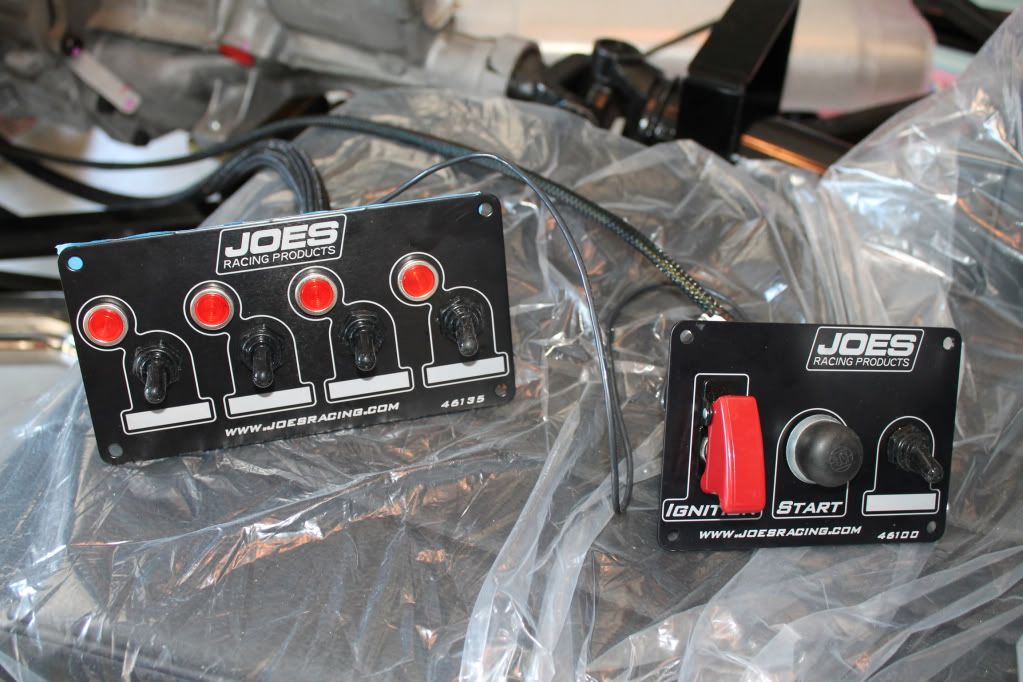
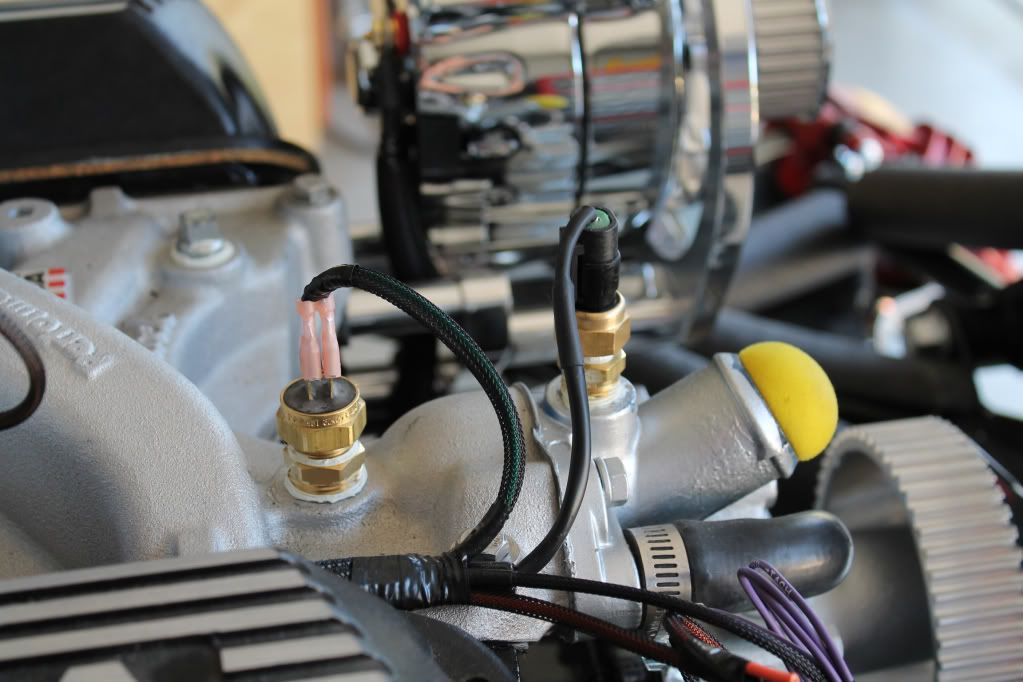
Like the switches, a style I have not seen in these cars, original! Also like the wire wrap, can you share some details on it?
FFR HR #530
Race car theme, Tim Whitaker roll bar, Autometer Autolite Gauges, Satin Black, SBC 383/700R4, 8.8 rear with Cobra Brakes, 3.29 gear, Boyd Tank, QA1 springs and shocks,
My build blog:
http://jacks33hotrod.blogspot.com/
-
Senior Member
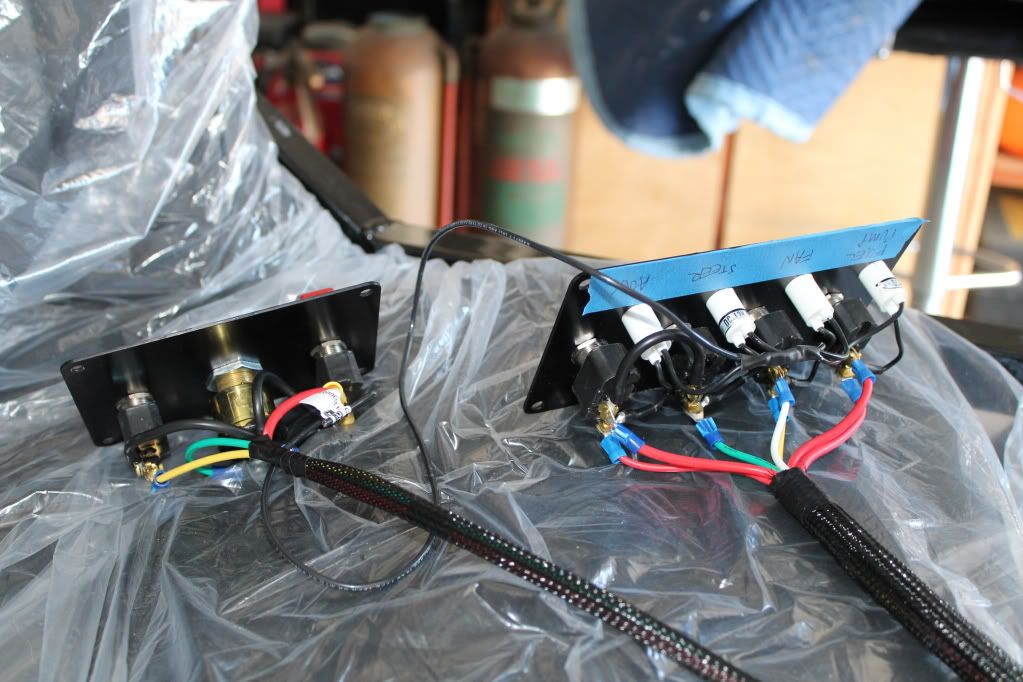
I hate overpaying for stuff like wire loom, extra wire, sound deadening material etc.. I found this stuff on Amazon and saved a few $, because I would rather spend more of my budget on other parts. The manufacture of the product is Techflex. I purchased 1/8", 1/4", 3/8", and 1/2". I unfortunately didn't pay attention to the fact that the 1/8" and 1/4" are not split loom but I made it work. It looks much nicer than the plastic style Ron Francis uses.
-
Senior Member
-
PLATNUM Supporting Member
Looks great! It is a race rod for sure. Keep up the great posts.
-
Senior Member

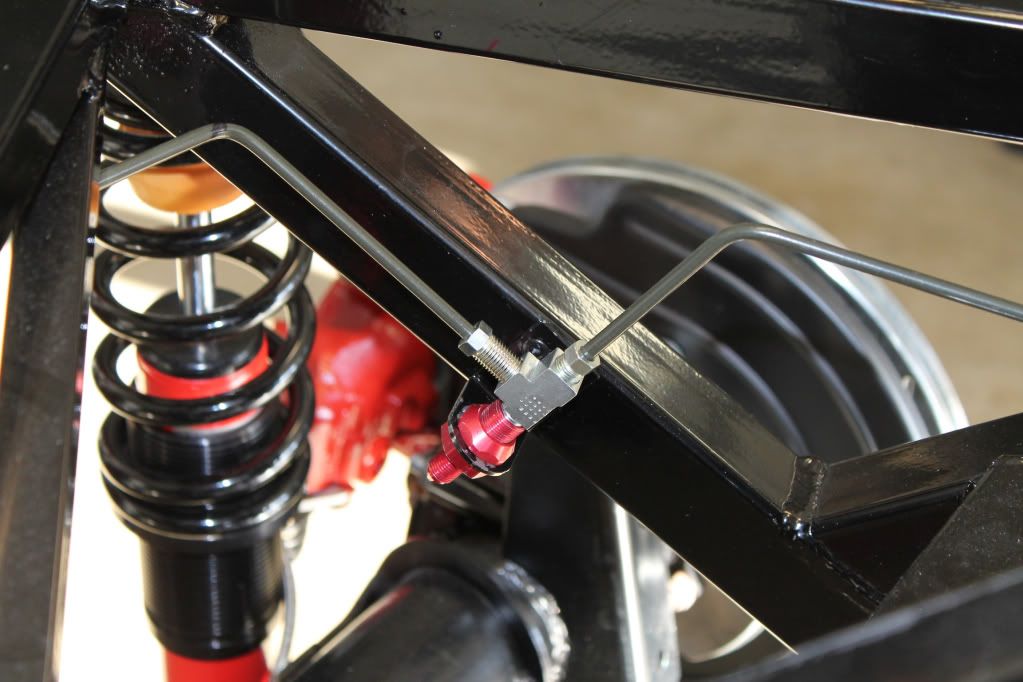
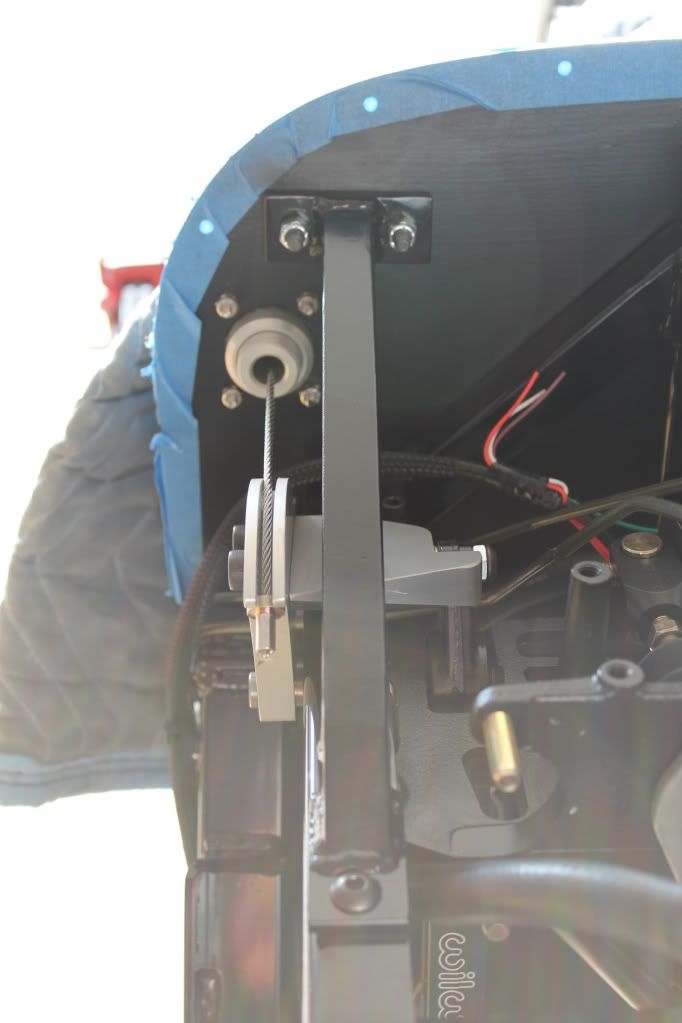
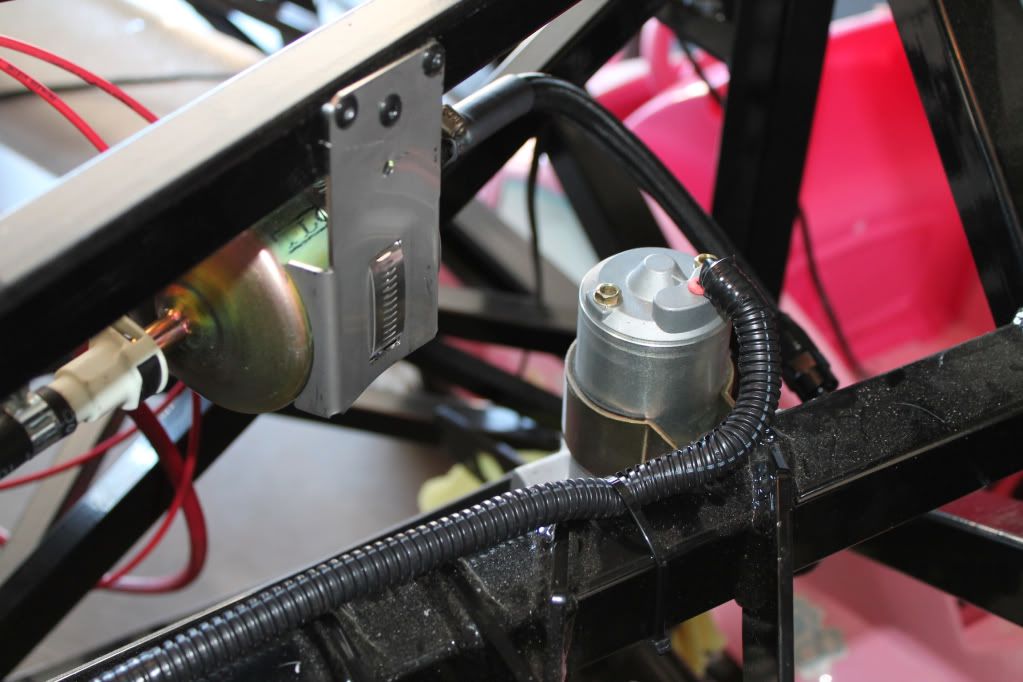
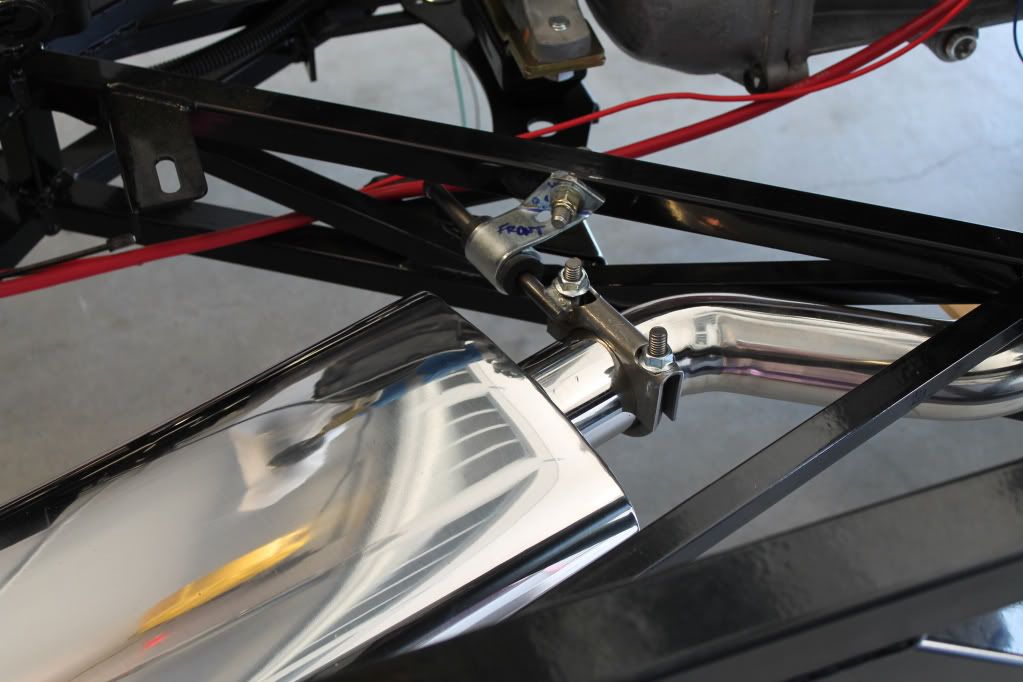
I made a flex bracket for the firewall but the idea is that mounting the body will eliminate it. Still, if you don't get something, it will bend during go kart testing. I left mine in but it looks like I'll have to remove it to put in my new clutch clutch quadrant parts.
-
Senior Member
I was going to try and put something similar to that on mine. It may work with the new clutch quadrant if it mounts a little higher on the inside of the firewall. The angle would be steeper but should work. Thanks for the pic.
-
Mine isn't pretty but very strong. Does not move.....period! Will be painted before the body goes on for the last time.009.JPG
-
Senior Member
Hey, it works...you won't even see it. In my mind, I think it really should have the added support and not rely on the body alone to resist the flex. Thanks for the pic.
-
03-14-2013, 08:19 PM
#100
Senior Member
-
03-14-2013, 08:43 PM
#101
Senior Member
Looking good Evan. I'm on hold until I go to the build school and some parts I've ordered arrive. I envy you guys Us residents... Getting stuff up here takes forever sometimes.
Nick Sebastian - 33 Hot Rod #495
Factory Five Forums - hdnik
FFCars - lowntubd
Build Site/Blog -
www.nicks33hotrod.com
-
03-14-2013, 10:43 PM
#102
Senior Member
Have fun in the build school, that would definetly help the process along. I was very lucky, the only two parts on back order on my kit were the front shocks and clutch quadrant and they came about a week after the kit.
-
03-15-2013, 09:51 PM
#103
Senior Member
Originally Posted by
esff32
I hate overpaying for stuff like wire loom, extra wire, sound deadening material etc.. I found this stuff on Amazon and saved a few $, because I would rather spend more of my budget on other parts. The manufacture of the product is Techflex. I purchased 1/8", 1/4", 3/8", and 1/2". I unfortunately didn't pay attention to the fact that the 1/8" and 1/4" are not split loom but I made it work. It looks much nicer than the plastic style Ron Francis uses.
Do you mind me asking how much of each length you bought? Was it enough? Too much?
FFR HR #530
Race car theme, Tim Whitaker roll bar, Autometer Autolite Gauges, Satin Black, SBC 383/700R4, 8.8 rear with Cobra Brakes, 3.29 gear, Boyd Tank, QA1 springs and shocks,
My build blog:
http://jacks33hotrod.blogspot.com/
-
03-16-2013, 12:06 AM
#104
Senior Member
I think I got about 50' of each which was how it was sold. I am only replacing the stuff you can see from under the car and in places like the engine compartment. I am not that far into the electrical aspect of the project to know if I got enough... I sure as hell hope so. I will keep you informed as to whether one size or another is better.
-
03-16-2013, 12:08 PM
#105
Starting to look really good! Thanks for posting detailed pictures 
-
03-16-2013, 08:00 PM
#106
Senior Member
-
03-17-2013, 07:29 AM
#107
PLATNUM Supporting Member
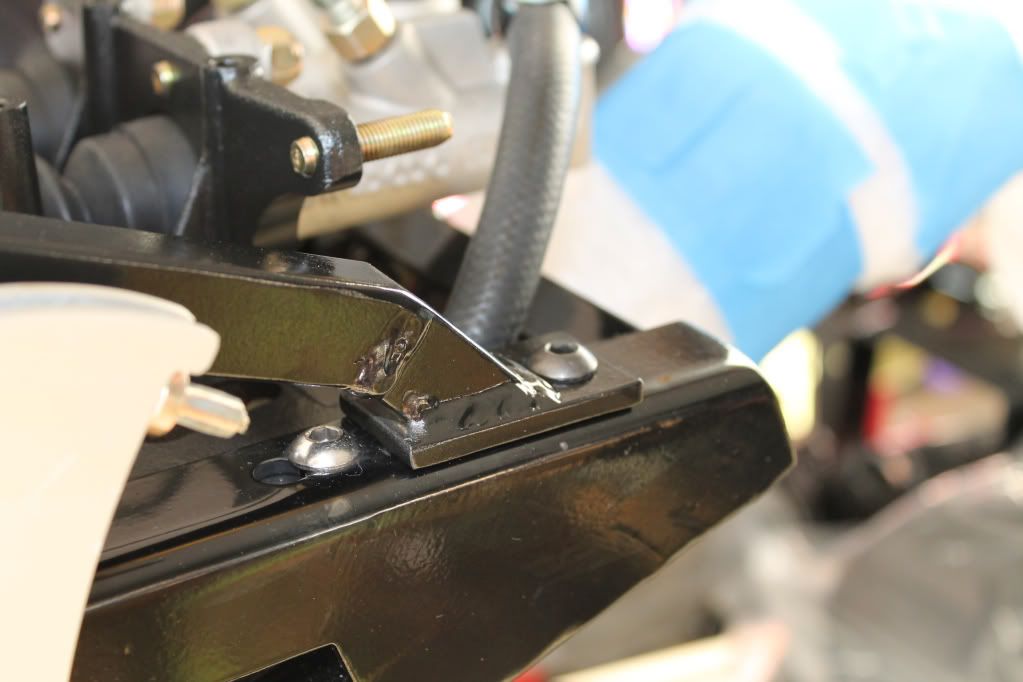
Good looking bracket. Nice work.
-
03-17-2013, 09:56 AM
#108
Senior Member
Thanks Wallace, I stole the idea from Erik from 33 Machine.
-
04-02-2013, 08:13 PM
#109
Senior Member
Evan, I was looking at your photobucket pics and noticed an engine tranny stand you have. Did you amaze it or buy it. If so where did you get it.
Nick Sebastian - 33 Hot Rod #495
Factory Five Forums - hdnik
FFCars - lowntubd
Build Site/Blog -
www.nicks33hotrod.com
-
04-02-2013, 08:31 PM
#110
Senior Member
I borrowed it from a buddy of mine. I believe it is a Harbor Freight job. 500 lb capacity if I remember right.
-
04-13-2013, 07:55 PM
#111
Senior Member
-
05-10-2013, 01:15 PM
#112
Senior Member
-
05-10-2013, 03:56 PM
#113
Senior Member
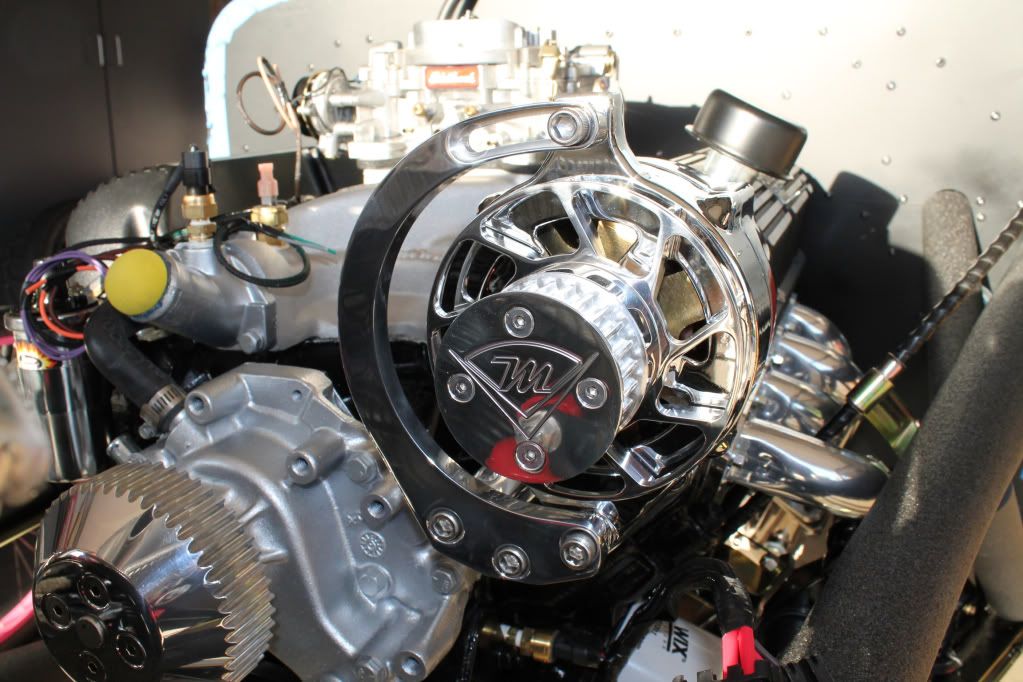
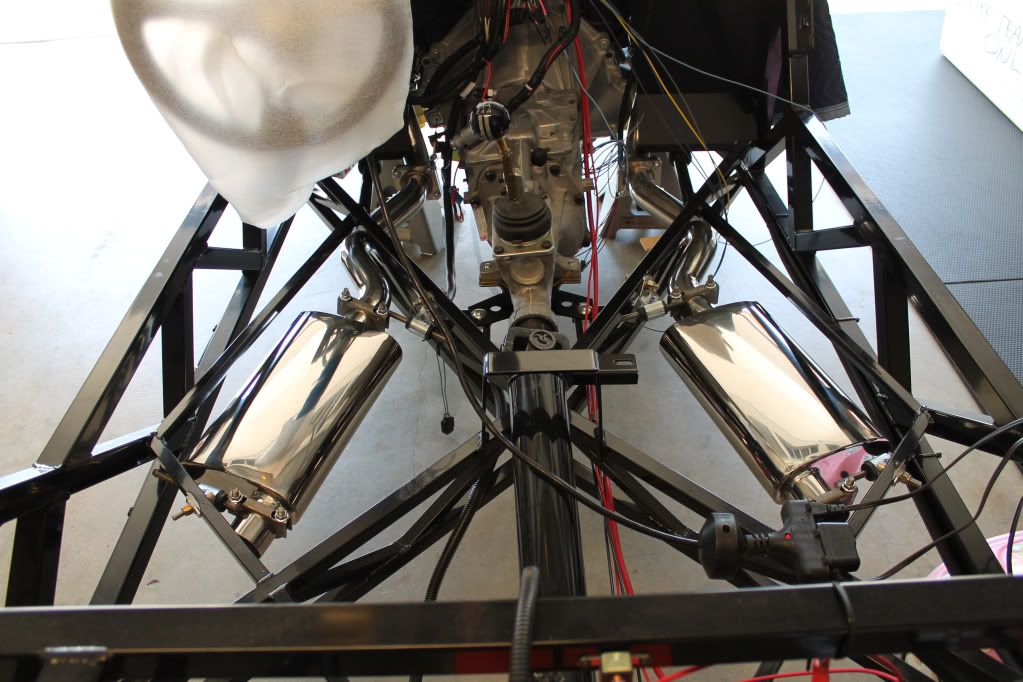
Looking good man. I wasn't aware you went with the single pumper carb. Think it will be enough? I'm glad you found someone to help you with the electrical.
e
-
05-10-2013, 04:34 PM
#114
Senior Member
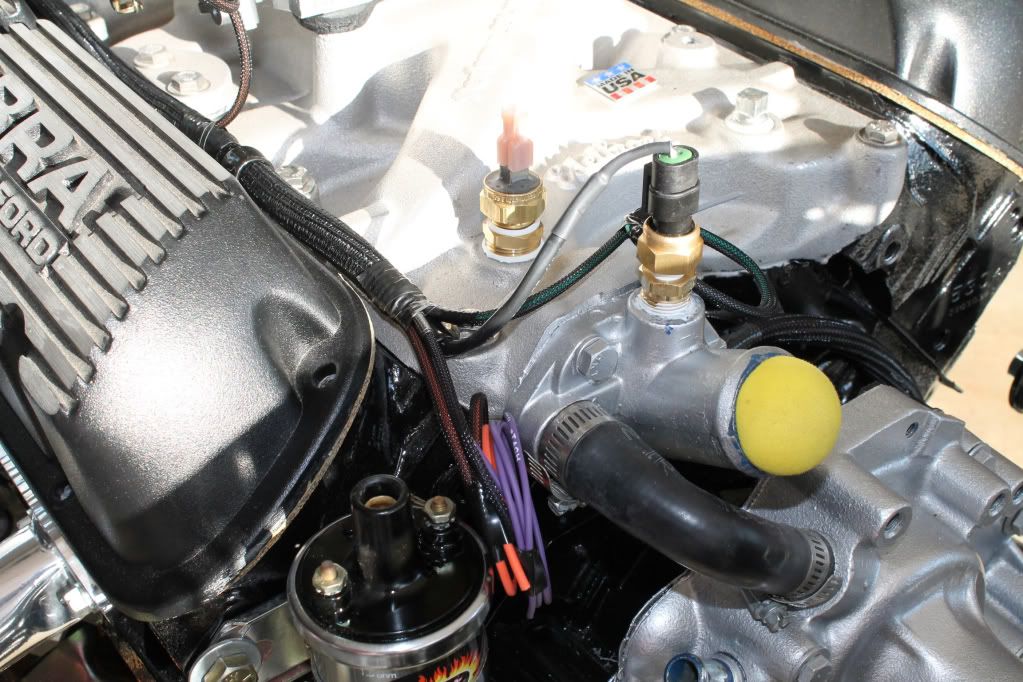
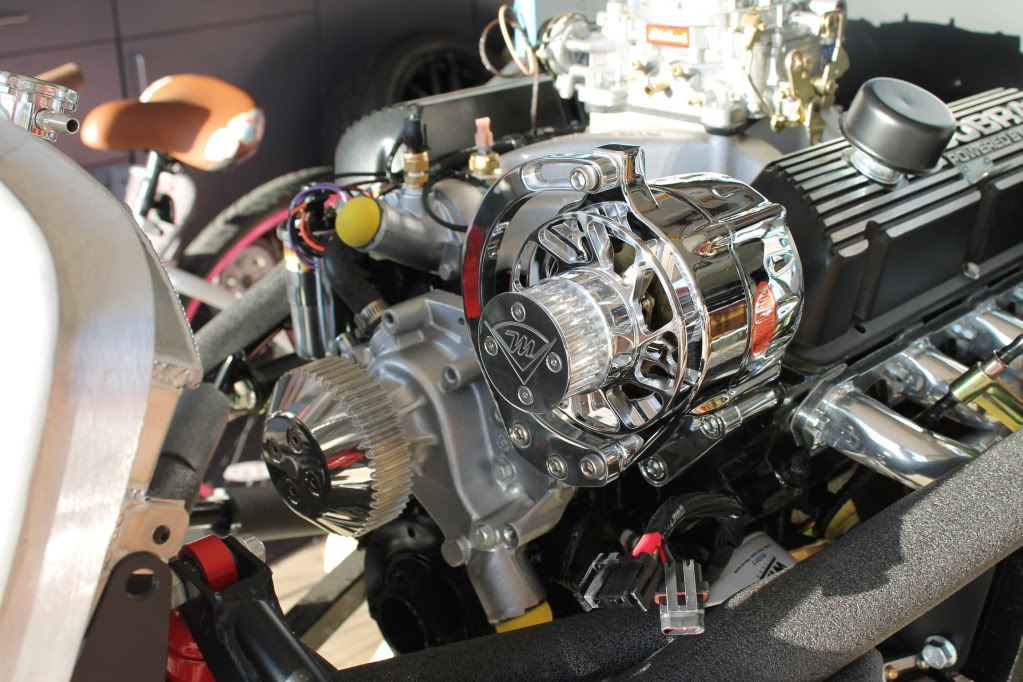
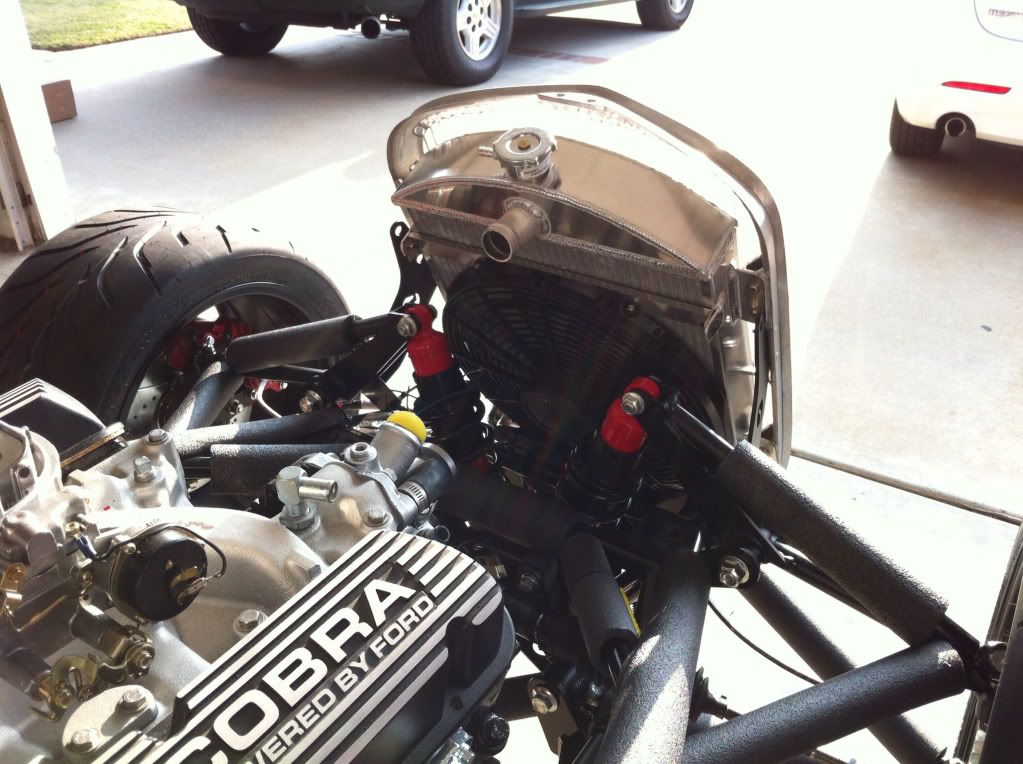
The carb came with the entire drivetrain I bought from Scott Fraser. I will probably go with something different later. It ran on the test stand with the current setup and produced 400 HP with 400 ft lbs of torque?? Good to hear from you bro.
-
06-13-2013, 11:13 AM
#115
Senior Member
-
06-13-2013, 07:25 PM
#116
PLATNUM Supporting Member
Looks like your project is coming along fine. I use the same blankets on my build. Great job so far!
-
06-14-2013, 12:12 AM
#117
Senior Member
Thank you sir, just plugging away whenever I have time. Cant wait to see yours after you get it back from the body shop. Take care.
-
07-24-2013, 07:26 PM
#118
Senior Member
-
07-29-2013, 07:46 PM
#119
Senior Member

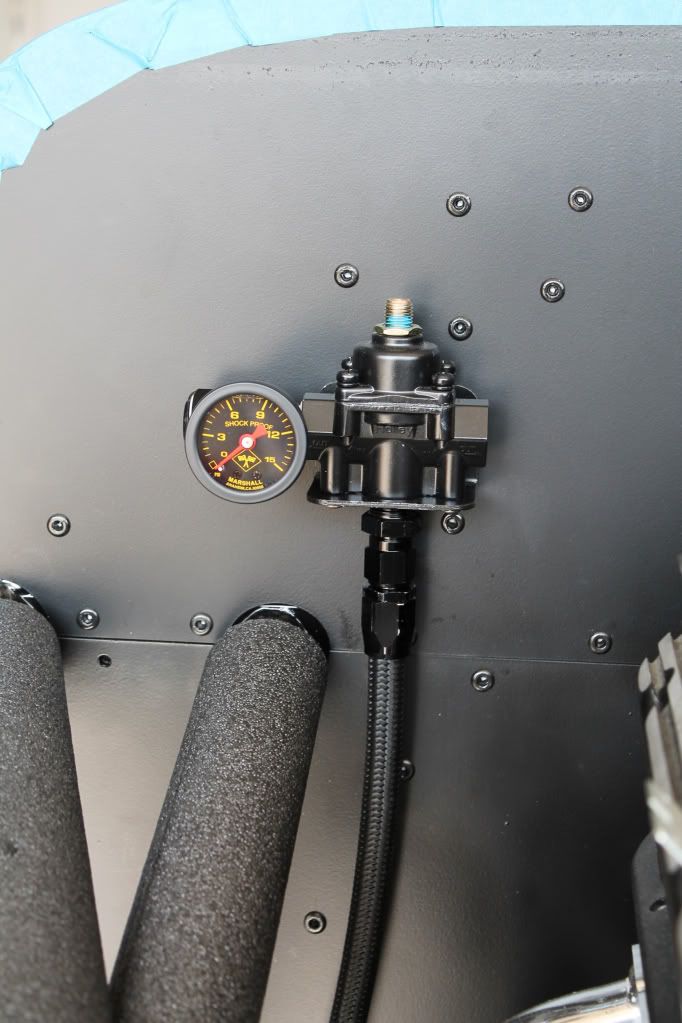
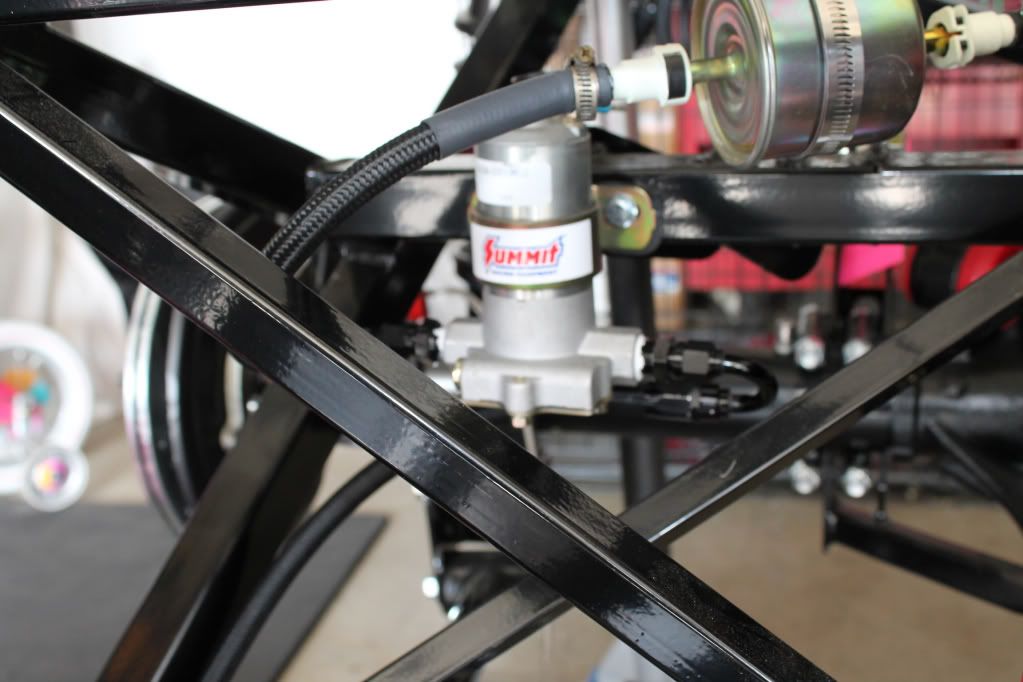
Awesome build and some very helpful pics. Have you had two different master cylinder reservoirs?
-
07-29-2013, 10:05 PM
#120
Senior Member
Originally Posted by
esff32
Does you buddy Dan make road trips to help out others...lol. I am tackling mine now.
FFR HR #530
Race car theme, Tim Whitaker roll bar, Autometer Autolite Gauges, Satin Black, SBC 383/700R4, 8.8 rear with Cobra Brakes, 3.29 gear, Boyd Tank, QA1 springs and shocks,
My build blog:
http://jacks33hotrod.blogspot.com/
 Posting Permissions
- You may not post new threads
- You may not post replies
- You may not post attachments
- You may not edit your posts
-
Forum Rules

Visit our community sponsor


 Reply With Quote