
Visit our community sponsor

Thanks:
0

Likes:
0
-
Senior Member

-
Senior Member
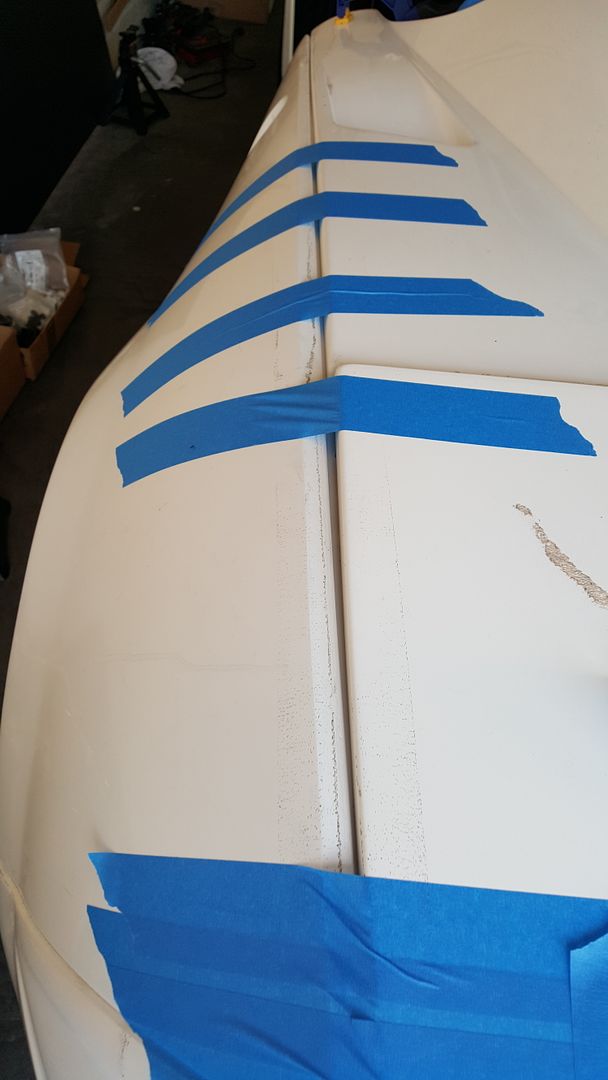
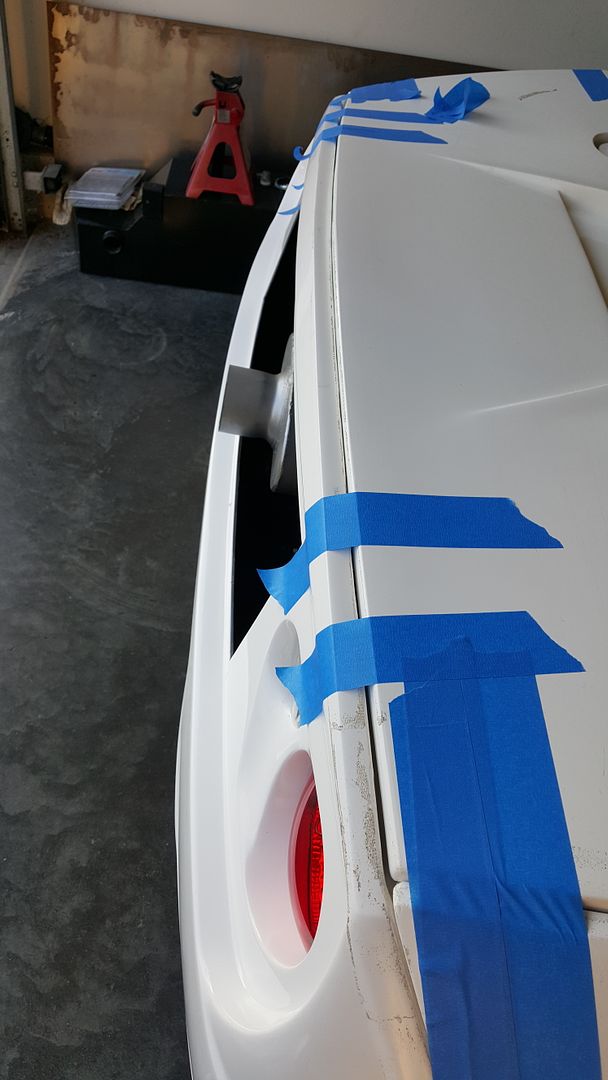
BTW, the above pictures I have 2 painters sticks creating a bow in the rear trunk cover and 4 painters sticks bracing the center of the engine cover upwards.
-
Moonlight Performance


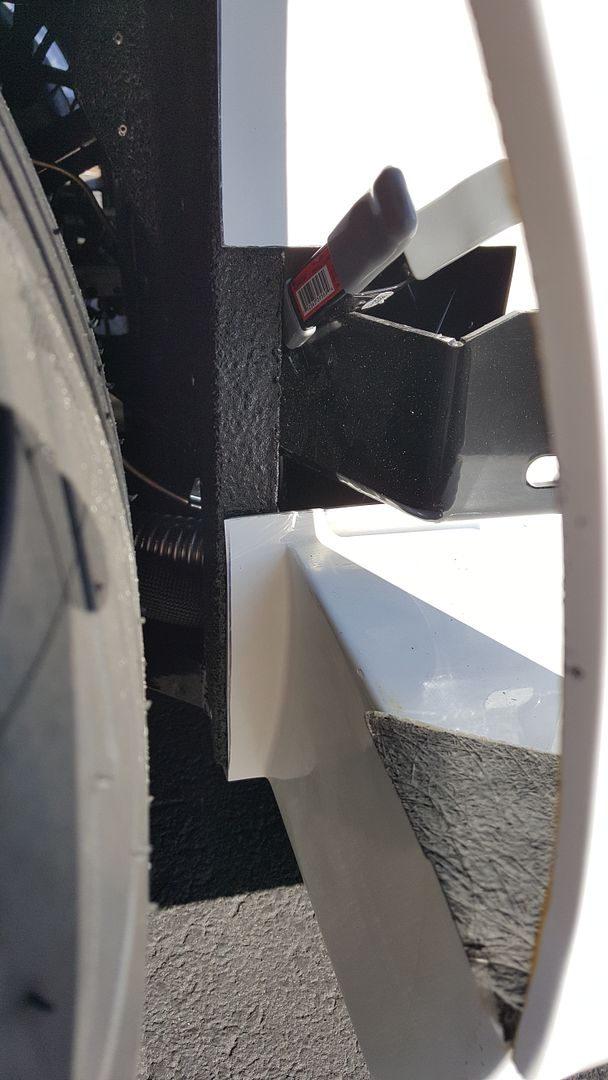
It looks good. Manual says 5/8" on the page where it talks about mounting the side sails. Its 5/8 from the bottom part of the sail, right where it meets the flat return (red line in image below). It looks like you have about 5/8" there so looks good.
sidesail.png
Your deck lid gap is great. Mine is much bigger. One thing you might consider is sliding the door skins on so you can see how the engine cover meets them. To make that particular gap right, i had to really move the engine cover forward, and in doing so, made the bigger gap at the trunk. Others have had trunk gap issues to so I have accepted that I will need to fill the gap with a structural filler.
Last edited by Hindsight; 04-17-2016 at 07:27 AM.
-
That's nothing I would be jumping for joy with those gaps.
-
Senior Member
Thanks for the feedback. I'll get the doors started today to see how that adds to the mix.
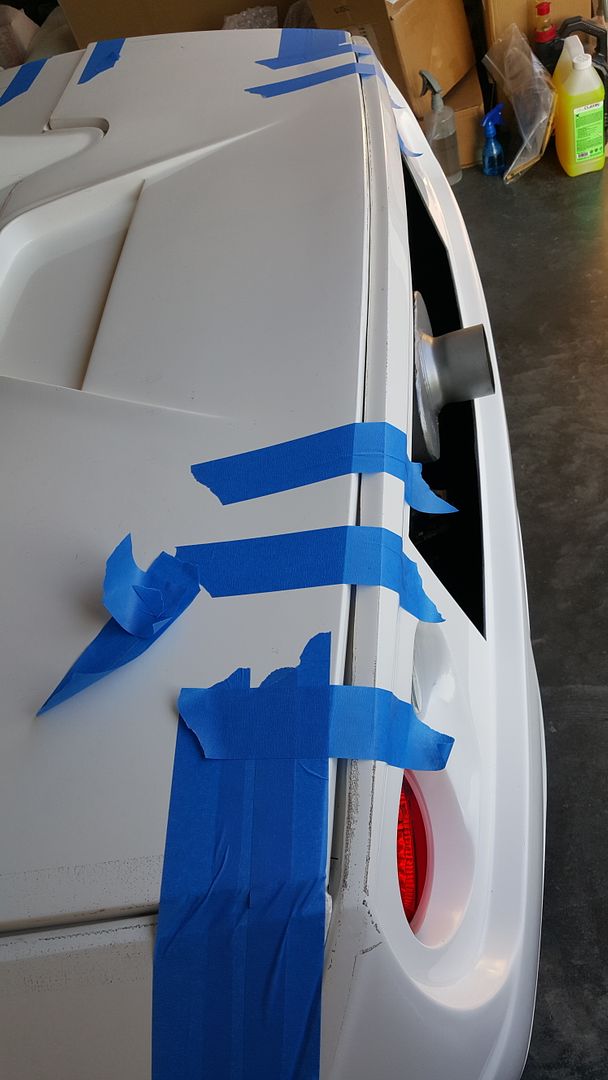
I've still got the tape keeping everything twisted as pictured. If I leave the tape on for the week, is it realistic to cross my fingers that the body retains the position?
-
PLATNUM Supporting Member


Over all pretty darn good IMO. You may want to tweak the rear trunk to back bumper gap some and then trim the rear engine covers so they lay more level with the side panels. It is not an easy thing to do but, you are making great progress IMO. Make sure you put all the panels and doors on the car before tweaking.
-
Moonlight Performance

Originally Posted by
metros

If I leave the tape on for the week, is it realistic to cross my fingers that the body retains the position?
Others with more experience may chime in, but based on the amount of tension I had to put in the sails to get good gaps with the rear covers, I would say no. I'm actually quite surprised the tape alone is holding the gap now. I had to lift HARD on mine, and had to clamp it to the perch to get it to stay. I didn't try tape though... but guessed it wouldn't stay. I've already drilled a hole in the sails and bolted them to the perch on mine.
-
Senior Member
Thanks for the feedback. I was a bit frustrated with it, but hearing that it's not too far off compared to other builders is re-assuring. This is my first go at any type of body fitment/work so my expectations are bigger than the bag of tricks from previous experience.
Hindsight - how long have you had yours bolted in place? If unbolted does it retain or spring back to original? I'm semi concerned about fiberglass cracking if it constantly has this much tension on it. But again, my body work experience is extremely limited.
-
I believe the perches are too high. I cut the 1/8" perch plates off, so the side panels could drop 1/8", they moved inwards that far and still resting hevily on the perch. Im putting a four inch long plate on that area to get two bolts in the side panel. I might possibly drop it even a little lower to reduce the stress on the side panel, if I pull them together with force.
My theory on the body... Make it fit and not rub on anything, then make it look good..
-
Moonlight Performance
Sorry Metros... missed your question. My side sails didnt retain the shape after being bolted to the perches, but i didnt leave it to sit in the sun and that could have helped. I did bend the ends of the perches down a bit to ensure there were no pressure points.
-
Senior Member

It might stay in place if its hot, in the sun, for a few weeks. I had to cut and bend both the rear fender perches for the side sails and the front ones in the radiator area.
Your fit is pretty darn good to hold that with tape, that's how I did mine and since its usually colder I used weights (full gallon jugs, concrete filled kart tires)
I think the longer the panels are sitting when you build, in almost any orientation, the more they will need to be "adjusted" they are not very stiff
Dan
818S #17 Picked up 8/1/13 First start 11/1/13 Go Kart 3/28/14
-
Senior Member
I'll get some updated pictures this weekend. I have taken off a lot of the tape and further refined the gaps a bit more. Places where it was really tight I've wedged in 1/8" paint sticks to put some more bow into the panels and maintain a 1/8" gap along the entire panel length.
I've probably had these panels twisted/taped and been re-adjusting them for around the last month. Last weekend when I added the paint sticks to gaps that were too tight I had to remove the tape in order to make this adjustment. When removing sections of tape at a time (driver side bumper/trunk corner, passenger side bumper/trunk corner) I found that they retained the placement that the tape was holding. I can't say for sure that that position will be maintained if I untape everything or remove the panel and re-install - but I'm hopeful that they'll remain close. I'm still working on the front fenders and hood so I don't have any panels permanently installed with the quick latches yet. I can say that I'm very happy with the door fitment after spending a weekend working on them specifically.
-
Senior Member

-
Senior Member
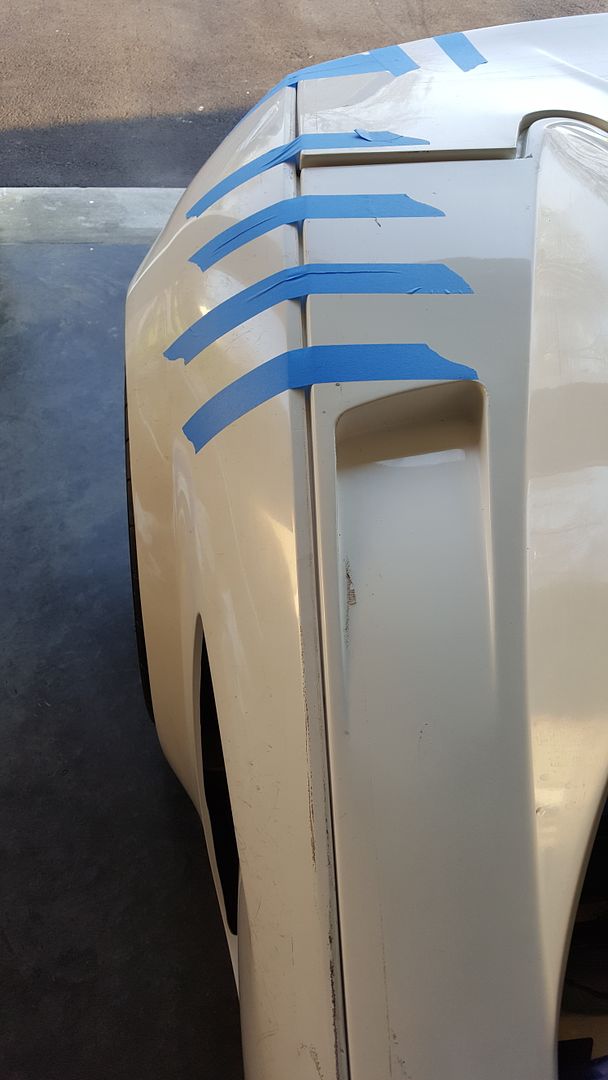
Thanks for the tips. I've got the new nose pieces so I'm facing some different challenges. I've found the 'bumper' insert between the 2 fenders doesn't have the necessary curve to match the fenders nicely. I have it clamped in place and have some pressure applied to work towards getting the right curve. I have found it difficult to get the back of the hood/fender gaps shrunken down while the front most portion of the hood is too wide. This past week I wedged some paint sticks in the front to bow the hood upward a bit. Hoping I can tweak it a little more this weekend to get it shaped more to my liking.
 Posting Permissions
- You may not post new threads
- You may not post replies
- You may not post attachments
- You may not edit your posts
-
Forum Rules

Visit our community sponsor


 Reply With Quote