

 Thanks:
  Likes:


Excellent. I think this will work better... more reliably... and more accurately. Sorry you got hurt.
- Home
- Latest Posts!
- Forums
- Blogs
- Vendors
- Forms
-
Links

- Welcomes and Introductions
- Roadster
- Type 65 Coupe
- 33 Hot Rod
- GTM Supercar
- 818
- Challenge Series
- 289 USRCC
- Coyote R&D
- Ask a Factory Five Tech
- Tech Updates
- General Discussions
- Off Topic Discussions
- Eastern Region
- Central Region
- Mountain Region
- Pacific Region
- Canadian Discussions
- Want to buy
- For Sale
- Pay it forward
-
Gallery
- Wiki-Build-Tech

 Reply With Quote


 )
)


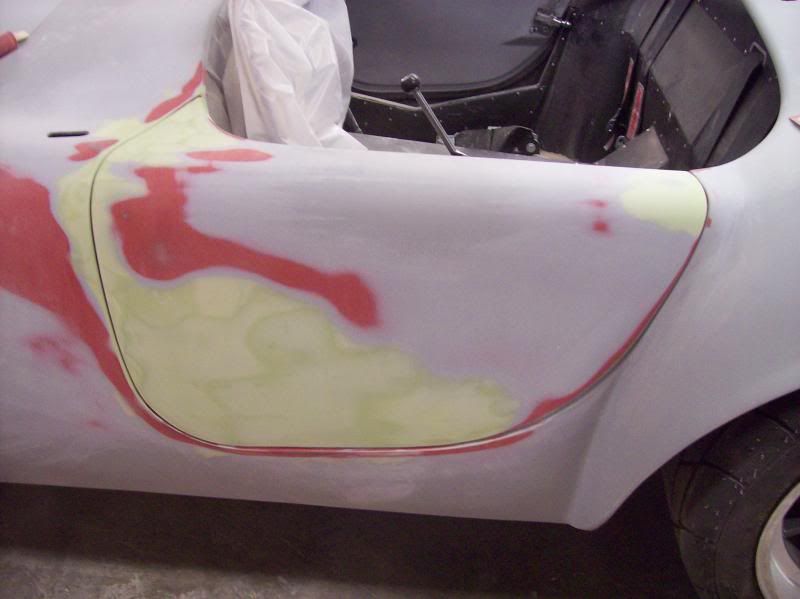
") ). Once your 4 corners and front & rear edges are set you can work on the sides. Usually on Mk4s the body will be low in relation to the hood. Bring the body up to the hood by shimming between the underside of the hood opening flange and square chassis tubes. I have some 1/4" thick runner sheet that works great for this when cut into 1"x2" pieces. Most times adding these a couple of places down each side (sometimes stacked 2 deep) will bring the surfaces to flush or close enough that only a minimal amount of filler is necessary. Before pulling the body I mark where they went and then when doing the final installation after paint silicone them in place.
). Once your 4 corners and front & rear edges are set you can work on the sides. Usually on Mk4s the body will be low in relation to the hood. Bring the body up to the hood by shimming between the underside of the hood opening flange and square chassis tubes. I have some 1/4" thick runner sheet that works great for this when cut into 1"x2" pieces. Most times adding these a couple of places down each side (sometimes stacked 2 deep) will bring the surfaces to flush or close enough that only a minimal amount of filler is necessary. Before pulling the body I mark where they went and then when doing the final installation after paint silicone them in place. 


