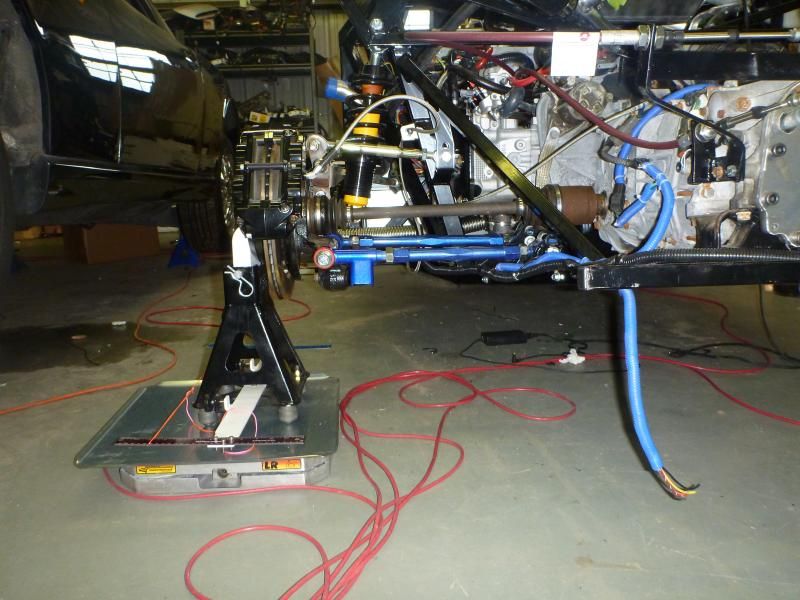
-
Administrator


-
Post Thanks / Like - 0 Thanks, 1 Likes
-
Administrator


-
818 builder

Pretty much how I did my initial setup
818S frame #13 Jdm version 8 ej207
-
Thanks for these very helpful instructions, including the addition for those without special tools.
Three questions:
1. Can I support the rear of the car with jackstands under the rear wheel hubs with three nuts holding the brake rotor in place? I think my car will be a bit higher than ride height, say 8 inches at the rear frame rail.
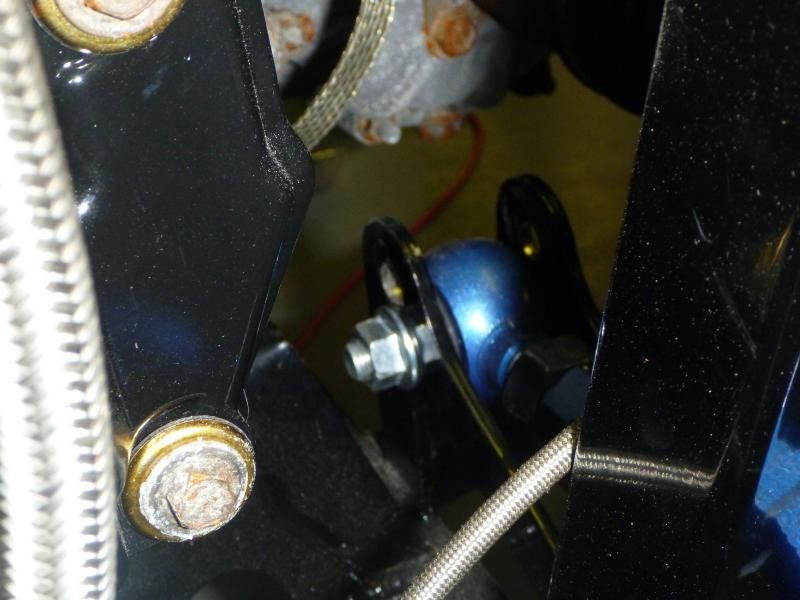
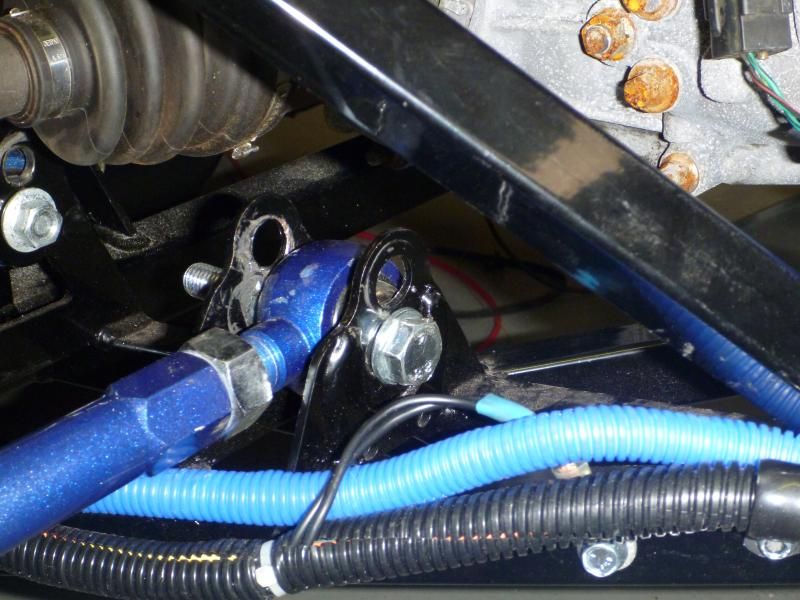
2. I am always confused by the nomenclature of the rear suspension parts. If I understand correctly, the lateral and toe links are the bars that are approximately parallel to the CV shafts. From my 2006 WRX, the one closest to the front of the car is aluminum; the one to the rear steel and had brackets attached (in the donor). Is this correct?
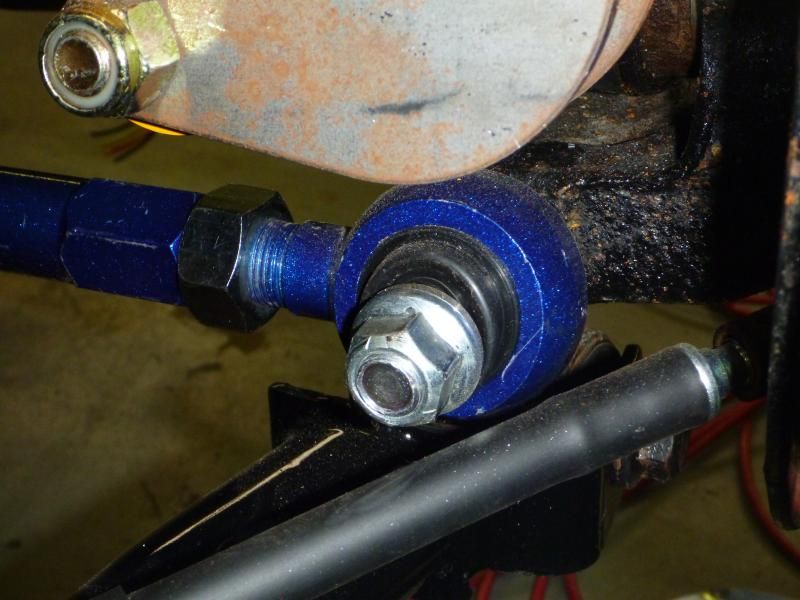
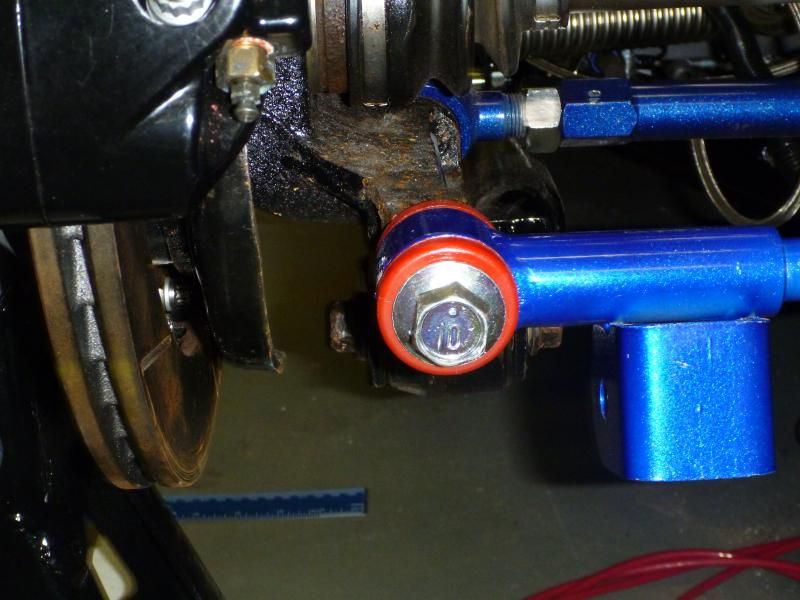
3. The idea is to adjust the Factory supplied links (gold colored) to get the lateral and toe bars (not adjustable from the donor) parallel. Adjusting the shorter upper bar will fix camber and the lower, longer bar toe. Is this approximately correct?
John
-
Administrator


1: you mean under the "drum area", probably.
2: Aluminum one is the lateral link, the one toward the rear of the car is the toe link
3: The link/arm going from the top of the spindle toward the front of the car is used to make the toe and lateral links parallel. The short one from the top of the spindle toward the transmission is used to adjust camber.
-
Senior Member

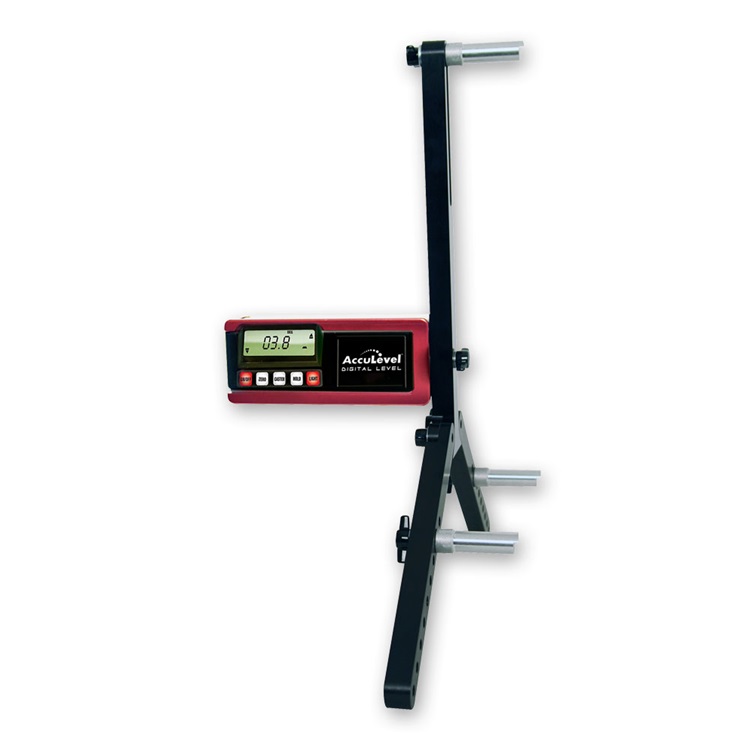
Would it be an acceptable alternative to use a digital level on each lateral link to make sure they are parallel?
-
Thanks again, Wayne. I used your measurement procedure and I think I now have parallel links by adjusting the longer rod on each side. It took me about an hour.
For camber, I attached a small line level (with a magnet glued to the end) to the brake caliper and as a check to the axle shaft. I realize accuracy is limited, but it is a starting point.
John
-
Senior Member

-
Something else that I have seen on these cars that worries me and should be fixed. Using the stock trailing arm with the way the suspension is setup pushes the hub too far reward making the lateral links angled in relation to the driveshafts when they should be parallel. When they are not parallel there is a torque that is applied to the bushings that will cause binding and some strange suspension movement. Length adjusted trailing arms, while at first may not sound like much, will completely transform the way the car drives. It makes it much quicker to respond to inputs and makes the movement of the rear suspension much more fluid.
Check out these trailing arms below that are length adjusted for a specific amount of lowering. They are specifically setup for the Impreza chassis in terms of length adjustment for lowering, but some measurements could be taken to figure out what is appropriate for this chassis.
http://turninconcepts.com/impreza-re...-bushings.html
Tony
Last edited by Turn In Concepts; 10-14-2014 at 09:01 AM.
-
Tazio Nuvolari wannabe


Originally Posted by
Turn In Concepts

Something else that I have seen on these cars that worries me and should be fixed. Using the stock trailing arm with the way the suspension is setup pushes the hub too far reward making the lateral links angled in relation to the driveshafts when they should be parallel. When they are not parallel there is a torque that is applied to the bushings that will cause binding and some strange suspension movement. Length adjusted trailing arms, while at first may not sound like much, will completely transform the way the car drives. It makes it much quicker to respond to inputs and makes the movement of the rear suspension much more fluid.
Check out these trailing arms below that are length adjusted for a specific amount of lowering. They are specifically setup for the Impreza chassis in terms of length adjustment for lowering, but some measurements could be taken to figure out what is appropriate for this chassis.
http://turninconcepts.com/impreza-re...-bushings.html
Tony
I am building an R. I am working on my rear suspension and I find your comment fascinating. I have not discussed this with FFR but I have been concerned that the axles were coming out of the transaxle and angling forward. This seems typical. I would think that you would want the lateral arms to be near perpendicular to the longitudinal axis. I do not understand the FFR geometry and why it is not all parallel and perpendicular to begin with.
I have also tried to hit some of the rear suspension geometry points that FFR gave me. I have modeled my suspension in Racing Aspirations.
I am using STi rear uprights and a six-speed. I don't know if there are subtle differences in the geometries of the WRX/five-speed and what I'm doing.
Please elaborate on your comment or, anyone else that has insight, please share it.
Last edited by Scargo; 01-28-2015 at 07:16 PM.
-

Originally Posted by
Turn In Concepts

Something else that I have seen on these cars that worries me and should be fixed. Using the stock trailing arm with the way the suspension is setup pushes the hub too far reward making the lateral links angled in relation to the driveshafts when they should be parallel. When they are not parallel there is a torque that is applied to the bushings that will cause binding and some strange suspension movement. Length adjusted trailing arms, while at first may not sound like much, will completely transform the way the car drives. It makes it much quicker to respond to inputs and makes the movement of the rear suspension much more fluid.
Check out these trailing arms below that are length adjusted for a specific amount of lowering. They are specifically setup for the Impreza chassis in terms of length adjustment for lowering, but some measurements could be taken to figure out what is appropriate for this chassis.
http://turninconcepts.com/impreza-re...-bushings.html
Tony
Has anyone sorted this issue out? I can have either the drive shafts or the lateral links perpendicular to the chassis, never both and never parallel to one another. The solution would seem to move the engine and transmission forward in the chassis. Short of this what is the best solution, drive shafts perpendicular, lateral links perpendicular or both off a bit?
-
Tazio Nuvolari wannabe

I am still waiting... I think I'll poke TIC for a follow-up response.
I feel I have upgraded my designing since I found http://www.vsusp.com/. I can model the front and rear and it's better than racing inspirations in many ways.
While you can mitigate this to a degree you still have the wheel to wheel well opening to contend with.
I don't quite understand the direction of TIC's comments other that they seem to suggest you need a trailing arm with adjustable length. I think that means that the lateral links both need to be adjustable.
I am about to start playing with the rear wheel to body fit now that I have my wheels. Because I am doing a different front suspension I posed the question elsewhere about how to locate the rear wheel centerline or the front wheel centerline. Knowing that the car was designed to have a 96" wheelbase if I knew how to locate one I could find the other.
Currently, I have the axle straight, or perpendicular to the longitudinal axis, and the lateral links angle back about 2.5° from the inner mounting points. Now I will see where the wheel fits in the body's opening. I will most likely have to get longer trailing arm rods. I am at 21-1/16 between centers and feel I need 17-1/2" rods for my setup. I've got my 16-1/2" rods screwed out to a point that I don't like the minimal thread engagement. Again, I have an odd setup and don't really know if I will have to move the rear wheels forward or not just yet. I'l know pretty soon though.
-
Senior Member

This is such a useful thread about critical settings of the rear suspension that I'm bringing it to the top. (Thanks Wayne)
818S/C : Chassis #25 with 06 WRX 2.5 turbo, ABS, cruise, PS, A/C, Apple CarPlay, rear camera, power windows & locks, leather & other complexities. Sold 10/19 with 5,800 miles.
Mk3 Roadster #6228 4.6L, T45, IRS, PS, PB, ABS, Cruise, Koni's, 17" Halibrands, red w/ silver - 9K miles then sold @ Barrett-Jackson Jan 2011 (got back cash spent).
-
Administrator


Originally Posted by
AZPete

This is such a useful thread about critical settings of the rear suspension that I'm bringing it to the top. (Thanks Wayne)
No problem
-
Post Thanks / Like - 1 Thanks, 0 Likes
-
Bump to top for new builders.
-
Post Thanks / Like - 0 Thanks, 1 Likes


 Thanks:
  Likes:



 Reply With Quote
