-
Senior Member

-
Senior Member
-
Senior Member
-
Senior Member
-
Senior Member

Originally Posted by
Olli

How is the windshield without the top frame when driving? Any issues with movement? It really looks a million times better!
Olli
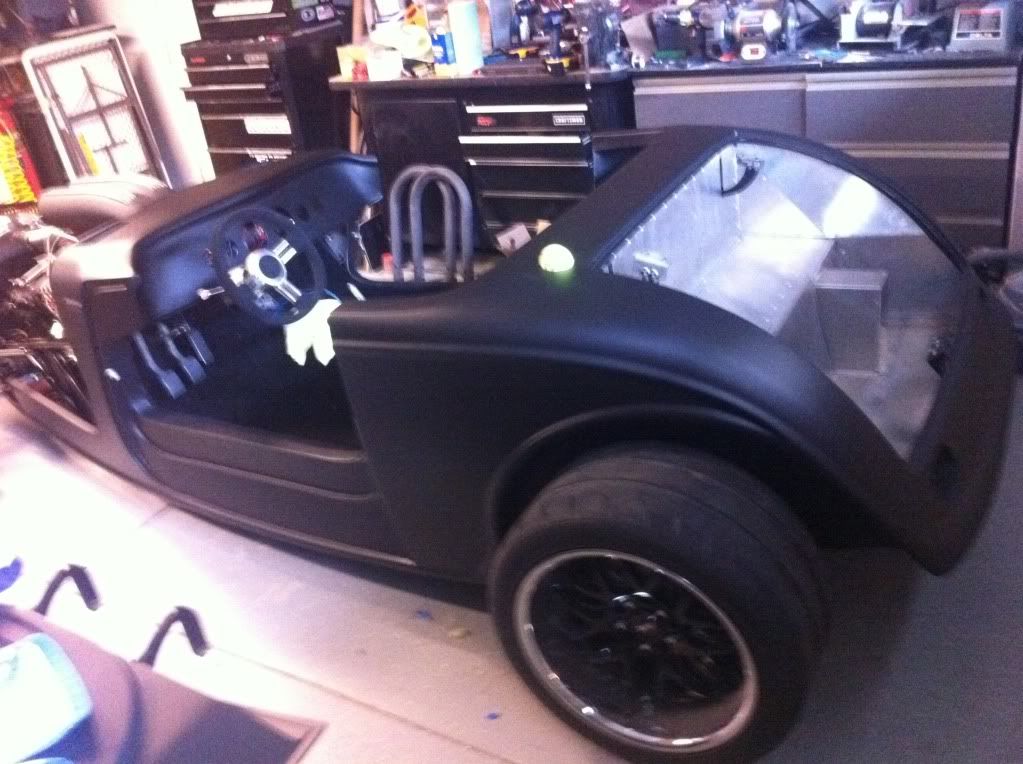
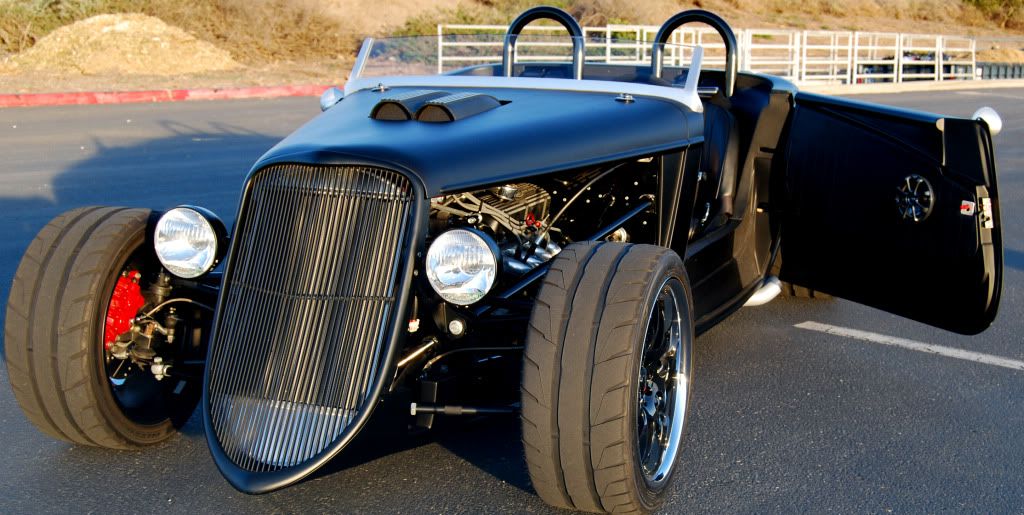
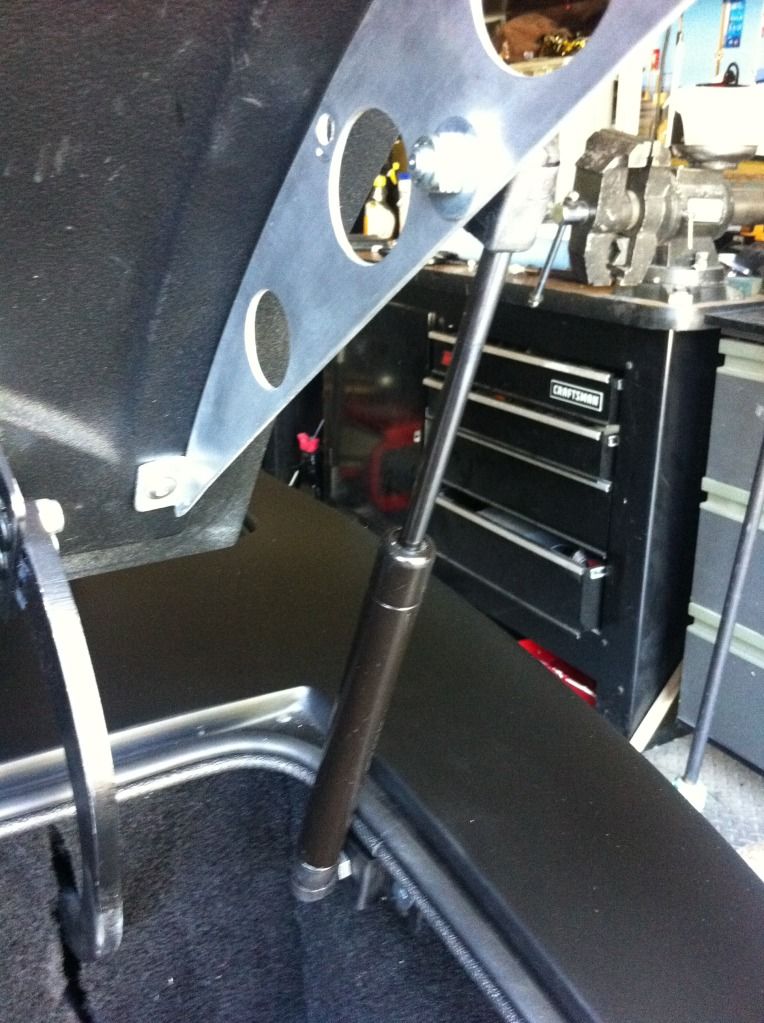
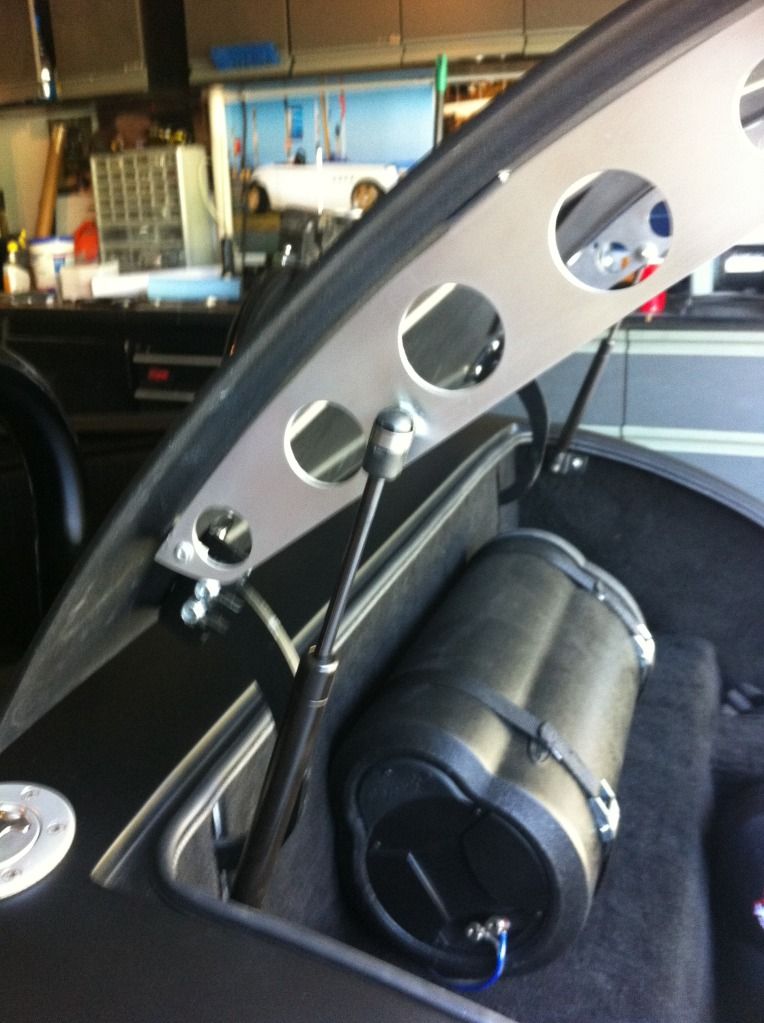
It won't move as long as you do this. Totally secure and it's made all the difference in the world. Less turbulence coming off the windshield as well. If you're 6-0" or around there and using the stock seats, that upper frame is right, and I mean RIGHT in your line of sight. So much so, I was getting surprised by red lights from time to time. What's also crazy is the amount of distortion you get at the top of the windshield...everyone and everything looks "Funhouse" tall!
Last edited by ehansen007; 09-20-2012 at 02:31 PM.
-
Senior Member
-
Senior Member
-
Senior Member
-
Senior Member
-
Senior Member
-
Senior Member
-
Senior Member
-
Senior Member
-
Senior Member
-
Senior Member
-
Senior Member
-
Senior Member
-
Senior Member
-
Senior Member
-
Senior Member
-
Senior Member
-
Senior Member
Last edited by ehansen007; 03-26-2012 at 12:47 PM.
-
Senior Member
-
Senior Member
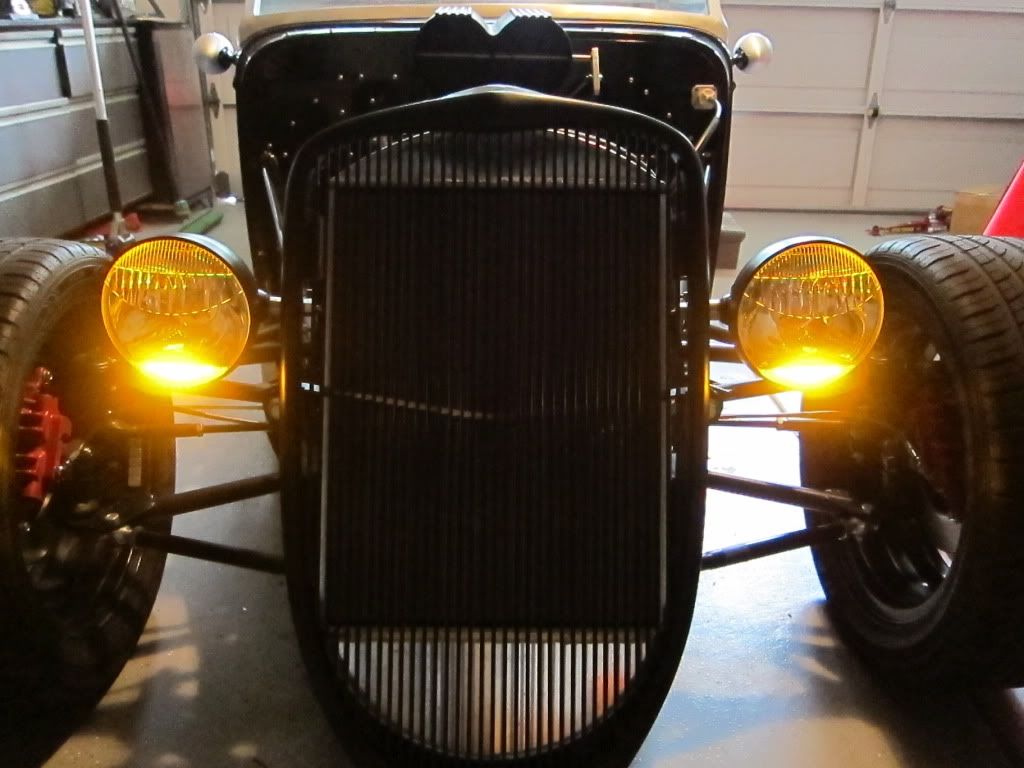
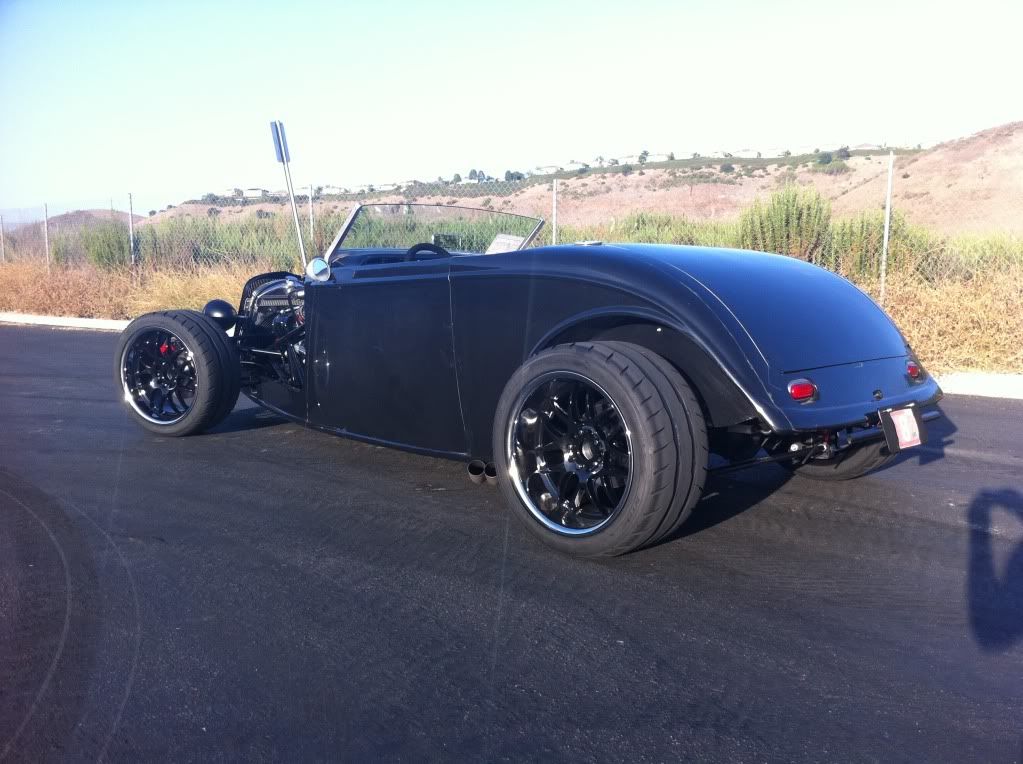
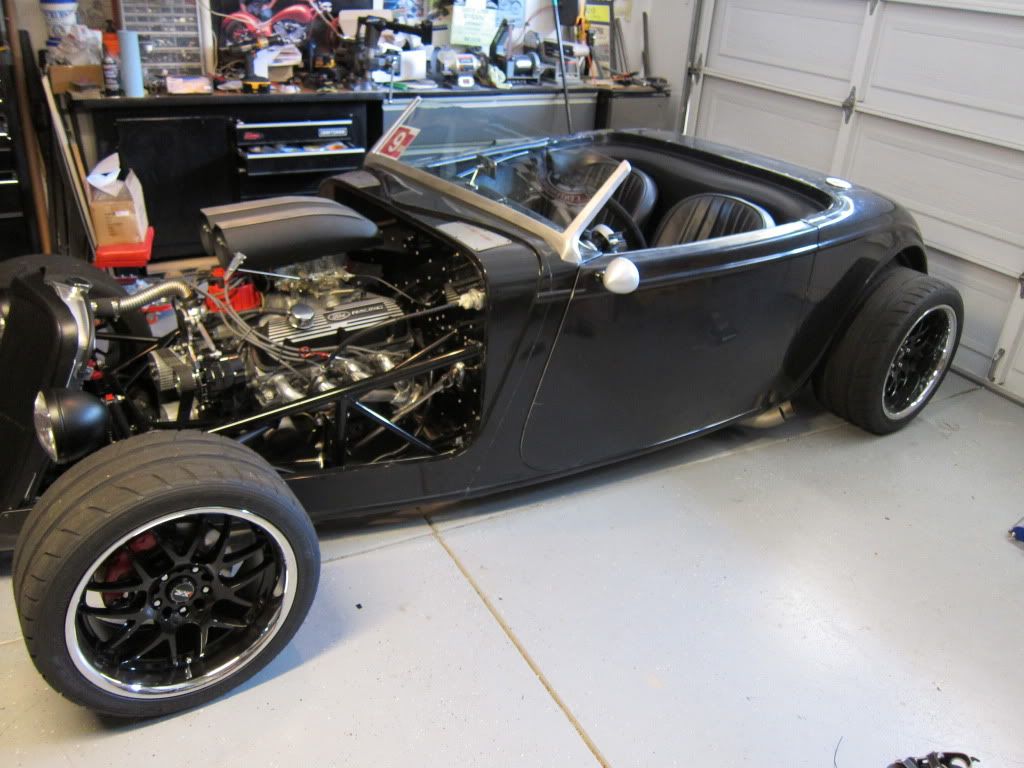
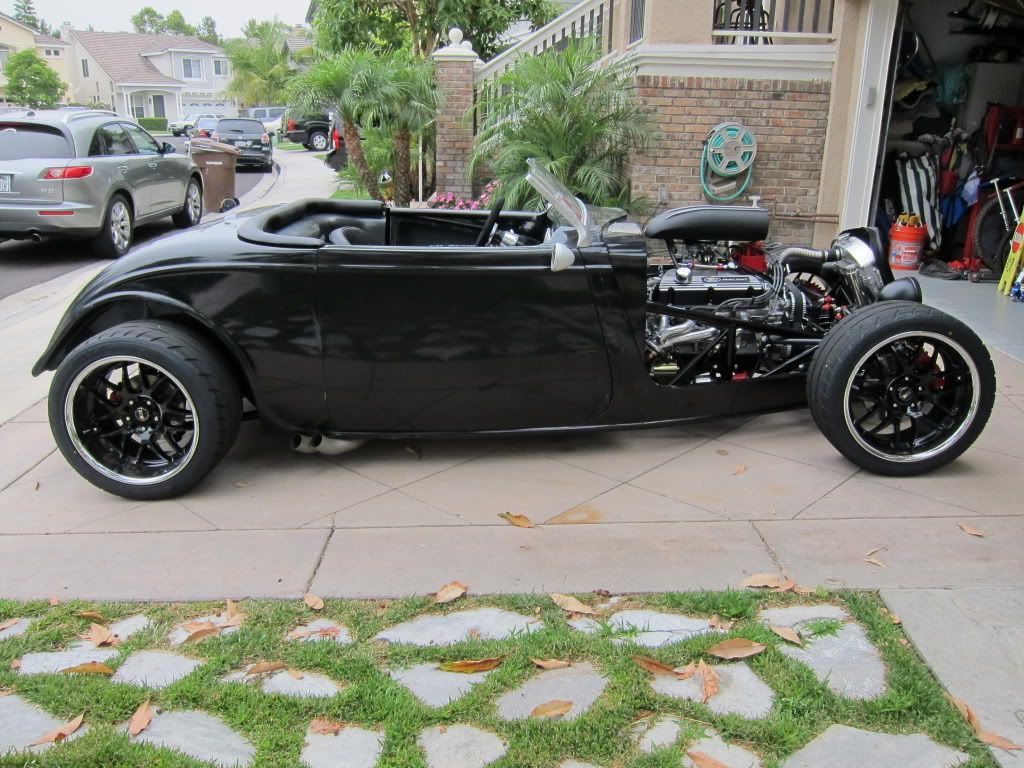
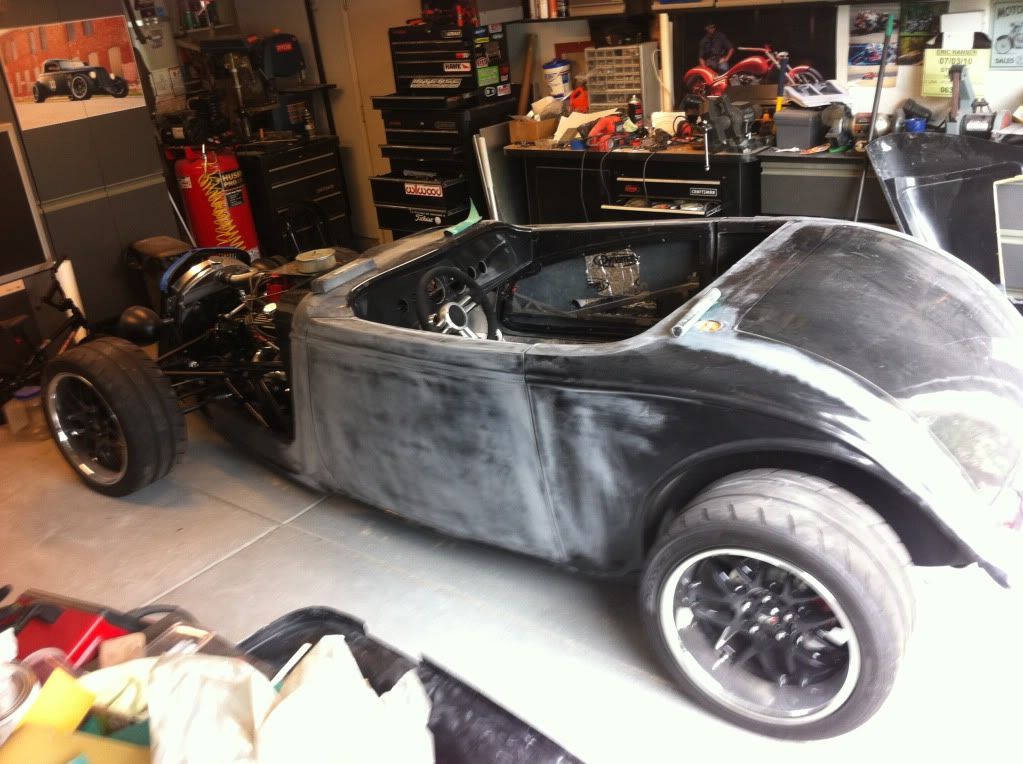
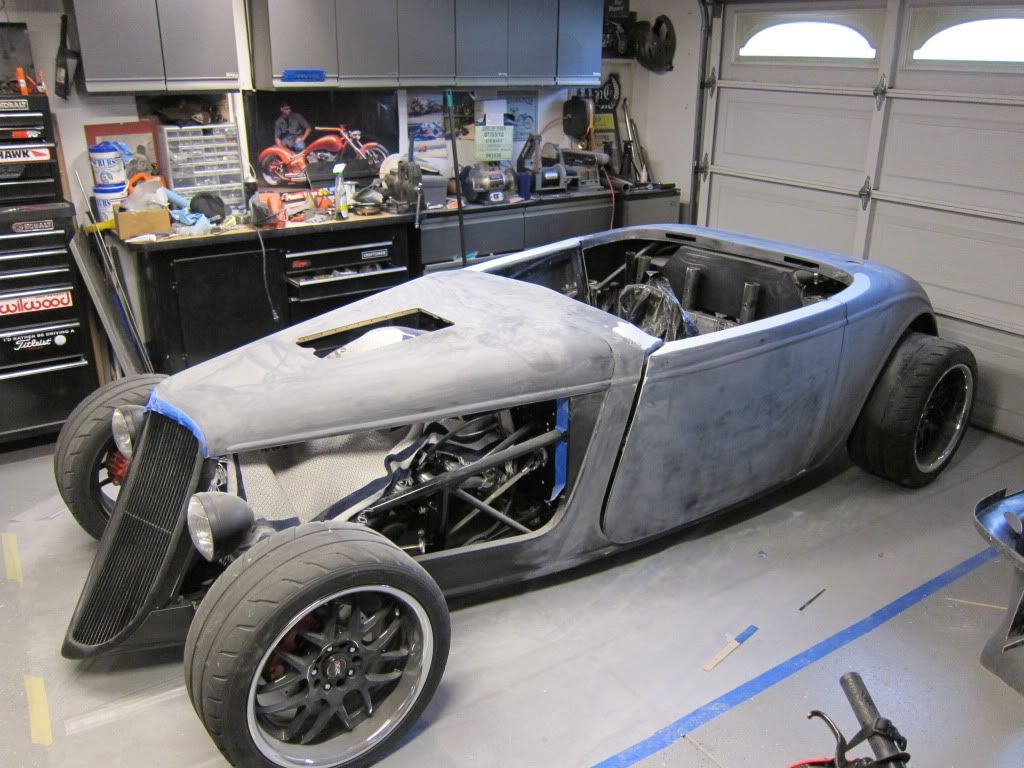
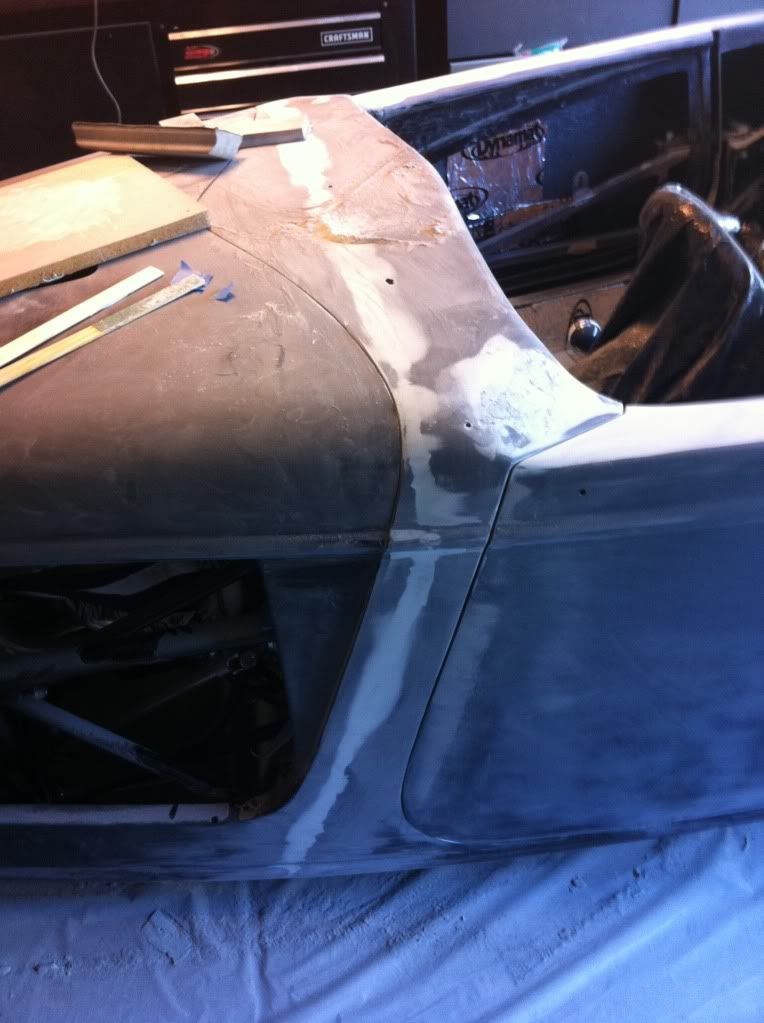
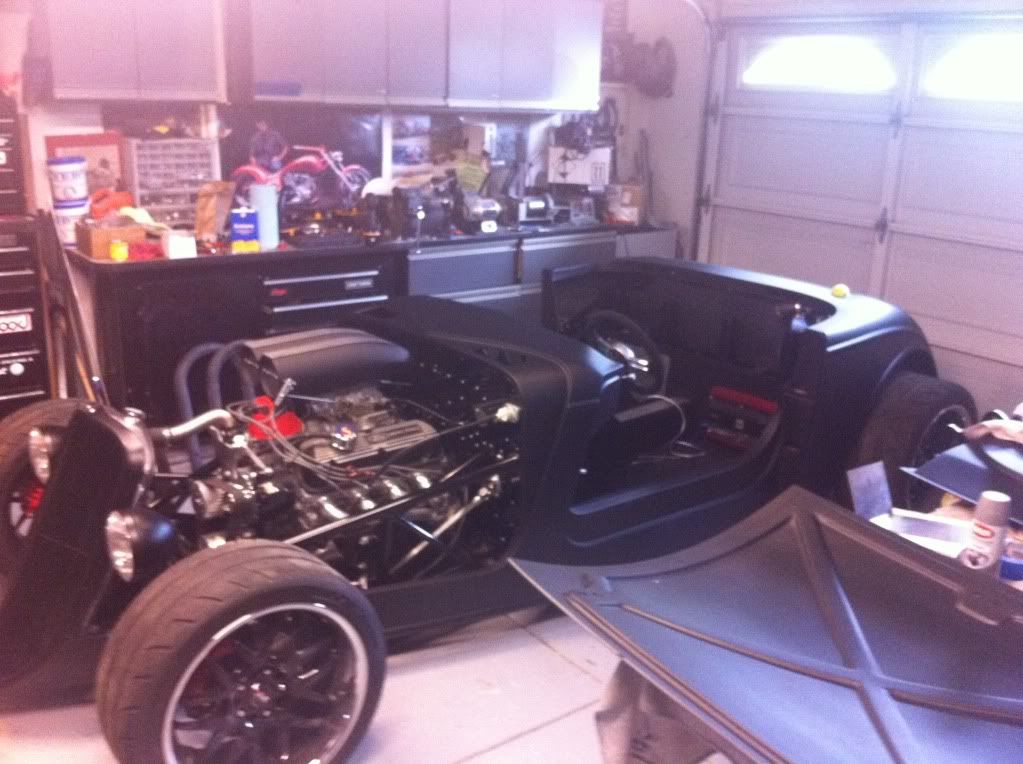
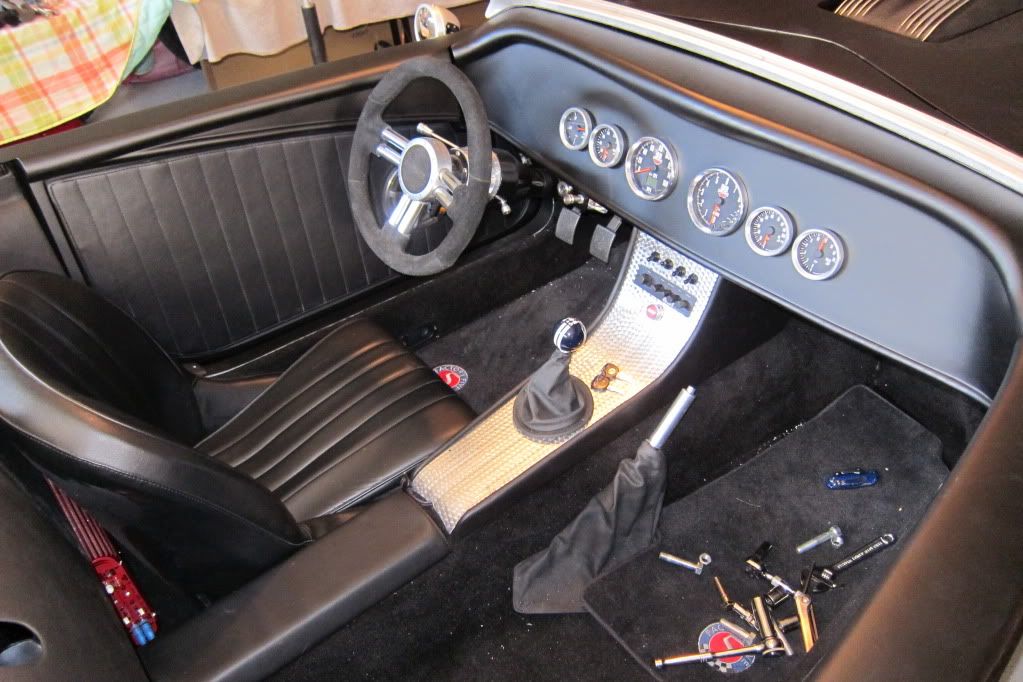
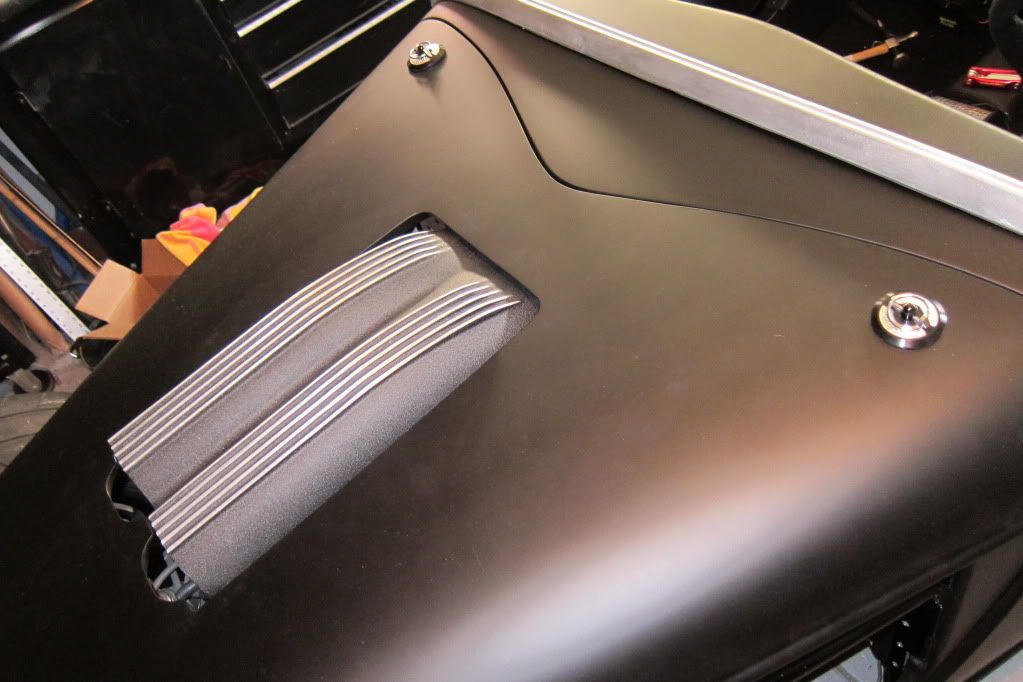
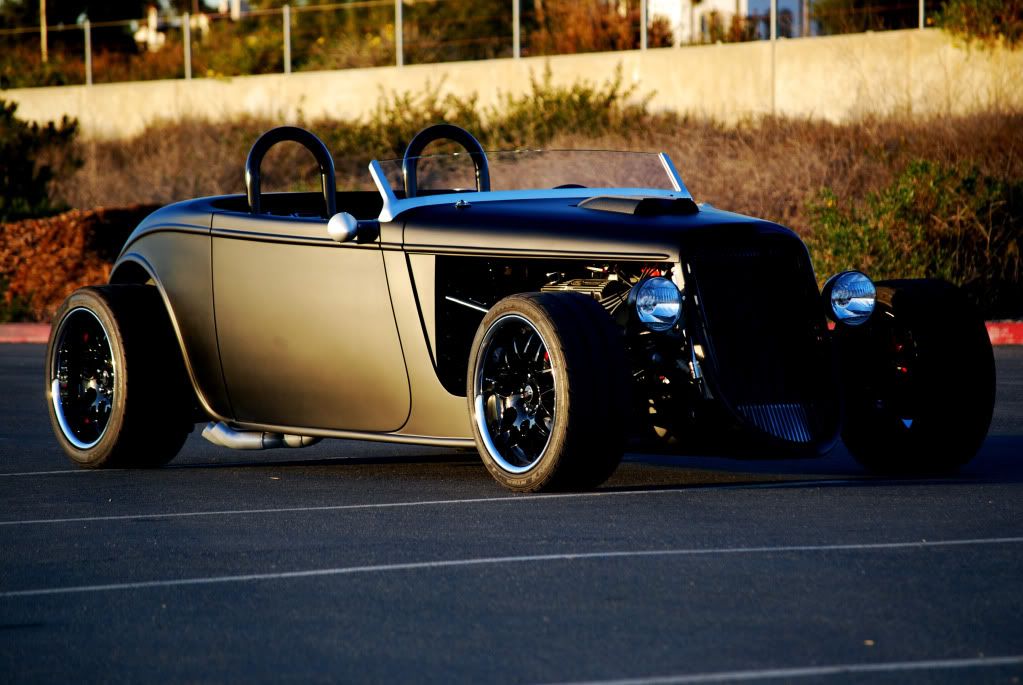
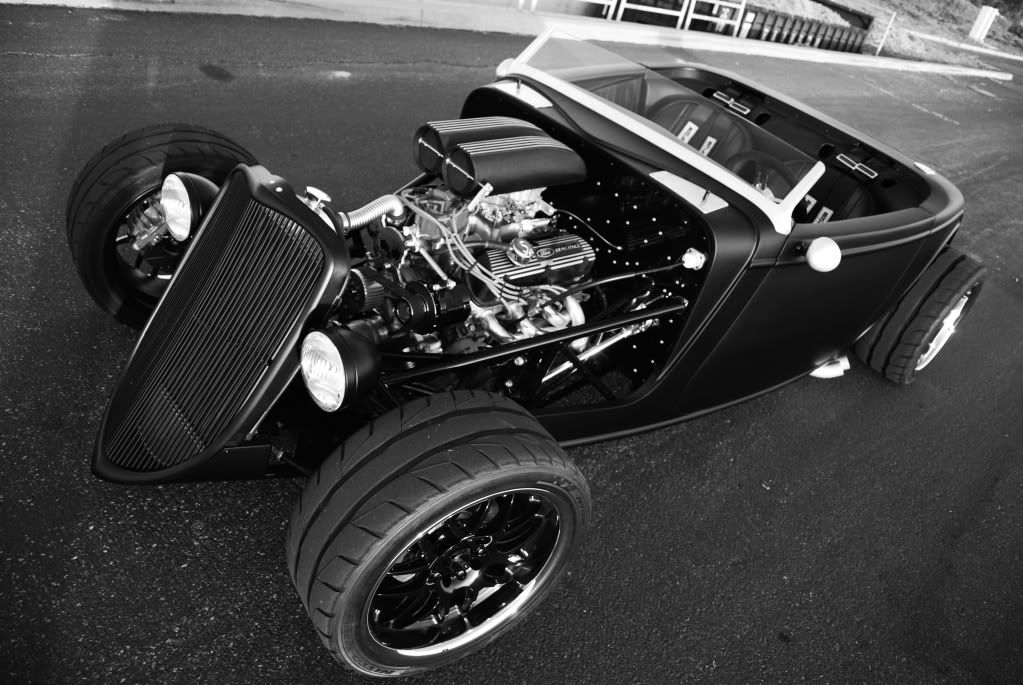
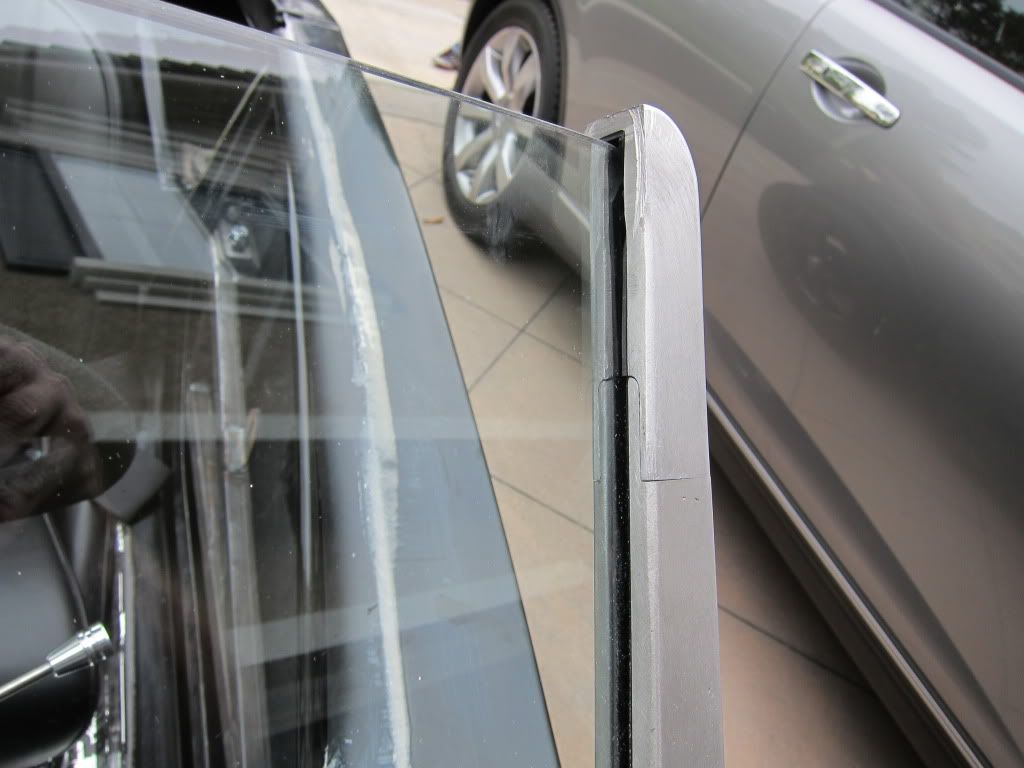
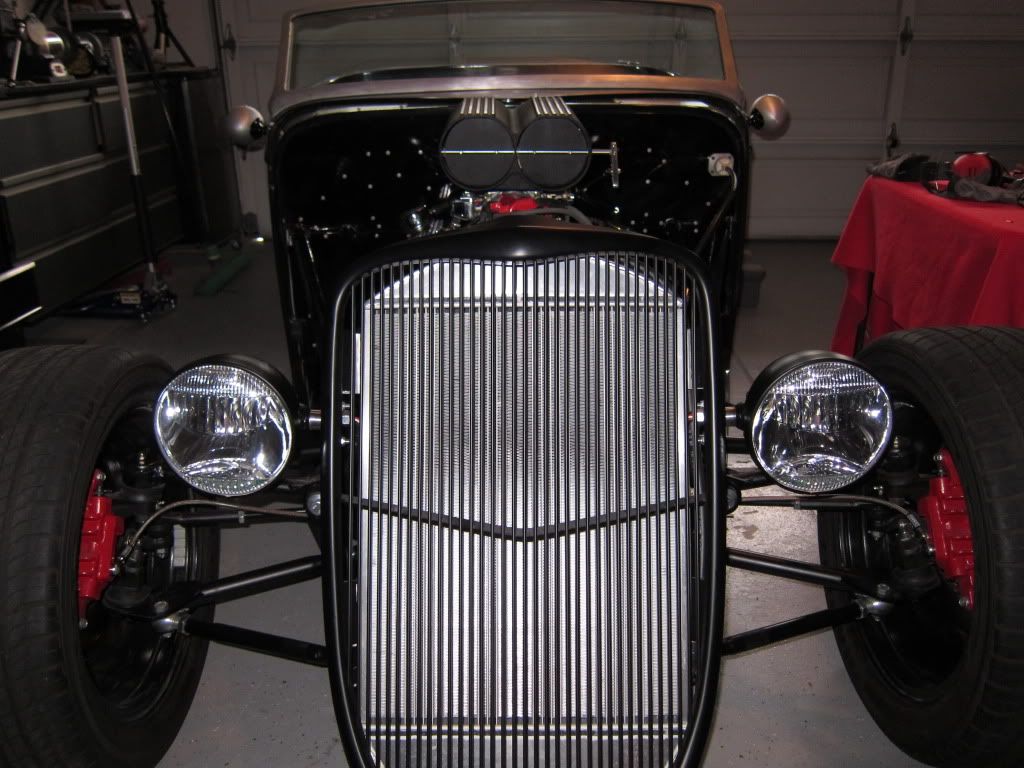
Windsheild cut down.
As you can see I'm running it pretty low. I bought some 3/8" plexiglass and had the top line polished. Then I cut the frame and rounded the edges down. It took a lot of effort to get it in down there and Ive put some good miles on it so far and it hasn't moved but I'm still going to use some 3M windshield glue to keep it in there. So far it works better than I thought. The wind just hits the top of my head and I thought it would be much worse and hit me in the eyes but nope.
-
Senior Member
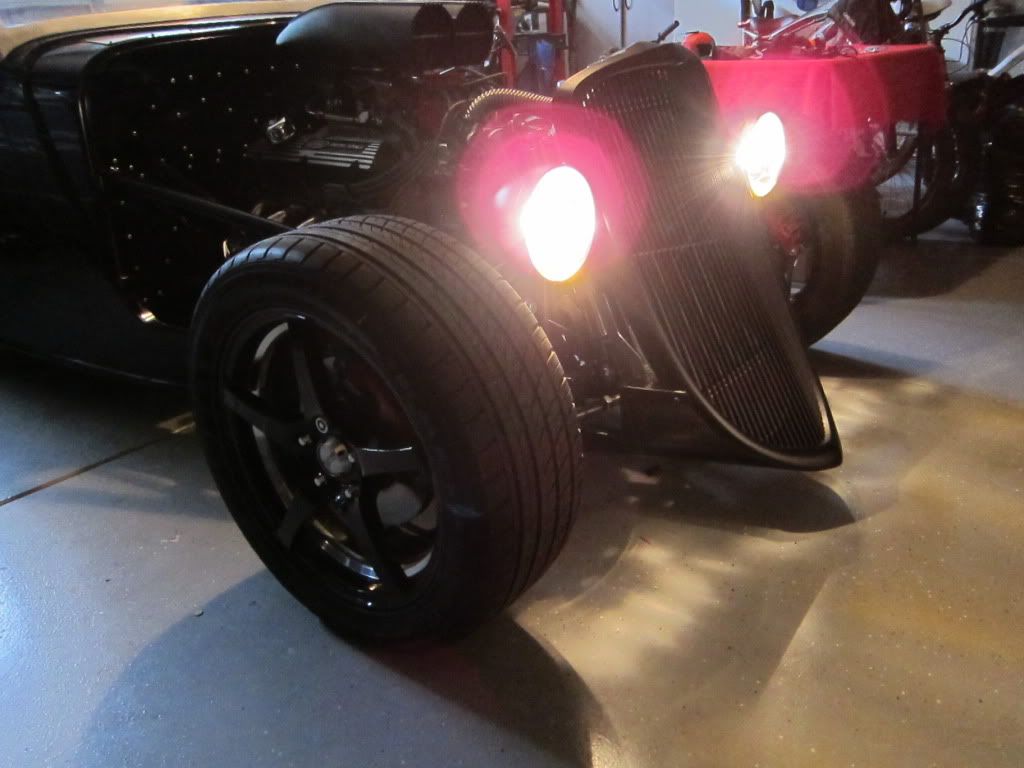
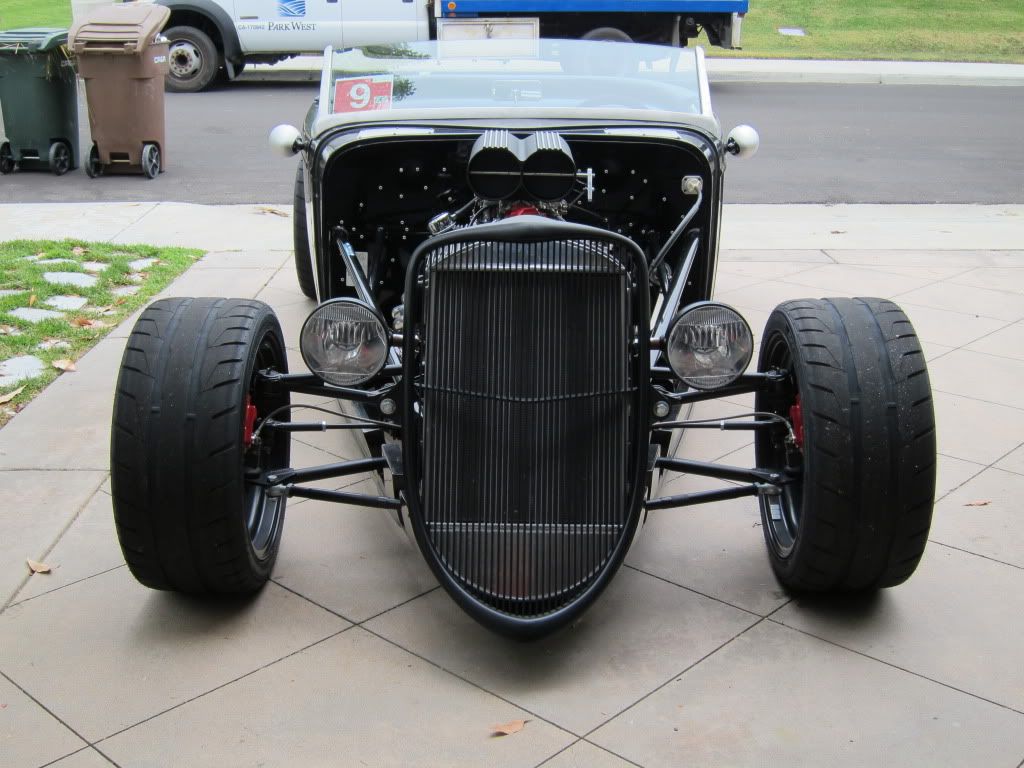
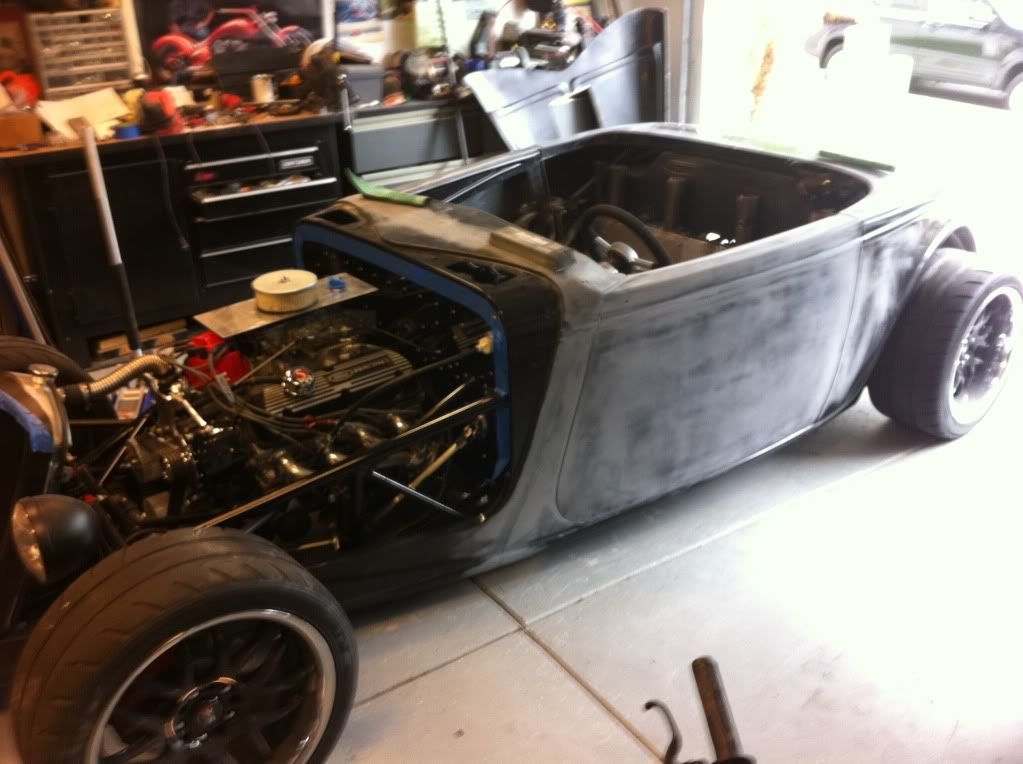
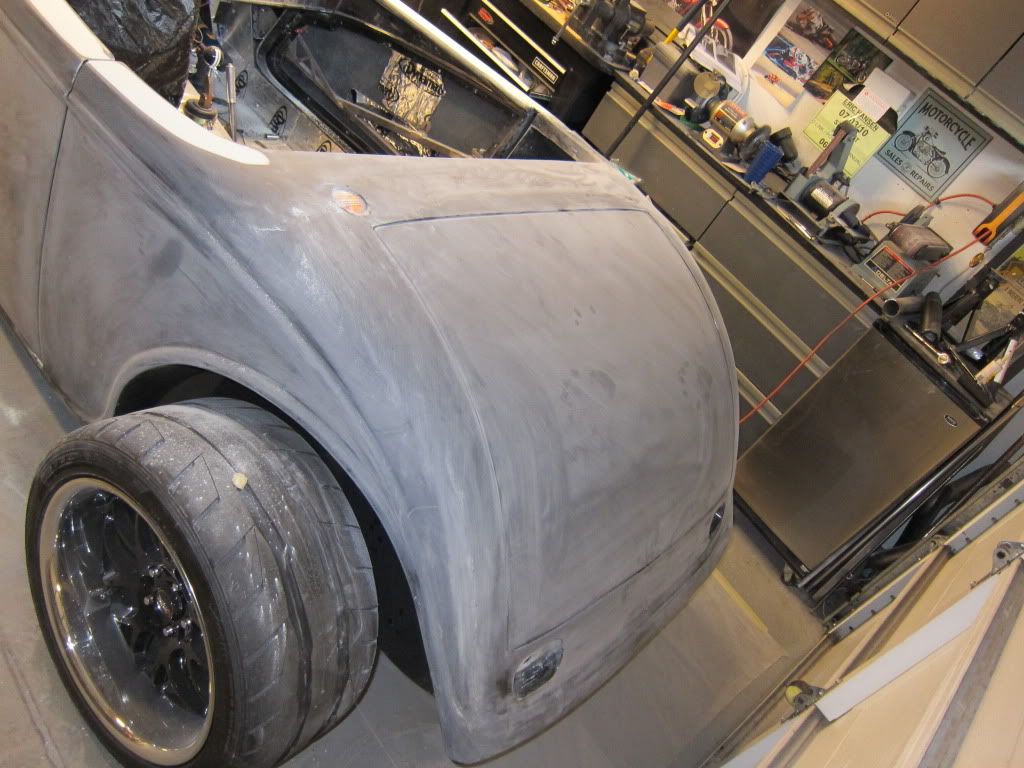
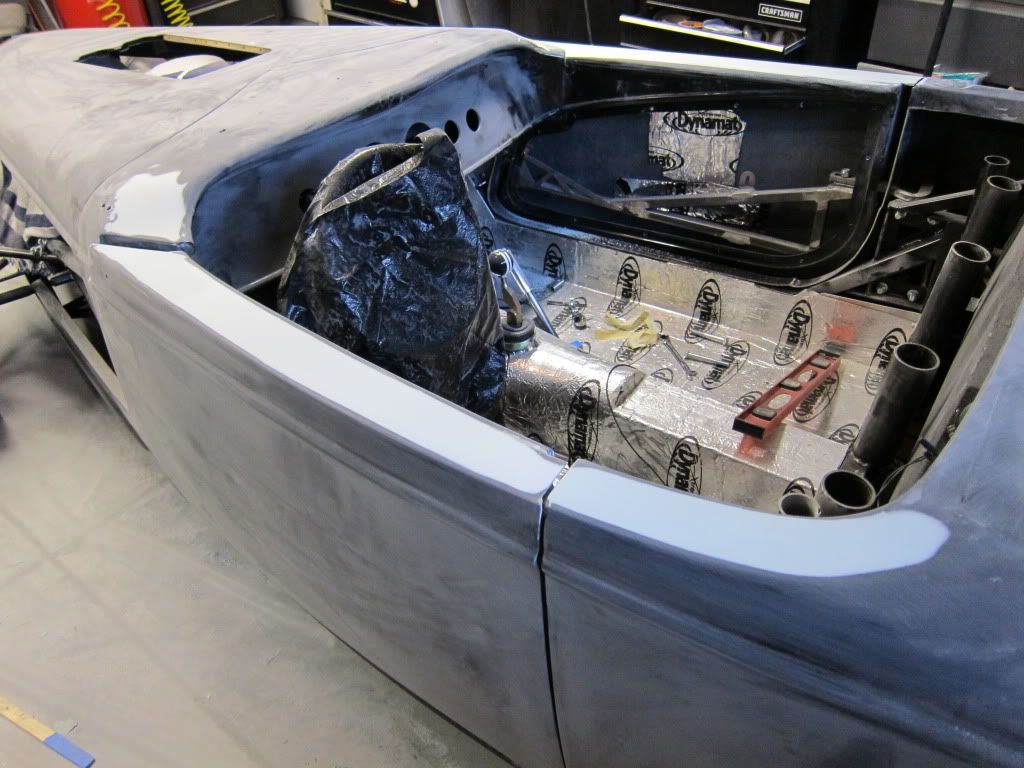
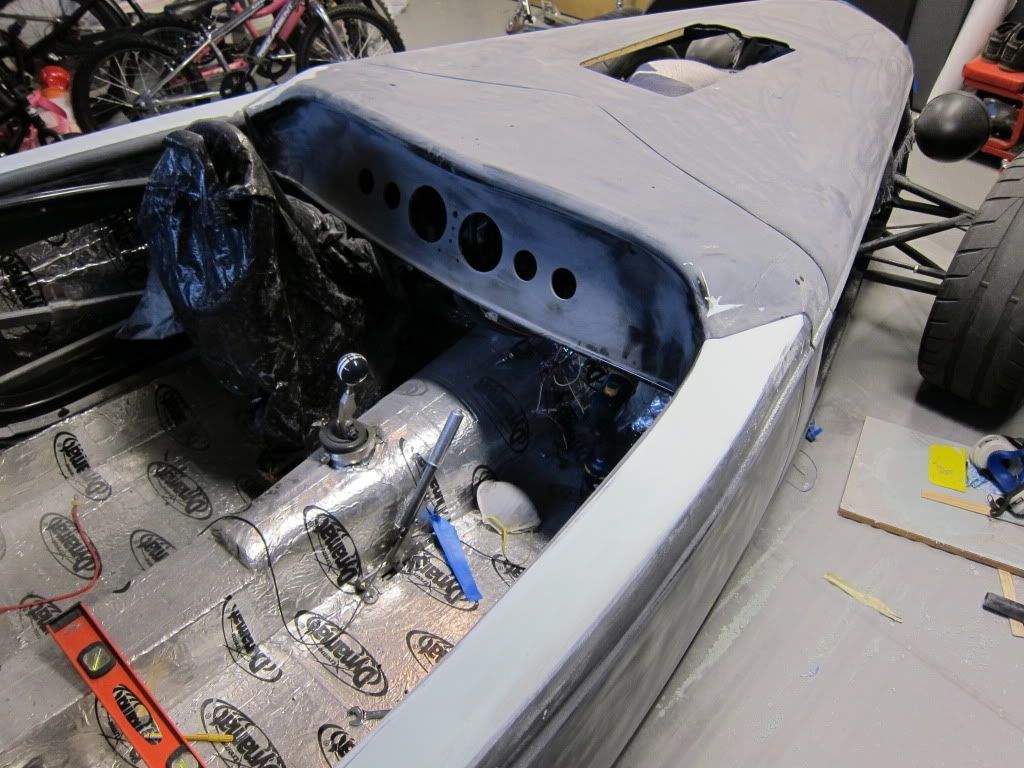
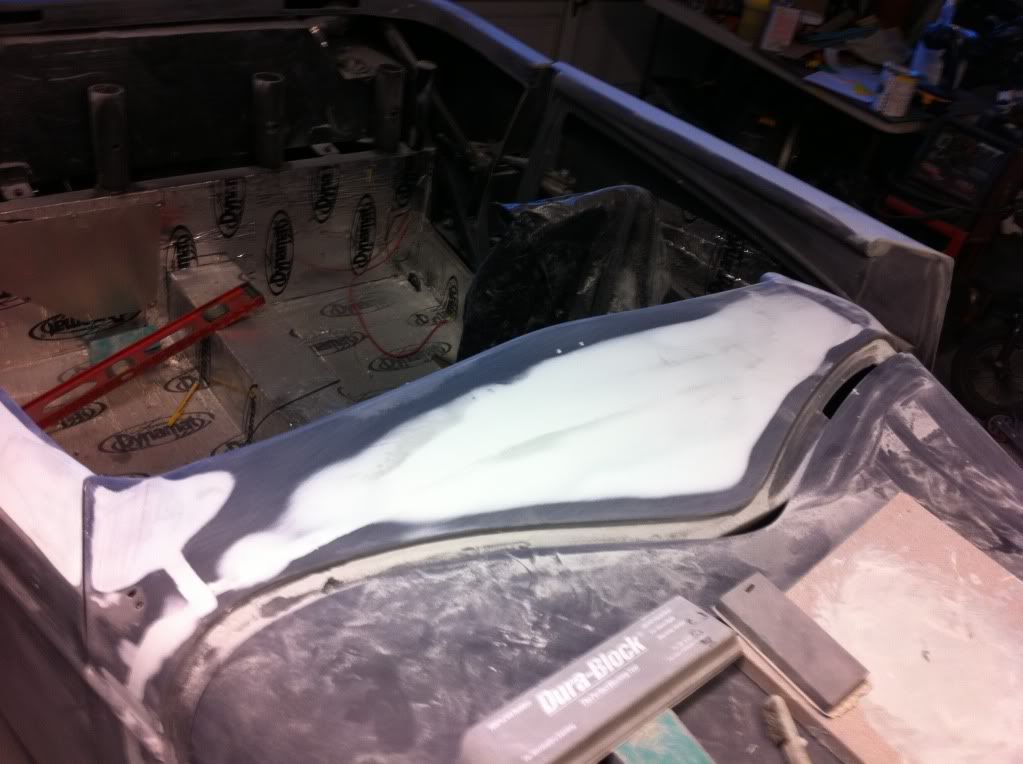
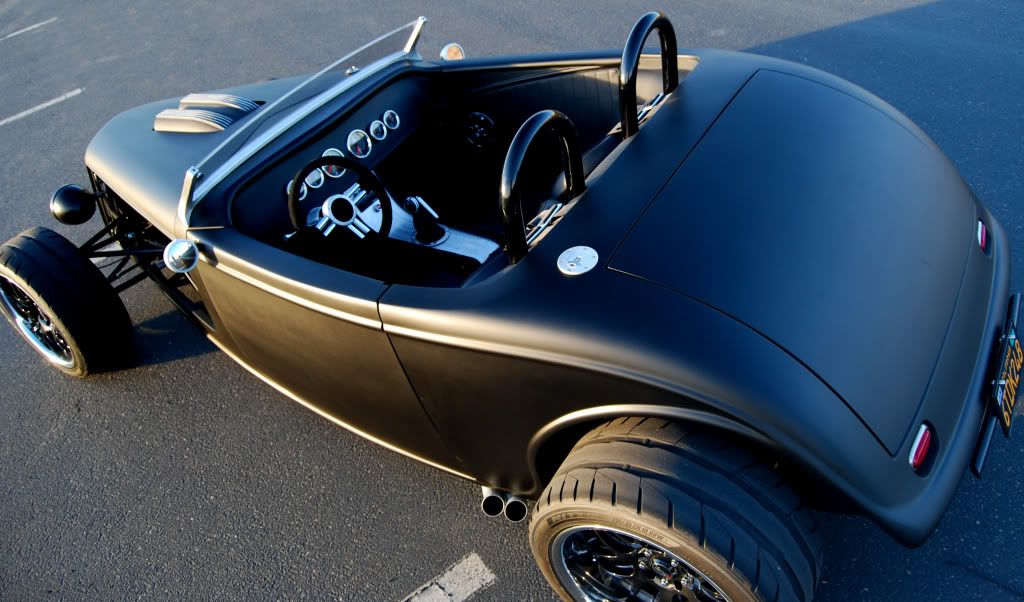
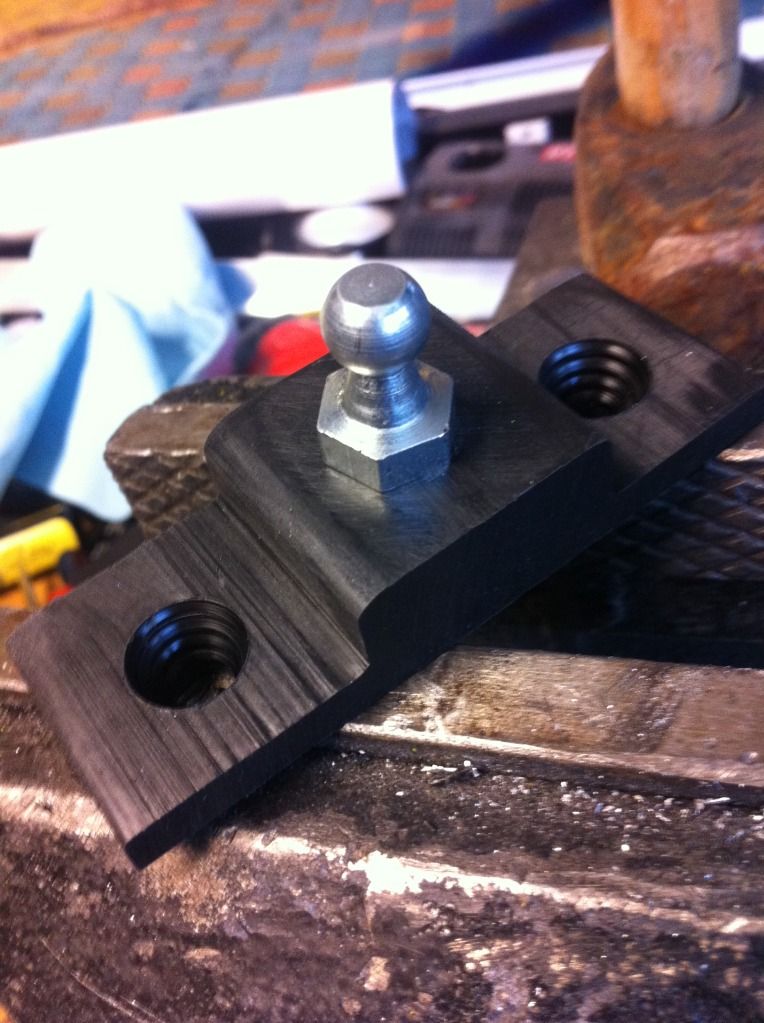
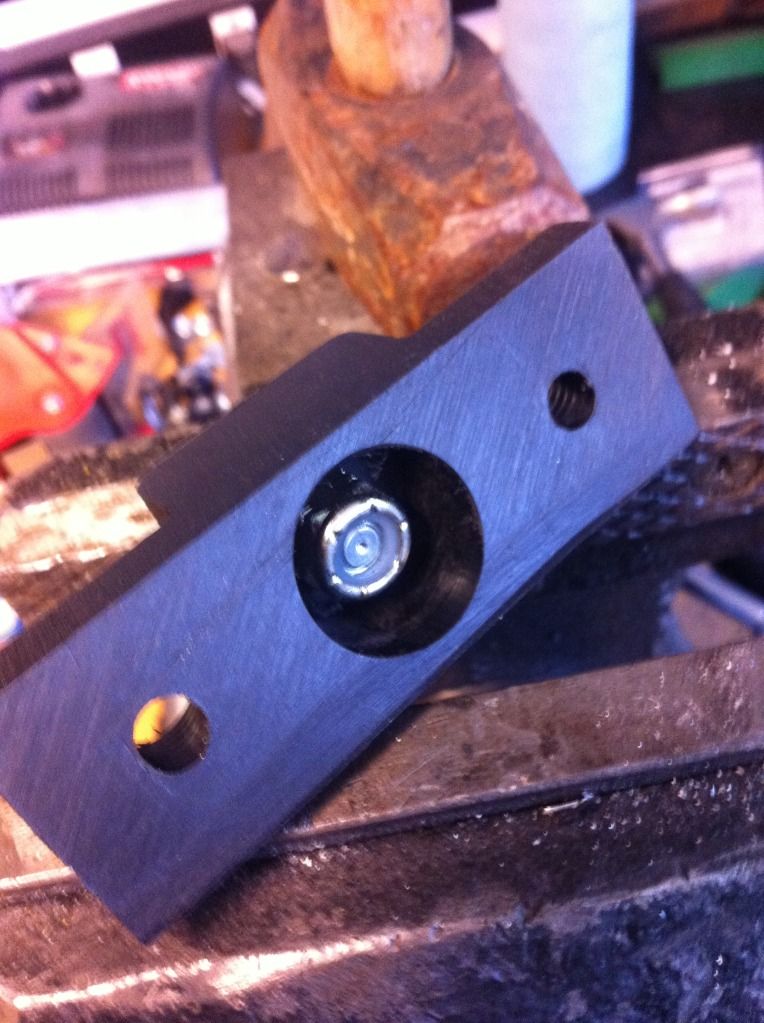
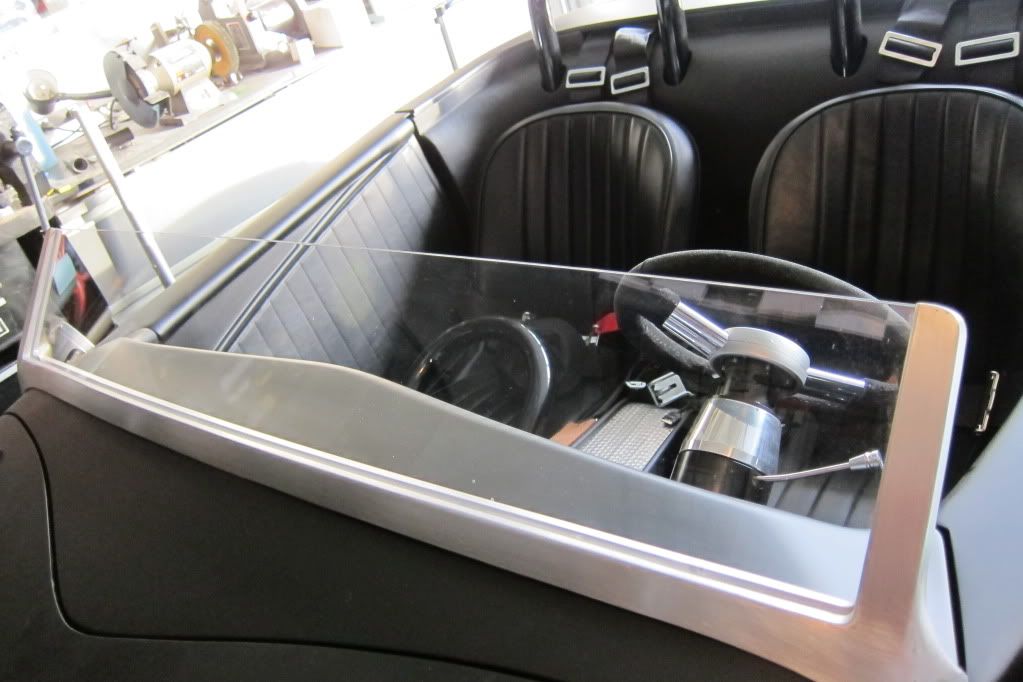
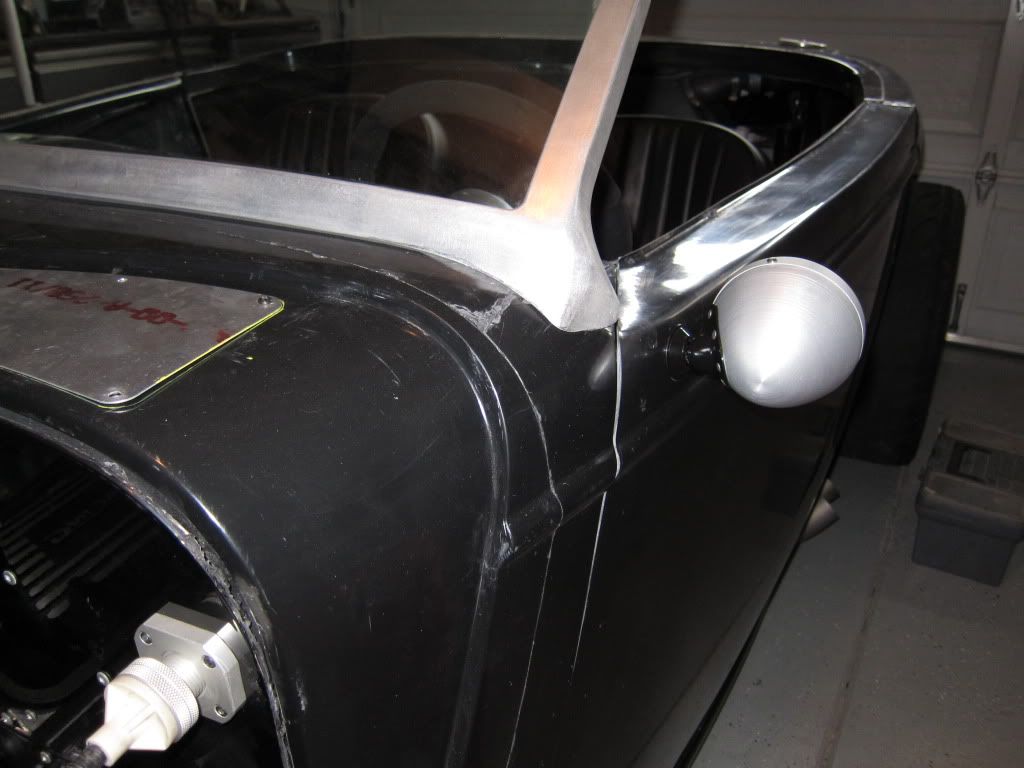
If you remember, I had cut the top windshield frame and left the top caps on to secure the windshield. This time I cut the entire male end off the frame and just rounded the edges. Much lower.
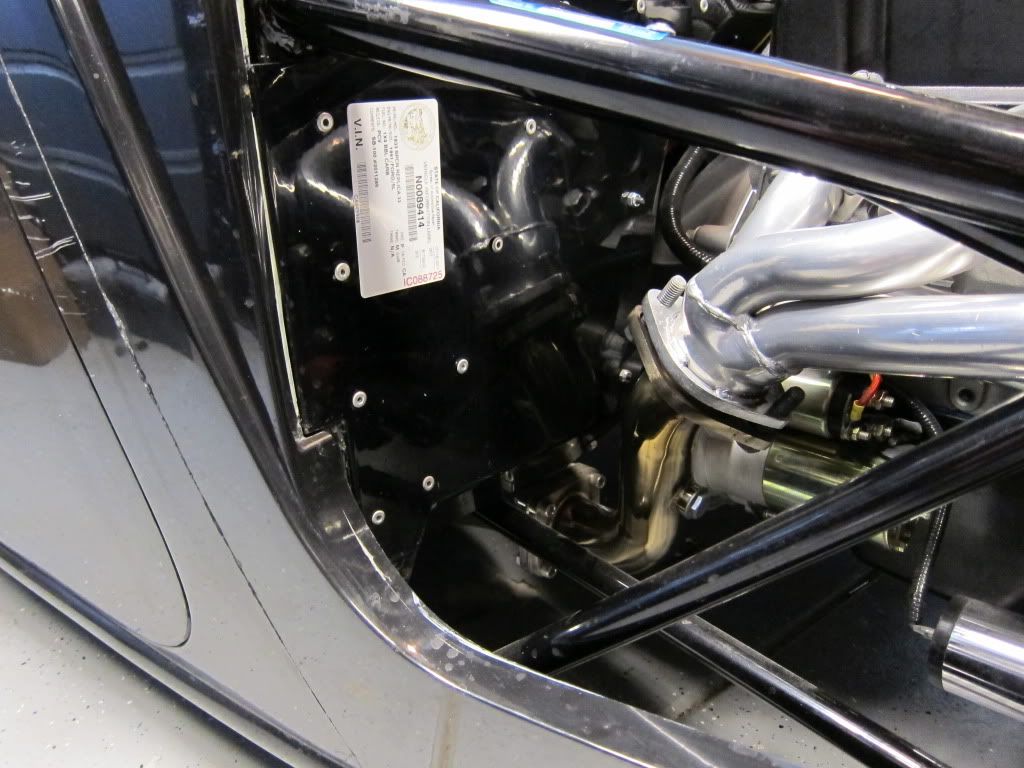
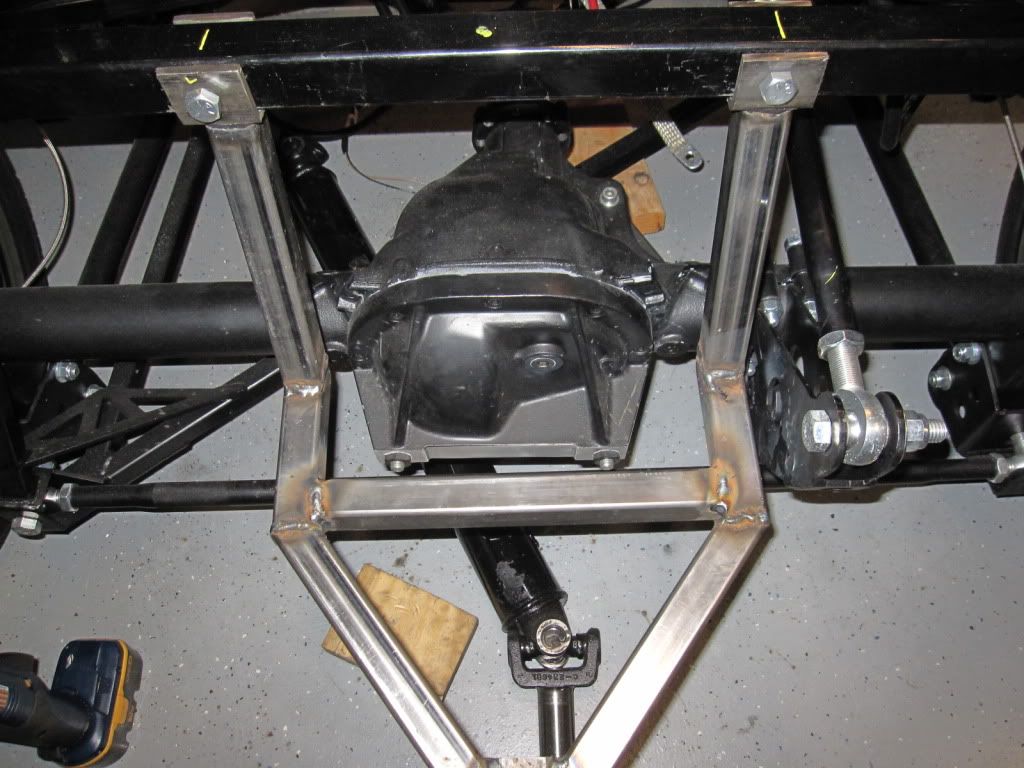
As for the tranny it's leaking from the front so it's probably the main seal. There is no way to get that thing out the bottom without moving the engine. For you builders out there make sure you make the tunnel removable!!!!!!!!!!! that is, if you're going to put in a tranny that leaks. :001_tongue:
-
Senior Member
-
Senior Member
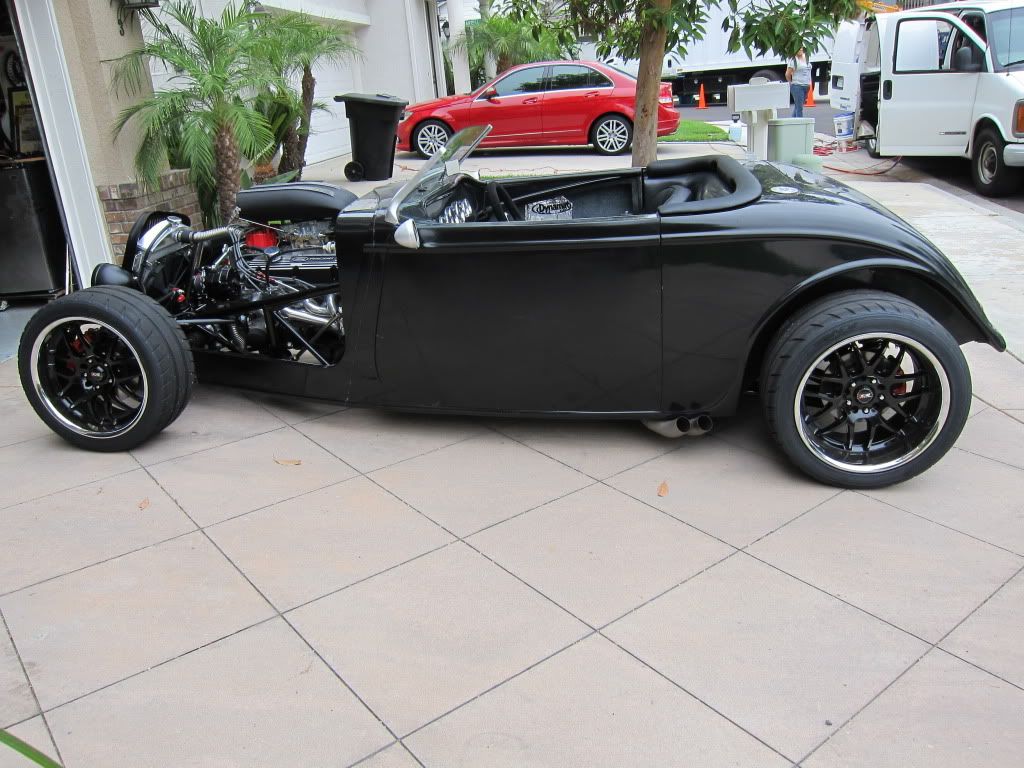
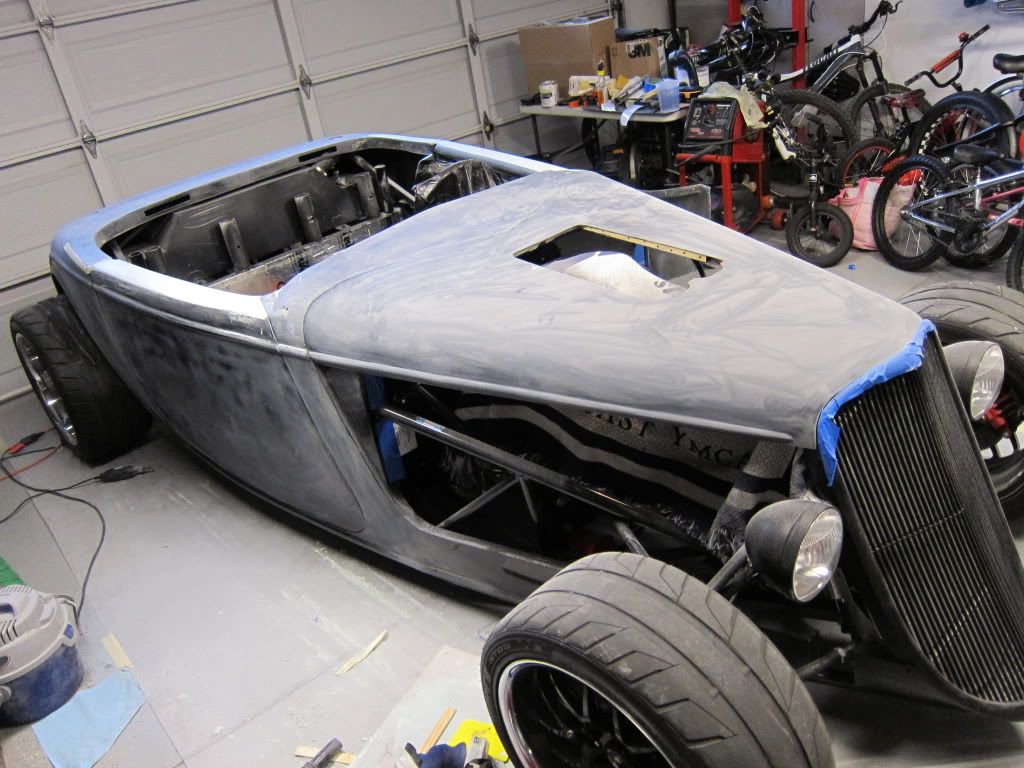
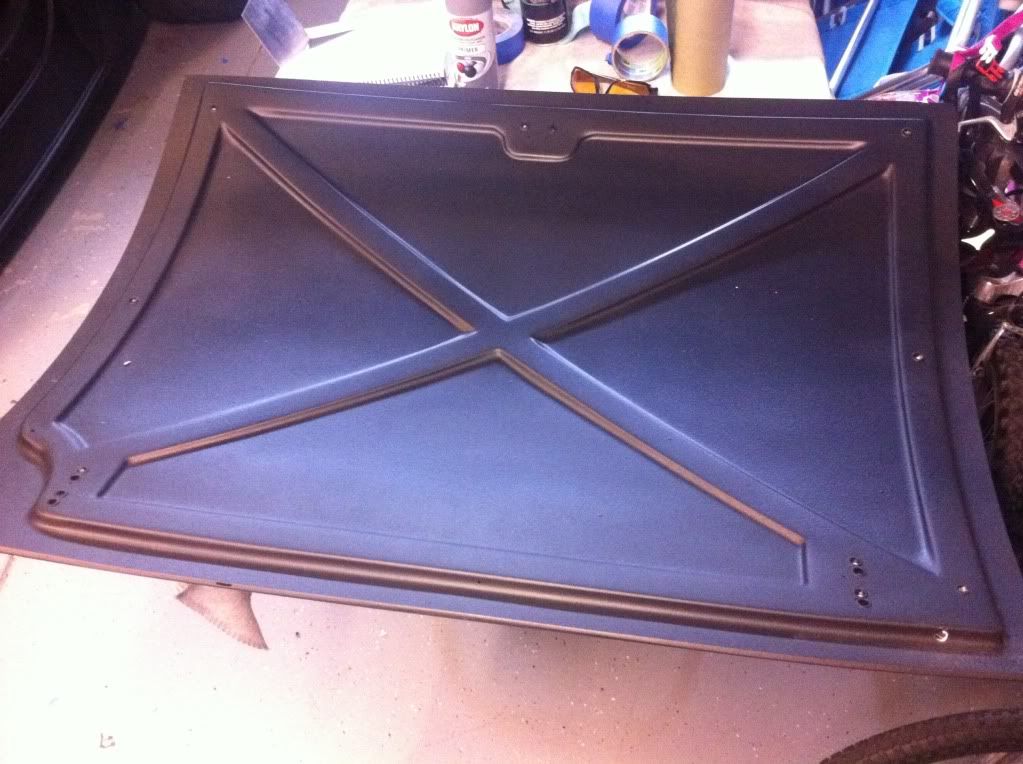
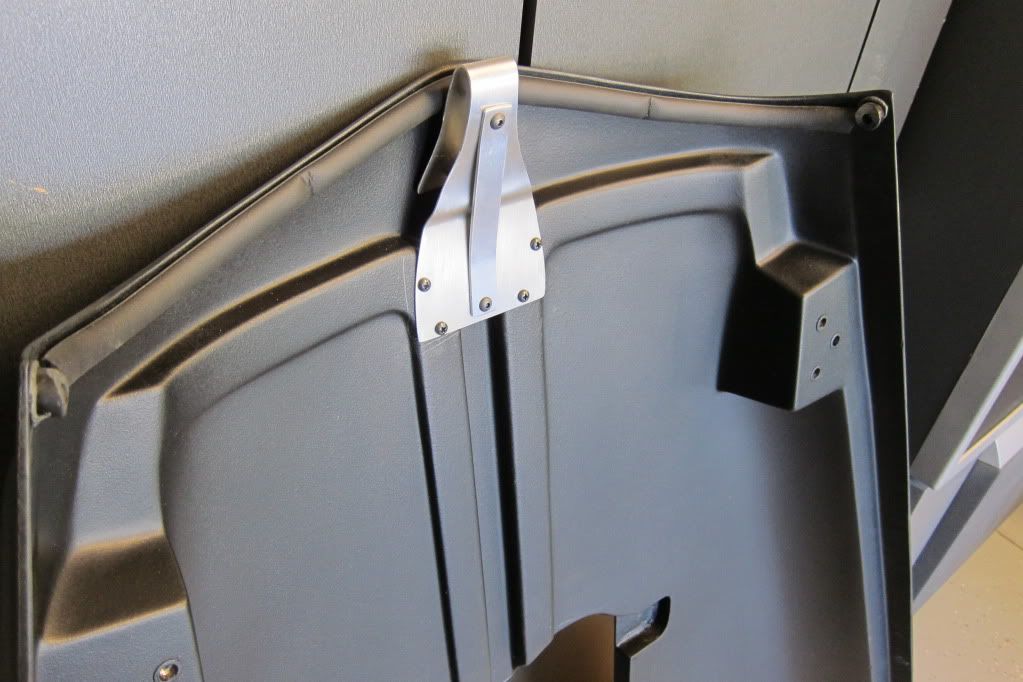
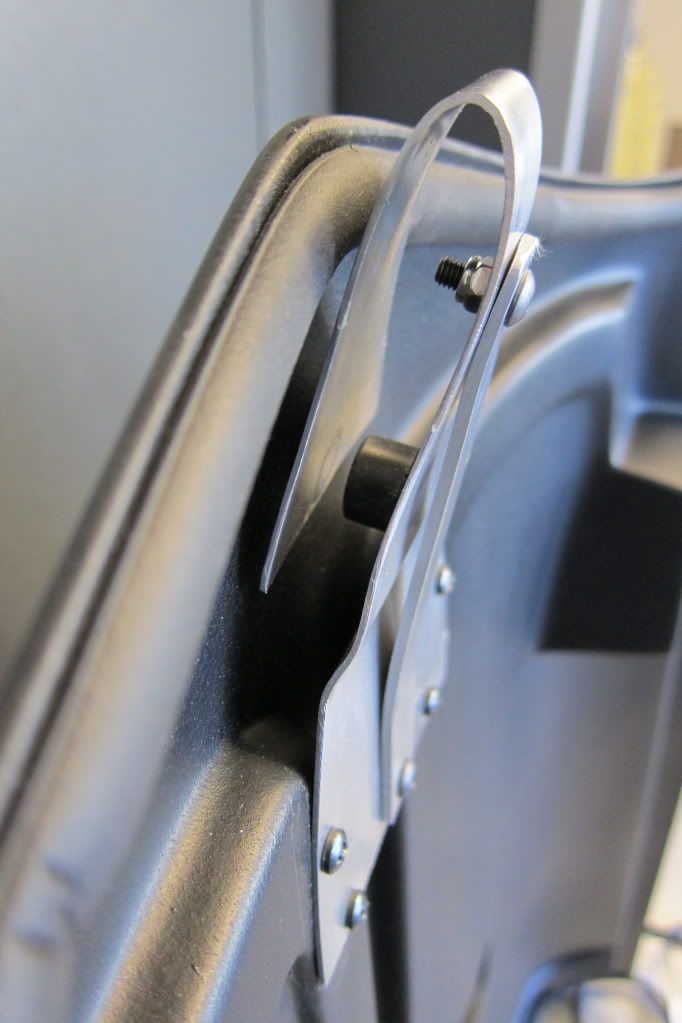
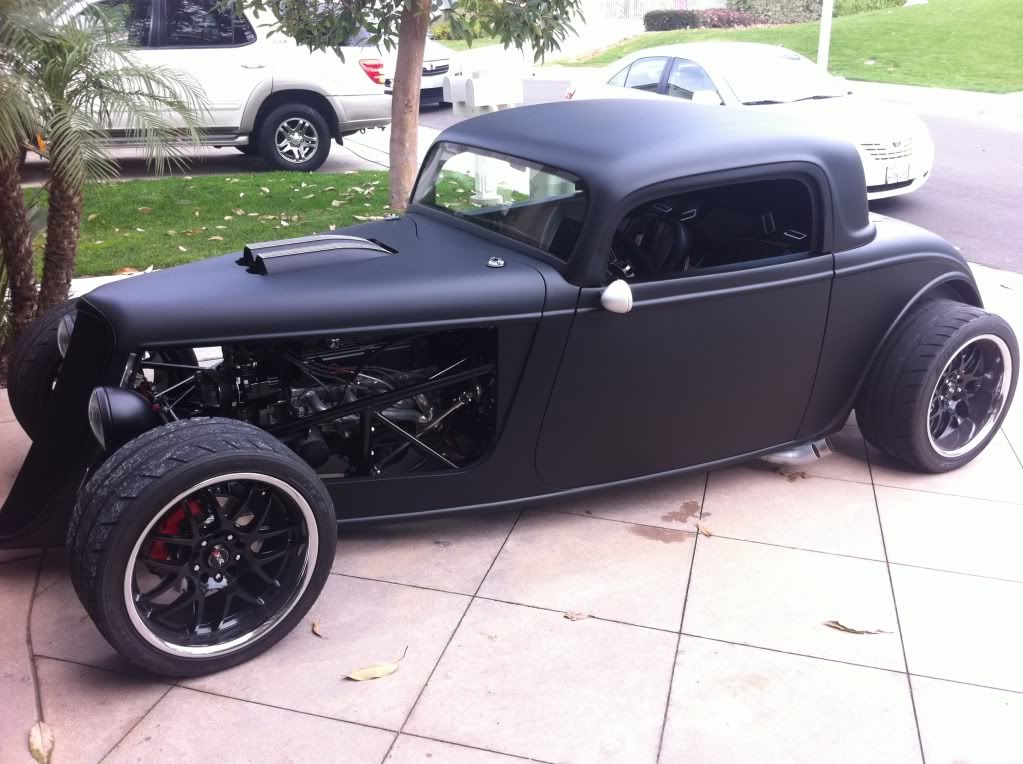
I recently put the top on and drove it around a bit. Then the temp went to 80 and it was beautiful so it came right back off. While it was on I noticed it's pretty noisy in there even with the hushmat on the inside headliner area. But I also have m exhaust out the side so that can't help. To mount it, I simplified the latch system by using the standard three bolts (planning on a quick release there too) in the front but only use two catch style latches in the back. They simply catch the body right inside my seatbelt holes so I haven't even put a single locator pin or hole in the deck area...totally clean..which is what I wanted because I don't want to run the upholstered collar they giv e you. As far as the secure-ness of it, i can't move it side or front to back. The front pretty much anchors it and the latches just hold the back down. And it takes about 15 minutes to switch between the windshield and hard top now.
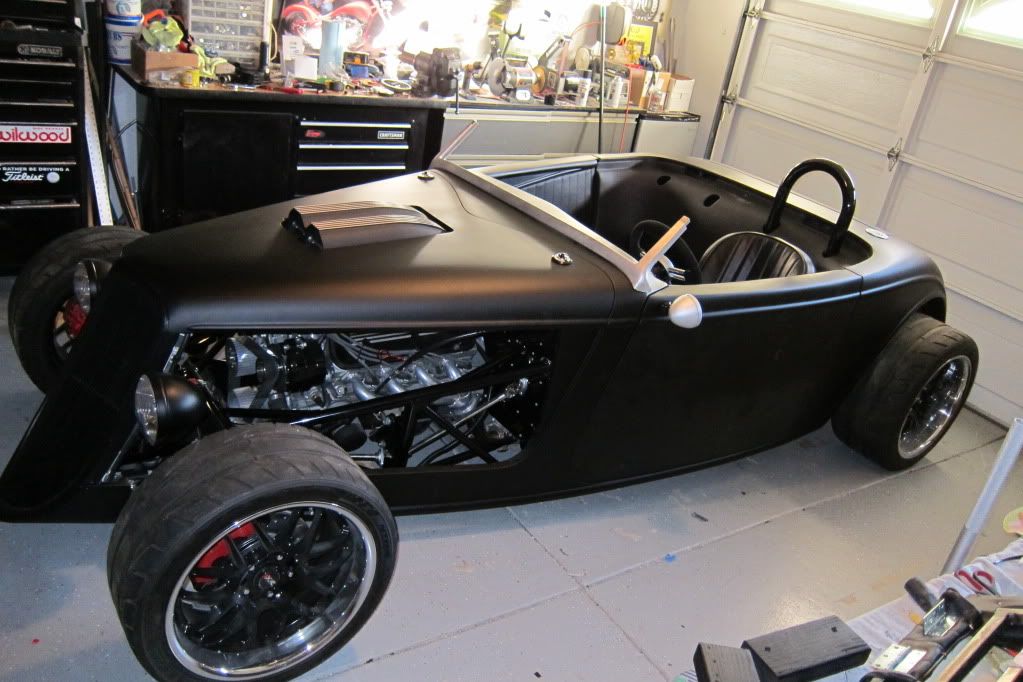
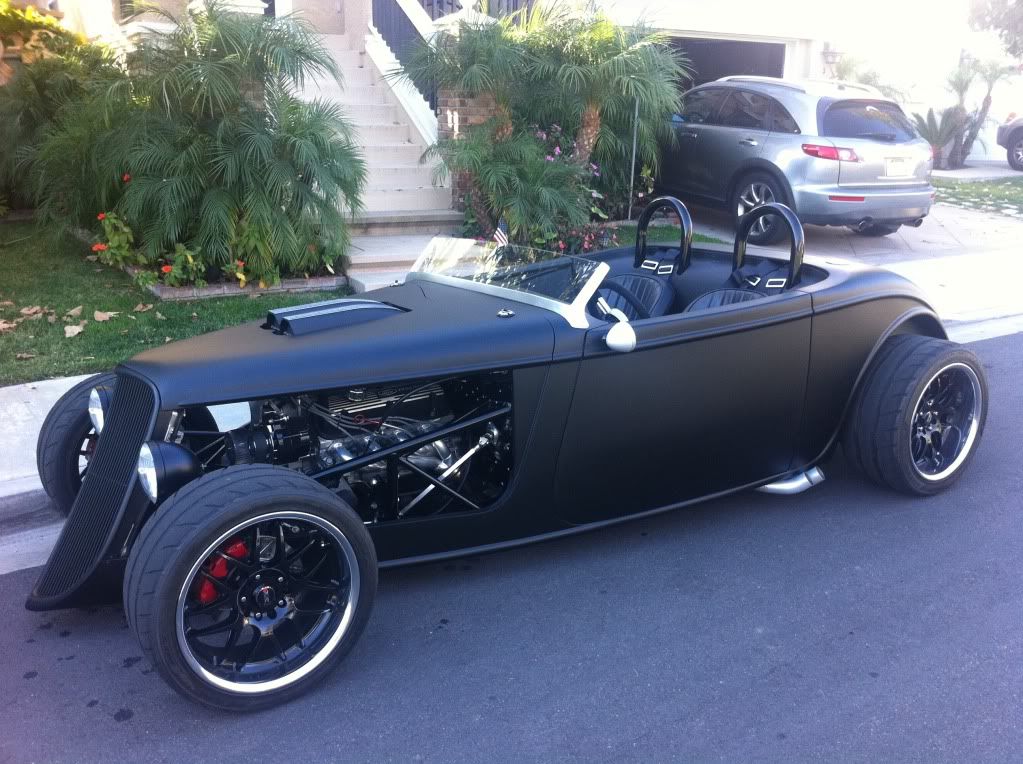
Been enjoying it so much driving it up and down PCH here in Orange County it's just fantastic. I took my 7 year old daughter on Sunday and she thought it was the best. My biggest recommendation to those building out there: in roadster mode, consider chopping that windshield down a bit and/or getting the edge out of your site line; having a clear line of vision and the wind in your hair is heaven. :eclipsee_steering:

-
Senior Member

great post......and great work!!!
FFR Daytona Type 65 Coupe
67 427 Cobra
57' Belair
72 Pinto Wagon ,306" 1/4 miler
34 5 window coupe Ford
2003 Mustang GT
99' ZX9
85 Goldwing
All toys still in the Scuderia!
Every Saint has a past..................every sinner a future
Don't take yourself so seriously........no one else does.
You never see a motorcycle parked outside a Psychiatrists office.
-
-
WOW, I really hope when I get mine it turns out this good! I have a few years of waiting, but still can't wait!
-
Senior Member
-
Senior Member

Thank you Erik for great build, inspires me more and more!
-
Senior Member
Thanks my friend! Glad to hear it's still giving some inspiration.
-
Originally Posted by
ehansen007
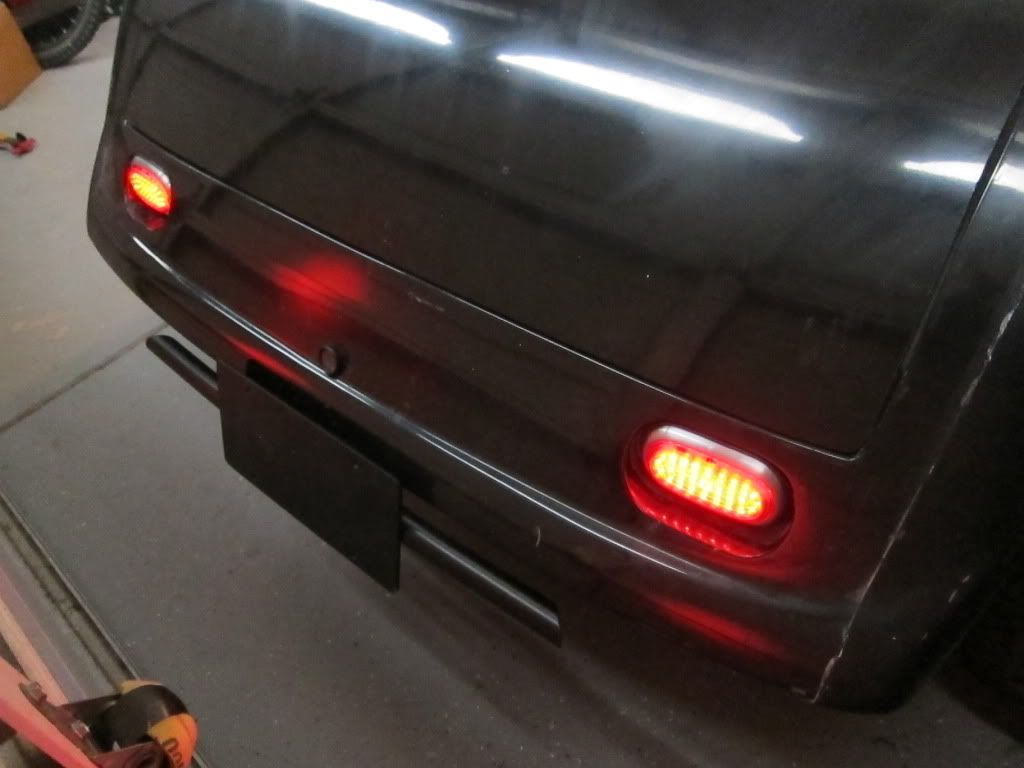
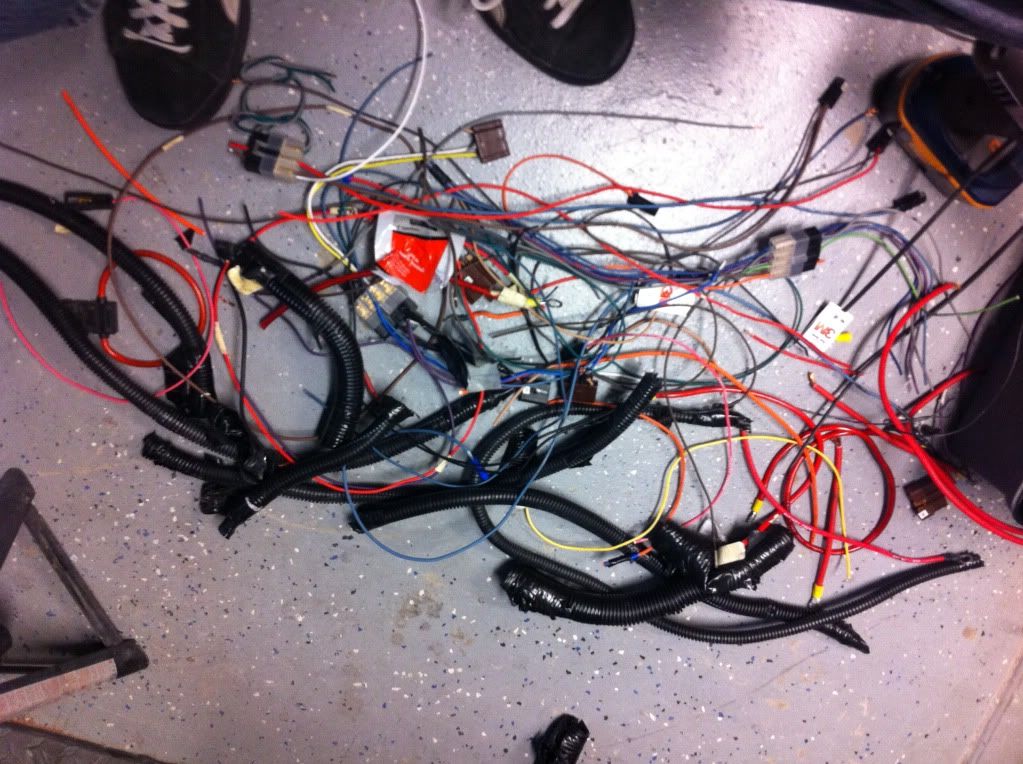
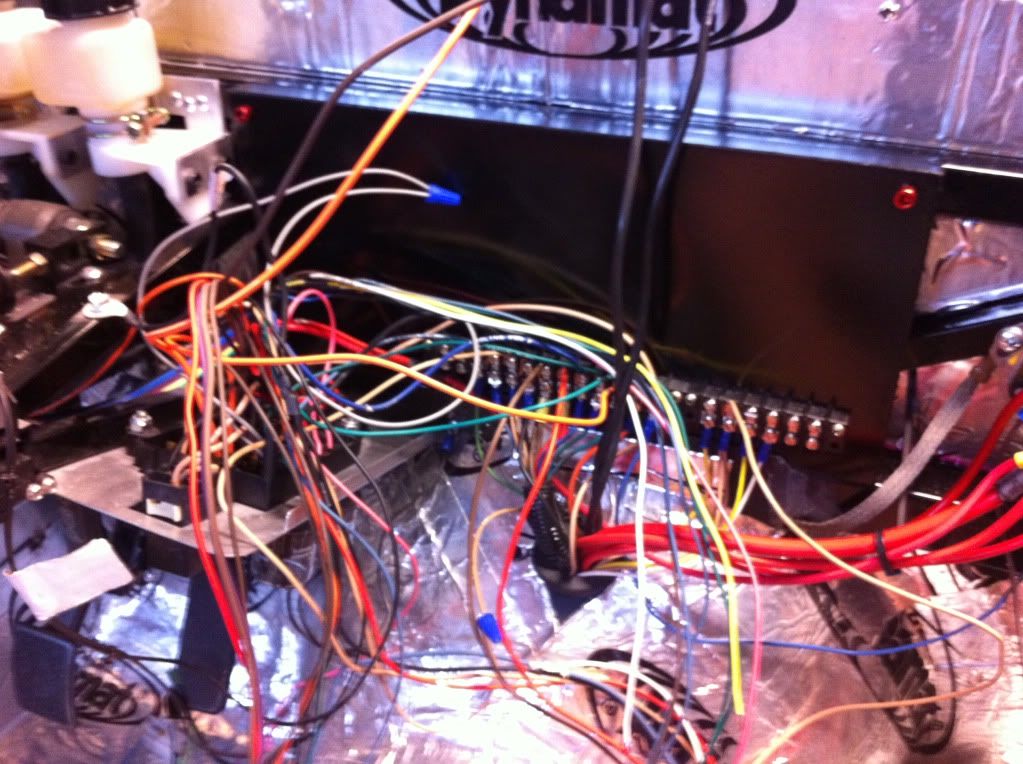
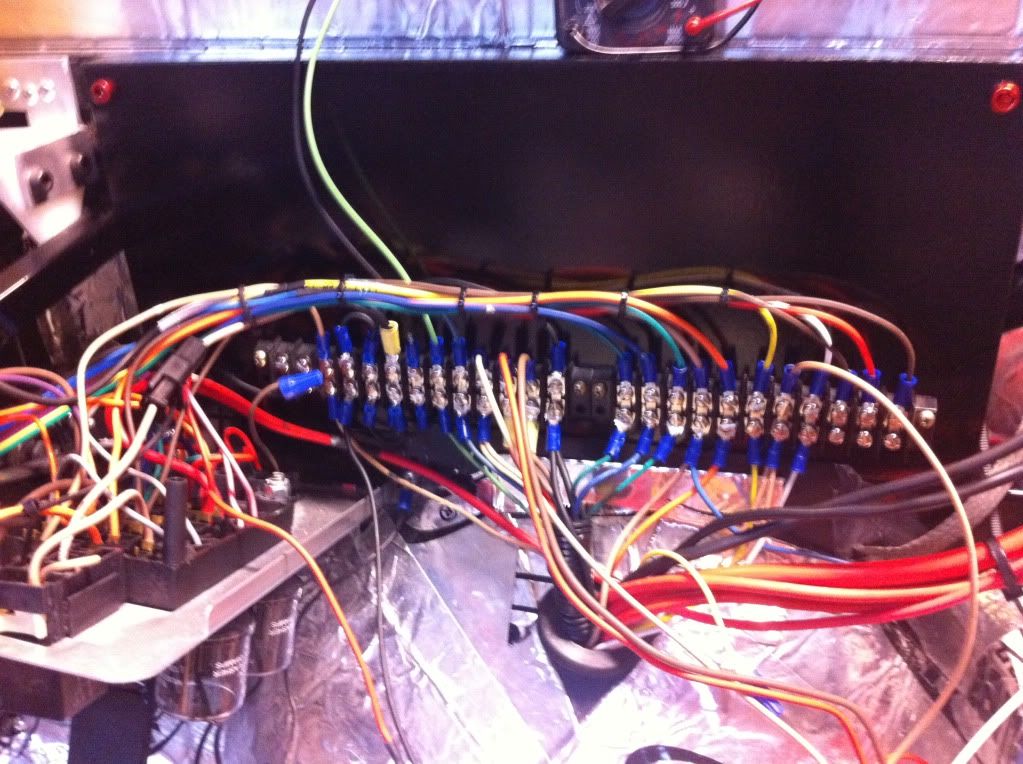
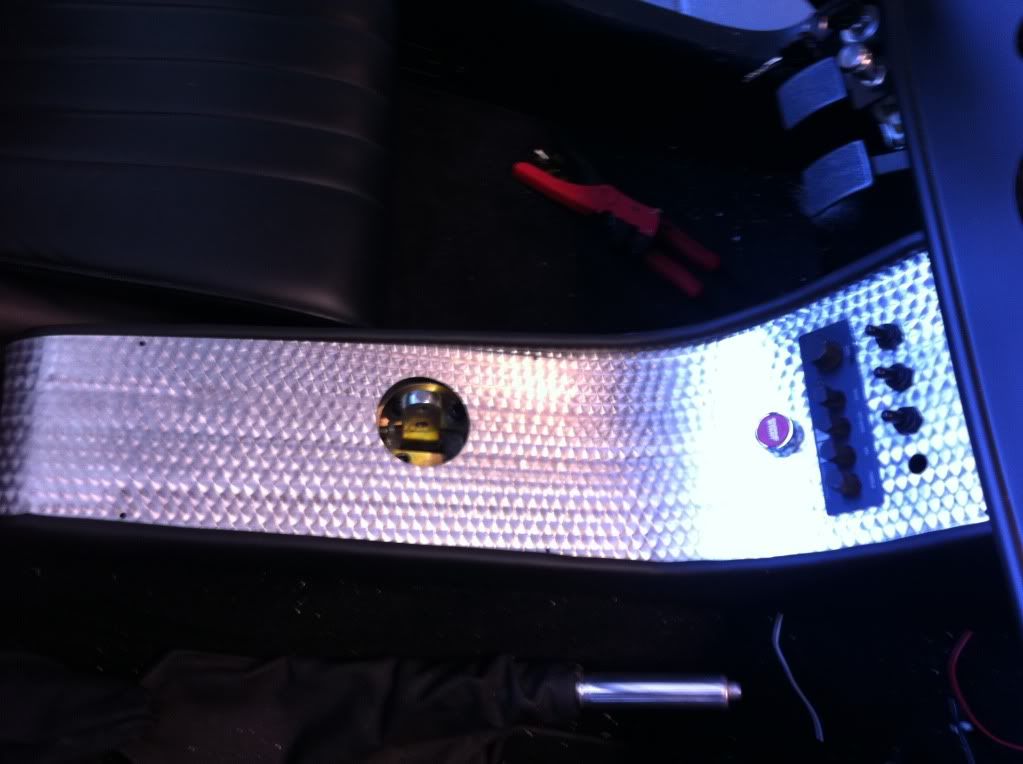
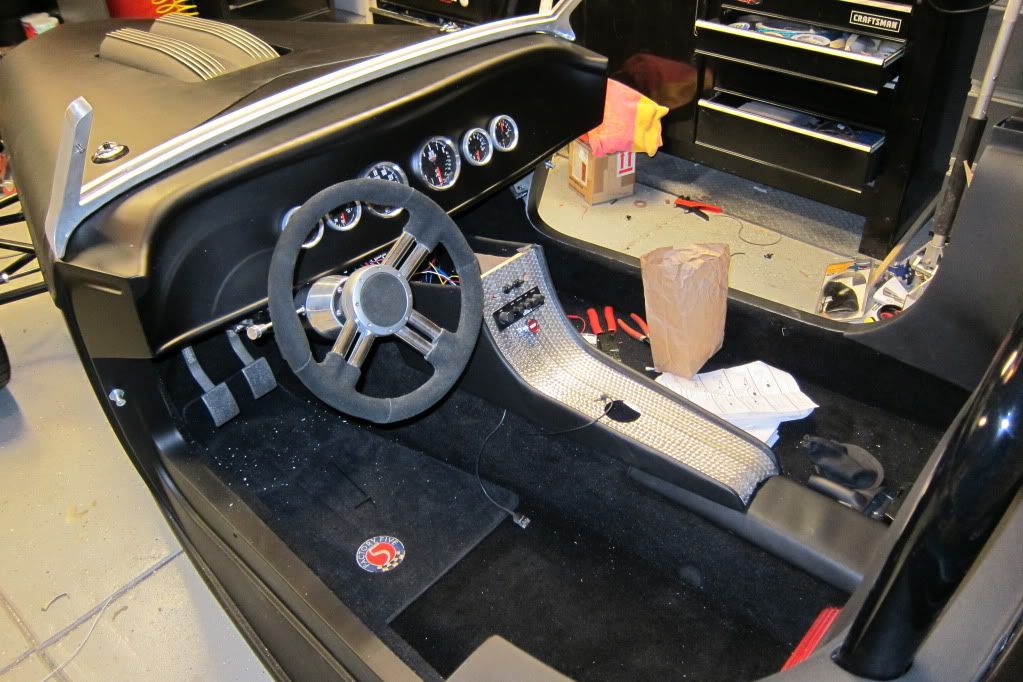
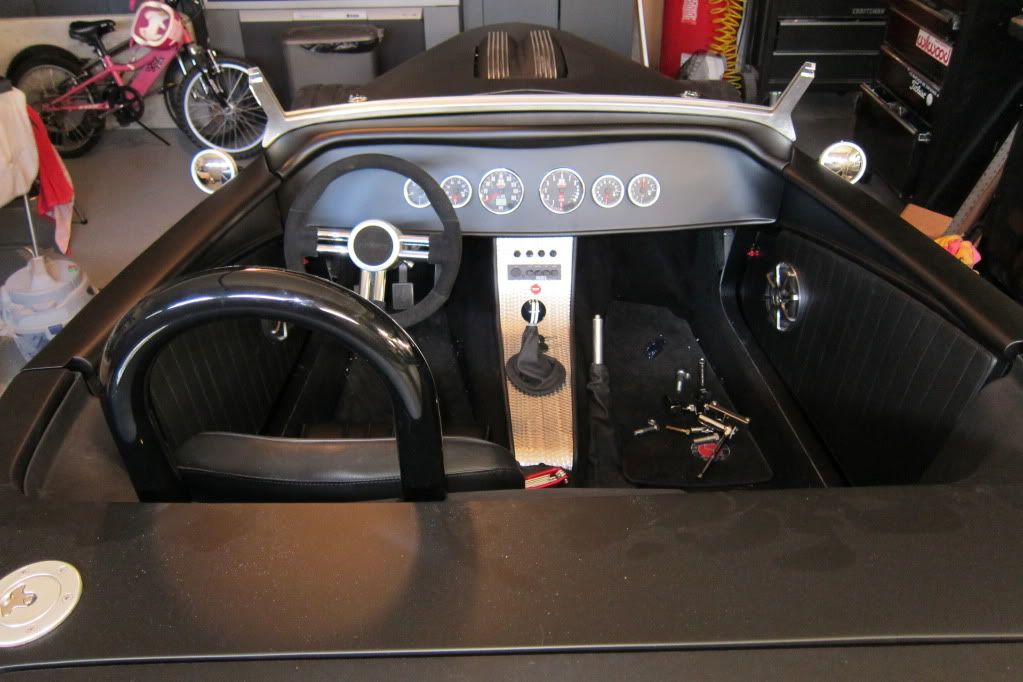
Been a while since I posted up some progress. Lately, I've been working on building my exhaust tips, a trailer hitch with a bumper, and acquiring all my stereo gear. I also got my new custom gauges from Speedhut.
Now I just need to get some wiring done and get her started! Getting close!

Eric, are u still selling the hitches? I would prefer to build my own but don't wanna pirate you're design. Are you willing to sell me the drawings and cut list for a reasonable fee? I really like your concept with the rear bumper for daily driving and the option of pulling a small trailer for my wife's purse! I can be reached at 916 812-5441 in Sacramento area.. thanks, tom
-
Senior Member
There is nothing better than going back and looking at all this years after the build and they are long gone. Looking at my own comments makes me laugh but this sure was fun. I don't own an FFR right now but looking at these sure makes me think of buying back in. Now if my daughter would only NOT be going to a 4 year school I could!
-
Post Thanks / Like - 0 Thanks, 3 Likes
-
I always admired your work
-
Post Thanks / Like - 1 Thanks, 1 Likes
-
Originally Posted by
wrp
I always admired your work
Ditto! You were one of the builders who inspired my plunge into the pool.
Keith HR #894
-
Post Thanks / Like - 0 Thanks, 1 Likes
 wrp
wrp liked this post
-
Senior Member
I appreciate that fellas. I was just looking at my other builds thinking this would be the one car, if I found it out there in the wild, I would consider buying back. Like an old girlfriend, nothing like your first. 
-
Post Thanks / Like - 0 Thanks, 3 Likes


 Thanks:
  Likes:


 Reply With Quote