-
-
Post Thanks / Like - 0 Thanks, 1 Likes
 Fman
Fman liked this post
-
Senior Member

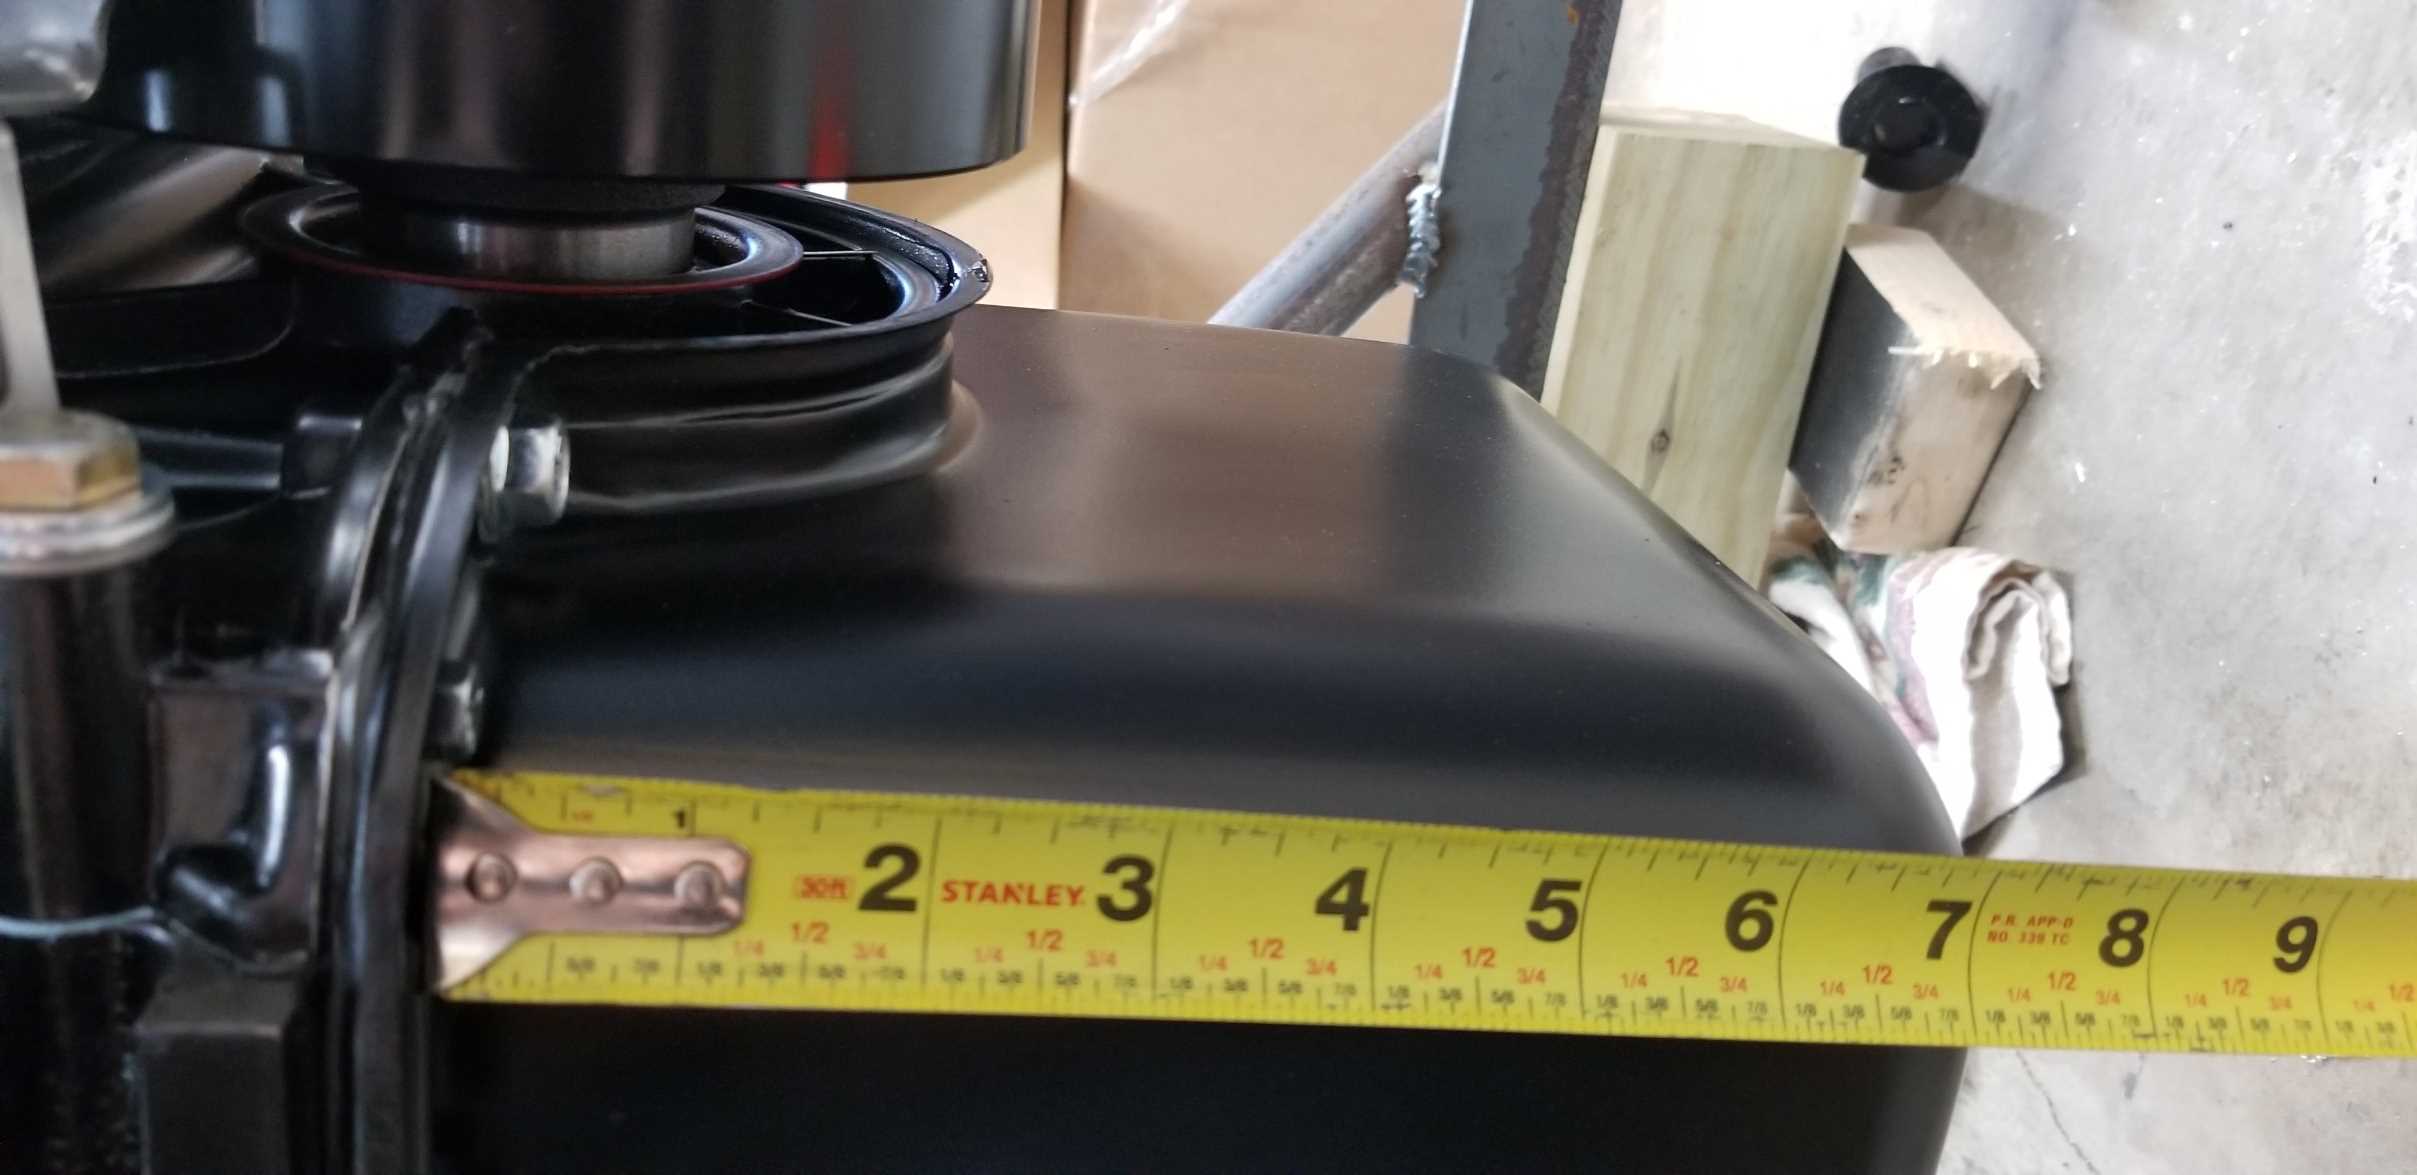
looks great. you might want to check the depth of your oil pan. you have about 7.5in on a SBF before the pan hangs below the frame rails. I'm sure Forte accounted for these things.
-
-

Originally Posted by
egchewy79

looks great. you might want to check the depth of your oil pan. you have about 7.5in on a SBF before the pan hangs below the frame rails. I'm sure Forte accounted for these things.
Thanks. I will ask him but I do hope he understands the dimensions needed. I hope.. lol
-
-
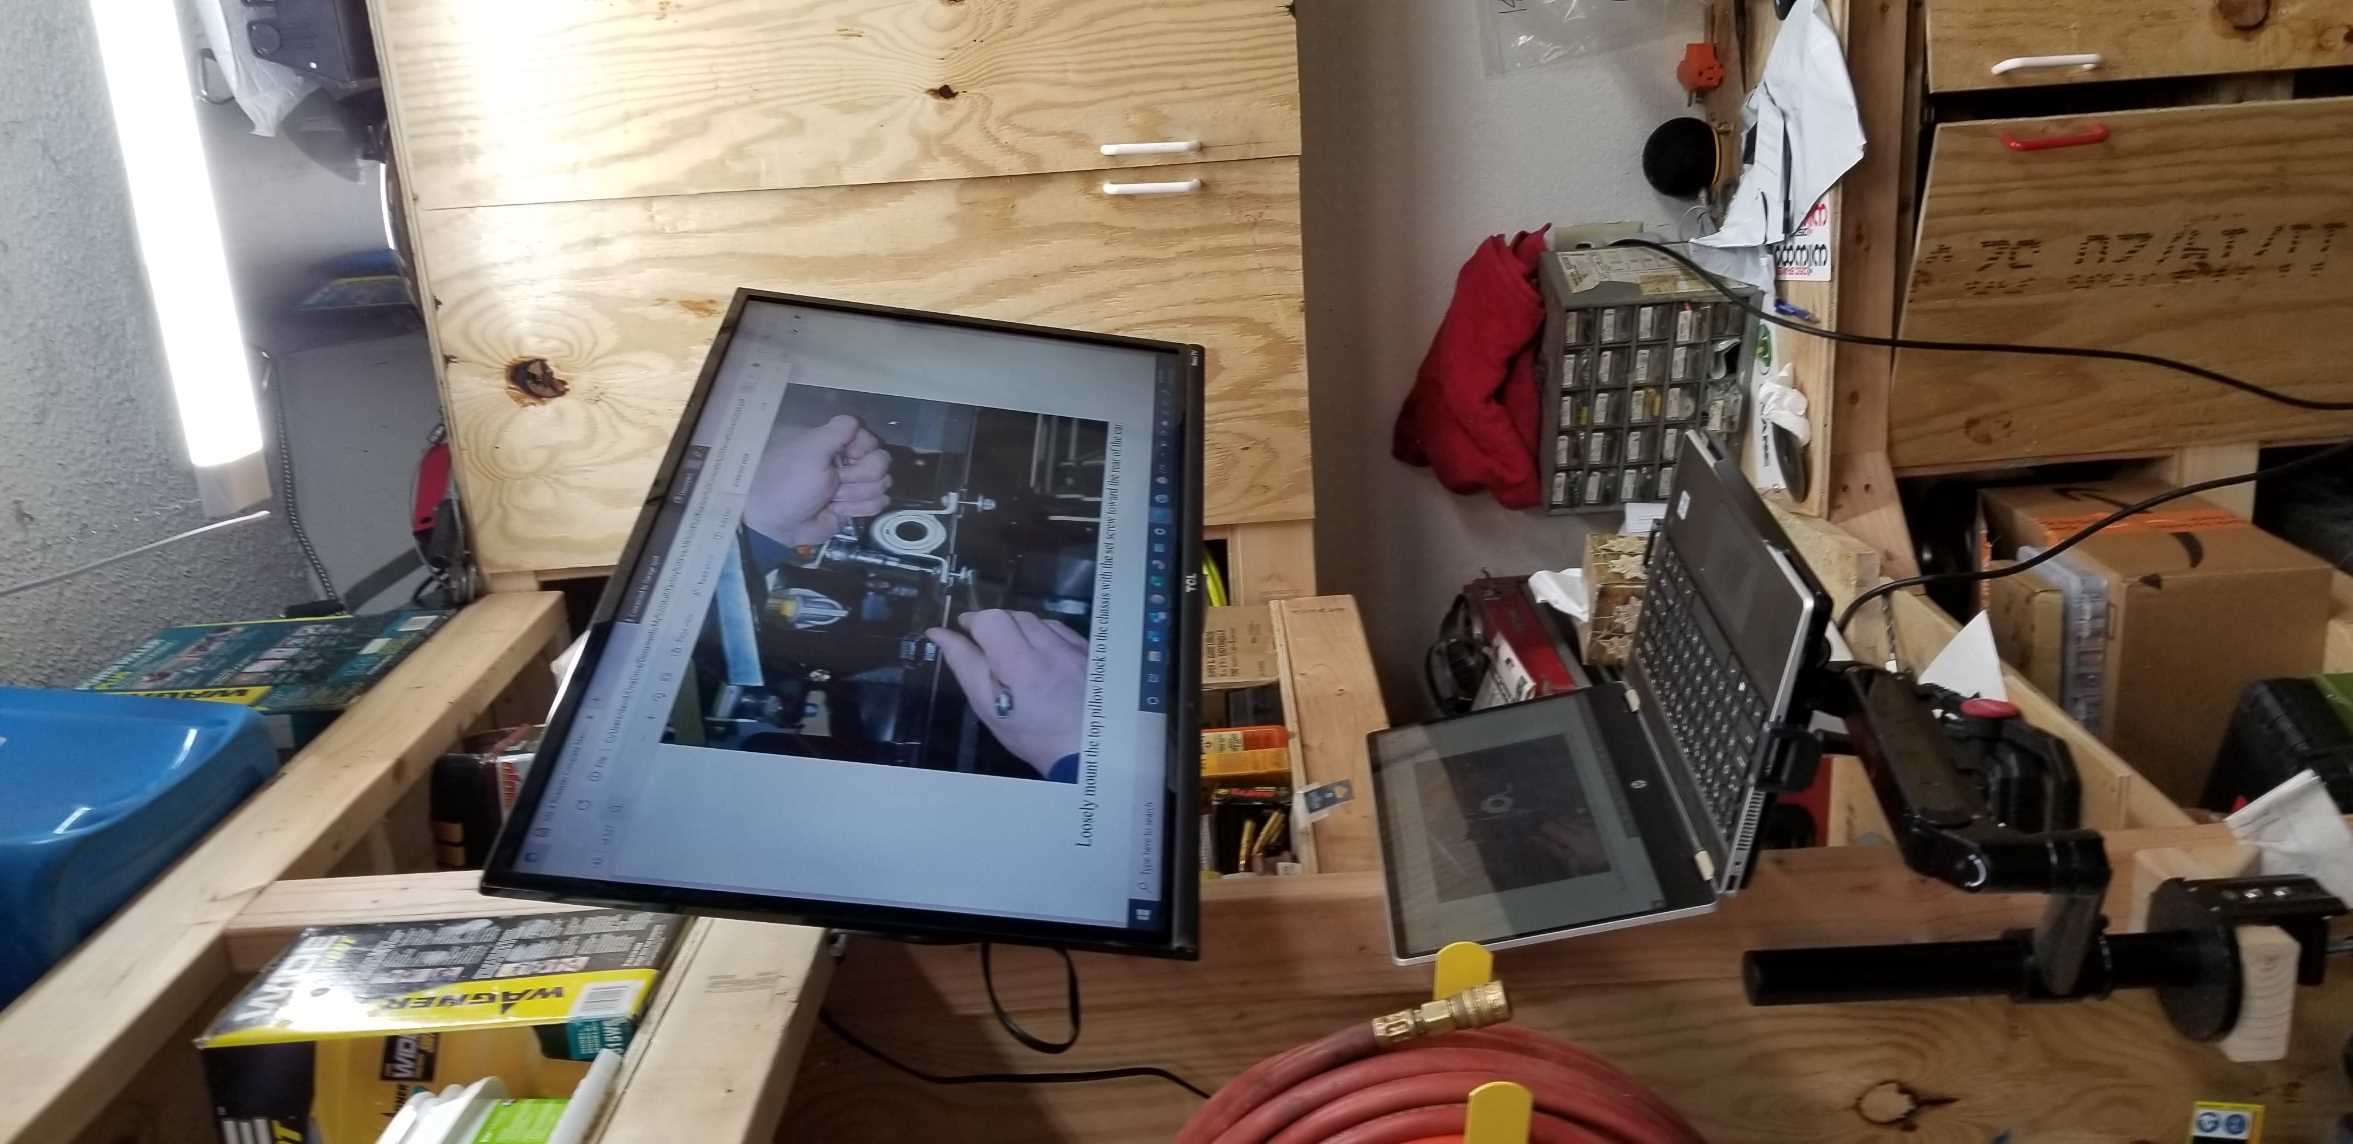
Laptop Monitor
My wife observed me going back and forth to look at the manual on my large office monitor. She t!old my son about it so I got an early Christmas gift from him! This is so much better to see the manual!
-
Post Thanks / Like - 0 Thanks, 2 Likes
-
Senior Member

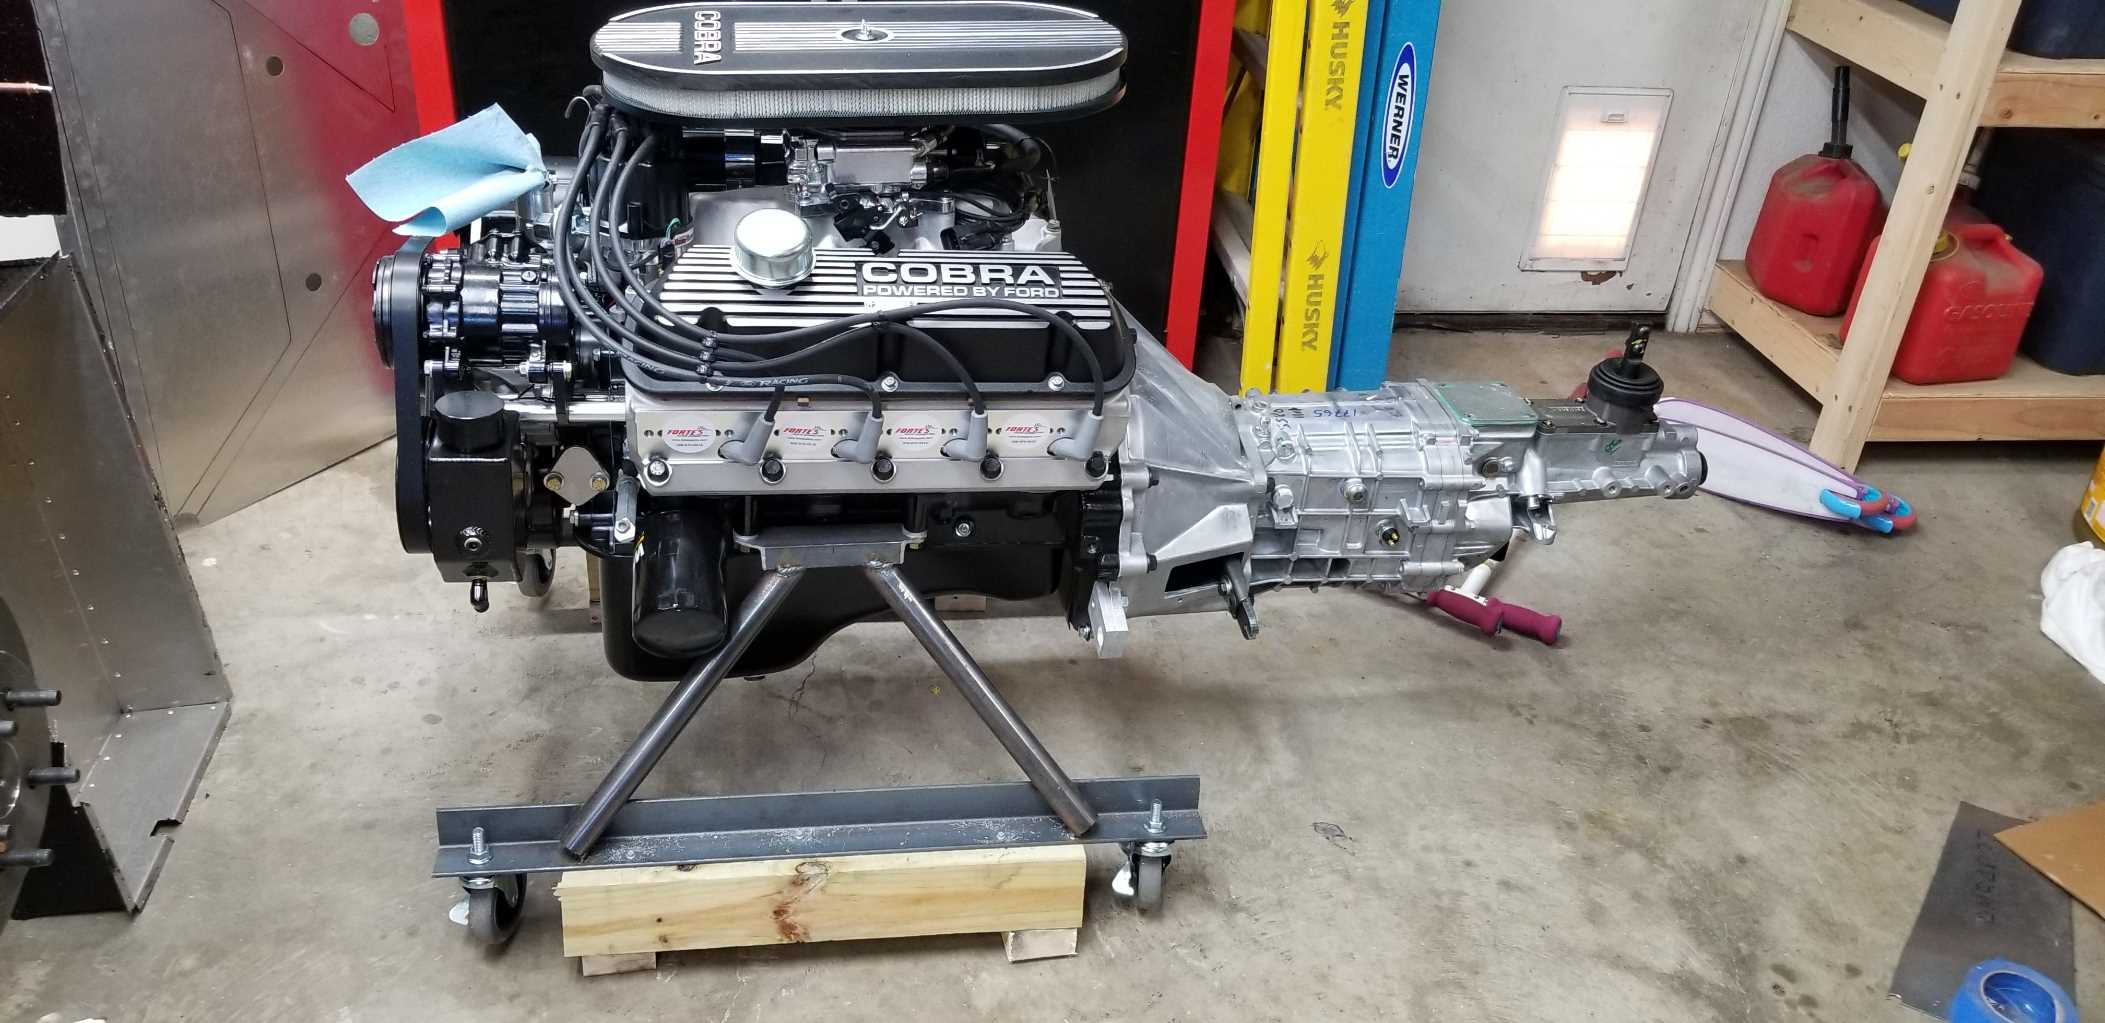
Well, you may be behind in your updates, but that's not a shabby one as updates go! Really exciting picking up the engine, and it's a really clean layout. Nice choice in components and builder.
On the clutch, my kit got caught in the move from the initial cable clutch design for the MK4 (wasn't a winner) and the present one, and that meant I had to line up and drill my own hole for the clutch spacer in the front of the footbox. I took pains to line this up precisely so that the clutch cable cleanly entered the slot in the clutch quadrant. This may be aligned well by default but do whatever you need to to ensure that that alignment is spot on. Otherwise the cable will wear against the sides of the slot.
For cable routing, you're going to want to do what you can to get the cable routed as far from the headers as possible, to protect the cable housing from heat. I was able like many others to get it around in front (and underneath) of the DS motor mount. It rests against the oil filter in that spot, but is well away from the heat. With your SBF-based block you will likely be able to do the same thing.
And, pretty sure no one's going to pick on your welding. This forum appreciates those who try, period. Have fun and thanks for the update!
MK4 #7838: IRS 3.55 TrueTrac T5z Dart 347
The drawing is from ~7th grade, mid-1970s
Meandering, leisurely build thread is
here
-
Post Thanks / Like - 0 Thanks, 1 Likes
-
Originally Posted by
John Ibele
Well, you may be behind in your updates, but that's not a shabby one as updates go! Really exciting picking up the engine, and it's a really clean layout. Nice choice in components and builder.
On the clutch, my kit got caught in the move from the initial cable clutch design for the MK4 (wasn't a winner) and the present one, and that meant I had to line up and drill my own hole for the clutch spacer in the front of the footbox. I took pains to line this up precisely so that the clutch cable cleanly entered the slot in the clutch quadrant. This may be aligned well by default but do whatever you need to to ensure that that alignment is spot on. Otherwise the cable will wear against the sides of the slot.
For cable routing, you're going to want to do what you can to get the cable routed as far from the headers as possible, to protect the cable housing from heat. I was able like many others to get it around in front (and underneath) of the DS motor mount. It rests against the oil filter in that spot, but is well away from the heat. With your SBF-based block you will likely be able to do the same thing.
And, pretty sure no one's going to pick on your welding. This forum appreciates those who try, period. Have fun and thanks for the update!
Hey John, thanks for the clutch cable hole and routing information! I hadn't really started thinking about the routing yet so this this is great info.
I did check with Mike about the oil pan. He says it will fit and may be below the frame but there are no concerns from him or me.
-
Senior Member
You might reconsider the last statement. if the oil pan hangs below the frame, if you hit a raised area of the road, the oil pan/engine will receive the brunt of the impact. That would concern me.
-
-
Originally Posted by
egchewy79
You might reconsider the last statement. if the oil pan hangs below the frame, if you hit a raised area of the road, the oil pan/engine will receive the brunt of the impact. That would concern me.
I should have done this before, but I just measured my oil pan. It appears to be right at 7.5 inches, so should be the perfect depth, correct?
Last edited by David_L; 12-21-2021 at 03:43 PM.
-
Senior Member
only one way to find out 
I ended up using 3 transmission shims from Forte to not only get my pinion angle correct but to get the back of the pan above the bottom of the frame.
-
Originally Posted by
egchewy79
only one way to find out
I ended up using 3 transmission shims from Forte to not only get my pinion angle correct but to get the back of the pan above the bottom of the frame.
What motor did you use? I wonder if that's normal to have to use shims for the pinion angle?
-
If you have not filled that differential yet, save yourself some aggravation, remove the cover throw the gasket away and seal the cover with oil resistant silicone. Let it sit for a day before filling it. I can't remember which silicone it is but I believe it is gray and has the most oil resistance.
Mk4 9735 complete kit delivered 11/29/19 Gen 3 Coyote, Tremec TKO 600, Moser 3.55 First start June 25, 2020 First Go Cart July 20, 2020
-
Senior Member
Originally Posted by
David_L
What motor did you use? I wonder if that's normal to have to use shims for the pinion angle?
I have a 289SBF with a T5. My pan is a kevko cobra racing pan around 7” and just barely is above the rails with 3 shims from forte.
-
Senior Member
Yes, typically you'll need to shim the back end of the transmission to get the right angles for the joints on either end of your driveshaft. Typically these will need to something like between 1 and 3 degrees, but without introducing a large angle between the drivetrain and the differential (pinion angle). Do a bit of a google search and it should become clear. Pick up an angle gauge for about 30 bucks, which will have a magnet to hold it to balancer (to find engine and trans angle), driveshaft, and diff. Anything not clear will be just a shout away on the forum. You can buy spacers. You can also make your own with a bit of aluminum stock. I had some 0.090" sheet left from some other fab work and used that. A little reading needed, but it comes pretty quickly once you wrap your head around it and make a few trial measurements.
MK4 #7838: IRS 3.55 TrueTrac T5z Dart 347
The drawing is from ~7th grade, mid-1970s
Meandering, leisurely build thread is
here
-
Senior Member
And man, Mike built you a handsome engine. Love the front dress on that thing. Nice job.
MK4 #7838: IRS 3.55 TrueTrac T5z Dart 347
The drawing is from ~7th grade, mid-1970s
Meandering, leisurely build thread is
here
-
Originally Posted by
Jryasko
If you have not filled that differential yet, save yourself some aggravation, remove the cover throw the gasket away and seal the cover with oil resistant silicone. Let it sit for a day before filling it. I can't remember which silicone it is but I believe it is gray and has the most oil resistance.
Jryasko, I already filled the differential. I don't see any issues with leaks. Are you saying the Moser factory seal is bad?
-
The gasket supplied even with High Tack on it was dripping from the cover. The High Oil Resistant RTV if allowed to dry overnight will work fine no gasket required.
Mk4 9735 complete kit delivered 11/29/19 Gen 3 Coyote, Tremec TKO 600, Moser 3.55 First start June 25, 2020 First Go Cart July 20, 2020
-
Senior Member
I had issues w/ a leak using the paper gasket provided w/ my Moser. had to drain the rear end and replace the gasket w/ RTV. no issues since.
-
Member

David,
You seem to be doing quite well, even with the lengthy POL.
I'm getting ready to finalize my order, but I don't anticipate it will be delivered until early 2023. Following your build thread with interest, you see:
1. This will be a retirement project for me as well,
2. You live relatively close - I'm in Aledo on the other side of Fort Worth, and
3. Us Daves need to stick together!
-
Post Thanks / Like - 0 Thanks, 1 Likes
-
Dave-
I like the updates a few weeks back, and I love that engine from Mike -- he does quality work!
I also wanted to compliment your son! That is quite a rig and quite a Christmas present. Would you mind telling him that I too hate going back and forth to the office to read the manual on my computer? HAHA
Thanks for letting us follow along, and keep up the good work!
Regards,
Steve
-
-
Post Thanks / Like - 0 Thanks, 1 Likes
-
Originally Posted by
WIS89
Dave-
I like the updates a few weeks back, and I love that engine from Mike -- he does quality work!
I also wanted to compliment your son! That is quite a rig and quite a Christmas present. Would you mind telling him that I too hate going back and forth to the office to read the manual on my computer? HAHA
Thanks for letting us follow along, and keep up the good work!
Regards,
Steve
Hey Steve! Thanks for the post. It definitely saves me a lot of walking back and forth. And my son will love your comments. He keeps up with my build thread, so I'm sure he's seen this! He finally sold his S10 that we Air bagged all 4 wheels a few years ago.. Now that was a very long weekend/Week.. lol
-
-
Senior Member
Well, that's more polish than I put on my filler neck, that's for sure! Very nice. Did you order your OEM replacement for the gasket between that and the tank? Folks have had issues with the kit-provided part, and going to the OEM part is definitely recommended if you don't have it. Ford P/N F4zz9072da. You can find other posts on the forum with more background, if you need it.
MK4 #7838: IRS 3.55 TrueTrac T5z Dart 347
The drawing is from ~7th grade, mid-1970s
Meandering, leisurely build thread is
here
-
Originally Posted by
John Ibele
Well, that's more polish than I put on my filler neck, that's for sure! Very nice. Did you order your OEM replacement for the gasket between that and the tank? Folks have had issues with the kit-provided part, and going to the OEM part is definitely recommended if you don't have it. Ford P/N
F4zz9072da. You can find other posts on the forum with more background, if you need it.
Thanks for the info John!! Exactly why I'm doing this thread! I will order it now.
-
Post Thanks / Like - 0 Thanks, 1 Likes
-
Awesome thread and sweet motor.
-
Originally Posted by
Springsyeti
Awesome thread and sweet motor.
Thanks Springsyeti! Hopefully I will make it detailed enough someone can get some uses out of it.
-
Header questions
I decided it was time to start looking at header options. Mike Forte let me know I can use standard 302 headers with the Boss 363. As I'm using EFI I need an O2 port. I will most likely go with the long pipe headers supplied from either FF or GAS-N and I will be using the Stainless side pipes from FF.
Note: I originally ordered the plain steel side pipes as I'm going to have them Ceramic coated in black. They were still on backorder as the first set arrived damaged. They are now shipping me the stainless side pipes for now extra charge, and they have no ETA on the plain steel pipes.
1. Use OEM mustang headers with the kit included J pipes:
This option appeared attractive the J pipe has an O2 port built in. It would also be fairly inexpensive to buy OEM headers. But drawbacks seem to be appearance and a loss of HP.
2. Use long pipe headers supplied from FF or GAS-N:
During my first forum searches I found there were no O2 ports in the headers, but it appears that this issue has been corrected in both FF and GAS-N. There are now collectors in the headers so the O2 sensor can be placed in engine compartment. The GAS-N headers are about $100 more.
I did see that the GAS-N headers might have more options like 1-3/4", 1-7/8" or Step-Header. With Step-Header the way to go?
My main questions are:
Which one will I have less fitment issues with? (Less Breeze wedge adapters)
Which one is made better? I'm guessing GAS-N as it's not made somewhere else..
This subject has maybe been beaten to death, but I'm willing to bet there will be guys still interested and any input would be great!
Update: I talked to Mike Forte and he said the 1 3/4 pipe size is more then enough for the 363 motor. That should also provide more room in the engine compartment as well. Please provide any thoughts you might have, but at this point I'm most likely going with GAS-N long pipe headers at 1 3/4 and O2 bung.
Last edited by David_L; 03-19-2022 at 10:08 PM.
-
-
Brake reservoir
I built the bracket for my brake reservoirs and installed. I used rivnuts to mount the bracket and reservoirs.
I used 4AN fuel line and fittings.

-
-
-
-
Brake Bleeding
This was a bit of a pain as I didn't have a helper handy.
I did the bench bleeding on the car then did gravity and used a vacuum pump to get it started. I finished up doing the passenger front and back brakes first and attached bottles with hose to the nipple of both.
After much pumping and filling reservoir I got them somewhat air free so this worked on the drivers side. I went back and forth a couple time and finely it looks air free. I actually had no leaks to any of my connections!
MC bench bleed setup. During the bleeding I got my reservoirs up as high as I could.

Last edited by David_L; 08-27-2022 at 01:21 PM.
-
On to wiring!
I've started to research wiring and there are a couple of mods I have to be aware of.
1. I'm installing AC in the right side of the firewall
2. Holley sniper EFI so need to research where to mount and connect this.
3. Using the Breeze front batter mount.
4. Currently contacting Russ about his column mounted direction signal. I don't think this will require much change?
I have the Breeze radiator mound and shroud and I plan on running the wire harness under the radiator the way many have done.
But just starting my research at this point and any tips would be great!
Also I trying to figure out what the Russ Thompson trunk hoop mod does. I can't seem to find any good pictures of it, including his web site. lol very low res pictures.
-
Senior Member

Nice looking build, engine looks sweet... you don't see them with A/C often. I hope your oil pan works out for you, mine had to be 7" to be up inside the frame but I am also using fixed mounts which drops the engine lower than poly mounts.
-
Originally Posted by
Fman
Nice looking build, engine looks sweet... you don't see them with A/C often. I hope your oil pan works out for you, mine had to be 7" to be up inside the frame but I am also using fixed mounts which drops the engine lower than poly mounts.
Since I'm getting closer to engine install I guess I better revisit the whole oil pan issue. I find it hard to believe that Mike Forte would sell me something that won't work correctly. I called him and asked about it. He says that guy's were worrying to much about oil pan depth. Not sure it that's correct or not, but he has a lot of experience. I did measure again and the depth appears to be about 8.5 inches from the lip to the bottom of drain plug. Is a Boss 363 block going to set a little higher then a standard SBF 302 block?
For guys that use donor cars, do they always replace the stock 302 oil pan?
If I do need to replace the oil pan, what are good options for the Boss 363 and what other parts will I need to replace? Dipstick ect.. I'm guessing what I currently have is a standard mustang pan
Also I was reading that I might need to get different motor mounts for the Boss 363 block or I will need to mod the ones that came with the kit? Sounds like I need to call Mike again.
Last edited by David_L; 08-27-2022 at 01:20 PM.
-
For what it's worth, I have a 306 with a fox oil pan, the drain plug and bottom of the rear sump are lower than the frame. I also have a Quicktime SFI bellhousing that hangs down below the frame. I haven't had an issue yet. I do live in VA, so we don't have some of the truely winter destroyed roads like more northern states.
With that said, I am considering getting a low profile oil pan and cutting off the bellhousing flange where it protrudes this winter...
FFR MKIV 8309, FMS 306 Crate w/Edelbrock EFI, T5, 3.55 Three Link, Wilwood Brakes


 Thanks:
  Likes:


 Reply With Quote