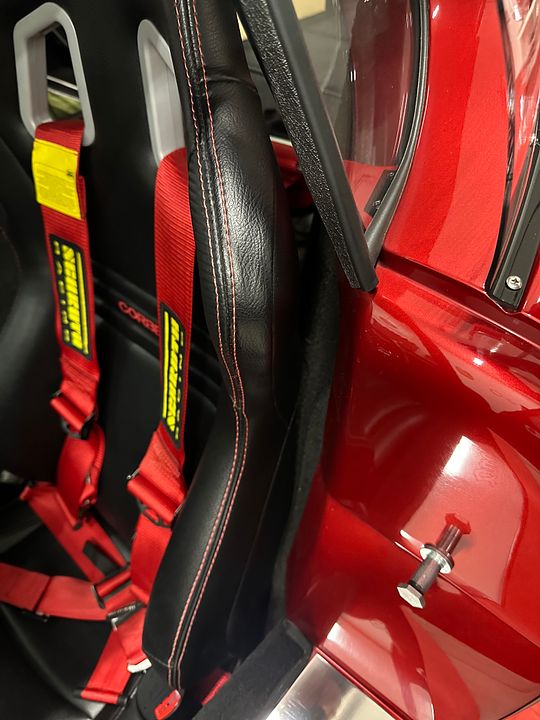
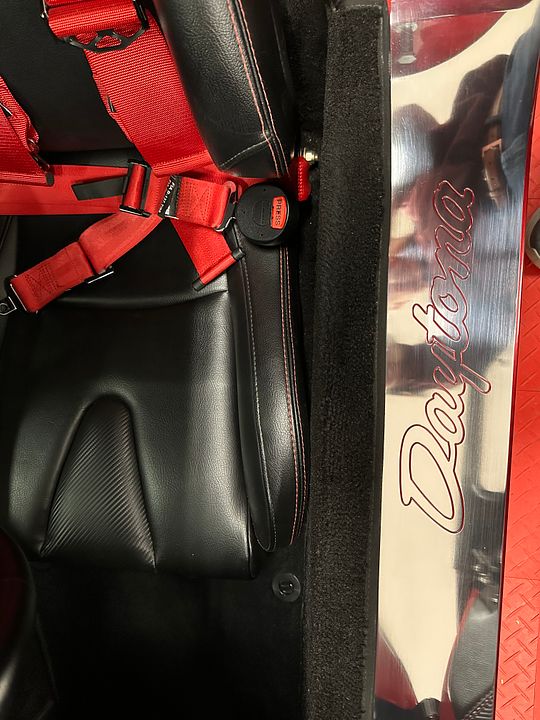
Today I finished how Iím going to install the seats. I wanted to get this done before starting the cockpit insulation while itís easy to see everything. Plus I need to sort out my heated seat wiring before spraying on the insulation. My normal method is to bury the wires in the corner of the floor/trans tunnel on each side. My previous builds have all been the standard Roadster seats where the bottom cushion swings up exposing the seat frame for easy access. Plus I havenít done sliders before. Only bolted directly to the cockpit floor. With the Corbeau seats I showed earlier, no option for either. With them in place, it became very obvious reaching under the seats to install mounting bolts would be challenging if not impossible. Especially for the rear bolts. I decided to mount them with 3/8"-16 button head alloy steel screws from the bottom into the cockpit with nuts fixed to the slider frame. After looking at several options, decided to use 3/8"-16 weld nuts from McMaster (where else?) located and riveted to the frame. These:
https://www.mcmaster.com/#90955a123/=1e1xnql.
So the challenge was to establish the locations for the mounting bolts, taking into account the seat positions, slider frames, and acceptable mounting locations on the chassis. There is a seat pan welded into the chassis. But how to find the proper locations? After staring at it for a while (I do thatÖ) decided to make cardboard patterns for each side that exactly indexed to the slider frame on three sides and extended 6-8 inches out the front. Then with the seats in the appropriate locations, marked the position of the patterns with tape. They were out in front of the seats and could be reached. Then took the seats out and used the patterns to determine the locations of each mounting bolt. As it turned out, I was able to get 3 of the 4 into the seat pan on each side. But one (the front inside on both sides) needed to go through a frame rail.
With the locations determined, drilled the cockpit floor, matching locations in the slider frame, installed the weld nuts onto the frames, and a little while ago fit everything together. Success! Iím very happy with how this turned out, and will be relatively easy to install and remove since all four bolts are accessible from under the car. The nuts move around slightly in the retainers, so makes getting them started a little less critical. Once in and tight, the seats are rock solid. Both seats will slide forward six inches or so. But not sure how often that will be required. Even for me (5í10Ē) the rear position on the driverís seat is fine. Basically the same exact distance from the steering wheel and pedals as my Roadster. Side note: These seats work very well for me (discussed before) but for taller builders may not be the best choice. Different seats could locate another couple inches at least further back than these. Another side note: Found the passenger seat was most comfortable turned slightly to the outside. The passenger footbox is slightly offset to the right, and found the seating was more comfortable slightly favored to that side. Barely noticeable. But makes a difference. And yet another side note, the seat location, the location of the underlying seat pan, plus the seat type I selected, all work together to make an anti-sub belt not practical. I'm looking right now at Schroth Profi II ASM belts. Designed to be 4-point while still providing anti-submarine function. Nice but pricey to say the least. Trying to sell my kit provided Simpsons if anyone is interested.
With that, some pictures. This is the pattern attached to the passenger seat and the resulting index marks after determining the desired location. Same process for the drivers side.

These are the two patterns (made from Ram Board, mentioned in a previous update) in their desired locations. Marked the location of the seat frame, tracks, underlying seat pan and frame rails, etc. From that, determined the four mounting locations for each side.


Slider frames with the holes drilled in the frame and cockpit floor, and all eight weld nuts installed. First time checking the fit and everything aligned. Whew! I did throw a little rattle can black on the weld nuts before riveting them in place. Not visible, but plain steel.


Seats installed now in their final locations.


One of the interesting challenges of the Coupe is climbing in and out. Efforts to date have been a little clumsy, to say the least. Today I learned (and am relieved!) that having the seats bolted down makes a big difference. Passenger side is relatively easy. Driverís side would be easier without the steering wheel (I can see why some guys go with a removable wheel) but I can manage OK. Obviously it will also make a difference with the body, the doors, etc. But way easier getting in and out with fixed seats versus when they were loose and sliding around.


 Thanks:
  Likes:


 Reply With Quote
 ) If the truck's not done, would take the Coupe again. I've done Autorama four times and each time with a different build. So would be a repeat for the Coupe. But I enjoy doing that show and it's a good winter diversion.


 So, do you suppose you can get Sharon interested in getting behind the wheel of the pickup? I'll look forward to seeing it with some color (and gee, wonder what that color might be???).


