-
-
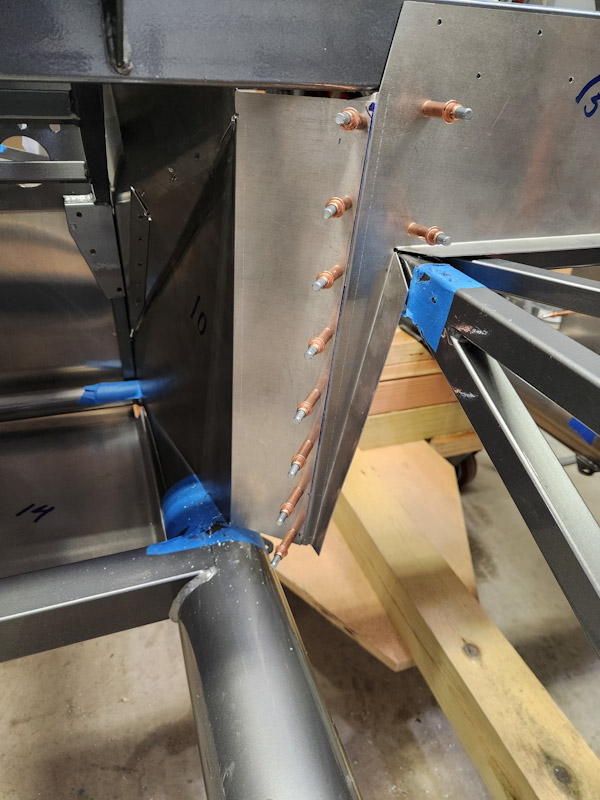
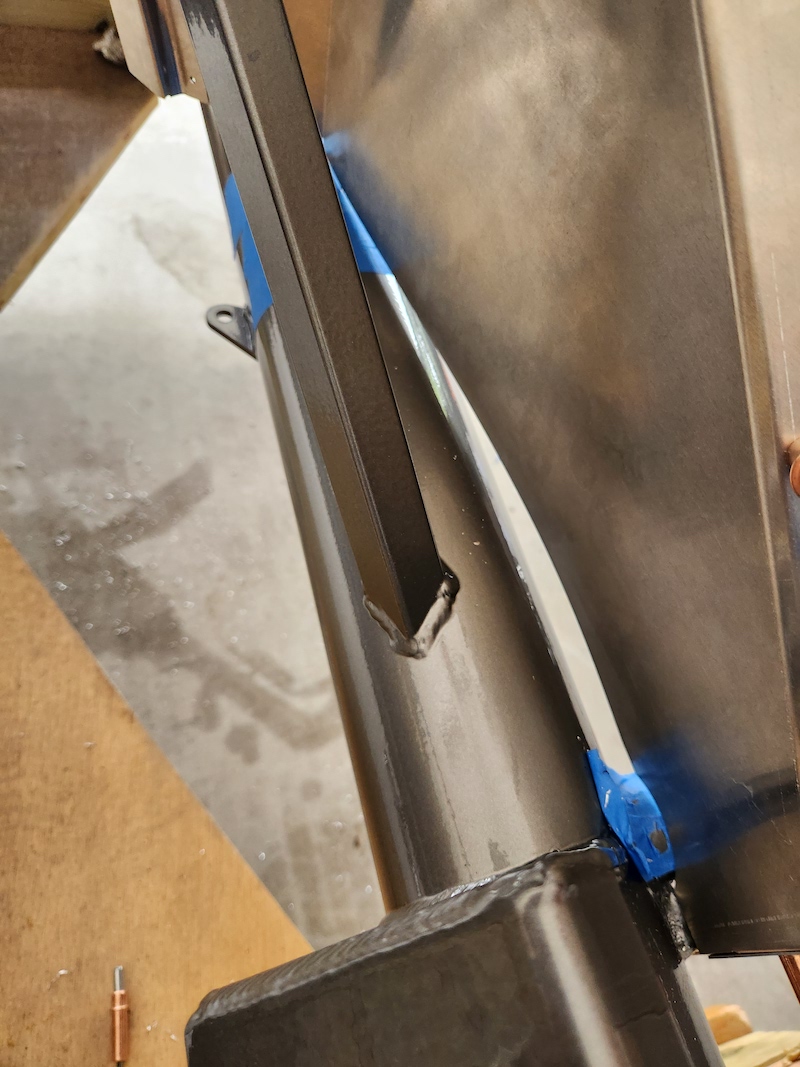
is it hung up on a weld behind motor mount bracket?
-
-
Post Thanks / Like - 0 Thanks, 1 Likes
-
Thanks, this is helpful. I noticed that this panel was somewhat bent when I received it, so that might be part of the problem. Regardless, I'll likely reinforce with a couple brackets or a custom panel that connects the floor panel to the side panel -- in addition to tape and seam sealant etc.
-
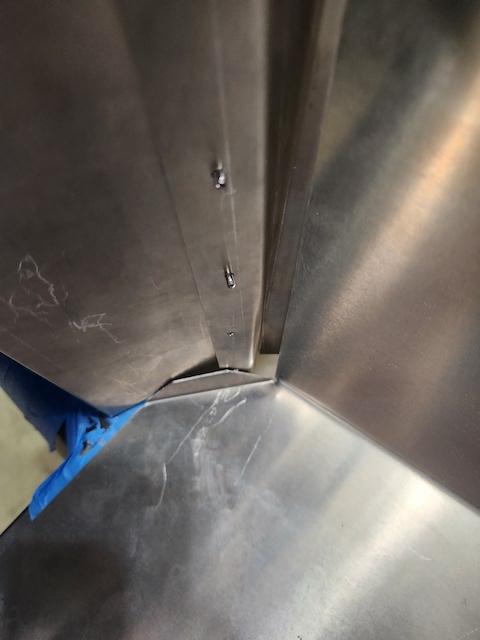
Actually something clearly isn't right. I placed the floor panel in, and you can see the misalignment. I realize these panels may require some massaging, but either I've done something wrong or one of the panels isn't correct.


-
Ok, against my better judgment I took another crack at it tonight instead of giving it a fresh look in the morning. It turns out that there are two problems with the panel, both easily remedied. First, the end that joins with the "A" panel is too long, thus causing the bow as pictured above. Second, the angle of said end is not correct and needed to be widened. I adjusted the angle, but will need to make the cut later.
I seem to recall a couple of other forum members encountering the same length issue. Wish I remembered that about 4 hours ago.
Oh well, onward and upward.
-
Post Thanks / Like - 0 Thanks, 1 Likes
-
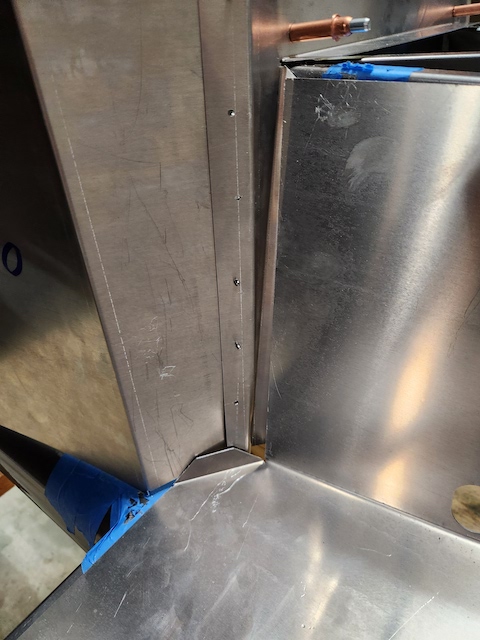
Much better.

-
Post Thanks / Like - 0 Thanks, 2 Likes
-
Senior Member

I sealed gaps with silicone. It’s going to be covered with sound proof and carpet. Not too worried about water splashing up as the car has no top and if the road’s wet, then I’m likely going to be wet from above too. The gaps behind the door however are a different story. Make some panels to fill that gap or you’ll be rooster-tailing water directly on your outside shoulder
-
That looks much better. I also had to adjust the angle of that panel, as well as trim a little off the edge of it to get it to fit properly.
Silicone is OK as a seam sealer unless you plan to spray Lizard Skin as your heat/sound insulation. Lizard Skin will not stick to silicone, and it will cause you all sorts of problems. In that situation there are better seam sealers out there that don't cause adhesion problems. If you're planning to use something like Dynamat then you should be fine.
MkIV Roadster build: Gen 2 Coyote, IRS, TKO600. Ordered 10/24/18. Delivered 1/29/19. Engine installed 8/8/21. First start 9/12/21. First go-kart 9/17/21. Off to paint 4/11/22. Back from paint 12/30/22.
Build thread here.
-
Thanks John for the info. Not sure if I'm going with lizard skin or the butyl products like dynamat.
Man, my OCD was in high gear yesterday. Need to keep that in check during this build. 
-
Digging up this one because I have a few follow-up questions. I don't think there's necessarily an issue with doing these either way (maybe some concerns about water intrusion, but shouldn't really be a concern in this area.
Question 1 - On the drivers side, are you guys putting the tab that is on the driver floor panel on the inside or outside of the inner footbox panel? I'm leaning towards putting the tab on the inside. Tab I'm referring to labeled "X" on the two screenshots.
Question 2 - Similar question but for the A joint / inner foot box connection. I've seen it done both ways. Labeled "Y" in the screenshots. Also - I'm running into the same fit issues as noted previously. The inner footbox panel is a weird fit in general. Decent sized gap on the bottom which I will patch up with tape etc, and the part that connects to the A joint is a bit long and at a weird angle.
Probably overthinking it!
1.PNG2.PNG
-
Hi Terry,
I put mine (x) on the outside, but my driver's side cockpit floor tabs (front and back) were not bent on the prescribed marks. Most builder's pictures I noticed had the (x) on the inside. That whole joint area needed a lot of massaging from me to get a nice fit.
I also deviated from the "norm" for your second question, and used the limitations of the "z" bend in the "A" panel to dictate the best fitment overall there too...
Craig C
-
Post Thanks / Like - 1 Thanks, 0 Likes


 Thanks:
  Likes:

 Reply With Quote


