-
-
Continued
D8YTONA Build Custom Features Explained - Part 3 Custom Lowered Nose Corners
Examining and working on my coupes nose body was best upside down.

I decided to go for it.
I decided that it was best to not remove or cut away any of the original body work, but add a nose corner-cap. The undisturbed fiberglass body would maintain its full strength, while the few pounds of added fiberglass would be unnoticeable to me in my level of performance driving and expectations.
I created a formed dam around the lower corner area and proceeded to pour in mixed 2-part liquid modeling/carving foam.
I then, sawed, carved and sanded the shape what I though looked best to accomplish the look I was after, one that had the lowered and flat bottom while maintained the organic curves of the body.
A vertical air dam was not what I was after, nor one that would too low and compromise street driving.

A thin layer of modeling clay was added to cover the whole foam shapes. This was to fill in the pores of the foam and with sanding, increase the surface smoothness to prepare for make a fiberglass mold of each corner. From the molds, usable production pieces, for both corners would be made.
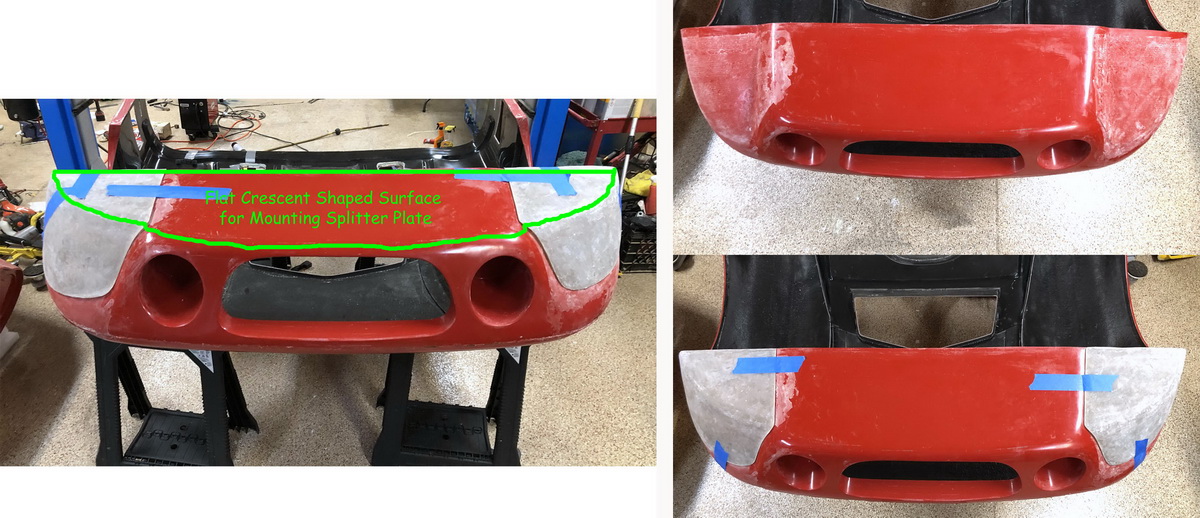
My custom nose design was to allow the original surrounding sculptured body shape of the radiator opening and fog lamp to remain and be prominent, but the sides of the nose to body have a flush transition.
The bottom surface of the nose corner pieces are in line with the flat under nose body, for a full with flat bottom.

The fiberglass mold making procedure.

Once the fiberglass mold pieces were made, cured and removed, I cleaned and smoothed the inner surfaces.
Using the two molds, I laid up fiberglass mat and resin pieces that would be the actual usable nose corners. You can see them on the table and then one mounted on the nose body. Precise and careful trimming of the edges of nose corners was important to get a good fit.
As an element of manufacturability, I decided that it would be best to have most of the fiberglass corner piece to body joining be on the unseen inside. So, I cut a circular access hole in the body in each corner, thru which I would insert my gloved hand, fiberglass mat and resin on brushes and blindly lay up the joints on the insides.

To Be Continued
-
Continued
D8YTONA Build Custom Features Explained - Part 3 Custom Lowered Nose Corners
With both nose corners trimmed, positioned in place and ready for permanent attachment, layers of fiberglass mat & resin were applied.
The body prep / paint shop (Jeff Miller Customs, as it would be) would perform the Bondo/Rage Gold, etc. final blending and body prep. of the nose corner pieces and body together.

To Be Continued
-
-
Post Thanks / Like - 0 Thanks, 3 Likes
-
Senior Member

Once again, incredible stuff. Your car is truly 1 of 1
-
My Type 65 Coupe: Ordered May 27, 2021. Arrived November 19, 2021.
I would like to treat my gas pedal as a binary operator. It would be nice to get the cooperation of everyone in front of me. 
-
These small details make all the difference. Excellent work.


 Thanks:
  Likes:


 Reply With Quote
