Hi there,
I think I have the toe and camber set roughly on both the front and the IRS. However, I cannot figure out how to measure and set the CASTER.
Are there any good posts on this subject. Please let me know.
Thanks for any help,
Jeff
You need a caster / camber gauge. I use a Rebco but there are others out there like Longacre that are similar. The old fashioned bubble type is accurate and doesn't need batteries that with little use will just go bad and leak before the next time you use it. http://www.longacreracing.com/produc...-Camber-Gauges
Dart Little M 406" SBC 800 HP N/A & 1,100 HP on nitrous, 2-spd Powerglide with trans brake, 6,000 RPM stall converter, narrowed Moser 88 3.90:1 spool with 35-spline gun-drilled axles & Torino bearings, custom parallel four-link, custom tube chassis & roll cage NHRA certified for 8.5-sec (only two FFR Hot Rods have this cert).
X3 for Fastrax. You'll need a slippery surface under the tires to facilitate turning them out and in for your measurements. I used two ceramic tiles face-to-face with grease between them under each tire
Last edited by RJD; 08-21-2019 at 09:55 PM.
MKIV complete kit w/powder coating and cut outs, serial #9189 delivered 10/10/17, first start - 10/5/18, legal - 10/08/20. Blueprint 306 w/Holley Sniper EFI, TKO 600, power steering, Breeze fan shroud, trunk cubby, & engine compartment battery kit, CNC brake reservoirs, RT turn signal & gas pedal, mechanical throttle linkage, METCO safety loop, GASN side pipes, drop trunk, dual chrome roll bars, vintage gauges, glove box, custom center console, cup holders, and speakers.
Are you planning on taking to an alignment shop or going to buy the tools needed to do it yourself? If going to a shop here is a very rough process. On the front UCAs make the rear arm as short as it will go. Adjust the front arm to get about 1/2 degree negative camber. Adjust the toein to 1/16 to 1/8 total toein.
FFR MkII, 408W, Tremec TKO 500, 2015 IRS, DA QA1s, Forte front bar, APE hardtop.
Are you planning on taking to an alignment shop or going to buy the tools needed to do it yourself? If going to a shop here is a very rough process. On the front UCAs make the rear arm as short as it will go. Adjust the front arm to get about 1/2 degree negative camber. Adjust the toein to 1/16 to 1/8 total toein.
Thank you,
I will (eventually) take it to a shop when I can find one that knows FFRs in North Florida. I will do the rough alignment as you suggested. Thank you very much.
Jeff
One other thought when you take it to a shop. While the IRS is a easier than the previous style these cars are still a pain to align. I suggest you take to a shop once you have gokarted it and before the body is on. It makes a world of difference. Set the ride height where you want it and get it aligned. After the body is on and you have done a couple 100 miles check the ride height again. It will have settled some so adjust it back to where you had it and your alignment will go back to exactly where it was set.
FFR MkII, 408W, Tremec TKO 500, 2015 IRS, DA QA1s, Forte front bar, APE hardtop.
I second that. Is there an adjustment for caster? Seems the only adjusting point on the upper A arm will effect both camber and caster. Is that correct? If so how can a manual vs power steering rack affect caster as I've seen mentioned elsewhere.
Rebostar
caster is set by different length adjustment of the Upper Arm front and rear legs. You should set caster first, then when you set camber, turn both upper arm legs the same and keep the difference between the two as close to the same as it was when you had the caster set.
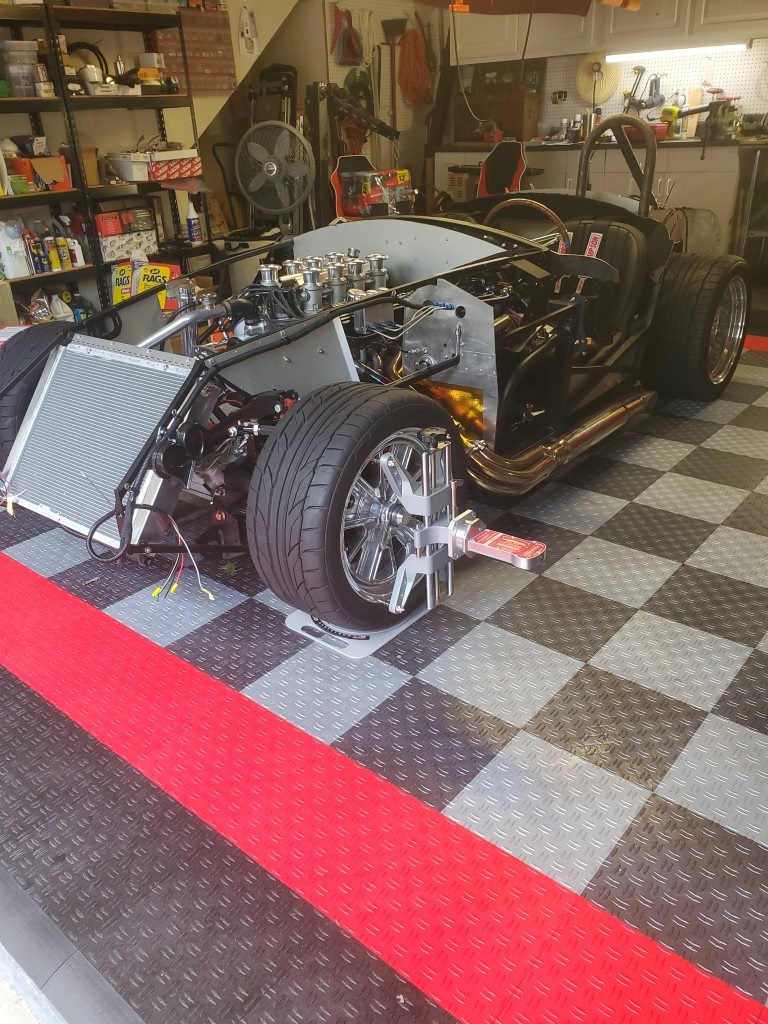
This is how I did it, using a piece of aluminum on the wheel and my phone's angle finder:
From Formula Magazine:
1. Turn wheel 15 degree left of center and take a camber reading.
2. Turn the wheel 15 degrees right of center and take acamber reading.
(You can make a 30 degree chalk line on the floor)
3. Multiply the difference x 2 and that is your castor.
4. When turning from outside to inside a neg camber change equals positive castor. i.e. a change from zero to -1 x 2= a 2 deg pos. castor.
From Performance Marketing Camber Gage:
1. Turn 20 degrees left of center and take a camber reading.
2. Turn 20 degrees right of center and take a camber reading.
3. Take the difference and multiply by 1.5, that is your castor. i.e. left reading +1, right reading +4. Difference =3 x 1.5 = 4.5 deg positive castor.
I confirmed both these ways work using my truck. I lowered it, then had it aligned, then I checked the caster myself in my garage.
I have been doing wheel alignments since the late 70's. Caster is the forward or back tilt of an imaginary line through the upper and lower ball joints. Caster allows the steering system to self-center while driving. An out of spec caster angle will not wear tires, but cause it to pull or gives reduced self centering. It is adjusted by moving the upper control arm adjustments in and out, but opposite of each other (rear adjustment point in and front adjustment point out equal amounts) which will move the upper ball joint forward or back, causing that angle to change. A chopper has extreme positive caster. The more positive caster you have, the better your car will self-center driving down the road, however, the more difficult (more steering effort require) it will be to turn the steering wheel while standing still. That is why power steering cars can have more positive caster. Caster is the first adjustment to make. It is measured by turning the front wheels 20 degrees to the left, zero out the gauge, then turn 20 degrees to the right and read the gauge. Your next adjustment would be camber, which is the same imaginary line between ball joints, but this time measuring how much that line tilts out or in. That is adjusted by moving both upper control arm points equally in or out. Improper camber will affect pulling and tire wear. Your final adjustment will be toe in, which is the inward or outward pointing of the wheels. Improper toe setting will wear tires the quickest. I will be setting my rough camber and toe adjustments in my garage for the drive to a wheel alignment shop for caster for a full wheel alignment. I have done many rough alignment adjustments and am surprised how close I get them using a level and tape measure at home, but still feel better when I know everything is set to perfect on a professional rack. Good luck!
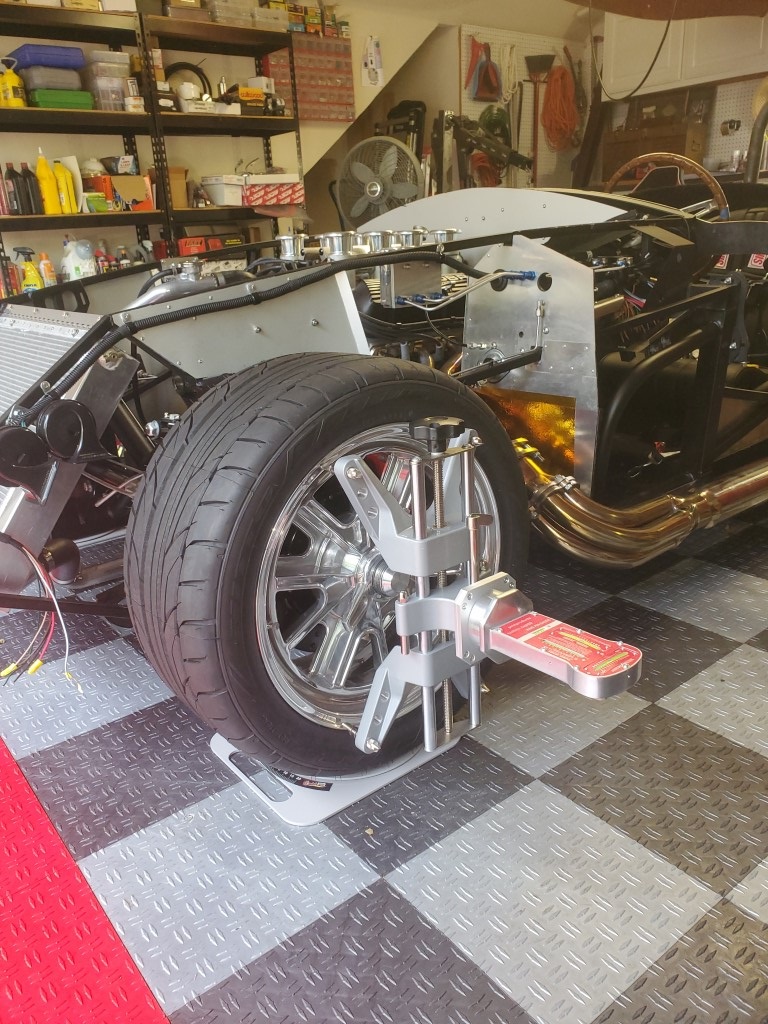
I'm interested in this gauge. Where it says "13 to 17 inch wheels" does that take into account the tire also? Or, do I need to use a wheel WITHOUT a tire mounted on the wheel?
I think the 13 to 17 is the size of the wheels it will fit. You can see in the pic w/ it against a wheel that the top arm has been extended compared to the first pic.
FFR MkII, 408W, Tremec TKO 500, 2015 IRS, DA QA1s, Forte front bar, APE hardtop.
Front caster/ camber is a circular process. I measure what it is, jack up the car (because w/ body on you can't readily turn the adjuster sleeves), make a guess at how to adjust the sleeves, drop the car and roll it a little to let it settle, measure. A couple of years ago I got a pair of turntables via ebay or A. More so than making turning easier, they also have about 2 inches of travel sideways. So now, before I drop the car, I push the turntable towards the center of the car. Drop it and the wheels move outward. Now rather than rolling the car to let the suspension settle, I bounce it up and down a bit and move it back and forth sideways. This is easier than rolling it back and forth. By circular process I mean that you keep adjusting and measuring and adjusting, going around and around w/ each adjustment getting closer and closer to the goal. As I get my figures closer to being correct, I start snugging the jam nuts after adjustment. If I don't snug them, the sleeves are as short as the slop in the threads will allow because of the car's weight, and they will gain length when you do a final tightening, messing up your #s slightly.
Last edited by CraigS; 02-12-2024 at 07:57 AM.
FFR MkII, 408W, Tremec TKO 500, 2015 IRS, DA QA1s, Forte front bar, APE hardtop.
I'm interested in this gauge. Where it says "13 to 17 inch wheels" does that take into account the tire also? Or, do I need to use a wheel WITHOUT a tire mounted on the wheel?
I used this adapter with a bubble castor/camber gauge like this one. Worked really well.
2 yrs ago I bought a second one of these. https://www.longacreracing.com/produ...y---NO-ADAPTER
I made my own mounts to the wheels. Now I can do both left and right at the same time. This cuts way down on # of times I have to jack up the car, adjust then drop and settle. BTW the chamfered outer corners on the gauge are your 20deg reference. I used mounting tape to add 7-8" pieces of 1/16x1" aluminum to make it easier to see. When they are parallel to the sidepipes, I am at the 20deg. Hint 1- make notes each time you measure. Starting from after first assembled you will be doing at least 10 sets of measurements as you get closer and closer. Hint 2- Don't kill yourself on the accuracy of the 20deg caster sweeps. Over those 10 (or more) sets of measurements, your technique will improve and also your results will average out. Hint 3- If you get to where making the #s absolutely, perfectly, 100% equal on left and right sides seems impossible, don't worry. Go for a tad extra +caster and -camber on the passenger side. This will help compensate for the crown in the road. One more hint 4- This alignment stuff is fun to do but it isn't quick. The first time schedule yourself an entire afternoon. If you have IRS, schedule a day. BTW do the rear first.
FFR MkII, 408W, Tremec TKO 500, 2015 IRS, DA QA1s, Forte front bar, APE hardtop.
I originally spent the money on that Fastrax tool, but was sorely disappointed for two reasons:
It was off 1.5 degrees of camber right out of the box. There's a set screw on the back that's swimming in loctite, and the instructions say "DO NOT ADJUST, FACTORY SET". Yea, sure thing bro...
The caster measurements never were accurate. After I was having a real chore of a time getting my trucks' castor set using the tool, I busted out a flat piece of aluminum and used my phone and tested the castor based on my procedure above. Low and behold, after multiple tests to confirm accuracy, the Fastrax was always off by 4 degrees in castor. To prove the issue, my old school/cell phone way was only off 0.5 degrees from a laser alignment I had after all my work was done.
I left a bad review on Amazon and threw it in the trash. Maybe that devise Mike Bray posted above is better, but that Fastrax is garbage.
Maybe that devise Mike Bray posted above is better, but that Fastrax is garbage.
I can say the gauge I used worked very well. It was repeatable and when I finished the alignment the A-arm lengths on both sides matched. A couple of days later I did a double check just for fun and everything repeated. There are lots of similar gauges, I know the Longacre ones are very good.


 Thanks:
  Likes:


 Reply With Quote