-
Senior Member

Ehansen007 Father/Son 289 build
Well hell, here we are again!
My son Jason is just a good dude. Or so my friends tell me. At 18yrs old he's 6'-4" 190lbs and still growing (hello Kirkey bucket seat!). The kid is a great student, was a great water polo goalie, and he's fun to hang out with (when not on his phone LOL). He manages a bike shop in San Clemente while going to school and coaching HS Water Polo and will most likely head to Cal Poly SLO next year. I told him no more girlfriends so we can get this build done! He's been helping me out with my builds a little here and there and now he's ready for his own.
 . More pics of him to come.
Well that's pretty much it. Onto the build!! We'll let this here YouTube Video kick it off!
https://www.youtube.com/watch?v=J7kqWRB9VNE
Last edited by ehansen007; 12-23-2024 at 12:41 PM.
-
Post Thanks / Like - 1 Thanks, 3 Likes
-
-
Post Thanks / Like - 0 Thanks, 1 Likes
-
Senior Member

Welcome back Eric!
Really enjoyed your build thread hints and videos during my '33 build, helped a lot.
Life throws us lots of curve balls and we need to just keep swinging...
I love the family builds, enjoy the time  Will be watching
Steve
Gen 1 '33 Hot Rod #1104
347 with Holley Sniper & Hyperspark, TKO600, IRS, 245/40R18 & 315/30R18, DRL, Digital Guard Dog keyless Ignition
-
Post Thanks / Like - 0 Thanks, 1 Likes
-
Senior Member

So to kick this build thing off I wanna thank my sponsors. They are all super cool and I've worked with most of them on past builds and even if I didn't get free stuff or even a discount I'm proud to mention them here.

-
Senior Member

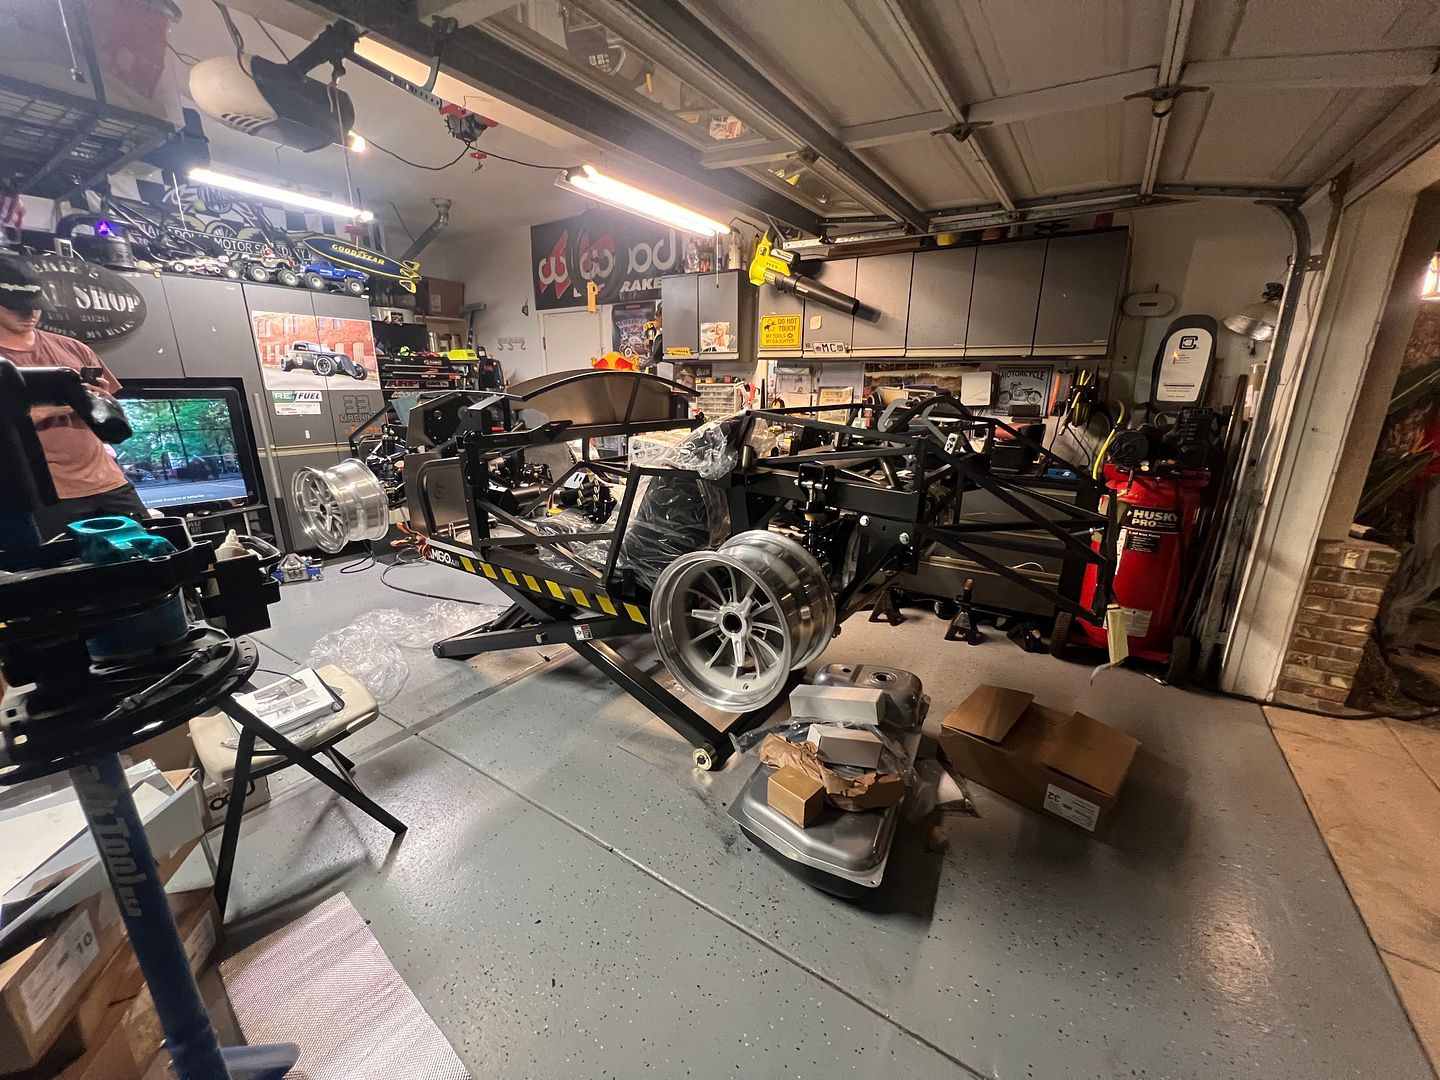
I told myself I'd never do another build without a lift. And for those who are going to spend $40-50K I highly recommend spending the extra $2500 to save your back and make the build way more fun and easy. For this build I bought a new scissor lift from Wholesale lifts (www.liftswholesale.com) and worked with Dave Copass. He gave me a discount and more importantly found a shipping company to deliver with a liftgate and a pallet jack. The guy who came was a pro and it was no issue so not sure why many shippers wouldn't do it.
Anywho, here she is. With my limited space in a two car garage with 12ft ceilings this one fit the bill. I had already bought a similar one from Harbor Freight 10 years ago but well, that's another story...so onto this one. It's semi-portable weighing in at 1200 pounds and can be moved around the garage when needed, pretty easily with a small dolly. It's also got a lot of nifty attachments that can be added to pick up the frame just about anywhere. One thing to note though. It sits about 4" high at rest so, like the last one, I'll be using 2x6" some wood runners to park over it when the car is running.

We used it to put the new cover on the shortened 8.8
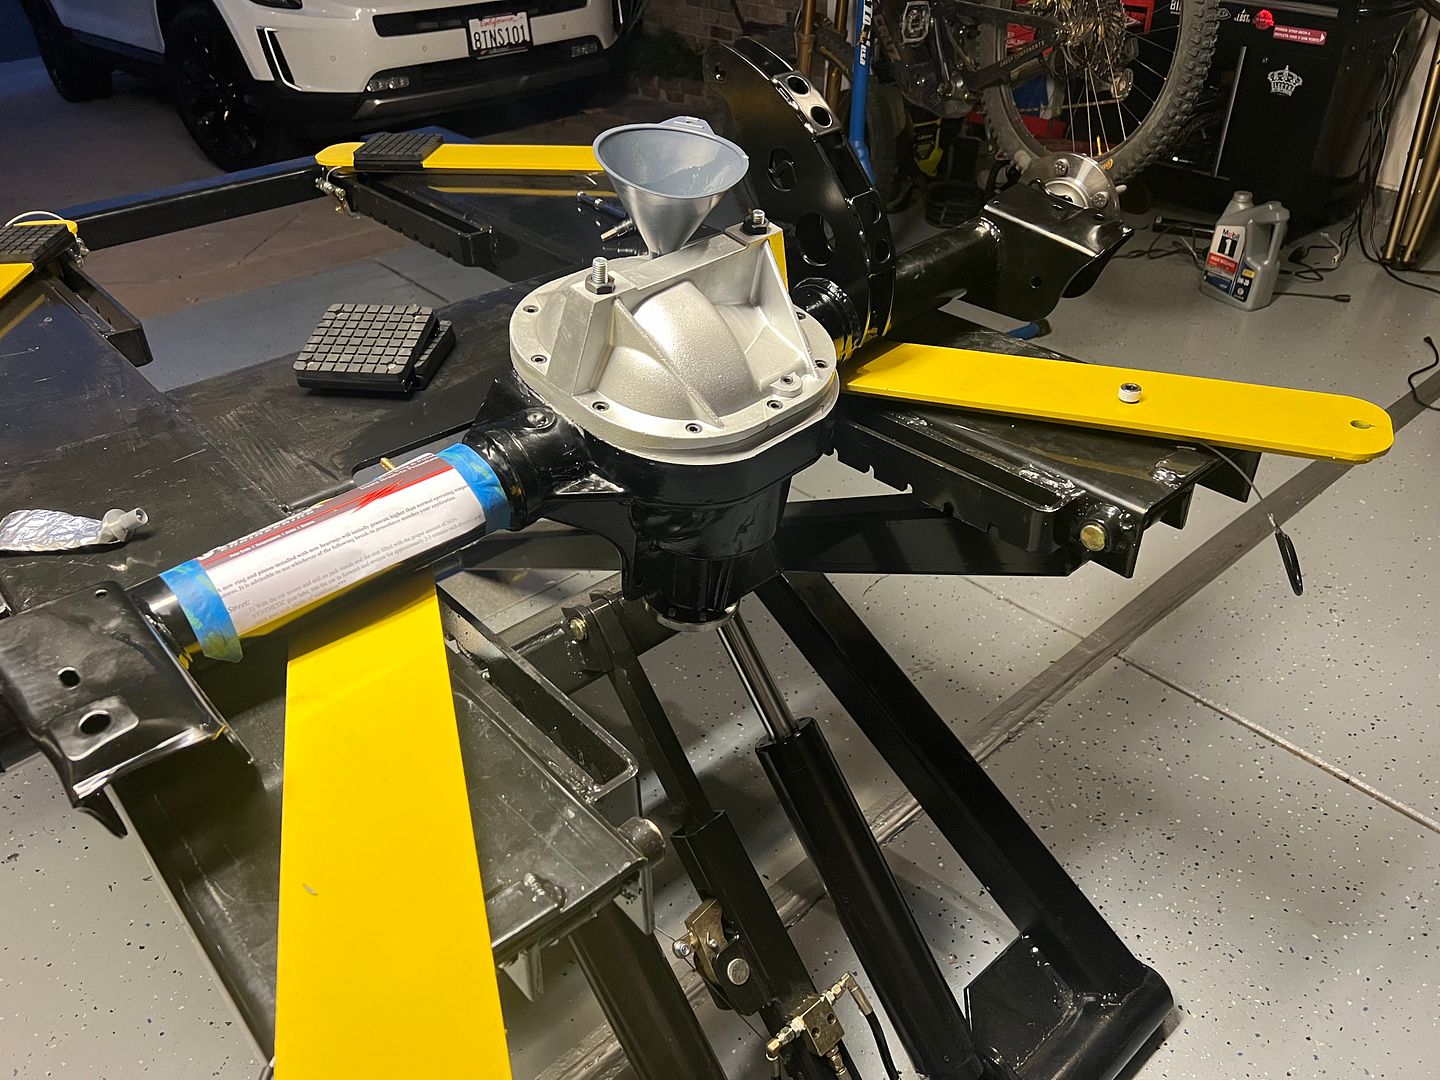
When the truck came we were able to just lower the lift and slide the chassis/body onto the lift with two people. Ted Lasso the pup supervised.

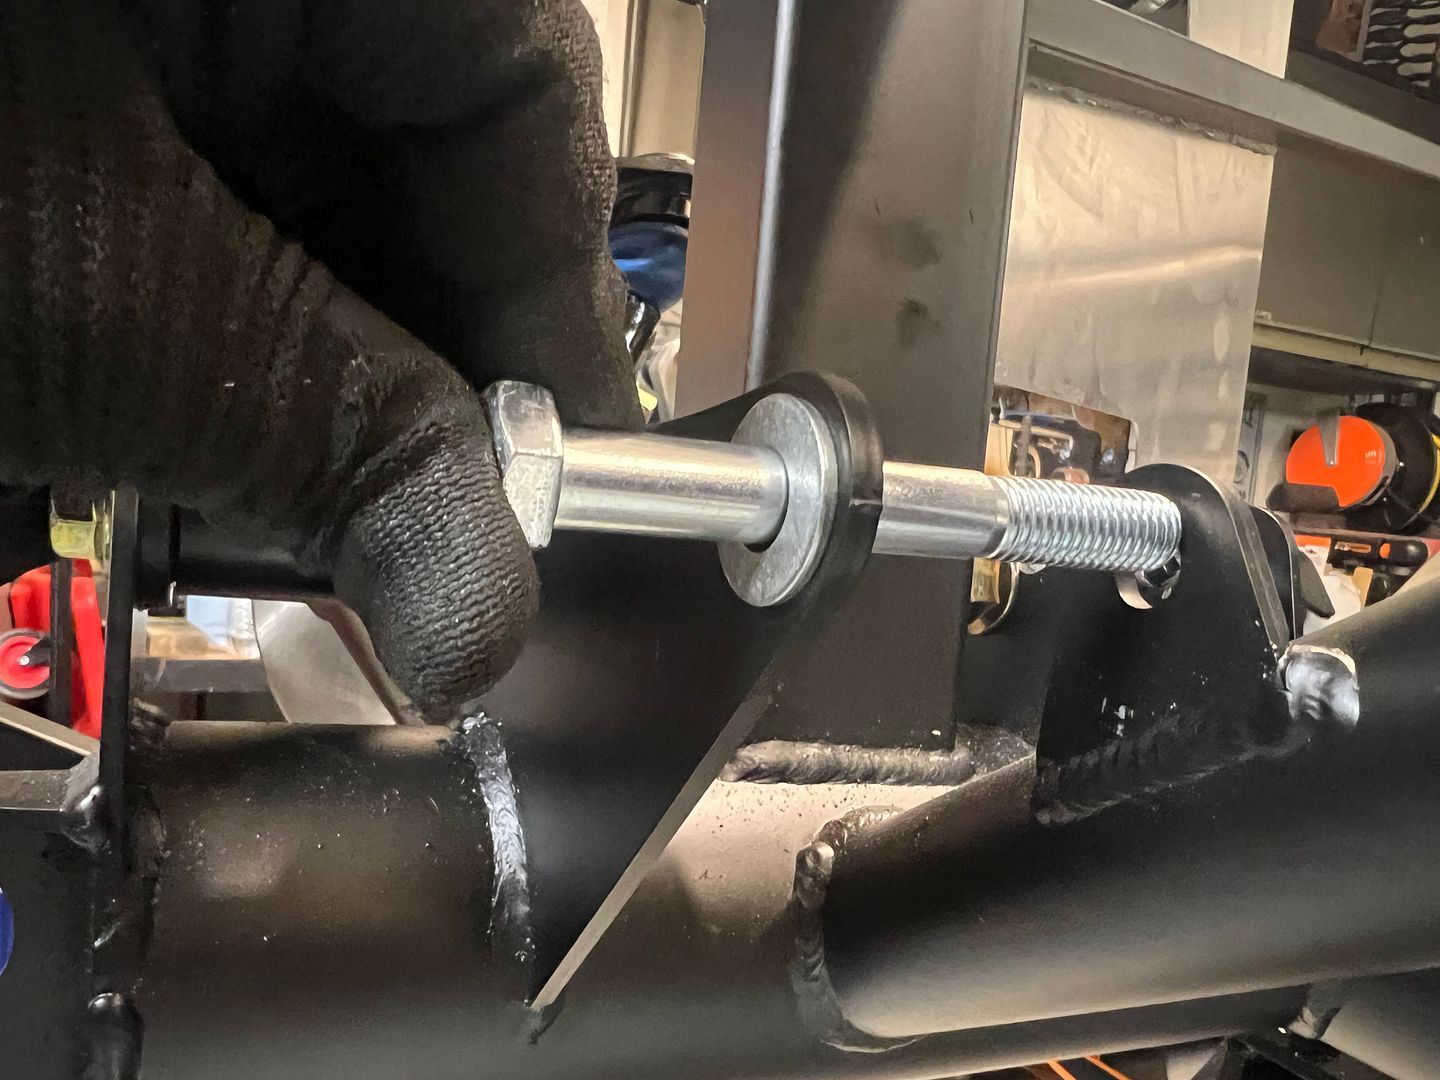
We raised it up to work on the front end at chest height until we got to the spindles and boy...pin drive...that's a whole other thing with FFR.
Soooo...then we started on the rear end!!

For this we were able to lower the lift down to the rear and even shift it side to side while lining it up. It was still tedious and that damn thing is heavy so just as we were trying to balance the rear end and jack stands, we were like "Man one more person would be perfect". Just then a kid selling pest spray services walked up and said, "What are you guys....man, I'm not even going to try and sell you anything...I just want to help!" And so he did. Young Cole, whom we never met before, stepped in excitedly and helped us install the rear end until his ride came. It was awesome.

Last edited by ehansen007; 10-08-2024 at 07:07 PM.
-
Post Thanks / Like - 0 Thanks, 1 Likes
-
Senior Member

-
Post Thanks / Like - 0 Thanks, 1 Likes
-
Senior Member

-
Post Thanks / Like - 0 Thanks, 1 Likes
-
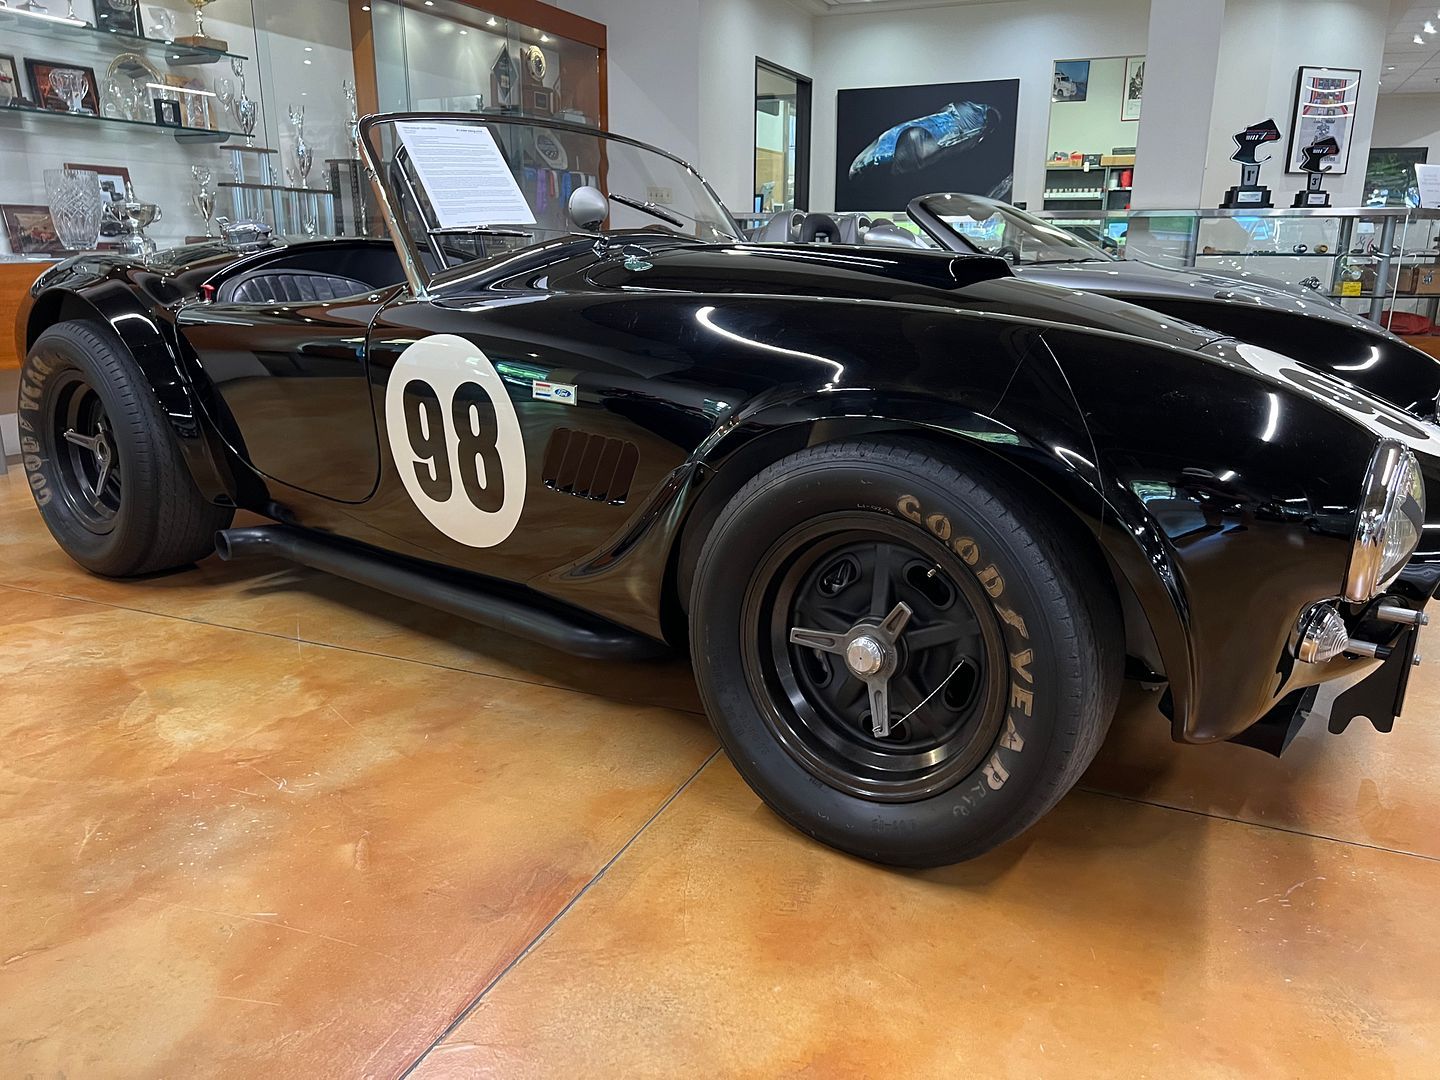
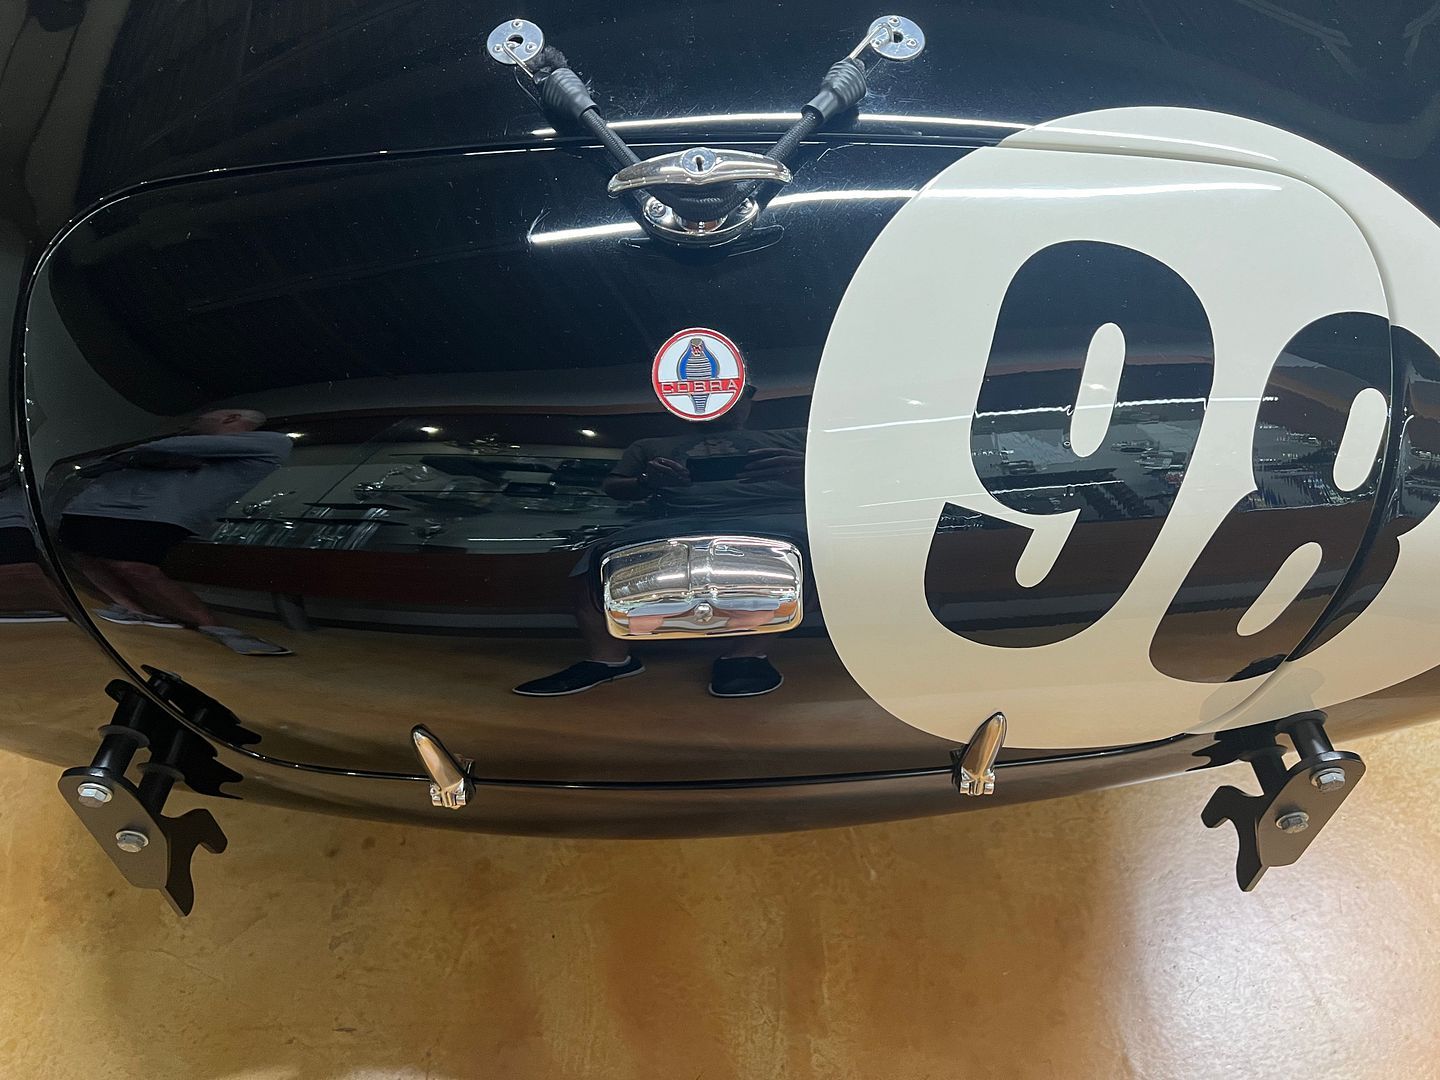
Awesome start, cant wait to see how this one comes together. My buddy was just at Canepa about a week ago and sent me some pictures of 2136 - I totally missed the fact that the trunk lid is reversed 
Working on a 289 build myself; just went through the front end pin-drive IFS dance over the last week. I now have a much better understanding of why the 2 piece spindles dont work well for pin-drive applications. Looking forward to seeing this build!
-
Senior Member

If you think that trunk lid is a trip check out this "Nassau exhaust!" Stainless cross over exhaust that feeds into the fake(!) side pipes???? What. The. Heck.
4 into 2 into 1 into 2? I had to double then triple take on that one!


Last edited by ehansen007; 10-22-2024 at 10:19 AM.
-
Post Thanks / Like - 0 Thanks, 1 Likes
-
What the... I get that the X-pipe will help with scavenging, certainly a little more hp to be had - but why leave the full side pipes? Seems odd haha.
Also looks like an unused junction (fuel maybe?) under the drivers seat.
-
Senior Member

-
Senior Member

Okay we're back.
Installed Brakes, got the wheels powdercoated, stenciled the tires with my own custom stencil and had them mounted up. They are actually bead balanced which I had never heard of. Next comes the 289 motor build.

-
Senior Member

I also made these little guys again and posted up a DIY guide here.

Then I went to work making the aluminum heads look cast by knocking down the edges and hitting them with an Needle scaler and then painting them with Ford Grey
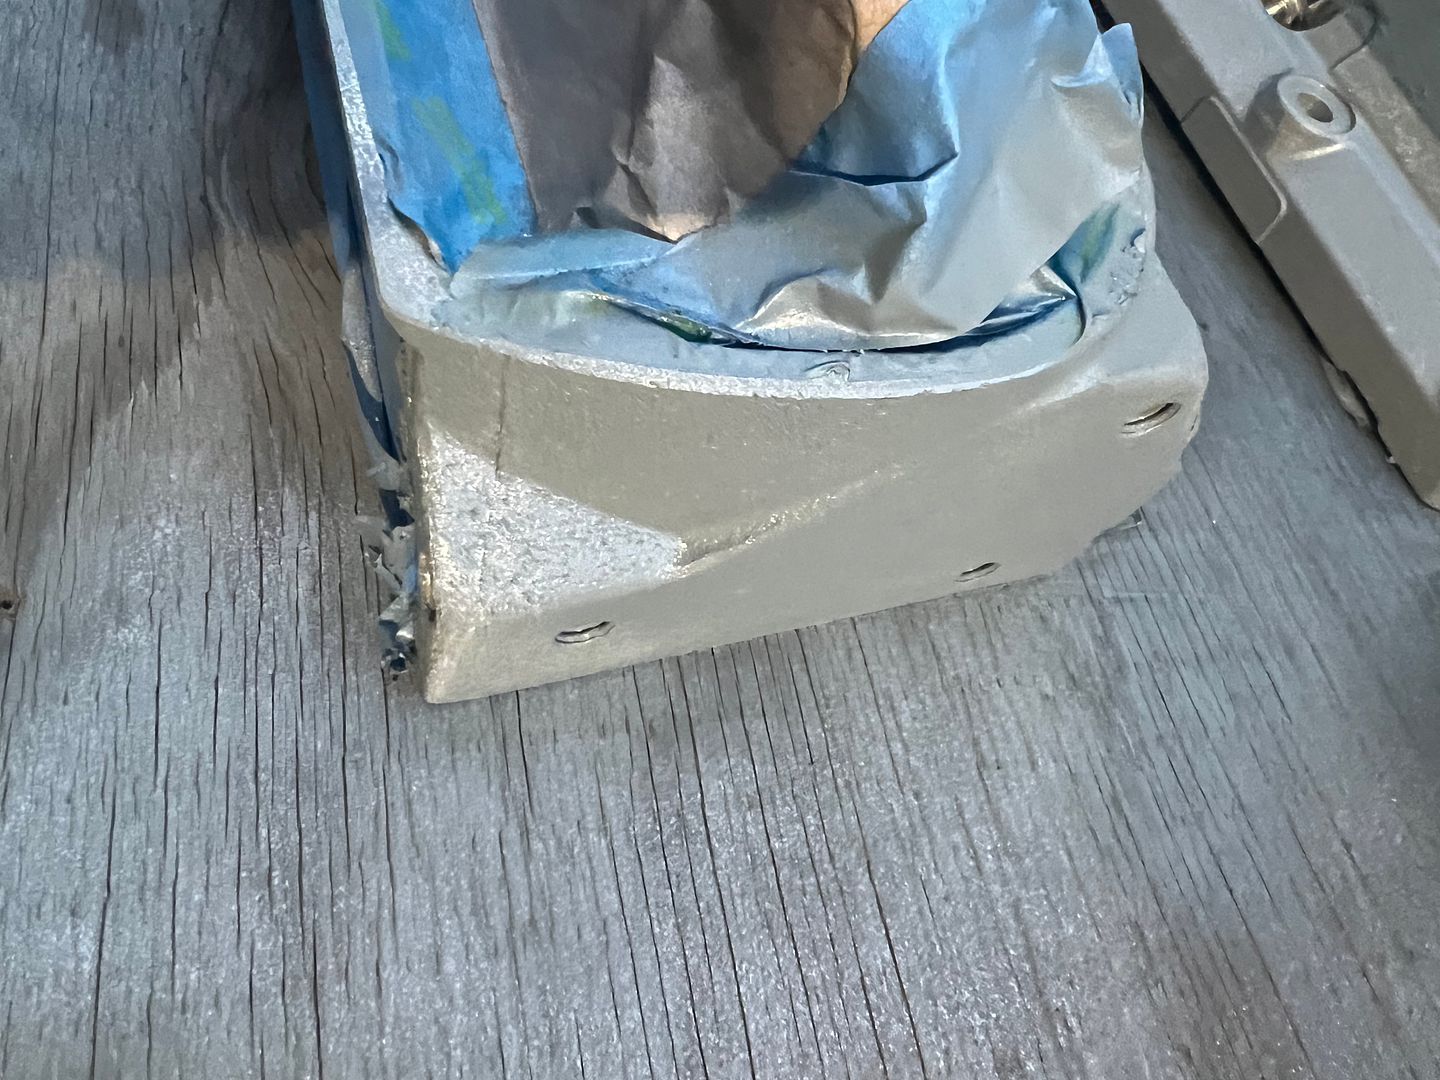
Last edited by ehansen007; 12-12-2024 at 01:21 AM.
. More pics of him to come.


 Thanks:
  Likes:


 Reply With Quote


 Will be watching


