My experience (and I've thoroughly enjoyed it so far):
2 years to get my car to gel-coat and registered / licensed. (I lost about 6 months of my build traveling to the Philippines for work).
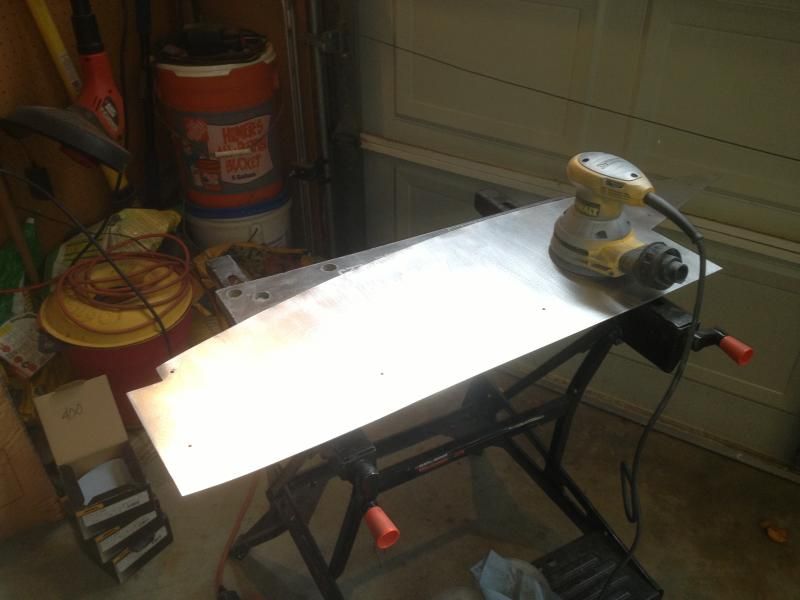
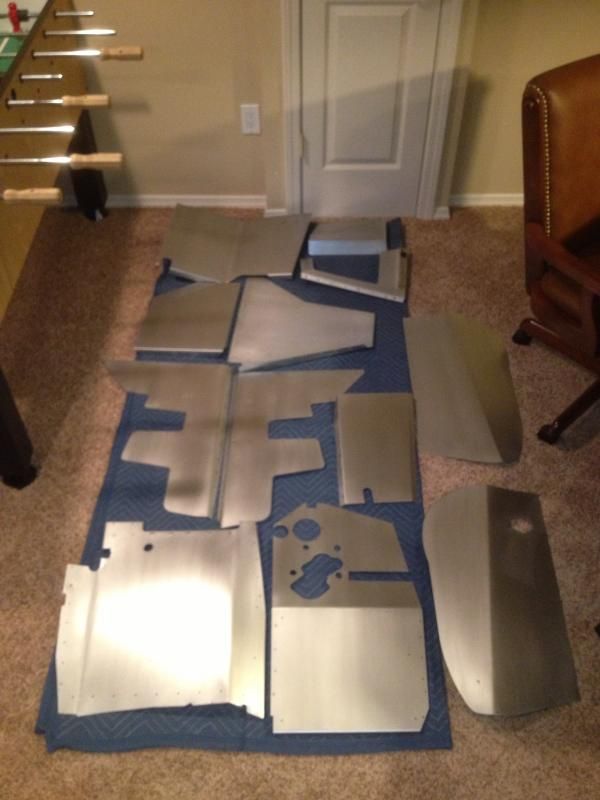
Before gel-coat I fitted, drilled, clecoed, then used a couple sheet metal screws per row, to temporarily hold all of the aluminum panels in place. I pretty much assembled the whole car without rivets, then licensed it on 4/24/13 and drove it all summer (almost 4k miles!!). It wasn't as pretty as a finished car, but just as fun!
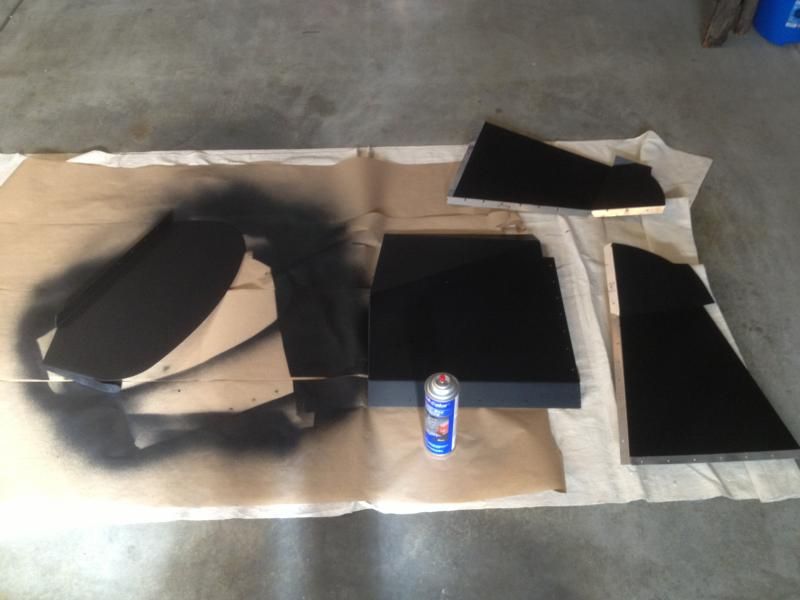
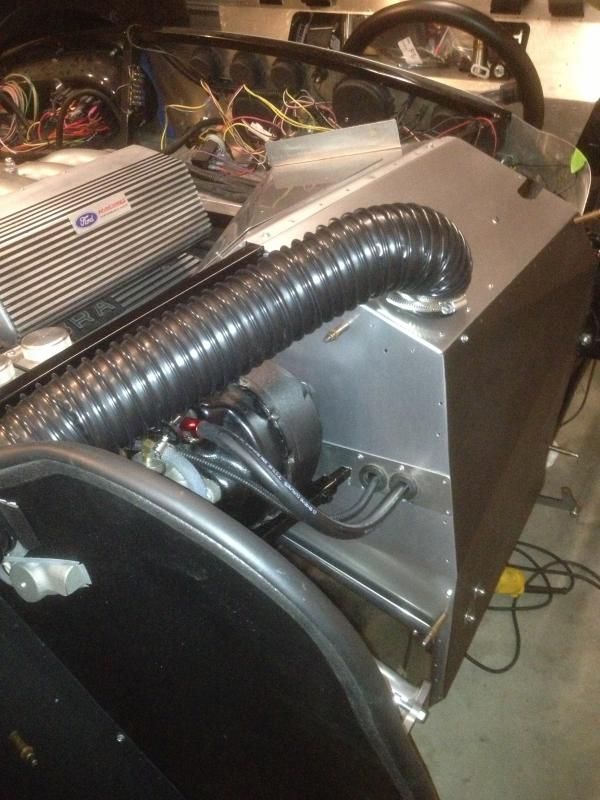
Then at the end of October, I began dis-assembly and re-finishing all of my panels, adding Damplifier, making carpet templates, THEN final assembly: silicon and rivets!
This way I could enjoy the roadster all summer and work out the bugs / make any final adjustments, tweaks, mods during the winter.
It adds a little more time to the build duration, but I did get to drive it for months and it's not going anywhere now (with single digit temps and snow on the ground! just warm up the garage and jump in!)
YES, like eating an elephant, one bite at a time!
Don't get in a hurry, it is over-whelming at times, but stick with it, IT WILL BE WORTH IT!

Here's my final panel assembly post to help motivate you:


 Thanks:
  Likes:


 Reply With Quote


") (been there too!). You'll figure it out and it will be forgotten as you move on to the next step.
(been there too!). You'll figure it out and it will be forgotten as you move on to the next step.