Thanks:
  Likes:


Hi All,
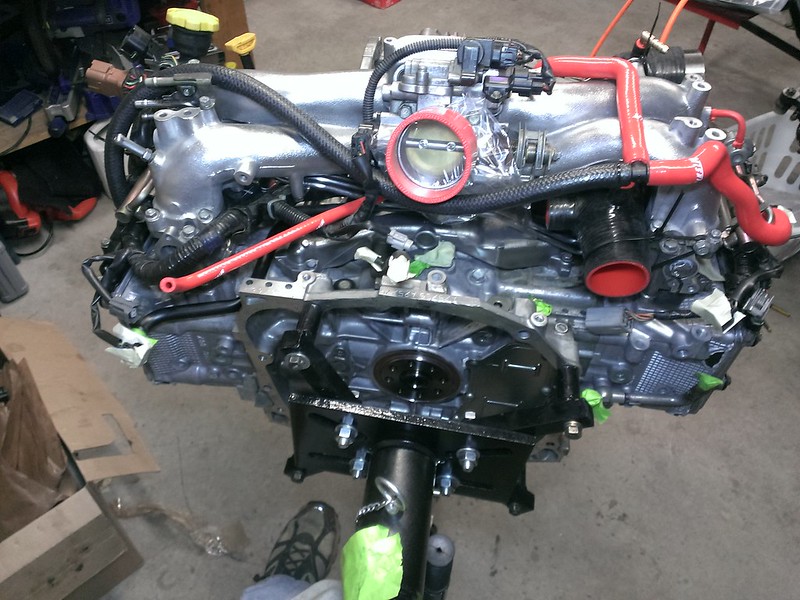
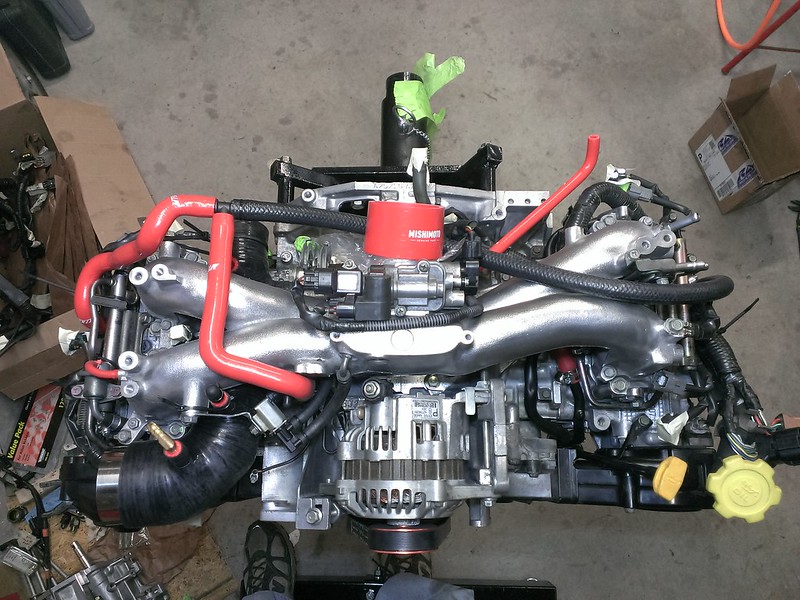
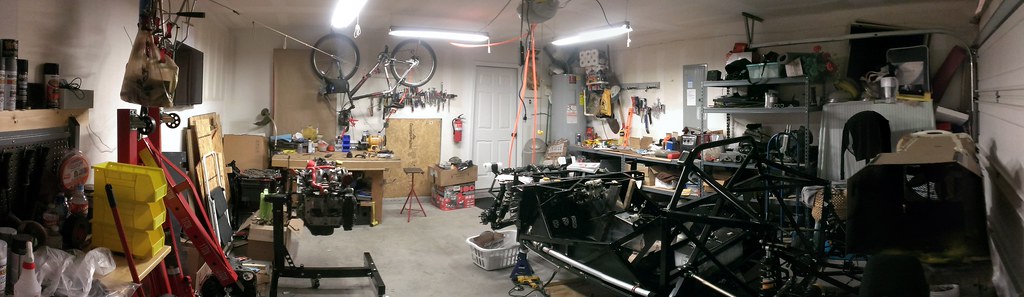
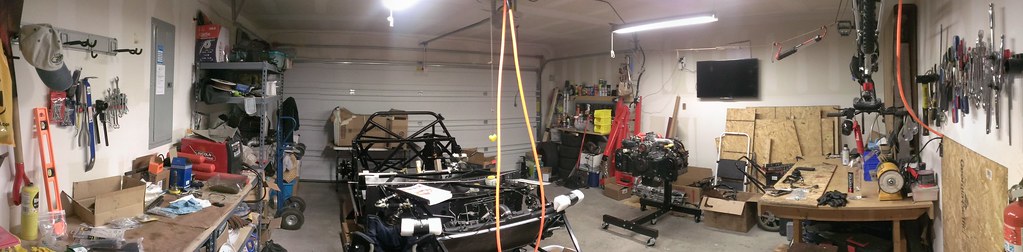
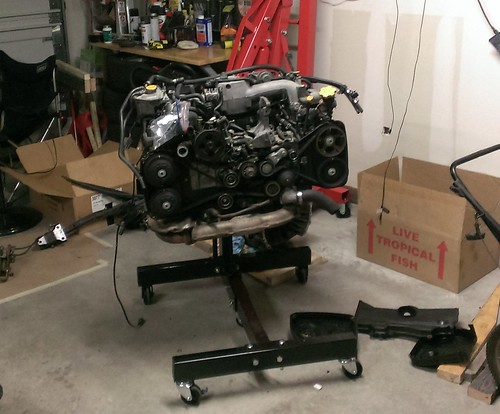
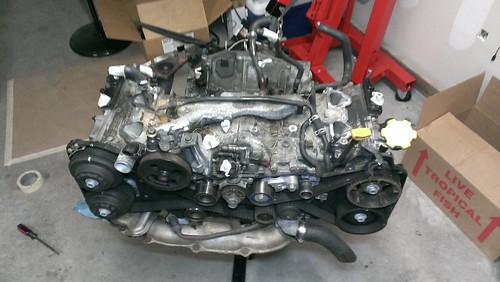
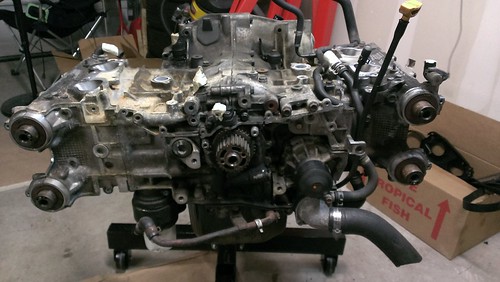
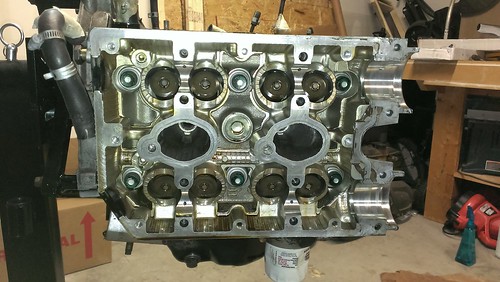
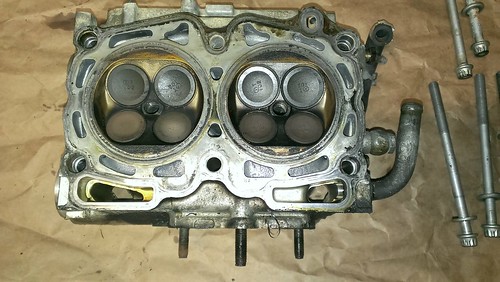
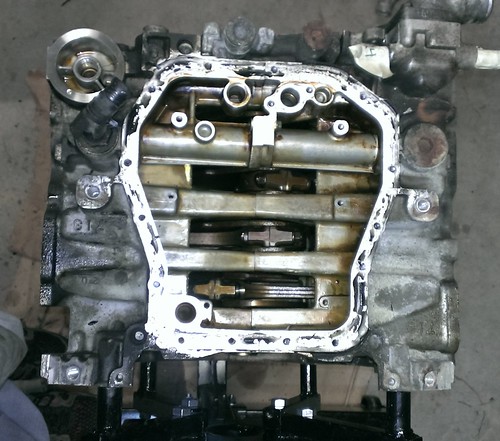
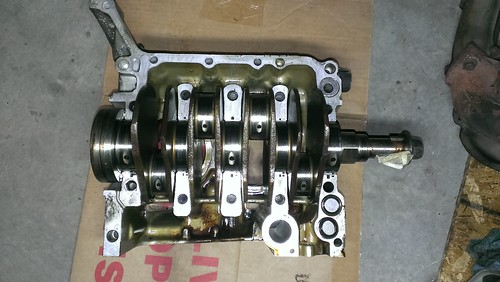
I got my kit and donor last October and I've been putting off my build thread till I've made some decent progress. As this is my first auto build I'm hoping that other members reading this thread may catch any mistakes I've made. Also It would be helpful if you suggest easy tips and tricks for areas where I struggled with.
I really want to end up with an excellent looking 818 similar to many other members on this forum.
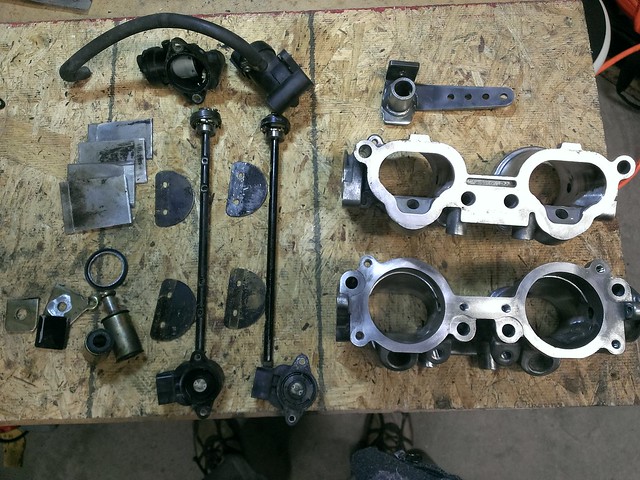
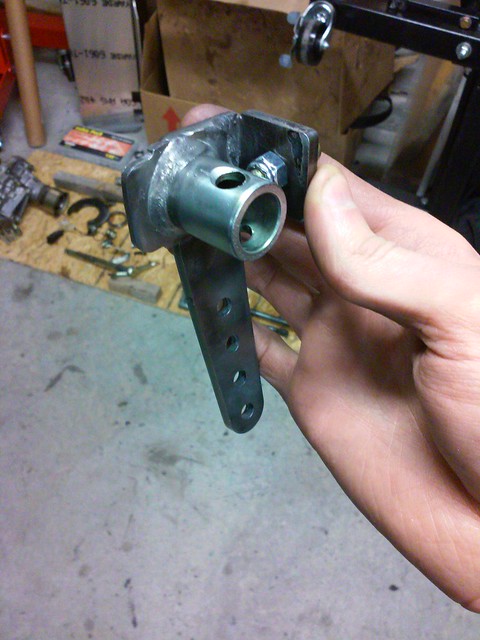
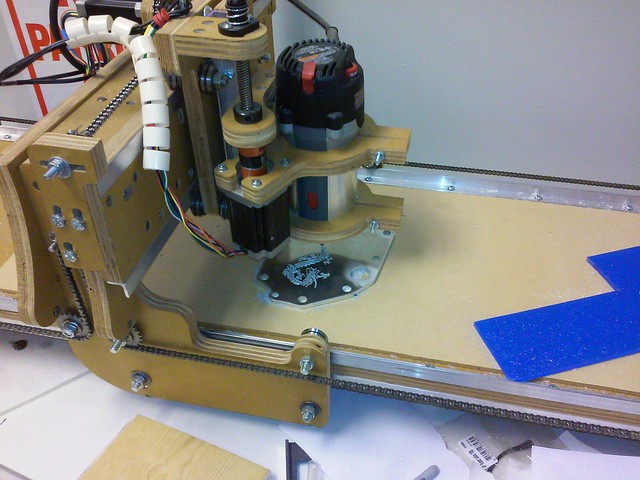
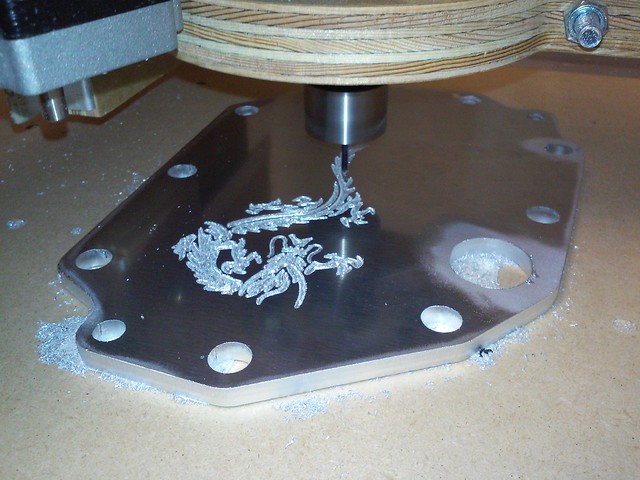
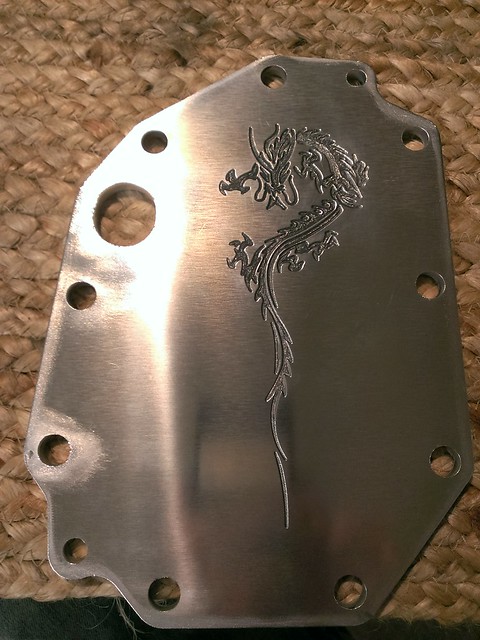
Full build photo album https://flic.kr/s/aHskbCzjtJ
- Home
- Latest Posts!
- Forums
- Blogs
- Vendors
- Forms
-
Links

- Welcomes and Introductions
- Roadster
- Type 65 Coupe
- 33 Hot Rod
- GTM Supercar
- 818
- Challenge Series
- 289 USRCC
- Coyote R&D
- Ask a Factory Five Tech
- Tech Updates
- General Discussions
- Off Topic Discussions
- Eastern Region
- Central Region
- Mountain Region
- Pacific Region
- Canadian Discussions
- Want to buy
- For Sale
- Pay it forward
-
Gallery
- Wiki-Build-Tech

 Reply With Quote


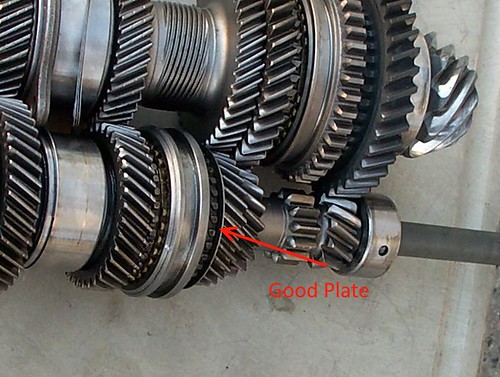


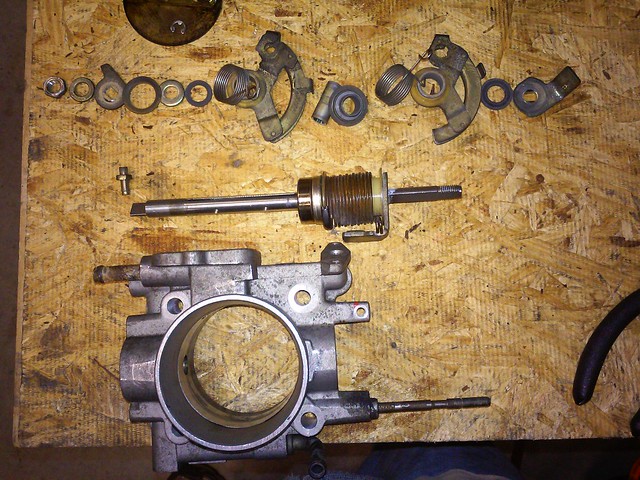


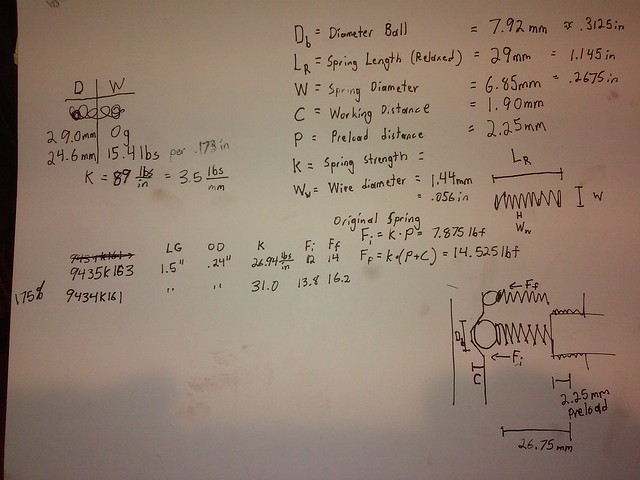
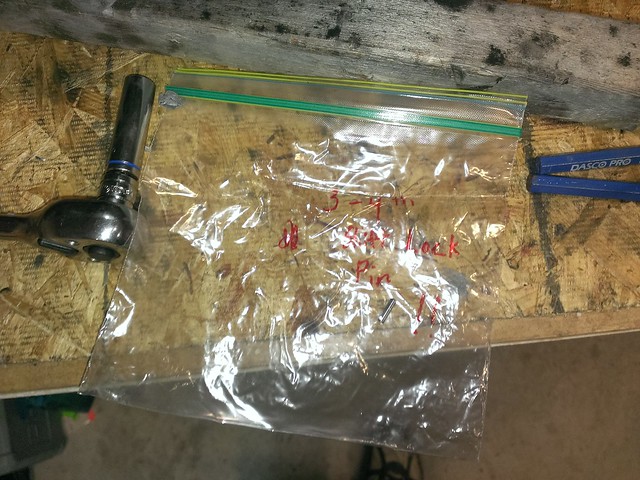
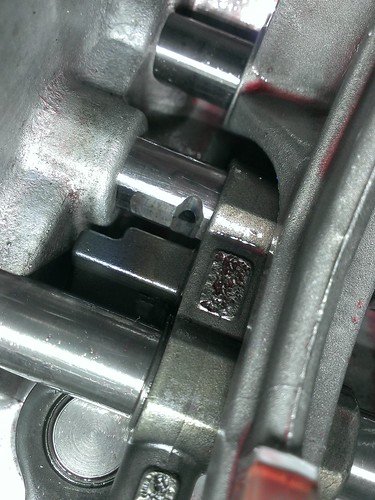
 . This piece is designed to push the shift fork locking tumbler so that you cant engage the 5th or Reverse while in 1st or 2nd gear and vice versa. While this cant happen simply with input from the driver If the checking ball (8) becomes loose then its quite possible that 2 gears may engage simultaneously.