Thanks:
  Likes:


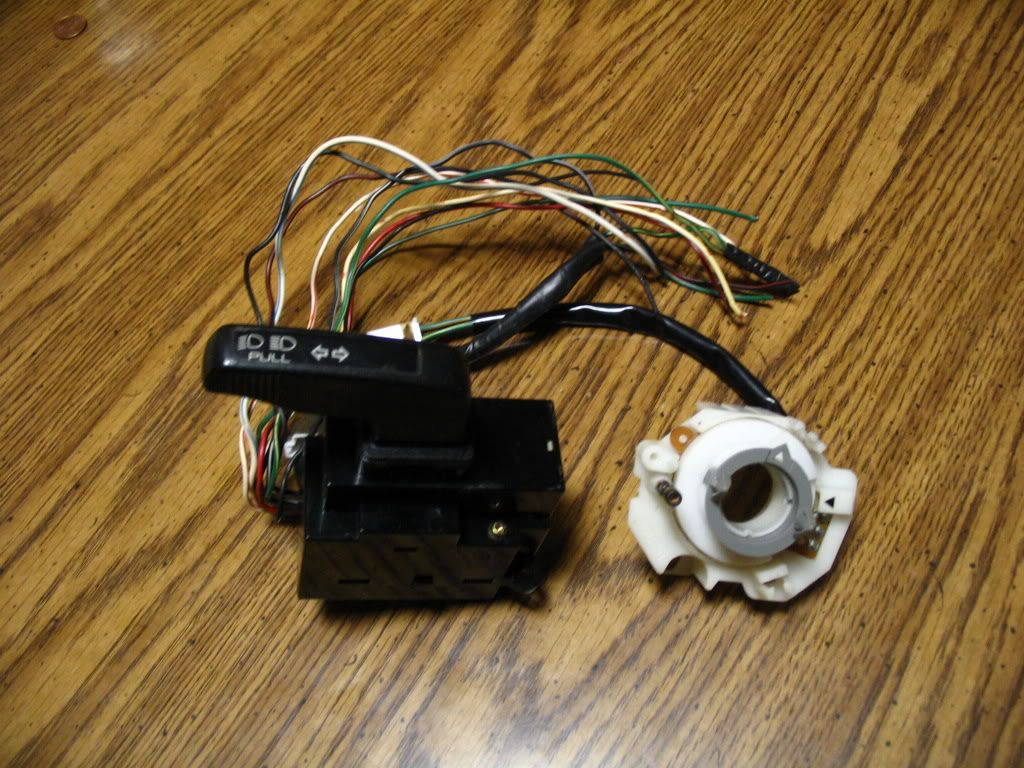
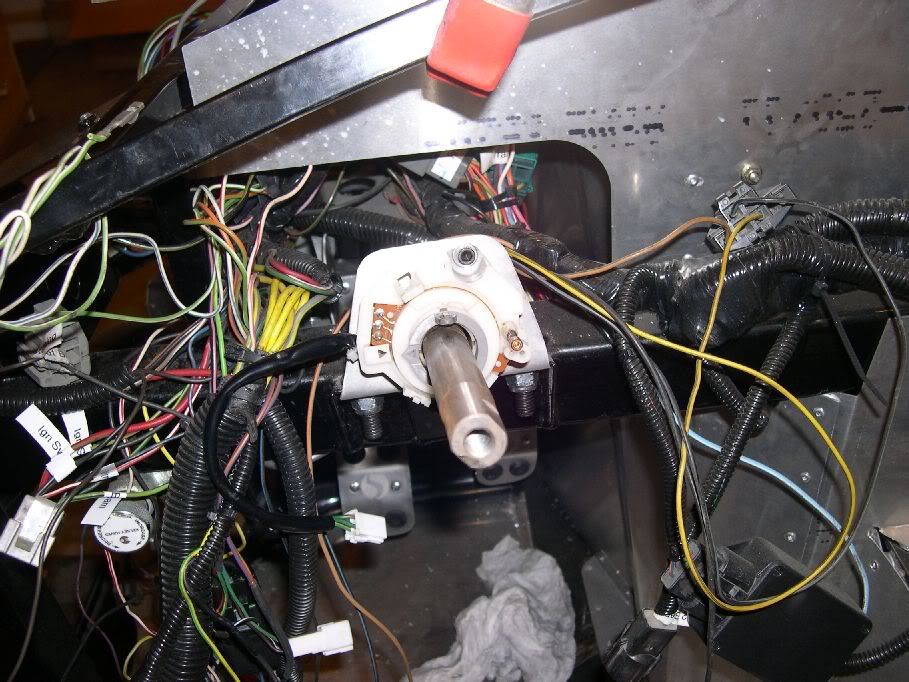
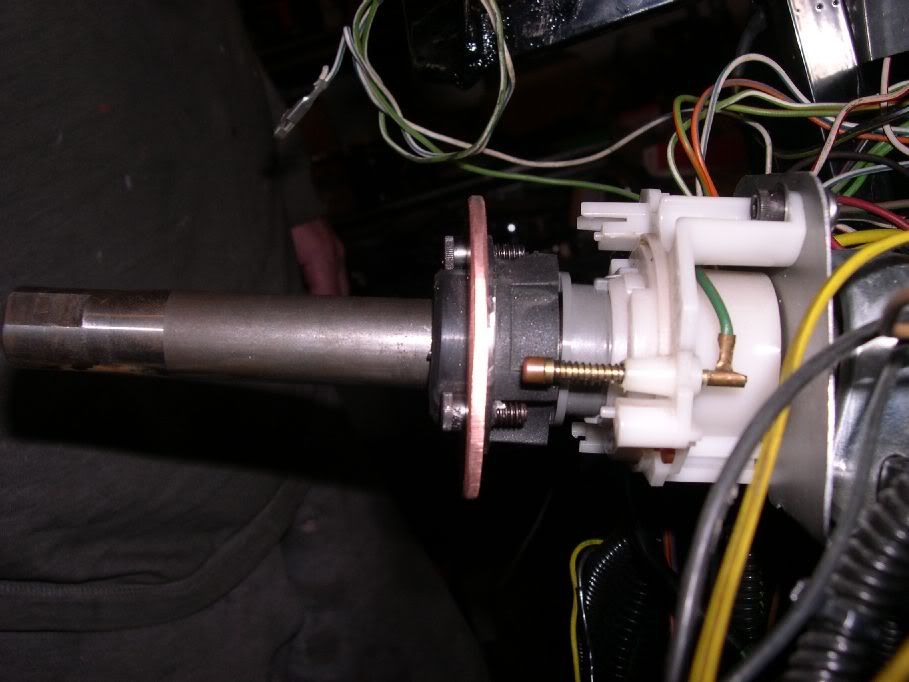
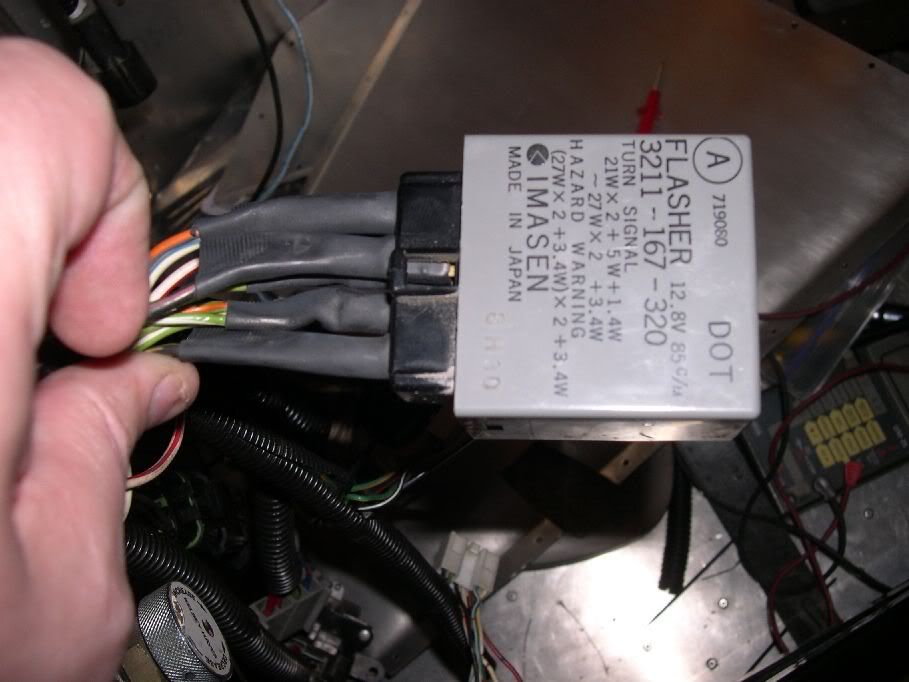
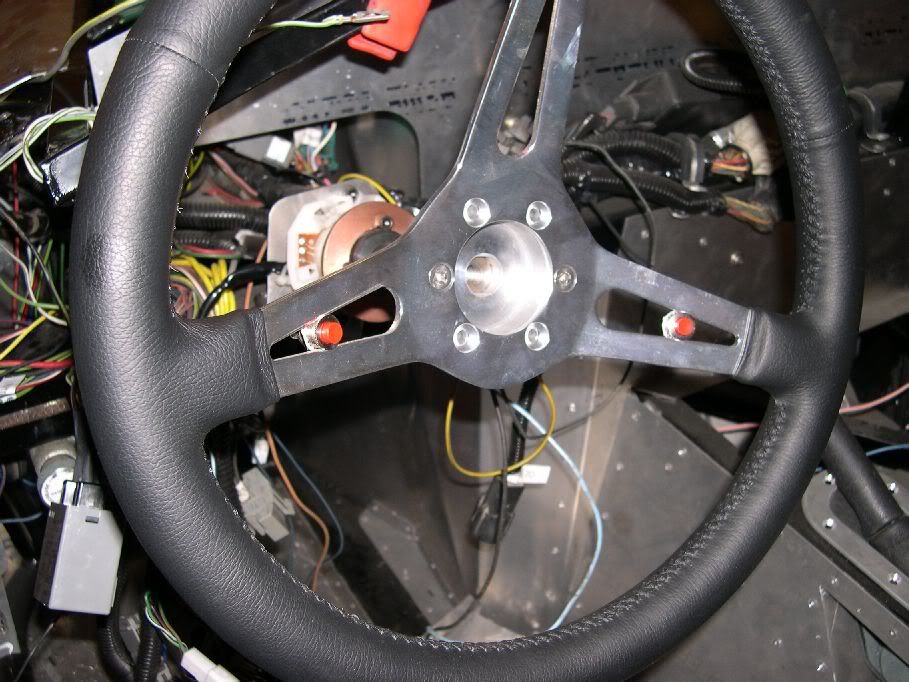
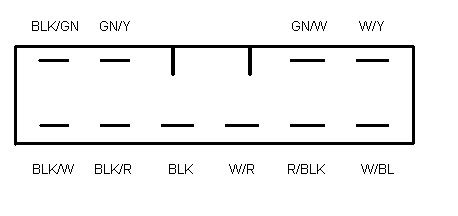
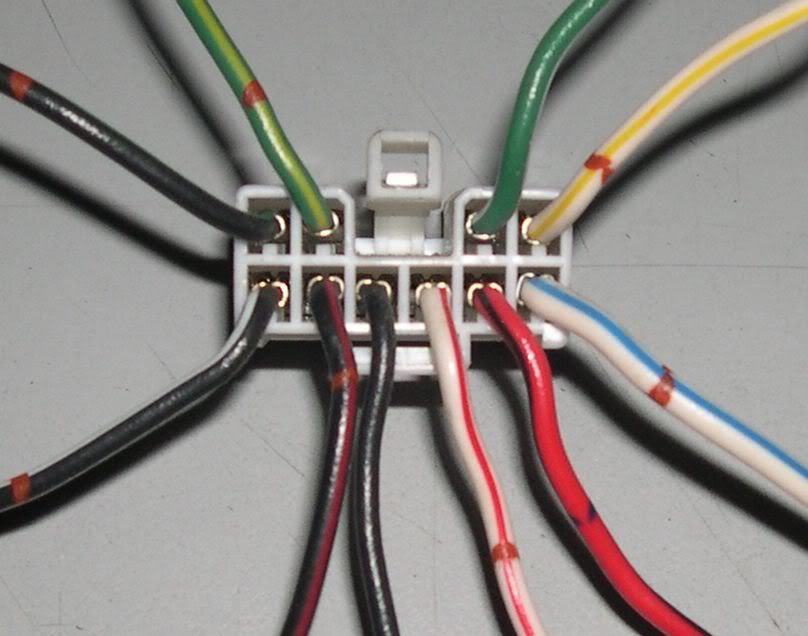
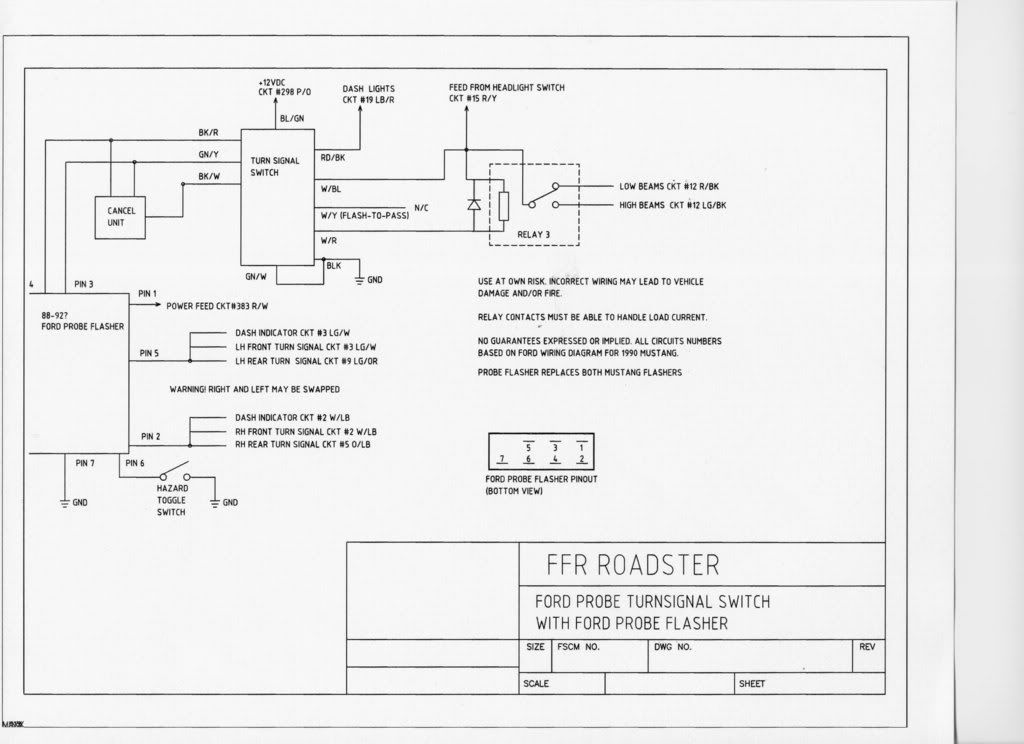
A while back someone suggested the Ford Probe turn signal switch as a good alternative for the Roadster. At the end of the day I solved my turn signal, headlight dimmer, hazard flasher and horn requirements.
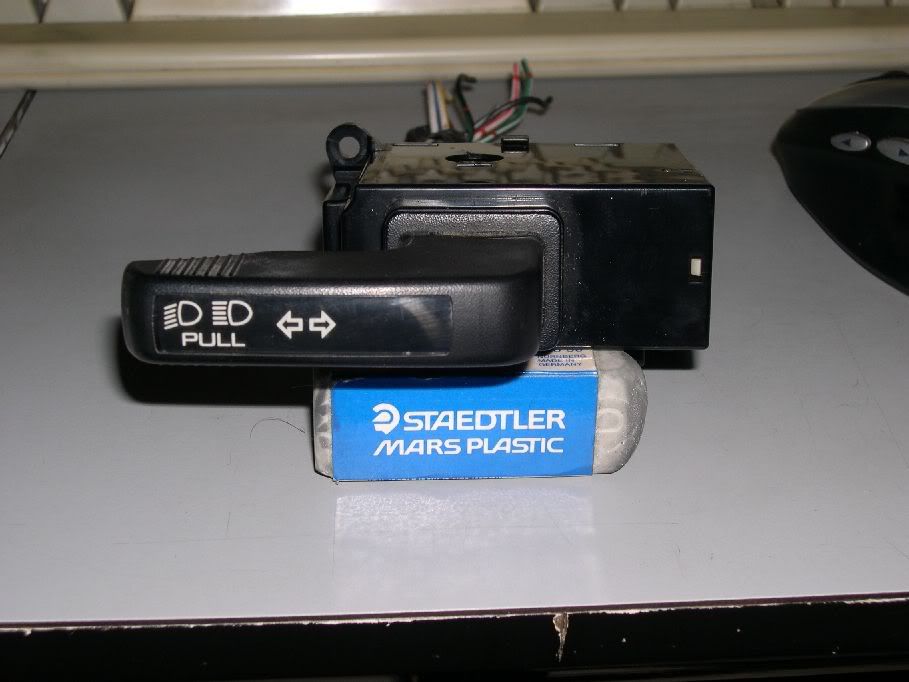
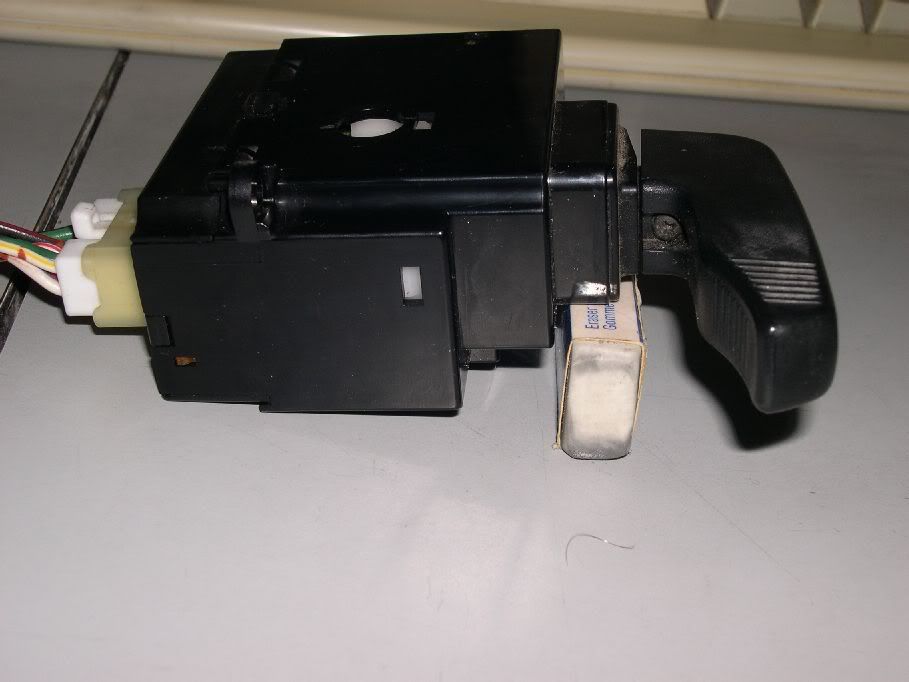
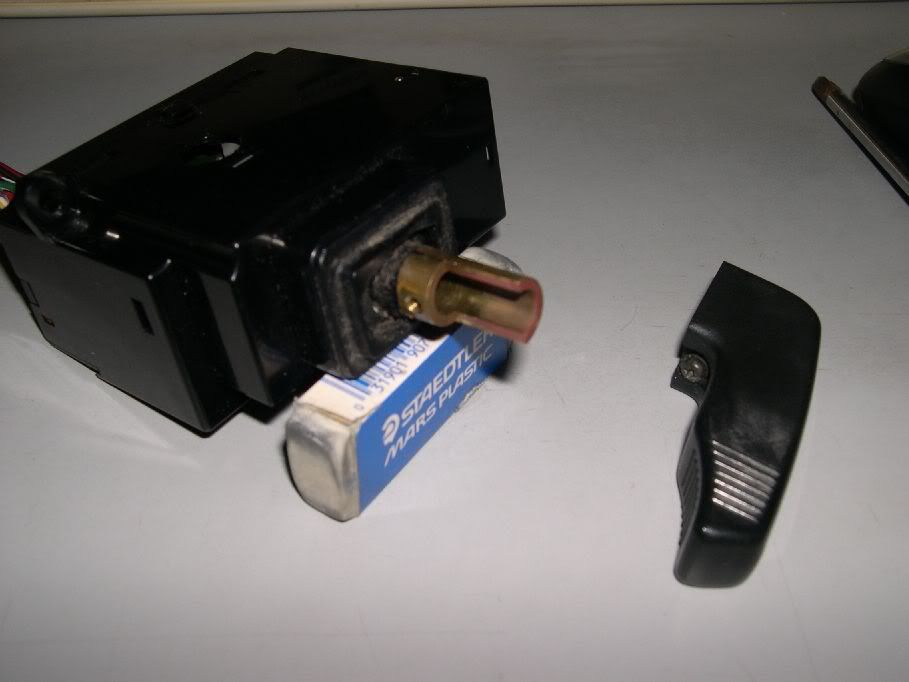
Here are a couple of pics of the Probe switch.
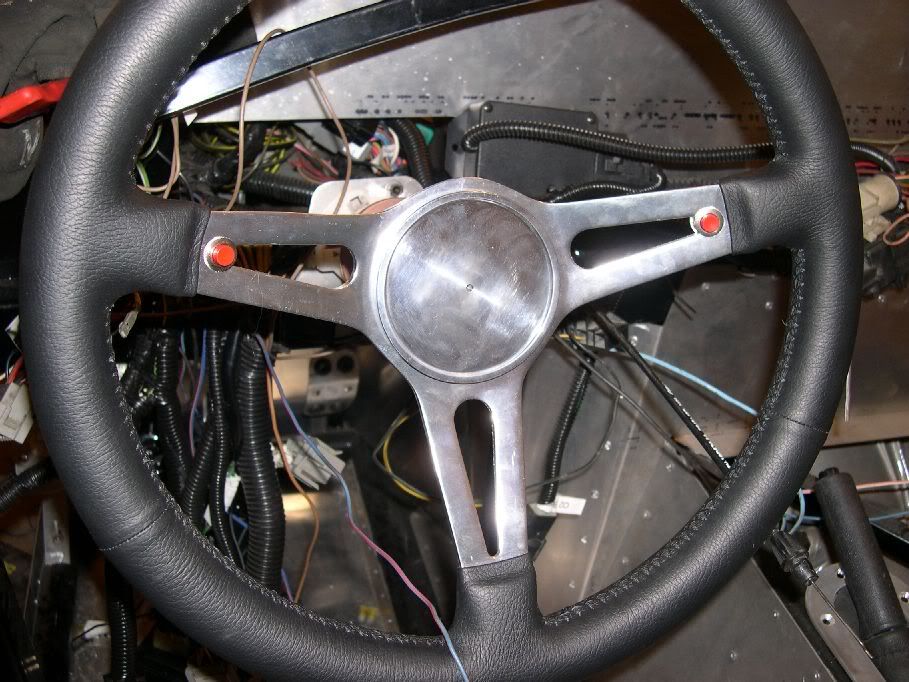
The switch has turn signals and a spring-loaded pull to toggle the high/low beams. The lettered area lights up with the dash lights (if you wire it that way) and comes with a green cover on the bulb.
One cool thing is that the handle comes off to leave just a small shaft sticking out. If you wanted you could machine up a billet handle for it.
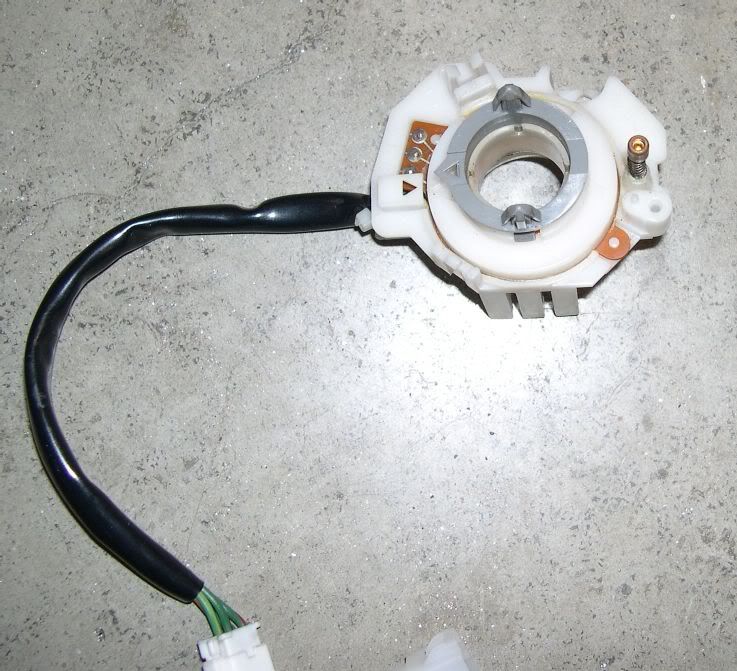
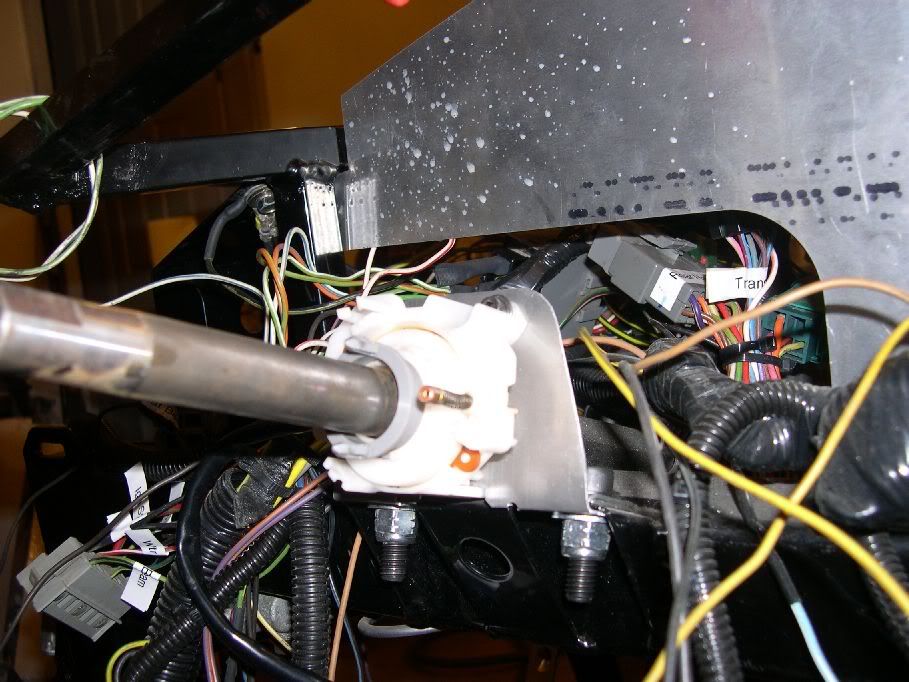
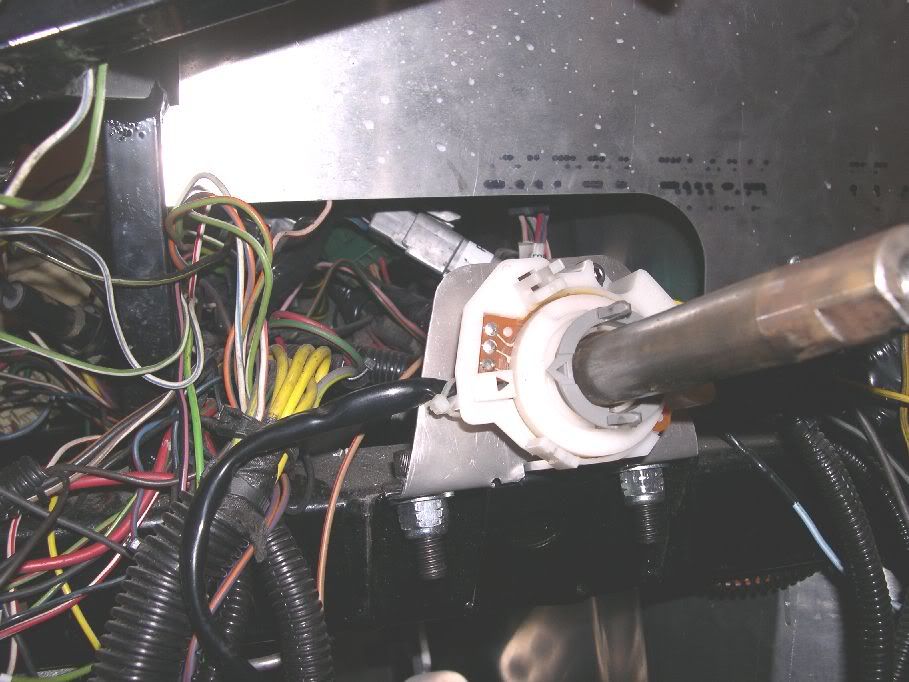
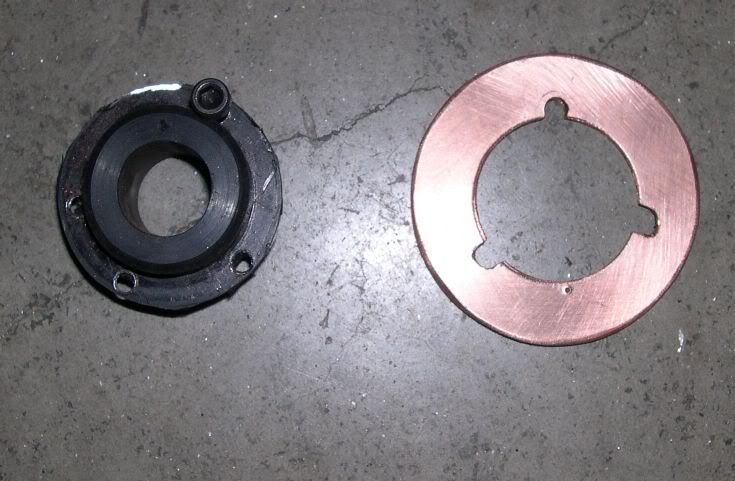
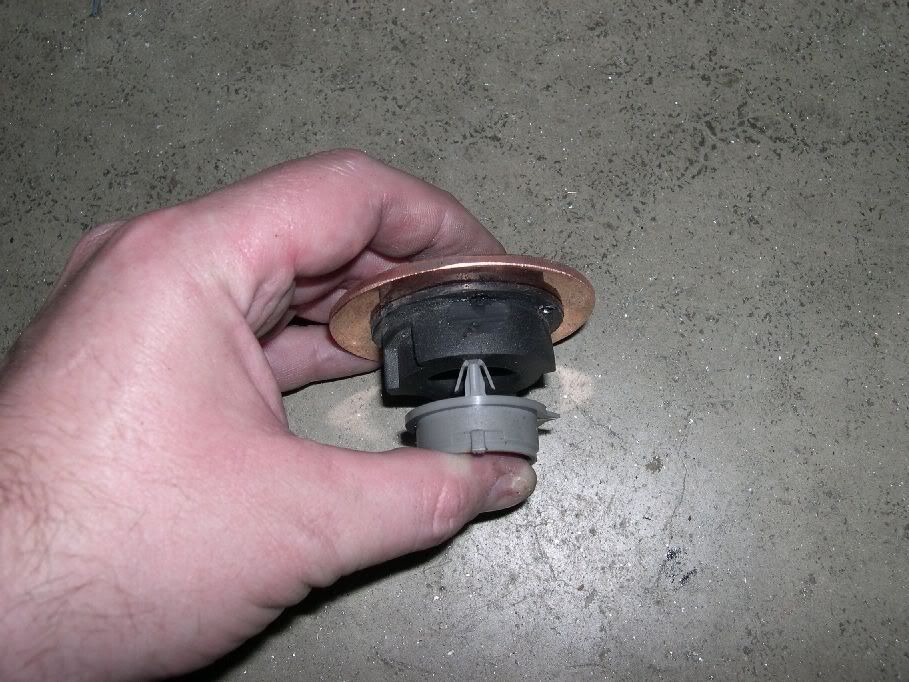
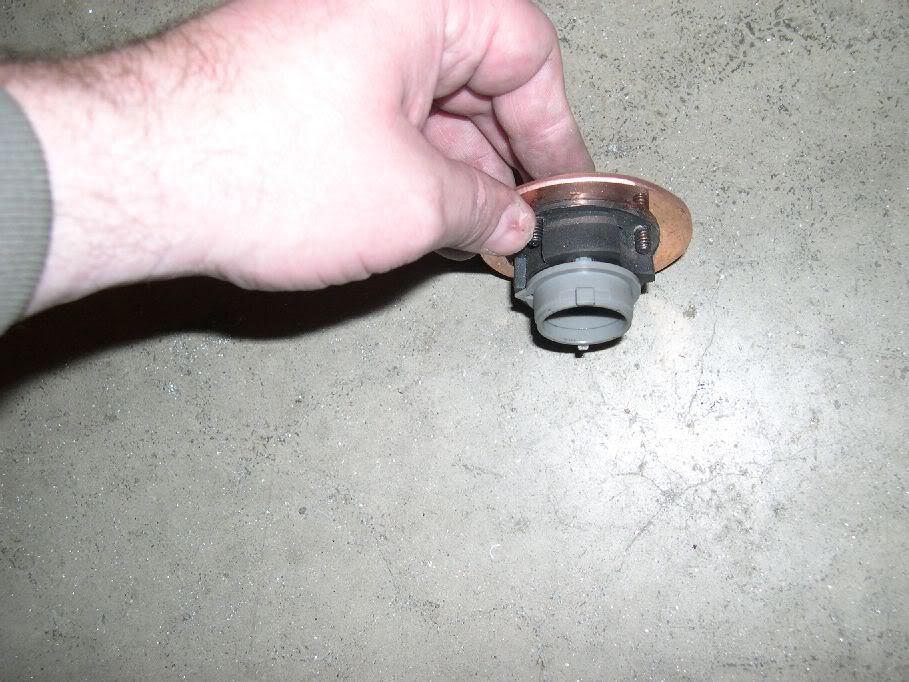
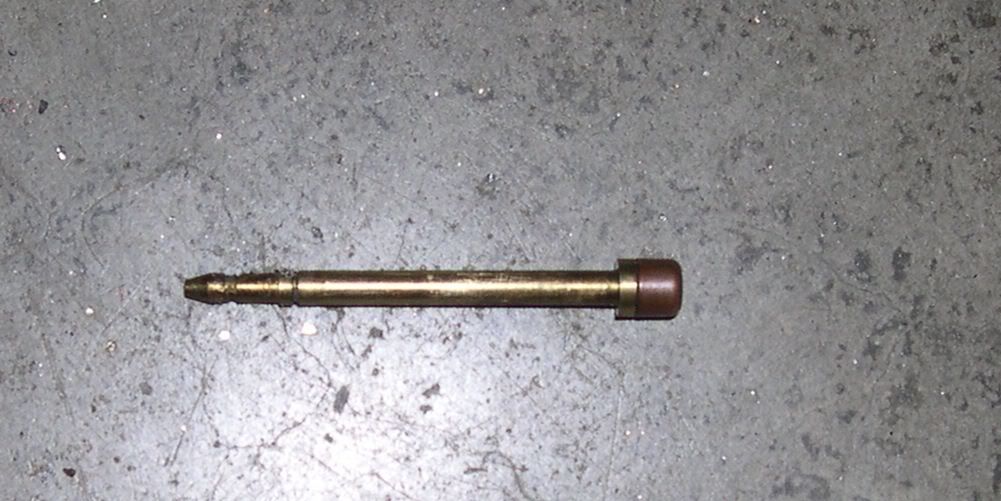
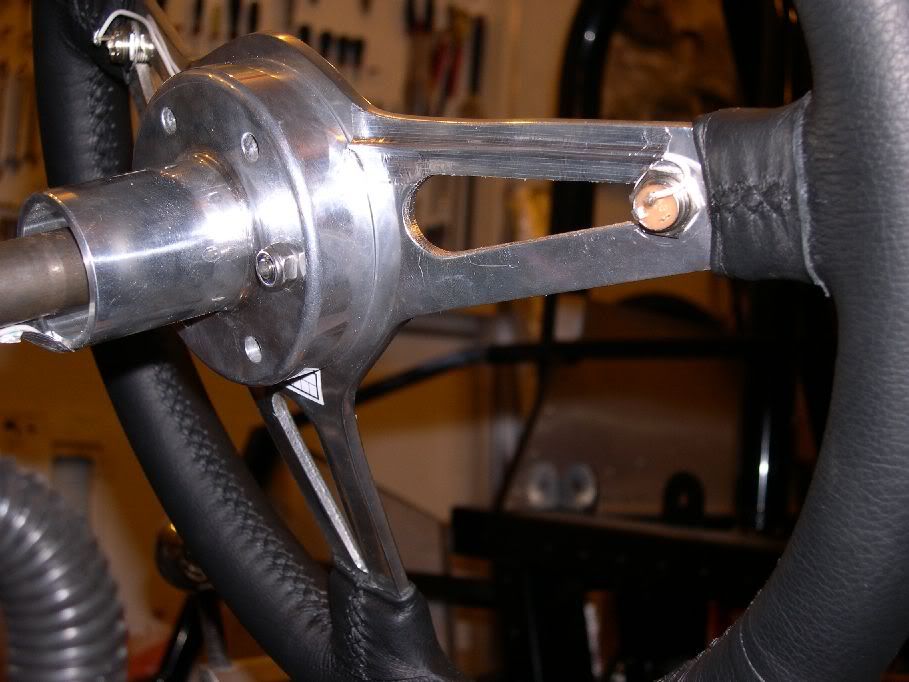
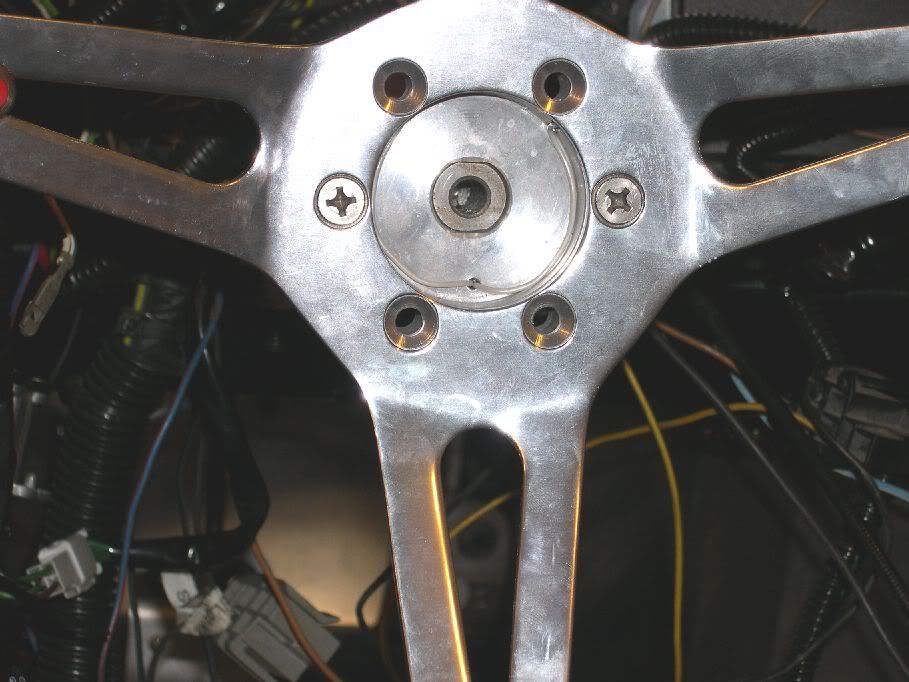
Here is a picture of the turn signal cancelling ring that sends an electronic signal to the switch.
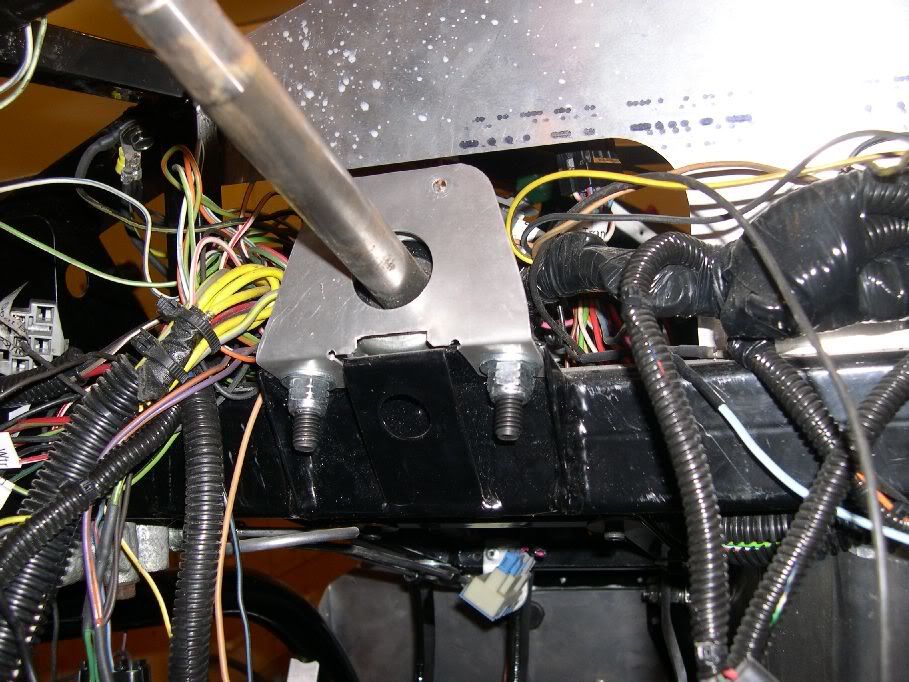
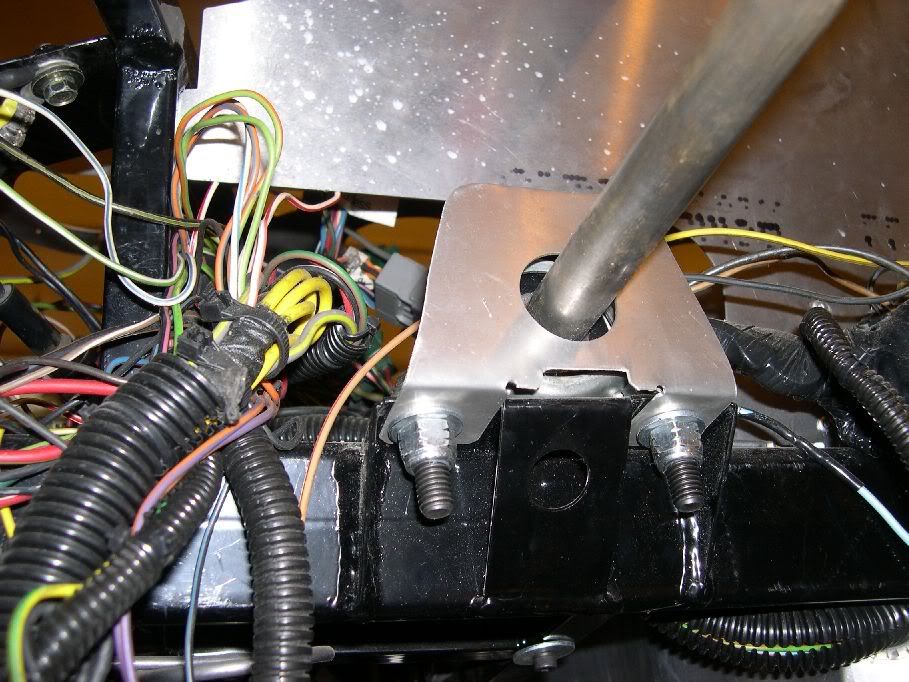
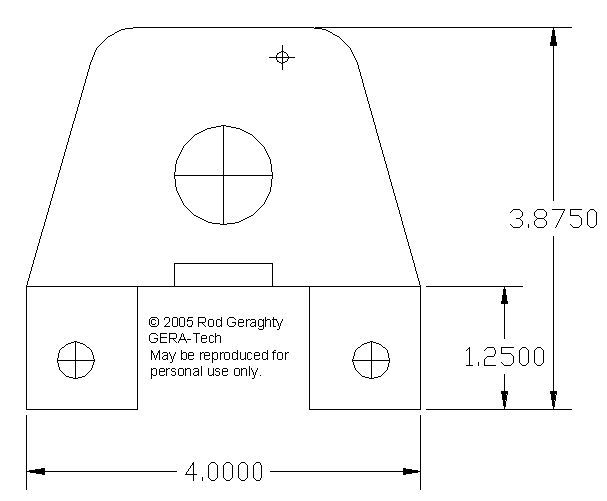
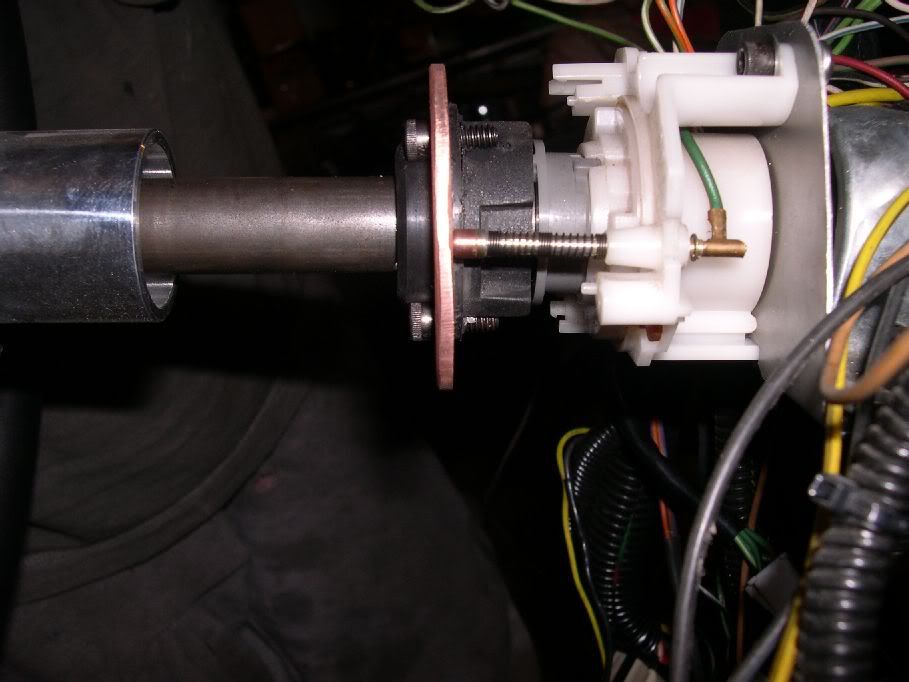
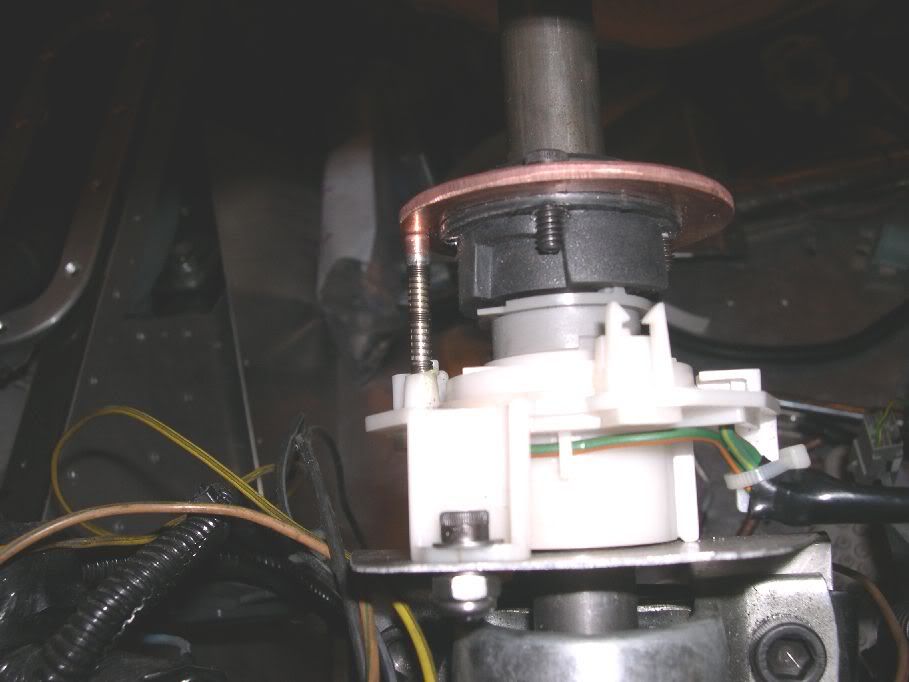
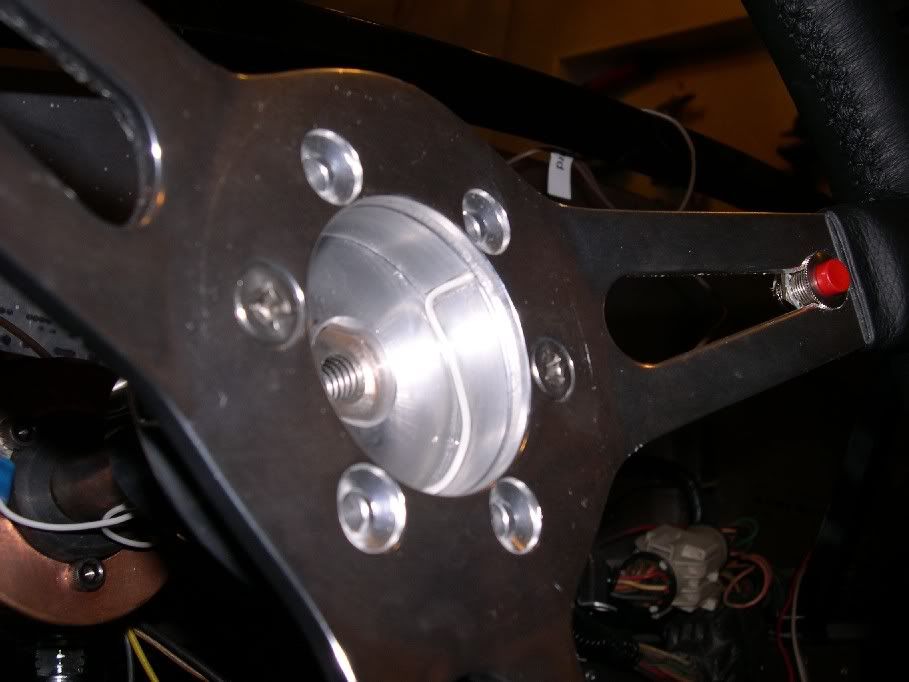
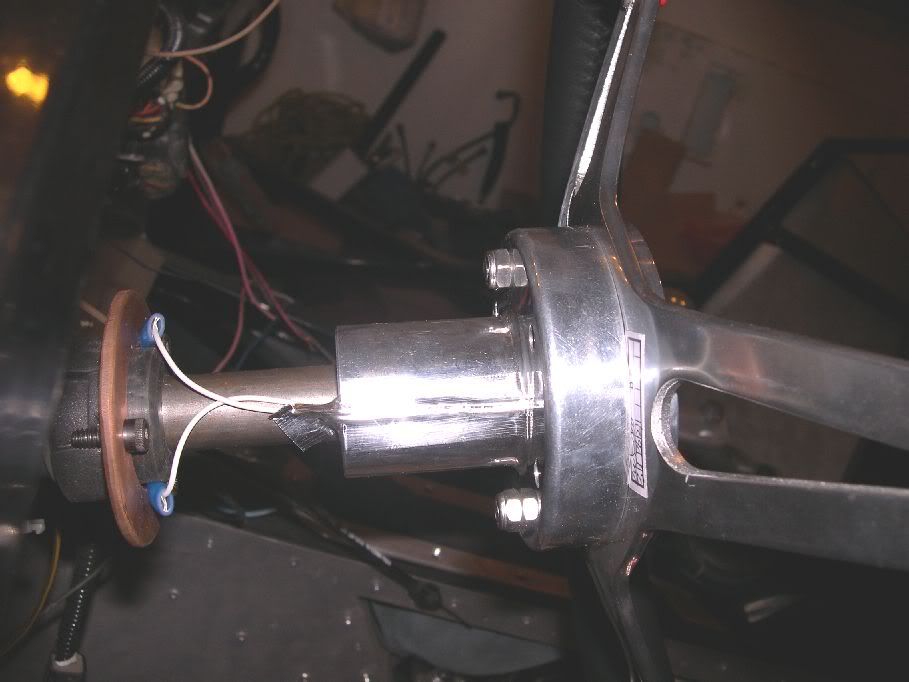
Here are a couple of pics showing the bracket I made up for the cancelling ring as well as a drawing for it.
- Home
- Latest Posts!
- Forums
- Blogs
- Vendors
- Forms
-
Links

- Welcomes and Introductions
- Roadster
- Type 65 Coupe
- 33 Hot Rod
- GTM Supercar
- 818
- Challenge Series
- 289 USRCC
- Coyote R&D
- Ask a Factory Five Tech
- Tech Updates
- General Discussions
- Off Topic Discussions
- Eastern Region
- Central Region
- Mountain Region
- Pacific Region
- Canadian Discussions
- Want to buy
- For Sale
- Pay it forward
-
Gallery
- Wiki-Build-Tech

 Reply With Quote
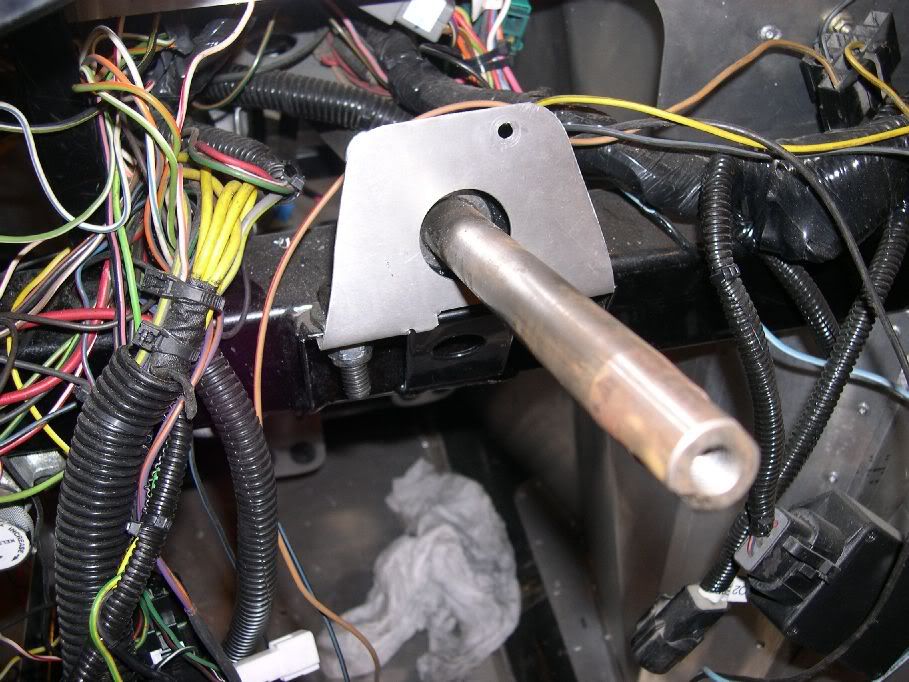


 Kidding.
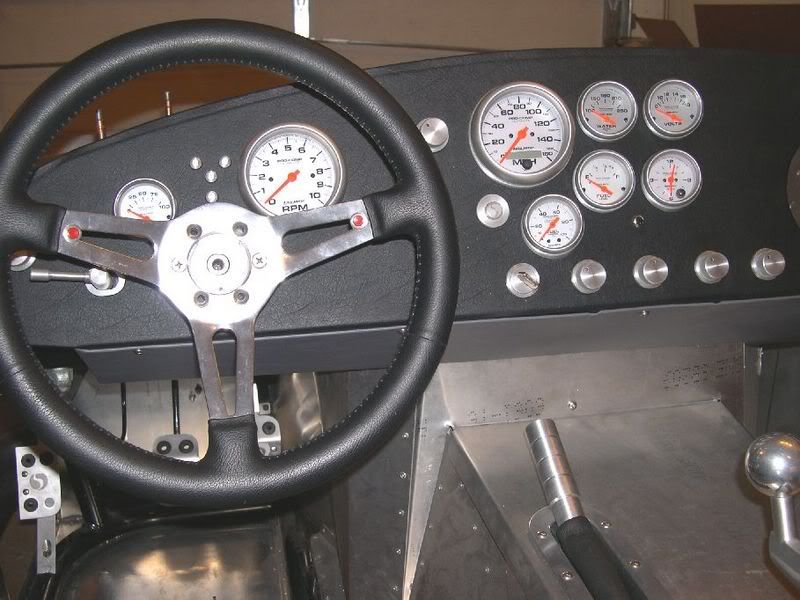


 Will look into for sure!!