Boig Motorsports

Visit our community sponsor

Thanks Thanks:  0
Likes Likes:  5
Page 15 of 51 FirstFirst ... 5131415161725 ... LastLast
Results 561 to 600 of 2016

Thread: More progress made on the body : )

  1. #561
    Senior Member The Stig's Avatar
    Join Date
    Feb 2011
    Location
    Charlotte, NC
    Posts
    2,004
    Post Thanks / Like
    Hi Mike,

    That was a while back when I decided to make that switch. There was quite a discussion on the ffr cars forum, led by a couple of people who's oppinions I trust. It started when a couple of people noted that the clutch stroke was a little long and the "ears" that hold the pin for the clucth release are were cracking due to the pressure of being over extended.

    If I recall correctly, that discussion led to the master cylinders to use with the big brake kits, where the solution was to move to the 5/8" bore MCs for front and rear. I'm not an expert in fluid dynamics, but the way it was presented made a lot of sense to me. And as you mentioned, there were calls made to Wilwood, who at the time recommended the 5/8" mc for the larger calipers. Go Figure.

    With that said, the brakes feel good to me; but then I'm building a car that may see the the race track only once or twice. As well, I've only driven the car around my neighborhood, so I've not gotten up to any significant speed with it yet; (25-30 maybe). But from what I can feel in the pedal, I am not concerned that I'll have any trouble. They feel fine, and give me the confidence that I need that they will stop the car easily.

    Take Care,

    Mike
    The Stig

    Some say, that I only know two facts about ducks, (both being wrong); and that if I could be bothered, I could solve the "da Vinci Code" in 47 seconds...
    All I know is that I'm called "The Stig".
    GTM #0081

  2. #562
    Senior Member The Stig's Avatar
    Join Date
    Feb 2011
    Location
    Charlotte, NC
    Posts
    2,004
    Post Thanks / Like
    I've finished the re-work of the heater hoses, incorporating the heater by-pass valve/kit that I bought from Mike Holland (my race shop).

    I've cleaned up all the wiring that runs through the tunnel back to the rear of the car.

    I've re-installed the belly pannels, (except for the lower panels under the seats), and finished the installation of the "Skid-System" from Russ Thompson.

    I clamped the side skirts onto the body and made my marks for the screw holes. I then drilled the holes for 1/4-20 button head allen bolts. I re-clamped the skirts onto the body, and made my marks on the chassis/body in order to drill out the holes for the riv-nuts.

    Then I got tired and went inside for dinner!

    I'll post a couple of pictures of the underside, when I have the skirts bolted onto the car. (Probably tomorrow evening).

    Next, I plan to tackle the installation of the nose aluminum pieces.

    Mike
    The Stig

    Some say, that I only know two facts about ducks, (both being wrong); and that if I could be bothered, I could solve the "da Vinci Code" in 47 seconds...
    All I know is that I'm called "The Stig".
    GTM #0081

  3. #563
    Senior Member sk7500's Avatar
    Join Date
    Feb 2011
    Posts
    377
    Post Thanks / Like
    It's funny, when people see your car painted they assume its almost done. IMHO after paint is the hardest part. You have to be much more careful and any lack of planning before paint is punished X10 after paint. But it sounds like your getting close to getting all the little odds and ends stuff sorted out. Soldier on my friend.

  4. #564
    LCD Gauges's Avatar
    Join Date
    Apr 2011
    Location
    Toronto, Ontario
    Posts
    1,545
    Post Thanks / Like
    Blog Entries
    3
    Your thread is lacking photos lately. Not good.

    Get snappin', and post'em up!
    Custom LCD Gauges , Data Loggers, Control Touch Screens
    www.LCDdash.com \\ 647-522-9953 \\ Voice & Text
    Proud new owner of GTM Gen 1., #105 - 08/27/11
    LQ9 Powered, G96.00 6 speed transaxle

  5. #565
    Senior Member The Stig's Avatar
    Join Date
    Feb 2011
    Location
    Charlotte, NC
    Posts
    2,004
    Post Thanks / Like
    Quote Originally Posted by sk7500 View Post
    It's funny, when people see your car painted they assume its almost done. IMHO after paint is the hardest part. You have to be much more careful and any lack of planning before paint is punished X10 after paint. But it sounds like your getting close to getting all the little odds and ends stuff sorted out. Soldier on my friend.
    I couldn't agree more! No matter how hard you try, something is going to happen when you're working on a car with fresh paint... I have a couple of spots that will have to be touched up. And the whole car needs a good final buff.

    Quote Originally Posted by Lukn4trbl View Post
    Your thread is lacking photos lately. Not good.

    Get snappin', and post'em up!
    LOL!... I know... I know... I've been more concentrated on getting a few things done, rather than taking pictures of what I've been able to complete.

    When I had the side skirts clamped into place, it really looked cool to me. So I figured that I would wait until I got them bolted on before I posted pictures.

    It's nice to hear that people are interested enough to want to see how it's coming along. As always; It's getting there.

    I'll post some pictures soon.

    Mike
    Last edited by The Stig; 07-02-2013 at 10:38 PM.
    The Stig

    Some say, that I only know two facts about ducks, (both being wrong); and that if I could be bothered, I could solve the "da Vinci Code" in 47 seconds...
    All I know is that I'm called "The Stig".
    GTM #0081

  6. #566
    Senior Member The Stig's Avatar
    Join Date
    Feb 2011
    Location
    Charlotte, NC
    Posts
    2,004
    Post Thanks / Like


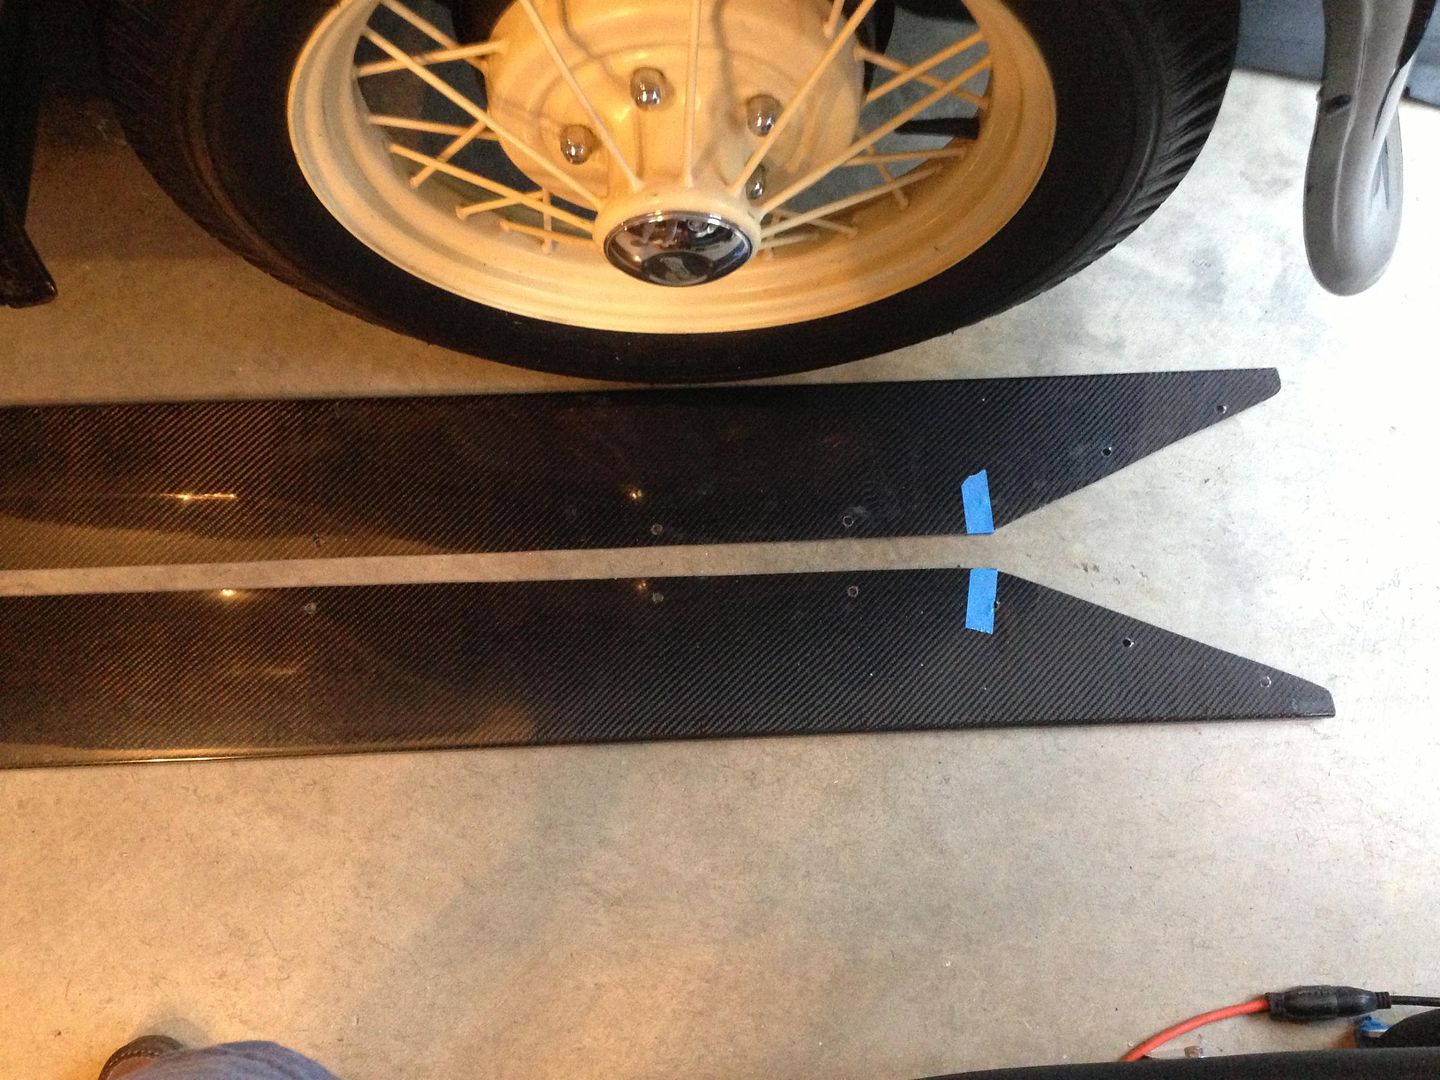
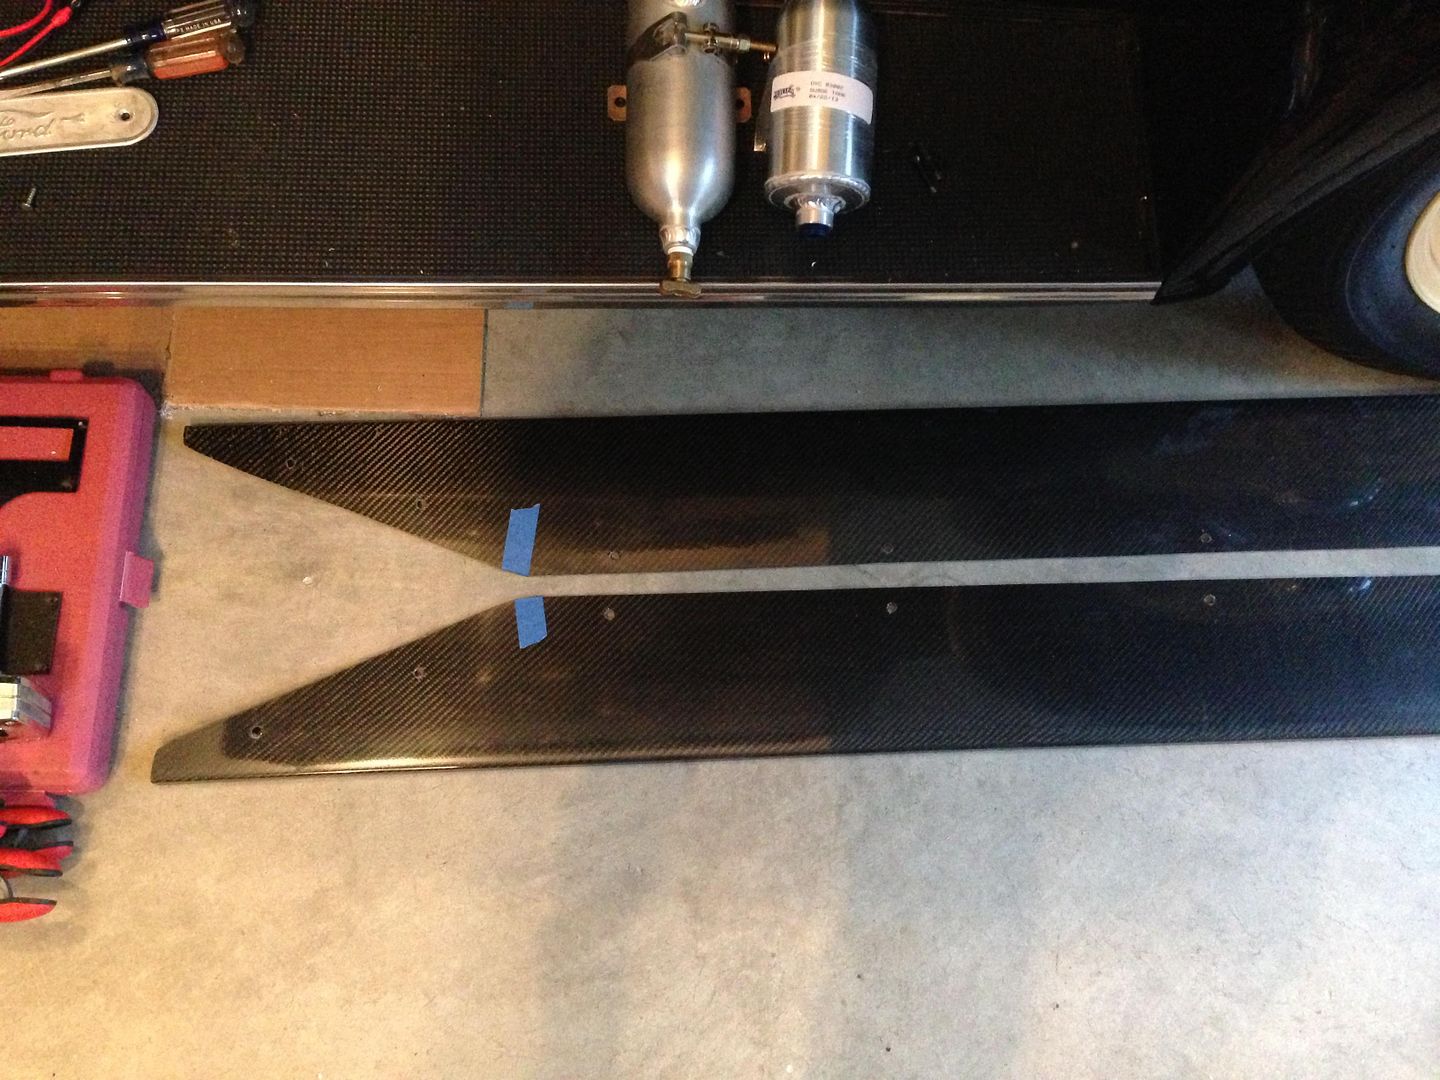
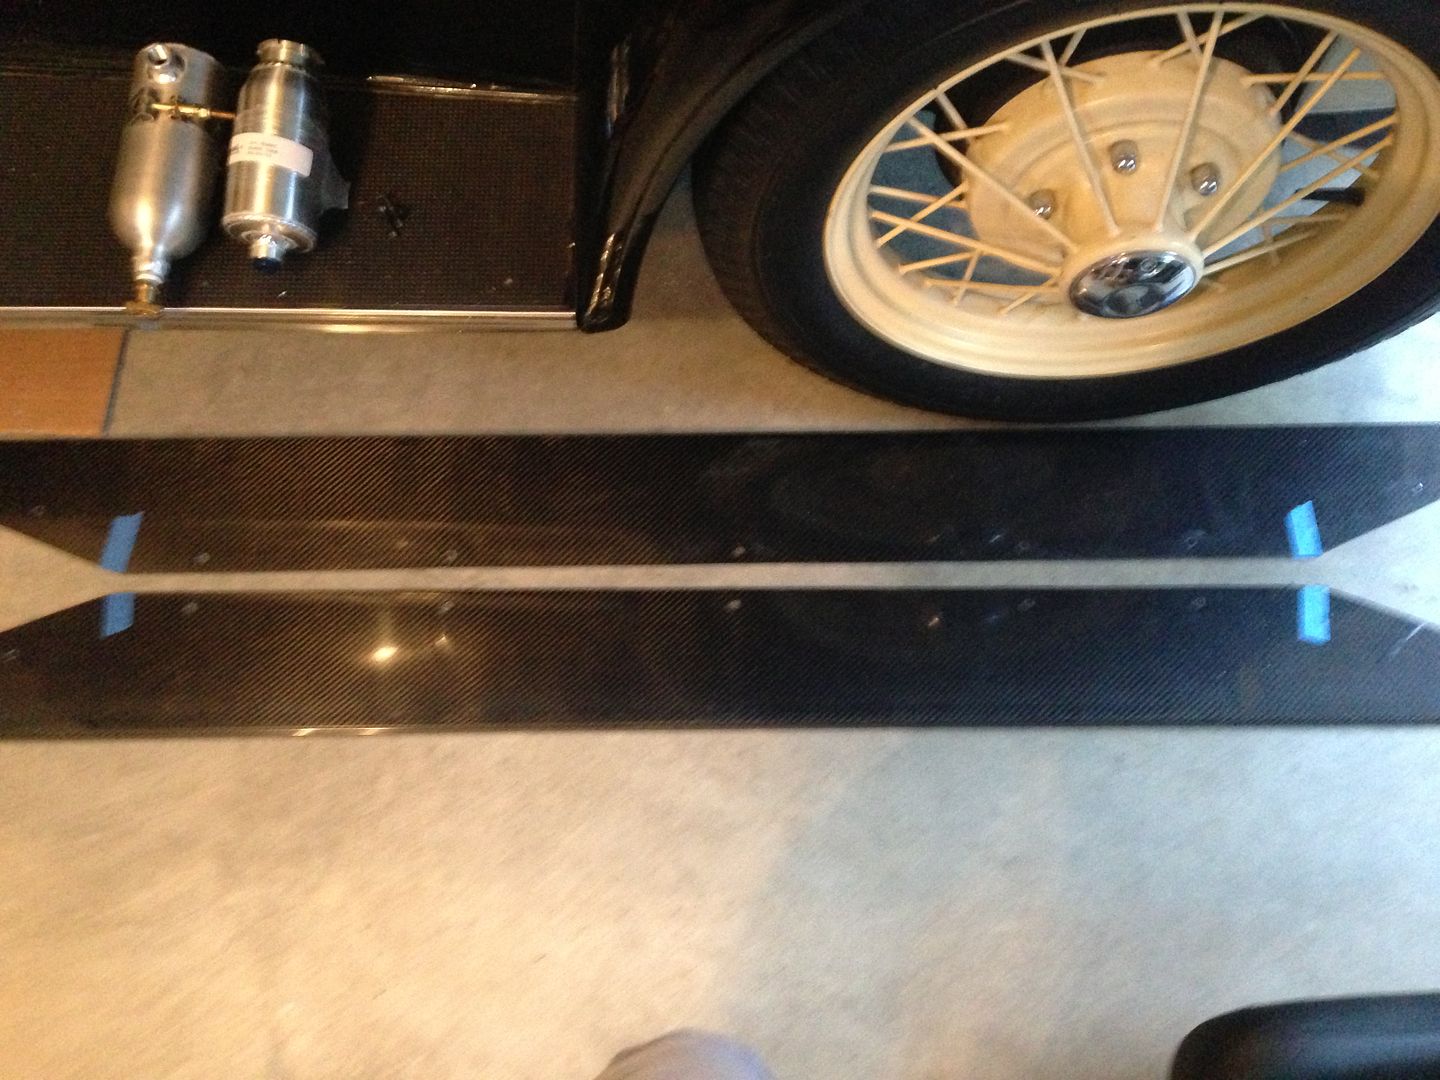
    Here are the side skirts that I've drilled out to mount to the body/chassis.


    I put the tape on in order to mark the corners. This helped me line up the skirts along the underside of the body.


    I have a couple of overflow catch tanks that I'm planning to use in the coolant system. I need something for the radiator
    bleed petcock, and also for the Overflow tank from the engine.


    I have the underside of the body pretty much buttoned up. (Except for the panels under the seats).
    Last edited by The Stig; 07-02-2013 at 08:44 PM.
    The Stig

    Some say, that I only know two facts about ducks, (both being wrong); and that if I could be bothered, I could solve the "da Vinci Code" in 47 seconds...
    All I know is that I'm called "The Stig".
    GTM #0081

  7. #567
    Senior Member The Stig's Avatar
    Join Date
    Feb 2011
    Location
    Charlotte, NC
    Posts
    2,004
    Post Thanks / Like


    I got the speed bump skid kit from Russ Thompson installed.


    Rear Skids. These are what pick the car up, and protected the body just ahead of the rear tires.


    The skids run from the front wheels to the rear wheels... They hang down just enough to protect the body and the panels.
    This is a great kit for the GTM.
    Last edited by The Stig; 07-02-2013 at 10:42 PM.
    The Stig

    Some say, that I only know two facts about ducks, (both being wrong); and that if I could be bothered, I could solve the "da Vinci Code" in 47 seconds...
    All I know is that I'm called "The Stig".
    GTM #0081

  8. #568
    Senior Member The Stig's Avatar
    Join Date
    Feb 2011
    Location
    Charlotte, NC
    Posts
    2,004
    Post Thanks / Like


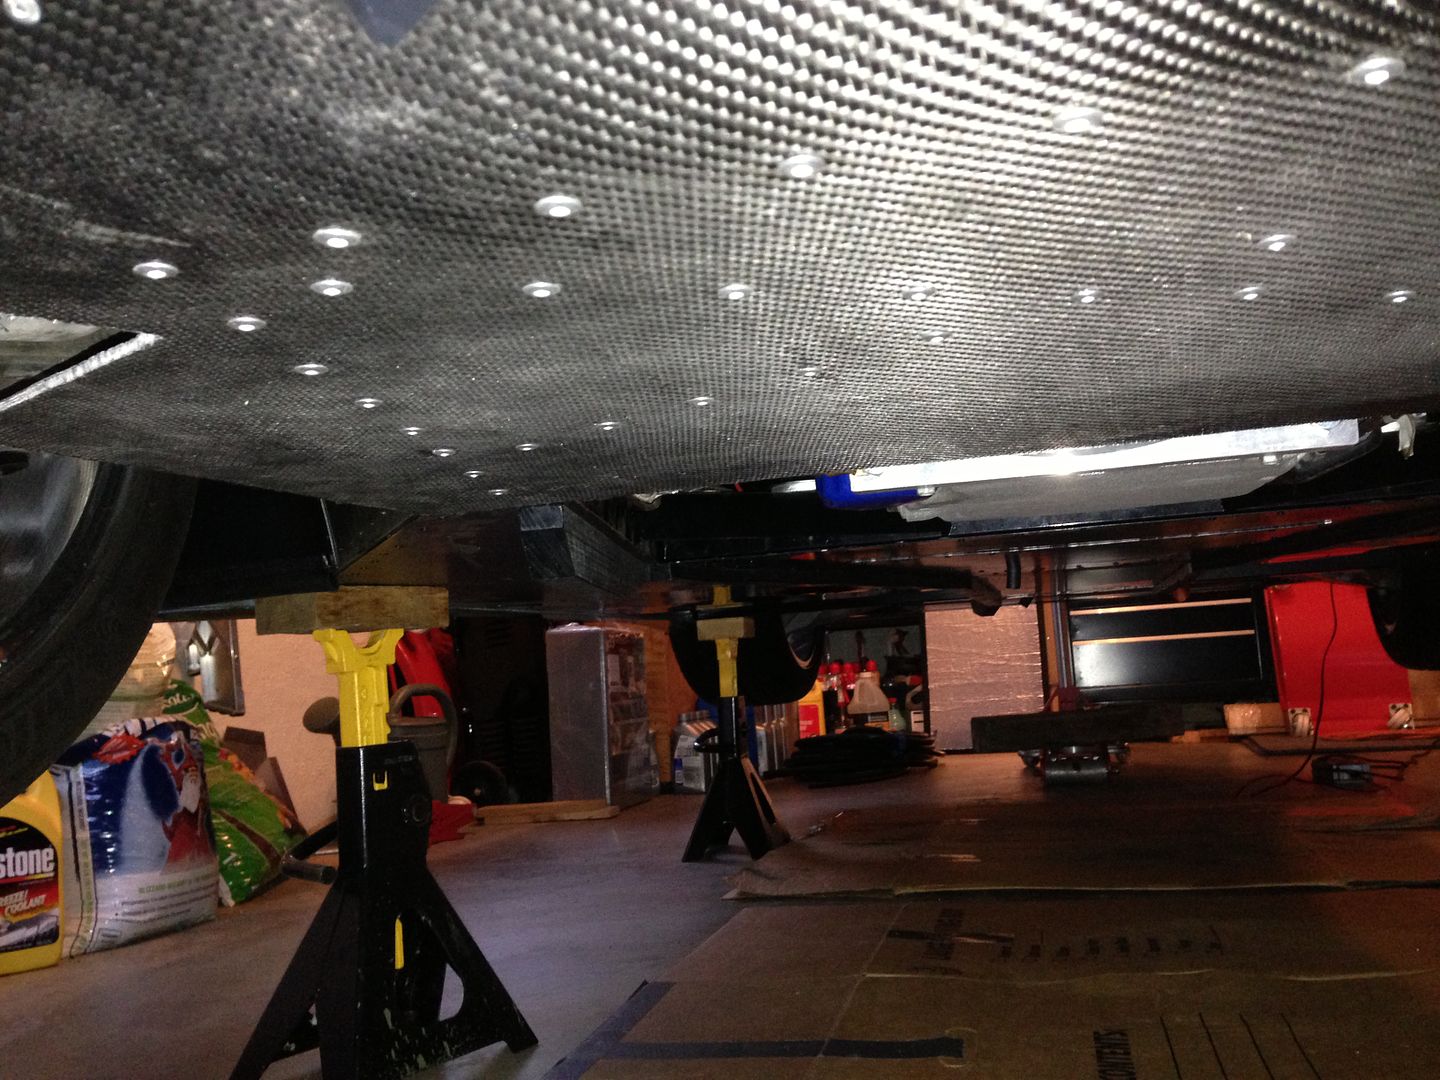
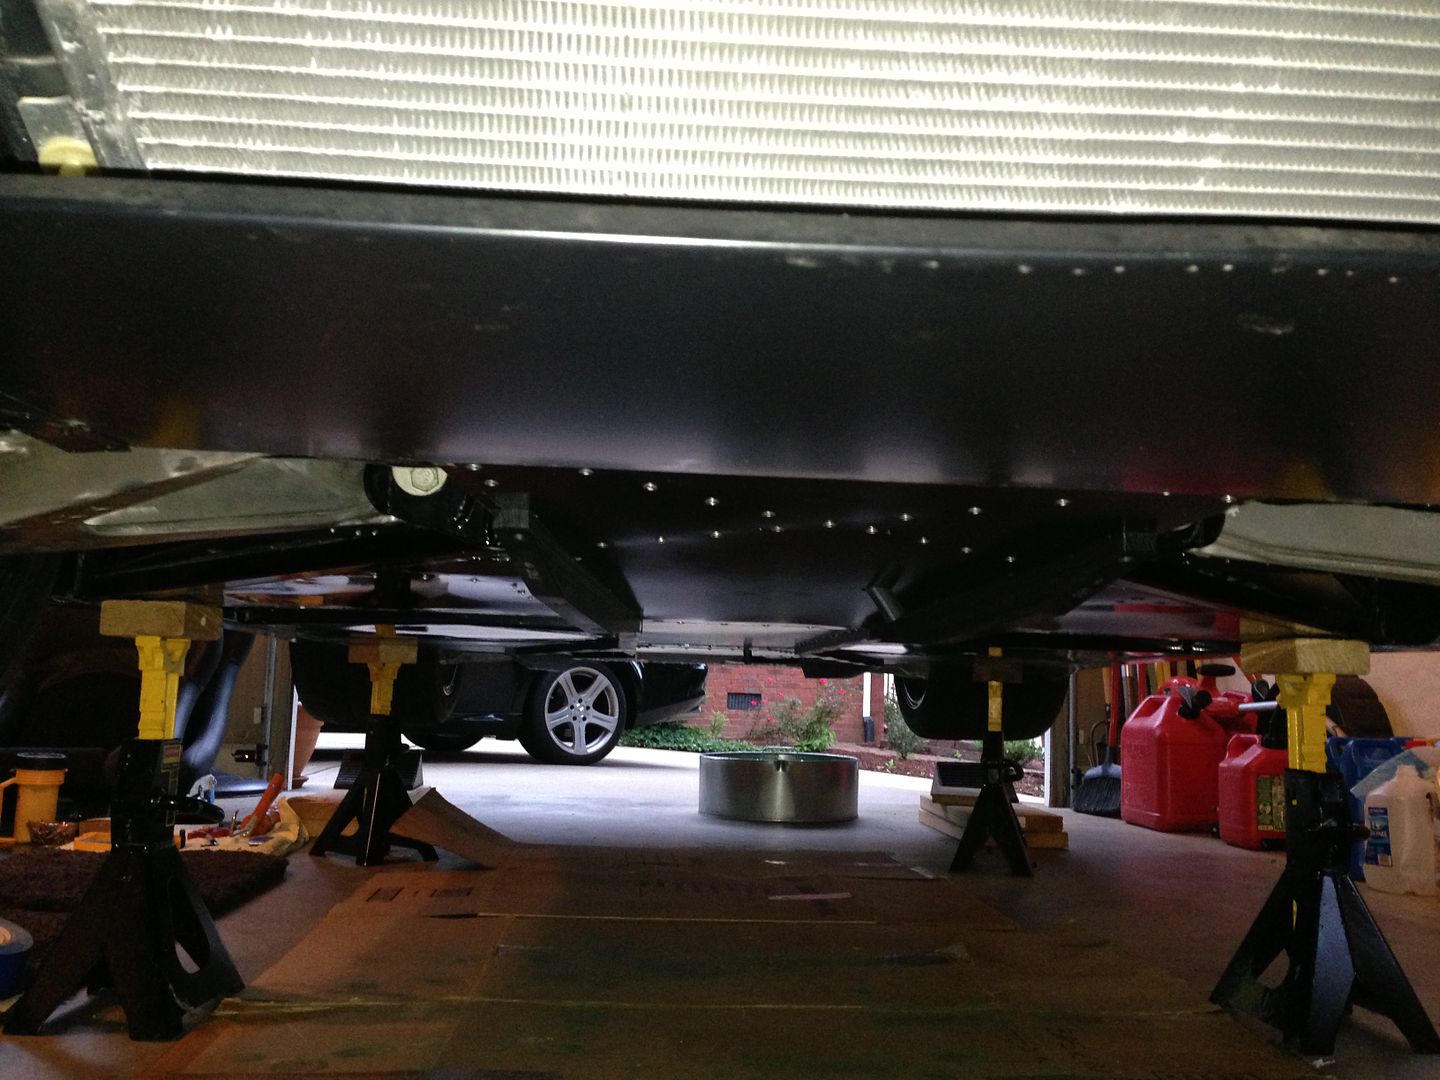
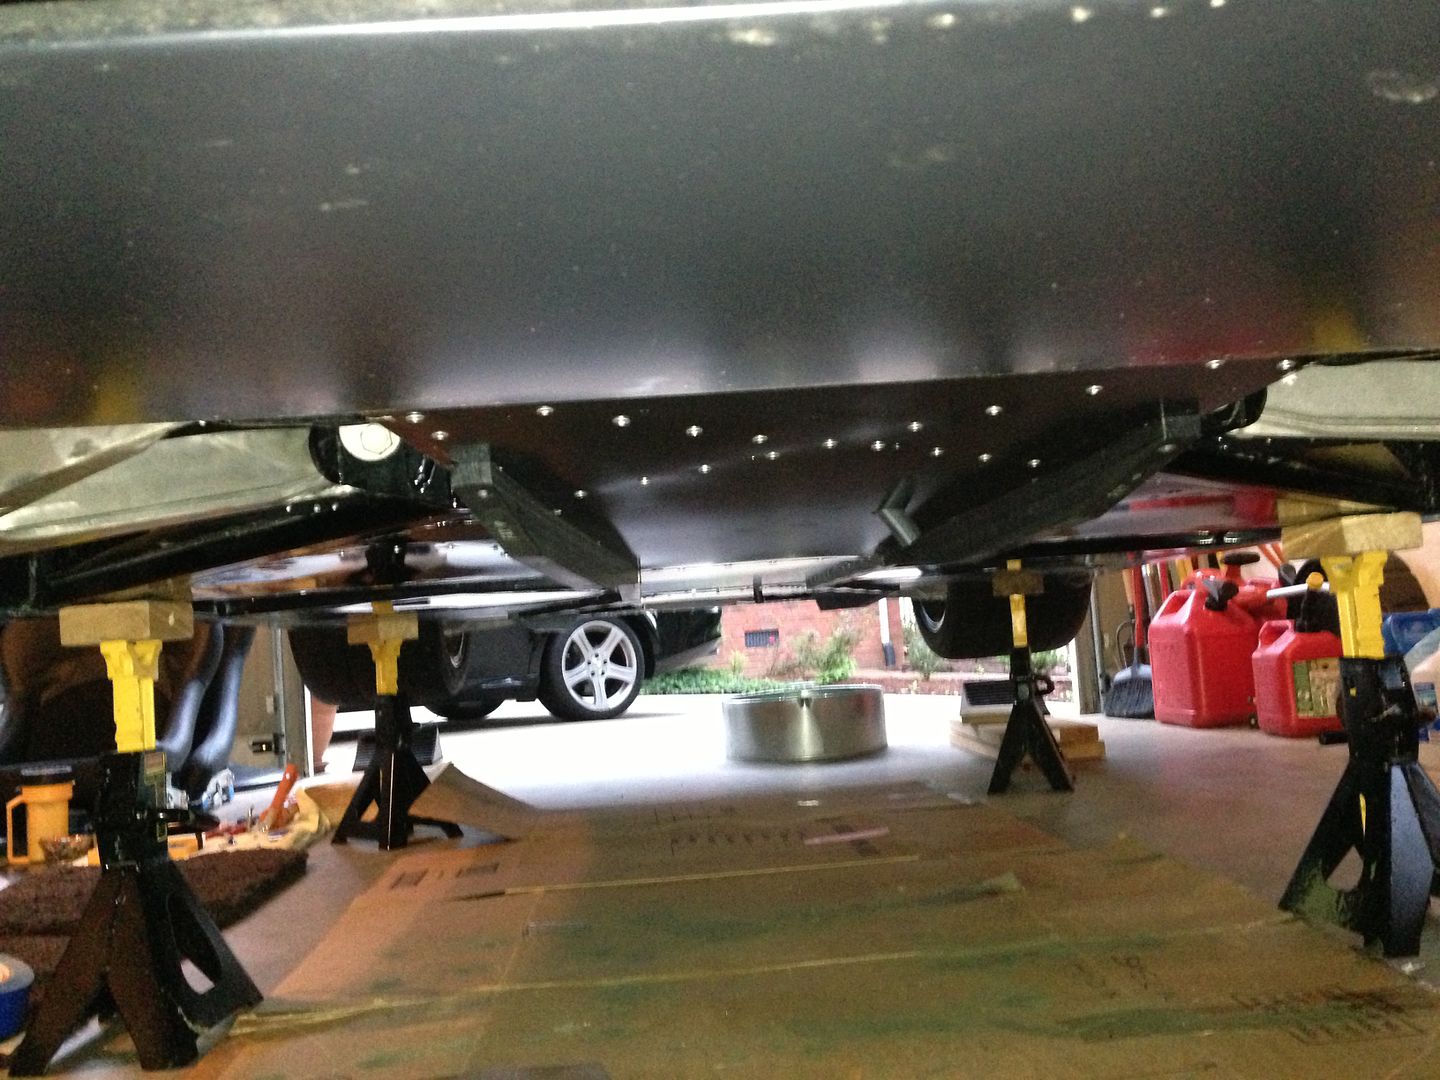
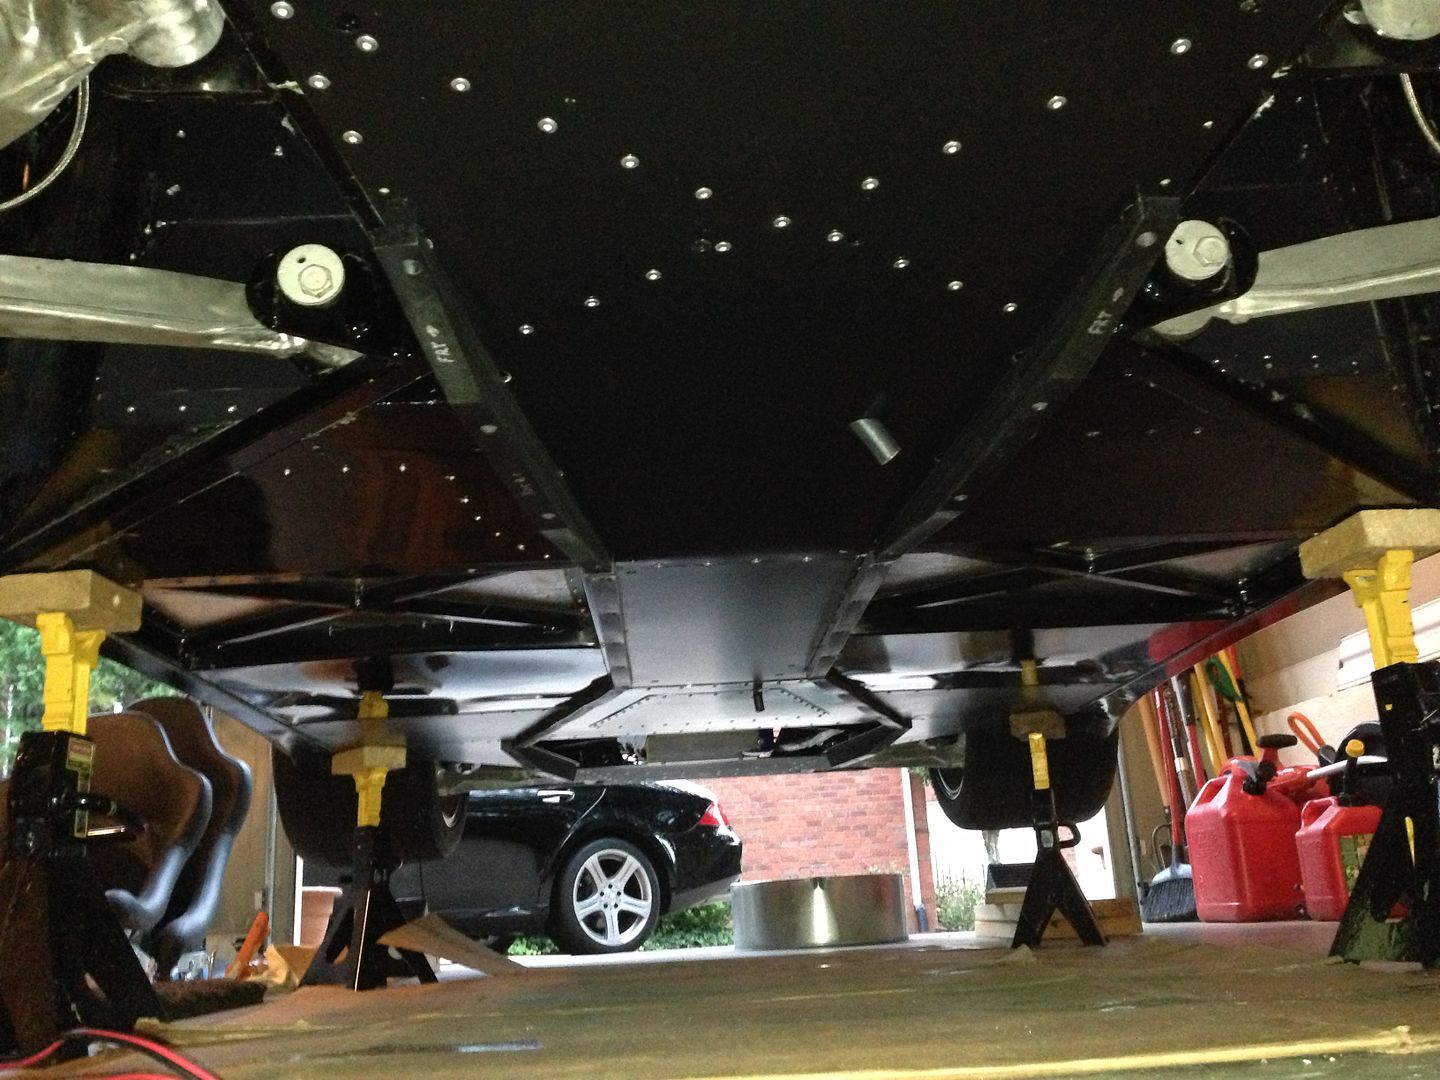
    Here are a couple of pictures of the underside of the car from the front. I still need to mask off the panels and body from
    overspray, and give the radiator and condensor a light coat of radiator "black" paint. That will help to "hide" the radiator
    from view when you see the car from the front.


    If you look closely, you see the drain tubes that I drilled access holes for. The HVAC drain in front, and the Coolant Overflow
    tank drain in the rear.


    The eccentric alignment bolts still need to be replaced... I am not sure of the best way to switch these out and replace
    them with the MRS alignment shims, without losing the alignment. I'm wondering if I should show up at the alignment
    shop with the box of shims, and just ask them to set the alignment using them...
    Last edited by The Stig; 07-04-2013 at 01:31 PM.
    The Stig

    Some say, that I only know two facts about ducks, (both being wrong); and that if I could be bothered, I could solve the "da Vinci Code" in 47 seconds...
    All I know is that I'm called "The Stig".
    GTM #0081

  9. #569
    Senior Member The Stig's Avatar
    Join Date
    Feb 2011
    Location
    Charlotte, NC
    Posts
    2,004
    Post Thanks / Like


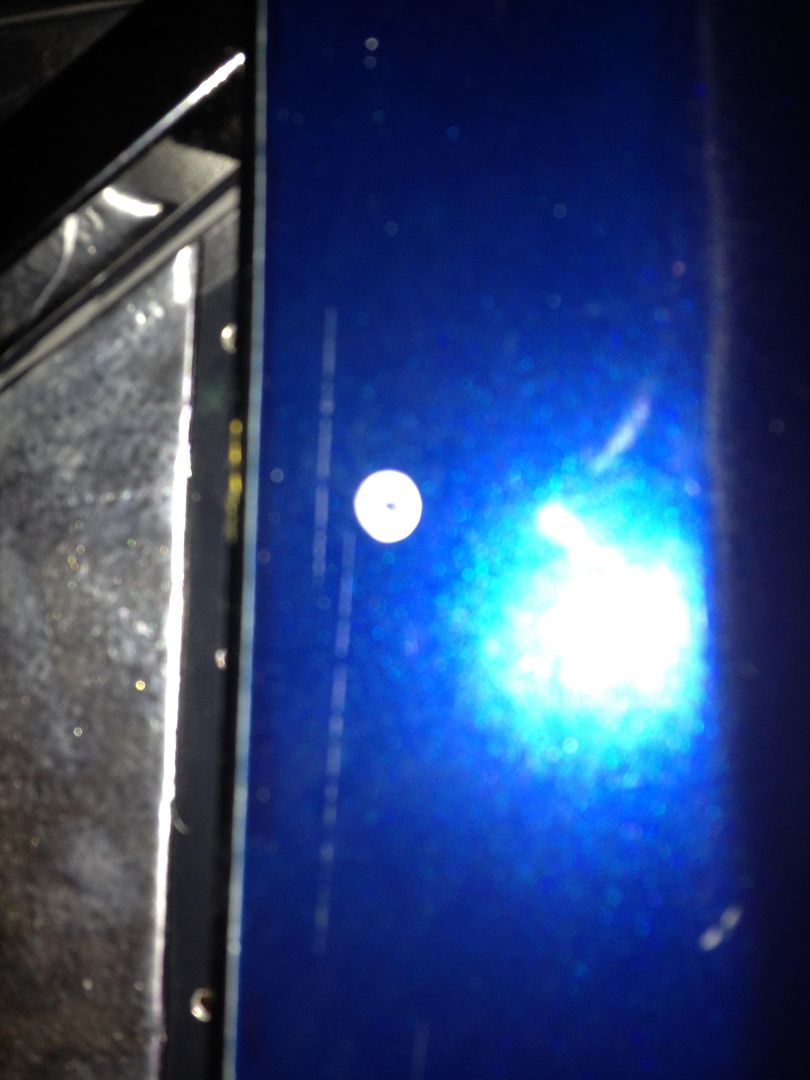
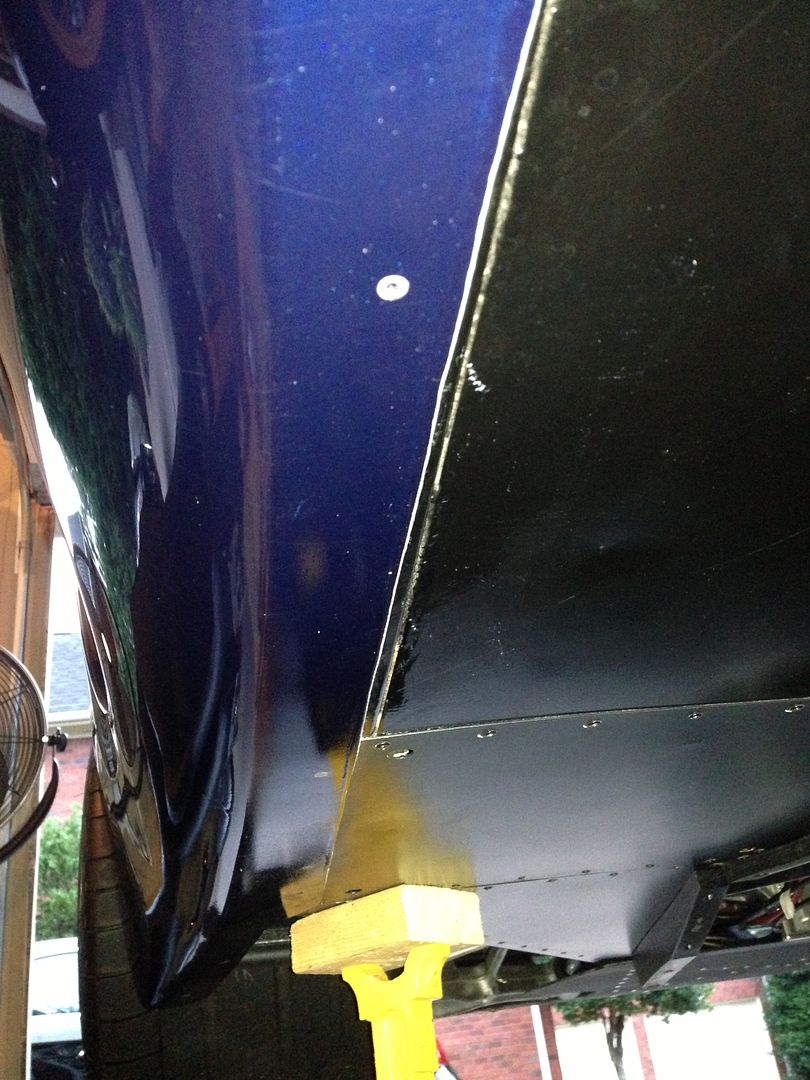
    With the side skirts clamped and taped in place, I got out my Silver Sharpie, and marked the
    spots where I need to drill for the 1/4-20 Riv-Nuts.


    I spaced the Riv-Nut marks every 12" until I got to the wheel openings.
    Last edited by The Stig; 07-02-2013 at 09:11 PM.
    The Stig

    Some say, that I only know two facts about ducks, (both being wrong); and that if I could be bothered, I could solve the "da Vinci Code" in 47 seconds...
    All I know is that I'm called "The Stig".
    GTM #0081

  10. #570
    Senior Member The Stig's Avatar
    Join Date
    Feb 2011
    Location
    Charlotte, NC
    Posts
    2,004
    Post Thanks / Like


    I know that a lot of people just let the parking brake bracket "float", but I think I would feel better if it was anchored in
    some way. So I think while I have it up on the stands, i'll have a braket machined that will hold it and make it more stable.


    Last edited by The Stig; 07-02-2013 at 09:28 PM.
    The Stig

    Some say, that I only know two facts about ducks, (both being wrong); and that if I could be bothered, I could solve the "da Vinci Code" in 47 seconds...
    All I know is that I'm called "The Stig".
    GTM #0081

  11. #571
    Senior Member The Stig's Avatar
    Join Date
    Feb 2011
    Location
    Charlotte, NC
    Posts
    2,004
    Post Thanks / Like


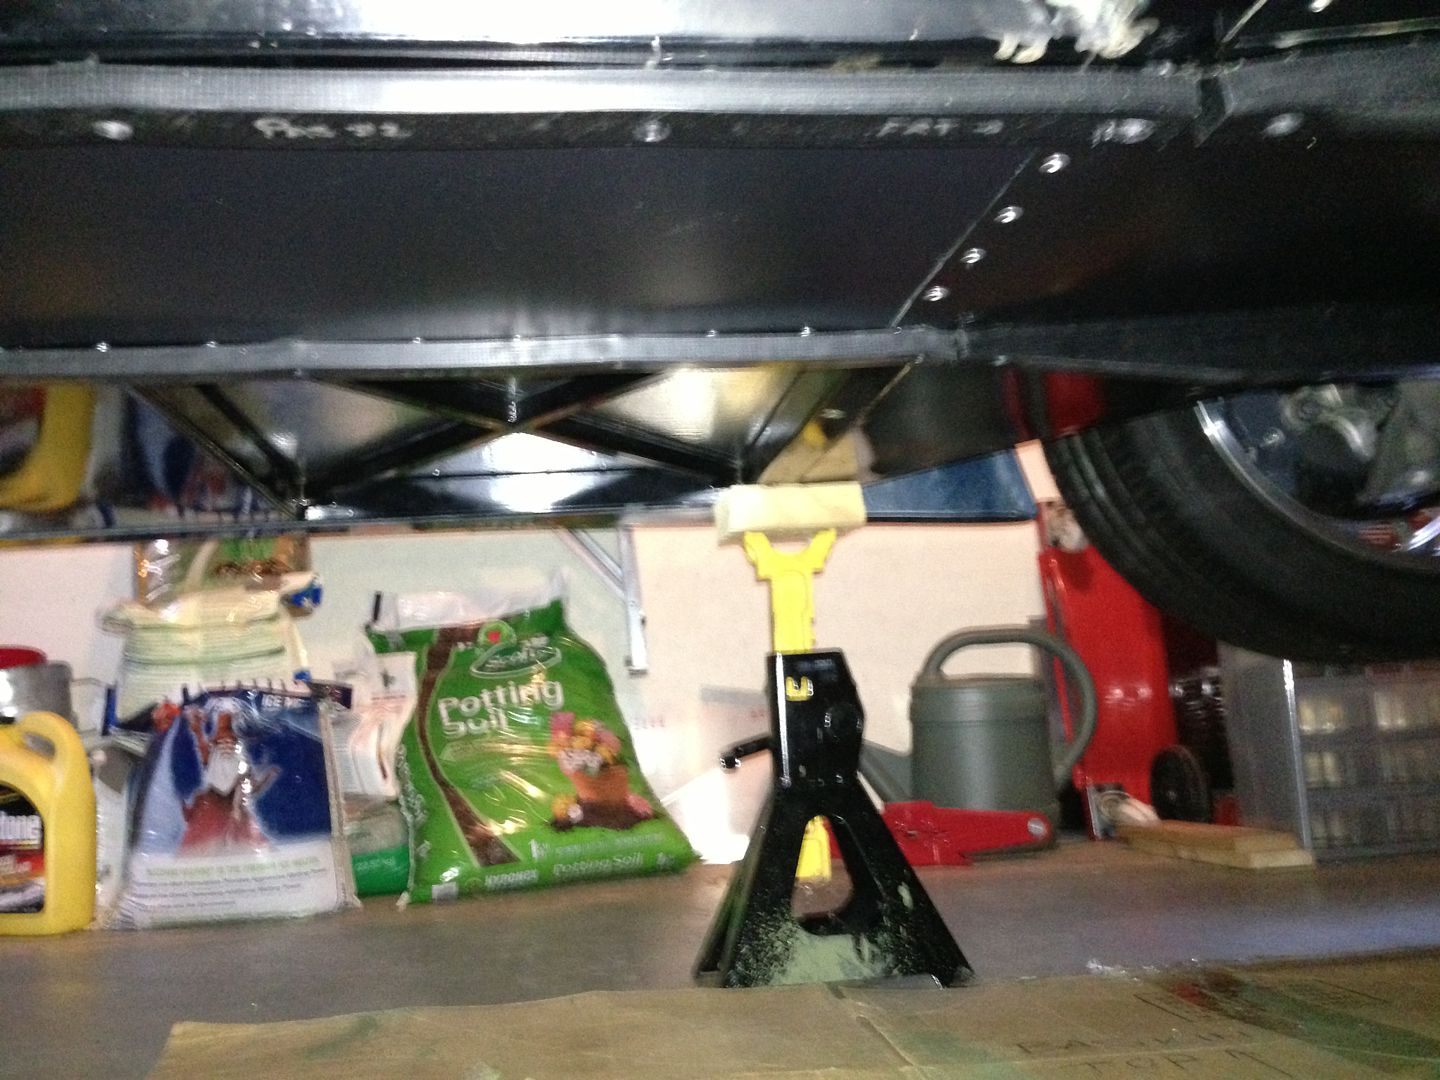
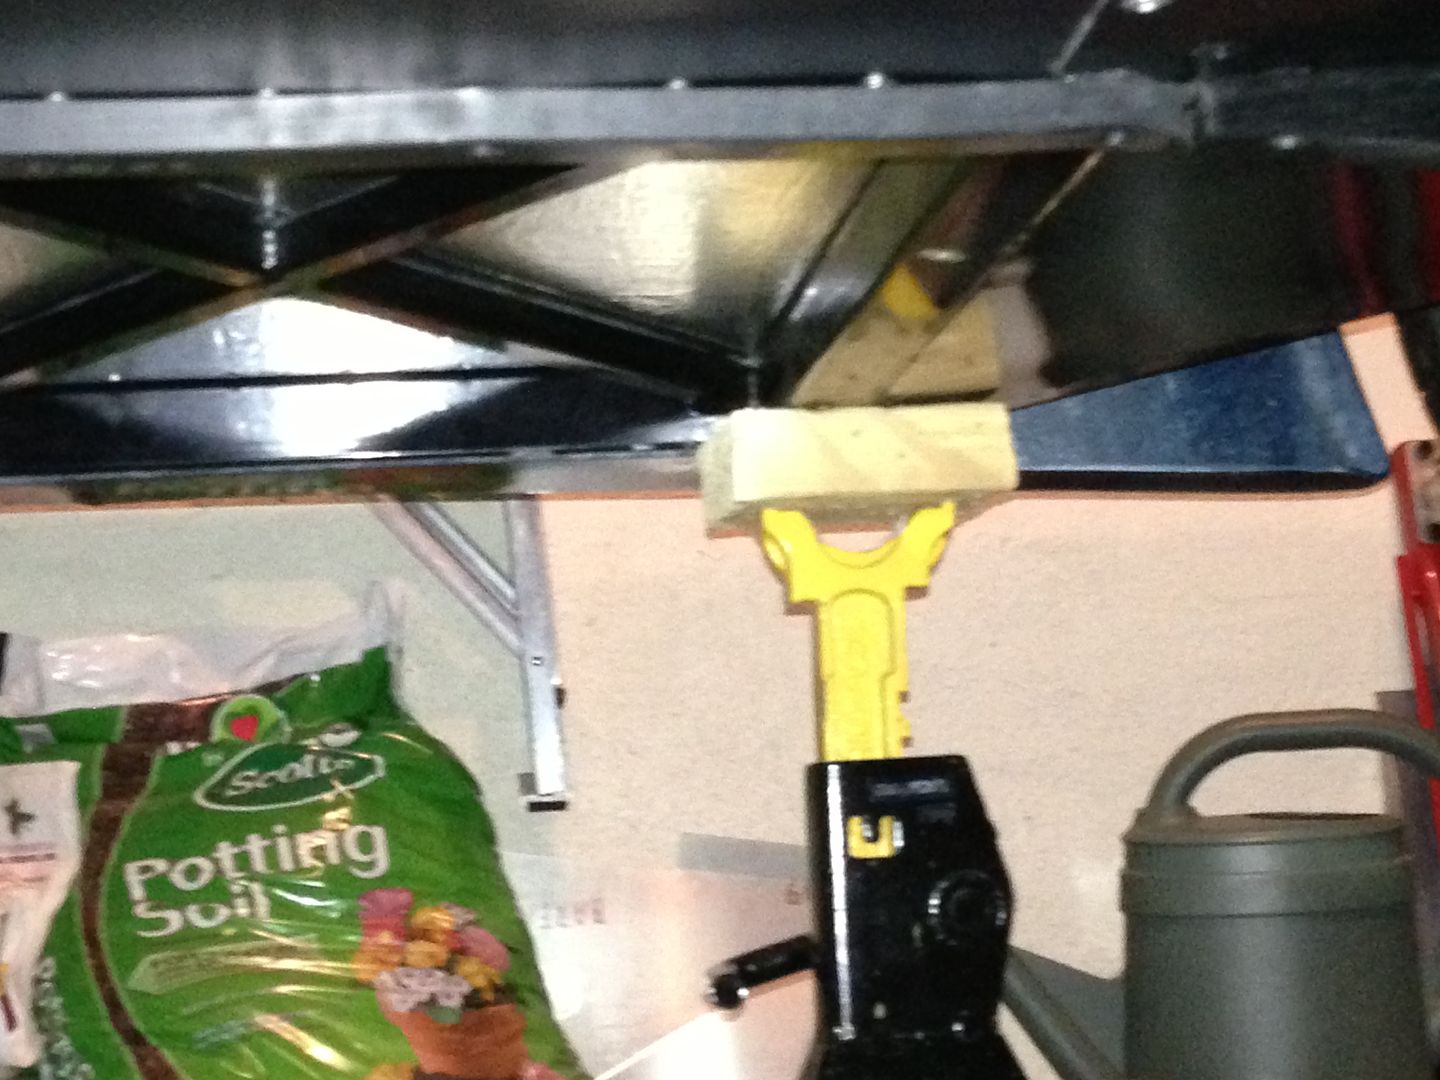
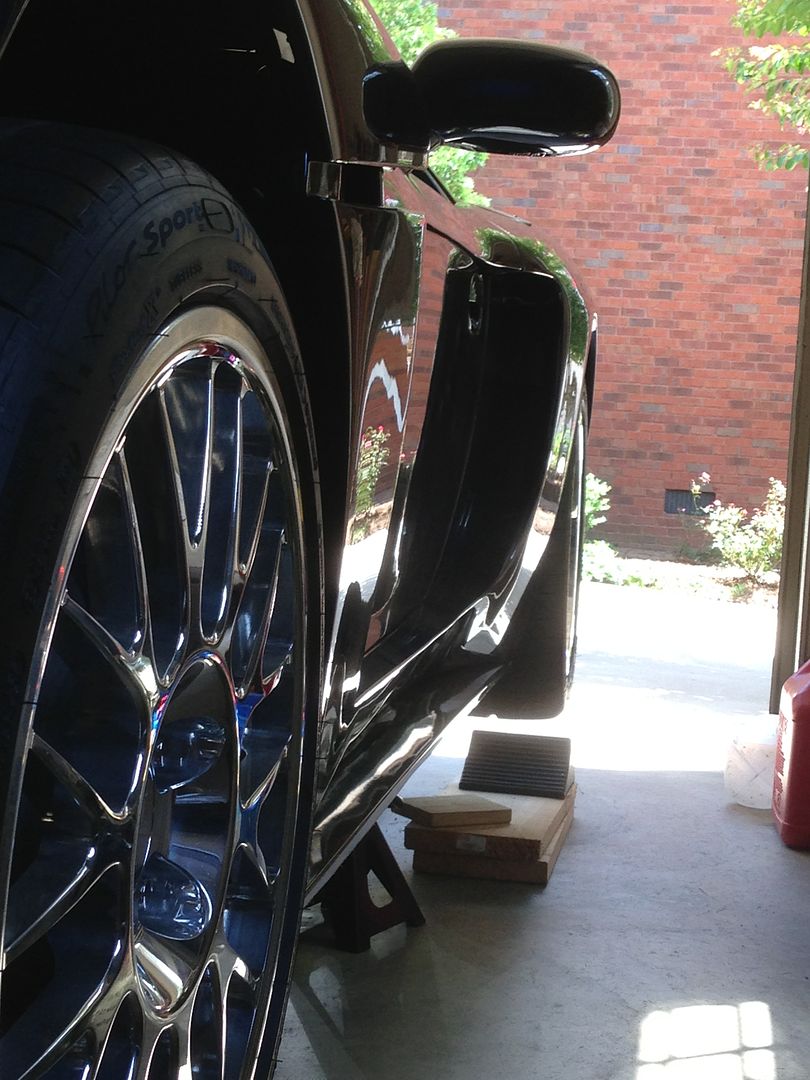
    I took these pictures that show the car on the jack stands, because I'm planning to have to 1/2" aluminum stock machined
    to fit onto the lift points of the frame. This will give me a more solid jacking point for each corner. Just behind the front
    wheels, and ahead of the rear wheels.


    Last edited by The Stig; 07-02-2013 at 09:17 PM.
    The Stig

    Some say, that I only know two facts about ducks, (both being wrong); and that if I could be bothered, I could solve the "da Vinci Code" in 47 seconds...
    All I know is that I'm called "The Stig".
    GTM #0081

  12. #572
    Member kabacj's Avatar
    Join Date
    Mar 2011
    Location
    Long Island
    Posts
    1,103
    Post Thanks / Like
    I love the progress pictures Stig.

    Regarding swapping out the eccentrics for shims. I will also try to swap them without changing the alignment. I figure if you keep one bolt tight and replace only one side at a time you have a good chance of keeping the alignment set properly. I also figure some careful measurement of the position of the bolt relative to the shoulders that hold the eccentric and shim in position on the frame will also give you a good chance of putting the bolt back where it was with the eccentric.

    John
    XTF #2
    build start date June 19 2023

    GTM # 344
    Build Start December 2010
    First track day April 2013

  13. #573
    Senior Member The Stig's Avatar
    Join Date
    Feb 2011
    Location
    Charlotte, NC
    Posts
    2,004
    Post Thanks / Like
    Quote Originally Posted by kabacj View Post
    I love the progress pictures Stig.

    Regarding swapping out the eccentrics for shims. I will also try to swap them without changing the alignment. I figure if you keep one bolt tight and replace only one side at a time you have a good chance of keeping the alignment set properly. I also figure some careful measurement of the position of the bolt relative to the shoulders that hold the eccentric and shim in position on the frame will also give you a good chance of putting the bolt back where it was with the eccentric.

    John
    Yep.. That's going to be a challenge.

    There must be an easier way of doing it, but I've not heard of anyone who has put them on their cars and then explained how they did it without losing the set up. I think you're right though. You would almost have to have a grid marked behind the eccentric bolt, so you could reference an X,Y location.

    I can handle the toe-in settings, but I do have one question. How are you locating true center to measure from?
    I don't have the tools for setting caster and camber, but I've thought of buying something to do it. I'm not sure which one works best (most accurate).


    I think this whole process is definitely something that should be documented for anyone who wants to use these shims. I wonder how many people have bought the shims but haven't used them because they couldn't figure out how to install them correctly?

    It's on my list of things to do.

    One more question... Have you slotted the front upper control arm mounts?

    I've read that others have done that to help with caster. I don't know why, but it just seems to me that I'm giving up some strength in the mounts if I do that...

    I would almost rather take the upper control arm itself, and have 3/8" to 1/2" machined off of the rear of each connection point. And then the same amount machined off of the front side of the lower arm connections. Then just use an aluminm spacer to fill that space. This would allow the arm to be positioned in a way to help with caster.

    Of course then I'd have to have the polly bushings cut to fit as well, but that's not as much of an issue.

    A good adjustable upper control arm would be the real ticket for these cars.

    As I've said over and over, I tend to overthink things when it comes to this car.

    Mike
    Last edited by The Stig; 07-04-2013 at 10:19 PM.
    The Stig

    Some say, that I only know two facts about ducks, (both being wrong); and that if I could be bothered, I could solve the "da Vinci Code" in 47 seconds...
    All I know is that I'm called "The Stig".
    GTM #0081

  14. #574
    Senior Member
    Join Date
    Feb 2011
    Location
    San Diego
    Posts
    1,962
    Post Thanks / Like
    First off, I am assuming the MWS shims are the MRS shims? In any case, in the instructions, that you can see here... http://www.myraceshop.com/Shim_Detail_2_New.html I talk in the "Helpful Notes" area about how you go about swapping over to the shims without losing alignment. Very easy procedure. You simply mark where the eccentric touches the parallel "rails" that the eccentric locates against on either side with a sharpie. Then you simply remove the bolts, slide on a shim that looks close, and see if it matches where the pen marks are. If not, go to the next position shim until you get a match. This is the shim that will need to be used in order to keep alignment the same as what you had with the eccentric bolt. Put the shims in in place of the eccentric bolt and washer and you now have a "locked" alignment shim. Easy peasy.

    BTW- I am packaging these with the instructions located in the same pouch with the shipping documents now, so maybe you did not see them in there? I debated doing this, but it is much easier because I simply package up the kits and then add the docs later. Also the docs were being damaged by the shims when I put the docs in the box with the shims, so this was the solution. In any case, install instructions and pictures are always available online at www.myraceshop.com.
    Last edited by crash; 07-03-2013 at 11:30 AM.
    www.myraceshop.com

    GTM solution kits
    Corvette and Race parts

  15. #575
    Senior Member
    Join Date
    Feb 2011
    Location
    San Diego
    Posts
    1,962
    Post Thanks / Like
    I just got a PM from someone else asking why they only got two sizes of shims. That is all that is included in the kit. There are two different shims, silver shims and gold shims. There are 12 of each style. Within each shim there are 4 different positions and therefore 4 settings per shim. So with the two different shim styles there is a total of 8 possible positions. Then they can be positioned in either a + direction from center, or a - direction from center, so there is a total of 15 positions available from the two shim styles depending upon how the shim is turned.

    Please see this picture...

    http://www.myraceshop.com/Shim_Detail_1_New.html
    Last edited by crash; 07-03-2013 at 11:24 AM.
    www.myraceshop.com

    GTM solution kits
    Corvette and Race parts

  16. #576
    Senior Member The Stig's Avatar
    Join Date
    Feb 2011
    Location
    Charlotte, NC
    Posts
    2,004
    Post Thanks / Like
    Quote Originally Posted by crash View Post
    First off, I am assuming the MWS shims are the MRS shims? In any case, in the instructions, that you can see here... http://www.myraceshop.com/Shim_Detail_2_New.html I talk in the "Helpful Notes" area about how you go about swapping over to the shims without losing alignment. Very easy procedure. You simply mark where the eccentric touches the parallel "rails" that the eccentric locates against on either side with a sharpie. Then you simply remove the bolts, slide on a shim that looks close, and see if it matches where the pen marks are. If not, go to the next position shim until you get a match. This is the shim that will need to be used in order to keep alignment the same as what you had with the eccentric bolt. Put the shims in in place of the eccentric bolt and washer and you now have a "locked" alignment shim. Easy peasy.

    BTW- I am packaging these with the instructions located in the same pouch with the shipping documents now, so maybe you did not see them in there? I debated doing this, but it is much easier because I simply package up the kits and then add the docs later. Also the docs were being damaged by the shims when I put the docs in the box with the shims, so this was the solution. In any case, install instructions and pictures are always available online at www.myraceshop.com.
    First off - Yes; I meant My Race Shop (MRS). Not sure where the DubYa came from.

    Second off - My kit didn't come with any installation instructions... Hence the confusion as to how they are supposed to be installed.

    I'll go back to your site and download the sheet and see where that takes me.

    Thanks Mike

    Mike
    The Stig

    Some say, that I only know two facts about ducks, (both being wrong); and that if I could be bothered, I could solve the "da Vinci Code" in 47 seconds...
    All I know is that I'm called "The Stig".
    GTM #0081

  17. #577
    Senior Member The Stig's Avatar
    Join Date
    Feb 2011
    Location
    Charlotte, NC
    Posts
    2,004
    Post Thanks / Like
    Instructions for Corvette/GTM Suspension Alignment Shims

    -Use the supplied bolts and washers in place of the "stock" cam bolts. Reuse the "stock" nut.
    -Shims are laser cut 3/16 steel with holes numbered 0 to 7. Total of 24 shims for a GTM application in each kit.
    -Shims are eight way positionable. Four offsets per shim, and two different sides, make for eight different positions from just one shim.
    -15 total different positions are possible by orienting the two different shims in the various positions.
    -Two color coordinated types of shims for easy identification.
    Silver = Positions 1,2,5,6.
    Gold = Positions 0,3,4,7.
    (Mine are Blue and Black, I think)
    -Adjustable from +10.5 millimeters (Shim #7) from center location (Shim #0) to -10.5 millimeters (Shim #7) from center location (Shim #0).
    -Number will correspond to the correct hole when the number is properly readable and in the lower center to lower right hand quadrant of the related hole.
    -Take note of the indexing notch in the picture in order to orient the shim in either the + or – position of the desired numbered hole which will relate to the desired offset.

    Helpful Notes

    -For finer adjustment, shims can be staggered with, say for example, a number 5 on one side and a number 6 on the other, of one suspension arm mounting point.
    This will effectively give you half of the adjustment, or .75 millimeters change.
    The #5 and #6 shim example would therefore yield an 8.25 millimeter offset from center.
    By using the shims in this manner, the effective adjustability is increased to 29 different locating positions within an overall distance of 21 millimeters.
    This method may make getting the bolt through the "stack" a little difficult, and you should make double sure the shims are seated within the tab guides when utilizing this
    method.
    -Make sure to readjust toe once suspension settings are achieved with the shims.
    -This system makes adjustments that are repeatable and easy to do, even at a race track on an uneven surface.

    -Shims may have to be mismatched in order to get the bolt to go through the suspension point "stack" depending upon overall arm orientation.
    Last edited by The Stig; 07-03-2013 at 04:57 PM.
    The Stig

    Some say, that I only know two facts about ducks, (both being wrong); and that if I could be bothered, I could solve the "da Vinci Code" in 47 seconds...
    All I know is that I'm called "The Stig".
    GTM #0081

  18. #578
    Senior Member
    Join Date
    Feb 2011
    Location
    San Diego
    Posts
    1,962
    Post Thanks / Like
    If you have the early black and blue painted shims instead of the plated ones that are currently sold, then the site still has your orientation picture available here...

    http://www.myraceshop.com/Shim_Detail_1.html

    Any questions or things you need explained, please don't hesitate to ask.
    www.myraceshop.com

    GTM solution kits
    Corvette and Race parts

  19. #579
    Senior Member
    Join Date
    Feb 2011
    Location
    San Diego
    Posts
    1,962
    Post Thanks / Like
    Also just got this question via PM...

    What confused me was the picture on the site or with the product does not show the numbers stamped on the shims clearly. Each shim has numbers stamped on it. I could not verify that I had the same parts as shown in the picture.

    I dont have the shims in front of me, and maybe it makes more sense when you can read them, but why stamp numbers at all? The color and the clip out of the corner is all you need to verify the orientation right?


    Correct, but without the numbers it would get confusing. Especially if you are at the track and don't have the picture to look at. The number allows you to go the direction you want to without having anything else to look at. The notch was added really so that if you are doing an adjustment and can not see where the shims are being installed(it can get pretty tight and invisible to see where the bolts/shims are going when the car is all together and you are at the track)you can simply orient the shim outside the car, then just make sure to feel the notch is in the correct location as you reassemble the suspension mounting point.

    Sorry to muddle up this thread. Any further questions I would be happy to answer, but maybe we should do it in another thread?
    www.myraceshop.com

    GTM solution kits
    Corvette and Race parts

  20. #580
    Senior Member The Stig's Avatar
    Join Date
    Feb 2011
    Location
    Charlotte, NC
    Posts
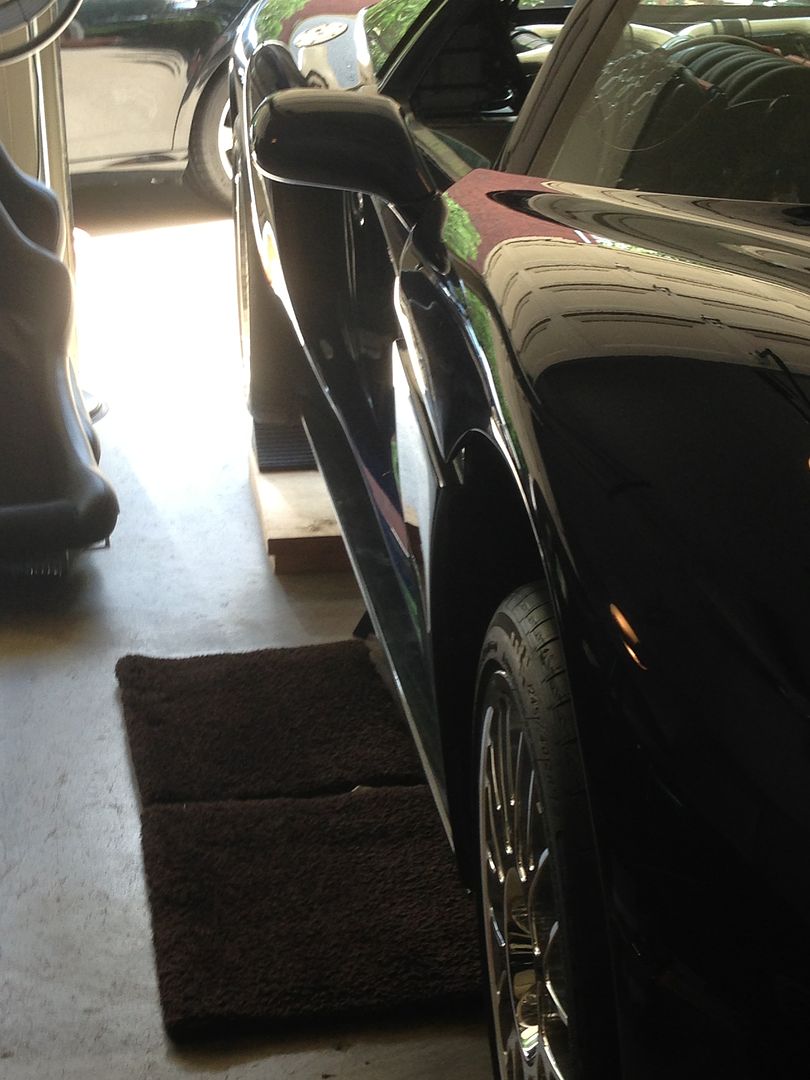
    2,004
    Post Thanks / Like
    Quote Originally Posted by crash View Post

    Sorry to muddle up this thread. Any further questions I would be happy to answer, but maybe we should do it in another thread?
    No worries Mike.
    The Stig

    Some say, that I only know two facts about ducks, (both being wrong); and that if I could be bothered, I could solve the "da Vinci Code" in 47 seconds...
    All I know is that I'm called "The Stig".
    GTM #0081

  21. #581
    Senior Member The Stig's Avatar
    Join Date
    Feb 2011
    Location
    Charlotte, NC
    Posts
    2,004
    Post Thanks / Like
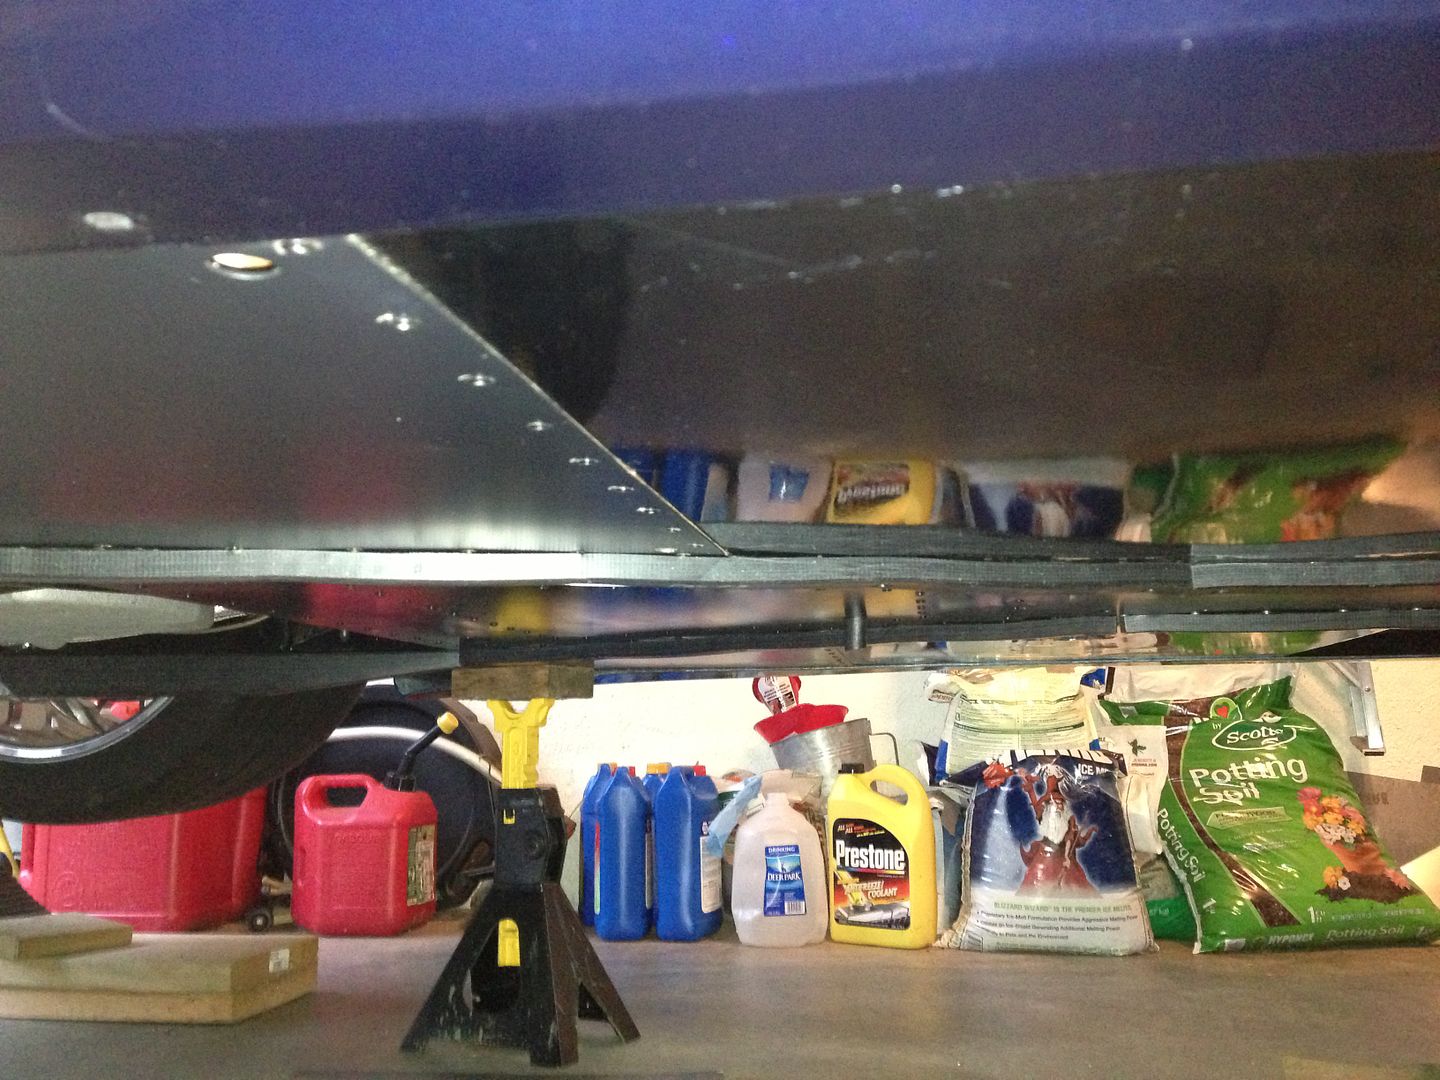
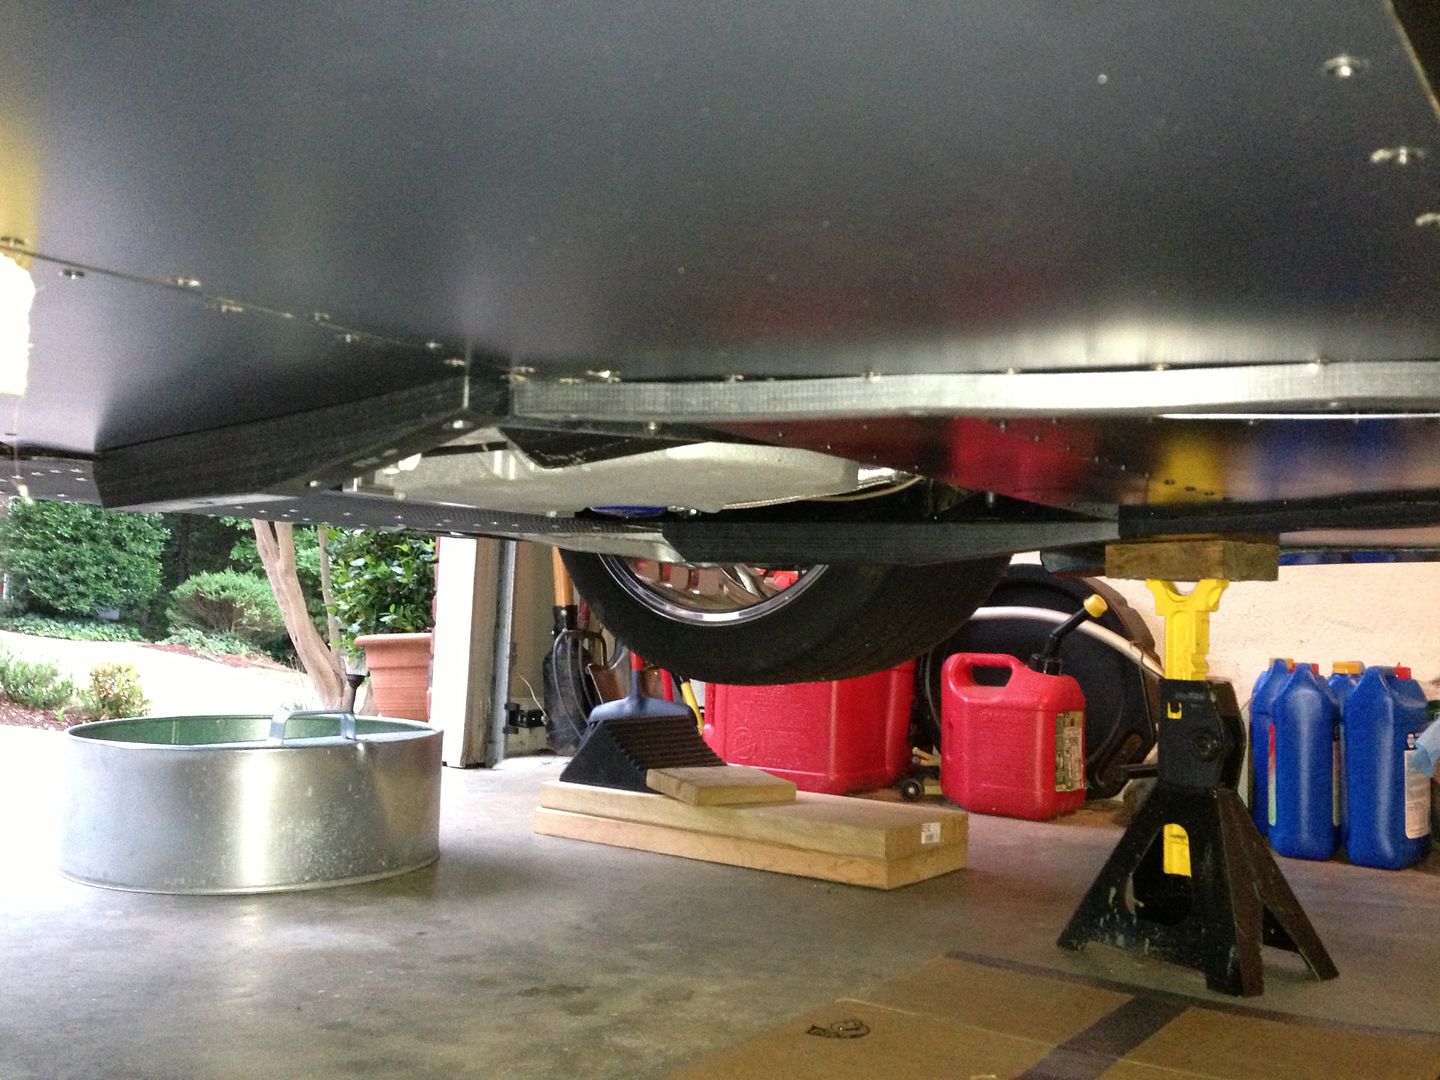
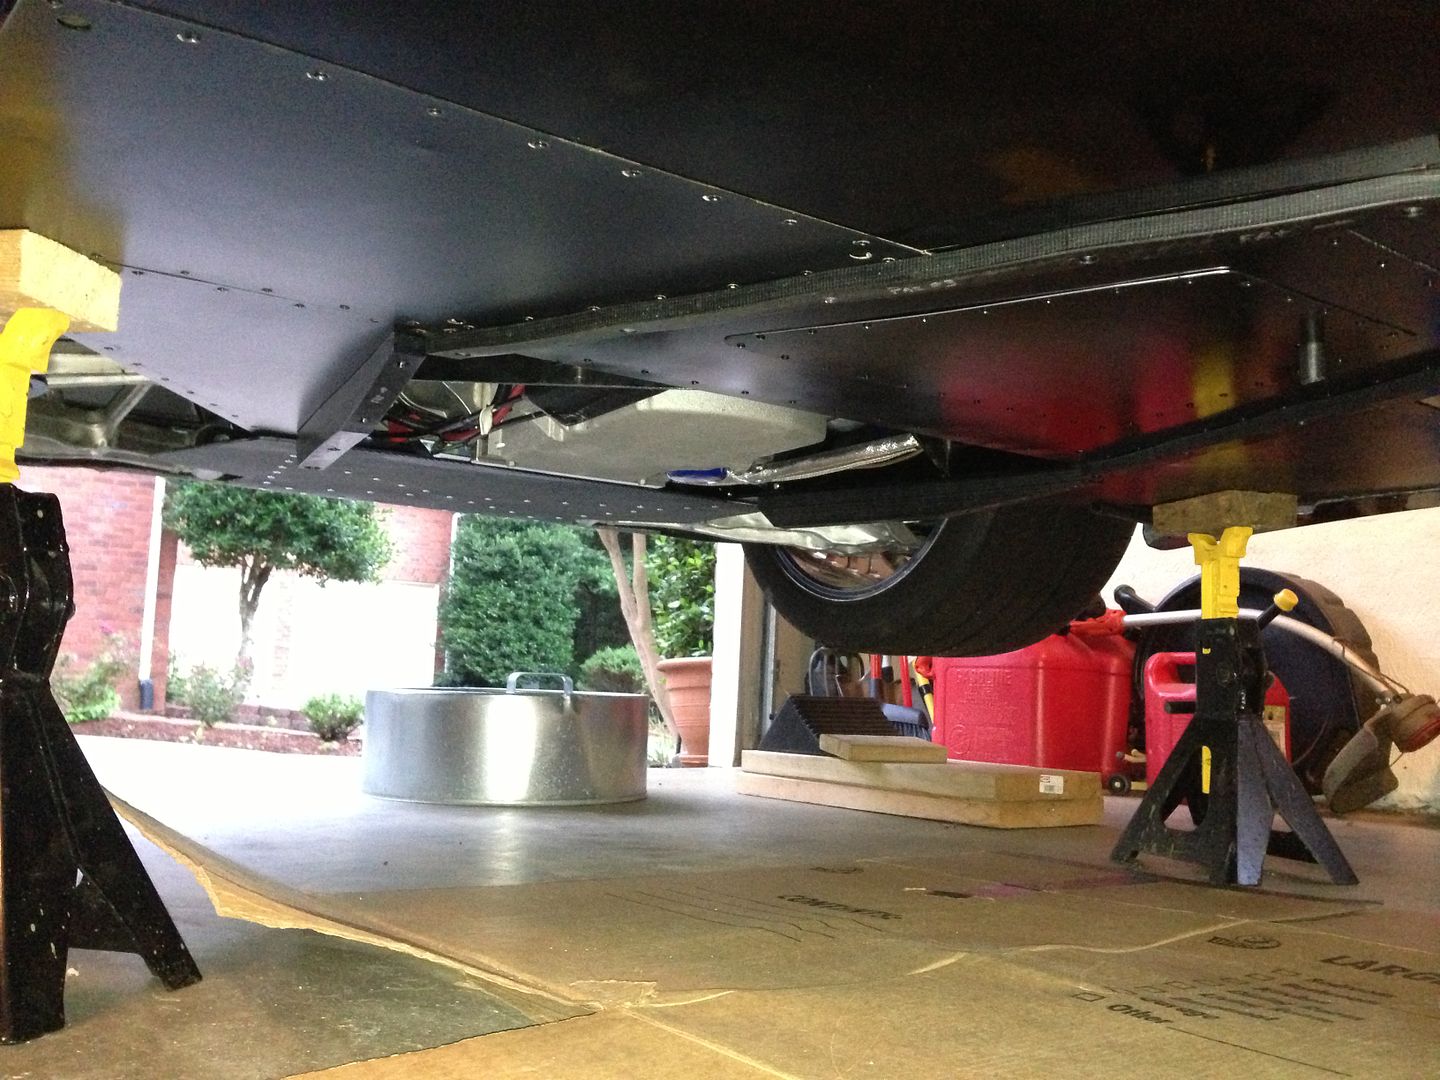
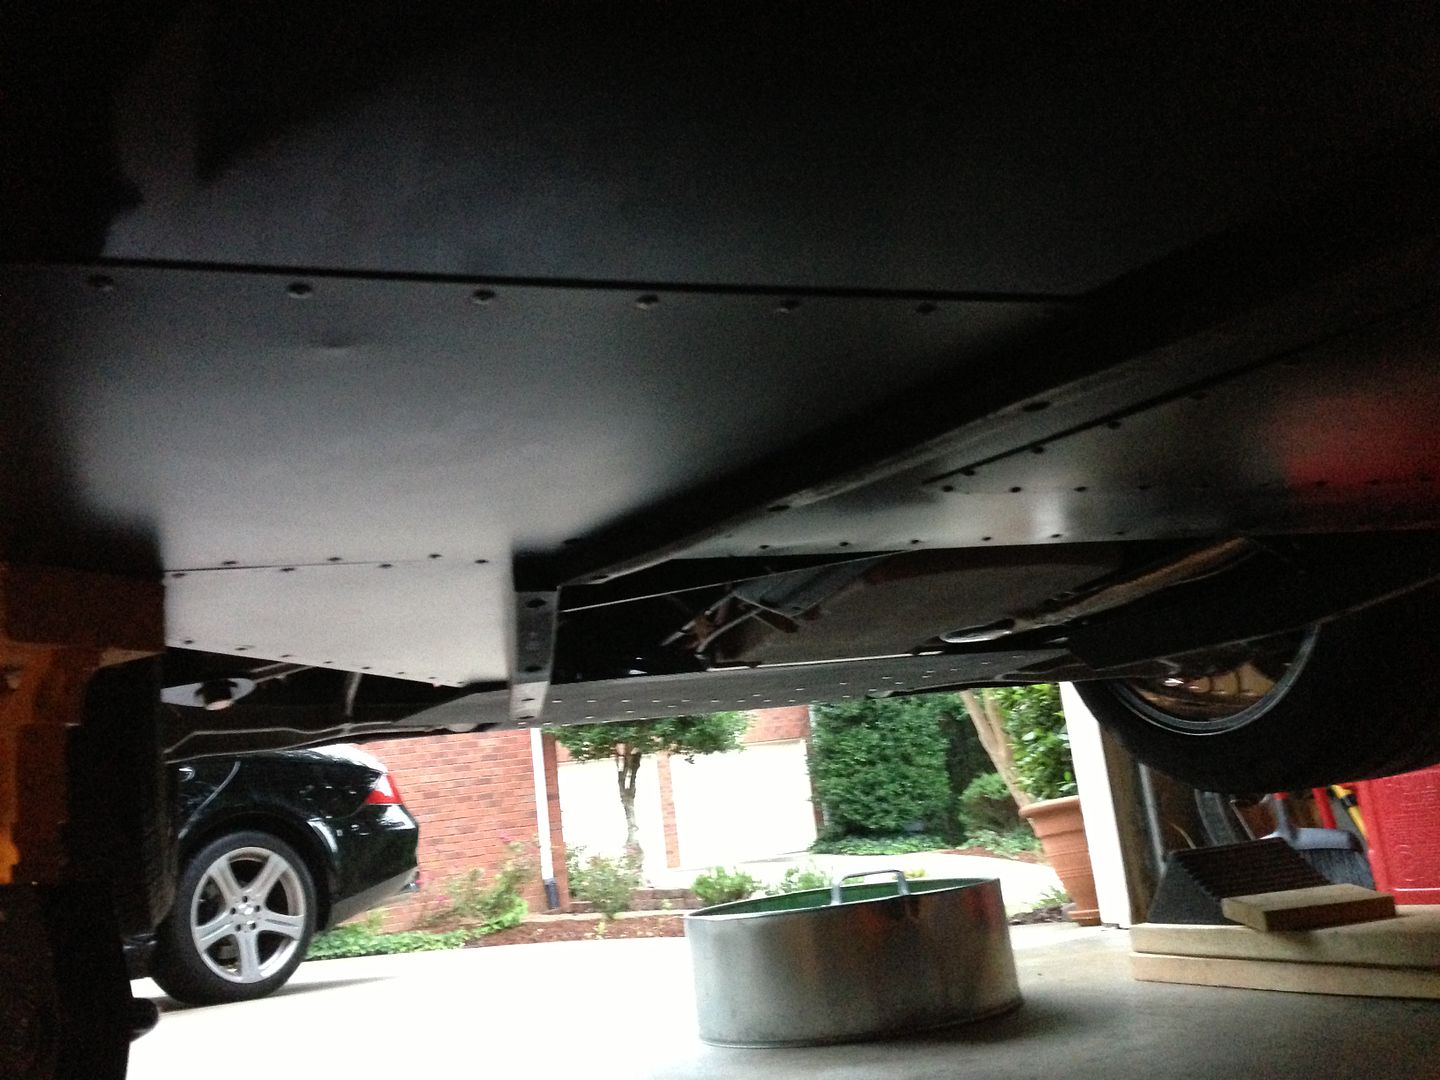
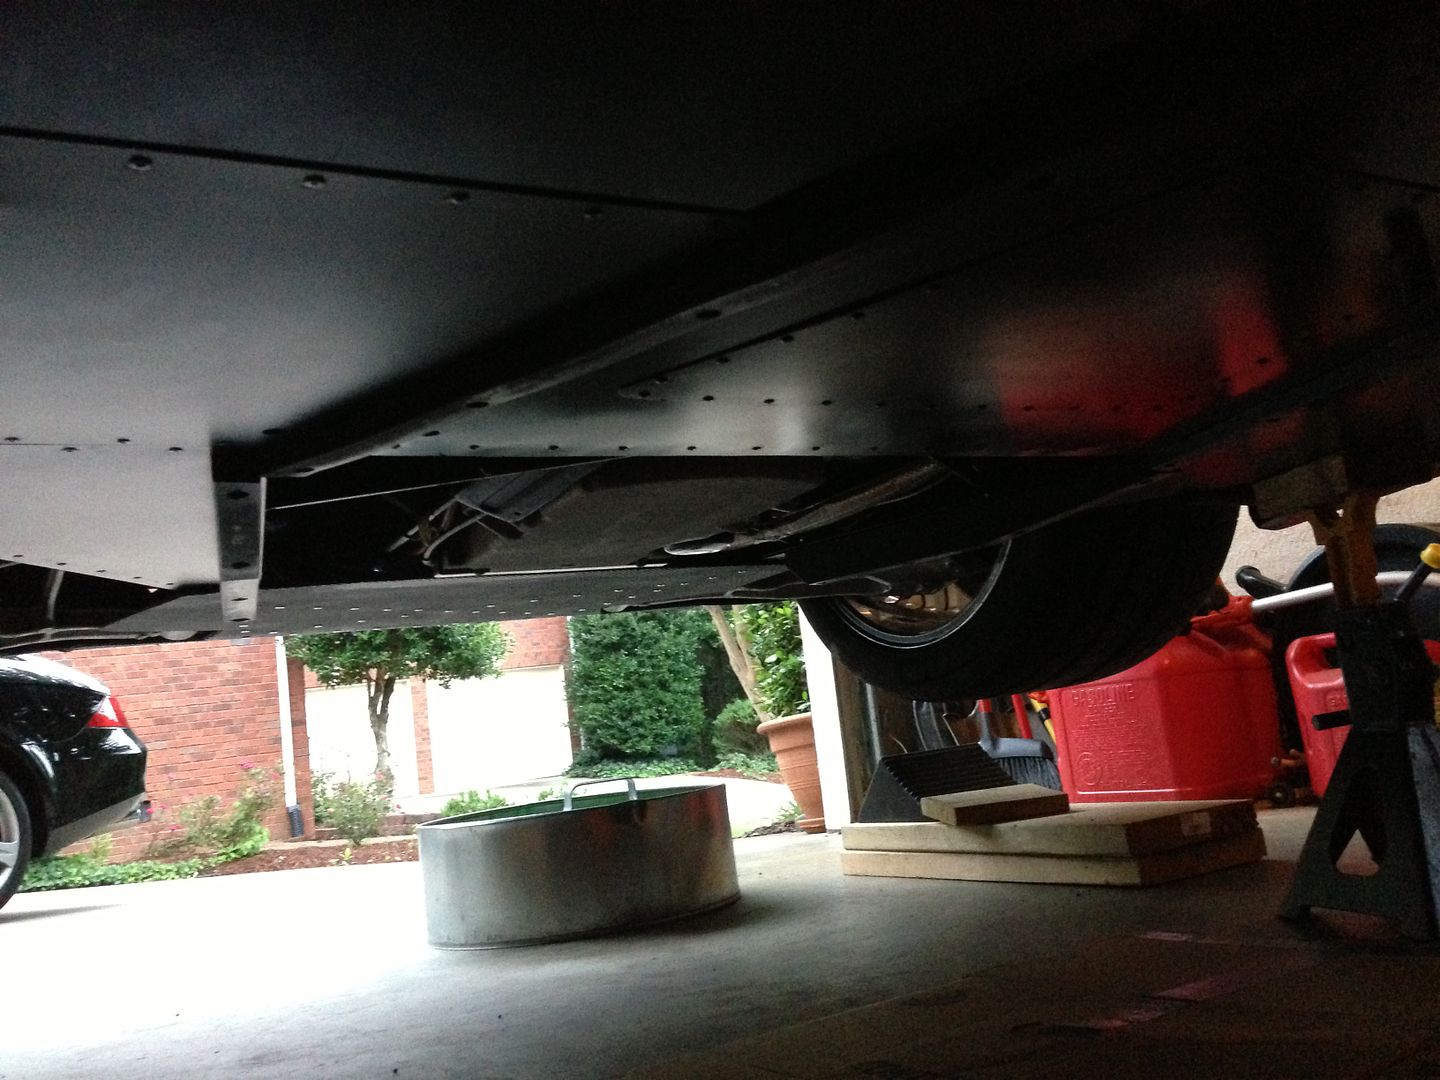
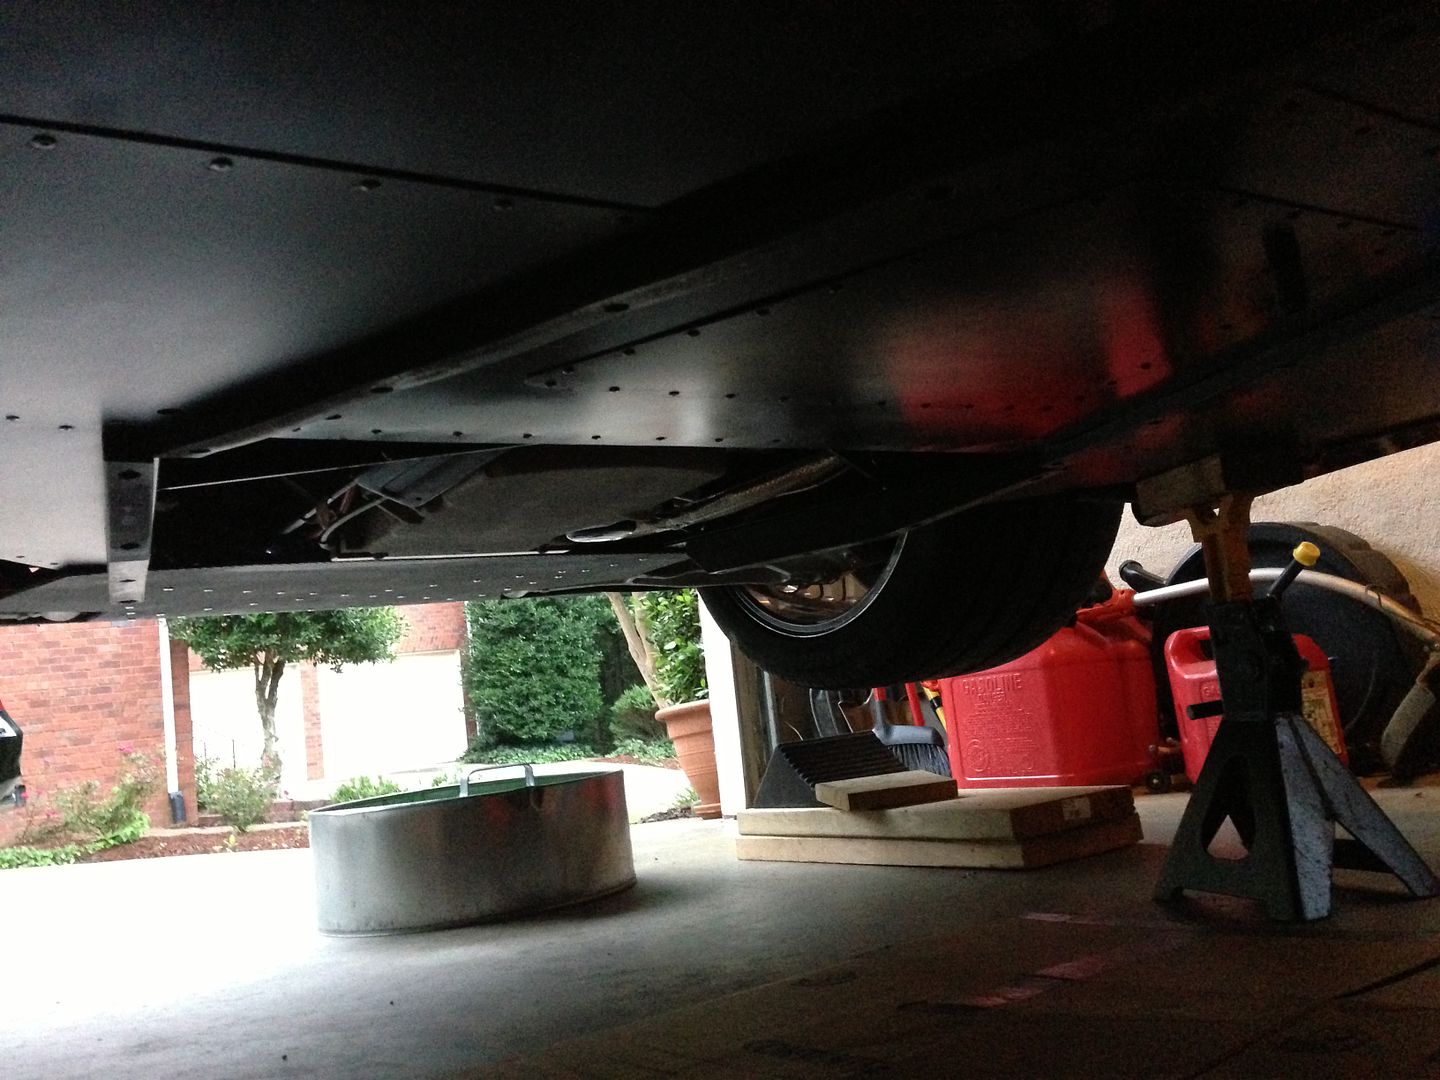
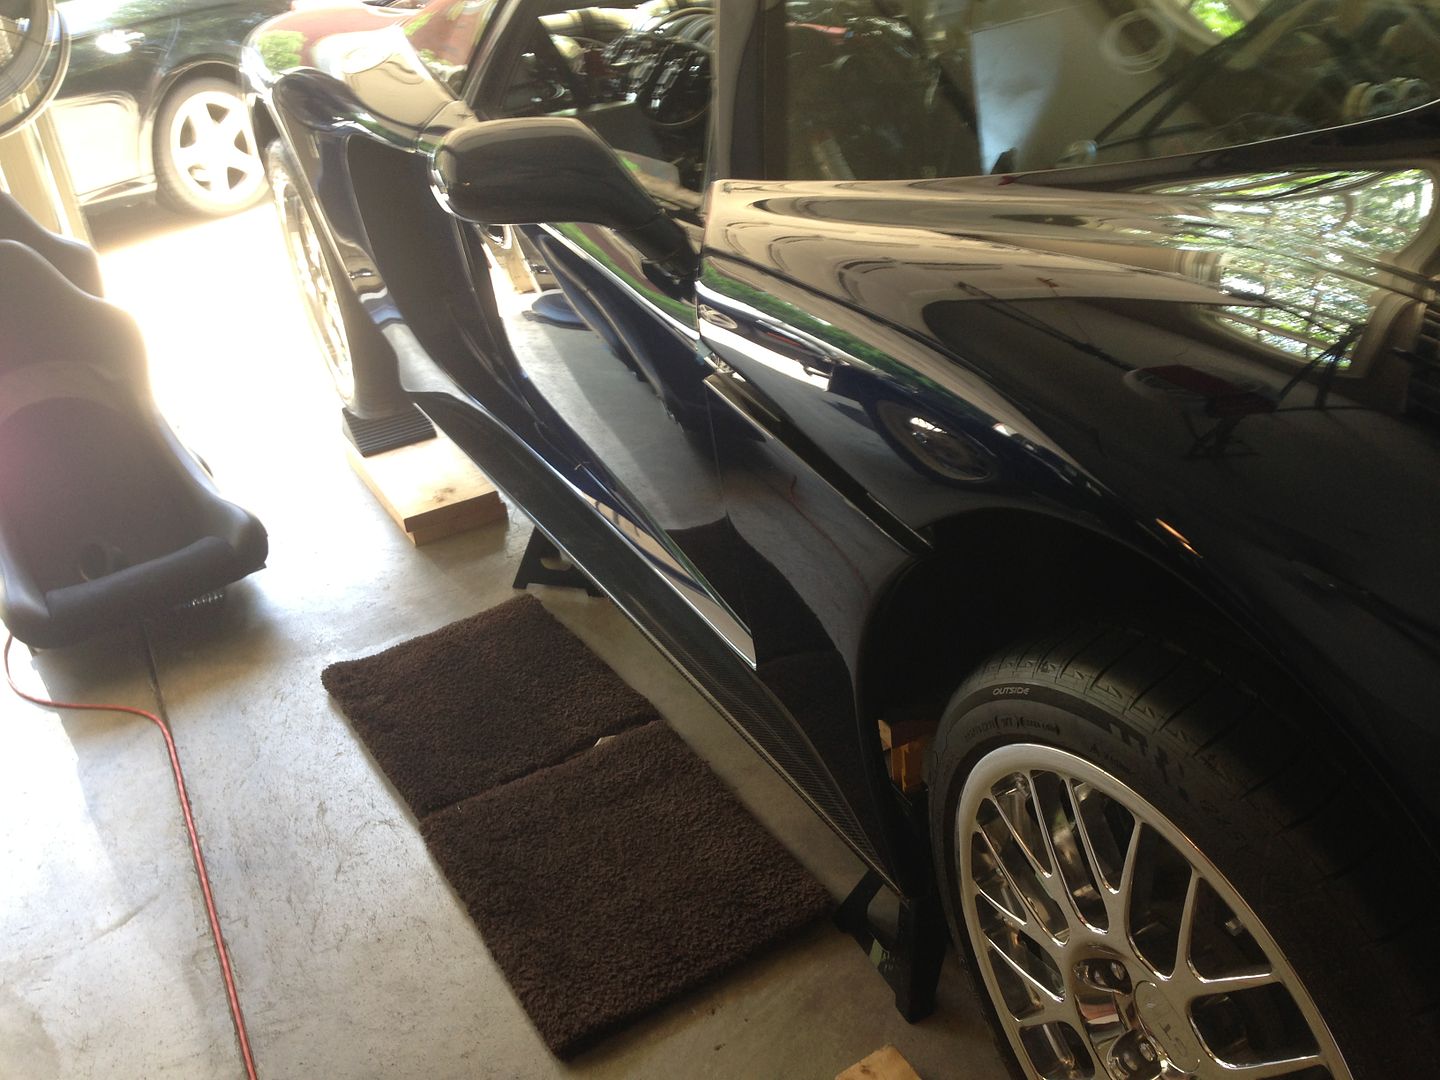
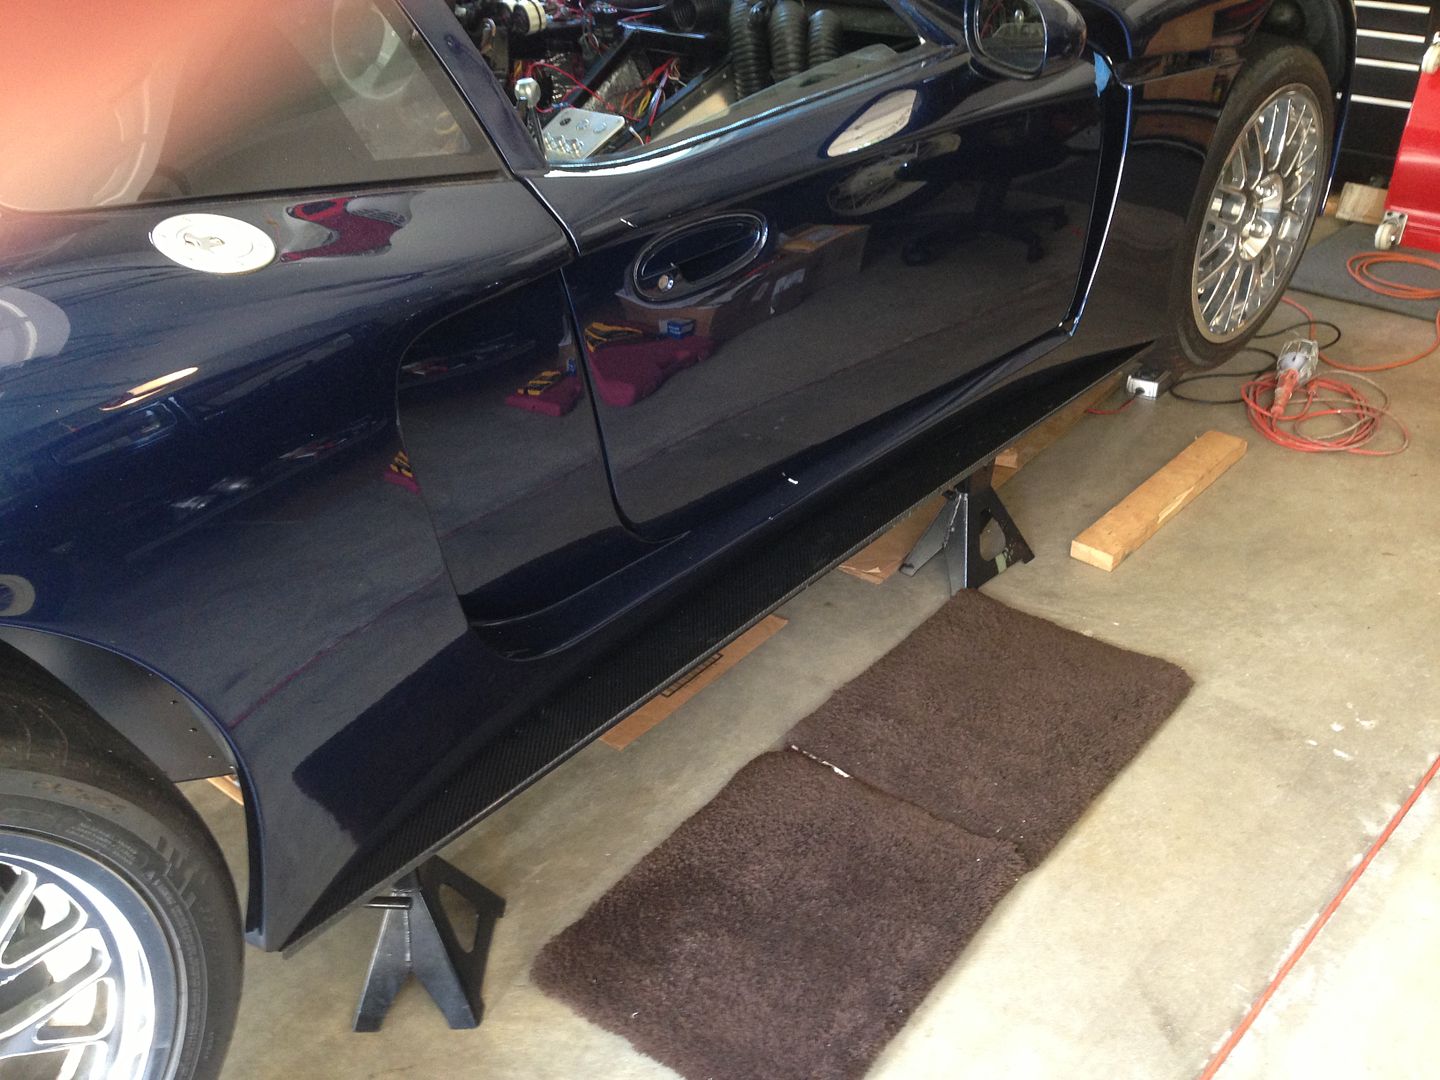
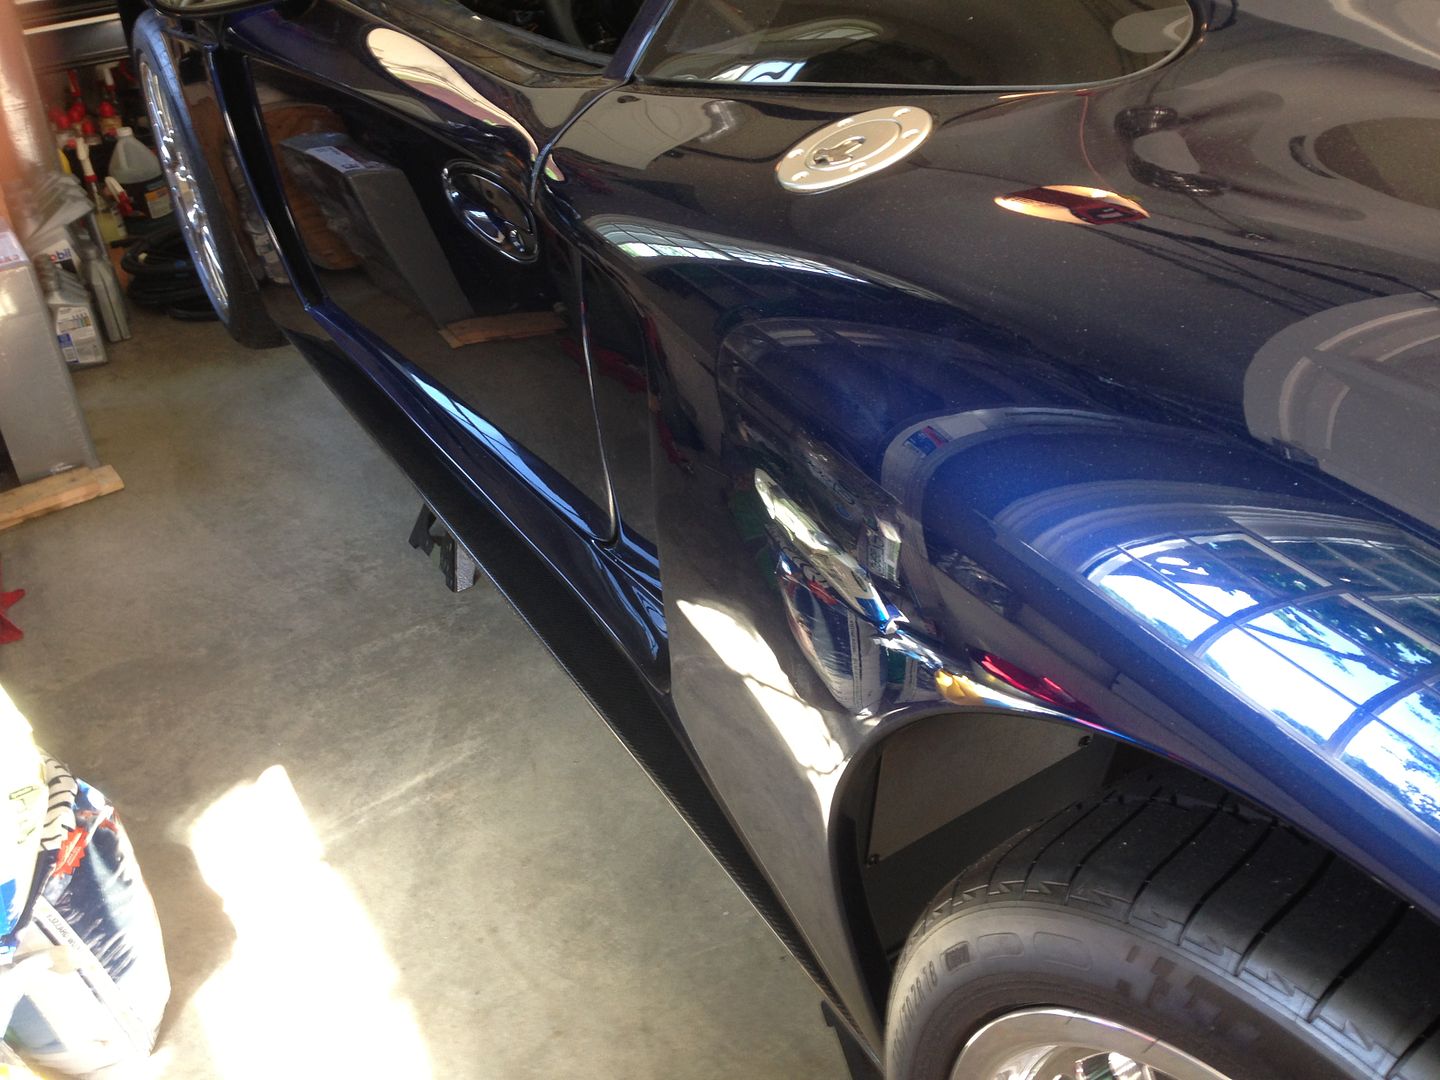
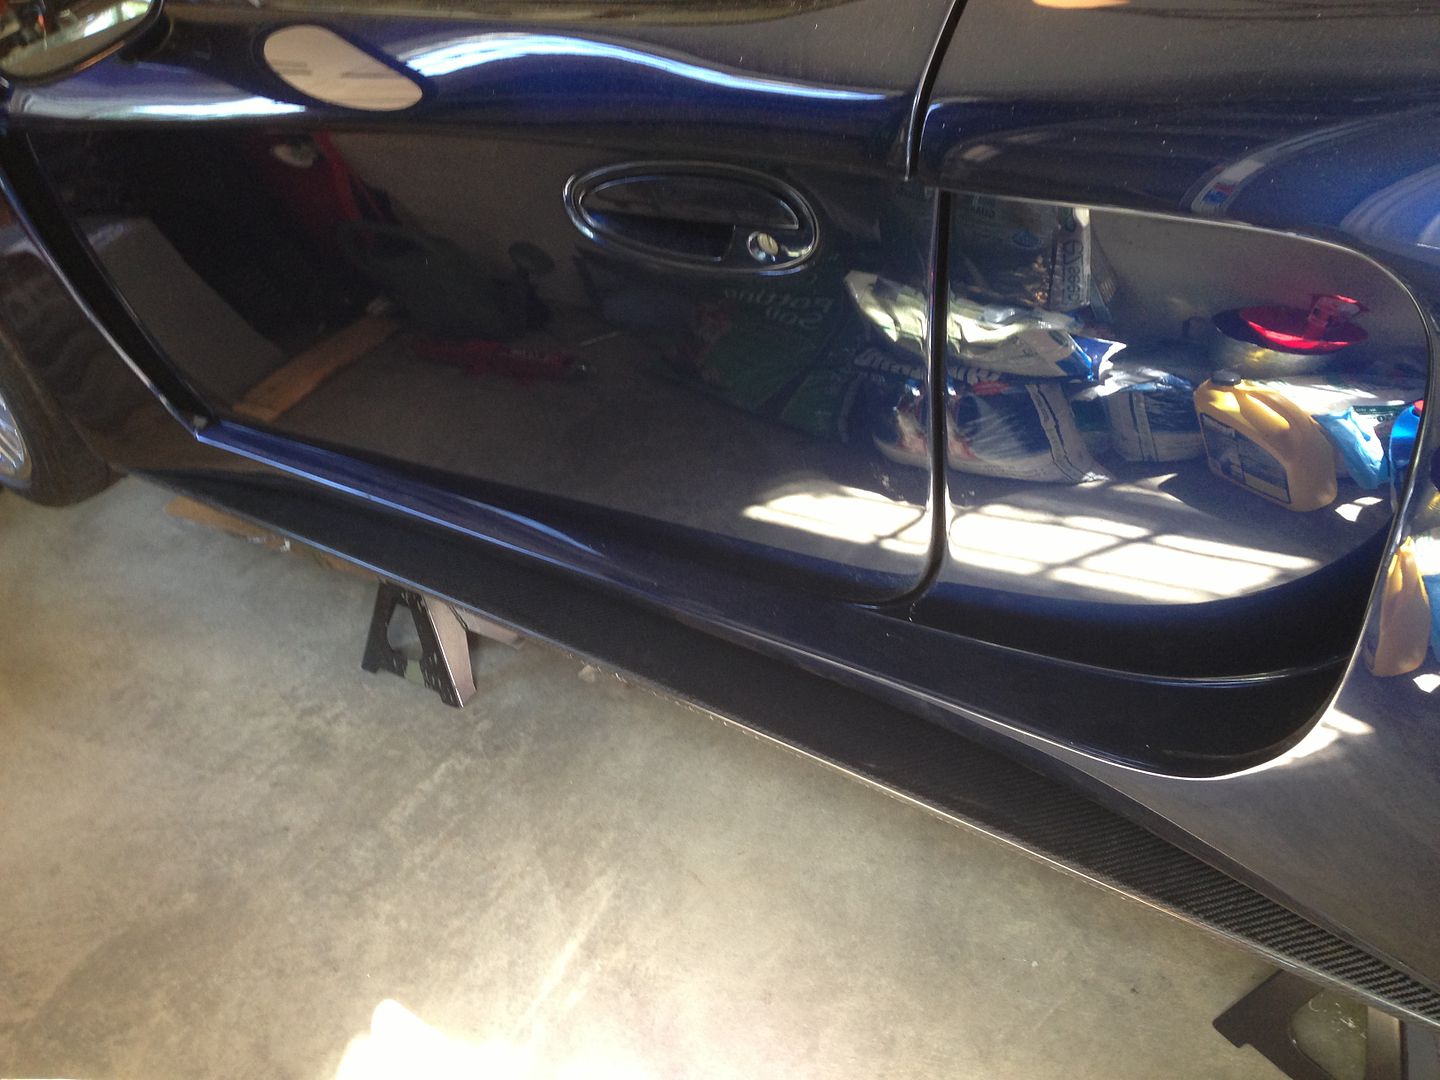
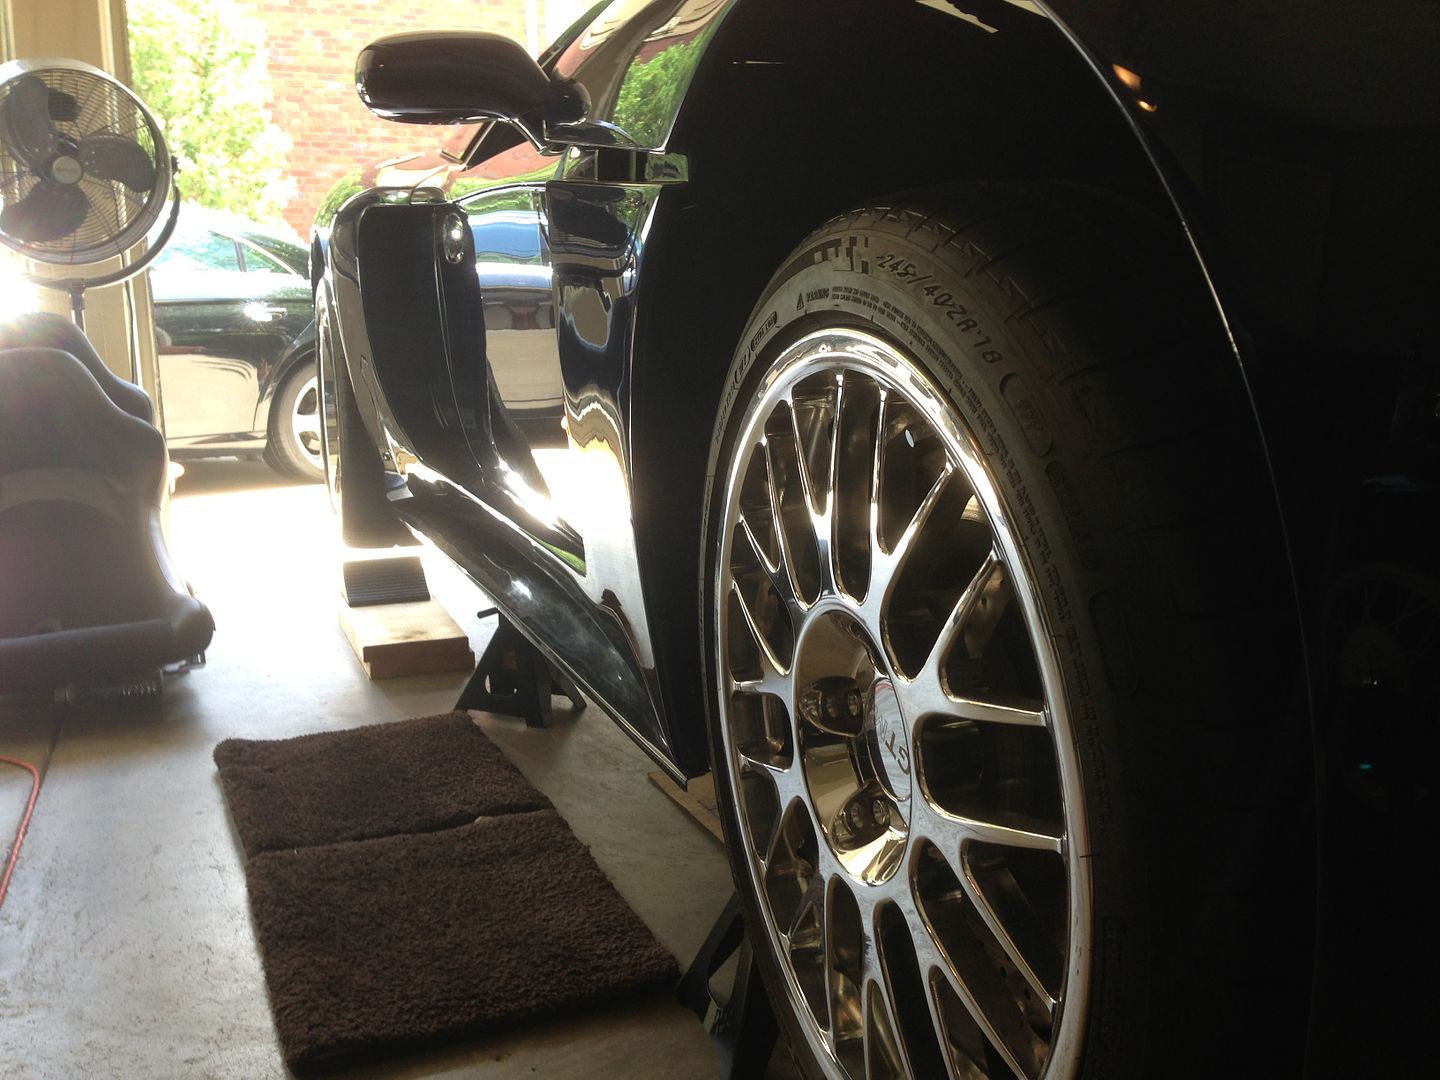
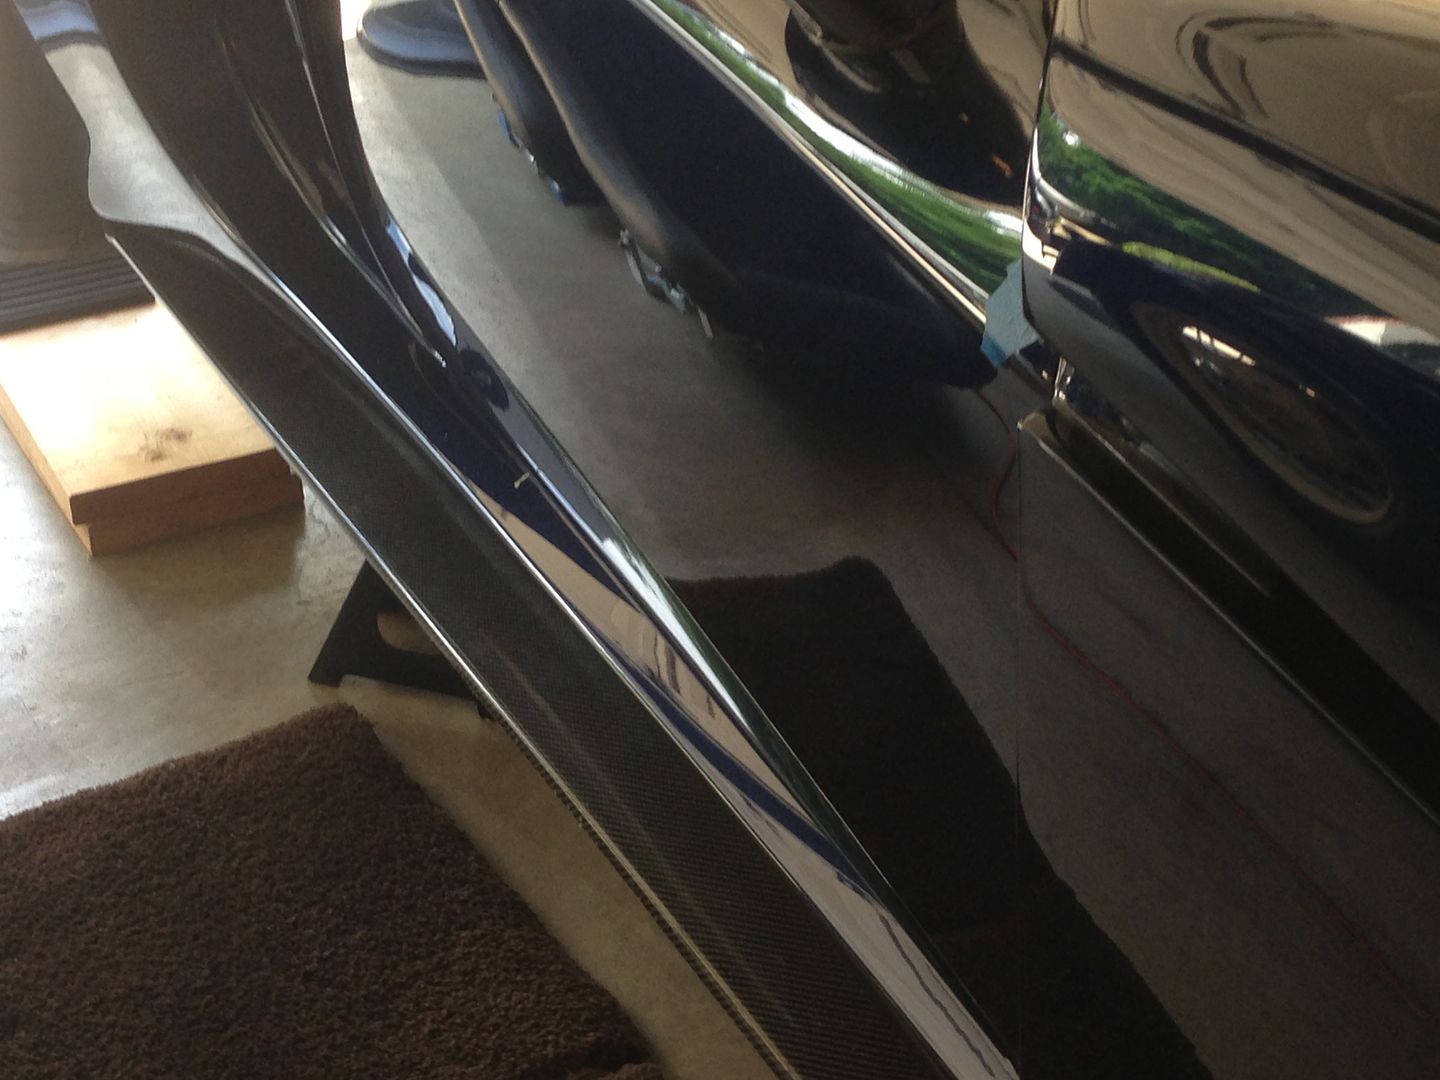
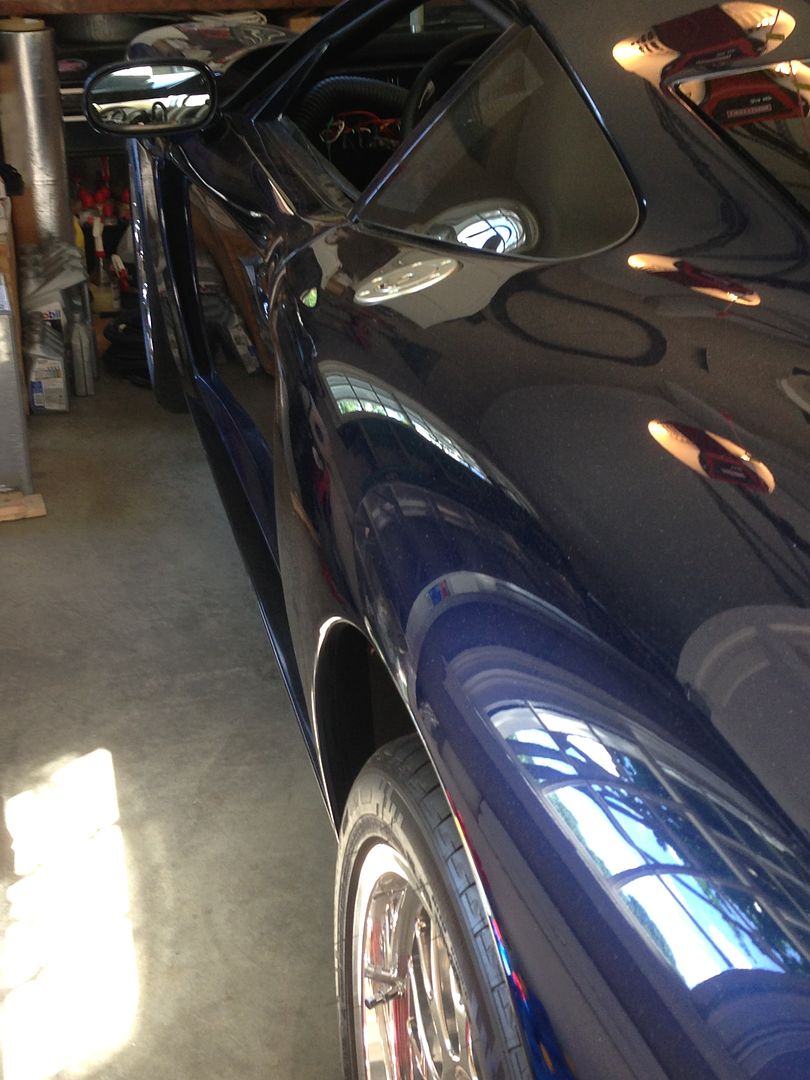
    I finally got the side skirts mounted... Between the install of the skid system, and these skirts, I've really had to spend
    quite a bit more time than I expected. I think I had them on and off about 5 or 6 times in order to get them fitted the
    way I wanted. I think they look pretty good.


    Last edited by The Stig; 07-06-2013 at 10:48 PM.
    The Stig

    Some say, that I only know two facts about ducks, (both being wrong); and that if I could be bothered, I could solve the "da Vinci Code" in 47 seconds...
    All I know is that I'm called "The Stig".
    GTM #0081

  22. #582
    Senior Member The Stig's Avatar
    Join Date
    Feb 2011
    Location
    Charlotte, NC
    Posts
    2,004
    Post Thanks / Like


    Last edited by The Stig; 07-06-2013 at 10:13 PM.
    The Stig

    Some say, that I only know two facts about ducks, (both being wrong); and that if I could be bothered, I could solve the "da Vinci Code" in 47 seconds...
    All I know is that I'm called "The Stig".
    GTM #0081

  23. #583
    Senior Member The Stig's Avatar
    Join Date
    Feb 2011
    Location
    Charlotte, NC
    Posts
    2,004
    Post Thanks / Like


    Last edited by The Stig; 07-06-2013 at 10:12 PM.
    The Stig

    Some say, that I only know two facts about ducks, (both being wrong); and that if I could be bothered, I could solve the "da Vinci Code" in 47 seconds...
    All I know is that I'm called "The Stig".
    GTM #0081

  24. #584
    Senior Member The Stig's Avatar
    Join Date
    Feb 2011
    Location
    Charlotte, NC
    Posts
    2,004
    Post Thanks / Like
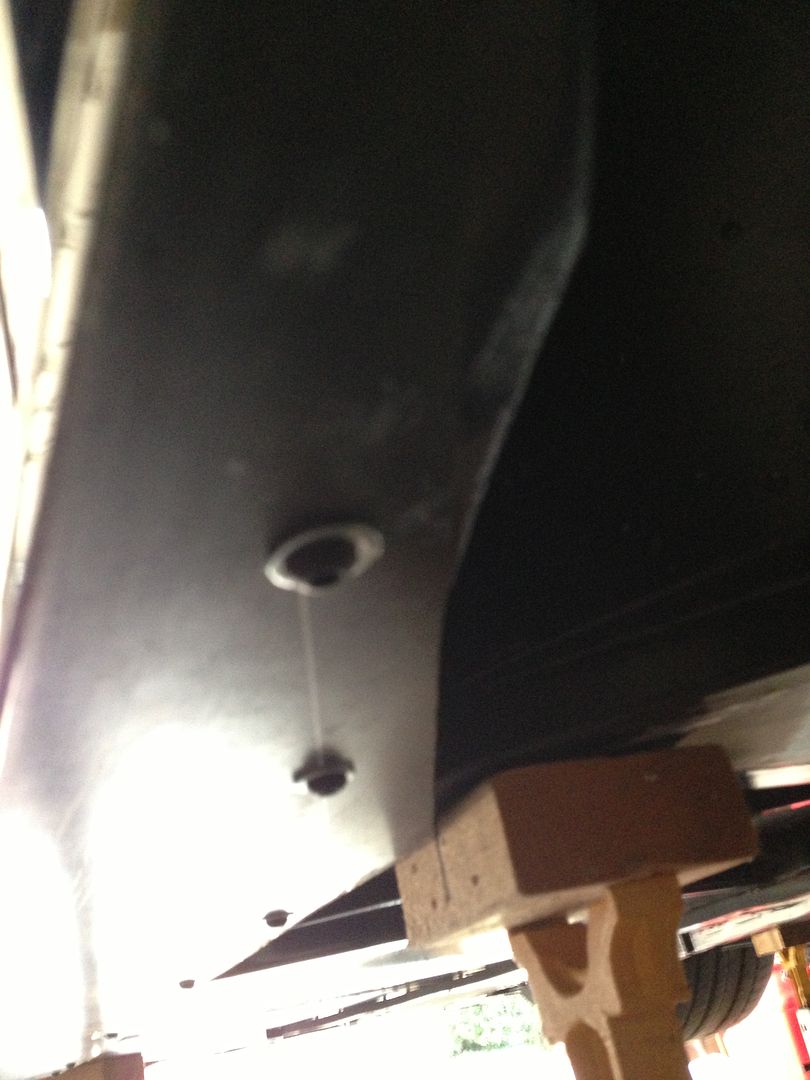
    Initially I clamped the skirts in place, and made my marks for the 1/4"-20 screws.

    Then I took them off and used a straight edge to draw a line to line up the holes. I made sure that the holes line up along the centerline of the frame rails. The ends are anchored into the body, with two Riv-nuts at each end.

    They're mounted pretty firmly, but you sure don't want to step on them...


    The Aluminum Nose panels, and the Splitter are next... Fun Fun Fun...
    Last edited by The Stig; 07-06-2013 at 10:50 PM.
    The Stig

    Some say, that I only know two facts about ducks, (both being wrong); and that if I could be bothered, I could solve the "da Vinci Code" in 47 seconds...
    All I know is that I'm called "The Stig".
    GTM #0081

  25. #585
    Senior Member Kempo's Avatar
    Join Date
    Feb 2011
    Location
    Cabo Rojo,PR. USA
    Posts
    723
    Post Thanks / Like
    Very nice Mike!!! IMO the side skirts really finish up the look of the car. Almost everyone that sees my car comments on how good the side skirts look.
    GenII GTM #354
    Delivered (02/09/11)

  26. #586
    Senior Member
    Join Date
    Feb 2011
    Posts
    119
    Post Thanks / Like
    With your guys' side skirts, how was the CF weave? I had some cosmetic defects on one of mine. FFR replaced, but the replacement one also had defects. I was told by FFR that the defects were common and it was a crap shoot to get one without cosmetic defects. Just curious to know if yours are free from cosmetic issues or not.

  27. #587
    Senior Member The Stig's Avatar
    Join Date
    Feb 2011
    Location
    Charlotte, NC
    Posts
    2,004
    Post Thanks / Like
    Quote Originally Posted by mmaragos View Post
    With your guys' side skirts, how was the CF weave? I had some cosmetic defects on one of mine. FFR replaced, but the replacement one also had defects. I was told by FFR that the defects were common and it was a crap shoot to get one without cosmetic defects. Just curious to know if yours are free from cosmetic issues or not.
    I have two sets of skirts and splitters (for WHEN they get broken)... Both sets are as you describe. Most of the length is actually pretty good, with 1 or 2 strips that are wavy. I decided not to get to caught up with it...

    I had originally thought of having them painted flat black and then cleared with Matt Clear. But I haven't gone there yet. I've also thought of having some 1/8" aluminum cut in the shape of the skirts to epoxy onto the bottom side in order to make them a little stronger.

    Not sure if I would do that on the splitter since it need the "chance" to flex if it scrapes.

    We'll see how it turns out. Right now I have bigger fish to fry...

    Mike
    Last edited by The Stig; 07-08-2013 at 09:46 PM.
    The Stig

    Some say, that I only know two facts about ducks, (both being wrong); and that if I could be bothered, I could solve the "da Vinci Code" in 47 seconds...
    All I know is that I'm called "The Stig".
    GTM #0081

  28. #588
    Senior Member The Stig's Avatar
    Join Date
    Feb 2011
    Location
    Charlotte, NC
    Posts
    2,004
    Post Thanks / Like
    Quote Originally Posted by Kempo View Post
    Very nice Mike!!! IMO the side skirts really finish up the look of the car. Almost everyone that sees my car comments on how good the side skirts look.
    Thanks Hugo! The skirts really do change to look of the car. So far though, I've only seen what it looks like with the car up in the air... I can't wait to get finished with everything underneath so I can get it back on the ground.

    I need to get the aluminum nose panels and splitter installed.

    Then I need to get the seats mounted, which means that I have to come up with a better solution for the seat slider "locks". I really want to have the sliders lock on both side instead of just one. But so far, I haven't come up with a good "compact" way of making it work... Suggestions would be appreciated!

    I figure that I'll probably go ahead and change the oil while it's still on the jacks... I've been running the (and revving) the engine a bit over the past year. So I could probably stand to change the oil to get rid of any break-in related metal shavings. (And then again after a couple hundred miles.)

    Still a bit to do in order to get it wrapped up, but at least now, I can see the finish line!!! Woo Hoo!!!

    Mike
    The Stig

    Some say, that I only know two facts about ducks, (both being wrong); and that if I could be bothered, I could solve the "da Vinci Code" in 47 seconds...
    All I know is that I'm called "The Stig".
    GTM #0081

  29. #589
    Senior Member
    Join Date
    Feb 2011
    Location
    San Diego
    Posts
    1,962
    Post Thanks / Like
    If I am not mistaken, Shane offers the side skirts in aluminum, so maybe you can get a set of his already designed and made skirts and put them underneath?
    www.myraceshop.com

    GTM solution kits
    Corvette and Race parts

  30. #590
    Senior Member The Stig's Avatar
    Join Date
    Feb 2011
    Location
    Charlotte, NC
    Posts
    2,004
    Post Thanks / Like
    Mike, It's like you can read minds...

    I thought of that last night as I was reading through the long list of items/parts that he makes for the GTM. I'm not sure if they are the same dimensions, but it should be easy enough to trim them down a bit so they'll fit.

    I plan to call and order the side skirts this weekend.

    Thanks. Mike
    Last edited by The Stig; 07-09-2013 at 09:46 PM.
    The Stig

    Some say, that I only know two facts about ducks, (both being wrong); and that if I could be bothered, I could solve the "da Vinci Code" in 47 seconds...
    All I know is that I'm called "The Stig".
    GTM #0081

  31. #591
    Member
    Join Date
    Aug 2011
    Posts
    38
    Post Thanks / Like
    Loving the updates Mike! Car is looking great

    How did you end up securing the underpanels to the frame? A combo of rivets and machine screws? Tapped the frame tubes, rivnuts?

    Thanks man
    Aman

  32. #592
    Senior Member The Stig's Avatar
    Join Date
    Feb 2011
    Location
    Charlotte, NC
    Posts
    2,004
    Post Thanks / Like
    Quote Originally Posted by Aman View Post
    Loving the updates Mike! Car is looking great

    How did you end up securing the underpanels to the frame? A combo of rivets and machine screws? Tapped the frame tubes, rivnuts?

    Thanks man
    Aman
    Hi Aman. It's been a while... Thanks for the positive comments; much appreciated.

    When I started measuring and marking the underside of the rockers in order to mount the side skirts, I realized that if i just drill a 25/64" hole through the body and into the frame, and then install the rivnuts, I might have a problem if I ever have to take the body back off. The rivnuts would have to be drilled out in order to allow the body to be removed. I thought about simply drilling and tapping the frame, and screwing the 1/4-20 screws directly into the frame; but I was concerned that there may not be enough metal to really grip the screws.

    So I drilled my pilot holes (through the body and into the frame) to 1/4", then I used a 3/4" hole saw, to trim the fiberglass around the pilot hole (it also has a 1/4" bit). This opened the hole to the frame, and allowed me to then drill the 25/64" hole for the the Rivnuts, that sit down inside the openings in the rockers. Then I was able to just bolt the side skirts in place, and let them hold the underside of the rockers/body firmly in place. There are 10 screws per side. Six that bolt into the frame, and 4 that bolt into rivnuts that are set into the fibergalss behind the front wheels and ahead of the rear wheels (obviously).

    I'll be taking the skirts back off and re-finshing them. (Sanding them down, spraying them again with a couple coats of clear, and then buffing them out to a show shine). As I said before, I had thought about painting them matte black, but decided against it. I think the color of the carbon fiber works better with the color of my car.

    Anyway, when I get them off, I'll take a picture of the openings with the rivnuts in place. Others may want to do the same thing, or not. I think it was the right thing for me...

    Take care Buddy.

    Mike
    Last edited by The Stig; 07-09-2013 at 10:32 PM.
    The Stig

    Some say, that I only know two facts about ducks, (both being wrong); and that if I could be bothered, I could solve the "da Vinci Code" in 47 seconds...
    All I know is that I'm called "The Stig".
    GTM #0081

  33. #593
    Member
    Join Date
    Aug 2011
    Posts
    38
    Post Thanks / Like
    Sounds like an elegant solution Mike, thanks for the details! I will probably do the same, and definitely sold on the skirts after seeing them on your car.

    I'm curious how you ended up securing all of the other underbody aluminum as well on the car. Did you keep it removable? I'm trying to decide between just rivets and 'non-removable', tapping the frame and machine screws, or rivnuts. I like your approach to things, curious what you went with.

    Thanks!
    Aman

  34. #594
    Senior Member The Stig's Avatar
    Join Date
    Feb 2011
    Location
    Charlotte, NC
    Posts
    2,004
    Post Thanks / Like
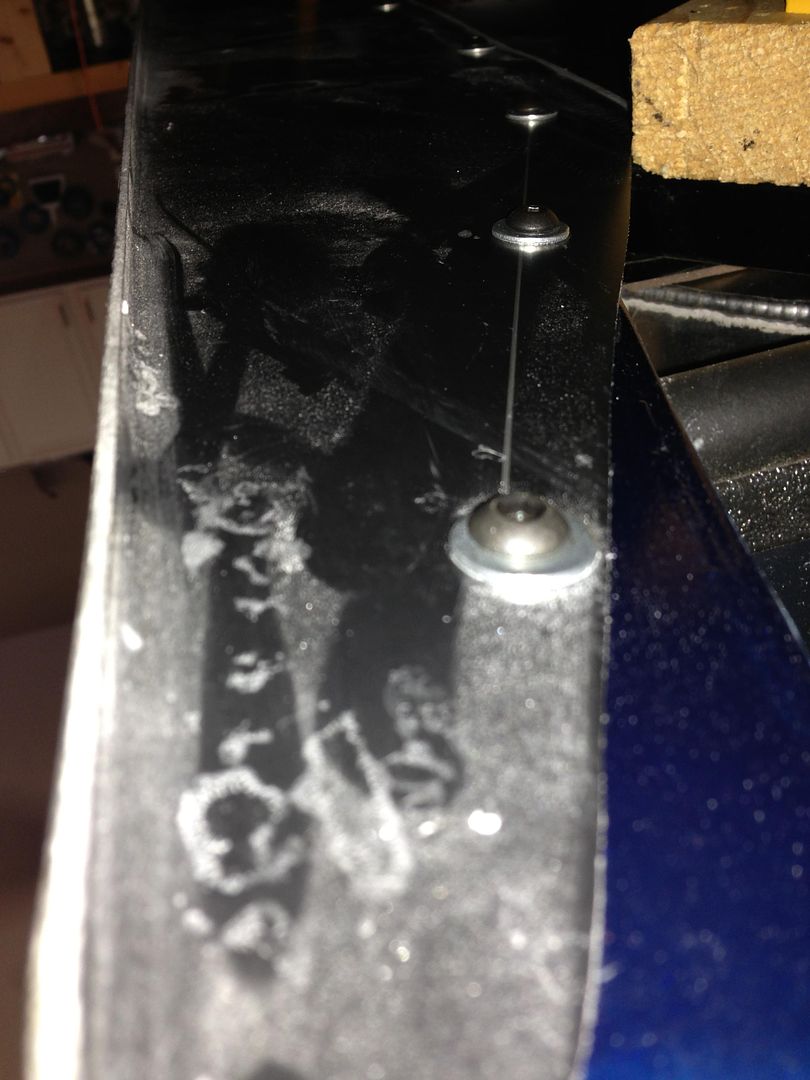
    Well, with Russ & David's skid system bolted to the main frame rails, you could let them hold the center aluminum panels in place; and I started to do that... But given the fact that I tend to over-think some of this stuff, I figured that if I went ahead and riveted them in place, along with the silicone sealer, I could maintain the strength that we get by "bonding" the panels to the frame. So that's what I did. That's why a couple of the skids appear to have a wavey look where they meet the panel. They're bolted against the rivets... I've thought of running them over a router table to take out about 1/8" to allow them clear the rivets and sit a little more flush. Mayby when I take them off again, I'll do that. We'll see. Once the car is on the ground, no one else will see them but me...

    Take care.

    Mike


    Take Care,

    Mike
    The Stig

    Some say, that I only know two facts about ducks, (both being wrong); and that if I could be bothered, I could solve the "da Vinci Code" in 47 seconds...
    All I know is that I'm called "The Stig".
    GTM #0081

  35. #595
    Mad Scientist mendo's Avatar
    Join Date
    Sep 2011
    Location
    Meadow Vista, CA
    Posts
    72
    Post Thanks / Like
    Quote Originally Posted by The Stig View Post
    I've thought of running them over a router table to take out about 1/8" to allow them clear the rivets and sit a little more flush. Mayby when I take them off again, I'll do that.

    When you take them off again, there will be a small dent right where the rivet it, just hit it with a drill there, BAM! it fits!
    GTM #253 In Process

  36. #596
    Senior Member The Stig's Avatar
    Join Date
    Feb 2011
    Location
    Charlotte, NC
    Posts
    2,004
    Post Thanks / Like
    Quote Originally Posted by mendo View Post
    When you take them off again, there will be a small dent right where the rivet it, just hit it with a drill there, BAM! it fits!
    You're right; that would be an easy way to do it. But I found out pretty quick that if you aren't very careful, the drill bit will go right through this nylon based material.

    It's like once the bit digs in, it pulls it straight through... Or it least it did on one of the holes that I was working on.

    That's why I was thinking I could use a router table that has a fence that I can hold the strip against.

    That way I know that I'm only going to take out the amount of material that I want to.

    Mike
    The Stig

    Some say, that I only know two facts about ducks, (both being wrong); and that if I could be bothered, I could solve the "da Vinci Code" in 47 seconds...
    All I know is that I'm called "The Stig".
    GTM #0081

  37. #597
    Banned
    Join Date
    Aug 2011
    Posts
    669
    Post Thanks / Like
    s0482460_sc7.jpgyou can use a countersink bit to drill them. it doesn't have the spiral design and won't dig in.
    Last edited by carbon fiber; 07-10-2013 at 04:02 PM.

  38. #598
    Senior Member The Stig's Avatar
    Join Date
    Feb 2011
    Location
    Charlotte, NC
    Posts
    2,004
    Post Thanks / Like
    Hmmm. That could do it. I could use the drill press and just tap it into the rivet marks. I'll have to give that some thought.
    The Stig

    Some say, that I only know two facts about ducks, (both being wrong); and that if I could be bothered, I could solve the "da Vinci Code" in 47 seconds...
    All I know is that I'm called "The Stig".
    GTM #0081

  39. #599
    Mad Scientist mendo's Avatar
    Join Date
    Sep 2011
    Location
    Meadow Vista, CA
    Posts
    72
    Post Thanks / Like
    Quote Originally Posted by The Stig View Post
    Hmmm. That could do it. I could use the drill press and just tap it into the rivet marks. I'll have to give that some thought.
    for that matter you could use your router bit in your drill press,

    or a rough tip on a dremel, you don't have to take much out, maybe an 1/8th. I like this way because you leave all the rest of the piece fully flat so it supports the car when it sits on it.
    GTM #253 In Process

  40. #600
    Senior Member
    Join Date
    Feb 2011
    Posts
    119
    Post Thanks / Like
    Quote Originally Posted by The Stig View Post
    I have two sets of skirts and splitters (for WHEN they get broken)... Both sets are as you describe. Most of the length is actually pretty good, with 1 or 2 strips that are wavy. I decided not to get to caught up with it...

    I had originally thought of having them painted flat black and then cleared with Matt Clear. But I haven't gone there yet. I've also thought of having some 1/8" aluminum cut in the shape of the skirts to epoxy onto the bottom side in order to make them a little stronger.

    Not sure if I would do that on the splitter since it need the "chance" to flex if it scrapes.

    We'll see how it turns out. Right now I have bigger fish to fry...

    Mike
    Thanks. Good to know I wasn't the only one. Just one of those things. In hindsight, I probably would do Shane's splitter and rocker extensions next time...or like you said, WHEN they get broken. LOL I hadn't given that a lot of thought, but you are right.

Page 15 of 51 FirstFirst ... 5131415161725 ... LastLast

Tags for this Thread

Posting Permissions

  • You may not post new threads
  • You may not post replies
  • You may not post attachments
  • You may not edit your posts
  •  

Stewart Transport

Visit our community sponsor