Visit our community sponsor

Thanks:
1

Likes:
4
-
Senior Member

Impresive work John. I really like the quality of your welds. You have talent.
Last edited by Kempo; 05-16-2012 at 08:21 PM.
GenII GTM #354
Delivered (02/09/11)
-
Does anyone have information on installing an electronic LS3 Gas Pedal to the GTM?
Is there a bracket or information available or is it just "Do the best you can to fit it on the pedal box?
Thanks for any feedback.
Radkat
-
Senior Member

Originally Posted by
Radkat

Does anyone have information on installing an electronic LS3 Gas Pedal to the GTM?
Is there a bracket or information available or is it just "Do the best you can to fit it on the pedal box?
Thanks for any feedback.
Radkat
I'm using the LS3 on mine. You need to install two riv-nuts in the fire wall and use the provided template. Here is a link to what I had to do.
redirecting to that link in order to not hijack John's cage thread.
http://thefactoryfiveforum.com/showt...ll=1#post30822
Last edited by Kempo; 05-16-2012 at 11:32 PM.
GenII GTM #354
Delivered (02/09/11)
-
 LS3 Erod Gas Pedal
Thanks Kempo for the information.
It looks like the mounting bracket and gas pedal for the LS3 Erod is different.
I appreciate the quick response and information.
Radkat
Originally Posted by
Kempo
I'm using the LS3 on mine. You need to install two riv-nuts in the fire wall and use the provided template. Here is a link to what I had to do.
redirecting to that link in order to not hijack John's cage thread.
http://thefactoryfiveforum.com/showt...ll=1#post30822
-
Definitely looks better than the S bar.
I would consider leaving the passanger side upper bar out entirely. You have tons of crush space between you and the passanger door, and including the lower frame rail in the equation, you already have two side bars there. If they say anything, just run a couple of stringers from upper to lower and you are good.
Still not sure if the main hoop flies, but if the scrutoneer says it's good...then it's good!
-
Member

Mike, Jacob, Hugo, and Hank thanks for the support.
Hank I will surely get video of the first start.
I cant belive its almost ready.
John
XTF #2
build start date June 19 2023
GTM # 344
Build Start December 2010
First track day April 2013
-
Member
-
Member
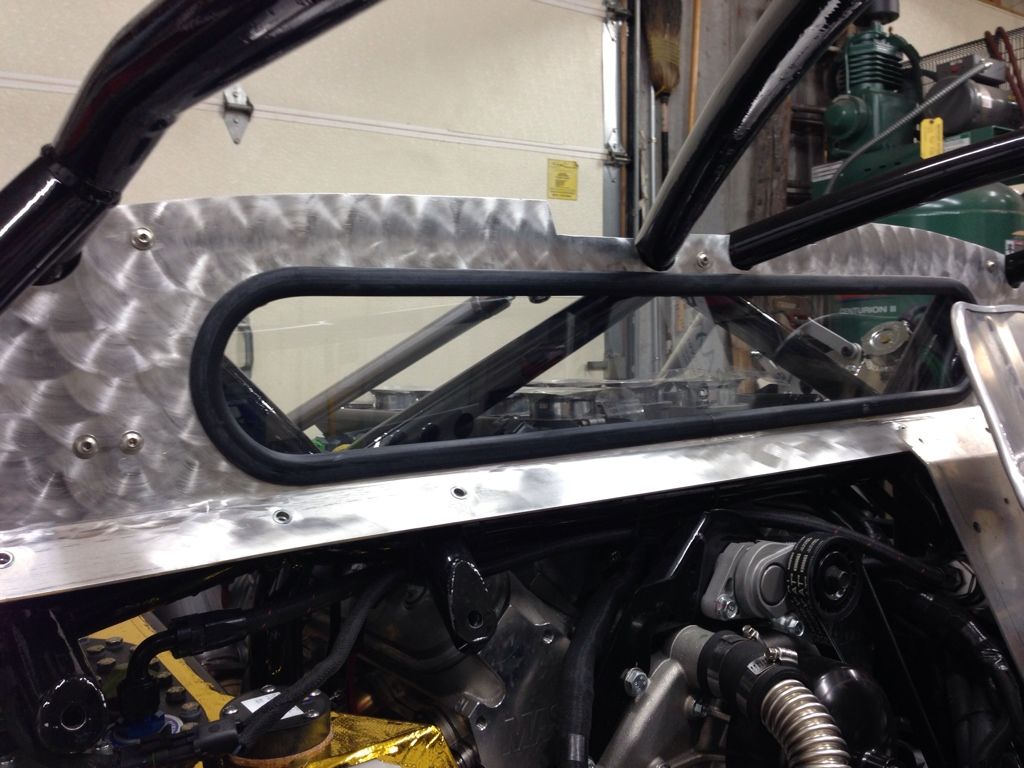
After lots of thinking, I realized that the S bend top bar would be less strong then a straight tube. (see post 45 for a picture) Of course the S would bend over instead of pulling the verticals in.
I spoke with "Hank" from the forum here who has much more experience at this than I. He pointed out that the top of the S would be near my helmet and its better to hit your head on a net then a bar.
So change of plans. I decided to go back to basics. I built a cage in tape to see how it would relate to other parts.

That looked pretty good so i made the top bar out of steel. I decided to go up to .120 wall tubing for the door bars. A few extra lbs here are worth the extra stiffness in my book.

The front tips down so I can still exit in a dignified manner when driving on the street.
I was thinking of making the passenger bar even lower. I will not have passengers on the track and for street use this bar is easy to get over. The last thing I want to hear is my wife complaining that its hard to get in and out of the car.
note the front of the passenger bar nearly intersects with the lower door bar.

I am not sure if this is NASA or SCCA legal. If anybody knows I wold be glad to hear it.
I will run both sides by my local scrutineer to make sure he is happy with it before I weld it in.
John
XTF #2
build start date June 19 2023
GTM # 344
Build Start December 2010
First track day April 2013
-
Member
Originally Posted by
Kempo
Impresive work John. I really like the quality of your welds.
Thanks Hugo.
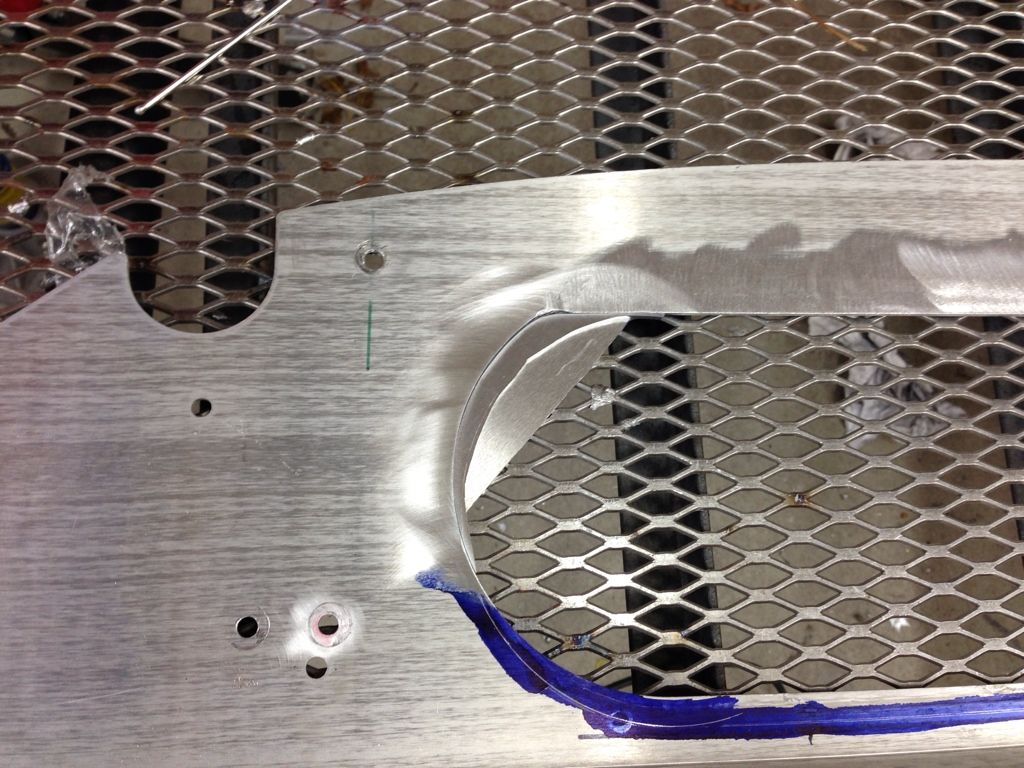
One thing i did learn about the stock frame. The stock factory five welds are SOOOO much thicker and stronger then necessary. Thats a good thing.
When I cut off the 1 inch square tubing I had a whole lotta grinding to do in order to remove the stout welds that factory five puts on each and every attachment point.
We surely dont need to worry about cold welds or poor penetration on the stock frame. Each Factory five weld had a 1/4 inch thick bead with perfect penetration every time.
The factory five weld quality is one thing you can only see when you cut the car apart. It sure made this job harder, however it made me feel good about the quality of the welds I did not cut apart.
John
XTF #2
build start date June 19 2023
GTM # 344
Build Start December 2010
First track day April 2013
Tags for this Thread
 Posting Permissions
- You may not post new threads
- You may not post replies
- You may not post attachments
- You may not edit your posts
-
Forum Rules

Visit our community sponsor


 Reply With Quote