BluePrint Engines

Visit our community sponsor

Thanks Thanks:  2
Likes Likes:  1
Results 1 to 40 of 220

Thread: Mk4 #7750 Build Progress Update

Hybrid View

Previous Post Previous Post   Next Post Next Post
  1. #1
    Junior Member
    Join Date
    Nov 2014
    Posts
    6
    Post Thanks / Like
    Edward,
    I've been waiting since yesterday to get the account activated just so that I could post a comment. I've been reading your build thread and it's is better than reading a Stephen King novel! I actually was going to beg for pictures cause it had been a while since your last post! but you beat me to it! Lol
    But on a more serious note, you have done a great piece of work! Congrats!! I hope my time will come soon enough to where I can start on a project like this myself!

    Ram

  2. #2
    Senior Member edwardb's Avatar
    Join Date
    Feb 2011
    Location
    Lake Orion, Michigan
    Posts
    10,609
    Post Thanks / Like
    Thanks for all the great comments guys. It does look good sitting in my garage. Family stuff going on through this weekend, but I'll be back on it soon. Most of what needs to be done has already been mocked up. So should move pretty fast. But kind of a moot point now. Our weather is definitely moving into a much colder stage. Looks like it won't be on the road until spring. Not a surprise I guess. I'll have plenty of time to finish it up.

    Quote Originally Posted by blkout25 View Post
    Edward, I've been waiting since yesterday to get the account activated just so that I could post a comment. I've been reading your build thread and it's is better than reading a Stephen King novel! I actually was going to beg for pictures cause it had been a while since your last post! but you beat me to it! Lol But on a more serious note, you have done a great piece of work! Congrats!! I hope my time will come soon enough to where I can start on a project like this myself! Ram
    Nice first post! Thanks, and I've been accused of my writing being a lot of things, but never like Stephen King... I'm assuming that's a compliment.
    Last edited by edwardb; 11-06-2014 at 04:38 PM.
    Build 1: Mk3 Roadster #5125. Sold 11/08/2014. Build 2: Mk4 Roadster #7750. Sold 04/10/2017. Build Thread
    Build 3: Mk4 Roadster 20th Anniversary #8674. Sold 09/07/2020. Build Thread and Video. Build 4: Gen 3 Type 65 Coupe #59. Gen 3 Coyote. Legal 03/04/2020. Build Thread and Video
    Build 5: 35 Hot Rod Truck #138. LS3 and 4L65E auto. Rcvd 01/05/2021. Legal 04/20/2023. Build Thread. Sold 11/9/2023.

  3. #3
    Junior Member
    Join Date
    Nov 2014
    Posts
    6
    Post Thanks / Like
    Of course it's compliment!! Just couldn't find another analogy I guess! What I meant was that once I started reading these forums I've been addicted, and yours his the most!!! Also cause it triggers my daydreaming of one day doing the same as you guys! Thanks again for fueling my addiction! Lol

  4. #4
    Junior Member
    Join Date
    Nov 2014
    Posts
    6
    Post Thanks / Like
    I forgot to ask if you knew of an app to view/post in here? I hate going the long route to log in! Not that it's not worth it! Lol

  5. #5
    Senior Member
    Join Date
    Mar 2014
    Location
    Pass Christian, Mississippi
    Posts
    122
    Post Thanks / Like
    Edward,
    Congrats. It has been incredibly helpful to have your build thread. As I progress I find myself constantly going back to your thread for help. Just sorry you did not do an IRS. Henry
    MK IV complete kit delivered August 21st, 2014. Ford Racing 427w with X heads. IRS. Upgraded Wilwoods, 6 piston front and 4 rear. Tremec t600 and Ram Dual clutch. Holley Terminator EFI.

  6. #6
    Senior Member edwardb's Avatar
    Join Date
    Feb 2011
    Location
    Lake Orion, Michigan
    Posts
    10,609
    Post Thanks / Like
    Quote Originally Posted by blkout25 View Post
    Of course it's compliment!! Just couldn't find another analogy I guess! What I meant was that once I started reading these forums I've been addicted, and yours his the most!!! Also cause it triggers my daydreaming of one day doing the same as you guys! Thanks again for fueling my addiction! Lol
    I knew it was a compliment. That's why the smiley. Just struck me as a funny comparison.

    Quote Originally Posted by blkout25 View Post
    I forgot to ask if you knew of an app to view/post in here? I hate going the long route to log in! Not that it's not worth it! Lol
    No, not that I'm aware of. I use this forum sometimes with my iPhone or iPad with Chrome or Safari browsers. Just make sure to click the "Remember me?" box when you sign in, and you should be able to go back to the session repeatedly without signing in again.
    Build 1: Mk3 Roadster #5125. Sold 11/08/2014. Build 2: Mk4 Roadster #7750. Sold 04/10/2017. Build Thread
    Build 3: Mk4 Roadster 20th Anniversary #8674. Sold 09/07/2020. Build Thread and Video. Build 4: Gen 3 Type 65 Coupe #59. Gen 3 Coyote. Legal 03/04/2020. Build Thread and Video
    Build 5: 35 Hot Rod Truck #138. LS3 and 4L65E auto. Rcvd 01/05/2021. Legal 04/20/2023. Build Thread. Sold 11/9/2023.

  7. #7
    Senior Member edwardb's Avatar
    Join Date
    Feb 2011
    Location
    Lake Orion, Michigan
    Posts
    10,609
    Post Thanks / Like

    Final Assembly Progress

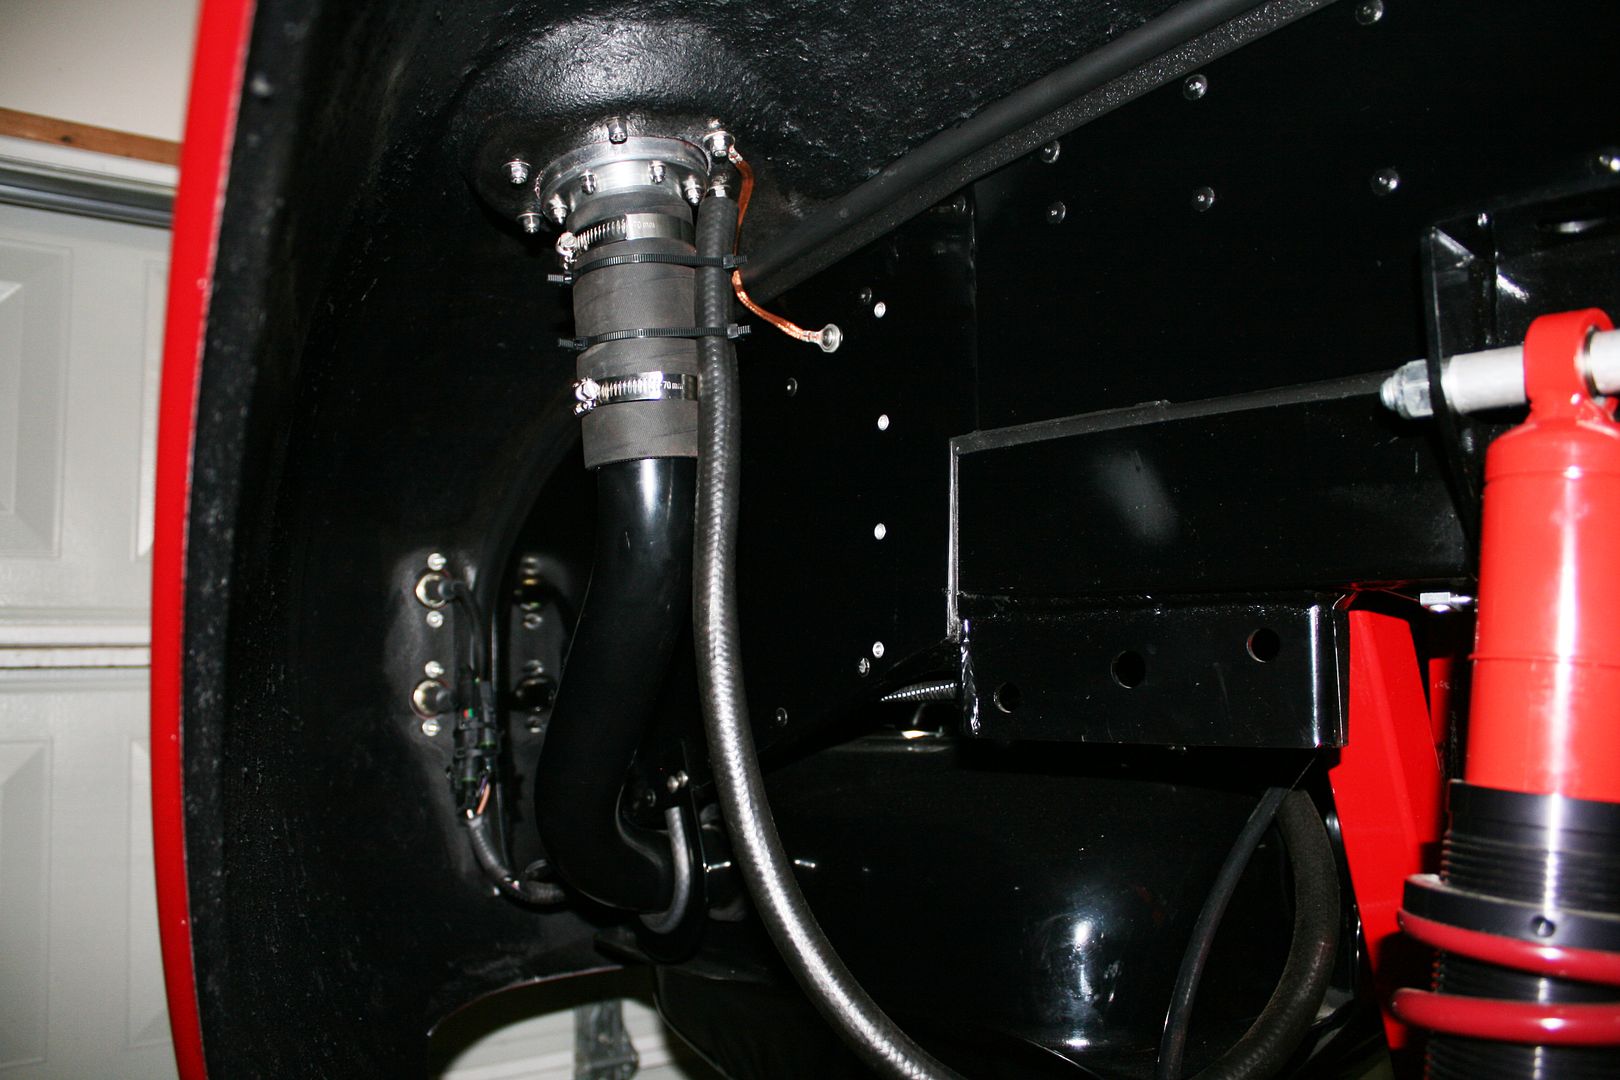
    Had some quality time this weekend to get parts on the build for (finally) the last time. Couple of minor sidetracks. In an earlier post, I described how I used 5/16-18 nutserts along the lower body sill to hold the Mk4 wraparound body in place with flanged button head screws. I still like the idea, but managed to spin one of the nutserts by cross threading during assembly. It originally happened at the body shop. Must have been in too much of a hurry, plus with the car on the ground it’s pretty low so just didn’t see I was putting it in wrong. It took some pretty tedious “surgery” to get the screw out, then the nutsert (or what was left of it) with the painted body in the area. Turns out the nutsert was near a weld bead and wasn’t sitting flush to the surface, so wasn’t gripping like it should have. Then I messed up and cross threaded it. Once it started spinning it was all over. Flattened the area and got a new one in nice and solid and all is good.

    Another sidetrack was I decided while the undercoat the shop applied to the complete underside was first rate stuff (Wurth SKS Stone Guard) it wasn’t real thick in the wheel wells so in my infinite wisdom decided to add a couple coats of truck bedliner. I used the water based stuff from Dupli-Color and added two coats in each wheel well. Mission accomplished, but that was MESSY. No matter how careful I was, I managed to get it all over my clothes, the floor, parts of the car not intended, etc. Fortunately I had lots of drop cloths and was wearing old clothes, plus the water based stuff cleans up relatively easily, so all is OK. But note to self (and anyone reading this thread), apply body undercoat with the body off and upside down. No exceptions. If there are any future builds, that’s what I will be doing. Trust me.

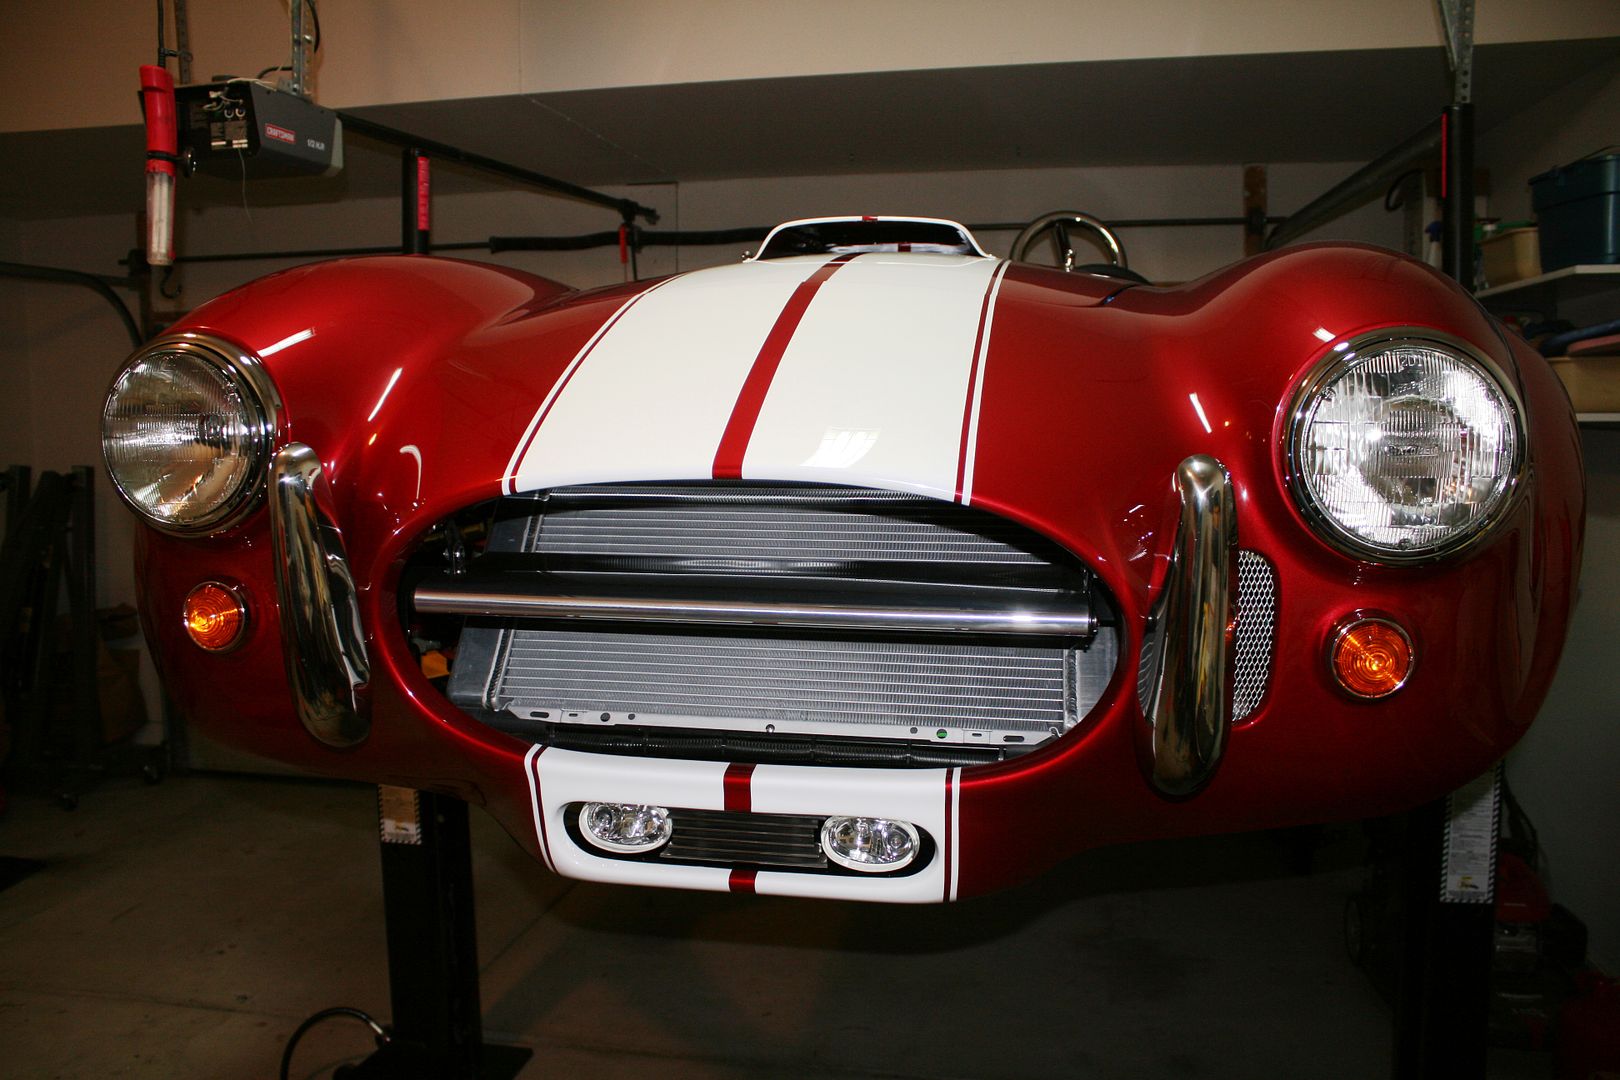
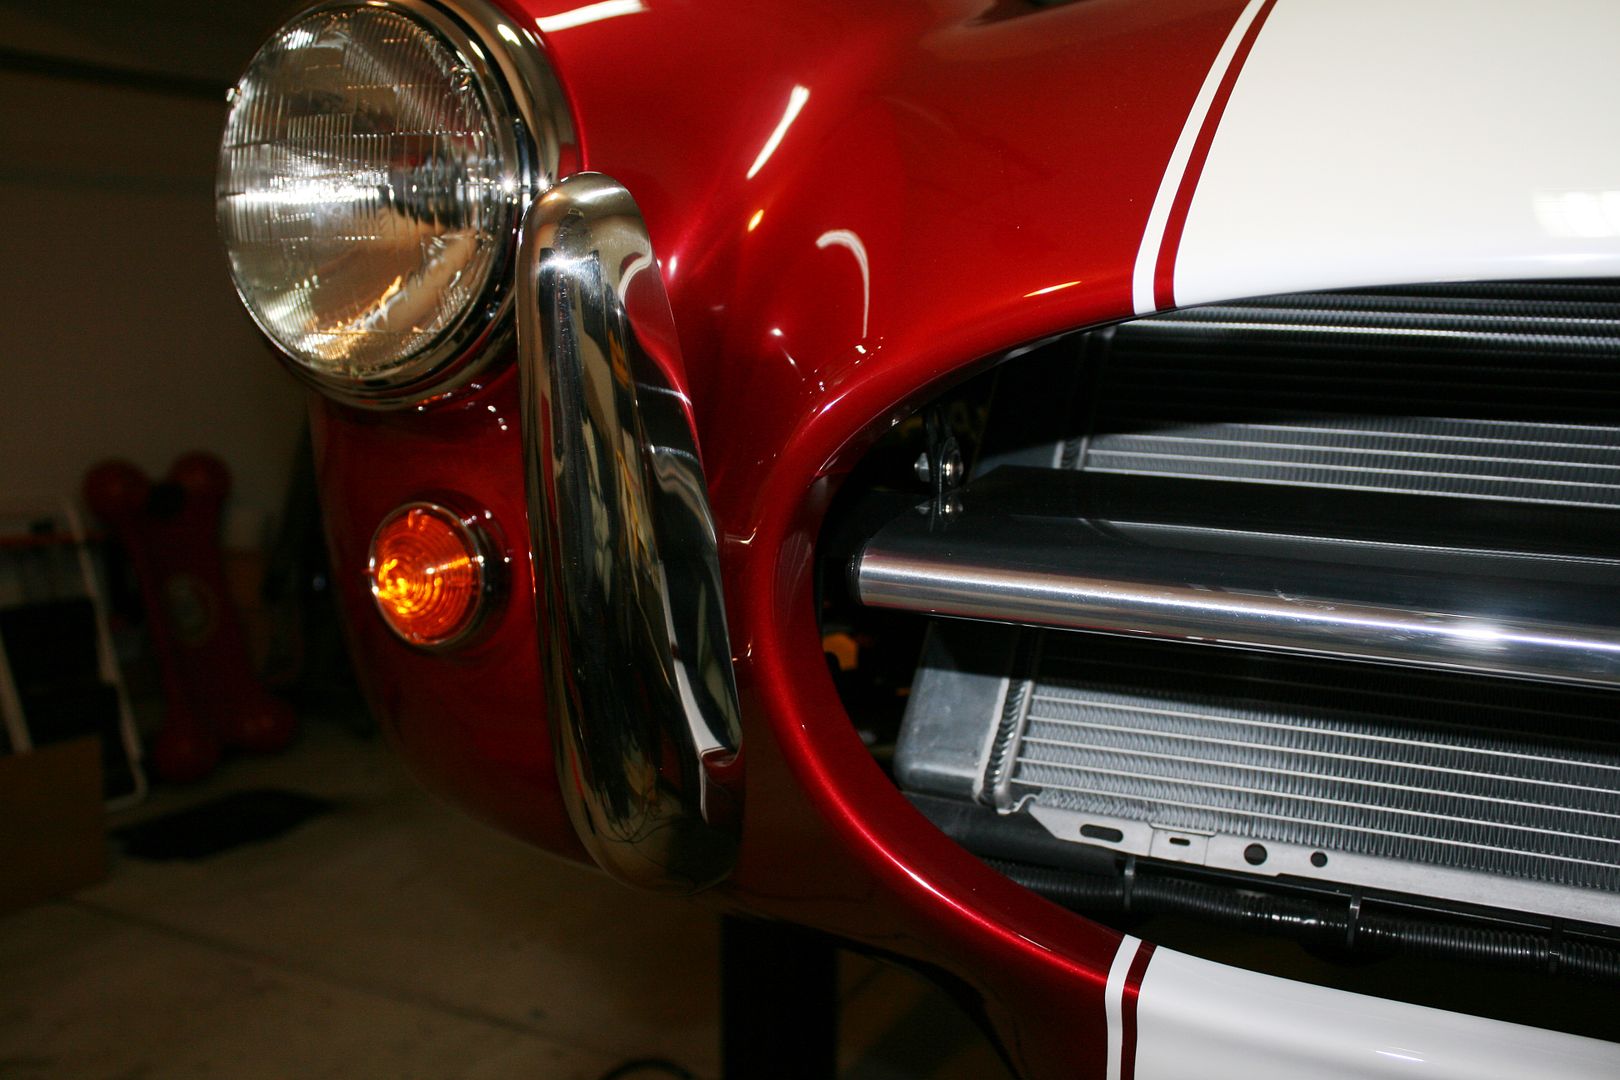
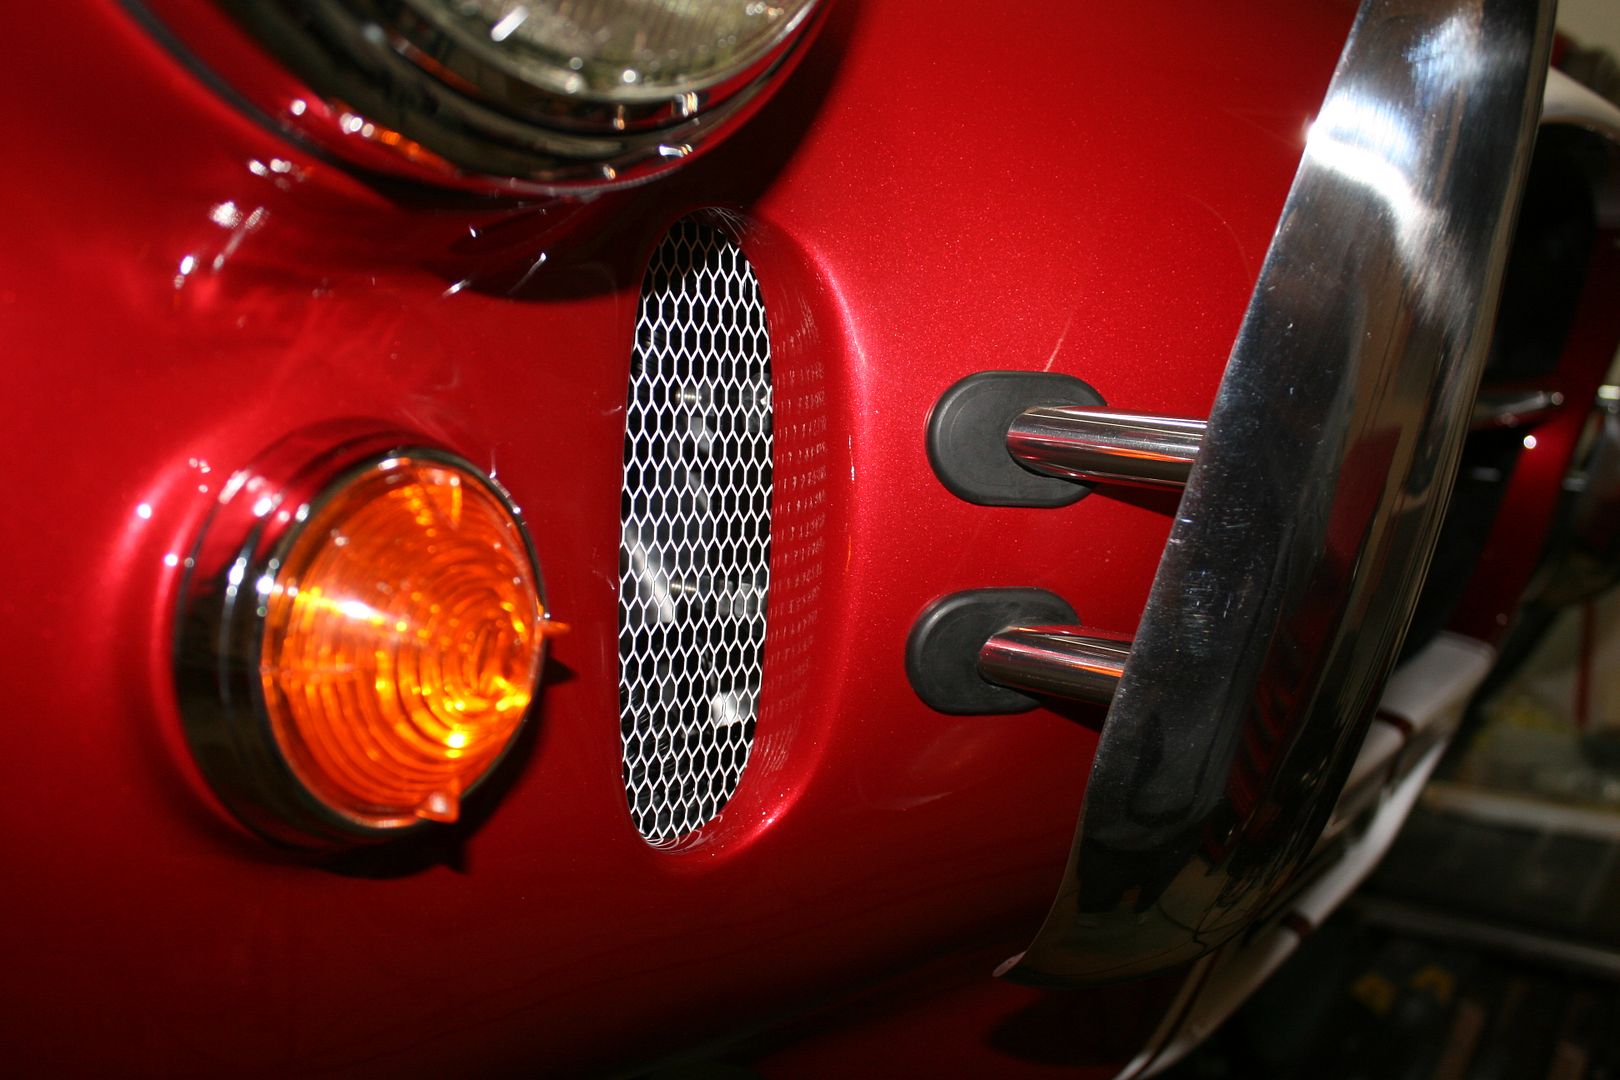
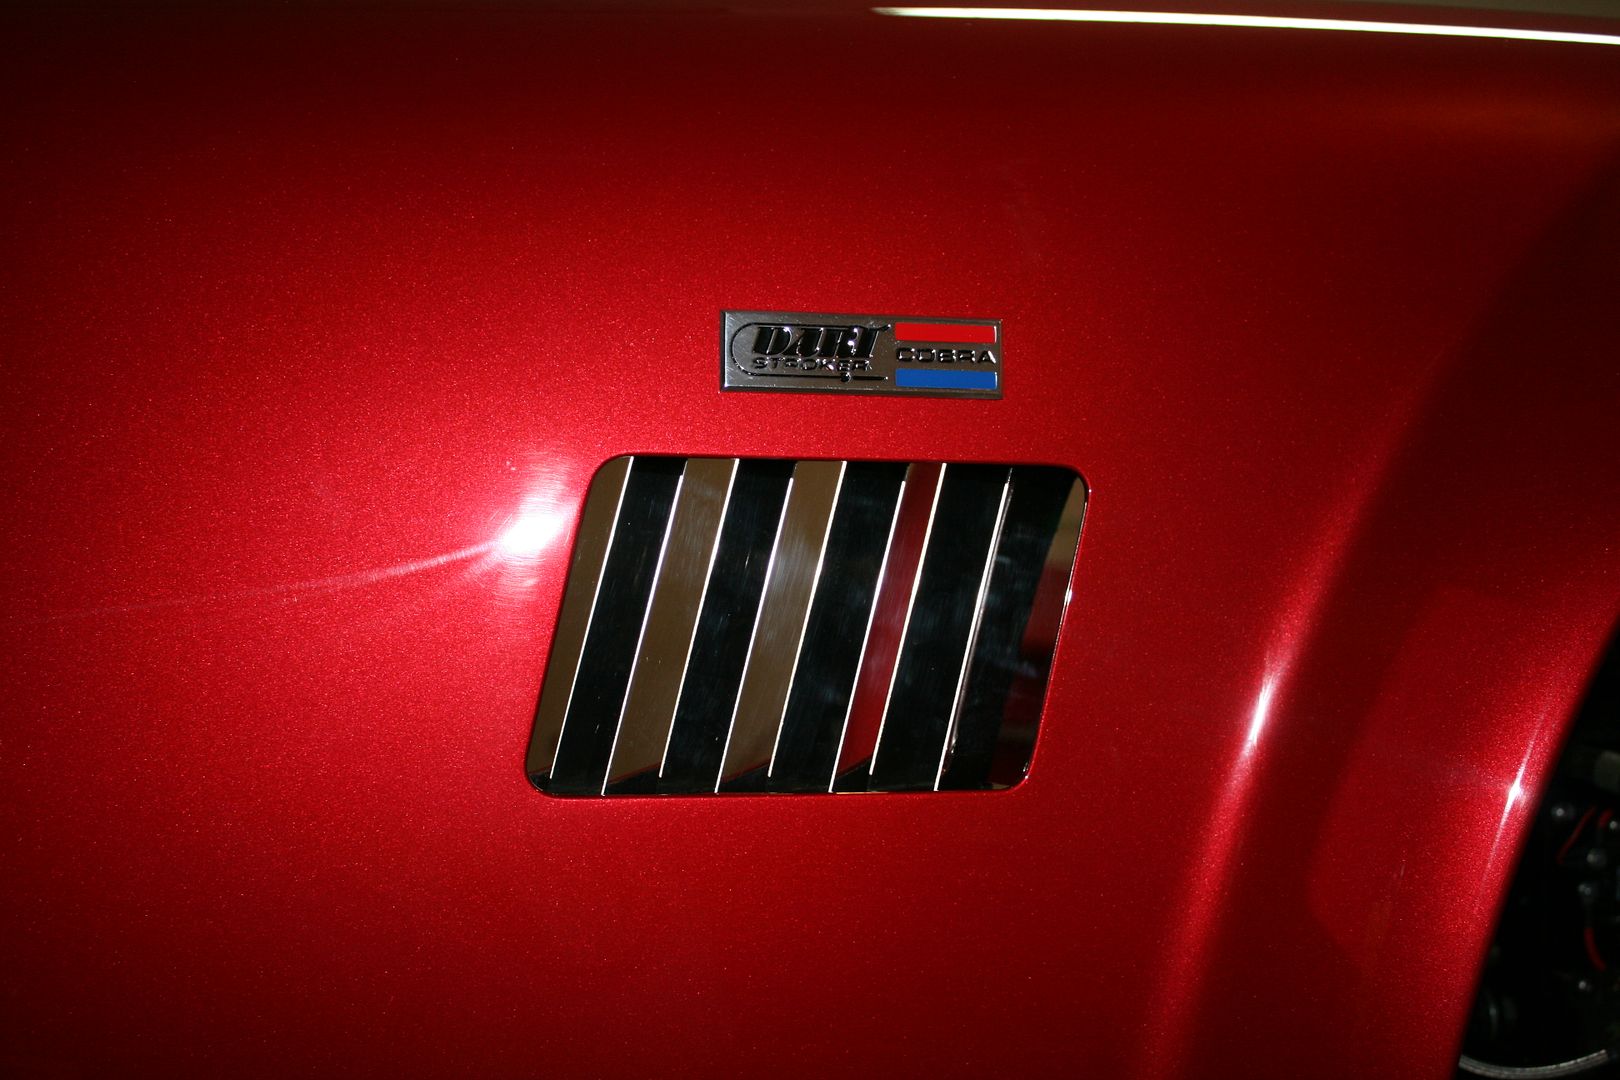
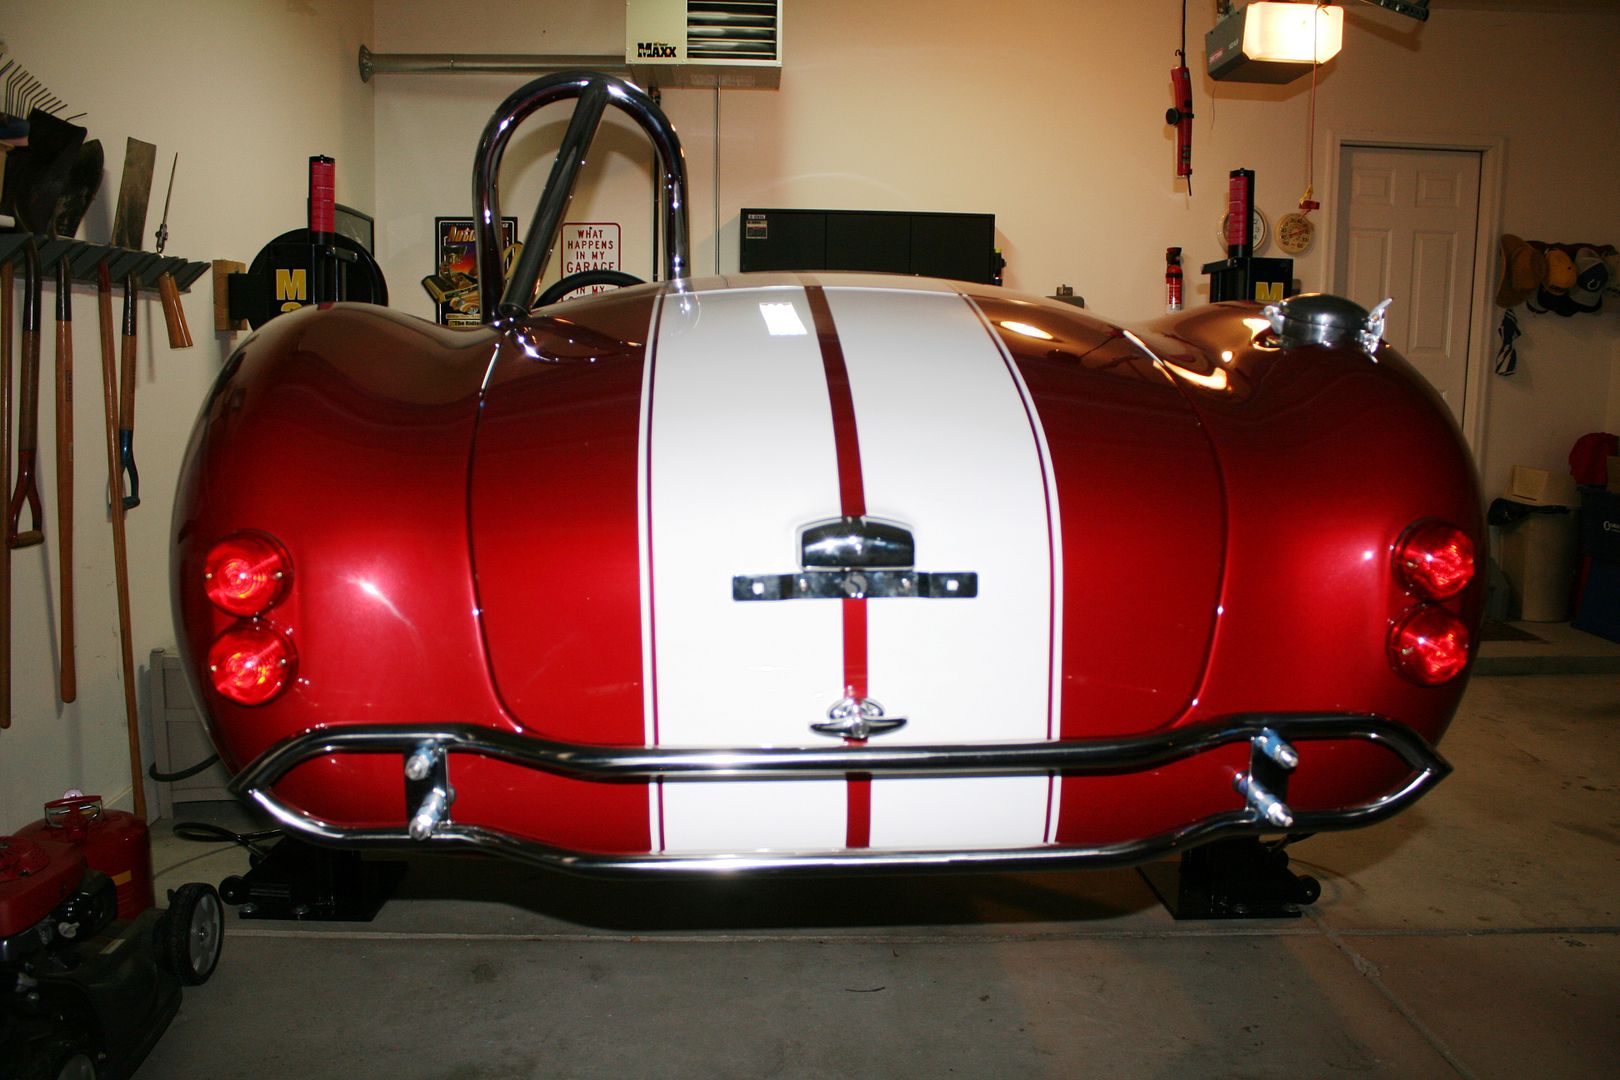
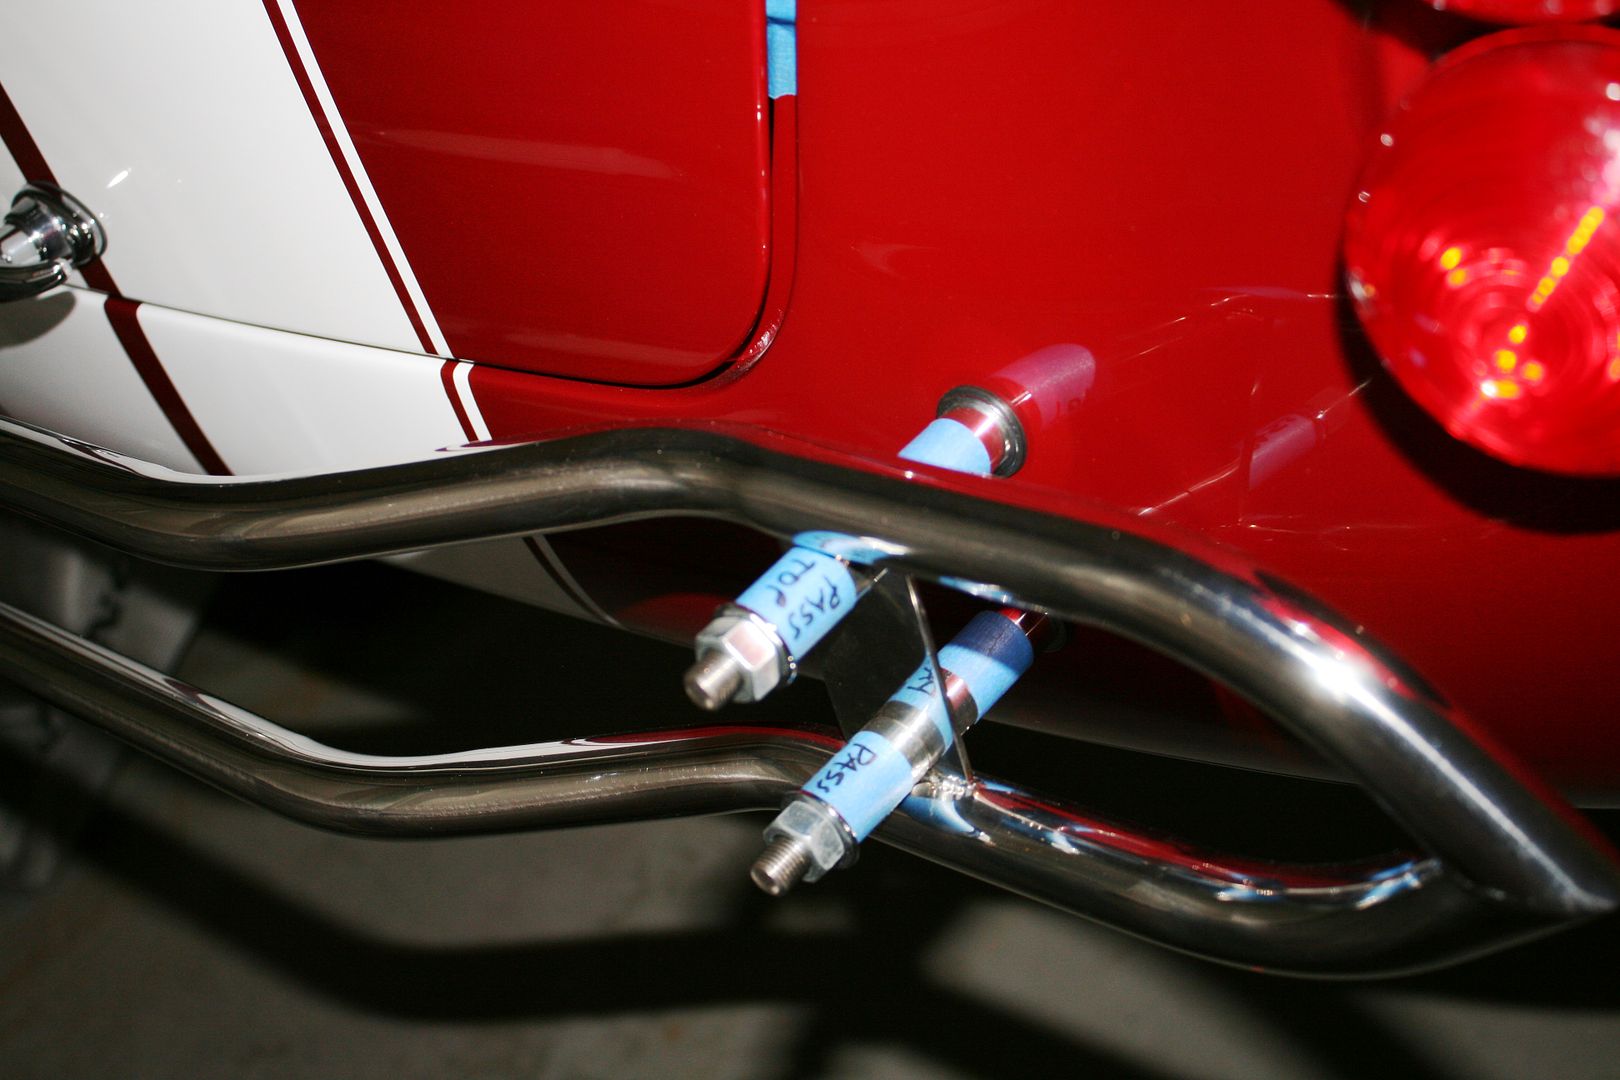
    So, back on track and really taking my time around the fresh paint, managed to get the front and rear quick jack mounts in place, all the lights (they all work!), side badges, Dark Water splitter, handles, louvers, gas cap and fill tube, etc. installed. As mentioned earlier in my thread, and discussed in multiple threads, I used the ********** grommets and ********** 3/4 inch polished aluminum tubing for the front quick jack mounts, replacing the FFR captured bolt setup. Before paint, I established the location of the body front, and opened up the holes to exactly fit the grommets. The final product is rock solid, looks good, and doesn't put any stress on the body. One hint. The grommets are made for about 1/4 inch thick material, and the body is less than that. So the grommets will not stay flush against the body if used as is and I'm pretty OCD about stuff like that. So before putting the tubes in place, I pushed the grommets flush against the outside of the body and then added a healthy bead of silicone (I used Permatex Ultra Black) around the inside of the body location to hold them in place. I made sure to get the silicone well down into the grommet slot to hold them. Worked well, and the grommets give a clean finished look. Used the same silicone material to bond the grilles over the brake cooling ducts.

    I’m not assembling the fill panels around the radiator inlet yet. Still thinking about how I’m going to do this. The Dark Water splitter likely has no practical value, but I like the look so have it mocked up. Does make it “interesting” for the FFR provided fill pieces. Likely I will make new ones, but I have all winter to sort that out. I don’t have the rear overriders in place yet. Waiting to get the trunk lid alignment done, just in case I need to adjust the rear valance a little. Next will be side pipes, splash guards, the windshield, and then final align the doors, hood and trunk lid. Still need to decide what to do for a charcoal filter for the tank vent. Then finish the interior carpet and it will be basically done. We’ve had our first measureable snow plus they’re putting down salt on the roads now, so I’m officially grounded until spring. Plenty of time to get it done, to say the least. Have I mentioned how much I like having a lift? What a pleasure it is doing this work either standing or sitting, and not bending over or crawling under the car.


    Last edited by edwardb; 11-17-2014 at 09:13 AM.
    Build 1: Mk3 Roadster #5125. Sold 11/08/2014. Build 2: Mk4 Roadster #7750. Sold 04/10/2017. Build Thread
    Build 3: Mk4 Roadster 20th Anniversary #8674. Sold 09/07/2020. Build Thread and Video. Build 4: Gen 3 Type 65 Coupe #59. Gen 3 Coyote. Legal 03/04/2020. Build Thread and Video
    Build 5: 35 Hot Rod Truck #138. LS3 and 4L65E auto. Rcvd 01/05/2021. Legal 04/20/2023. Build Thread. Sold 11/9/2023.

Posting Permissions

  • You may not post new threads
  • You may not post replies
  • You may not post attachments
  • You may not edit your posts
  •  

Breeze

Visit our community sponsor